- RAID
- 14 January 2022 at 09:37 UTC
-

- 1/2
When you buy an Adaptec RAID 6, 6Q, or 6T Series controller (as we did with the "Adaptec RAID 6405" controller), you could not enable write cache without risking data loss in the event of a power failure. Unless your computer or server was protected by a UPS (Uninterruptible Power Supply).
However, thanks to the Adaptec Flash Module 600 (AFM-600), you will be able to protect the write cache of your Adaptec RAID Series 6, 6Q or 6T controller against data loss in the event of a power failure using a battery. that you will connect to your Adaptec RAID controller using an additional circuit board.
- Adaptec Flash Module 600 unboxing (AFM-600 - ref : 2269700-R)
- Mounting the Adaptec Flash Backup Module AFM-600
- View Adaptec AFM-600 (ZMM) battery charging status via ACU
- View Adaptec AFM-600 (ZMM) battery charging status via maxView Storage Manager
- Enable write cache when the Adaptec AFM-600 module is charged
1. Adaptec Flash Module 600 unboxing (AFM-600 - ref : 2269700-R)
If you order this Adaptec Flash Module 600 (AFM-600), you will receive a brown box with the Microsemi logo on it.
Just for info : know that Microsemi bought Adaptec. If you buy it second-hand, it's therefore possible that the Adaptec logo appears on the box.
If you want to buy it, you can find it on Amazon.
On the side of the box, you will find a label with :
- the product name (AFM-600 SUPERCAP KIT)
- its revision (Rev B)
- its barcode (760884156407)
- Product P/N (Part / Number) : its reference at Microsemi namely "2269700-R"
- DB S/N : the serial number of the 1st component
- CAP CARD S/N : the serial number of the 2nd component

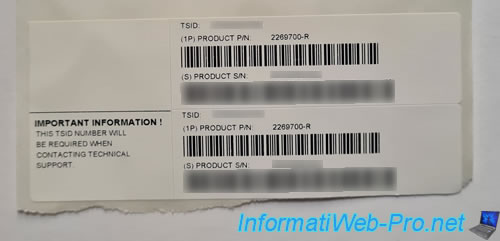
Inside the box, you will find a white label with the "TSID" number which you will be asked for if you contact Microsemi support.
You will also find the product reference (Product P/N : 2269700-R) and the serial number of your product (Product S/N).
Note : you will also find 2 papers concerning the chemicals present in these components for information (legal information).
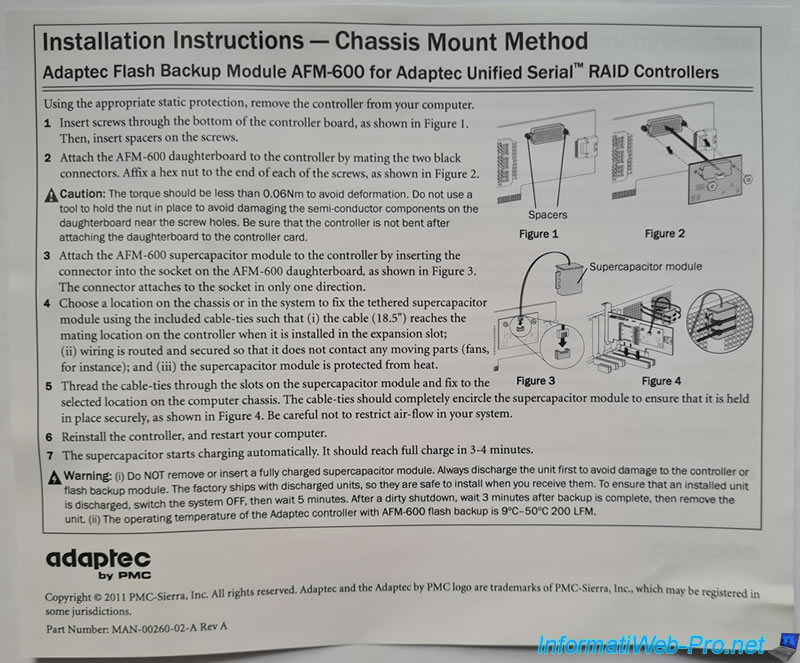
You will also find the installation instructions for the printed circuit board and the battery in your box.
However, you can also find these installation instructions in PDF format on the Microsemi website : Installation Instructions — Chassis Mount Method.
Below the different papers, you will find :
- an anti-static packaging protecting the PCB and the Adaptec AFM-600 battery
- the white labels presented previously
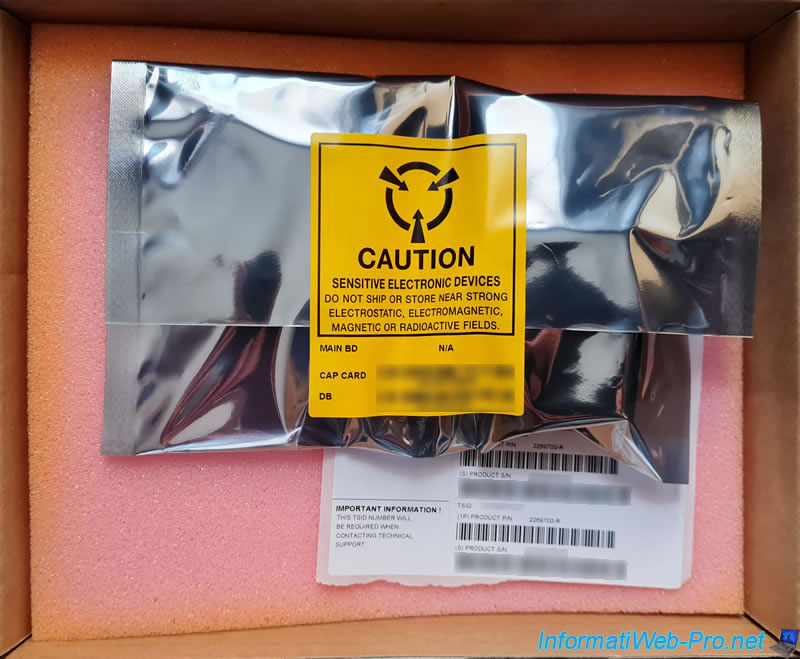
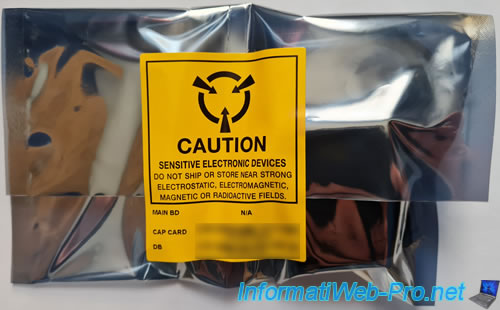
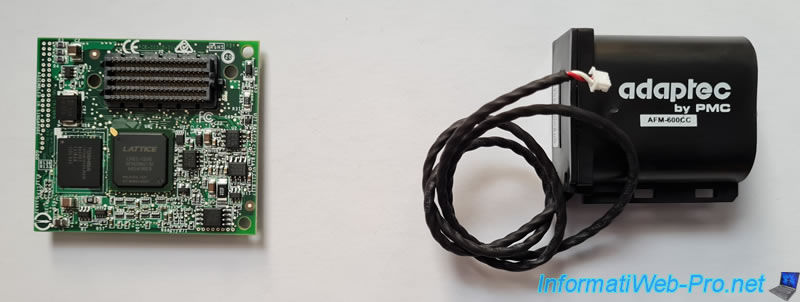
In this anti-static packaging, you will find :
- the additional printed circuit board to attach to your Adaptec RAID Series 6, 6Q or 6T controller
- the battery to fix in your PC case and to connect to this printed circuit
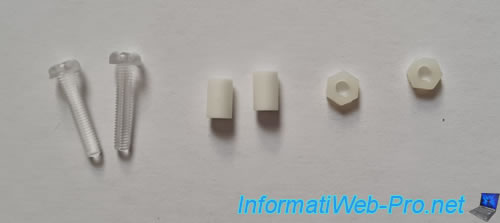
You will find a first bag with white and transparent plastic screws which will be used to hold the printed circuit above to your Adaptec RAID controller.
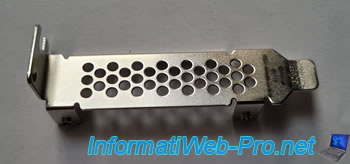
A standard size PCIe bracket that will be used if you want to place the battery on the PCIe slot located just below your Adaptec RAID controller.
But this is not mandatory.

If you have a server or a small computer, you can use the PCIe bracket in low-profile format, if necessary.
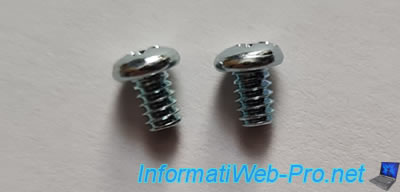
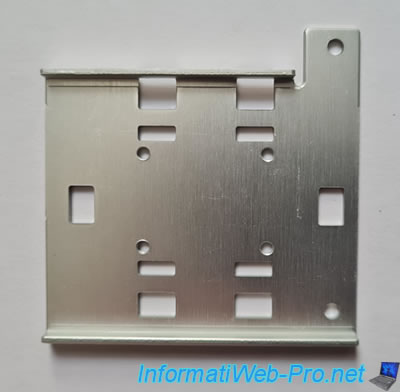
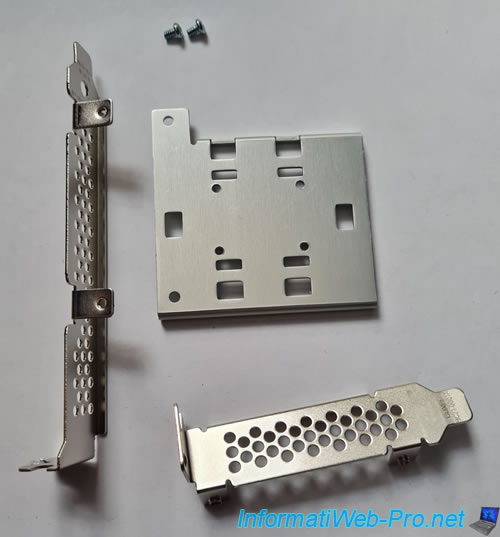
In another bag, you will find 2 small metal screws which will be used to fix the PCie bracket on the metal plate (see following image).
The metal plate will allow you to secure the Adaptec AFM-600 battery so that it's placed underneath your Adaptec RAID controller.
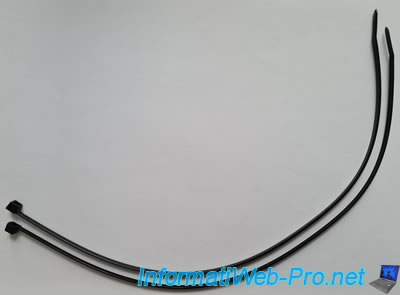
Finally, you will find 2 collars to fix the battery in your PC case or on the metal plate above.
2. Mounting the Adaptec Flash Backup Module AFM-600
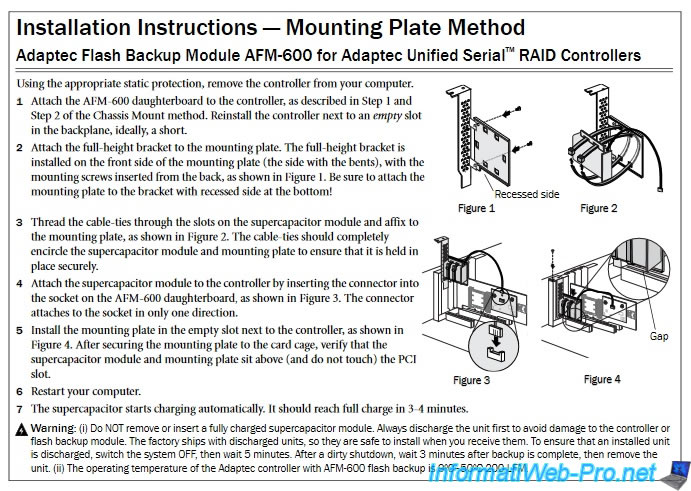
As a reminder, here are the installation instructions provided by Microsemi (Adaptec).
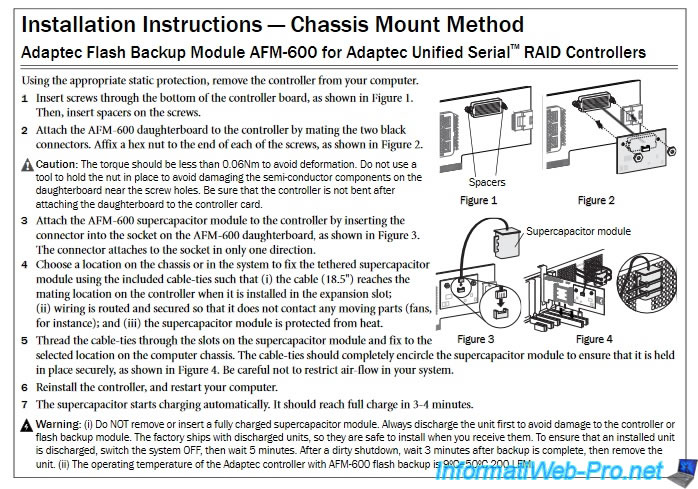
In our case, we have an Adaptec RAID 6405 controller (as you can see near the PCIe slot : ASR-6405).
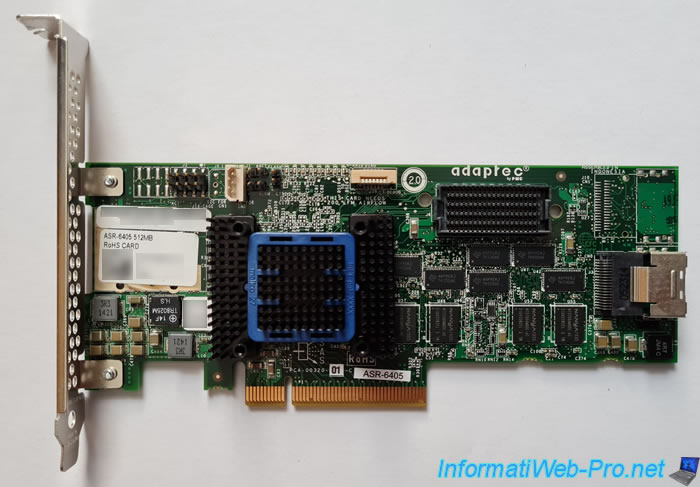
Step 1 of the assembly manual : insert the transparent screws into the holes provided in your Adaptec RAID controller by inserting them from the back of the controller.
Then, insert the white spacers onto these transparent screws.
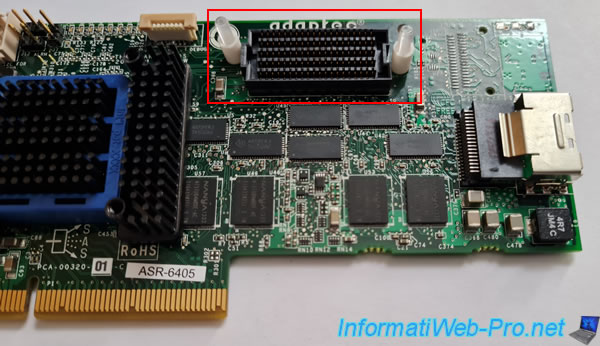
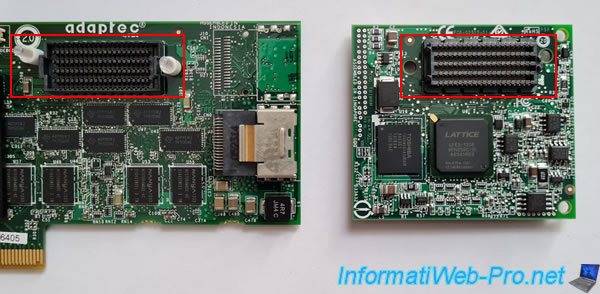
2nd step : connect the AFM-600DB printed circuit board to your Adaptec RAID Series 6, 6Q or 6T controller using the black connector framed in red on the image below.
Note that the screws will also fit on either side of the black connector on the AFM-600DB PCB.
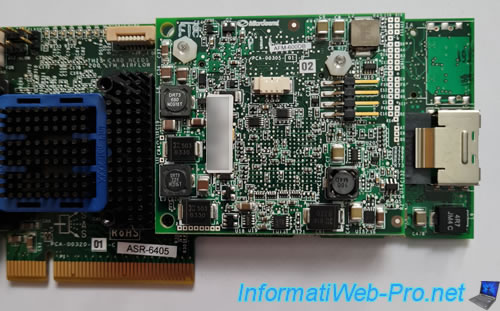
Once the black connector is plugged in, fix the hex nuts on the transparent screws for the PCB to be fixed correctly on your controller and that it can't come off over time.

Here is what it looks like from above.
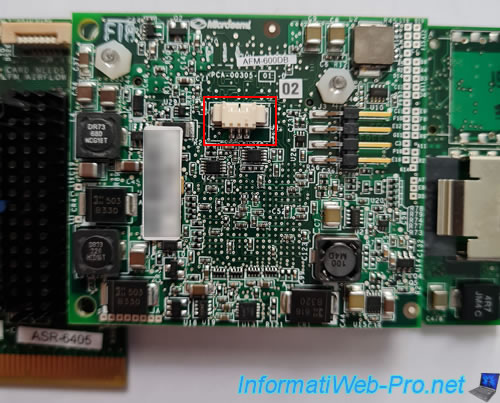
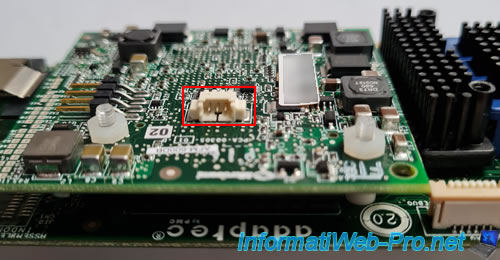
On this AFM-600DB PCB, you will find a white connector (outlined in red in the image below).
This is what this white connector looks like from the front.
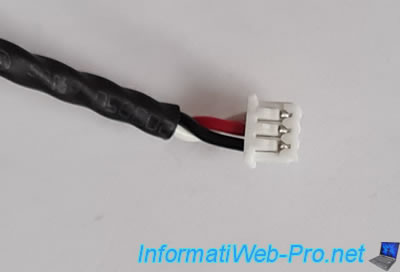
If you look at the white connector of the supplied battery, you will see that you see metal parts on one side.
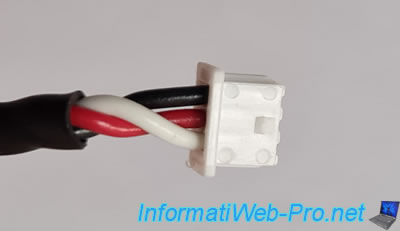
And a mini plastic clip on the other side of the white connector.
Step 3: plug the white battery connector into the white connector of the "AFM-600DB" printed circuit.
As stated in the official assembly manual, this connector only fits one way.
But as you can see in the image below, in order for the white connector to face the right way, you need to see its metal parts.
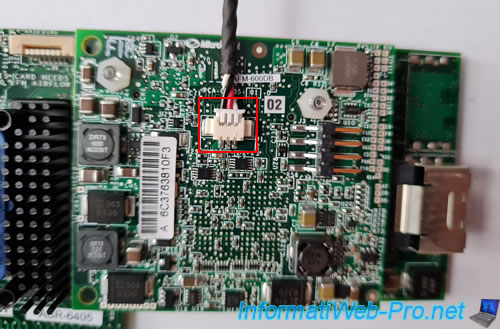
Then, insert it fully.
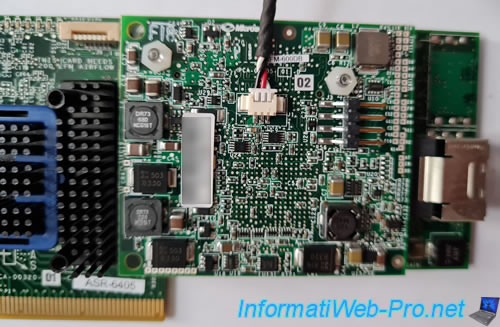
Step 4 : choose a location where to fix the battery in the case of your computer / server so that :
- the cable of this battery is long enough to be connected to your Adaptec RAID controller when it's plugged into its PCIe port
- the cable of this battery is attached so as not to come into contact with moving parts, such as fans, for example
- this battery is protected against heat. So, avoid fixing it right next to another component that tends to heat up or fixing it in a corner where the air flow would not be sufficient and where this battery could therefore heat up excessively.
Step 5 : once the suitable location has been found, secure it using the clamps (colsons) provided by passing them through the holes provided on the battery and those present in your box.
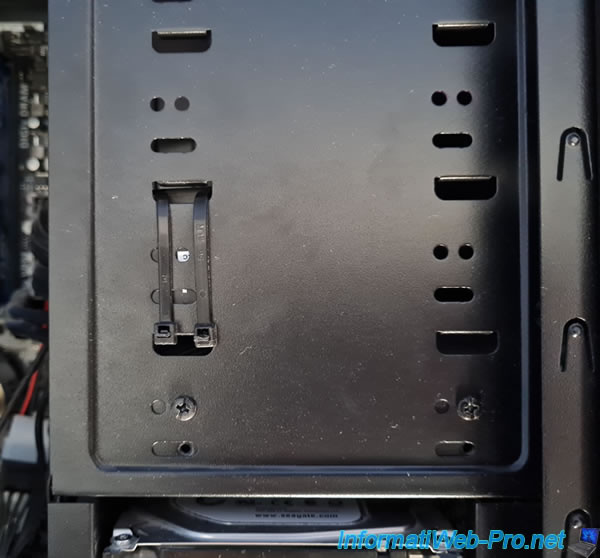
Here is what it looks like from the side in our case.
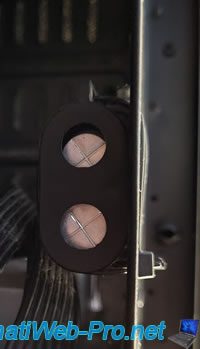
If you look in the official PDF cited earlier, you will also find the installation instructions for mounting the battery above a PCIe port.
Note that this installation manual was not present in the box, in our case.
However, here is the version available online : Installation Instructions — Mounting Plate Method
To attach the battery above a PCIe port, you will need :
- the metal plate
- PCIe bracket adapted to your case (in standard size or in low-profile format)
- 2 metal screws supplied
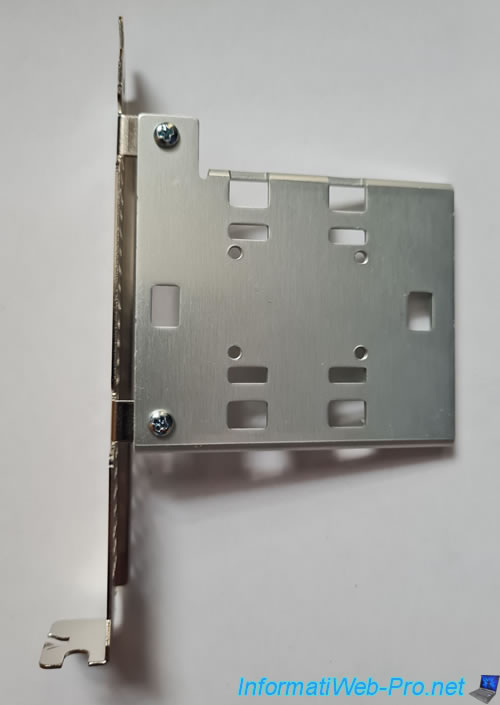
Here is how to properly fix the metal plate to the PCIe bracket.
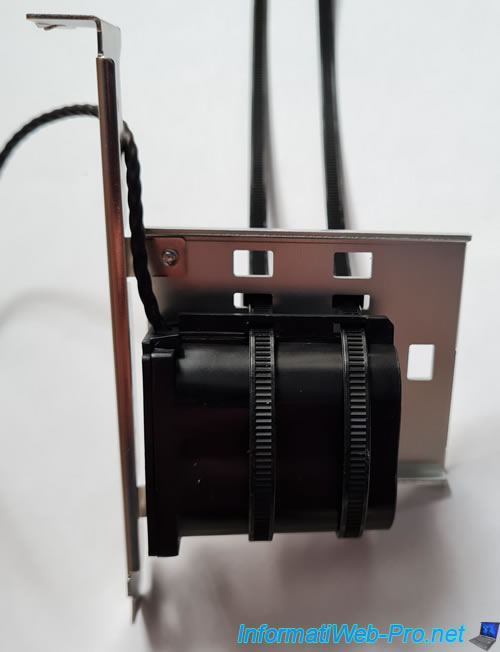
Then, fix the battery to the metal plate by passing the cable ties through the 4 small rectangular holes of the metal plate and going around the battery with each cable tie as in the image below.
Warning : make sure to place the battery so that its power cable comes out towards the top of the PCIe bracket and not down (where the PCIe port will be).
Info: to cut the rest of the cable tie which protrudes once set, you can use a pair of scissors or wire cutters (more practical).
Now, plug your Adaptec RAID Series 6, 6Q, or 6T controller back into your computer and secure the battery above the PCIe port just below using the assembly above (if applicable).

Finally, don't forget to reconnect the Mini SAS cable (SFF-8087) to your Adaptec RAID controller.

Share this tutorial
To see also
-

RAID 11/16/2015
Adaptec maxView Storage Manager v1 - Presentation
-
RAID 3/21/2025
Adaptec RAID 6405 - Adaptec Configuration Utility (ACU)
-
RAID 3/26/2025
Adaptec RAID 6405 - Adaptec maxView configuration tool via BIOS (UEFI mode)
-
RAID 3/28/2025
Adaptec RAID 6405 - Create a RAID volume via BIOS (UEFI mode)

You must be logged in to post a comment