Create multiple logical drives in a RAID array with the Adaptec SmartRAID 3154-8i8e controller
- RAID
- 25 February 2022 at 09:15 UTC
-

- 2/2

3. Manage booting on logical drives created in a RAID array
When you want to install an operating system on a logical drive of your Microsemi Adaptec SmartRAID controller, it's recommended that you make it bootable.
Note that by default, the controller is configured to allow up to 2 bootable logical drives.
To make a logical drive bootable through your Microsemi Adaptec SmartRAID controller, select it from the list of logical drives and press "CTRL + P" to set it as the Primary Boot LD.
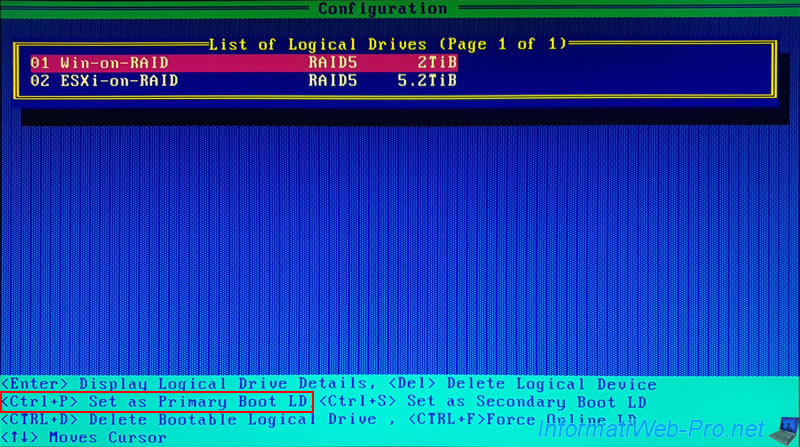
After you press these keys, the "Setting the Logical Drive as Bootable" message will appear briefly.
![]()
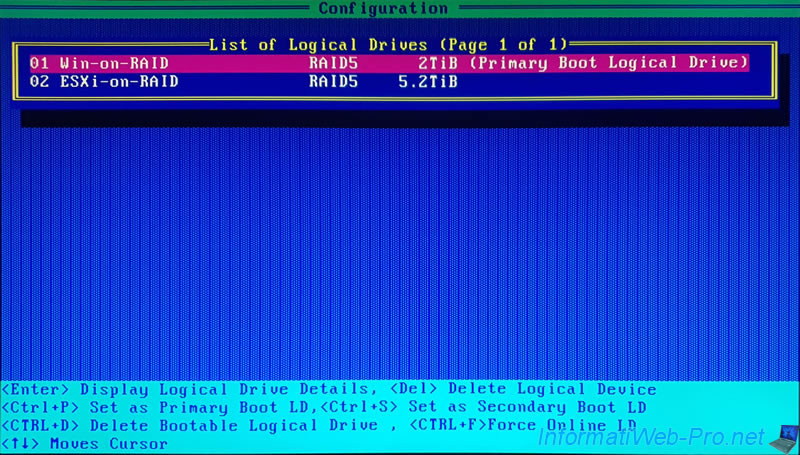
Then, you will see that it will say "Primary Boot Logical Drive" next to your logical drive.
Just for information : know that the option "<CTRL + D> Delete Bootable Logical Drive" only allows you to remove the bootable mention of the selected logical drive.
The logical drive itself will not be deleted.
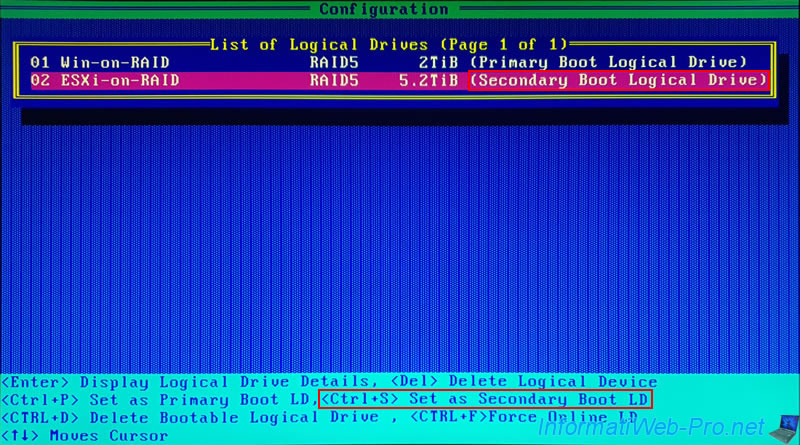
For the 2nd logical drive, if you also want to make it bootable, select it and press the "CTRL + S" keys.
Once you press these "CTRL + S" keys, "Secondary Boot Logical Drive" will appear next to it.
If you configure your computer to boot from the 1st Boot Logical Drive (Primary Boot Logical Drive), your computer will attempt to boot from it.
However, if the boot on this 1st bootable logical drive (Primary Boot ...) fails, your computer will automatically try to boot on the second bootable logical drive (Secondary Boot Logical Drive).
Exit the configuration tool of your Microsemi Adaptec SmartRAID controller by pressing "Esc" several times and your computer / server will restart.
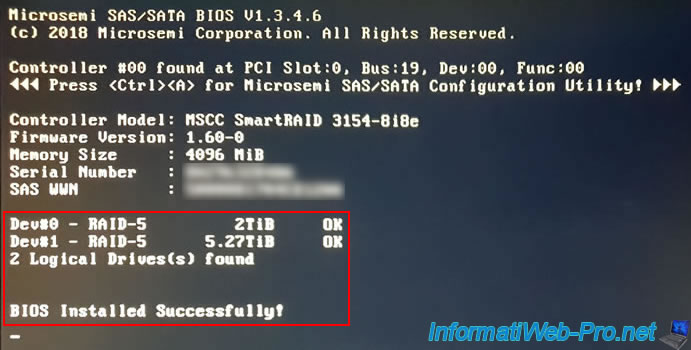
At startup, you will see your new logical drives appear :
Plain Text
Dev#0 - RAID-5     2 TiB        OK
Dev#1 - RAID-5     5.27 TiB     OK
2 Logical Drive(s) found
4. Boot on a logical drive of your Microsemi Adaptec SmartRAID controller
While there is an option in your Microsemi Adaptec SmartRAID controller configuration tool to manage boot priority on your logical drives, the choice of which logical drive to boot to must be configured in your motherboard BIOS.
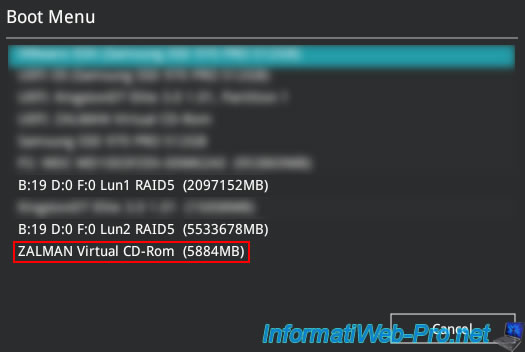
If you can access your motherboard's boot menu directly without going through the BIOS, you should see your CD/DVD drive, as well as your logical drives :
- B:19 D:0 F:0 Lun1 RAID5 (2097152MB)
- B:19 D:0 F:0 Lun2 RAID5 (5533678MB)
To install an operating system on one of your logical drives, select your CD/DVD drive.
In our case, we installed our virtual CD/DVD drive "Zalman ZM-VE300" which appears in the BIOS under the name "ZALMAN Virtual CD-Rom".
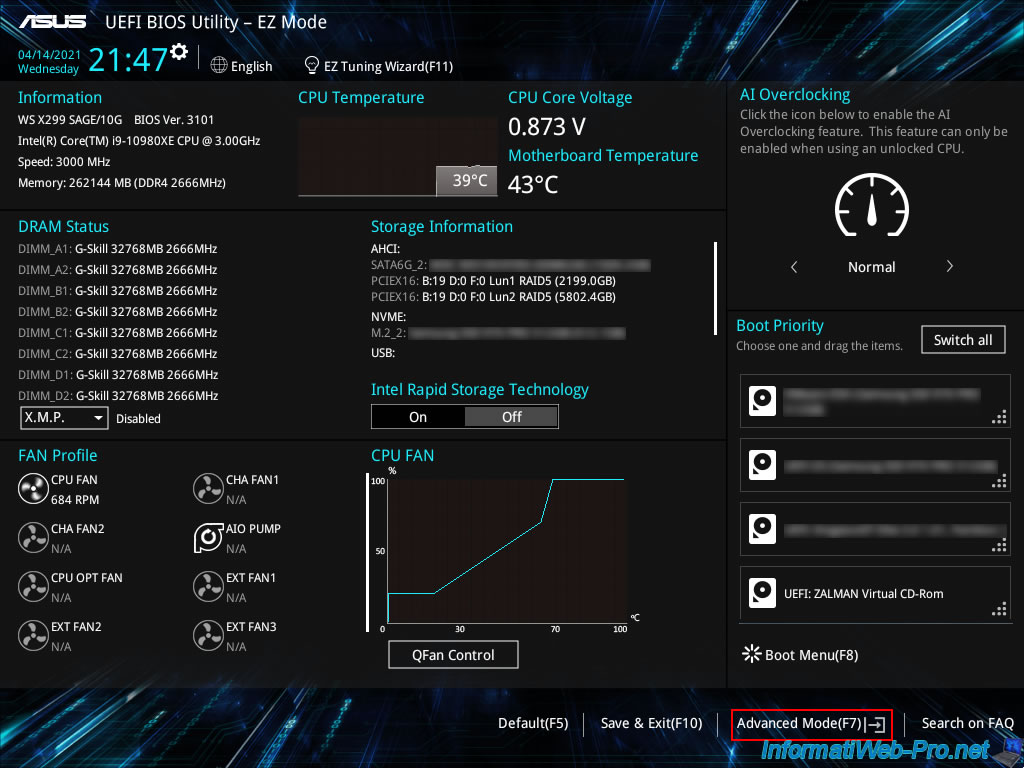
In the case of our Asus WS X299 SAGE/10G motherboard, we can directly see our RAID logical drives that appear for the "PCIEX16" port (PCI Express x16 port).
Note that here the size of these is displayed in GB instead of MB.
So, the size differs between the boot menu and the BIOS home screen.
To configure the boot order of your computer permanently, go the the advanced mode.
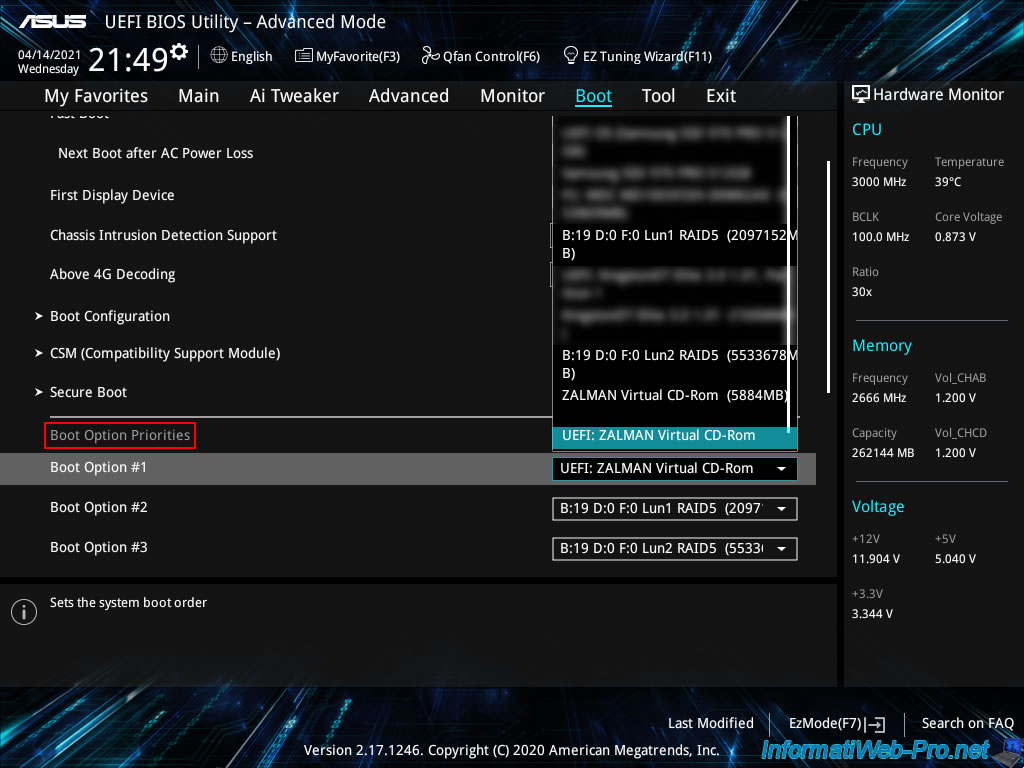
In the case of this Asus BIOS, you must go to the "Boot" tab and locate the "Boot Option Priorities" section.
In this section, select :
- Boot Option #1 : your CD/DVD drive
- Boot Option #2 : the Primary Boot Logical Drive
- Boot Option #3 : the Secondary Boot Logical Drive
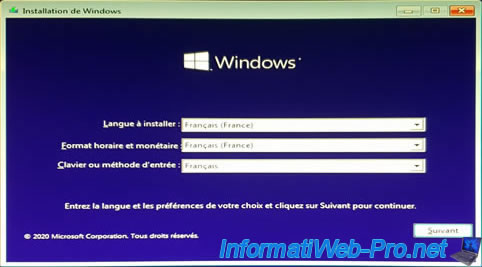
5. Install Windows 10 on your 1st RAID logical drive
For the example, we are going to install Windows 10 on our 1st logical drive.
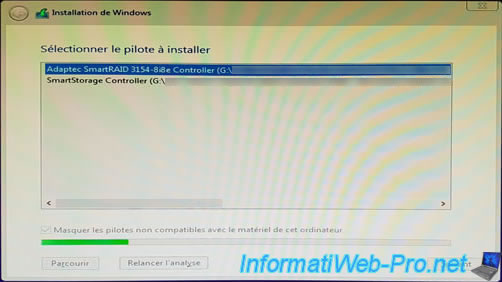
Whether you see your RAID logical drives listed or not, you should always click "Load driver".
Click "Browse" and select the folder where the driver for your Microsemi Adaptec SmartRAID controller downloaded from the Microsemi official website is located.
Then, select the "Adaptec SmartRAID xxxxx Controller" driver from the list and click "Next".
Note that the detailed procedure can be found in our tutorial : Adaptec SmartRAID 3154-8i8e - Install Windows on a RAID volume.
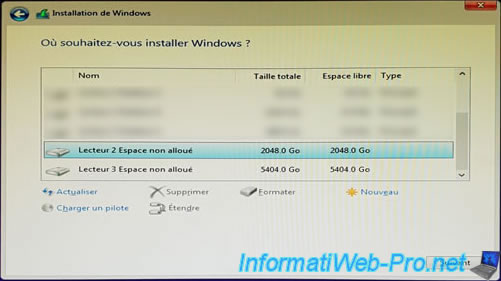
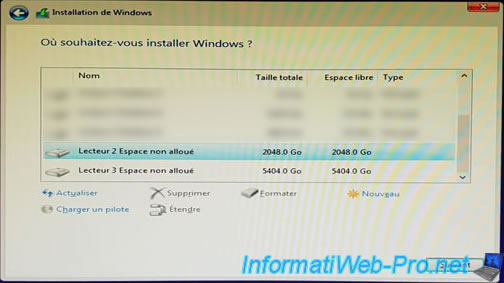
After the Microsemi Adaptec SmartRAID driver is installed, the installation wizard will detect your logical drives.
However, as you can see, the name given in your Microsemi Adaptec SmartRAID controller configuration tool will never appear outside of it.
The best technique, therefore, is to create logical drives with different sizes to make them easier to locate.
In our case, we therefore know that drive 2 detected by the Windows 10 installation wizard corresponds to our 1st "Win-on-RAID" logical drive of 2 TiB (= 2048 GB).
6. RAID logical drives detected by Windows 10
Once Windows 10 is installed, you will see your C partition appear.
In our case, we didn't partition this disk to simplify the tutorial since that is not the subject.
To view the disks detected by Windows, right click "Manage" on "This PC" (or "Computer").
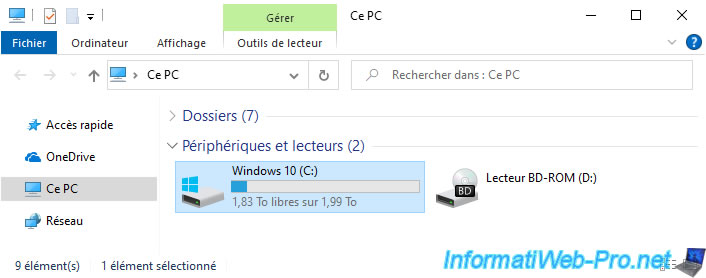
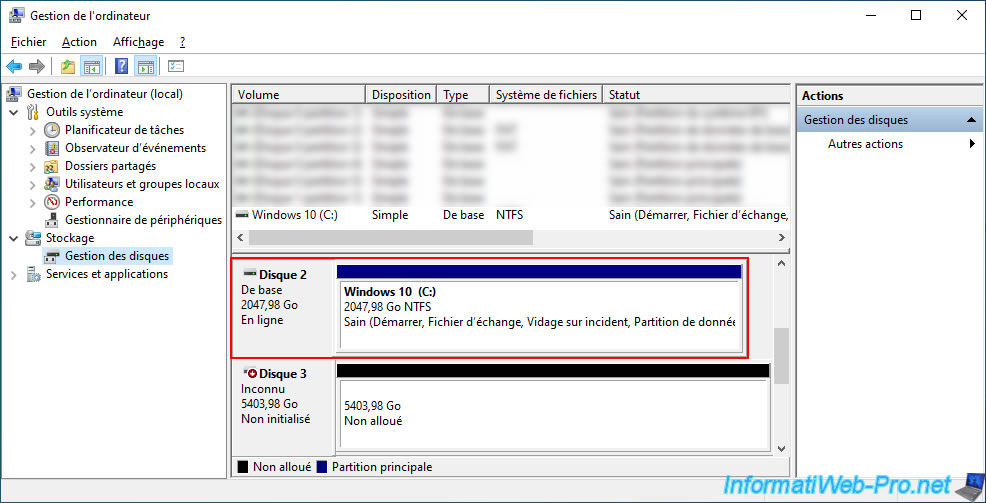
Go to "Disk Management" and you will see that Windows correctly detects your 2 logical RAID disks :
- the 2 TiB disk (2047.98 GB in this case) where we just installed Windows 10
- the 5.2 TiB disk (5403.98 GB in this case) which has not yet been initialized and which is therefore empty for the moment
7. RAID logical drives displayed in the web interface : maxView Storage
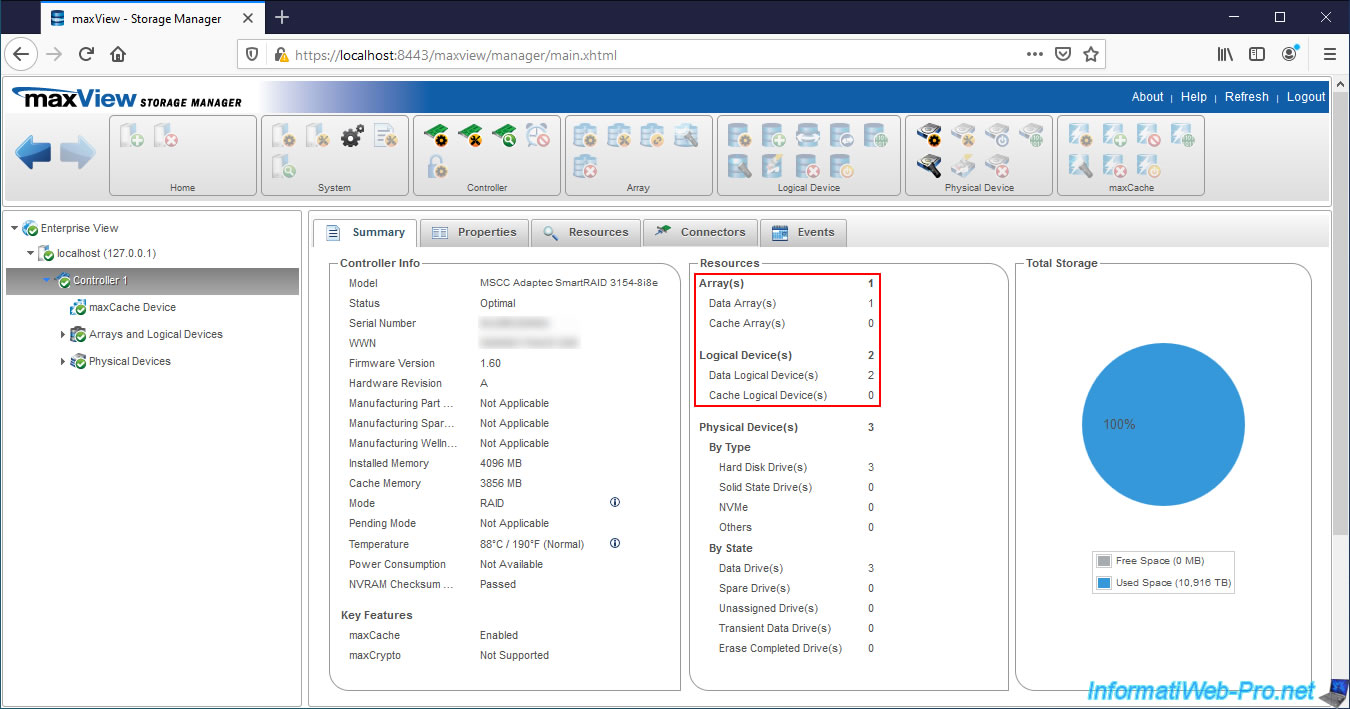
If you install maxView Storage Manager on your computer / server, you will be able to see that your controller has :
- 1 array
- 2 logical drives (Logical Devices)
If you select "Arrays and Logical Devices", you will see that you have an "A" array with 2 logical drives (Logical Device Count : 2).
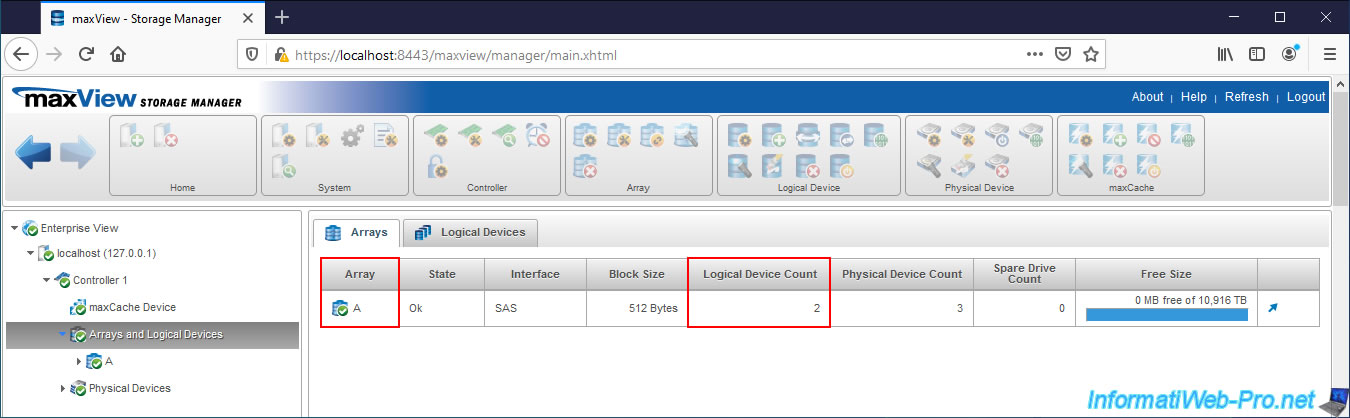
If you go to the "Logical Devices" tab of this "Arrays and Logical Devices" node, you will find your logical drives and you will see that they are part of the same "A" array.

8. Install VMware ESXi on your 2nd RAID logical drive
For this tutorial, we will be installing VMware ESXi on our second logical drive.
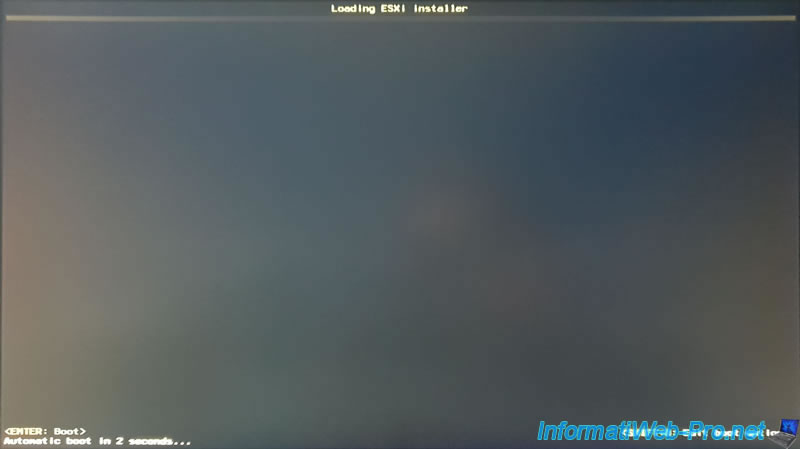
We insert the VMware ESXi installation CD into the CD/DVD drive and restart our computer.
The VMware ESXi installer appears.
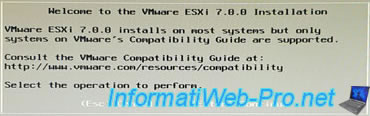
On recent versions of VMware ESXi (in this case : 7.0b), the driver is already included in the VMware ESXi installation CD.
It's therefore not necessary to add it manually.
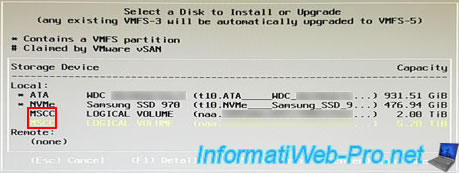
To locate your logical RAID disks, all you have to do is locate the "MSCC" mention (which corresponds to the manufacturer of your "Microsemi" controller).
Note that here, VMware ESXi displays the identifiers (Volume Unique Identifier) of your logical drives (although we have blurred them in our photo). You can therefore use them if you wish to locate your logical drives.
However, using different sizes for your logical drives is fine.
In this case, we therefore select our MSCC logical drive of 5.20 TiB.
We wait while installing VMware ESXi on this RAID logical drive.
![]()
Once the installation is complete, we need to remove the VMware ESXi installation CD as the installation wizard prompts us and restart our computer.
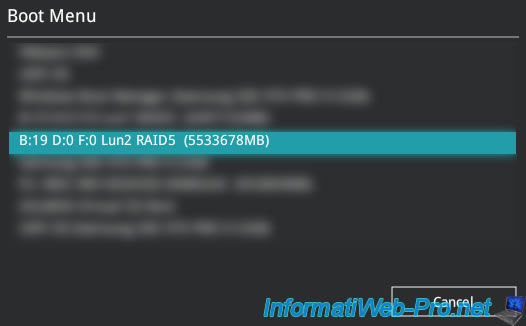
On restart, we access the boot menu of our Asus motherboard (by pressing the "F8" key in our case) to be able to boot on our second logical RAID drive (B:19 D:0 F:0 Lun2 RAID5 (5533678MB)).
Indeed, otherwise, our computer would have restarted on Windows 10 (which is installed on the 1st logical RAID disk). Note that the CD/DVD drive is empty this time.
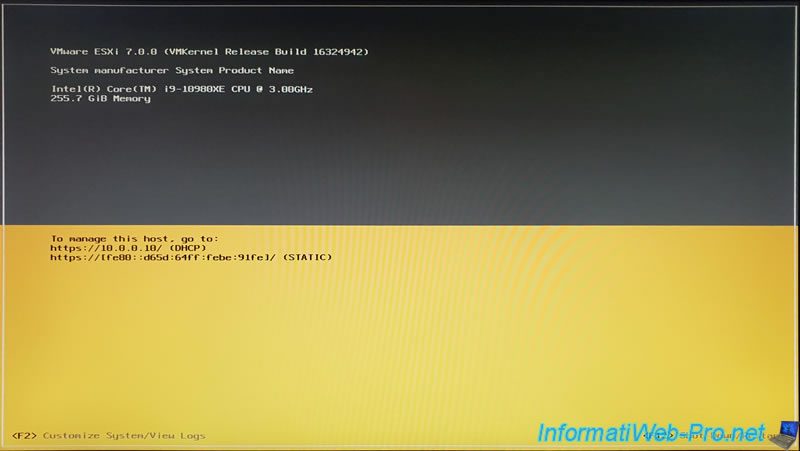
Our computer boots as expected on our second logical RAID drive where we just installed VMware ESXi.
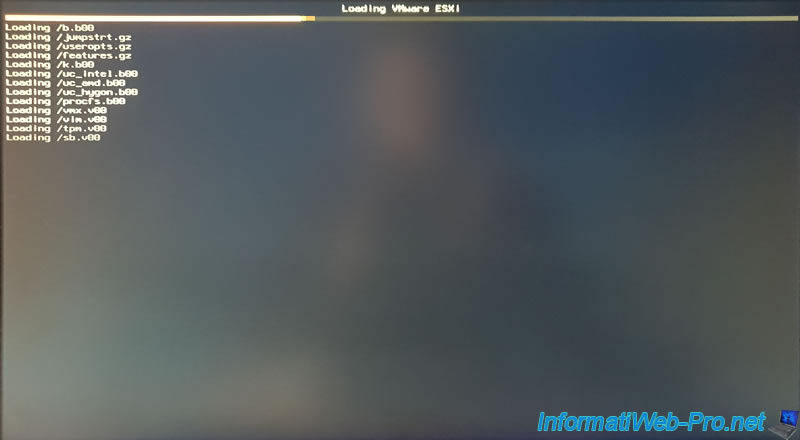
VMware ESXi is running.
9. Storage visible to VMware ESXi
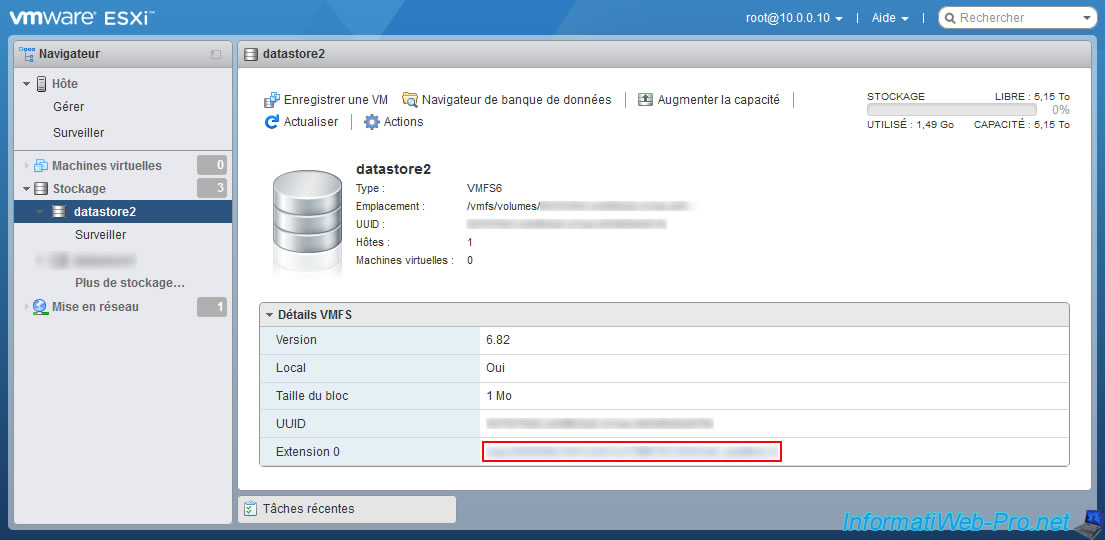
From another computer of our local network, we access the web interface allowing us to manage our "VMware ESXi" hypervisor and we go to storage.
In the displayed list, we locate the datastore corresponding to our 2nd logical RAID disk of 5.2 TiB (displayed here with a size of 5.15 TB).
We click on the identifier (blurred on the image) located in the line "Extension 0".
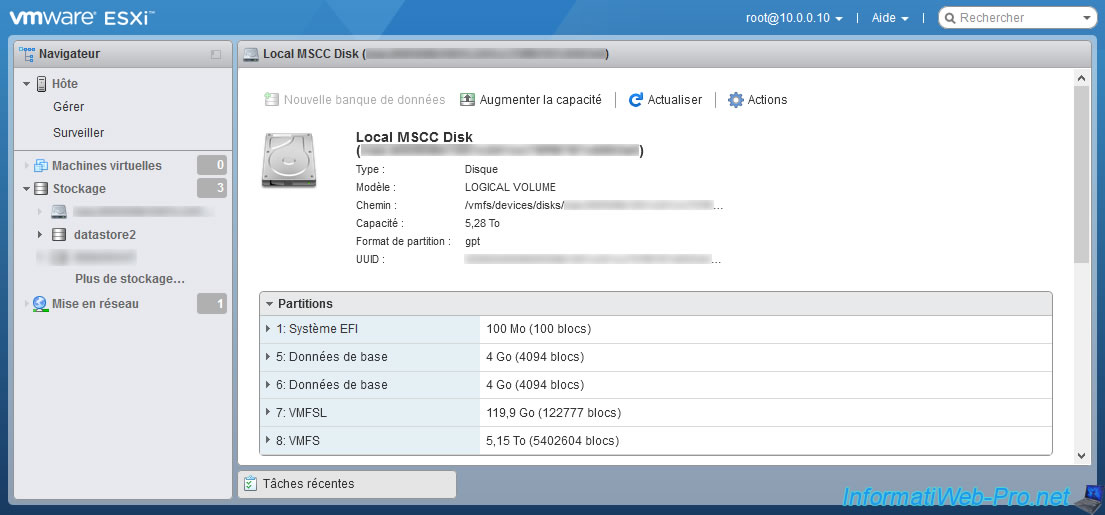
And as expected, we see that this datastore2 corresponds to our 5.28TB Local MSCC Disk (RAID) logical drive.
Share this tutorial
To see also
-

RAID 4/20/2022
Adaptec maxView Storage Manager v3 - Create a RAID volume
-

RAID 4/8/2022
Adaptec maxView Storage Manager v3 - Download and boot on USB version
-

RAID 4/13/2022
Adaptec maxView Storage Manager v3 - Installation on Linux
-

RAID 4/15/2022
Adaptec maxView Storage Manager v3 - Manage an Adaptec SmartRAID controller on VMware ESXi 6.7
No comment