Create a RAID volume via the BIOS of an Asus ROG motherboard in UEFI mode on an Adaptec RAID 6405 controller
- RAID
- 28 March 2025 at 12:52 UTC
-

- 2/3

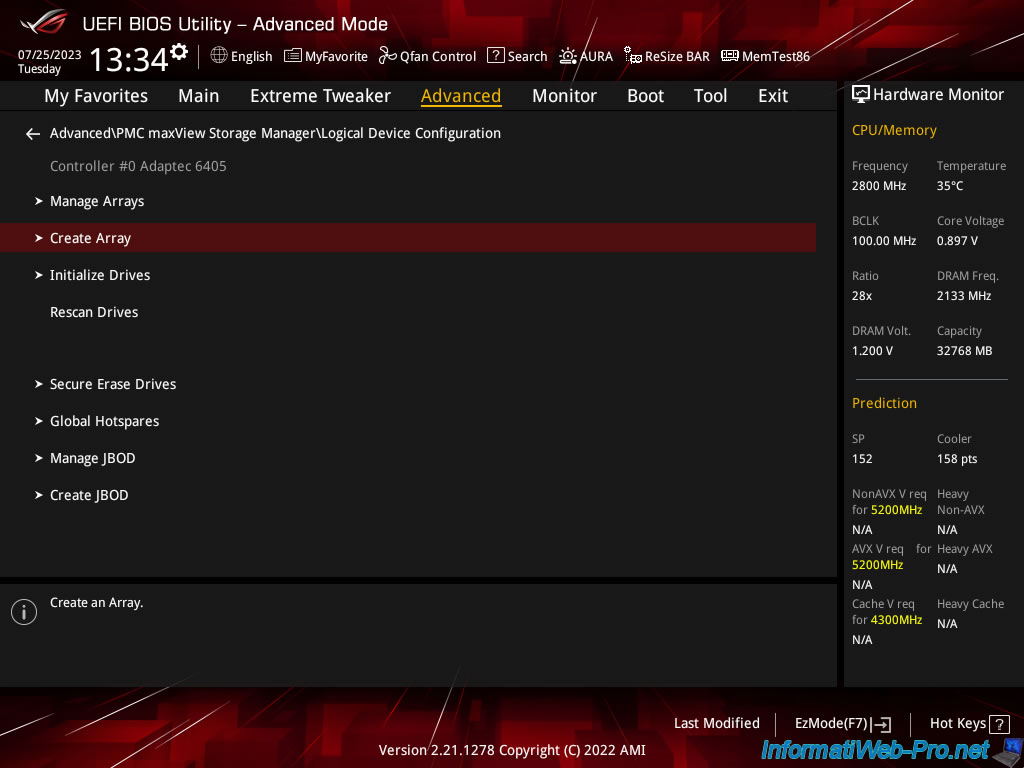
1.3. Create a RAID array
Now that the desired disks are initialized, click "Create Array" to create your future RAID array.
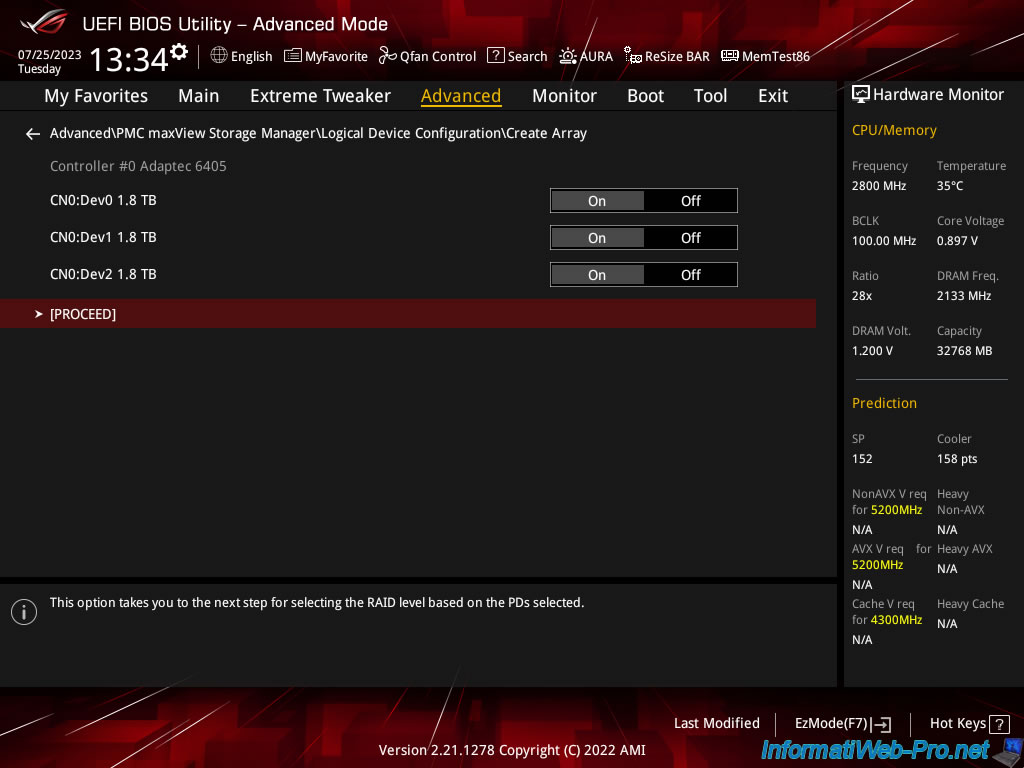
Select "On" for the disks you want to use for your new RAID array, then click "[PROCEED]."
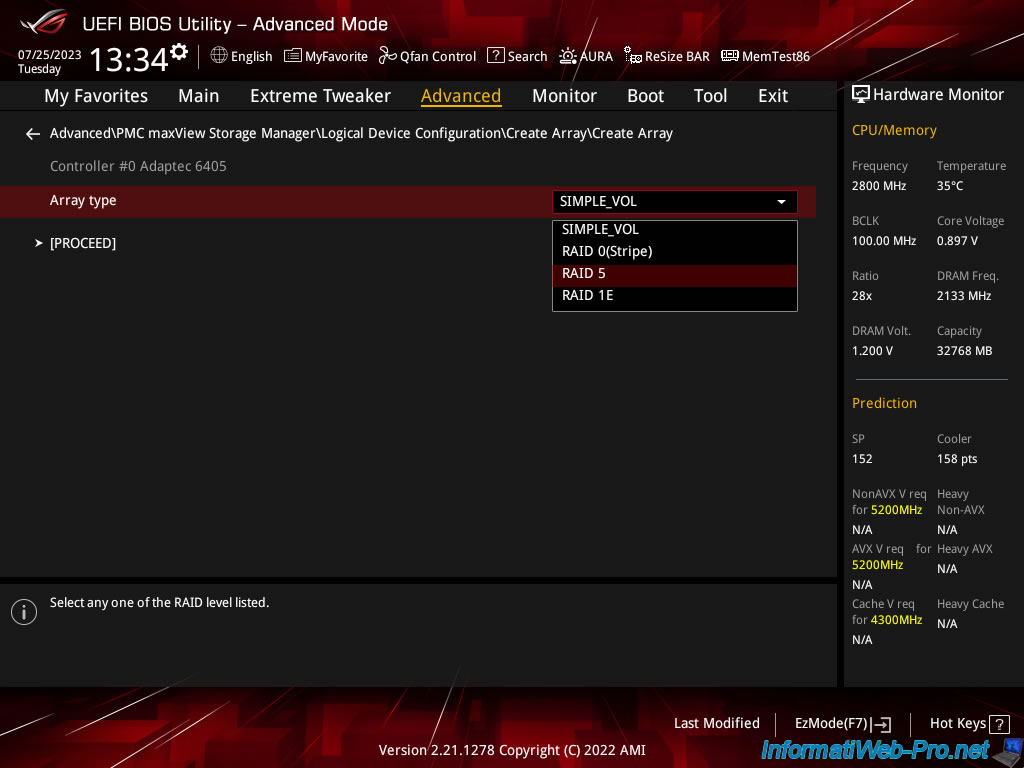
Select the Array type you want to create.
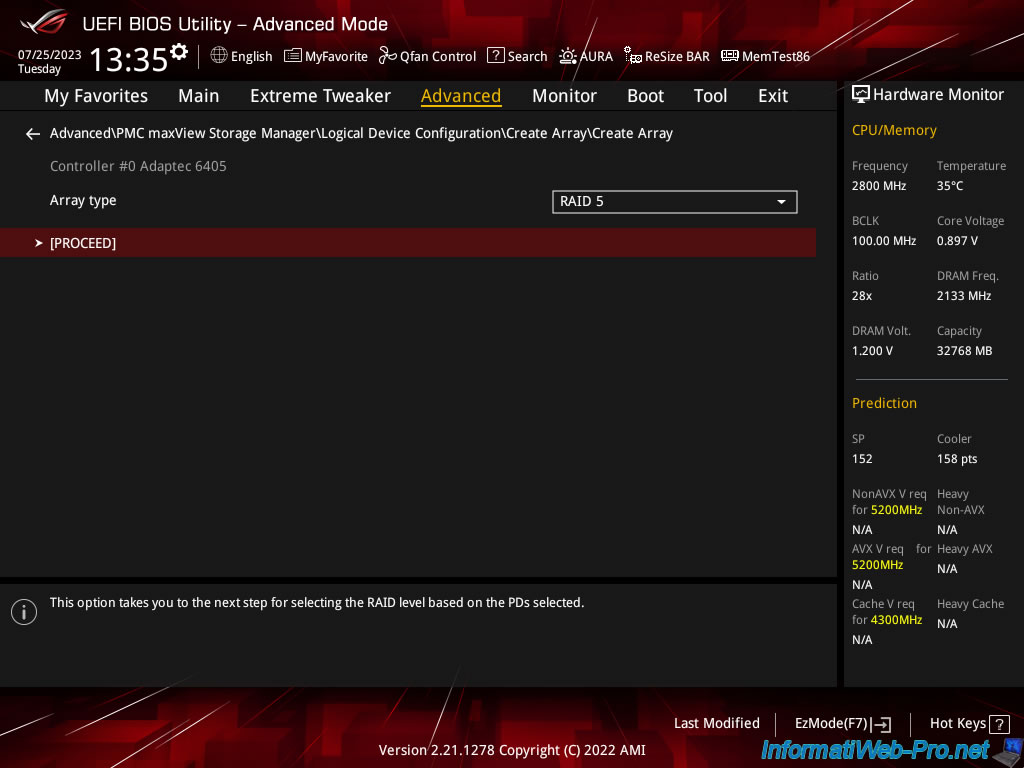
In our case, we create a RAID 5 to combine performance and security.
In the case of RAID 5:
- half of each data is written on the 1st disk.
- the other half of each data is written to the 2nd disk.
- a parity code is written on the 3rd disk.
Which means that if a drive fails, no data is lost.
Then just change it and let the RAID controller recalculate the missing disk.
To learn more about the different RAID levels, refer to step "2.4. Supported RAID" of our article "Adaptec RAID 6405 - Unboxing, presentation and advices".
Then, click "[PROCEED]".
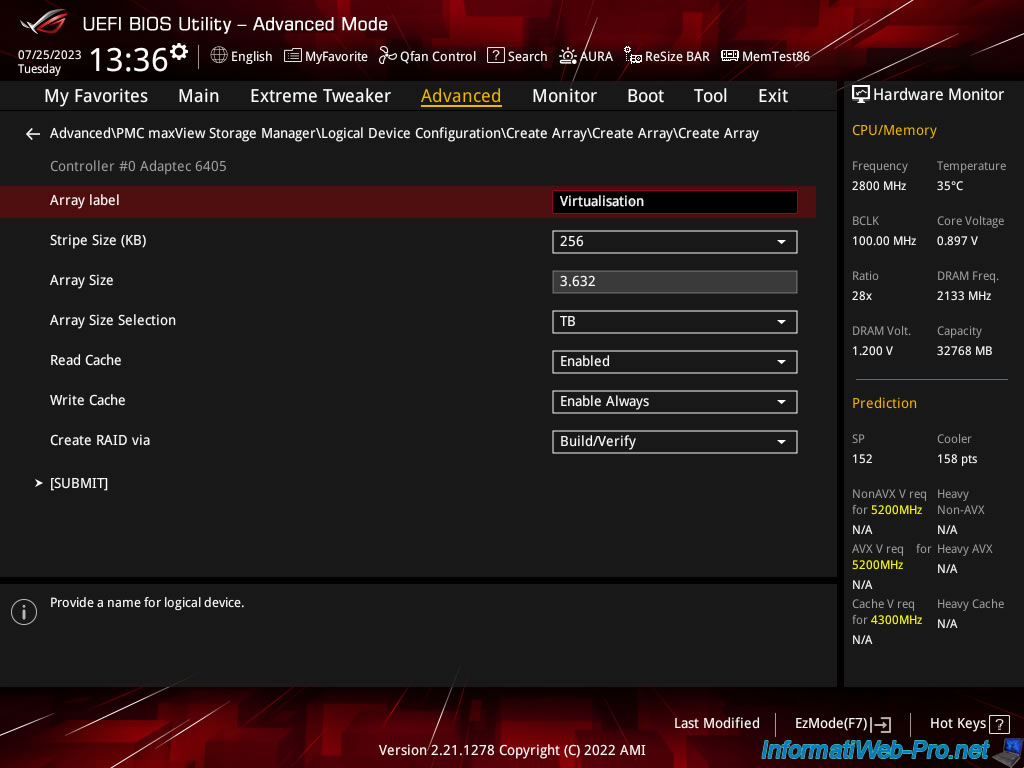
To create a RAID array, you will need to configure several settings:
- Array label: name under which the RAID array will appear in the configuration of your Adaptec RAID controller.
- Stripe Size (KB): stripe size to use. Leave the default value.
- Array Size: indicates the size of disk space that will be usable on this array. The space reserved for the parity of your RAID array is therefore not counted.
In the case of a RAID 5 with 3 disks, you lose the size of a disk for parity (which will be used in the event of a disk failure). - Array Size Selection: allows you to select the unit used for the size of the array.
- Read Cache: Allows you to enable or disable the use of your RAID controller's read cache to improve the performance of your RAID array.
In our case, the Adaptec RAID 6405 controller has a 512 MB cache. - Write Cache: allows you to activate or not the write cache.
Important: To avoid data loss due to the use of write cache, you should enable it only if you have a battery (ZMM) connected to your Adaptec RAID controller.
In our case, we have an Adaptec Flash Module 600 (AFM-600/ZMM) battery that is plugged into our Adaptec RAID 6405 controller.- Enable Always: always enable write caching on the Adaptec RAID controller to improve the performance of your RAID array.
Useful if your computer is protected with UPS. - Enable with ZMM: enable write cache only if a battery (ZMM) is plugged into your Adaptec RAID controller.
Recommended to improve performance by avoiding data loss. - Disable: disable write cache.
Recommended to avoid data loss if you have no battery (ZMM).
- Enable Always: always enable write caching on the Adaptec RAID controller to improve the performance of your RAID array.
- Create RAID via: choose "Build\Verify" to create the RAID array and verify it.
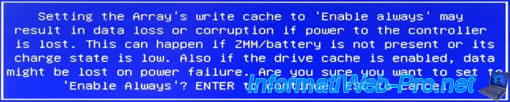
Warning : when you select "Write Cache: Enable always", a message will appear telling you that data loss may occur.
This can happen if a battery (ZMM) is not present or if it is not charged enough.
Plain Text
Setting the Array's write cache to 'Enable always' may result in data loss or corruption if power to the controller is lost. This can happen if ZMM/battery is not present or its charge state is low. Also if the drive cache is enabled, data might be lost on power failure.
Press Enter.
Click "[SUBMIT]".
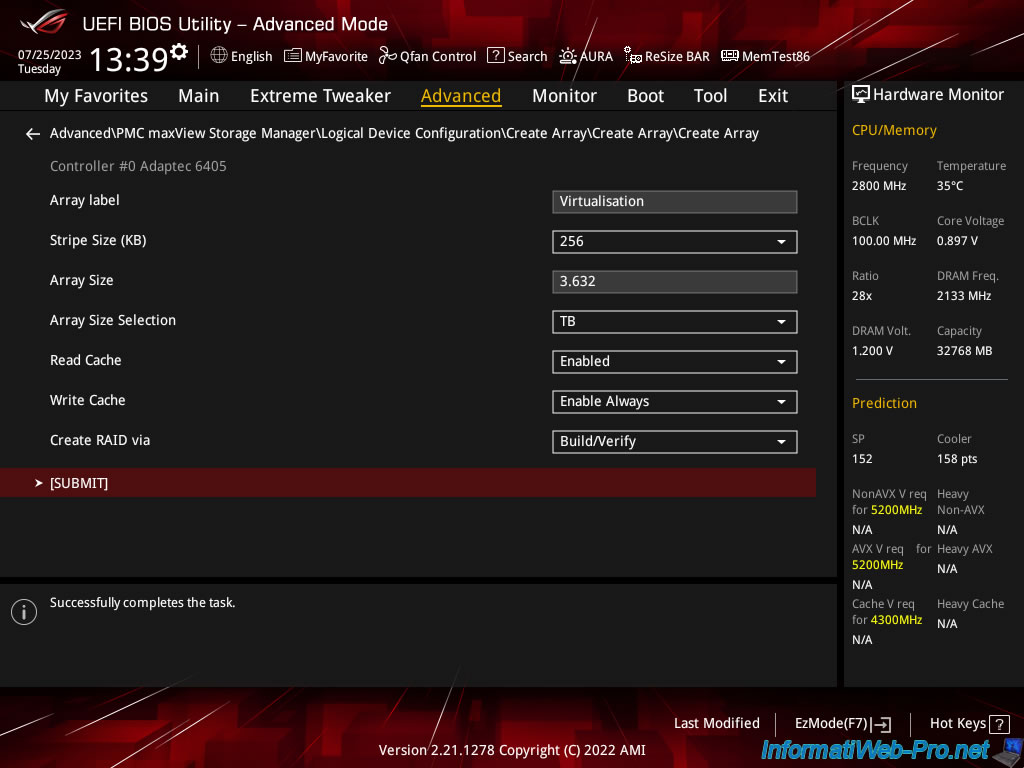
The "Creating Array" message appears for a few seconds.
![]()
1.4. View information about your RAID array
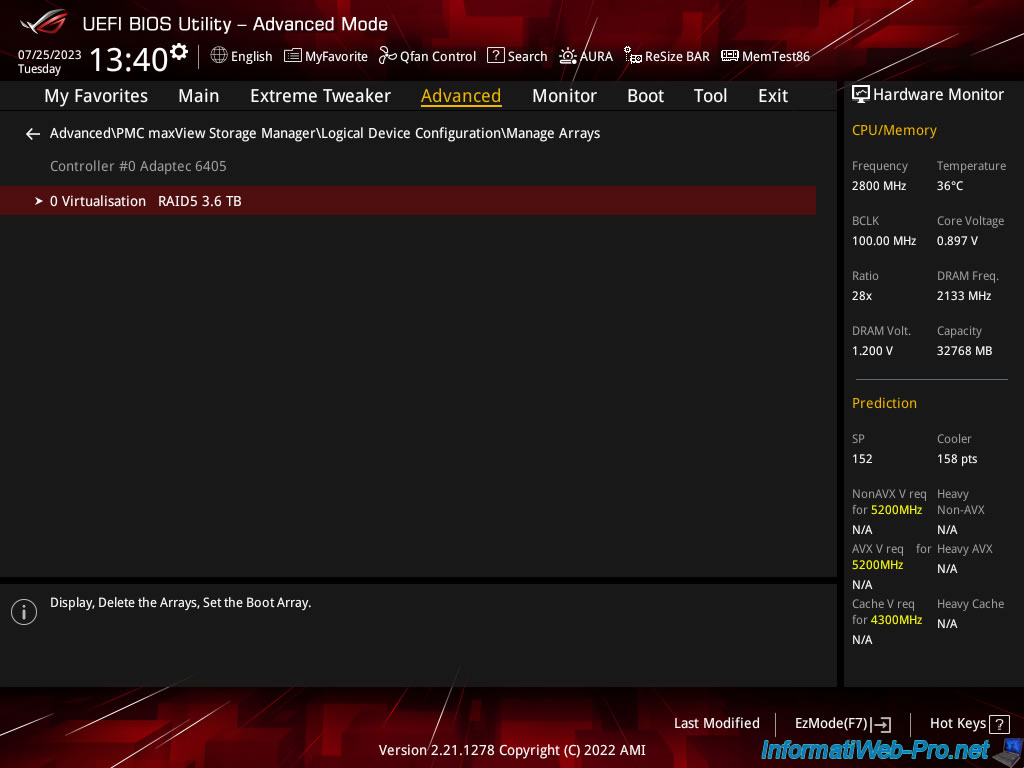
Once the creation of the RAID array has started, you can find it in the "Manage Arrays" menu.
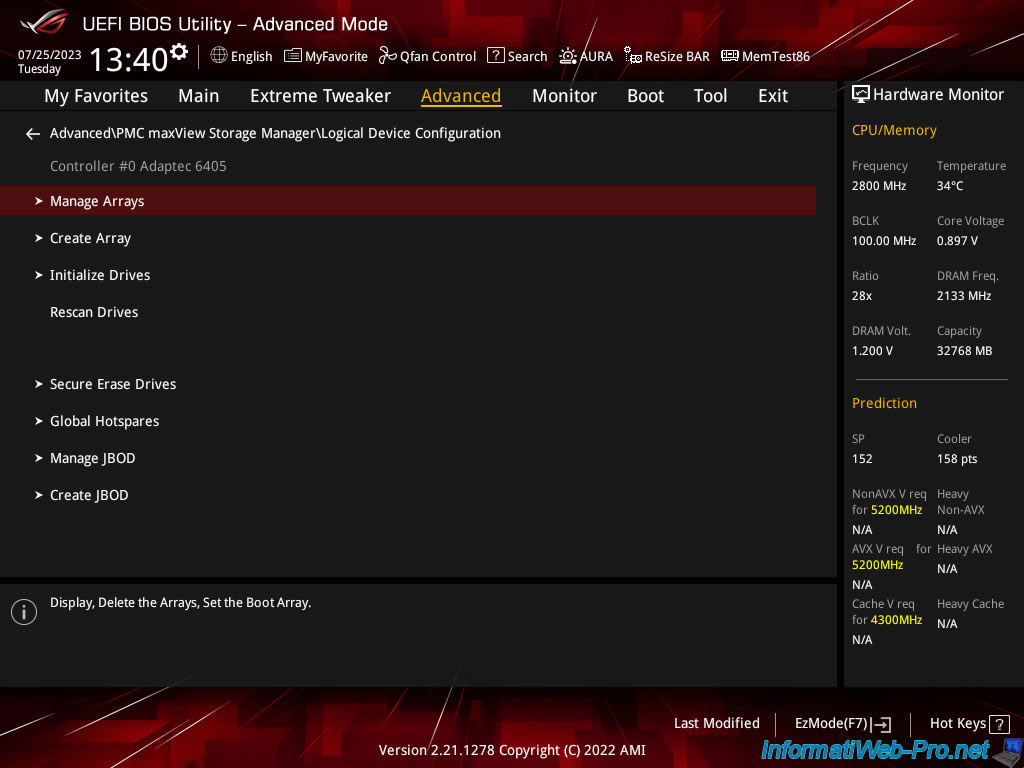
As expected, our RAID array appears: 0 Virtualization RAID5 3.6 TB.
Click on it.
Click: Array Properties.
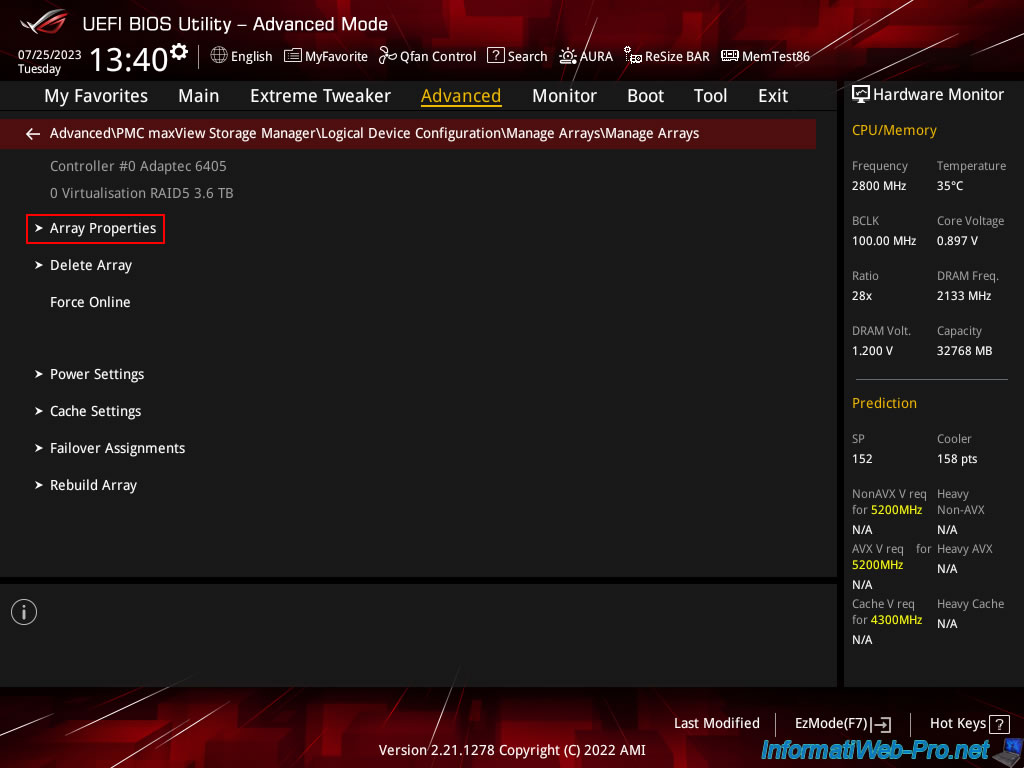
To see the progress of creating your RAID array, click: Show Progress.
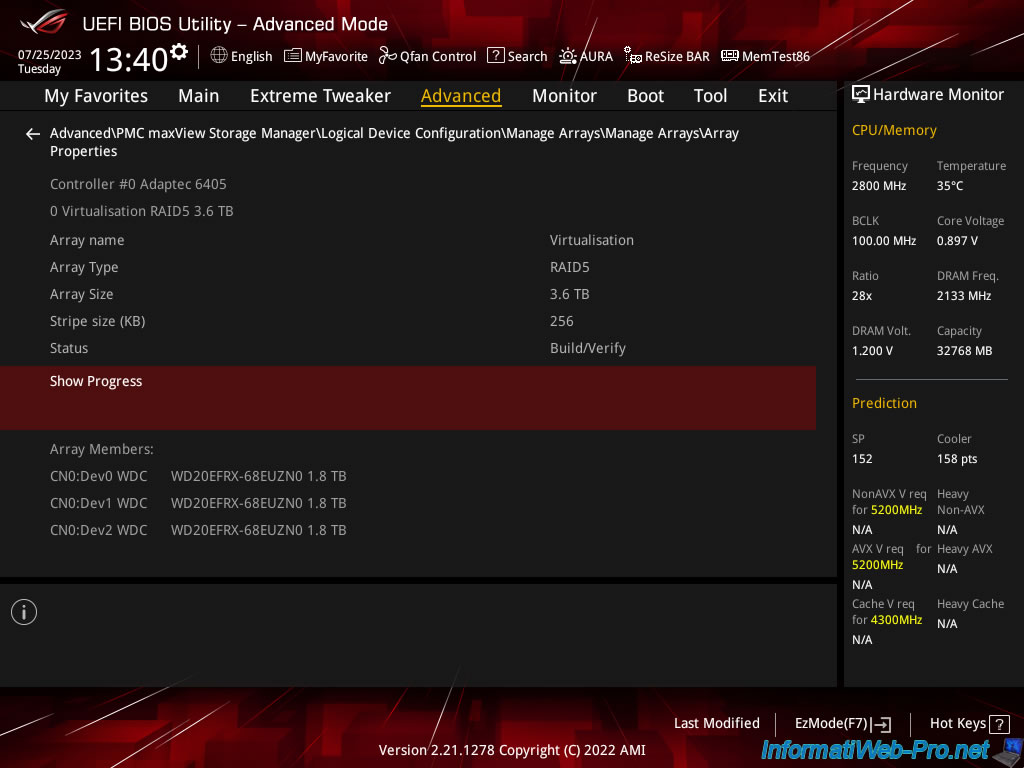
The current creation/verification status of your RAID array appears.
Important : this process takes a long time, leaving your computer running for 12 hours a day (i.e. during the day), it can take up to 5 days (in our case).
Plain Text
Build/Verify : 0% complete.
![]()
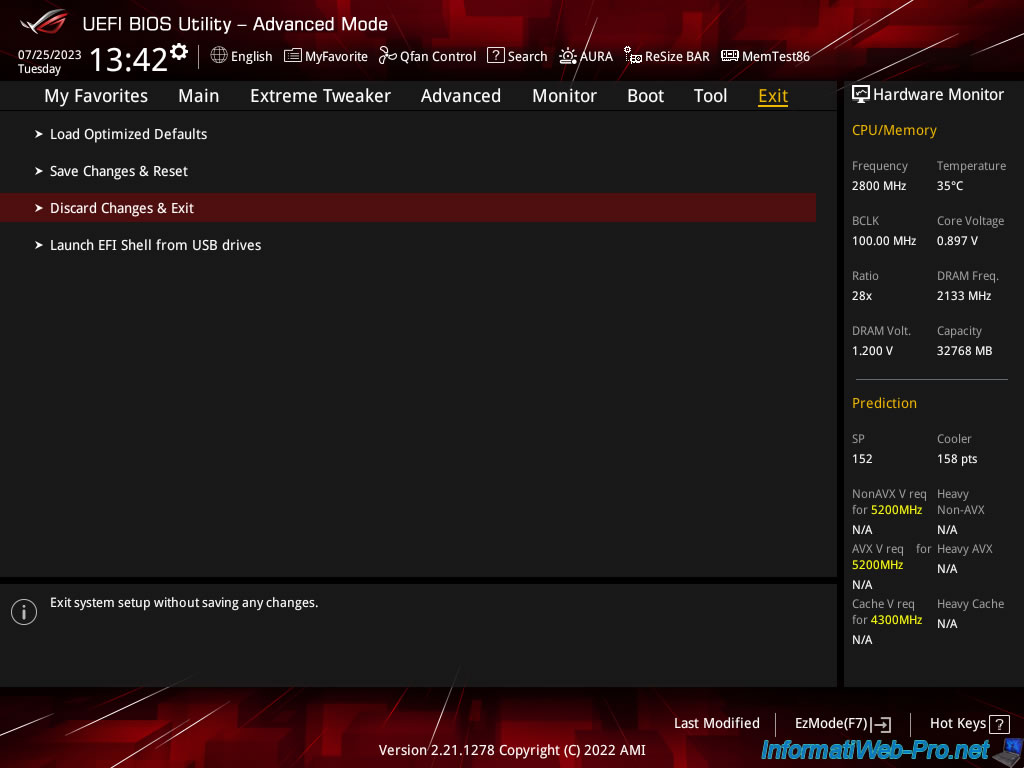
Now that your RAID array is configured and being created on your Adaptec RAID controller, exit your motherboard BIOS WITHOUT saving the changes.
Indeed, the configuration was modified directly in the BIOS of your Adaptec RAID controller.
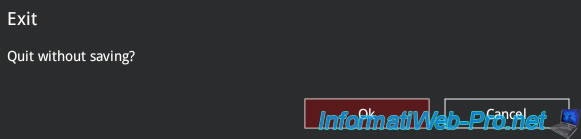
To do this, go to the "Exit" tab and click on: Discard Changes & Exit.
Click Ok.
Share this tutorial
To see also
-
RAID 11/16/2015
Adaptec maxView Storage Manager v1 - Presentation
-
RAID 3/21/2025
Adaptec RAID 6405 - Adaptec Configuration Utility (ACU)
-
RAID 3/26/2025
Adaptec RAID 6405 - Adaptec maxView configuration tool via BIOS (UEFI mode)
-
RAID 1/14/2022
Adaptec RAID 6405 - Add Adaptec AFM-600 (ZMM) battery
No comment