Create a gaming virtual machine (with an eGPU) on Unraid 6.9.2
- NAS
- Unraid
- 01 October 2026 at 10:13 UTC
-

- 3/5

7. Create a gaming virtual machine on Unraid
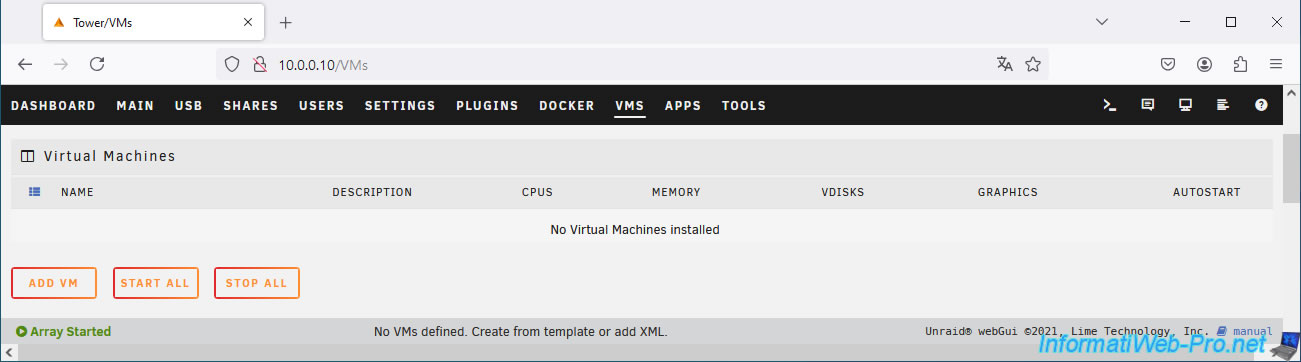
To create your gaming virtual machine in Unraid, go to the "VMs" tab and click the "Add VM" button.
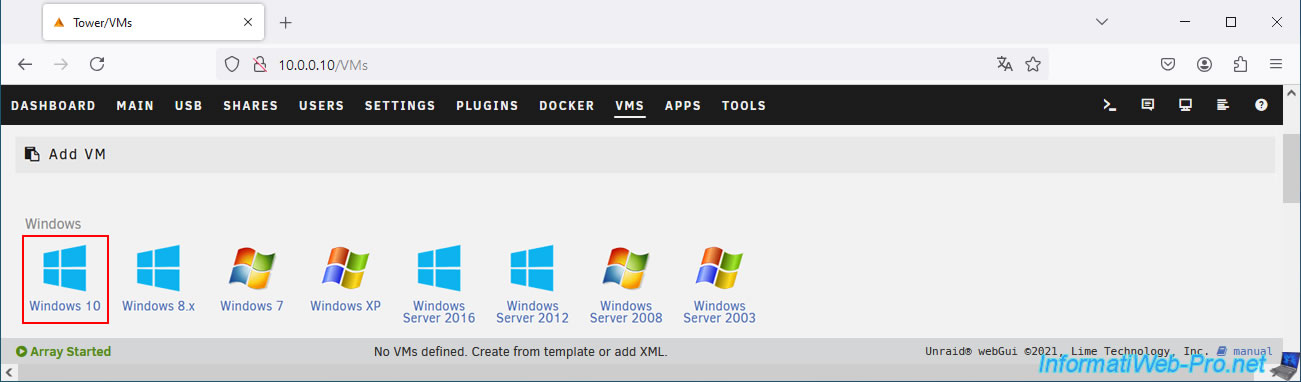
Select the VM template for Windows 10.
The goal is to be able to install recent games and support the RTX 3050 graphics card we have in our eGPU.
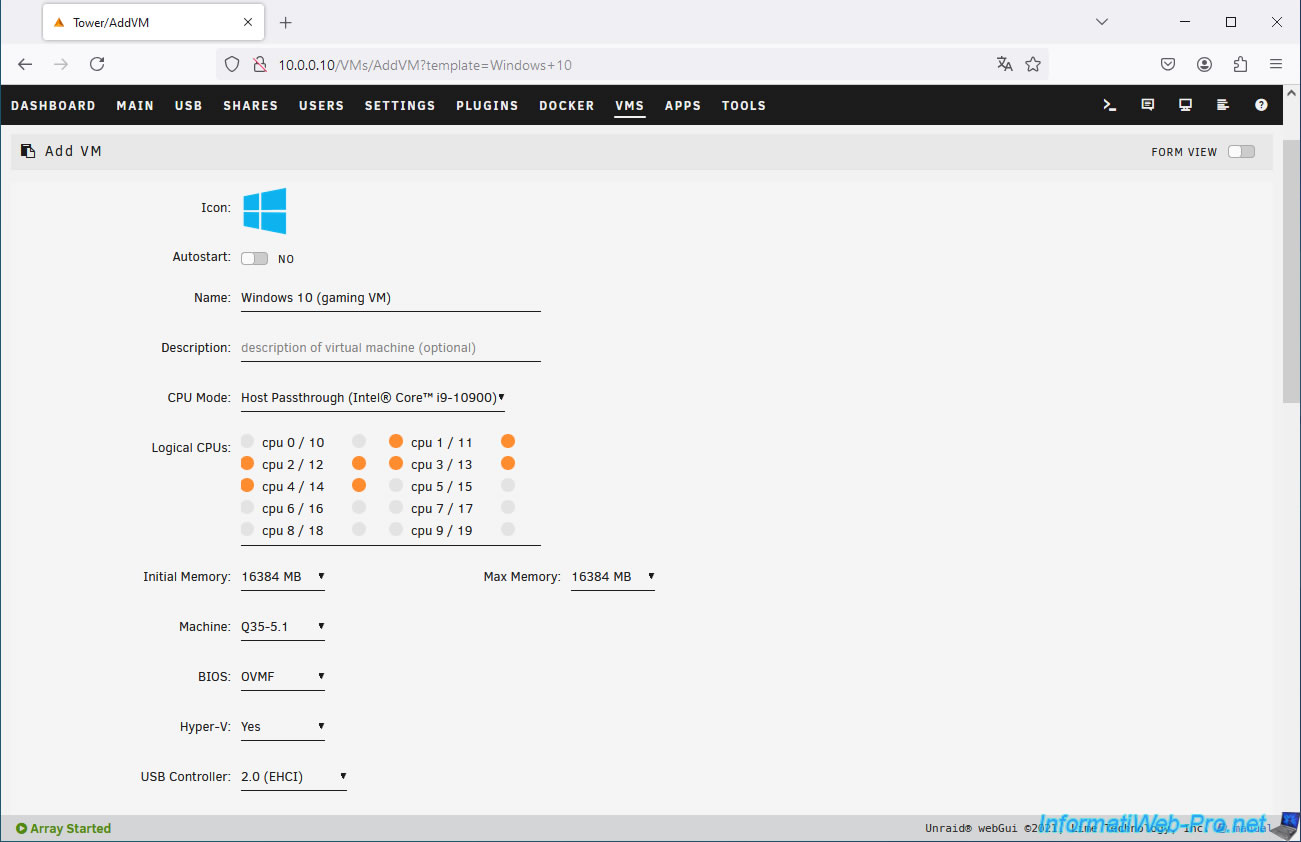
To configure your gaming VM, configure the settings as shown in the images below.
For details, refer to step "6. Create a gaming virtual machine in Unraid" in our tutorial for creating a gaming VM on Unraid.
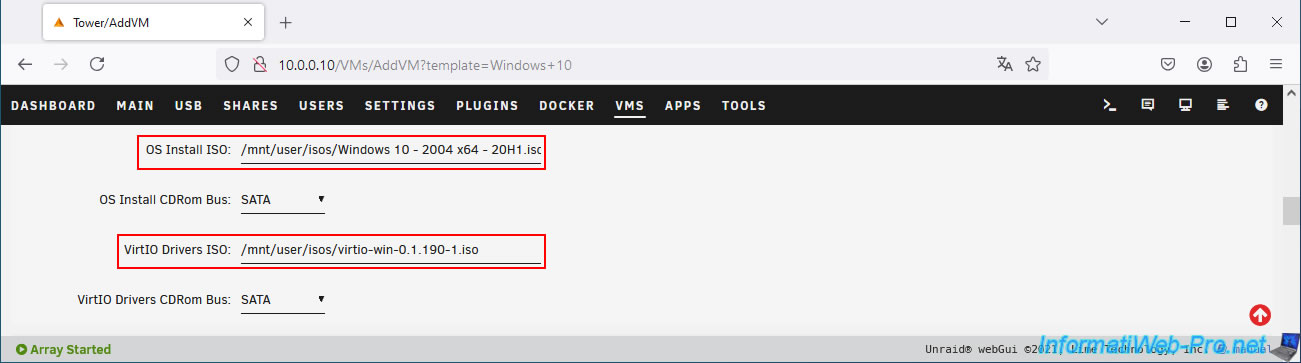
Select the Windows 10 ISO (previously stored in the "isos" share of your Unraid server).
For the VirtIO driver ISO, it should already be selected (if you downloaded it previously via the "Settings -> VM Manager" section).
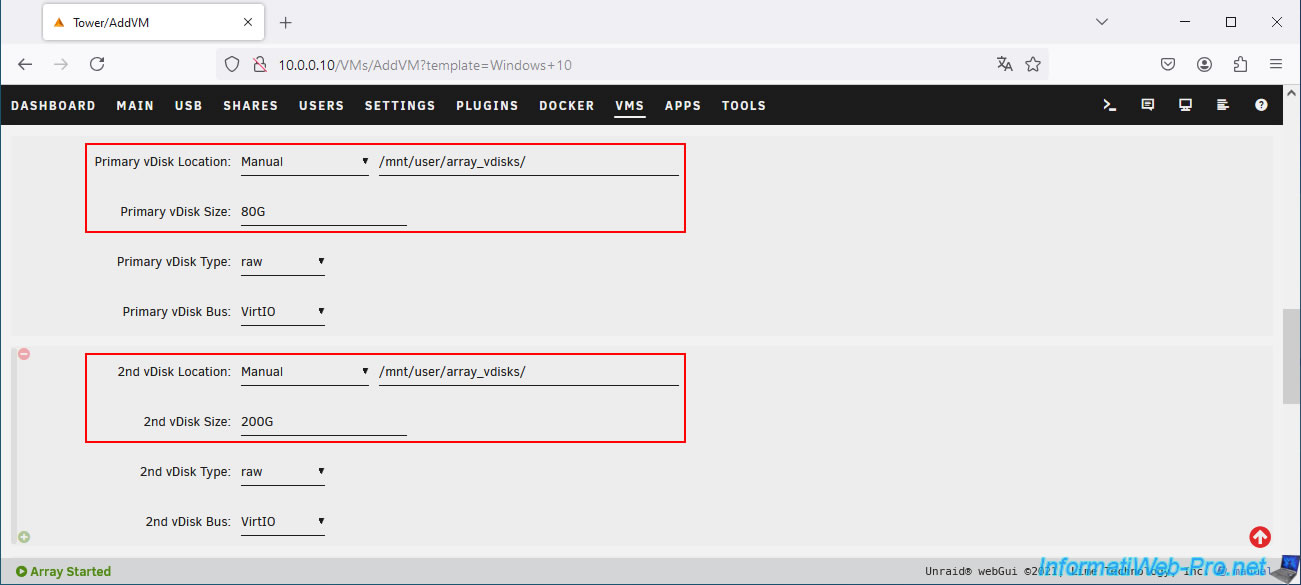
For the 1st virtual hard drive of your virtual gaming machine:
- specify a size of 80 GB (enough to install Windows 10).
- store it in your "ssd_vdisks" share (preferably) or "array_vdisks" (if you don't have an SSD on your Unraid server and therefore only created that one).
For the 2nd virtual hard disk of your gaming virtual machine (to be added using the small "+" icon located at the bottom left of the 1st vDisk):
- specify a size of 200 GB (enough to install the desired game in our case).
- store it in your "array_vdisks" share (which corresponds to your hard drive array on Unraid).
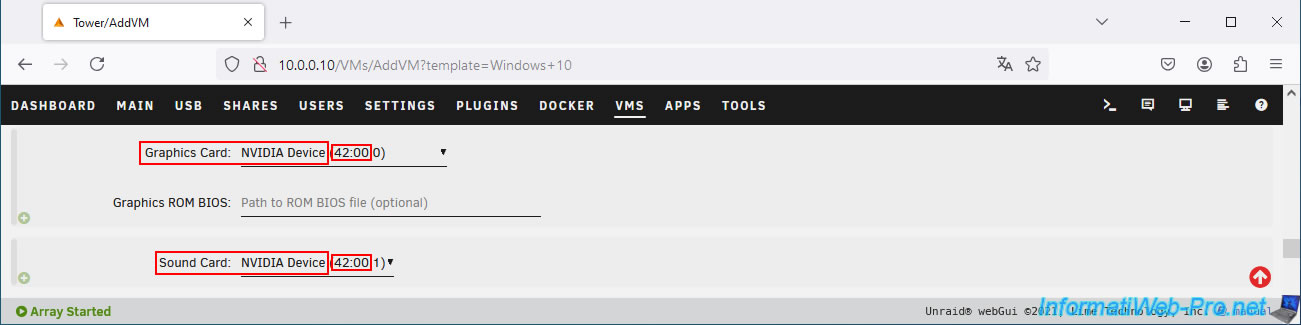
For the graphics card and sound card, select your NVIDIA graphics card (previously assigned to the VFIO in your Unraid server settings).
Make sure the beginning of the IOMMU ID for these two devices is the same.
In our case, "42:00" corresponds to our entire NVIDIA graphics card (with "42:00.0" for its graphics portion and "42:00.1" for its audio portion).
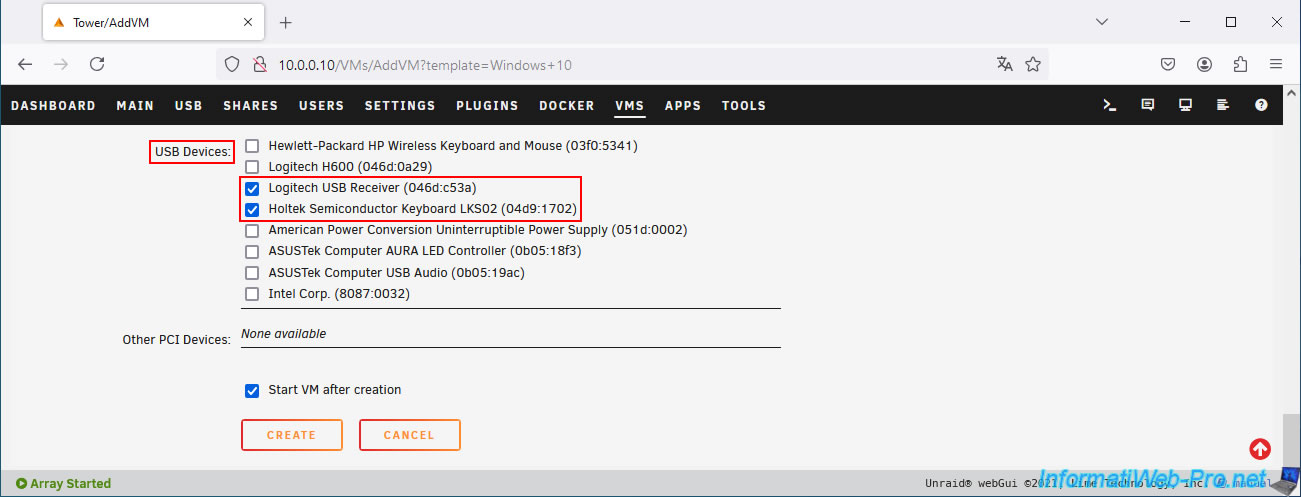
Finally, at the bottom of the page, you'll find a list of USB devices you can connect to your gaming VM.
In this list, check the boxes corresponding to the USB mouse and keyboard you want to connect to your gaming virtual machine.
Now, click "Create".
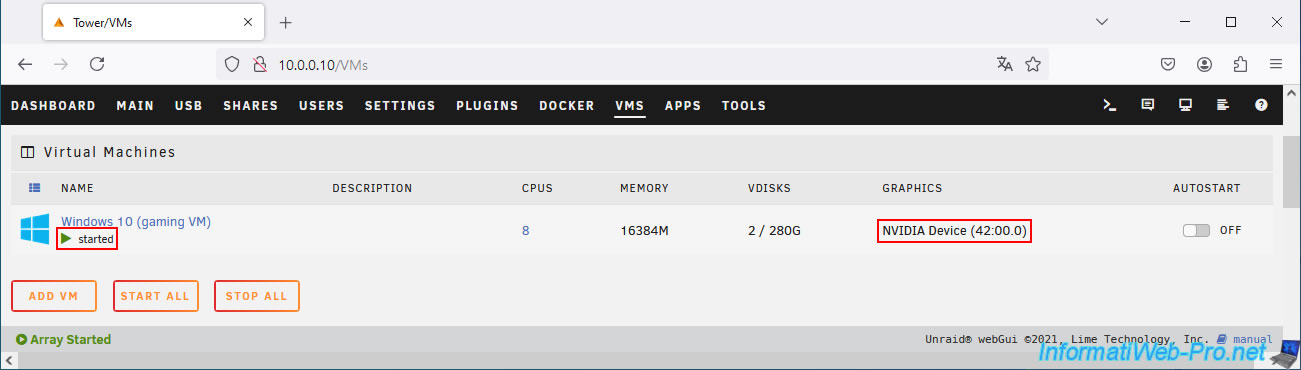
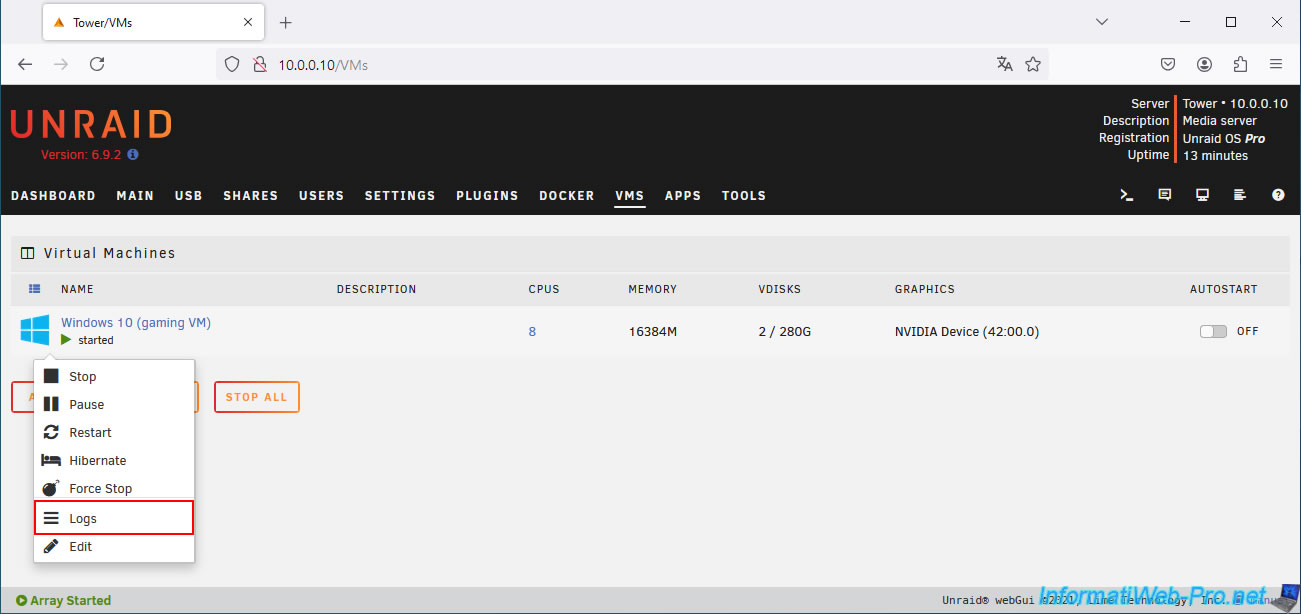
As expected, your gaming virtual machine will start and you will see that it is using your "NVIDIA" graphics card (visible in the "Graphics" column).
If you have any problems, click on your gaming VM icon and click on "Logs".
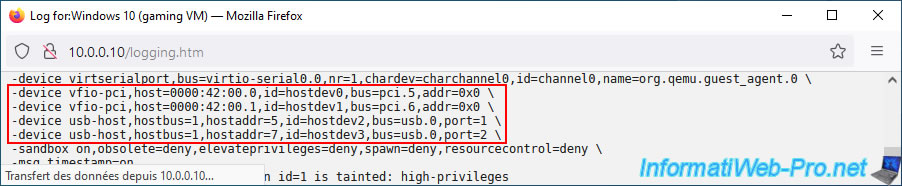
In your gaming VM logs, you will see the PCI device (your NVIDIA graphics card) and USB devices connected to your gaming VM.
Plain Text
-device vfio-pci,host=0000:42:00.0,id=hostdev0,bus=pci.5,addr=0x0 \
-device vfio-pci,host=0000:42:00.1,id=hostdev1,bus=pci.6,addr=0x0 \
-device usb-host,hostbus=1,hostaddr=5,id=hostdev2,bus=usb.0,port=1 \
-device usb-host,hostbus=1,hostaddr=7,id=hostdev3,bus=usb.0,port=2 \
8. Install Windows 10 in your virtual machine
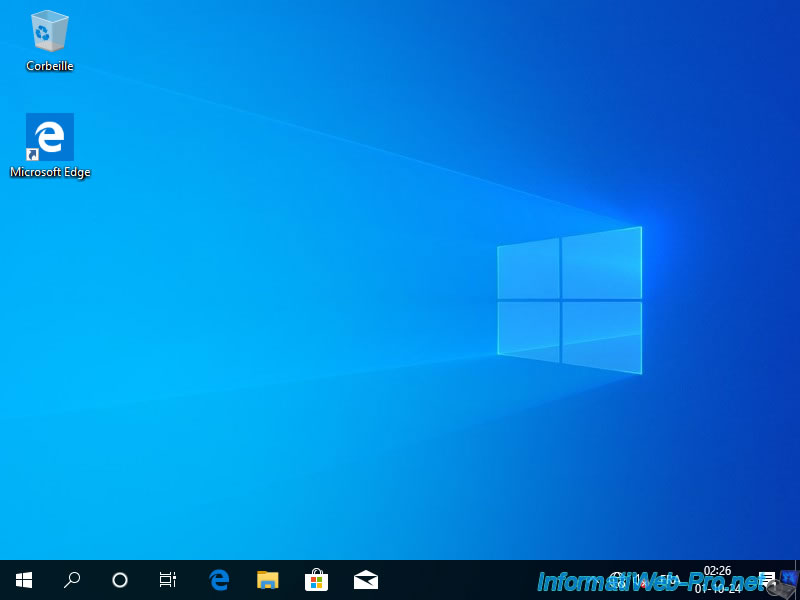
Install Windows 10 in your gaming virtual machine by following step "8. Install Windows 10 in your virtual machine" of our tutorial on creating a gaming VM on Unraid.
9. Install your virtual machine drivers on Windows 10
Once Windows 10 is installed in your gaming VM, install its drivers by following step "9. Install the drivers for your virtual machine on Windows 10" in the tutorial mentioned above.
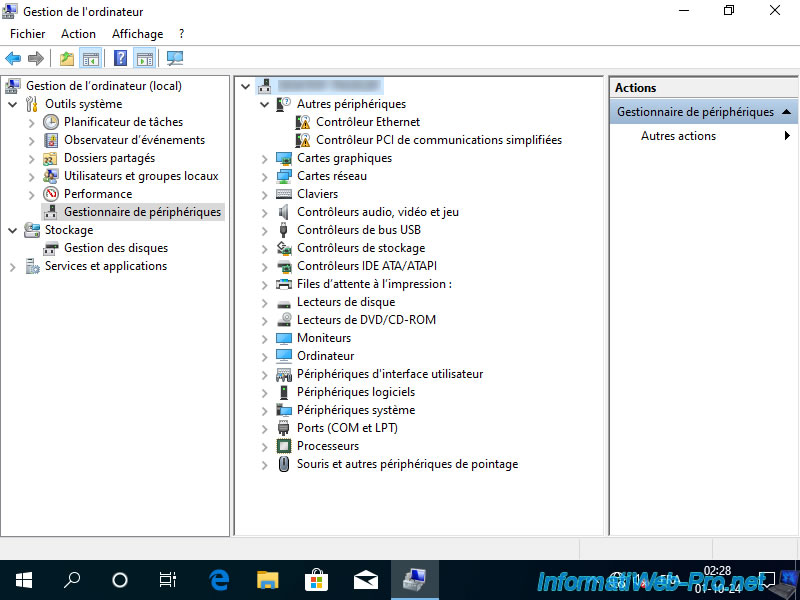
As expected, VirtIO drivers will be installed, and Windows 10 will automatically install an older driver for your NVIDIA graphics card.
This will allow you to view your card model in device manager.
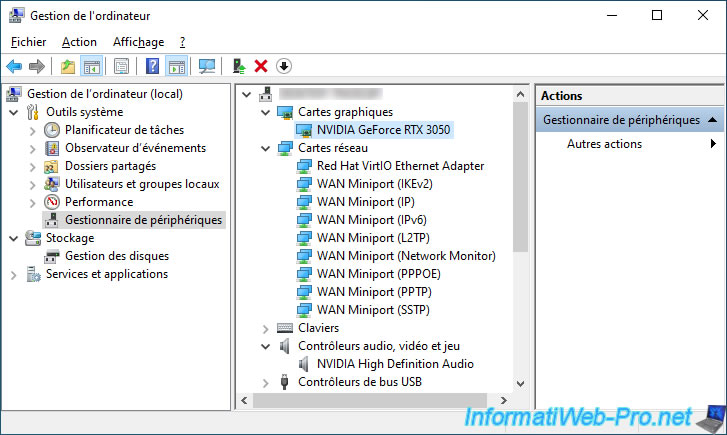
10. Partition the second virtual hard disk of your virtual machine
You may have noticed that only one partition appears in File Explorer.
So, the 200GB partition of the second virtual hard drive you previously added to your gaming VM is missing.
To resolve this issue, refer to step "10. Partitioning the second virtual hard drive of your virtual machine" in the previously mentioned tutorial.
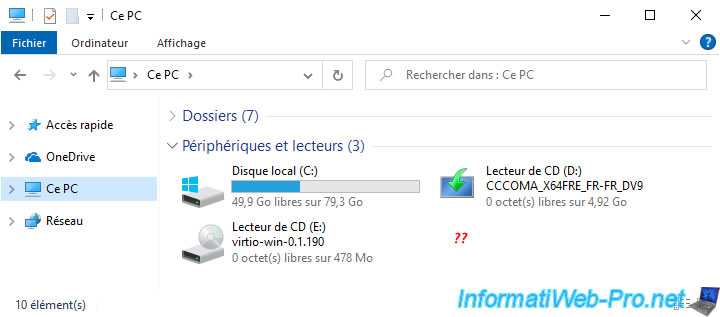
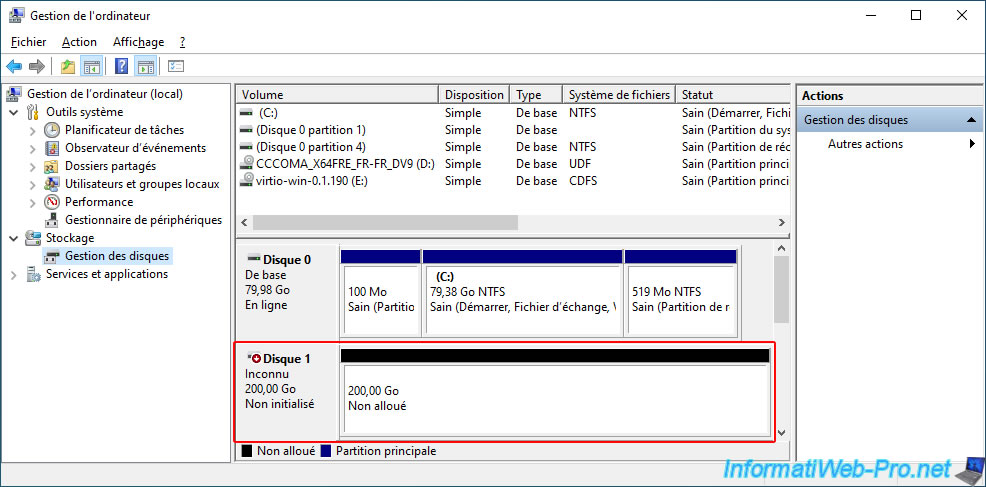
If you go to Windows management, you'll notice that the 200GB drive isn't initialized or partitioned.
Hence, it doesn't appear in file explorer.
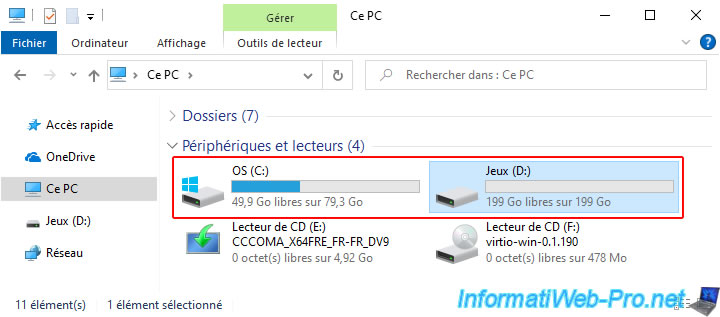
Once this disk is initialized and partitioned, your 200GB partition will appear in file explorer.
11. Download and install the latest driver available for your Nvidia graphics card
Even if Windows 10 recognizes your NVIDIA graphics card model (via its Device Manager), you may notice that the driver installed by default is very old.
This is likely to cause problems if you try to install a recent game in your gaming VM.
In short, we recommend going to the NVIDIA website to download the latest "Game Ready" driver available for your NVIDIA graphics card.
To do this, follow the download steps mentioned in step "12. Download and install the latest driver available for your NVIDIA graphics card" of our tutorial on creating a gaming VM with the ACS overrides patch.
Warning : make sure you download the "Game Ready" driver and not the NVIDIA Studio driver.
Once the "Game Ready" driver is downloaded, launch the downloaded file and confirm the extraction of the NVIDIA installation files.
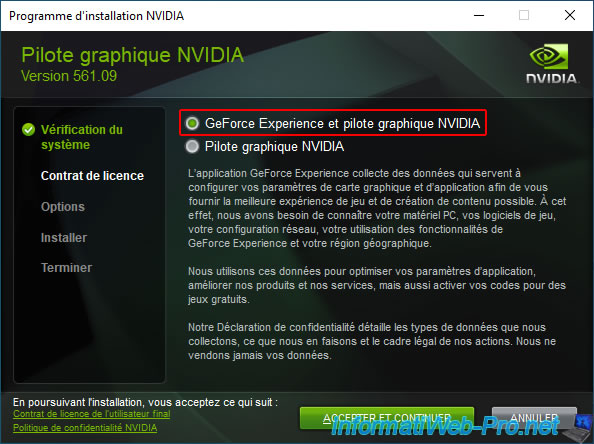
Then, select "GeForce Experience and NVIDIA Graphics Driver" and click "Accept and Continue".
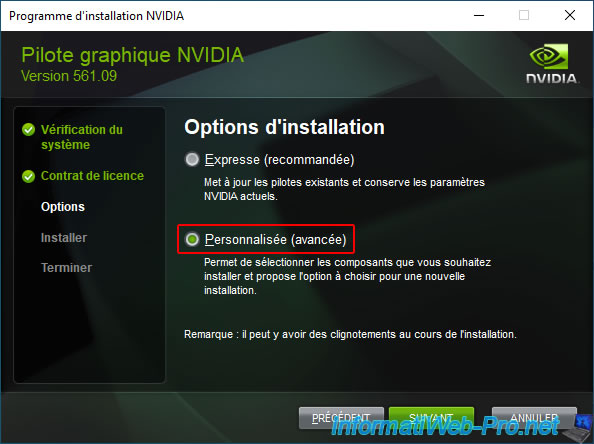
Select "Custom (Advanced)" and click Next.
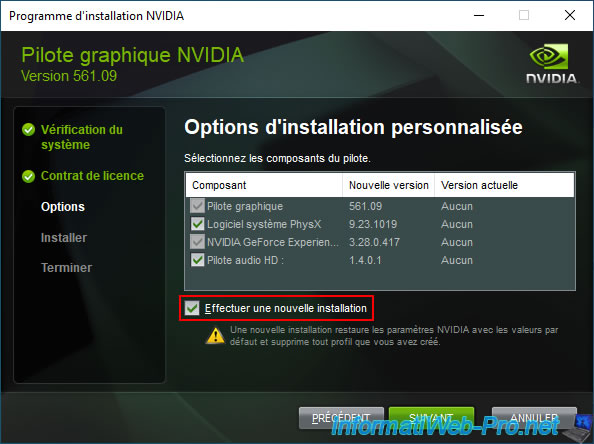
Check the "Perform a clean install" box (to erase any NVIDIA data that may have been automatically created due to the old driver installed by Windows 10).
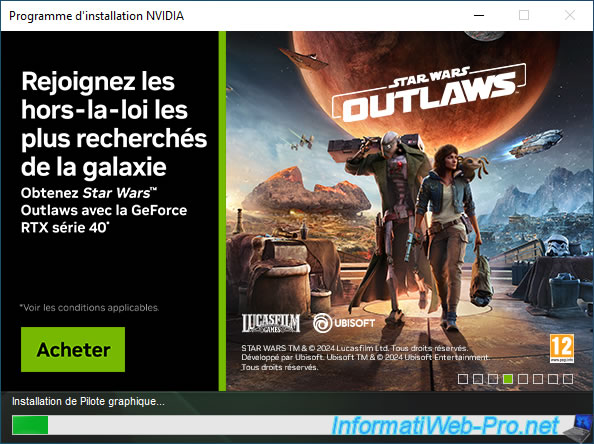
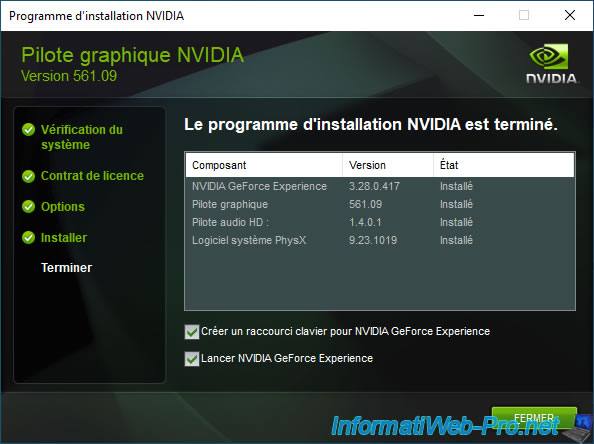
Please wait while the NVIDIA graphics driver and other NVIDIA components are installed.
Once the installation is complete, click "Close".
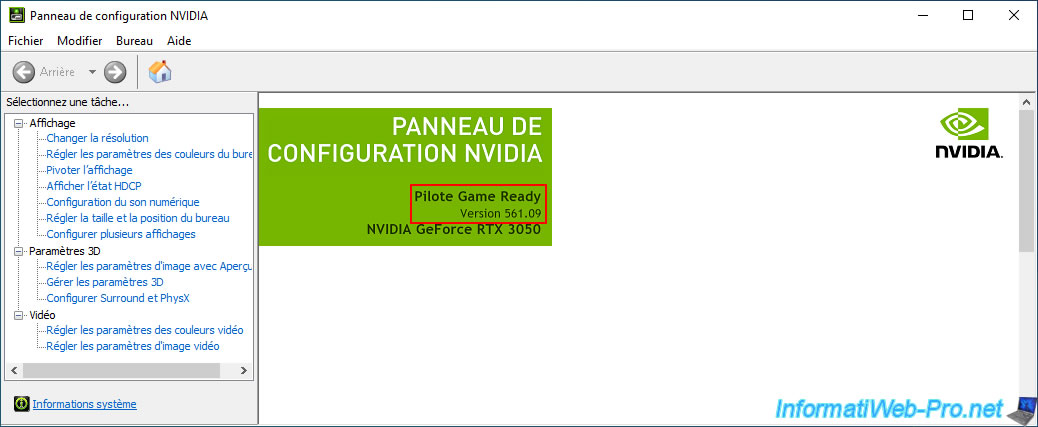
Launch the Control Panel and you'll see that it's the "Game Ready" driver.
If not, you've downloaded the wrong file.
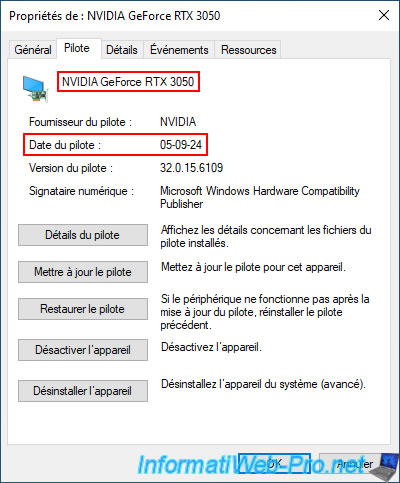
If you right-click "Properties" on your NVIDIA graphics card in device manager, you will see that the installed driver date is very recent (which was not the case when Windows 10 downloaded it automatically).
Share this tutorial
To see also
-

NAS 11/21/2025
Unraid 6.9.2 - Install and configure Unraid 6.9.2
-

NAS 6/10/2026
Unraid 6.9.2 - SWAG - Access Jellyfin via reverse proxy and personal domain
-

NAS 7/1/2026
Unraid 6.9.2 - SWAG - Use a personal domain with a dynamic WAN IP
-
NAS 7/22/2026
Unraid 6.9.2 - VMs - Backing up a VM manually
No comment