- NAS
- Unraid
- 15 January 2026 at 19:10 UTC
-

- 1/2

When you want to add a disk to your array on Unraid, it is necessary that the capacity of the disk used for parity is greater than or equal to the capacity of the disk you want to add to your array.
If this is not the case, you will need to place the disk with the largest capacity for the parity disk and you can reuse your old parity disk in your array.
This is what you will see in this tutorial.
- Error: parity disk is not the largest disk
- Stop the array
- Unassign a disk from the array
- Changing the parity disk
- Start rebuilding the array disk
- Add a disk to the array
1. Error: parity disk is not the largest disk
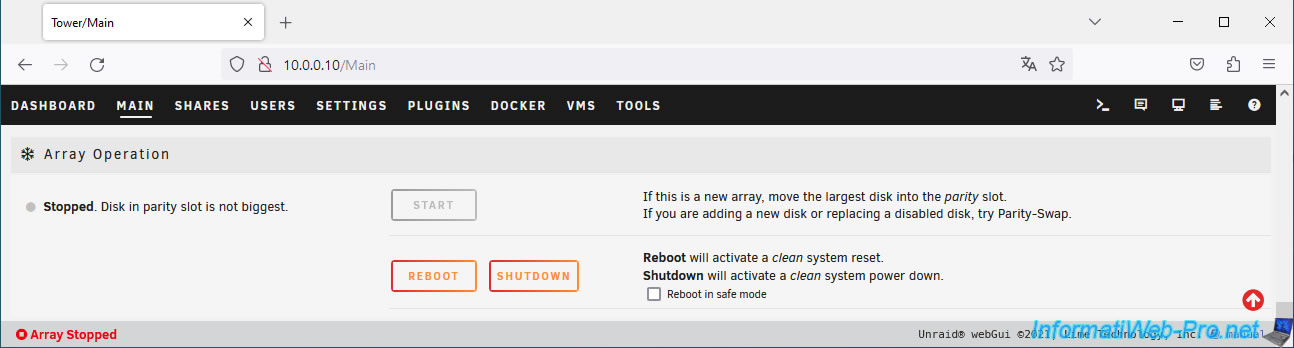
If you attempt to add a disk to your array whose capacity is greater than the capacity of the parity disk, you will not be able to start your array and you will see the message "Stopped. Disk in parity slot is not biggest".
Plain Text
If this is a new array, move the largest disk into the parity slot.
If you are adding a new disk or replacing a disabled disk, try Parity-Swap.
As noted by Unraid, for a new array (a new installation of Unraid), you simply place the largest disk as the parity disk and place the other disks in the array.
But, if you have already configured your array and just want to add a disk to your array, you will need to swap the new disk you want to add with the parity disk (Parity-Swap).
For this, we used the official procedure: The Parity Swap Procedure | Unraid Docs.
Our tutorial therefore uses the same steps, but it is clearer in images.
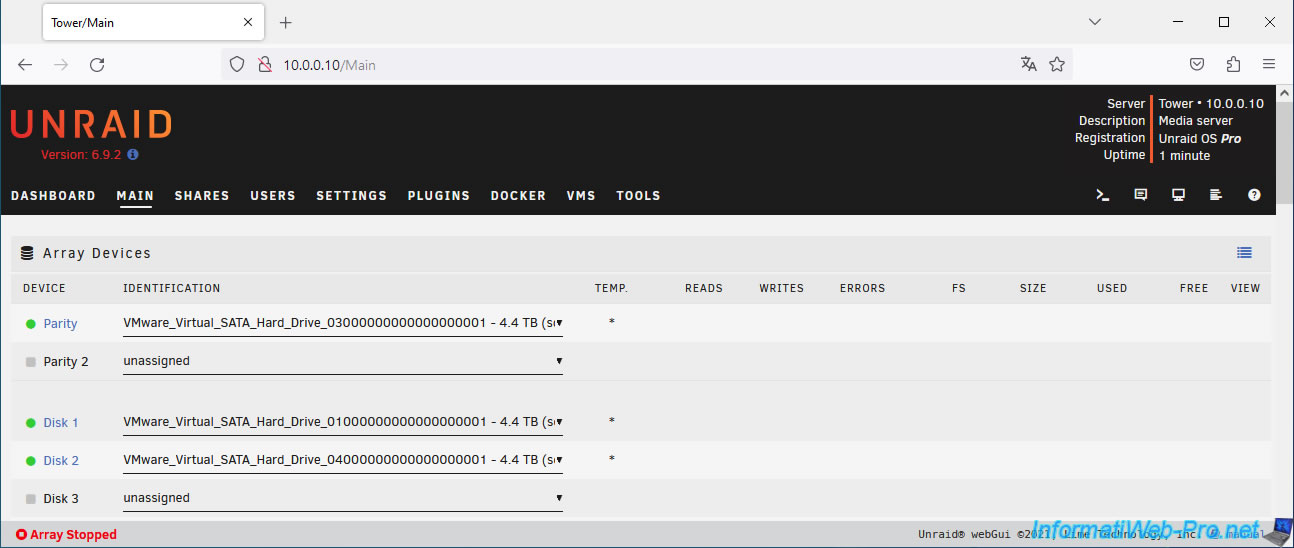
2. Stop the array
To start, you need to stop your array. If it is not done yet.
To do this, go to the "Main" tab.
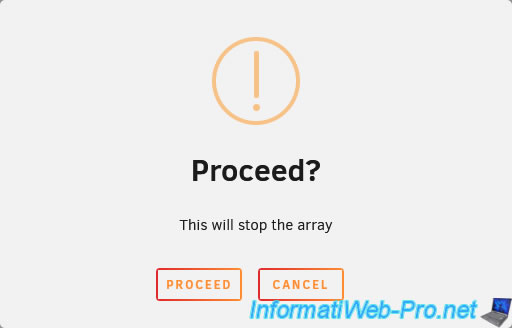
At the bottom of the page, in the "Array Operation" section, click Stop.
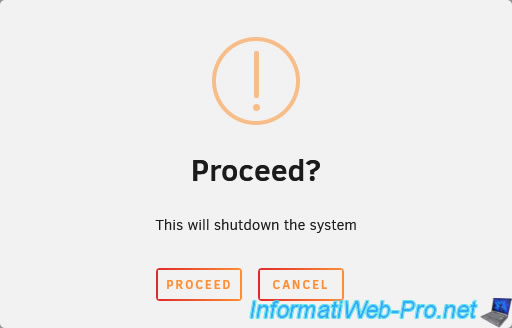
Confirm the shutdown of your array by clicking Proceed.
Once the array is stopped, you can modify the assignment of your disks.
3. Unassign a disk from the array
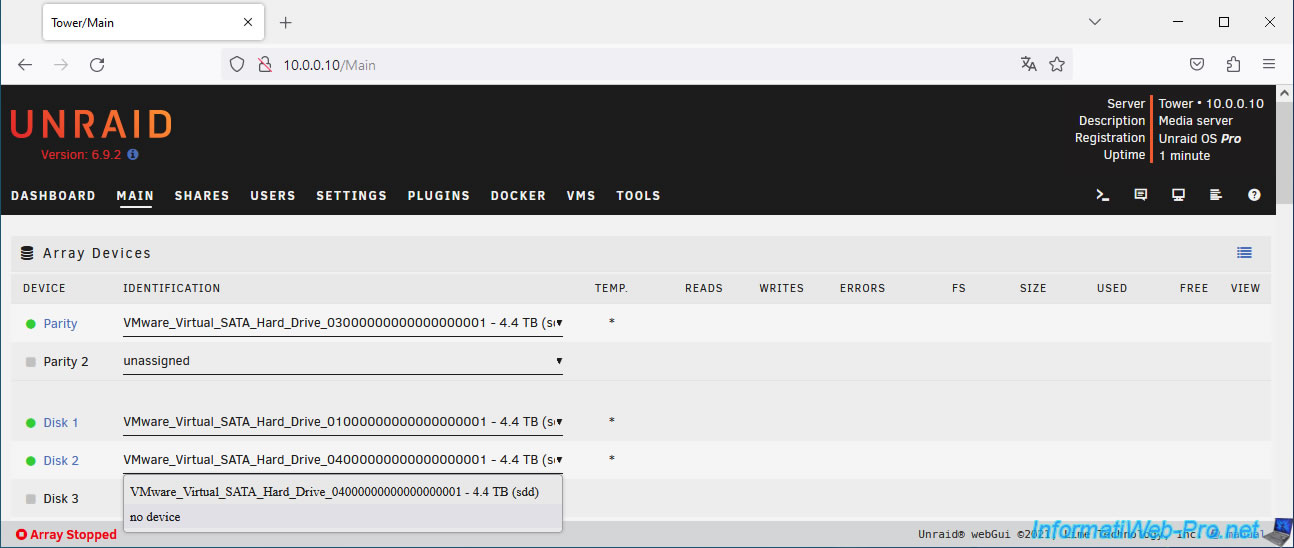
In our case, we are going to remove disk 2 from our array.
To do this, select "no device" for this disk in the array.
Now, Unraid says the disk you just removed is missing.
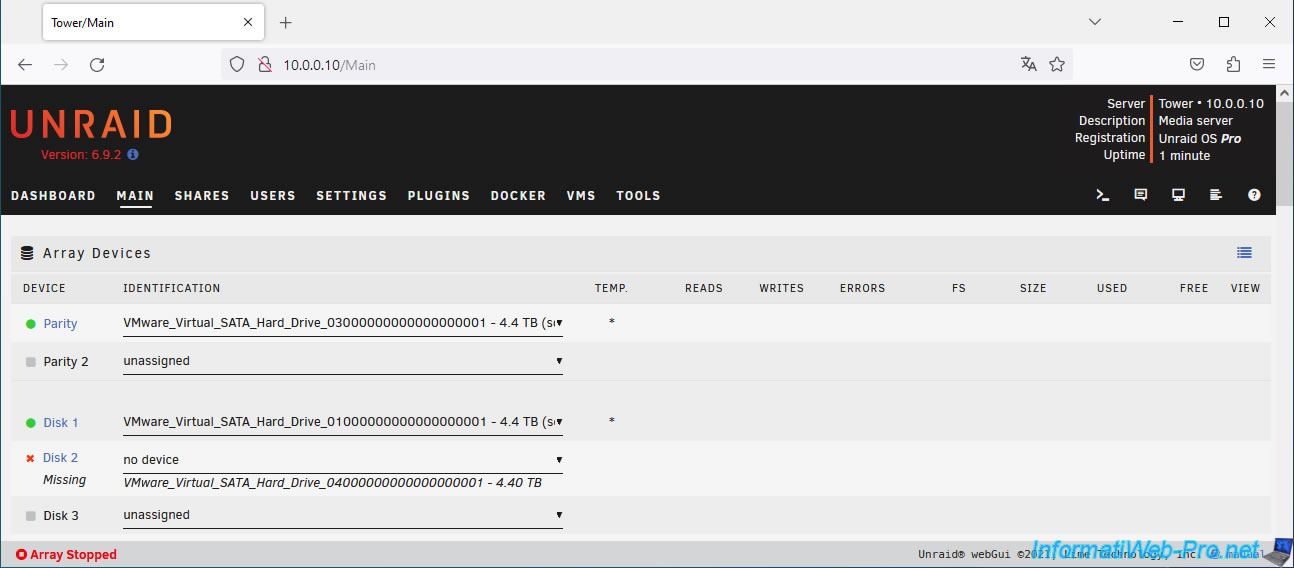
At the bottom of the page, in the "Unassigned Devices" section, you will see the disk that you have just removed from the array.
In the "Array Operation" section, you will also see the message "Stopped. Missing disk".
Plain Text
Start will disable the missing disk and then bring the array on-line. Install a replacement disk as soon as possible.
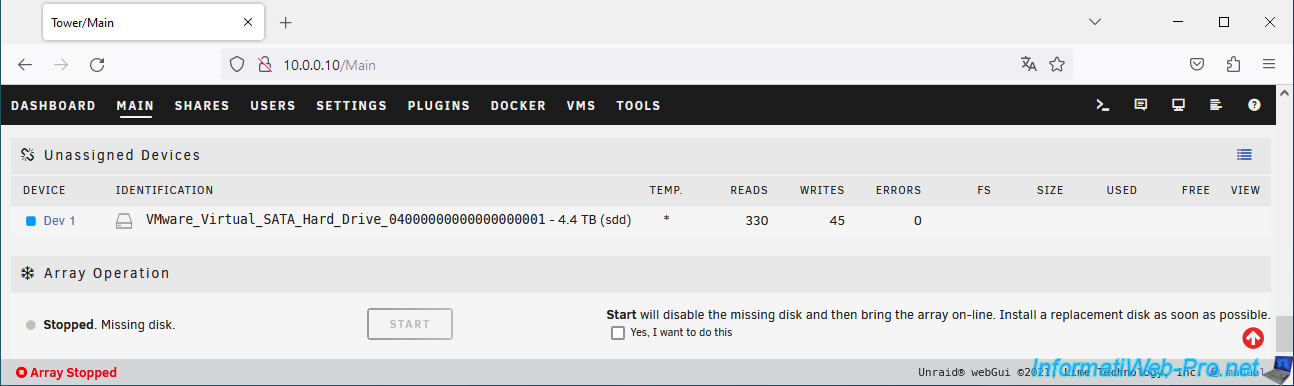
Check the box "Yes, I want to do this" and click Start.

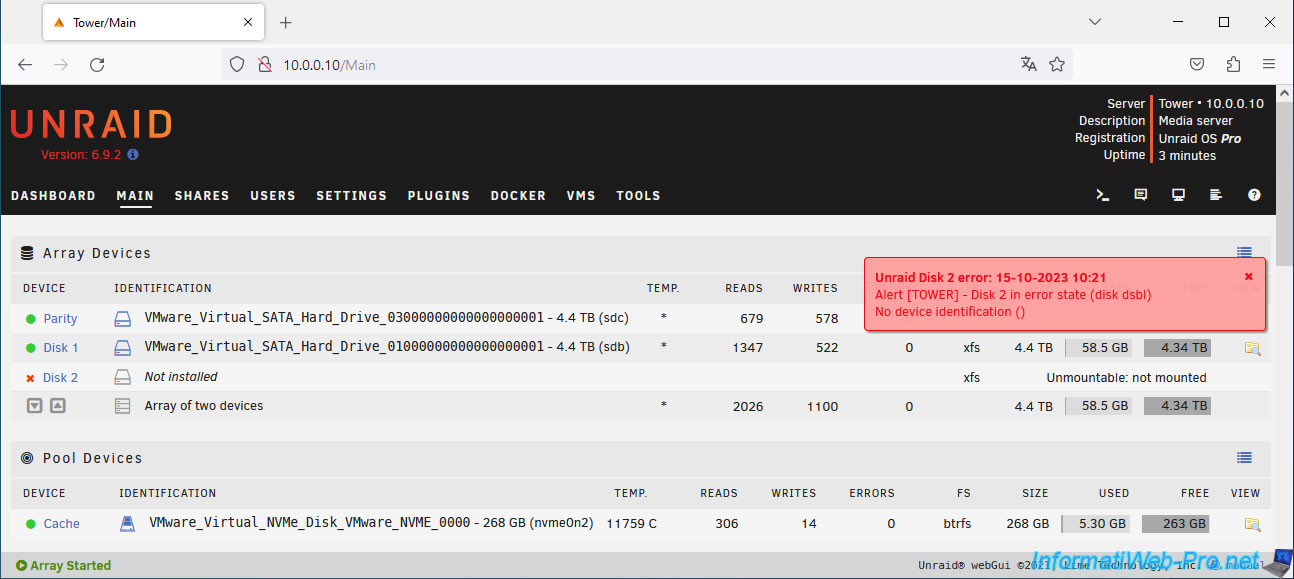
The array will start without this disk and an error will appear for the removed disk.
Plain Text
Unraid Disk 2 error: ...
Alert [TOWER] - Disk 2 in error state (disk dsbl).
No device identification ().
The only goal being that Unraid indicates "Not installed" for the disk removed from the array.
Now that the status "Not installed" appears for the removed disk, shut down your array again.
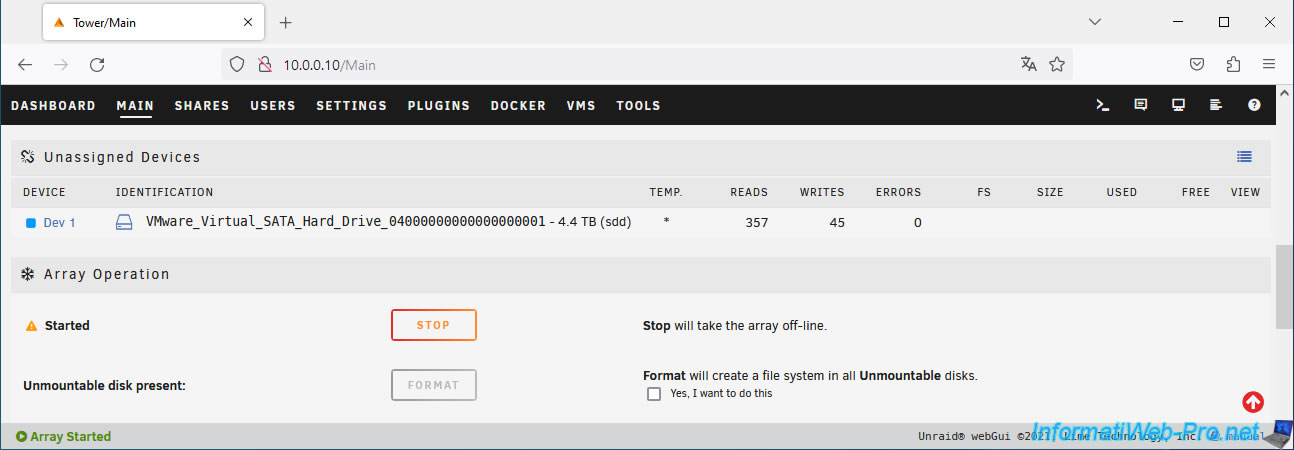
Confirm the shutdown of your array.

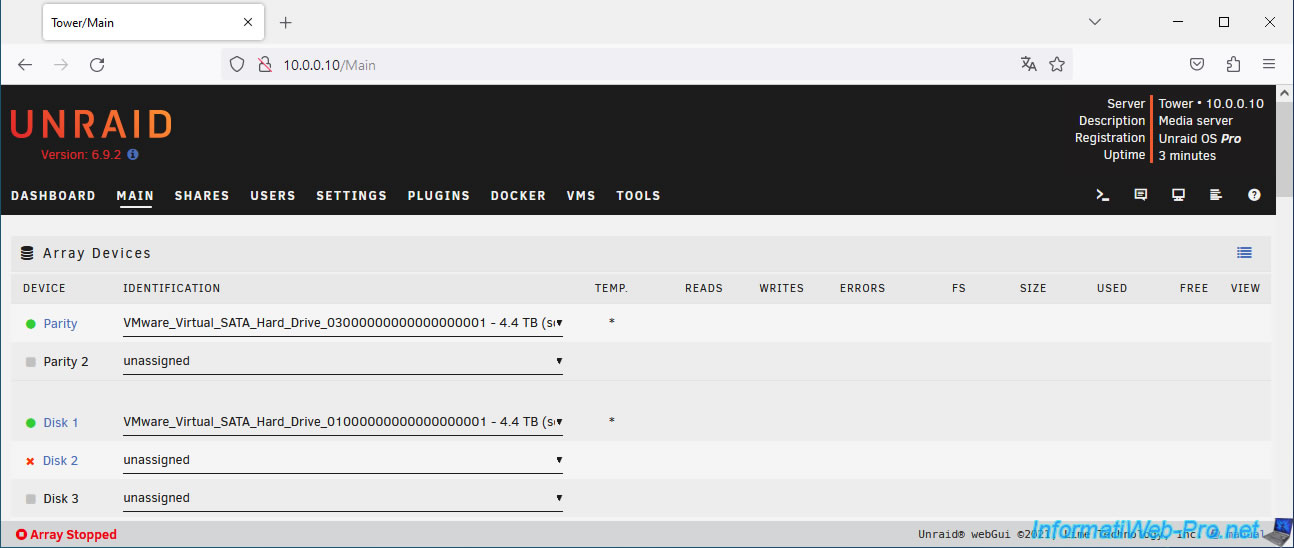
Disk 2 of the array is "unassigned".
Shut down your Unraid server by going to the "Dashboard" tab and clicking on the power icon (outlined in red in the image below).
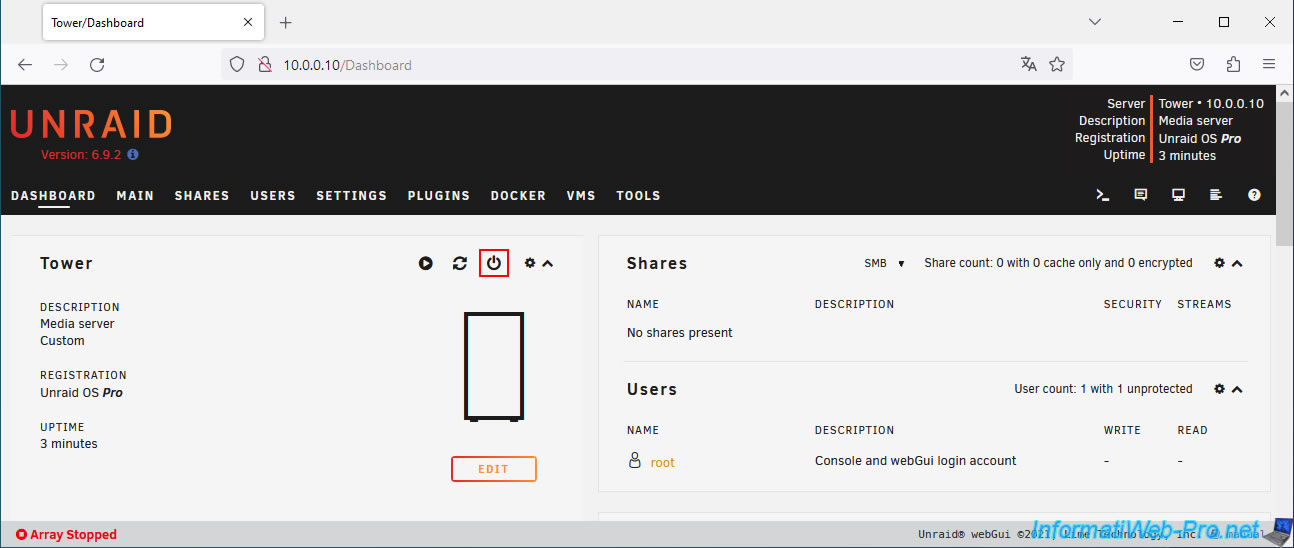
Confirm the shutdown of your Unraid server.
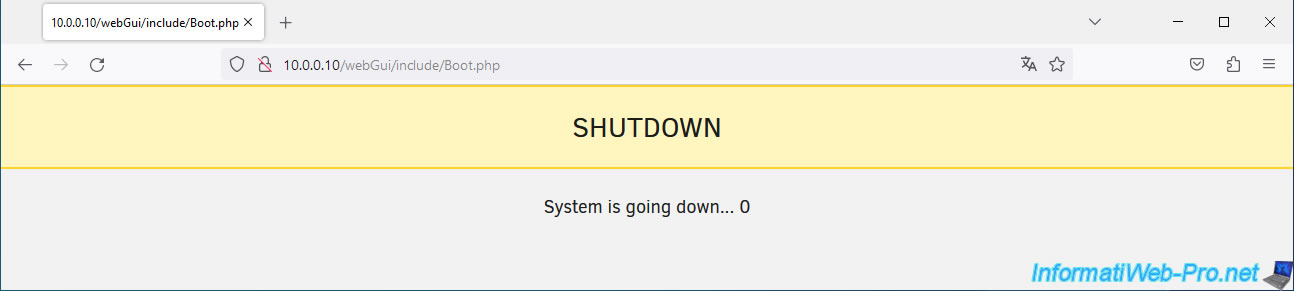
Your Unraid server shuts down.
Share this tutorial
To see also
-

NAS 3/4/2026
Unraid 6.9.2 - Install the "Community Applications" plugin (old version)
-
NAS 5/27/2026
Unraid 6.9.2 - SWAG - Use a DDNS client (Duck DNS)
-
NAS 7/22/2026
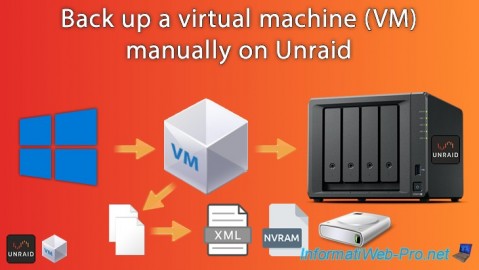
Unraid 6.9.2 - VMs - Backing up a VM manually
-
NAS 7/15/2026
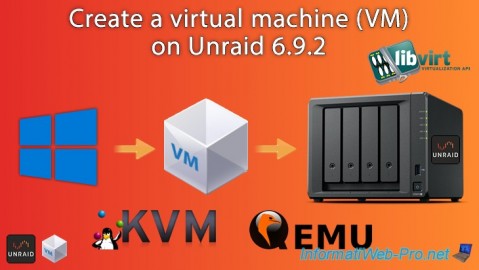
Unraid 6.9.2 - VMs - Create a virtual machine
You must be logged in to post a comment