- VMware
- 31 December 2021 at 13:57 UTC
-

- 1/2

If you attempt to virtualize Windows 11 with VMware Workstation Pro, you will see that it will not work by default.
Even if you are using the latest version of VMware Workstation Pro currently available (16.2.1).
However, by making some changes in the virtual hardware and in the virtual machine settings, it will be possible to install Windows 11 normally (without overriding the restrictions imposed by this new version of Windows 11).
Info : tutorial produced on VMware Workstation 16.2.1 and also tested on VMware Workstation Pro 16.1.2, 15.5.7, 15.5.6 and 15.0 without problem.
For each of these versions of VMware Workstation Pro, all you need to do is select the most recent Hardware compatibility level available in your case and follow the tutorial below for the rest.
Note that VMware indicates that version 16.2.0 allows to better support Windows 11 thanks to a new "Windows 10 and later x64" profile : Workstation 16.2 Now Available.
- Create a new virtual machine for Windows 11
- Configure the virtual machine for Windows 11
- Install Windows 11 in a virtual machine
- Install VMware Tools on Windows 11
- Shut down the Windows 11 virtual machine
1. Create a new virtual machine for Windows 11
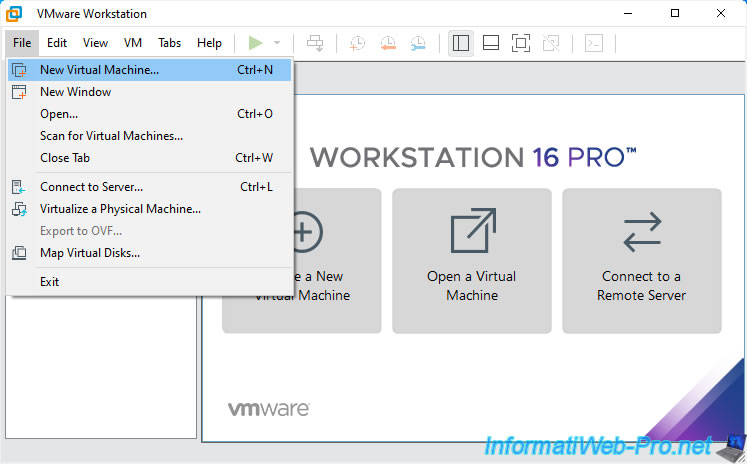
To begin, create a new virtual machine on VMware Workstation Pro by clicking on : File -> New Virtual Machine.
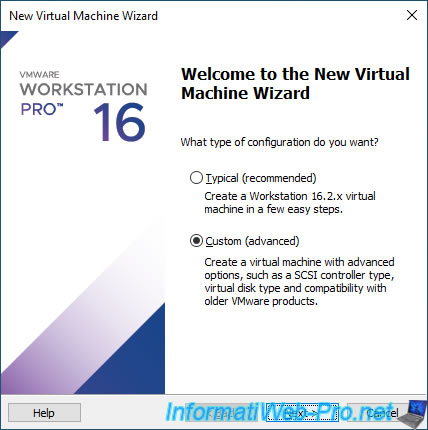
In the "New Virtual Machine Wizard" window that appears, select "Custom (advanced)" and click on : Next.
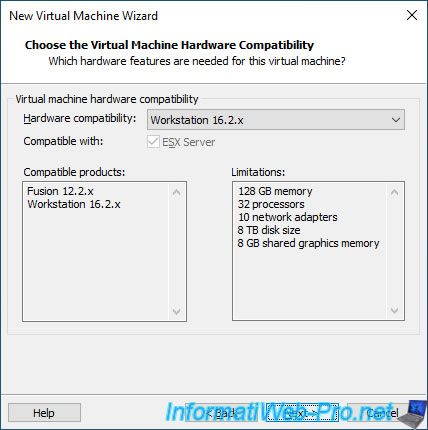
Select the most recent Hardware compatibility available in your case.
For example : Workstation 16.2.x.
Select "I will install the operating system later".

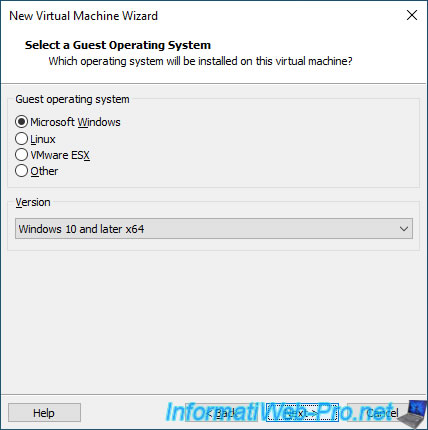
Then, select "Microsoft Windows" for the guest operating system and "Windows 10 and later x64" for the version.
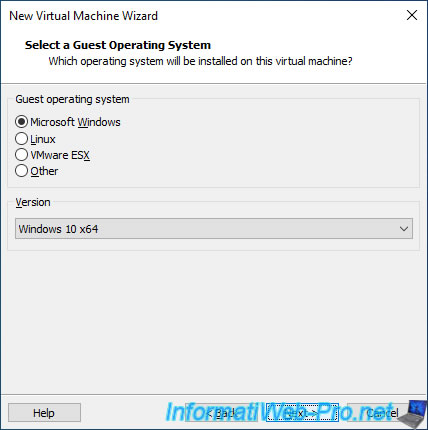
In previous versions of VMware Workstation Pro, select : "Windows 10 x64".
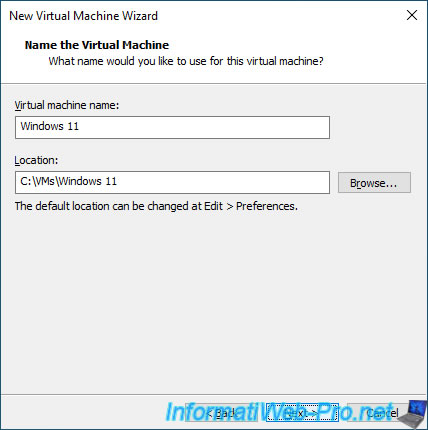
Specify "Windows 11" as the name for this virtual machine.
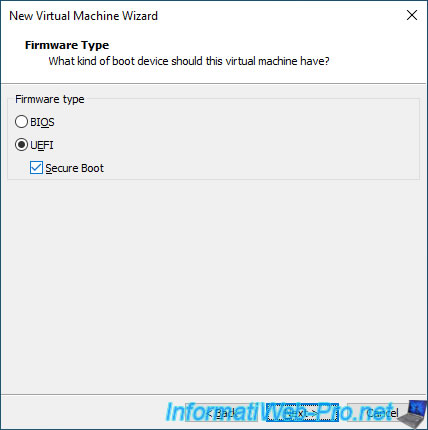
Make sure to select UEFI firmware and check the "Secure Boot" box to enable secure boot as this is required by the Windows 11 installer.
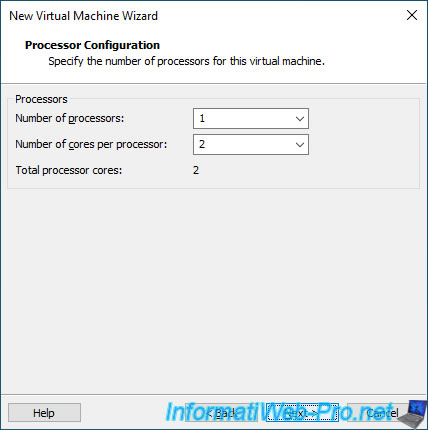
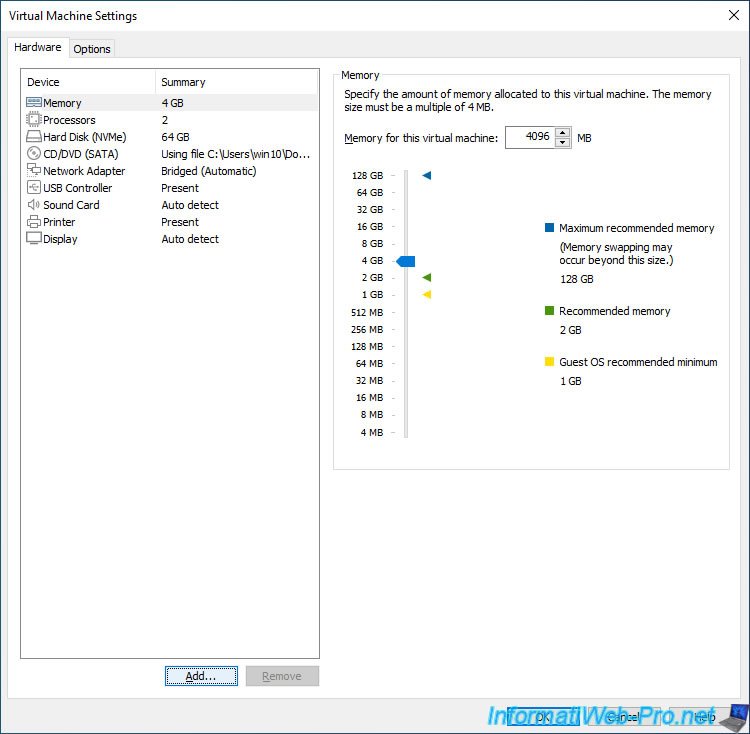
Make sure you allocate a processor with at least 2 cores so that Windows 11 can install without problems.
Indeed, this is also part of the prerequisites of Windows 11.
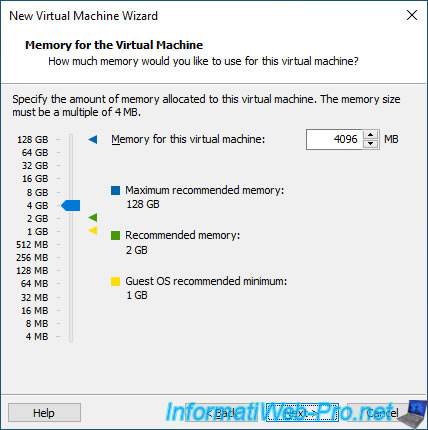
Allocate at least 4 GB of RAM for this new virtual machine.
Otherwise, Windows 11 will not be able to install.
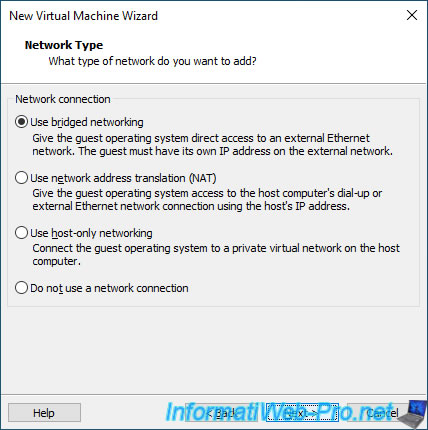
Choose the network type to use.
To make this virtual machine appear on the network as if it were a physical PC on your network, select "Use bridged networking".
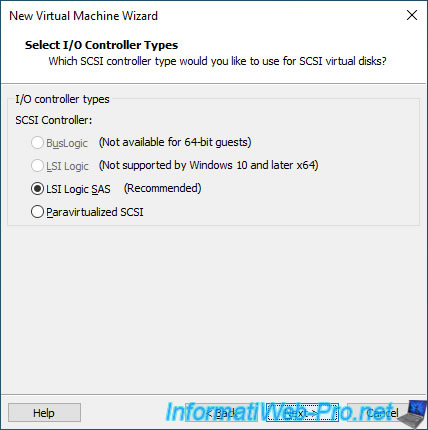
Leave the type of SCSI controller recommended in this case by VMware Workstation Pro.
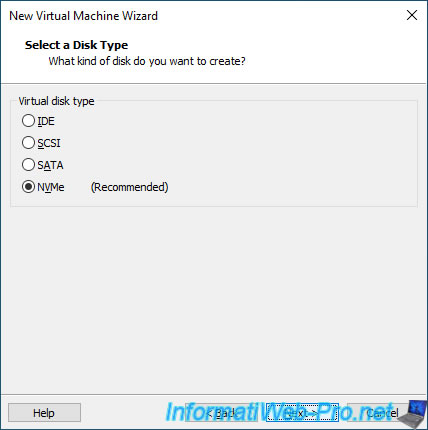
Leave the type of virtual hard disk selected by default.
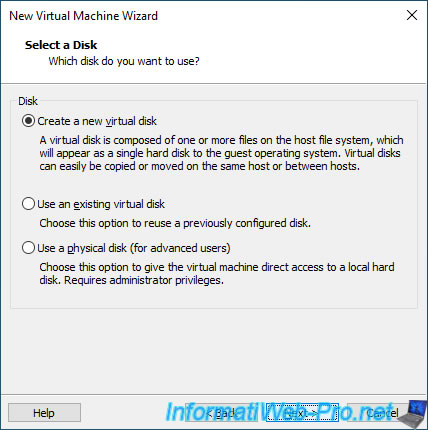
Select : Create a new virtual disk.
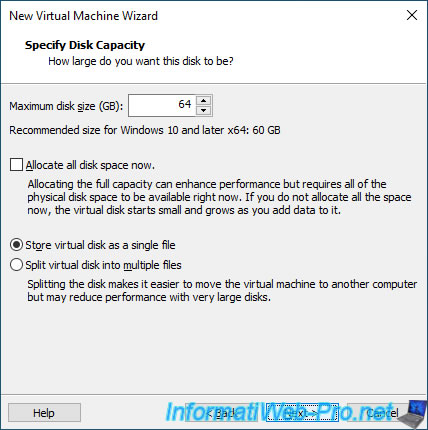
Important : change the size of the virtual hard disk so that its size is at least 64 GB.
Which is a prerequisite for Windows 11.
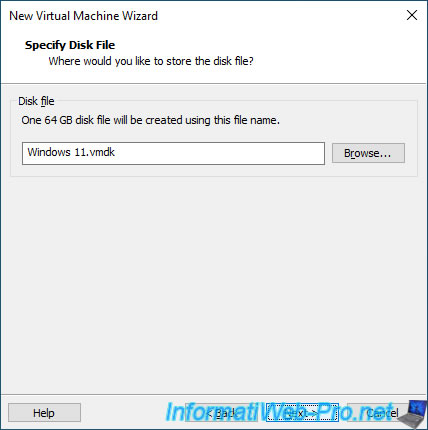
Leave the default name of the virtual hard disk.
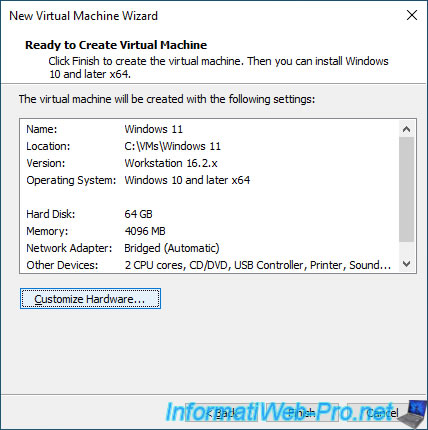
At the end of the wizard, click on "Customize Hardware".
Warning : in version 16.2.0, the "Customize Hardware" button doesn't work.
This is a bug that is only present in this version and has been fixed in the next version (16.2.1).
In short, if you have version 16.2.0 of VMware Workstation Pro, click on "Finish", then on : Edit virtual machine settings.
Select the virtual CD/DVD drive "New CD/DVD (SATA)", select "Use ISO image file" and select your Windows 11 ISO by clicking on : Browse.

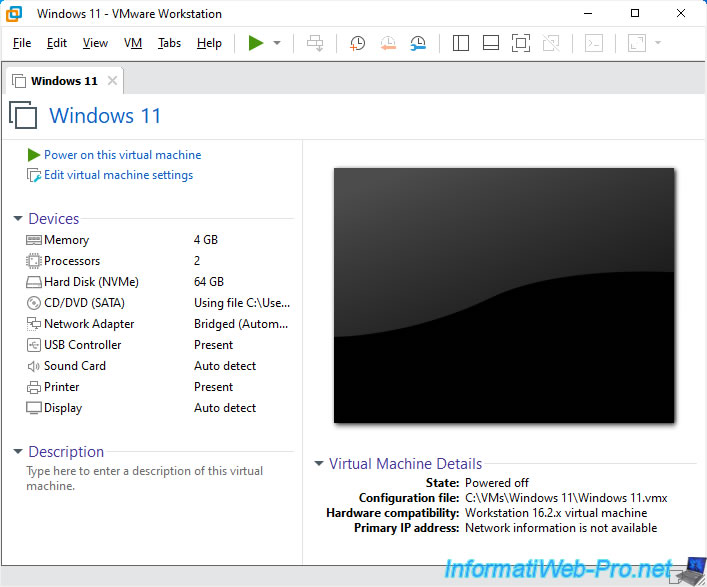
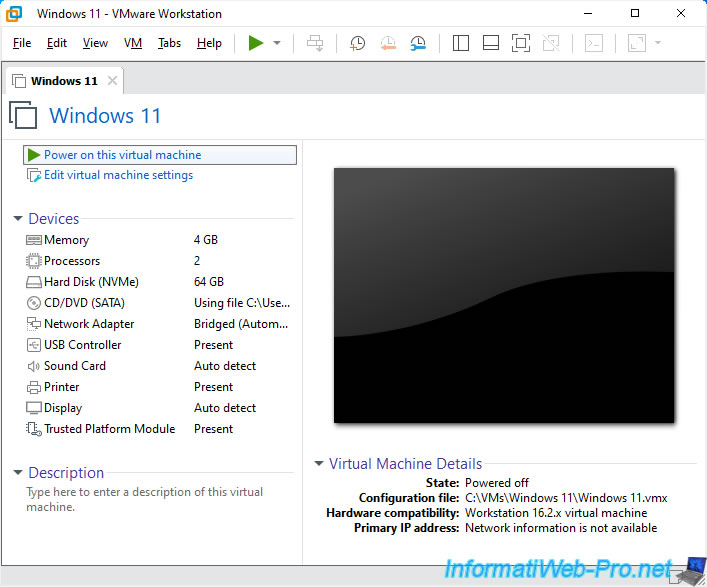
Virtual machine for Windows 11 has been created.
Warning : don't start it right away, because some additional modifications are still necessary for the Windows 11 installer to accept to install Windows 11 in your virtual machine.
2. Configure the virtual machine for Windows 11
To begin, click on : Edit virtual machine settings.

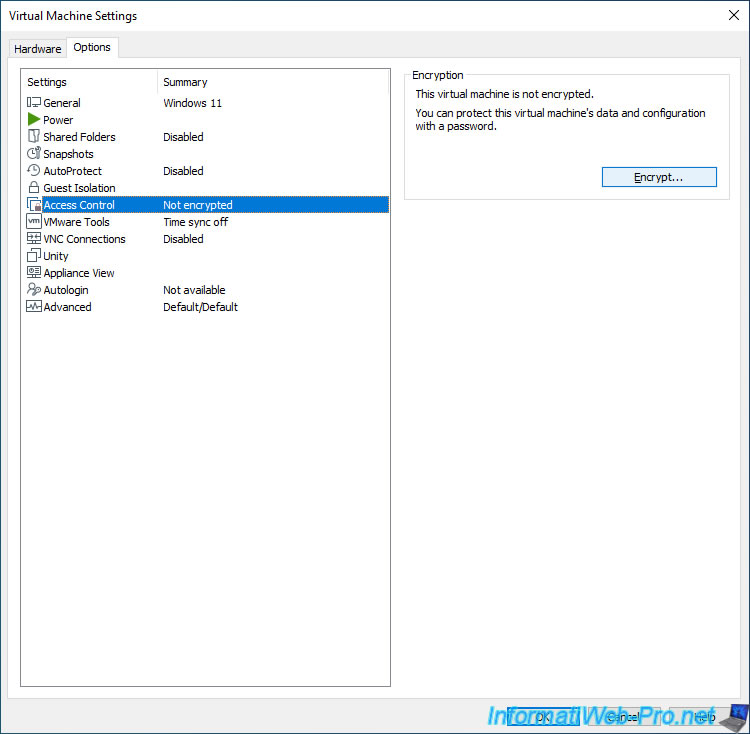
In the "Virtual Machine Settings" window that appears, go to the "Options" tab and select the "Access Control" option.
Then, click on the "Encrypt" button to encrypt your virtual machine.
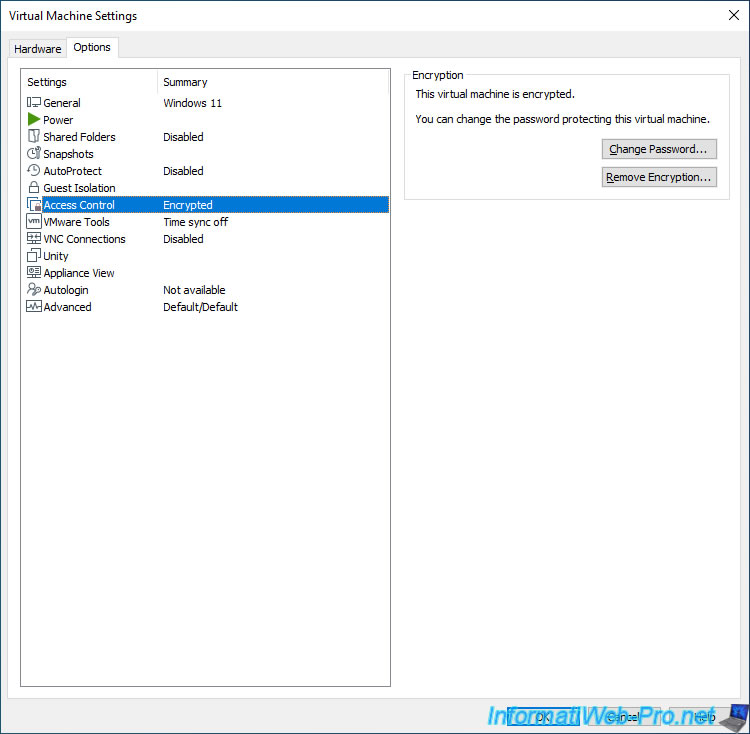
Provide a password to encrypt your virtual machine.

Your virtual machine is now encrypted.
Note that this is quick in this case since the VM is empty at the moment.
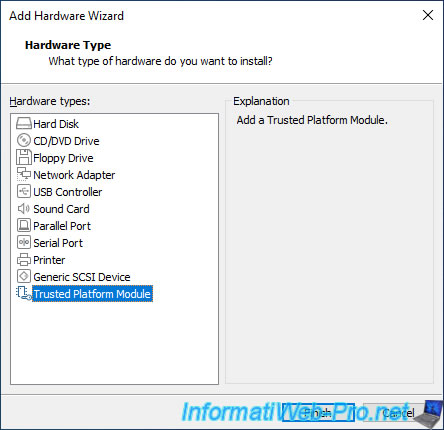
Then, go to the "Hardware" tab and click on the "Add" button.
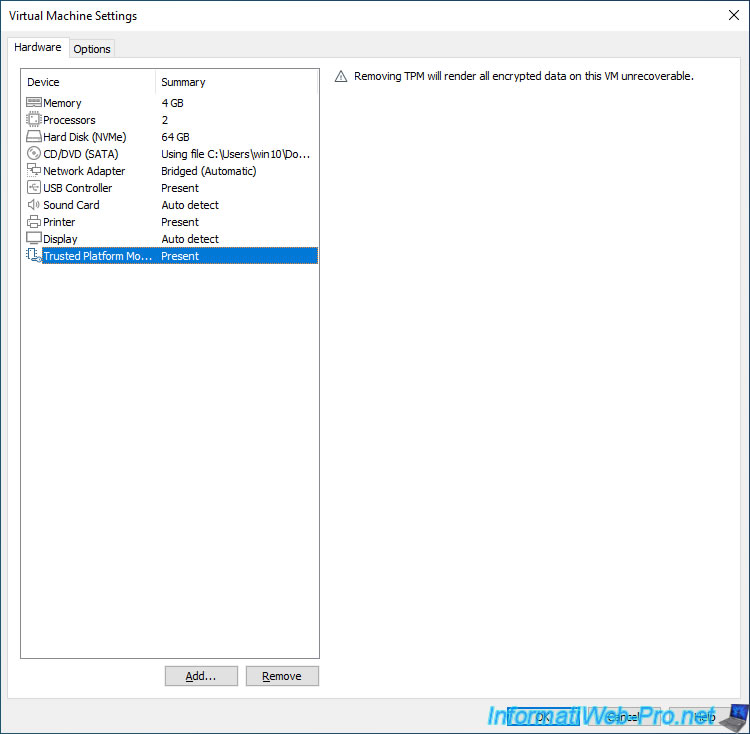
Select the "Trusted Platform Module" component (which corresponds to the TPM module required for the installation of Windows 11) and click Finish.
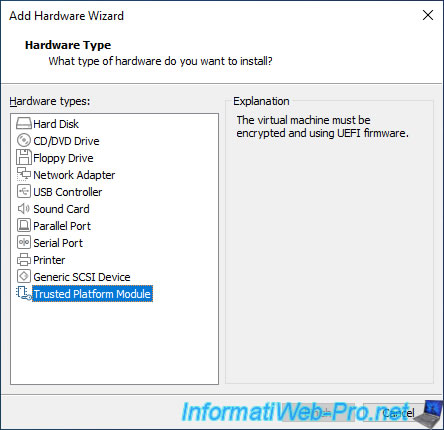
Note that the addition of this "Trusted Platform Module" component requires that the virtual machine be encrypted (which we have just done) and that UEFI firmware be used to start it.
What we did when creating the virtual machine.
Now, click on OK.
3. Install Windows 11 in a virtual machine
Now that your virtual machine is configured correctly for Windows 11, you can start it by clicking on : Power on this virtual machine.
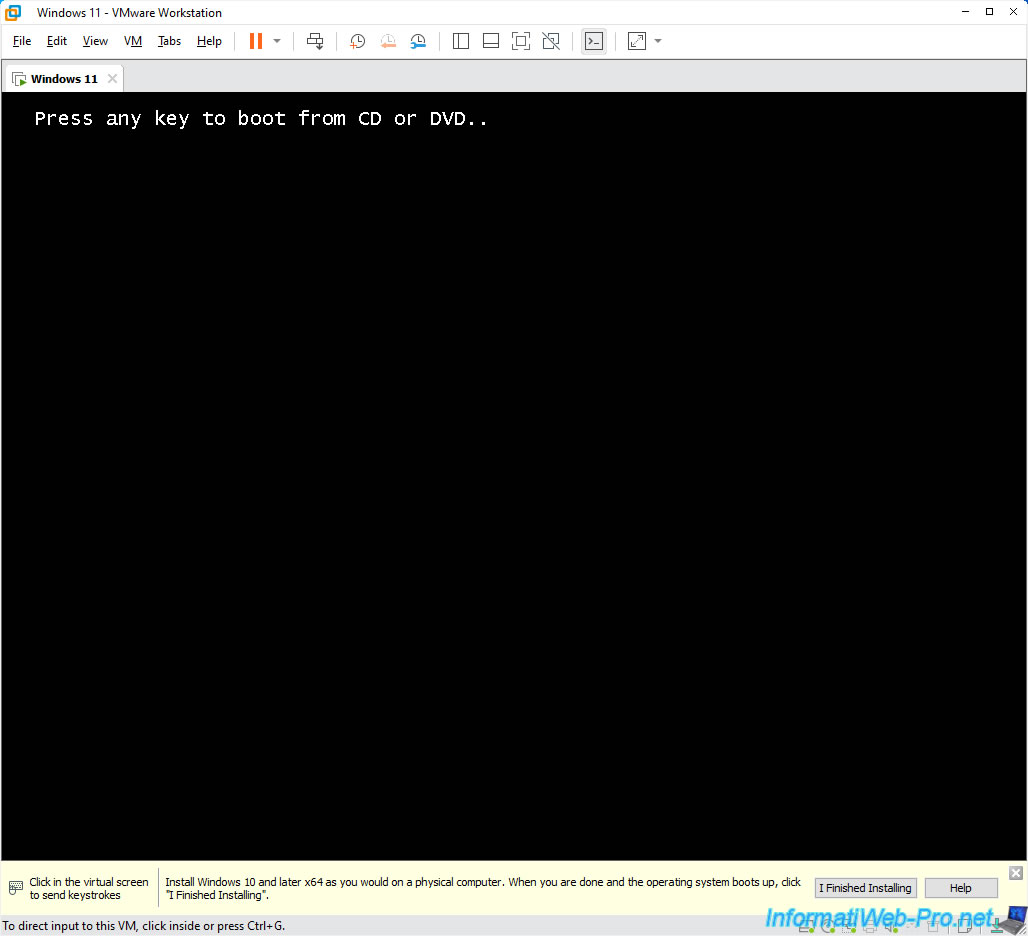
Press any key when the message "Press any key to boot from CD or DVD" appears.
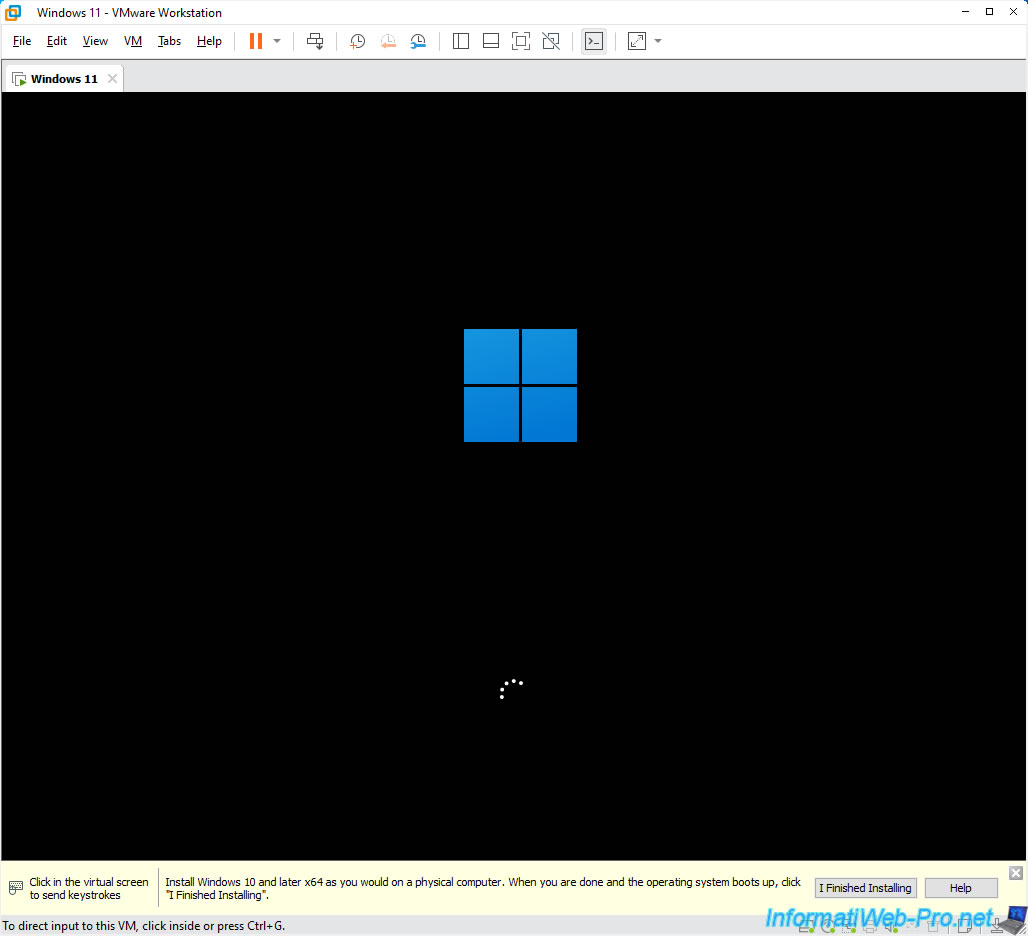
The Windows 11 logo appears.
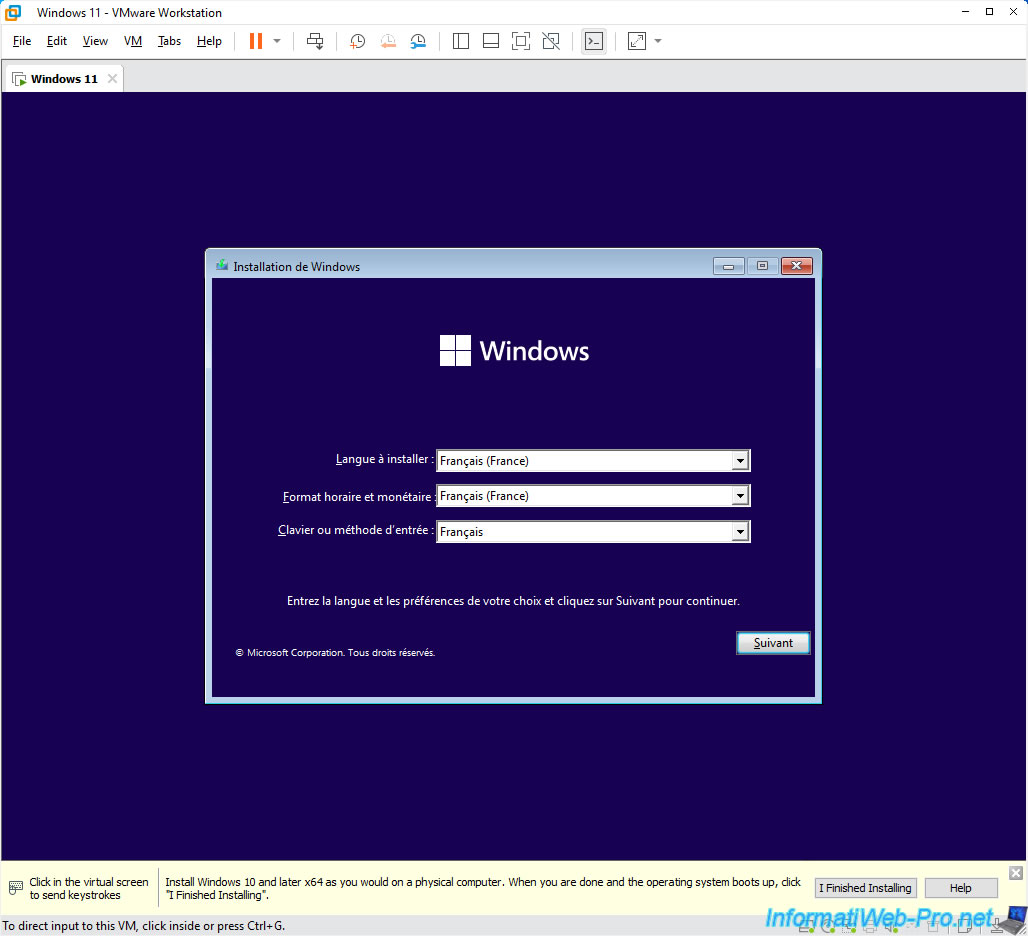
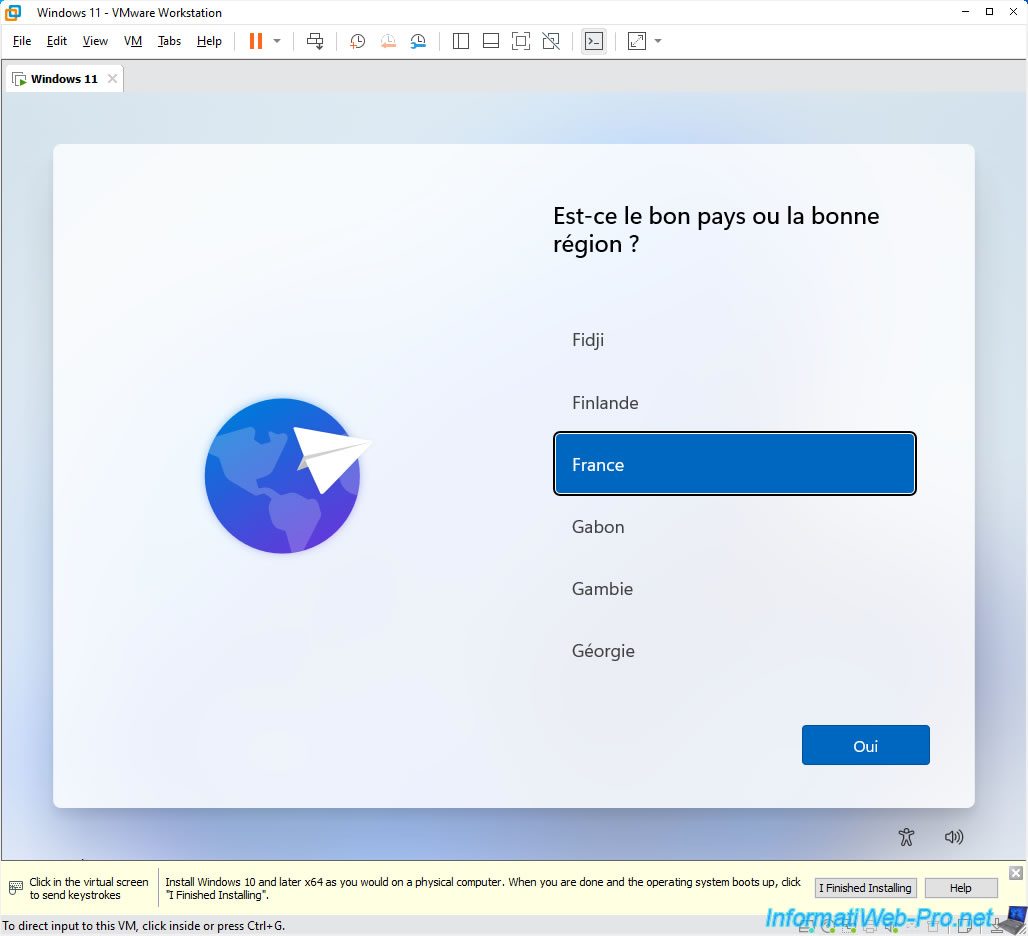
Select your country and language, then click : Next.
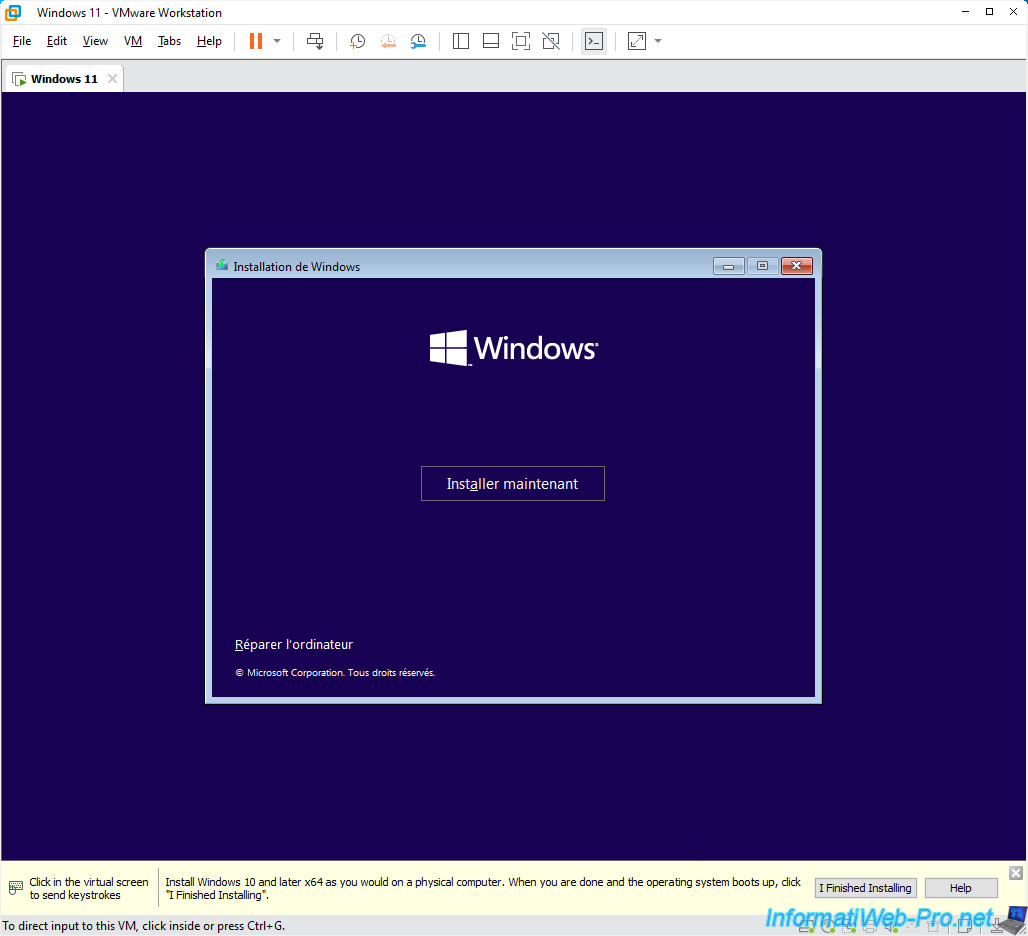
Click on : Install now.
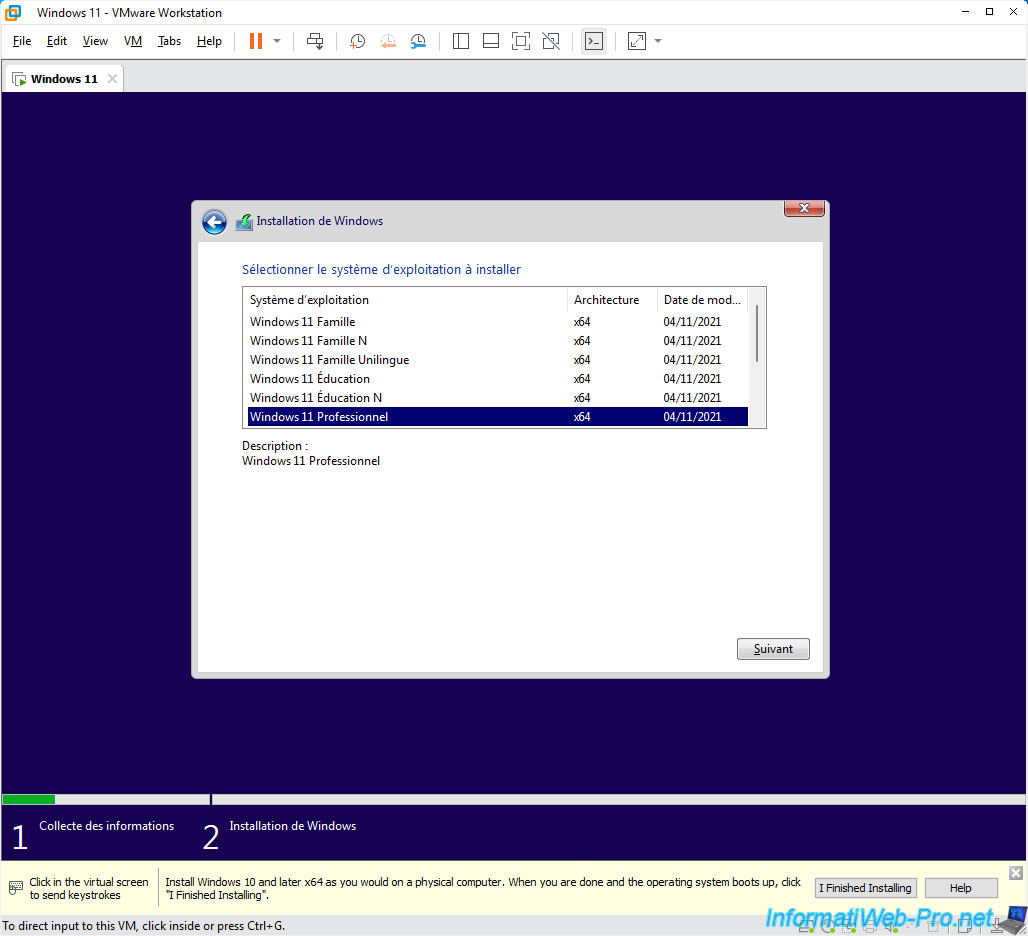
If you didn't provide a serial number for Windows 11, you will be able to select the edition of Windows 11 that you want to install.
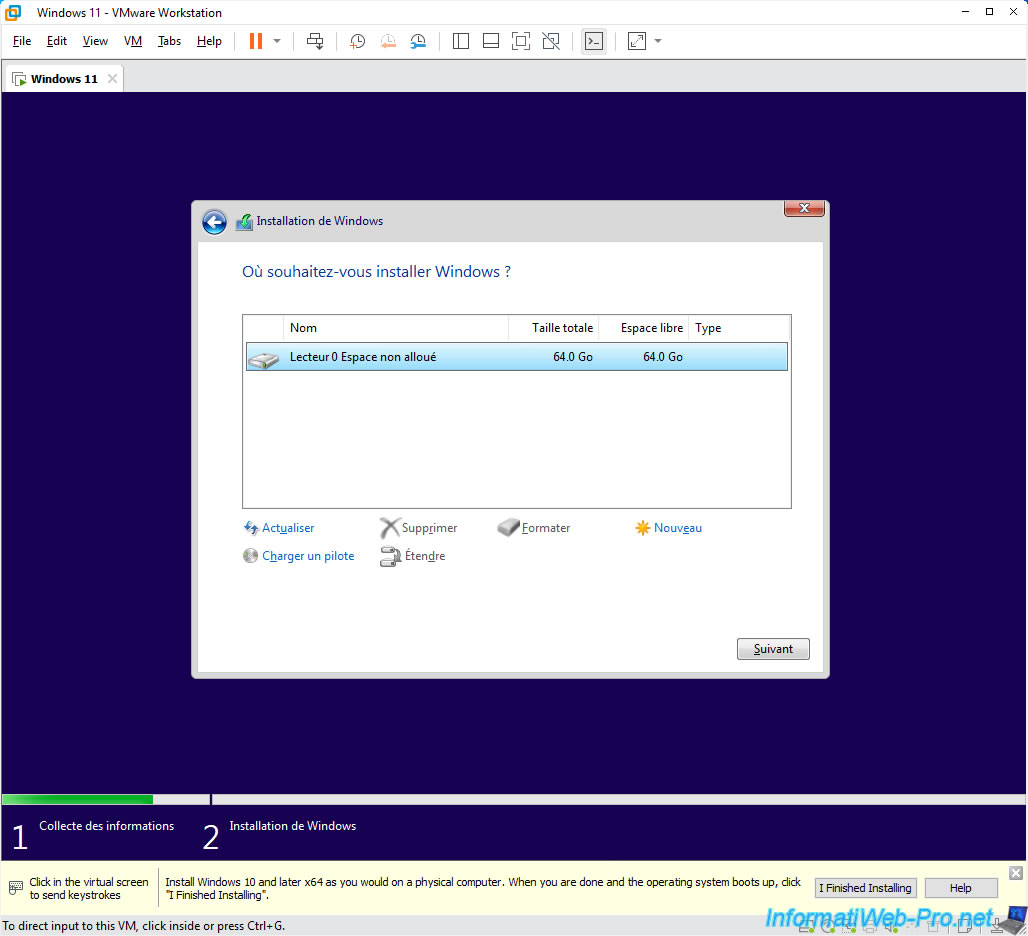
Partition your virtual hard drive if desired, then click Next.
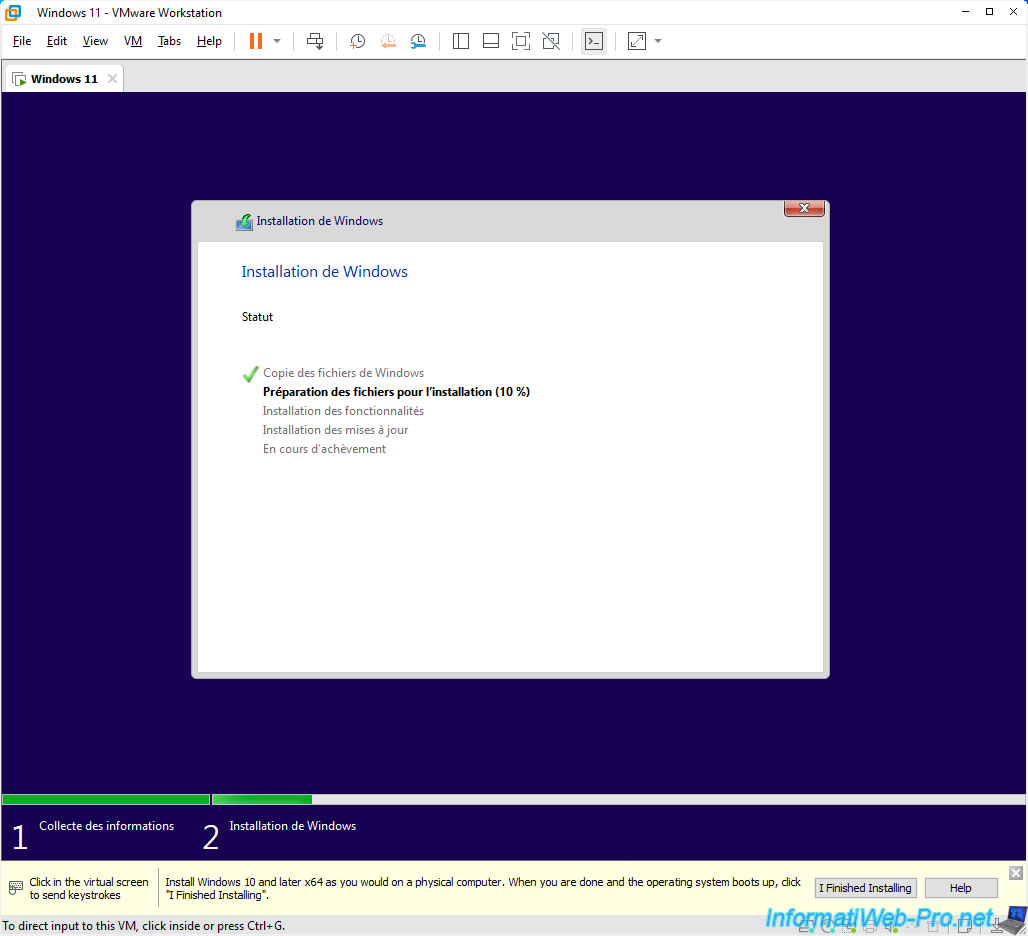
As you can see, the installation of Windows 11 starts without any problem since all the prerequisites are fulfilled.
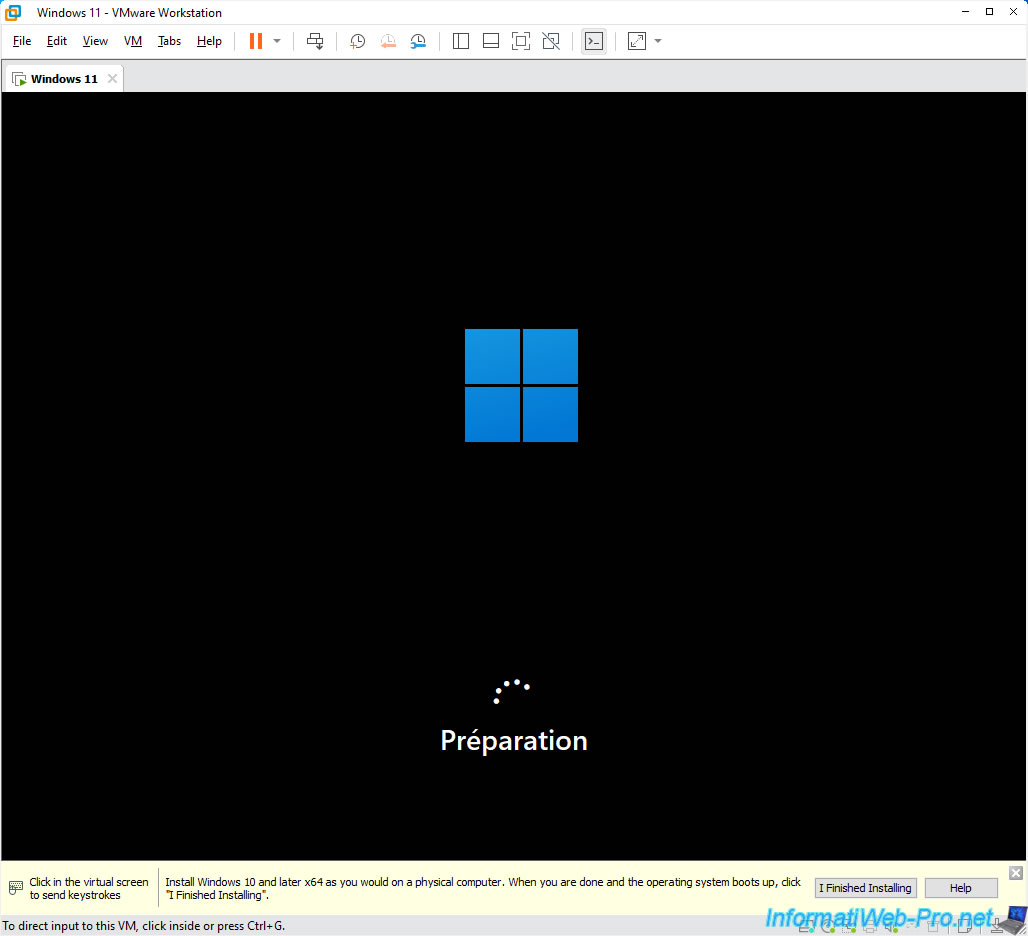
Then, your virtual machine will restart and the Windows 11 logo will appear, as well as the "Preparing" message.
After the installation of Windows 11 is complete, configure Windows 11.
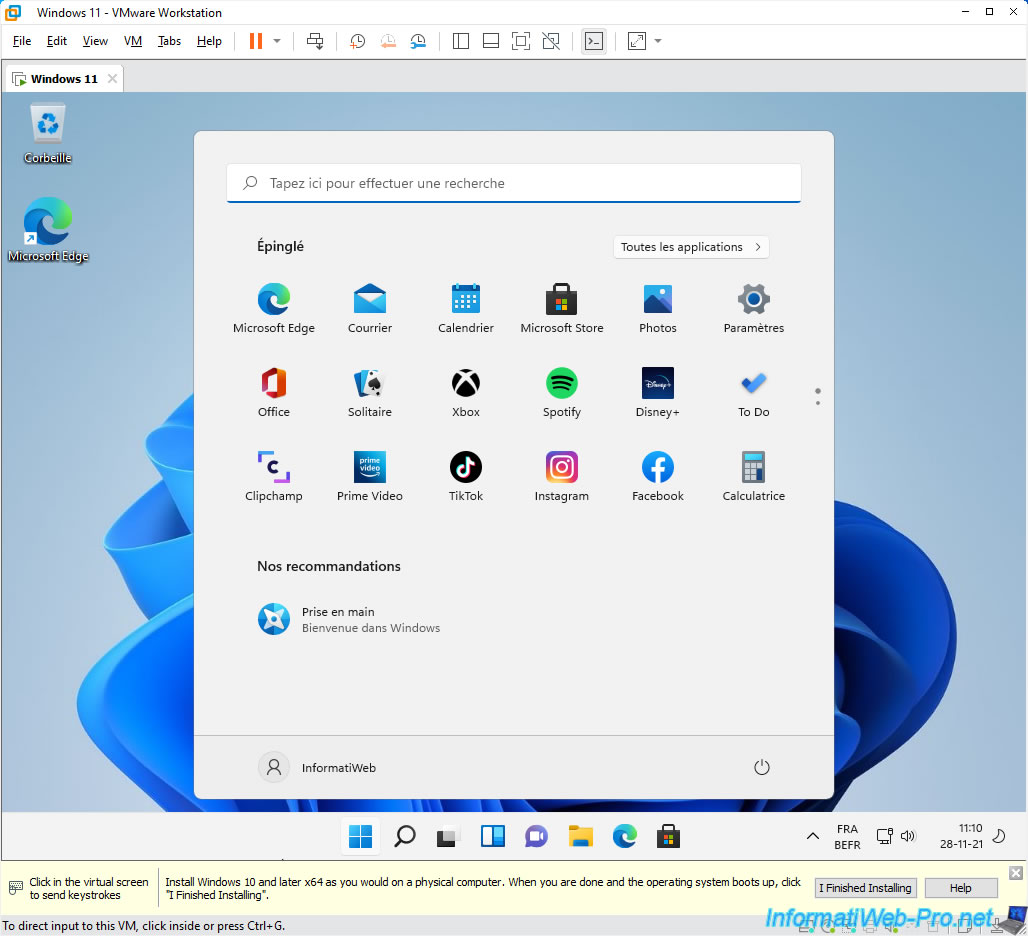
Once Windows 11 is installed and configured, you will be taken to the Windows 11 desktop.
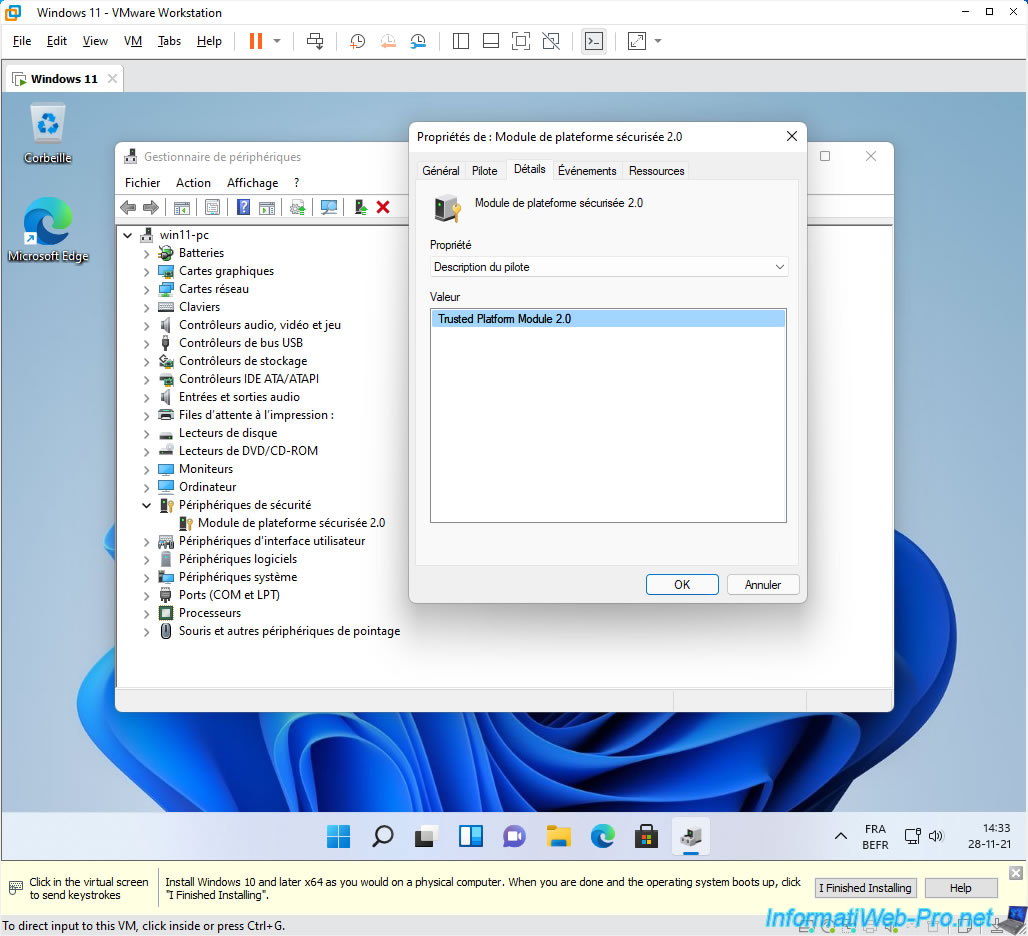
If you open Device Manager and expand the "Security devices" section, you will see that a Trusted Platform Module 2.0 is present.
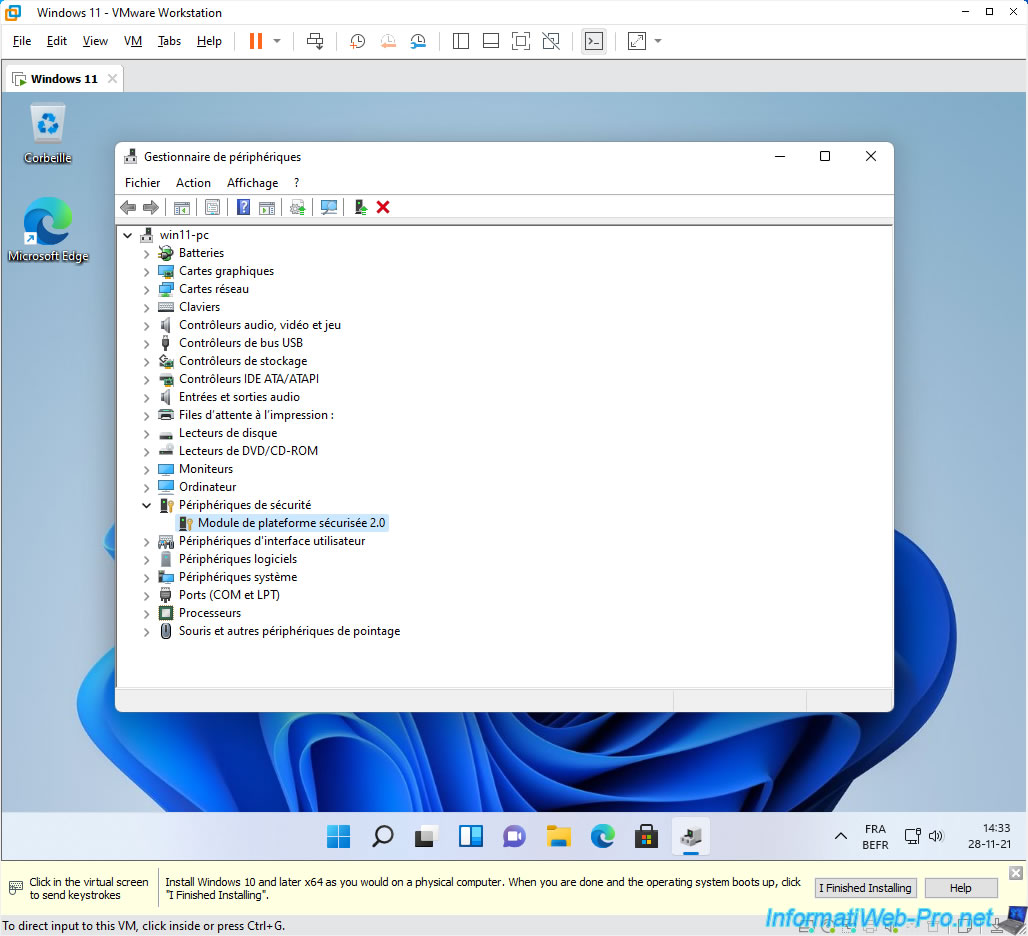
If you view the properties of this "Trusted Platform Module 2.0" device, you can see that it's Trusted Platform Module 2.0.
Share this tutorial
To see also
-

VMware 3/16/2013
VMware Workstation - Boot a VM on the BIOS / EFI firmware
-

VMware 2/7/2020
VMware Workstation 15 - Installation on Linux
-

VMware 12/24/2021
VMware Workstation 15 - Slice the virtual hard disk of a VM
-

VMware 12/10/2021
VMware Workstation 15.5 - Convert a Virtual PC virtual machine to a VMware VM
I followed your directions, but am unable to get the Win 11 install iso to boot up. Here's the error shown, 'No compatible bootloader found.'
If I remove encryption and the TPM module and change the firmware type from UEFI to BIOS, then the Win 11 boot/install screen appears. But as soon as I enter the registration code the 'This PC doesn't support Win 11' appears.
From other google searches, adding managedVM.autoAddVTPM = “software” to the (unencrypted) .vmx file will cause the Win 11 iso image to boot, but then stops with the 'This PC doesn't support Win 11' message.
Not sure what's different with Workstation 15.5.7 from 15.5.6. The VM setup steps you've detailed are very straightforward, so don't see what I missed.
FYI, the ISO file was downloaded from: https://www.microsoft.com/en-us/software-download/windows11
Since the installation does start when firmware=BIOS is selected, I believe the ISO file is good. Also opened in with 7-zip and it looks good.
I'm hesitant to move up to Workstation 16, since I have some older Windows VMs (98SE, etc.) that I'm not sure will still work on Worksation 16.
Any suggestions?
Nice work on the tutorial!
You must be logged in to post a comment