- VMware
- 07 July 2023 at 10:40 UTC
-

- 1/3

Since version 17 of VMware Workstation Pro, you can more quickly and easily create a virtual machine to install Windows 11 on it.
Indeed, a new "Windows 11" profile has been added so that the wizard selects the values recommended for this new version of Windows, as well as the automatic configuration of the settings necessary in this specific case.
- Create a Windows 11 virtual machine on VMware Workstation Pro 17
- Install Windows 11
- Install VMware Tools on Windows 11
- Shut down your Windows 11 virtual machine
1. Create a Windows 11 virtual machine on VMware Workstation Pro 17
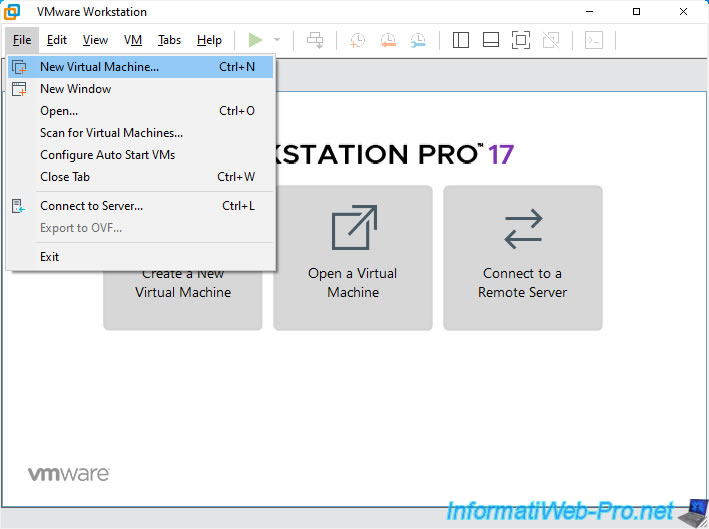
To start, go to the "File -> New Virtual Machine" menu.
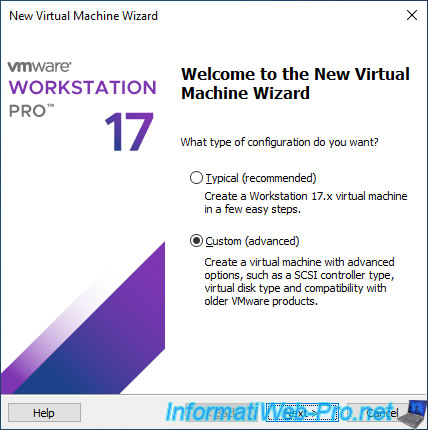
In the "New Virtual Machine Wizard" that appears, select "Custom (advanced)" and click Next.
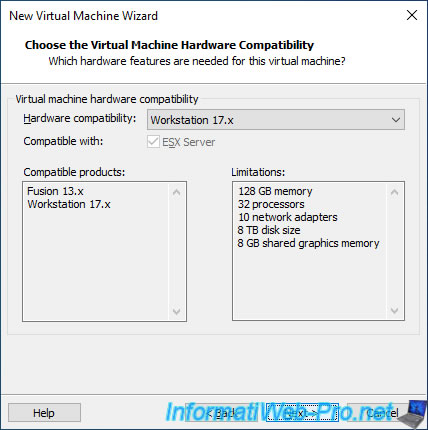
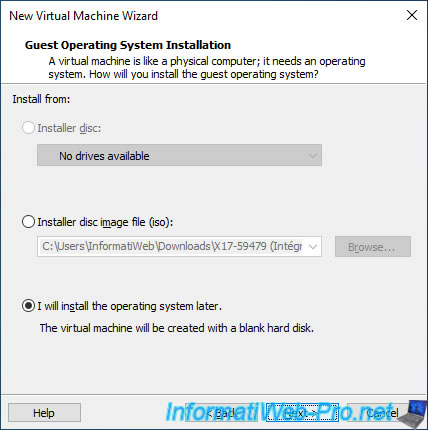
Click Next.
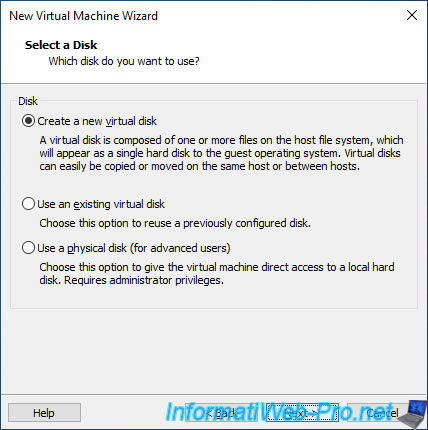
Select "I will install the operating system later" and click Next.
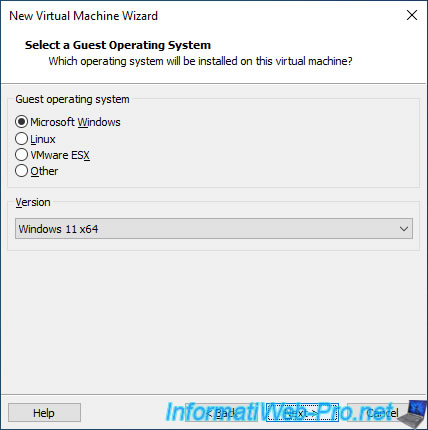
Select the "Windows 11" operating system:
- Guest operating system : Microsoft Windows.
- Version : Windows 11 x64.
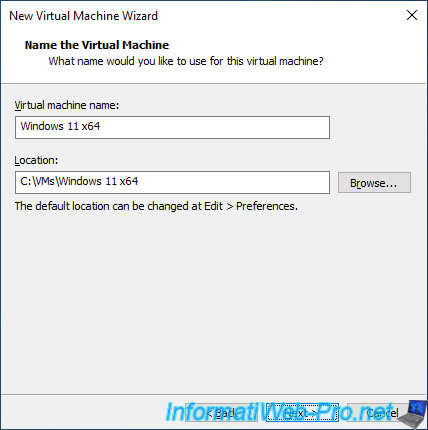
By default, the name of the virtual machine created will be : Windows 11 x64.
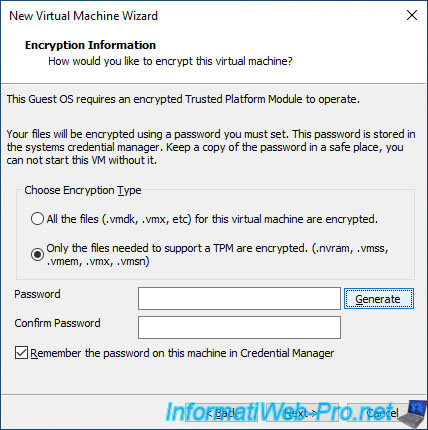
Since Windows 11, a Trusted Platform Module (TPM) 2.0 must be present in your machine's hardware.
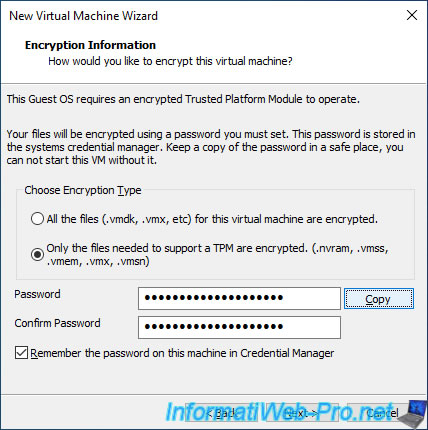
However, in VMware Workstation Pro, using a Trusted Platform Module (TPM) 2.0 requires the virtual machine to be encrypted.
Plain Text
This Guest OS requires an encrypted Trusted Platform Module to operate.

Your files will be encrypted using a password you must set. This password is stored in the systems credential manager. Keep a copy of the password in a safe place, you can not start this VM without it.
Since encrypting/decrypting virtual hard disk data requires more resources than if the data were unencrypted, VMware Workstation Pro 17 gives you the choice to fully encrypt the virtual machine or not :
- All the files (.vmdk, .vmx, etc) for this virtual machine are encrypted : the entire virtual machine (including its VMDK virtual hard disk) will be encrypted.
- Only the files needed to support a TPM are encrypted (.nvram, .vmss, .vmem, .vmx, .vmsn) : only encrypt files required for Trusted Platform Module (TPM) 2.0 support.
In other words : the configuration of the virtual machine, the data related to the snapshots and the files related to the execution of the virtual machine.
If you want to use a strong (secure) password, click "Generate".
Otherwise, you can type the password yourself if you want to use a simple password for your Windows 11 test virtual machines.
In addition, to avoid having to retype the password each time you want to use your Windows 11 virtual machines, VMware Workstation Pro 17 offers you to save the password in its integrated password manager by checking the box "Remember the password on this machine in Credential Manager".
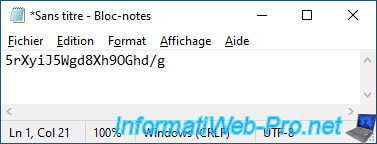
Once the password has been generated (if applicable), you can know it easily by clicking on "Copy" (to copy it), then paste it where you want.
As you can see, randomly generated passwords are strong passwords.
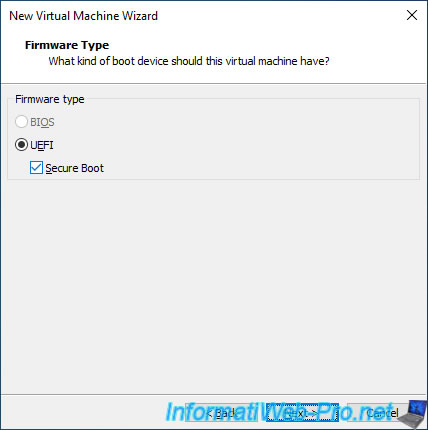
At the "Firmware Type" step, you will see that the wizard only allows you to use UEFI firmware.
However, you will also need to check the "Secure Boot" box so that secure boot (which is also part of Windows 11's prerequisites) is enabled.
However, by default, this box is not checked in version 17.0 of VMware Workstation Pro.
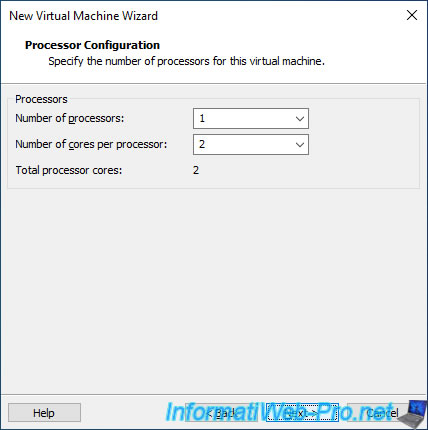
By default, 2 processor cores will be allocated to your virtual machine.
Which is one of the prerequisites of Windows 11.
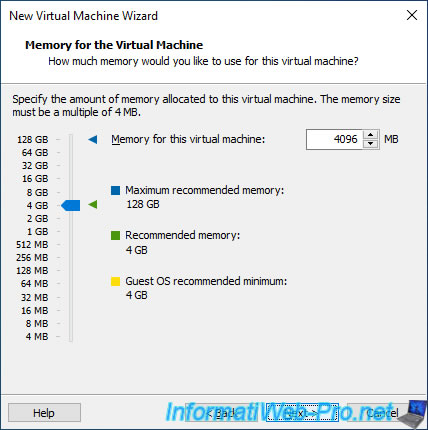
By default, 4 GB of random access memory (RAM) will be allocated to your virtual machine.
Which is also part of Windows 11 prerequisites.
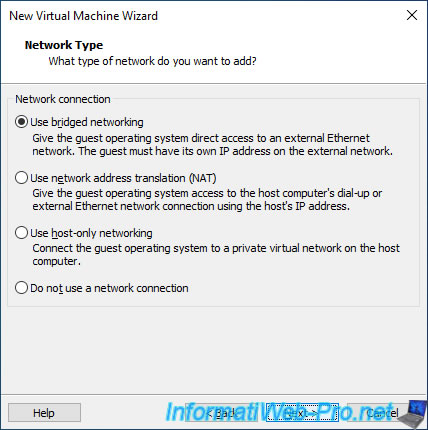
Choose the desired network access mode.
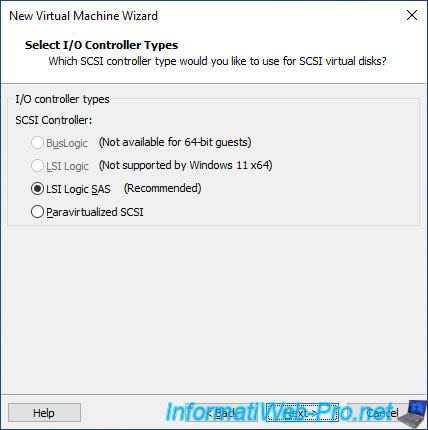
Leave the controller type selected by default as it's the recommended choice for this OS.
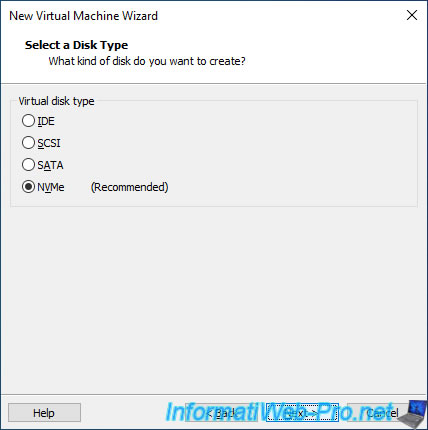
Again leave the default choice which is recommended.
An NVMe type disk being seen as an SSD.
Click Next.
As you can see, the new default size for virtual hard disk for Windows 11 is 64 GB.
This corresponds to the minimum requested by Microsoft in the prerequisites of Windows 11.
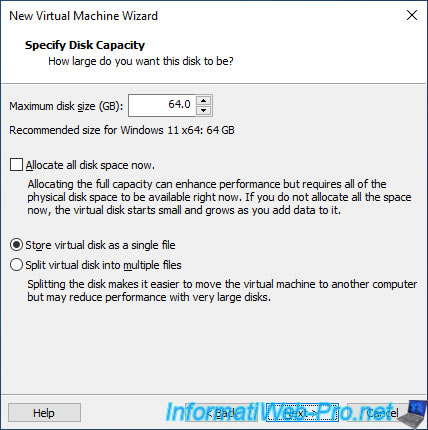
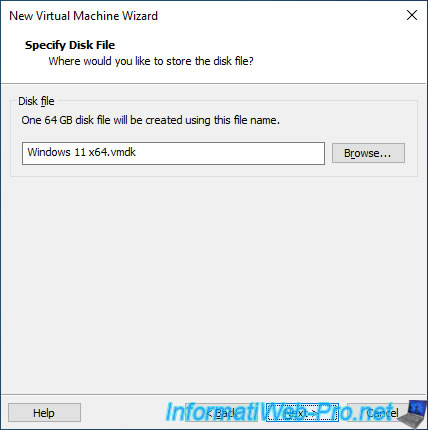
Click Next.
Click on : Customize Hardware.
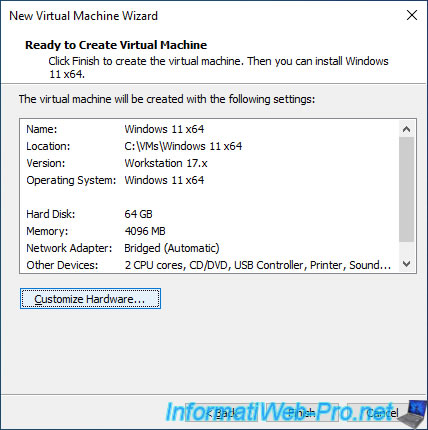
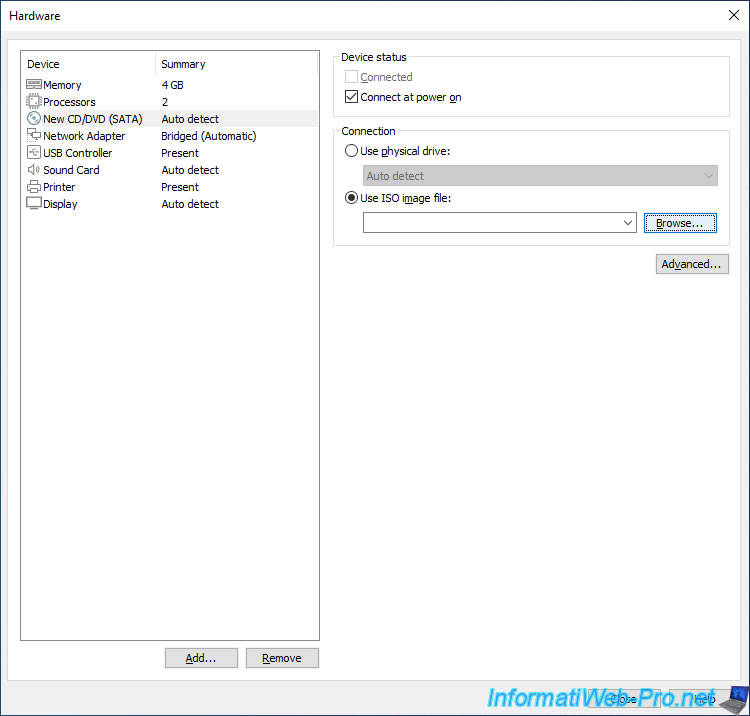
In the virtual hardware of your future virtual machine :
- select the virtual CD/DVD drive : New CD/DVD (SATA)
- check the "Connect at power on" box
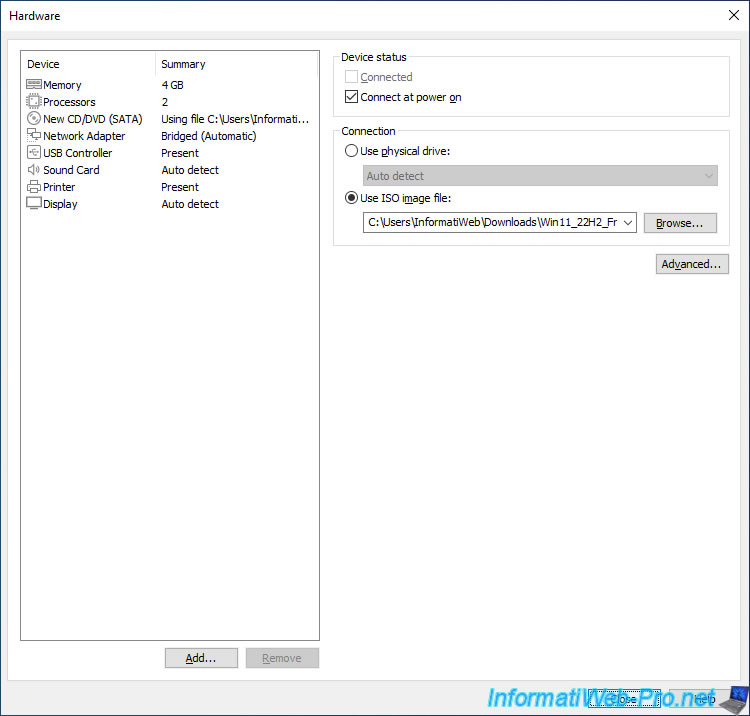
- select the "Use ISO image file" option and click Browse.
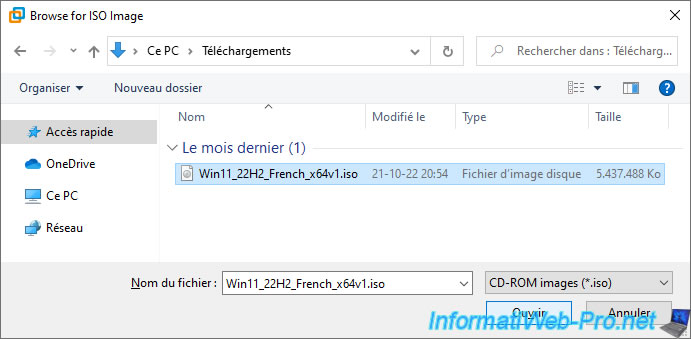
Select your Windows 11 ISO file and click Open.
Click Close.
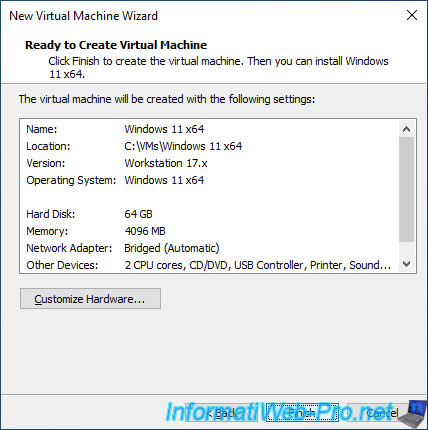
Important : Trusted Platform Module (TPM) 2.0 is currently not displayed in your virtual machine's virtual hardware, but will be automatically added seamlessly once the virtual machine is created.
Click Finish.
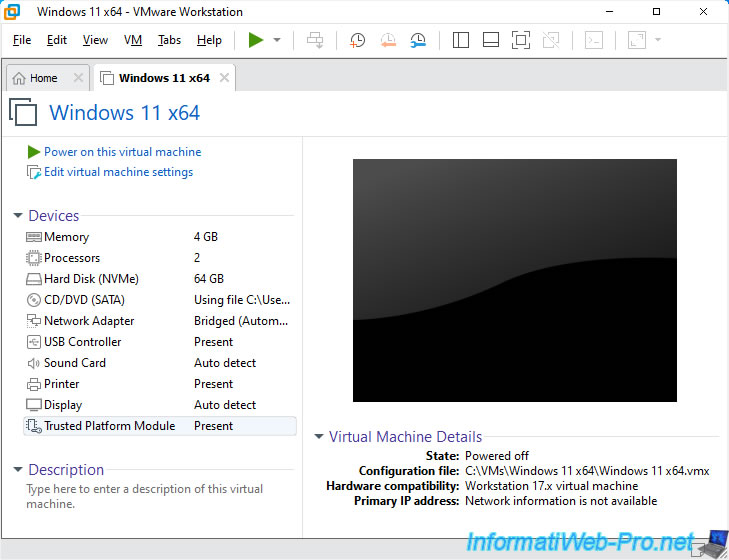
Once the virtual machine is created, you will see that a "Trusted Platform Module" device is present.
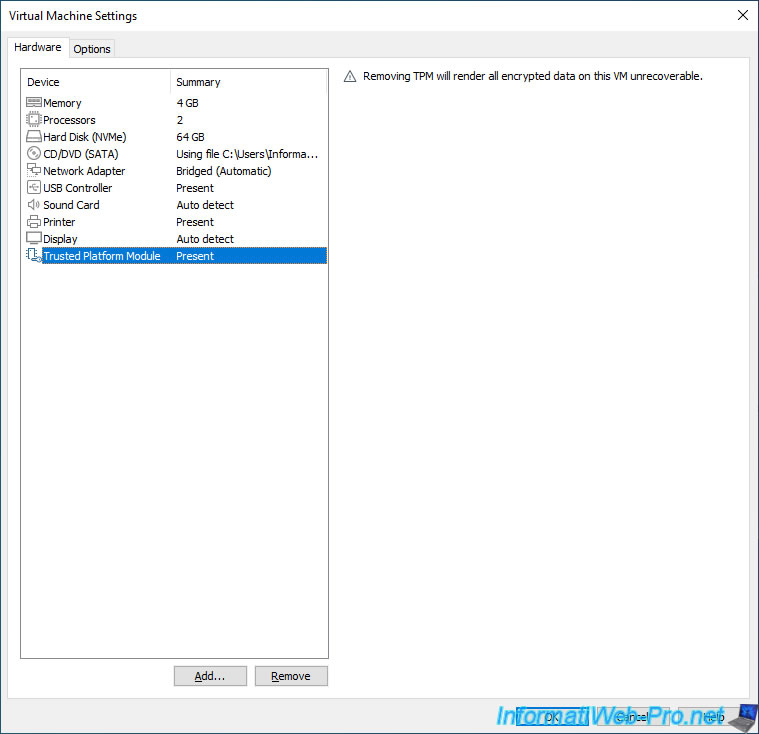
If you try to modify this virtual machine, you will see again that this "Trusted Platform Module" is present.
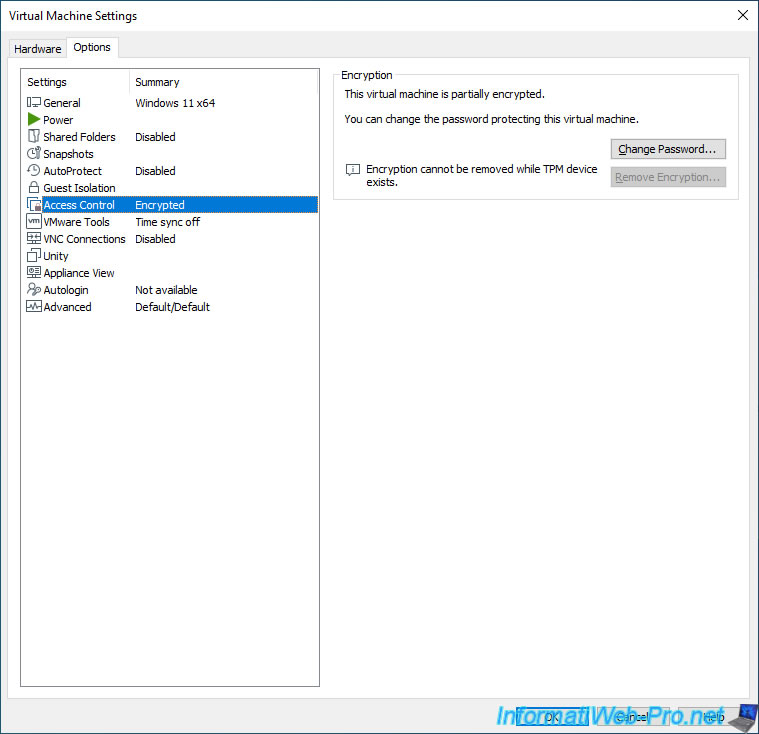
As expected, in "Options -> Access Control", you will see that your virtual machine is encrypted (partially or fully depending on your choice when creating your VM).
Share this tutorial
To see also
-

VMware 3/16/2013
VMware Workstation - Boot a VM on the BIOS / EFI firmware
-

VMware 2/7/2020
VMware Workstation 15 - Installation on Linux
-

VMware 12/24/2021
VMware Workstation 15 - Slice the virtual hard disk of a VM
-

VMware 12/10/2021
VMware Workstation 15.5 - Convert a Virtual PC virtual machine to a VMware VM
You must be logged in to post a comment