- VMware
- 24 January 2020 at 10:34 UTC
-


With VMware Workstation 8 and 9, you had the ability to record the virtual machine screen directly from VMware Workstation without having to go through third-party software.
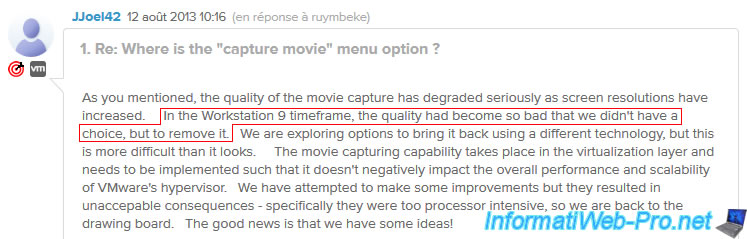
Nevertheless, the encoding of these videos was done with a VMware proprietary codec (VMnc) and this feature has been discontinued by VMware, because the quality of the videos was no longer acceptable.
1. Record the screen of a virtual machine
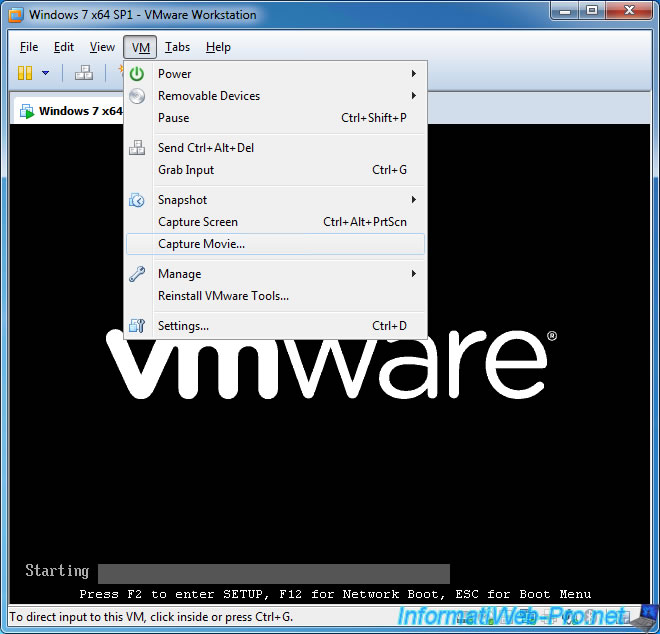
To record the screen of a virtual machine (including when it reboots, which was very convenient), go to the menu : VM -> Capture Movie.
Provide a name and location for the movie that will be created by VMware Workstation and select the desired quality :
- High (best quality for short captures)
- Medium (higher quality for longer captures)
- Low (better for e-mailing)

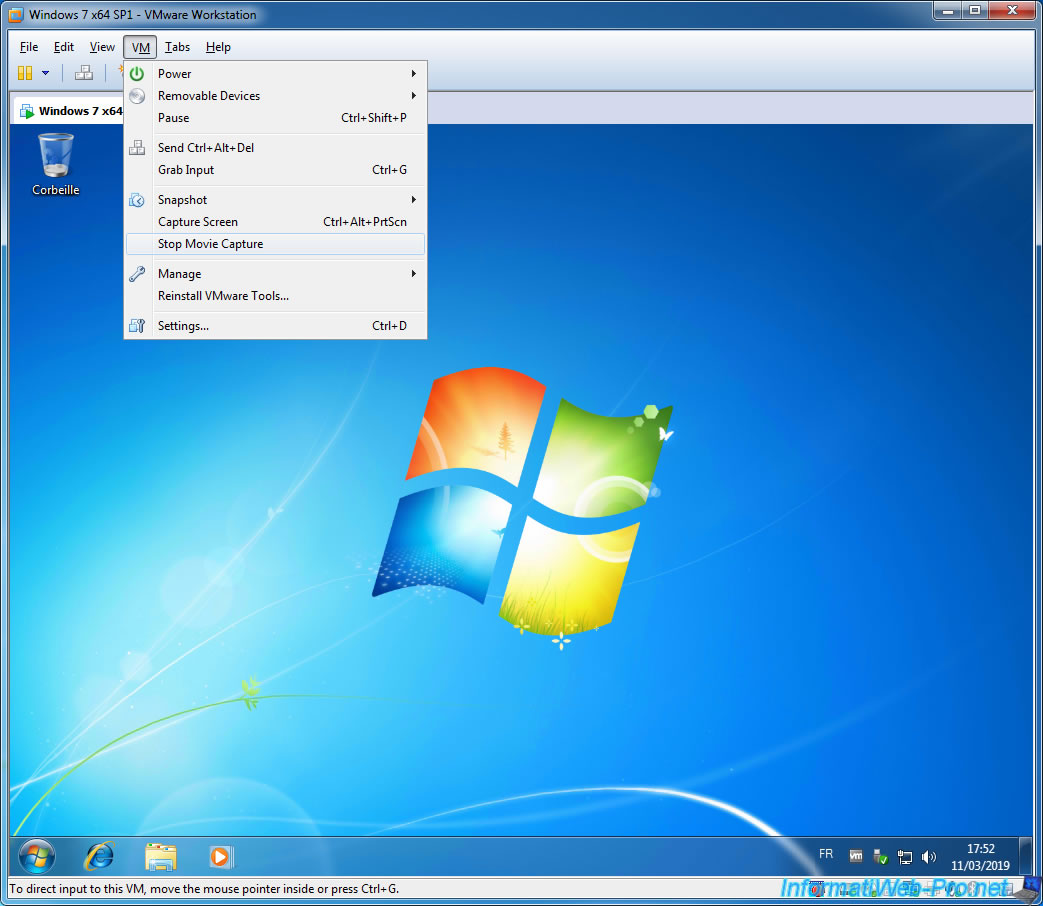
Then, to stop recording the screen of your virtual machine, just click on : VM -> Stop Movie Capture.
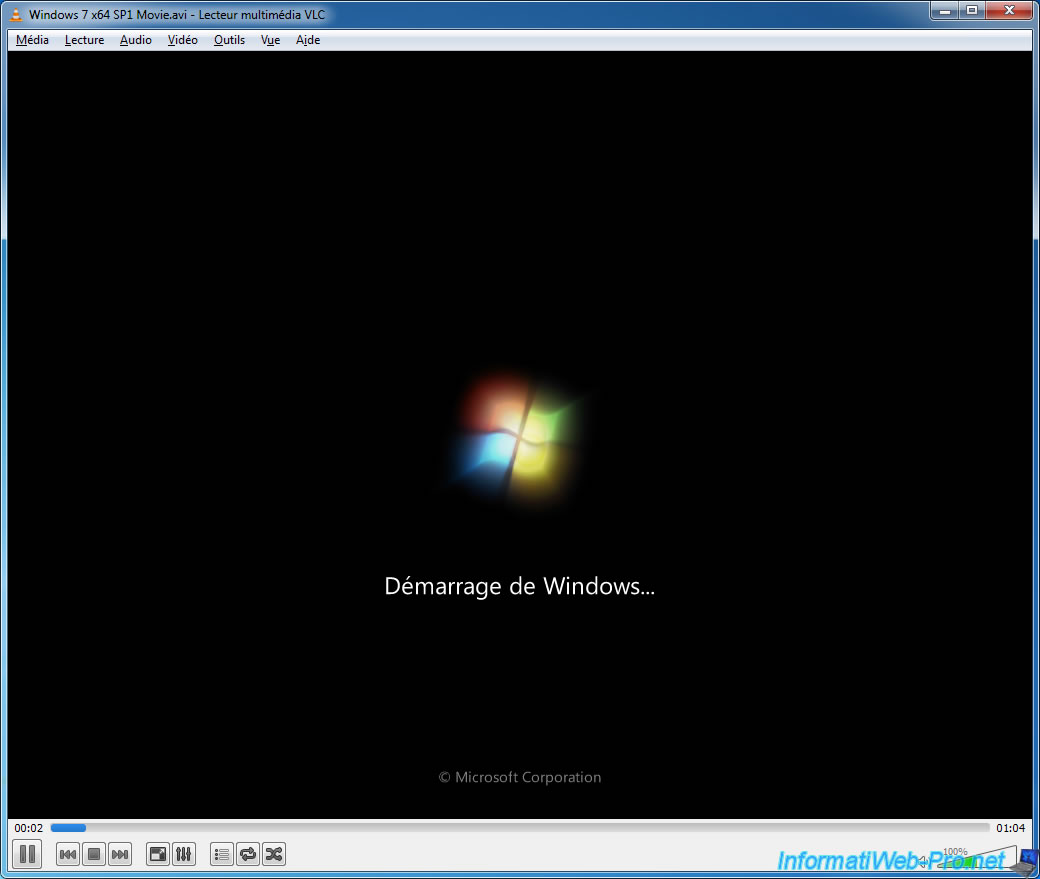
Once the video is complete, you can open it directly with VLC (for example).
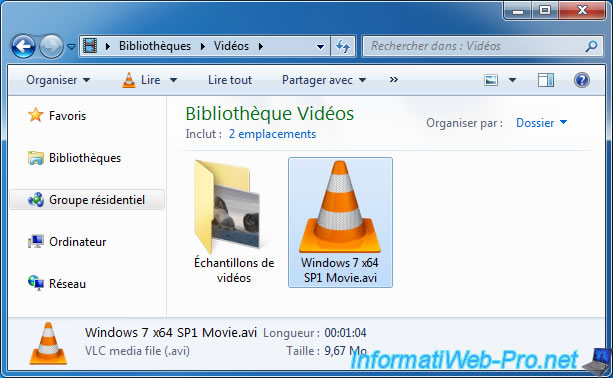
As you can see, the video is readable without any problem.
2. Edit the movie created by VMware Workstation
2.1. Missing VMnc proprietary codec
The only problem with these videos is that they are encoded with a proprietary VMnc codec created by VMware.
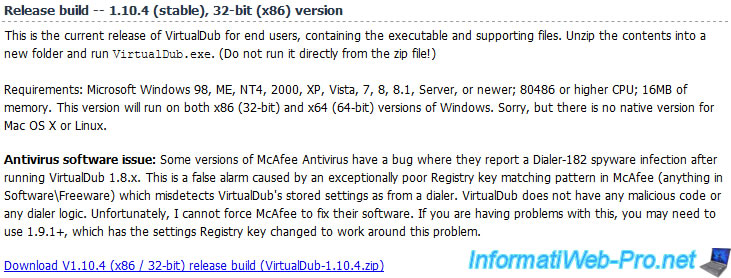
For example, to edit videos, you can use the 32-bit version (NOT the 64-bit version) of VirtualDub 1.10.4.
Try to open the video via the File menu of VirtualDub (which supports avi files, for example).
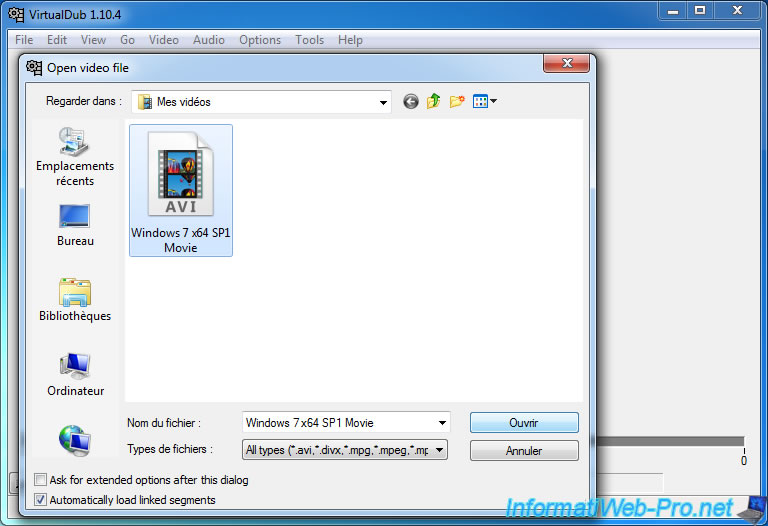
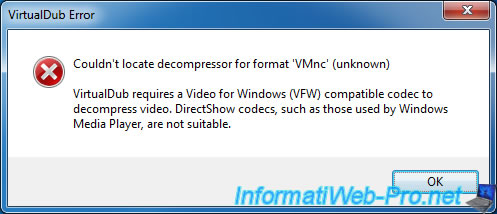
And an error occurs because of the proprietary VMware codec.
Plain Text
Couldn't locate decompressor for format 'VMnc' (unknown)

VirtualDub requires a Video for Windows (VFW) compatible codec to decompress video. DirectShow codecs, such as those used by Windows Media Player, are not suitable.
The only important information in this error is the name of the missing codec : VMnc.
As noted in the official VMware Workstation 9 documentation, videos are encoded with a VMware codec that is installed on your computer when you install VMware Workstation.
Which is not the case on this computer.
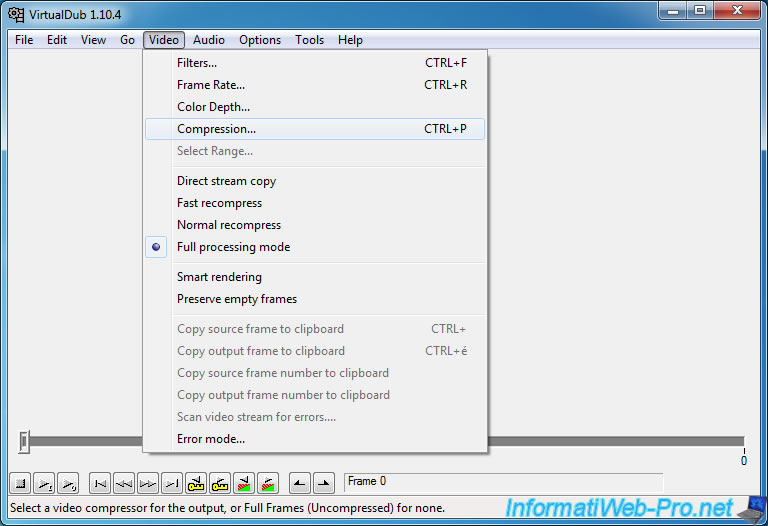
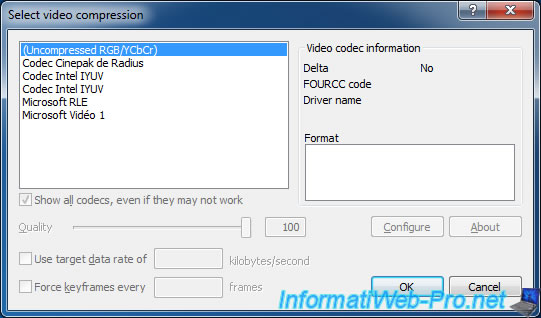
Indeed, if you go in the menu "Video -> Compression" of VirtualDub, you will see that the VMnc codec is not there.
2.2. Installing the missing VMnc codec (VMware Movie Decoder)
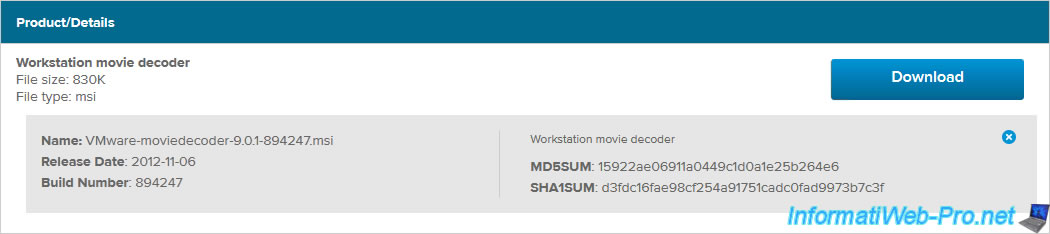
To fix this issue without installing VMware Workstation, VMware provides a download named Workstation Movie Decoder that installs the missing VMnc codec correctly on the desired PC.
Note that there is one version of VMware Movie Decoder for each supported version of VMware Workstation.
In our case, we are using VMware Workstation version 9.01 in this tutorial, so we will download VMware Movie Decoder 9.0.1 (Workstation Movie Decoder).
Note that older versions (older than 9.0) have known vulnerabilities (VMware Security Advisories - VMSA-2012-0014) and VMware Movie Decoder is no longer supported because the corresponding Workstation feature is no longer supported.
Download the above file by first creating a VMware account and launch the downloaded file.
Then, nothing more simple, just click Next at each step.
Accept the end-user license agreement.

Click Install.
The codec is installed.
2.3. Edit the video in VirtualDub
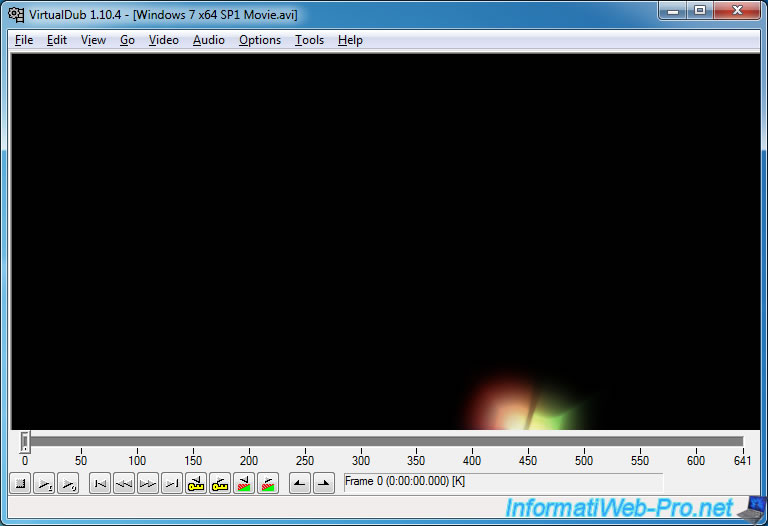
Open the video with VirtualDub.
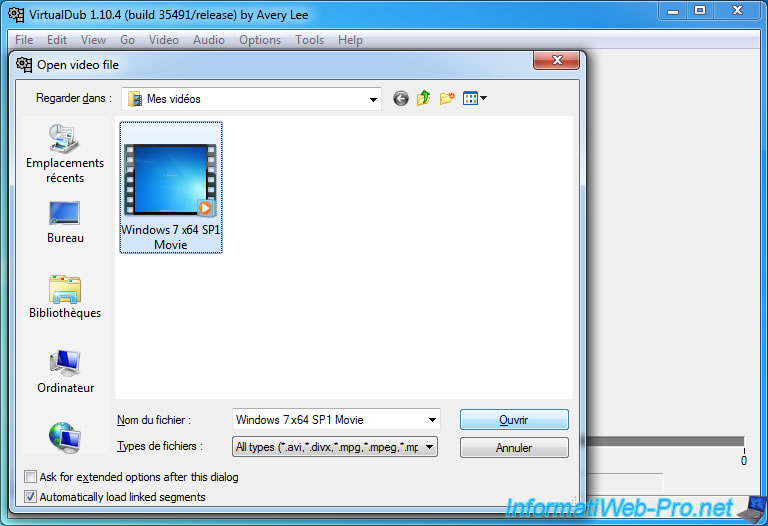
And it now appears without problems in VirtualDub.
Which was not the case before.
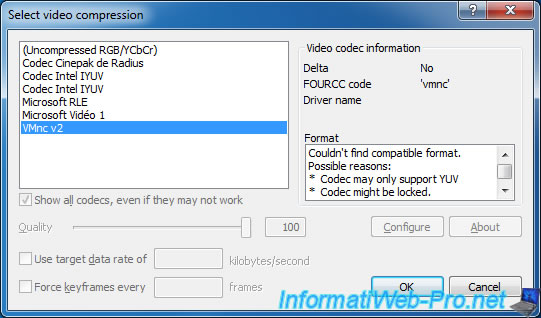
If you go back to "Video -> Compression", you will see that the VMnc v2 (or VMnc) codec has appeared.
Nevertheless, this codec will only allow to uncompress the video and not to recompress it after modification.
Which means that you will have to use another codec to compress it again (for example : Xvid).
Share this tutorial
To see also
-

VMware 3/16/2013
VMware Workstation - Boot a VM on the BIOS / EFI firmware
-

VMware 2/7/2020
VMware Workstation 15 - Installation on Linux
-

VMware 12/24/2021
VMware Workstation 15 - Slice the virtual hard disk of a VM
-

VMware 12/10/2021
VMware Workstation 15.5 - Convert a Virtual PC virtual machine to a VMware VM
You must be logged in to post a comment