Slice the virtual hard disk of a VMware Workstation Pro 15 virtual machine using VMware vCenter Converter Standalone
- VMware
- 24 December 2021 at 12:30 UTC
-

- 2/2

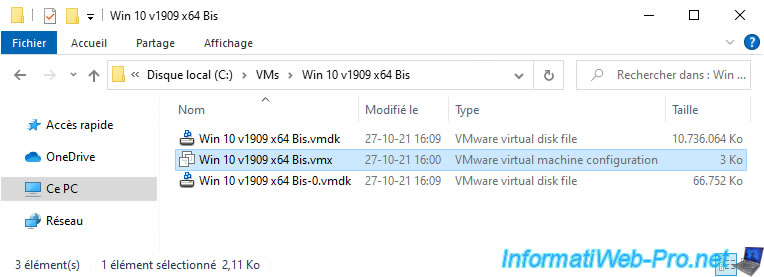
3. Converted virtual machine
Once your virtual machine is converted, you will find in the destination folder : a configuration file in ".vmx" format and a ".vmdk" file per virtual hard disk created.
The other usual files (".vmxf", ".nvram", ...) will be created automatically by VMware Workstation when you have opened and started this new virtual machine at least once from VMware Workstation Pro.
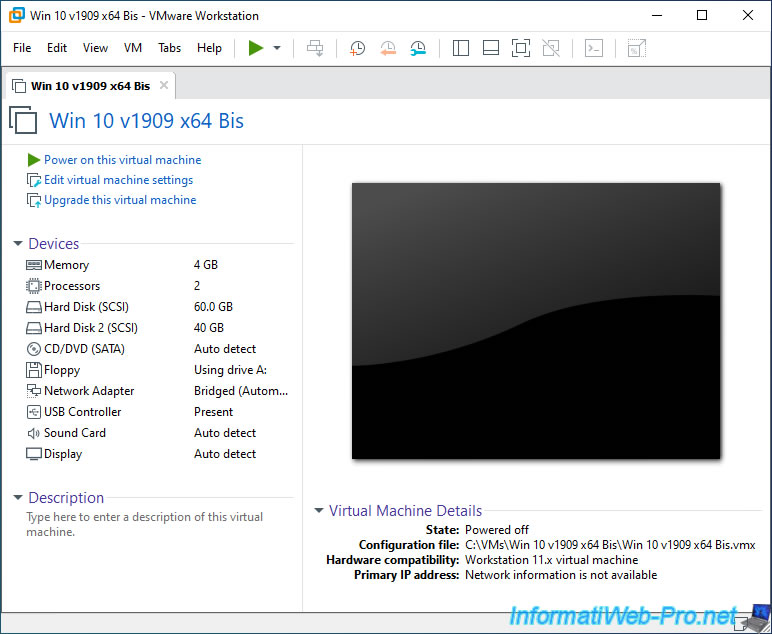
To open it, double-click on its ".vmx" configuration file.
The virtual machine appears in VMware Workstation Pro.
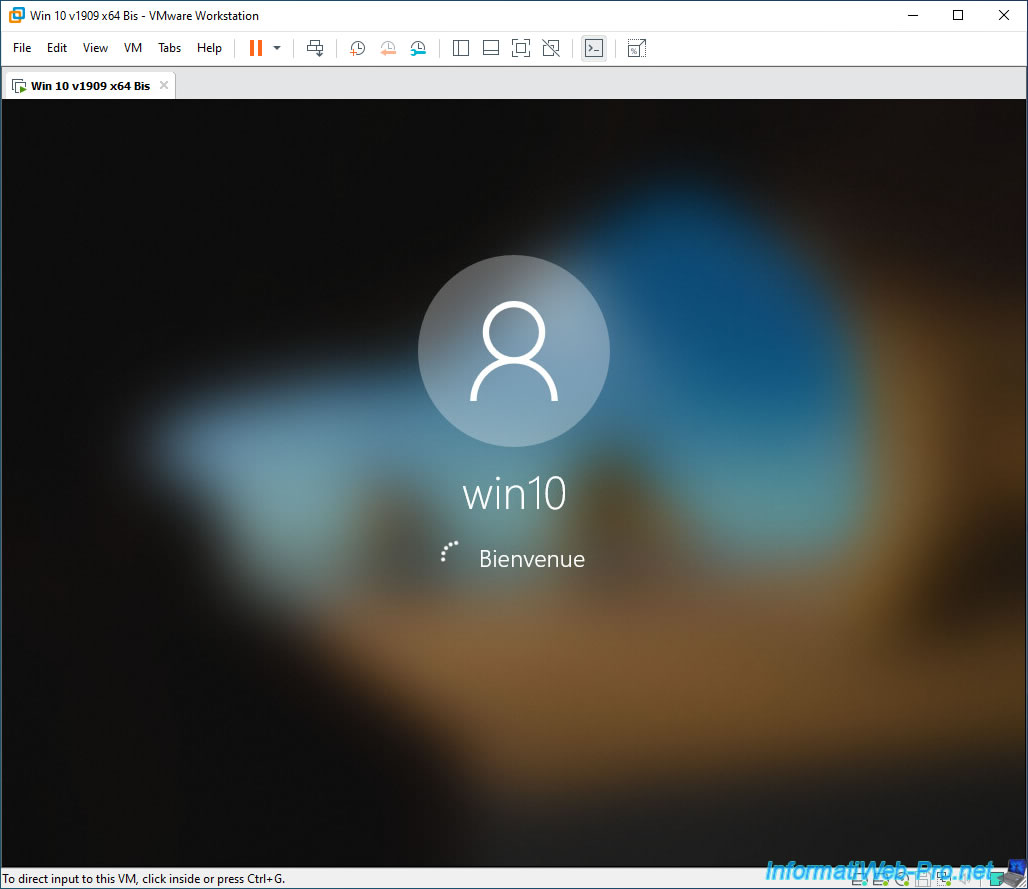
Start this virtual machine and it starts up without a problem.
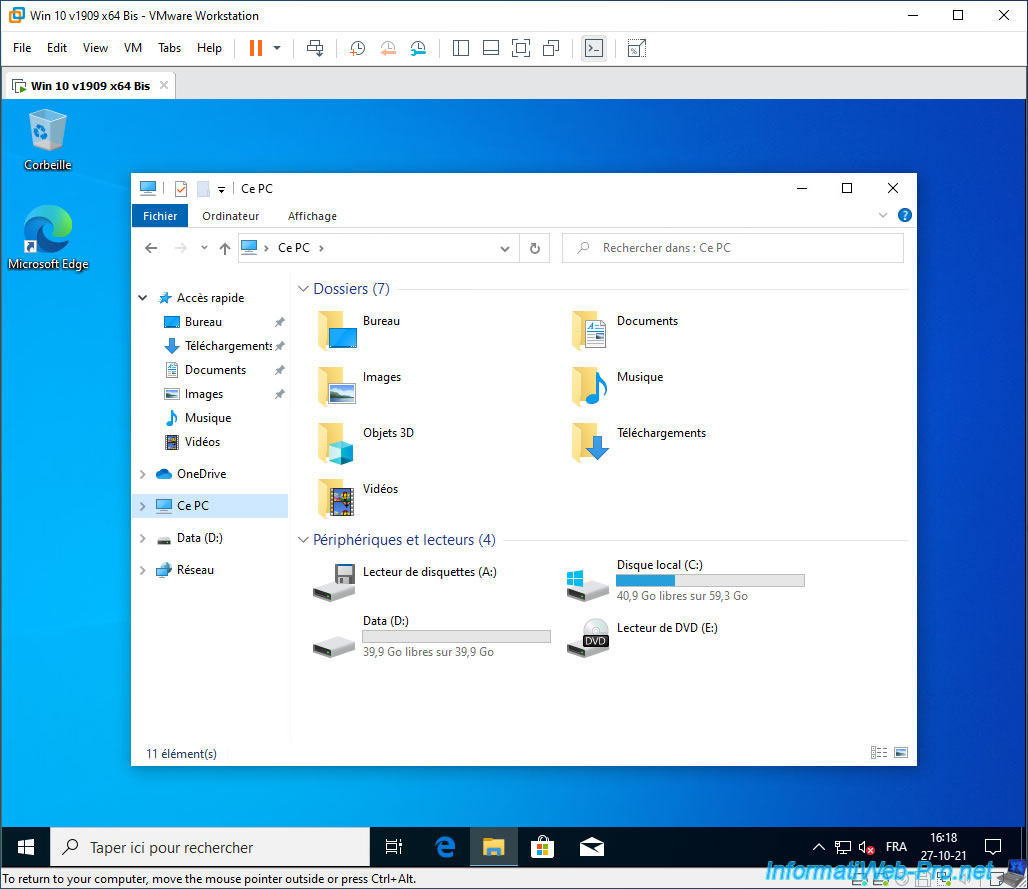
As expected, you find your virtual machine in the same state as before (with one difference).

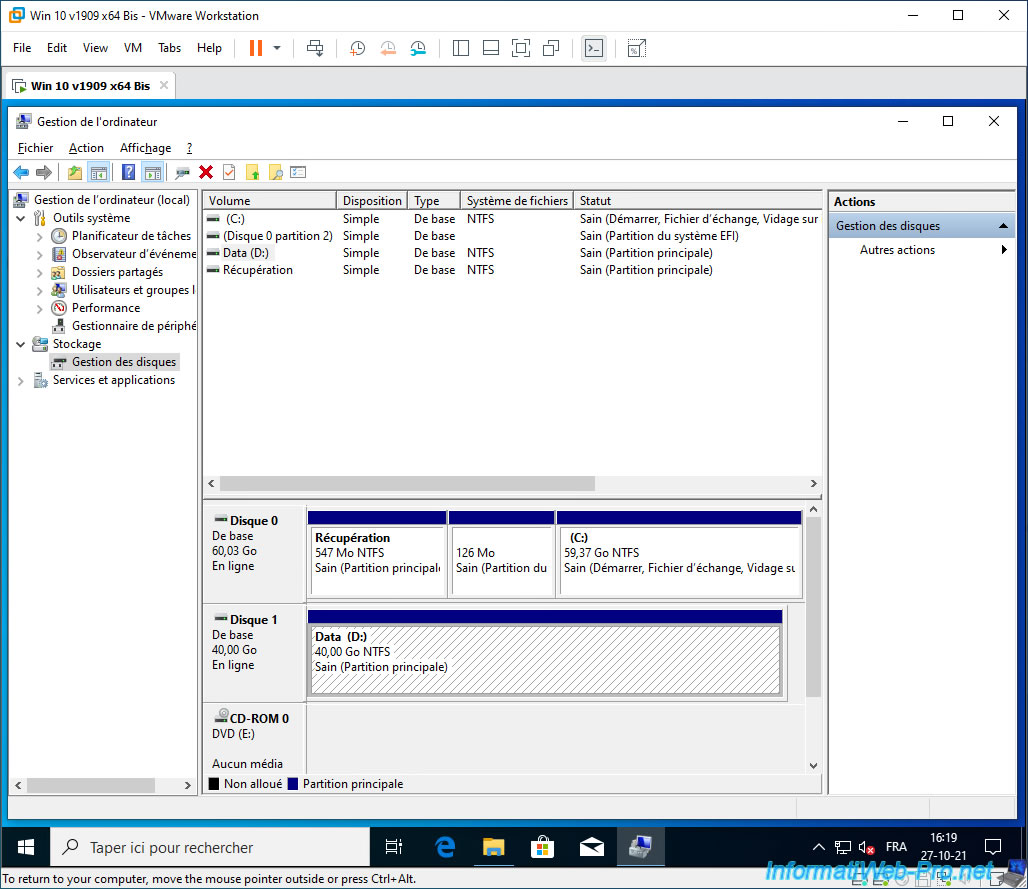
Open the file explorer and you will find the same partitions as before.
Note that the addition of the floppy drive is due to using a different version of virtual hardware (but you can change this later if you wish).
Right click "Manage" on "This PC".
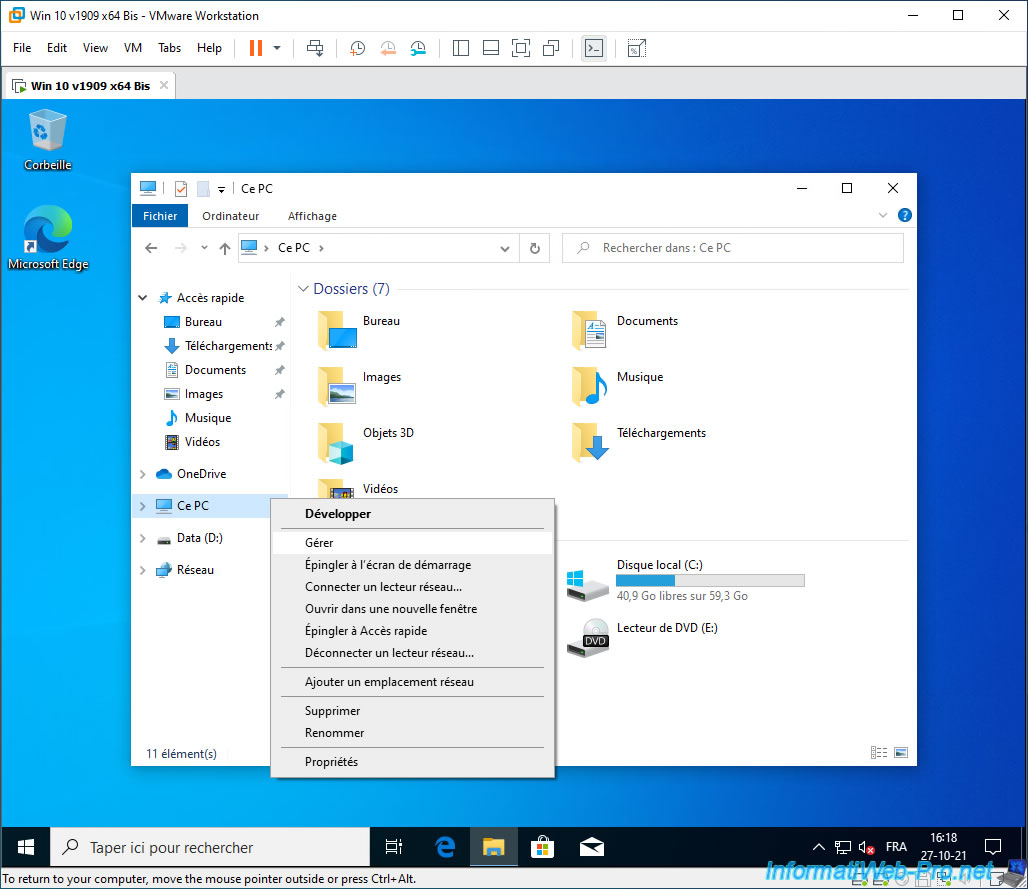
Go to Windows disk management and you will see that your "Data" partition has been moved to an additional virtual hard disk.
This will allow you in the future to enlarge the "C" partition (in our case) if you wish, by first enlarging the corresponding virtual hard disk.
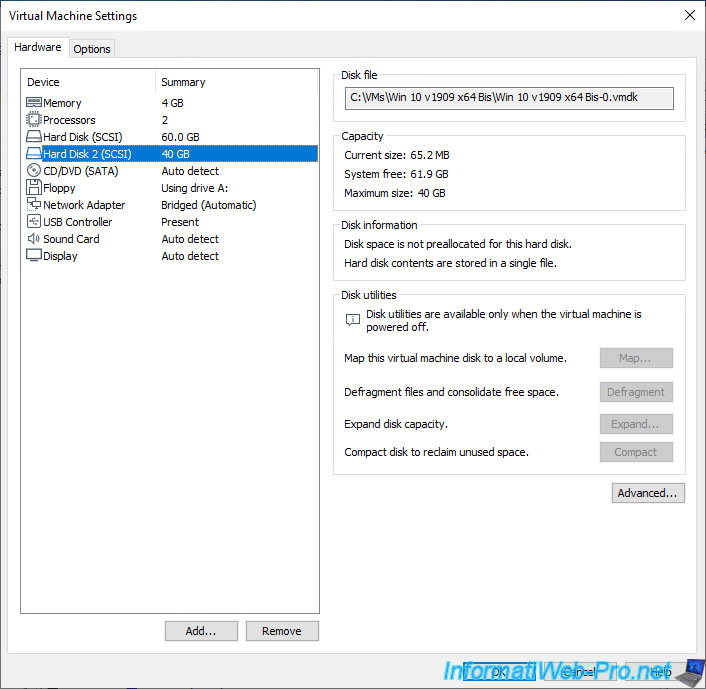
If you go to the settings of your virtual machine via the "VM -> Settings" menu and select one of the virtual hard disks, you will be able to see the type of provisioning used (know if the space is pre-allocated or not), as well as whether the virtual hard disk is split into several files or not by looking in the "Disk information" section.
4. Upgrade the virtual machine's virtual hardware
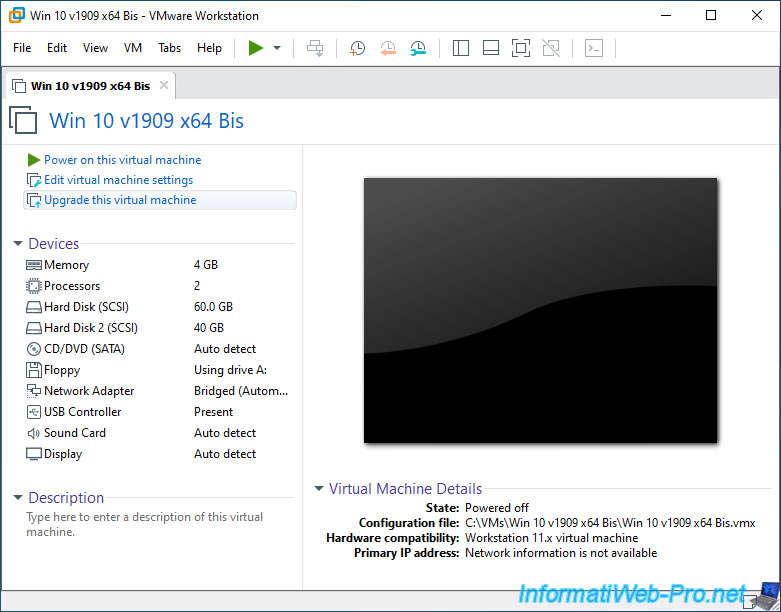
As you have seen previously, VMware vCenter Converter Standalone can only create virtual machines with virtual hardware version 11.x or less.
Hence the display of the option "Upgrade this virtual machine". You can also see that the Hardware compatibility level is : Workstation 11.x virtual machine.
Click "Upgrade this virtual machine" to upgrade your virtual machine's virtual hardware to a newer version.
Preferably, the latest version (corresponding to your version of VMware Workstation) to benefit from maximum features and lower some limits (depending on the version of virtual hardware chosen).
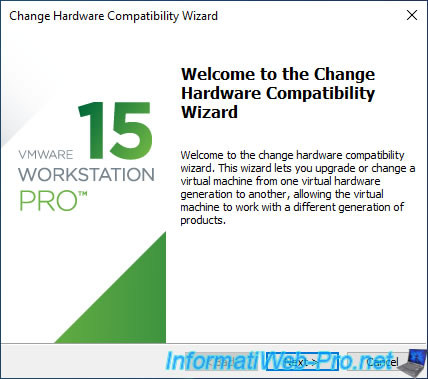
The Change Hardware Compatibility Wizard appears.
Click on Next.
As you can see, in our case the 11.x version currently used for this virtual machine has many limitations : no support for NVMe devices (virtual hard disks), no UEFI secure boot, no IOMMU support, ...
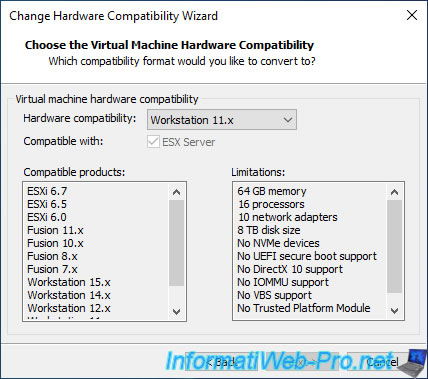
Select a newer version of virtual hardware.
Preferably the latest version available.

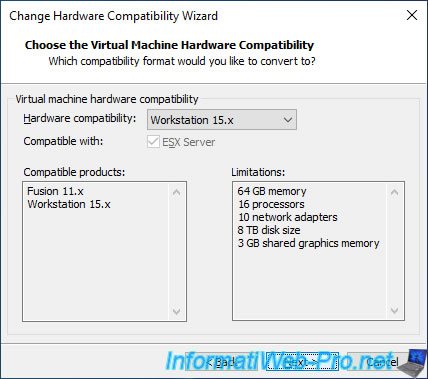
As you can see, there are a lot less limitations on the newer version that we have chosen.
In our case : Workstation 15.x.
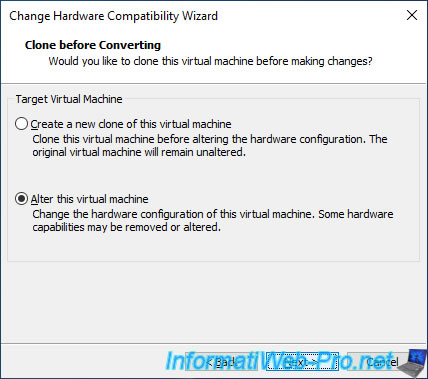
Select "Alter this virtual machine" to edit this virtual machine without creating a copy of it.
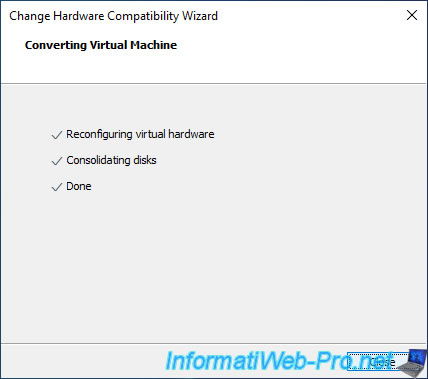
The wizard reconfigures the virtual hardware of your virtual machine.
Click on Close.
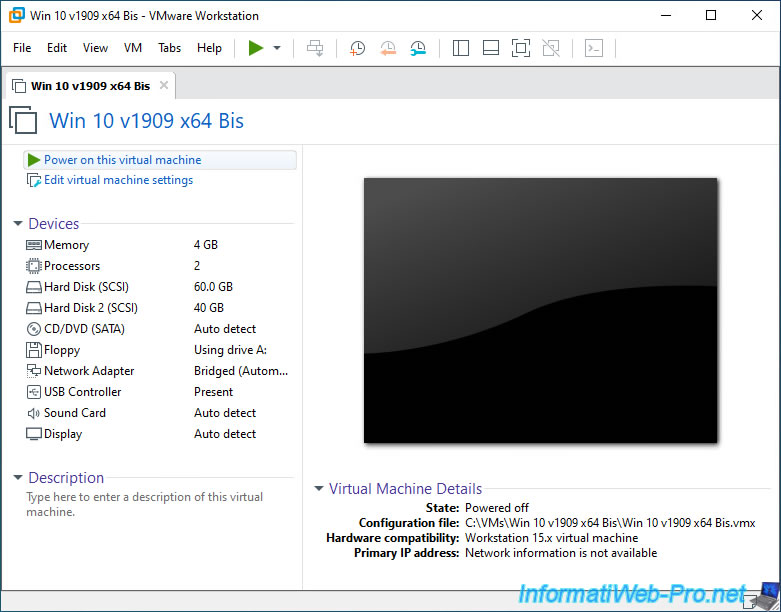
Now, you can see that the hardware compatibility level has been updated (to "Workstation 15.x virtual machine" in our case).
If you have chosen the most recent version possible, the "Upgrade this virtual machine" option will be gone.
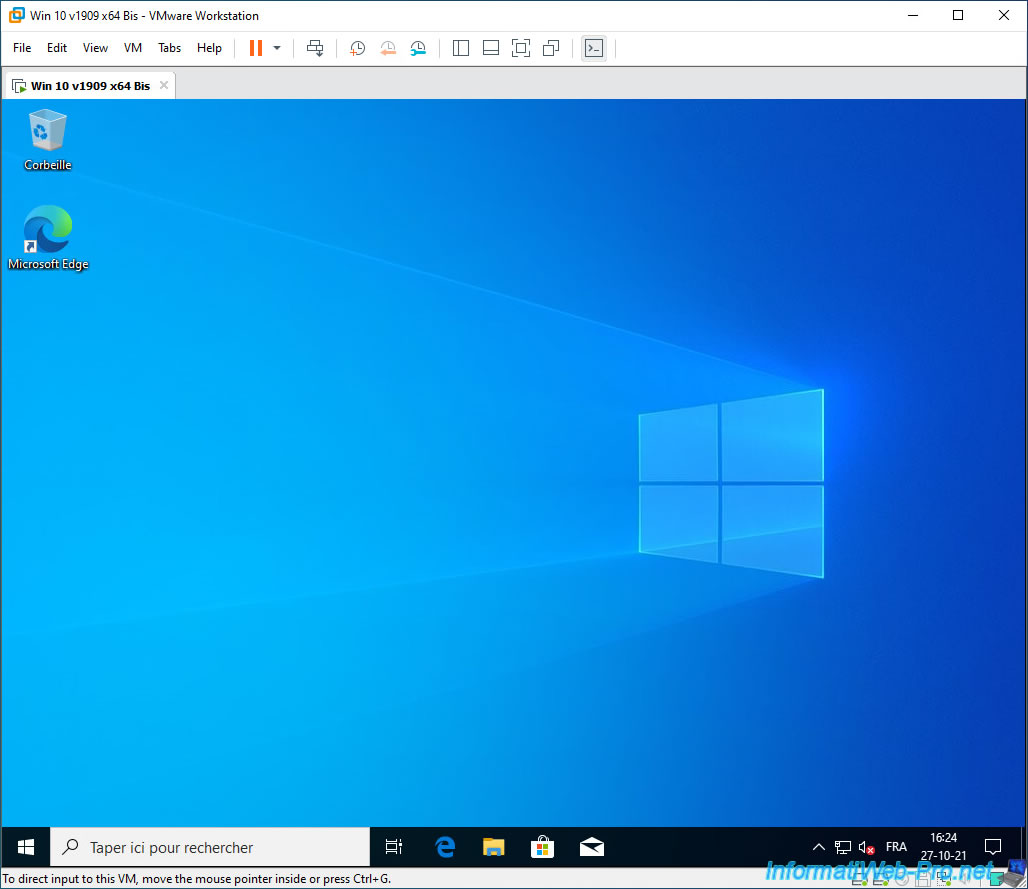
Start your virtual machine.
As you can see, our virtual machine is still working fine.
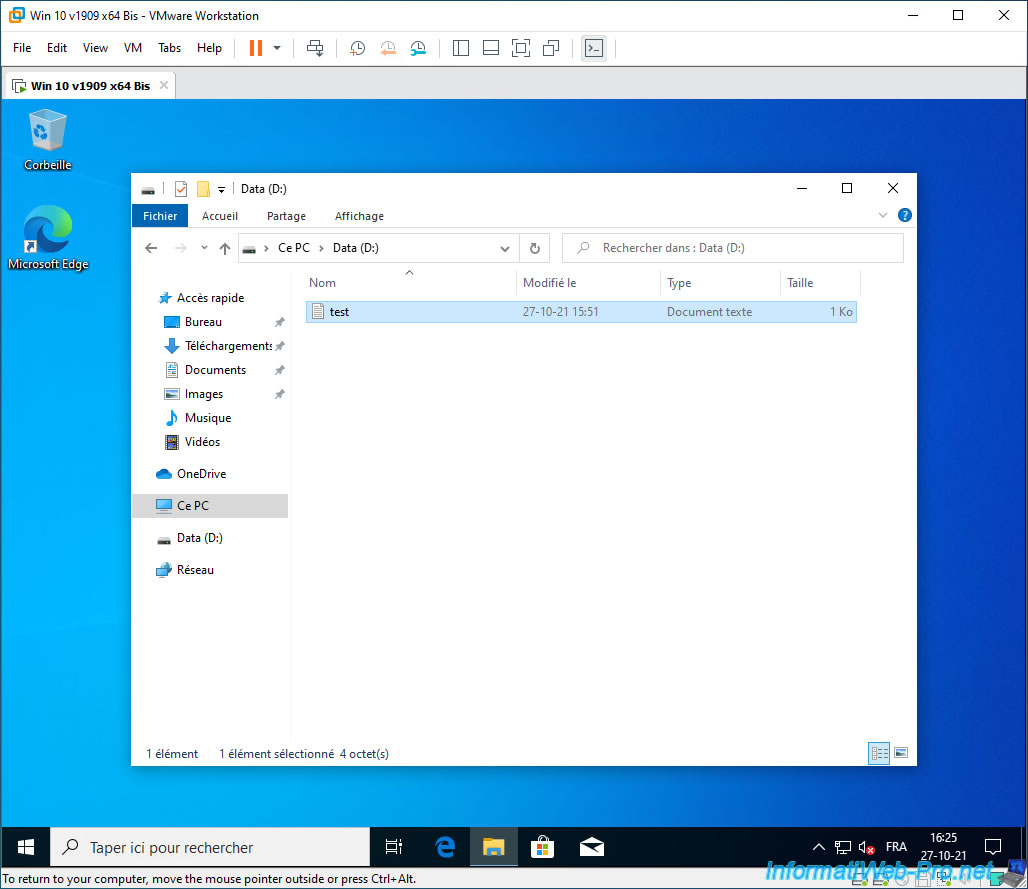
The partitions are still present.

And the data in our "Data" partition has been preserved.
Share this tutorial
To see also
-

VMware 3/16/2013
VMware Workstation - Boot a VM on the BIOS / EFI firmware
-

VMware 2/7/2020
VMware Workstation 15 - Installation on Linux
-

VMware 12/10/2021
VMware Workstation 15.5 - Convert a Virtual PC virtual machine to a VMware VM
-
VMware 11/20/2020
VMware Workstation 15.5.5 / 15.5.6 - Installation on Windows 7
No comment