Virtualize Unraid 6.9.2 with VMware vSphere 6.7
- VMware
- VMware vCenter Server (VCSA), VMware vSphere
- 26 December 2025 at 10:34 UTC
-

- 3/4

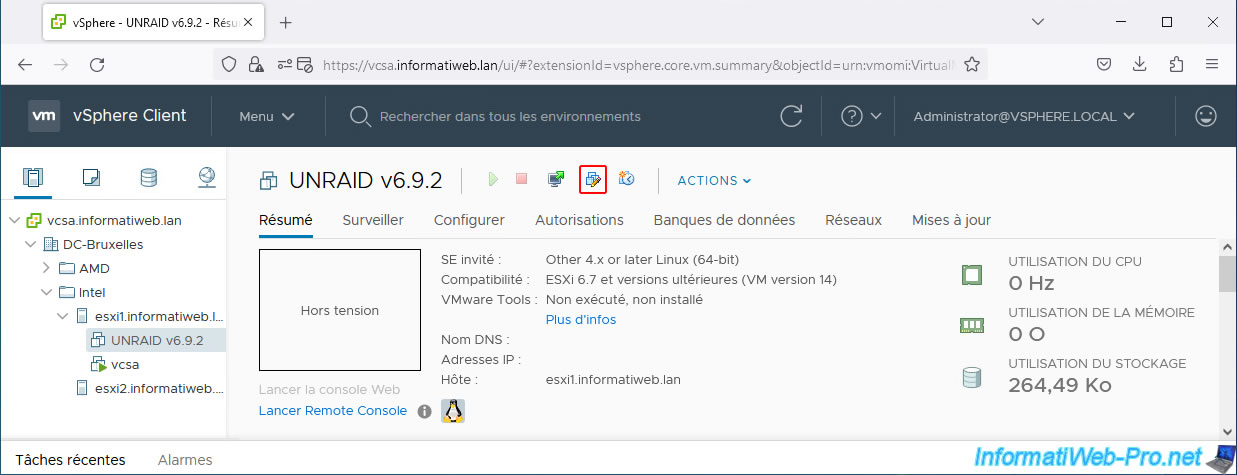
5. Change the USB controller version of your Unraid virtual machine
To fix this, plug your Unraid USB key into a USB 2.0 port on your VMware ESXi host (if possible in your case), then change your virtual machine's configuration again to reselect your physical USB key.
Then, boot your virtual machine and it will work.
However, it's very likely that you only have (or almost only have) USB 3.0 ports.
In this case, change your Unraid virtual machine's configuration (while it's powered off).
If you see a USB controller appear in your virtual machine's virtual hardware, remove it by clicking the cross to its right.
However, in our case, it simply disappeared.
So, click "Add Device -> USB Controller" to add a USB controller back to your virtual machine.
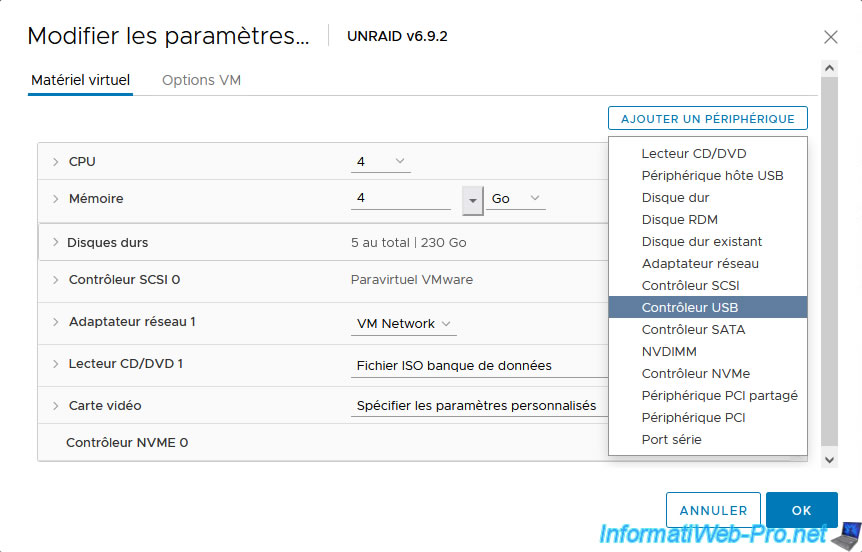
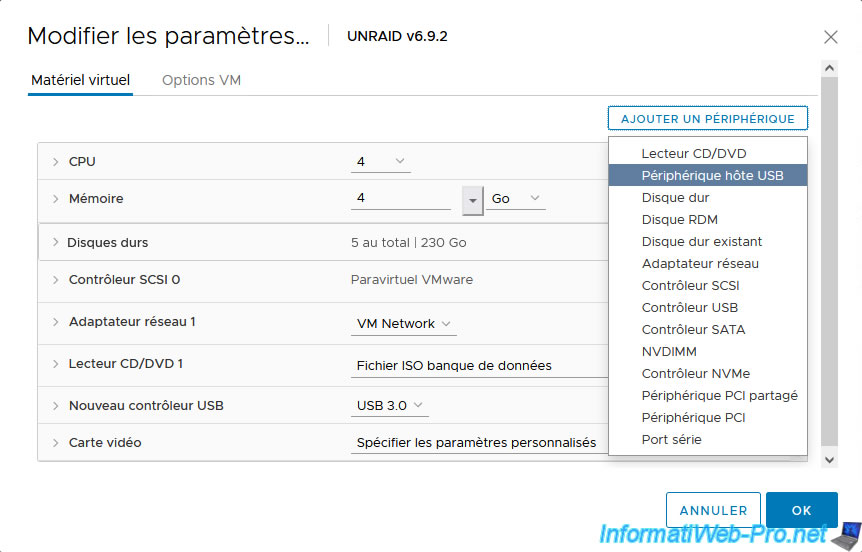
In the "New USB Controller" line that appears, select the "USB 3.0" version.

Now, your virtual machine will use a USB 3.0 controller.

Click on "Add Device -> USB Host Device".
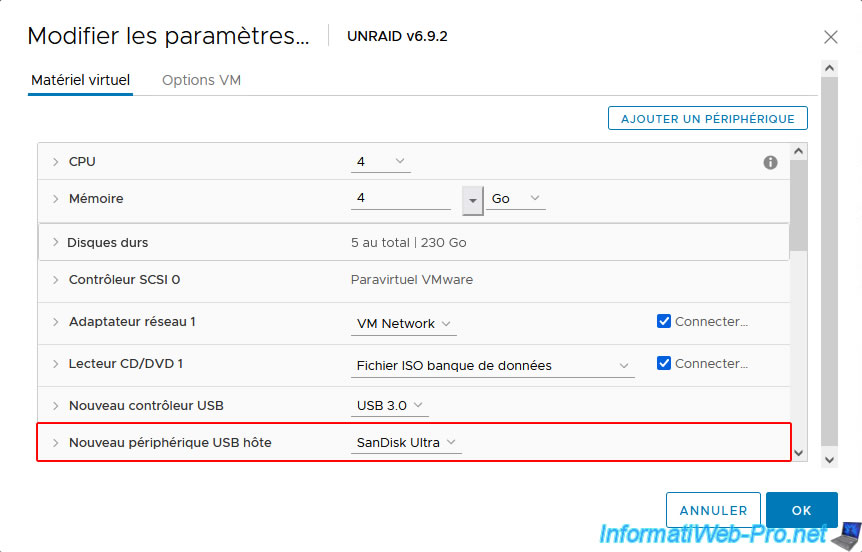
For the "New USB Host Device" setting, select your USB key with Unraid installed.
This time, it will be connected to a port on your virtual machine's USB 3.0 controller. This will match the version of the physical USB port on your VMware ESXi host.
Then, click OK.
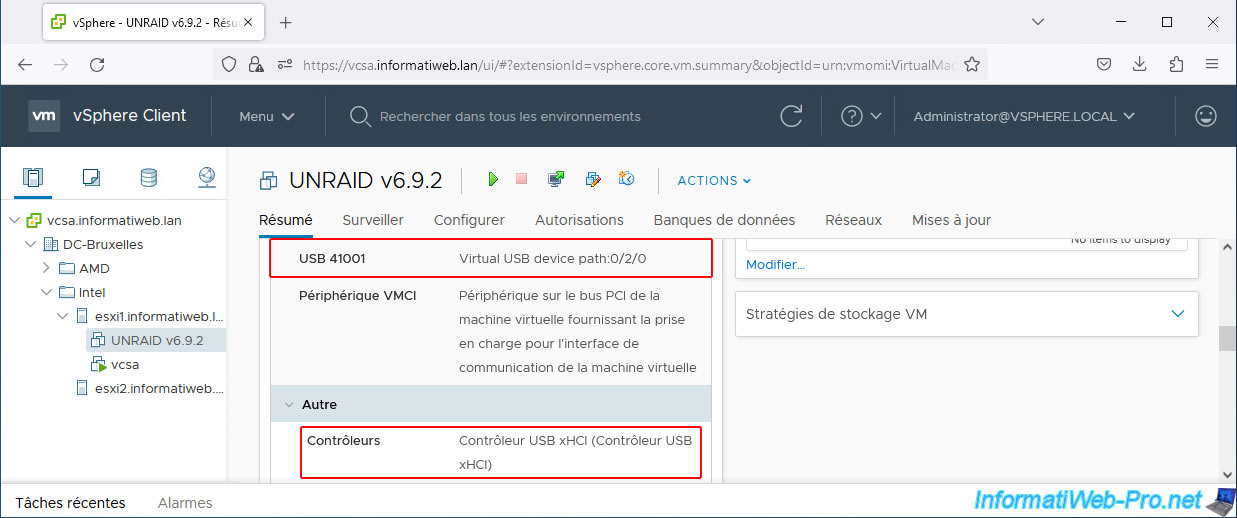
In your virtual machine's virtual hardware, you will probably see this:
- USB 41001 : Virtual USB device path:0/2/0.
- Controllers: USB xHCI Controller (USB xHCI Controller).
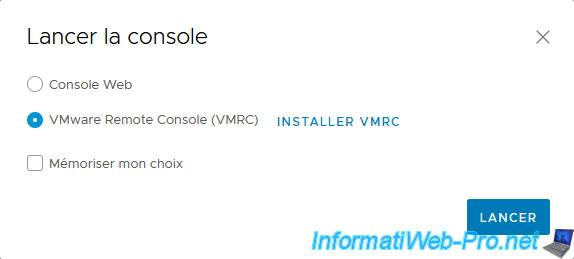
Start your virtual machine again and open its console again (if necessary).

In our case, we use the "VMware Remote Console (VMRC)" console.
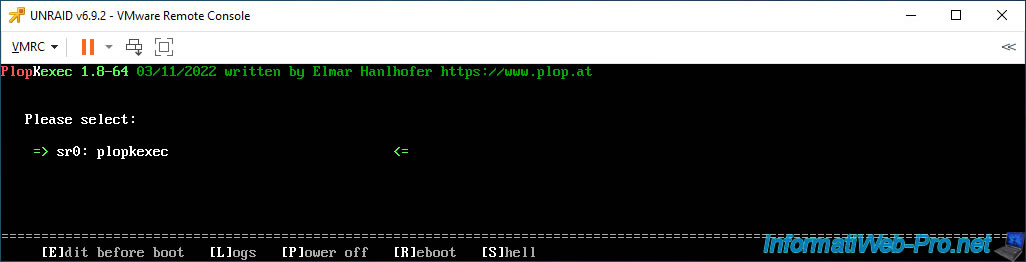
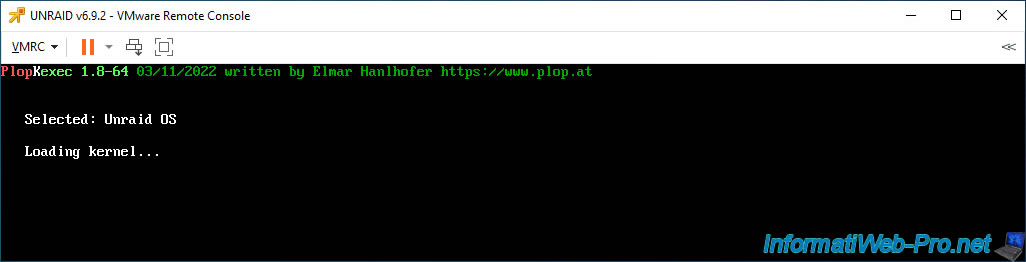
The PlopKexec utility appears.
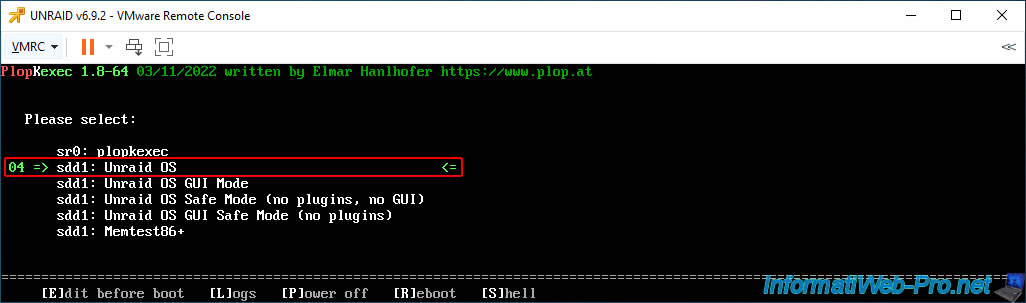
Then, a few seconds later, the Unraid boot options appear.
Plain Text
sr0: plopkexec
sdd1: Unraid OS
sdd1: Unraid OS GUI Mode
...
Please wait while booting into Unraid OS.
Plain Text
Selected: Unraid OS

Loading kernel...
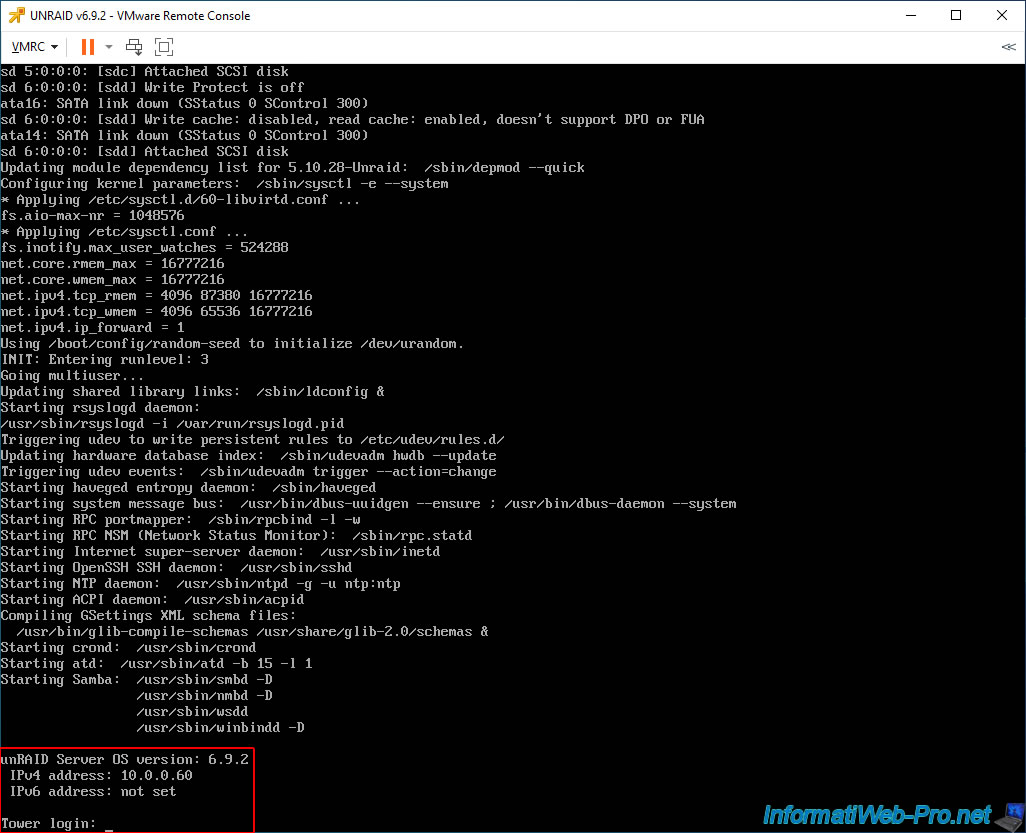
Once Unraid has finished booting, you will see this:
Plain Text
unRAID Server OS version: 6.9.2
IPv4 address: 10.0.0.60
IPv6 address: not set

Tower login:
6. Start the Unraid evaluation period
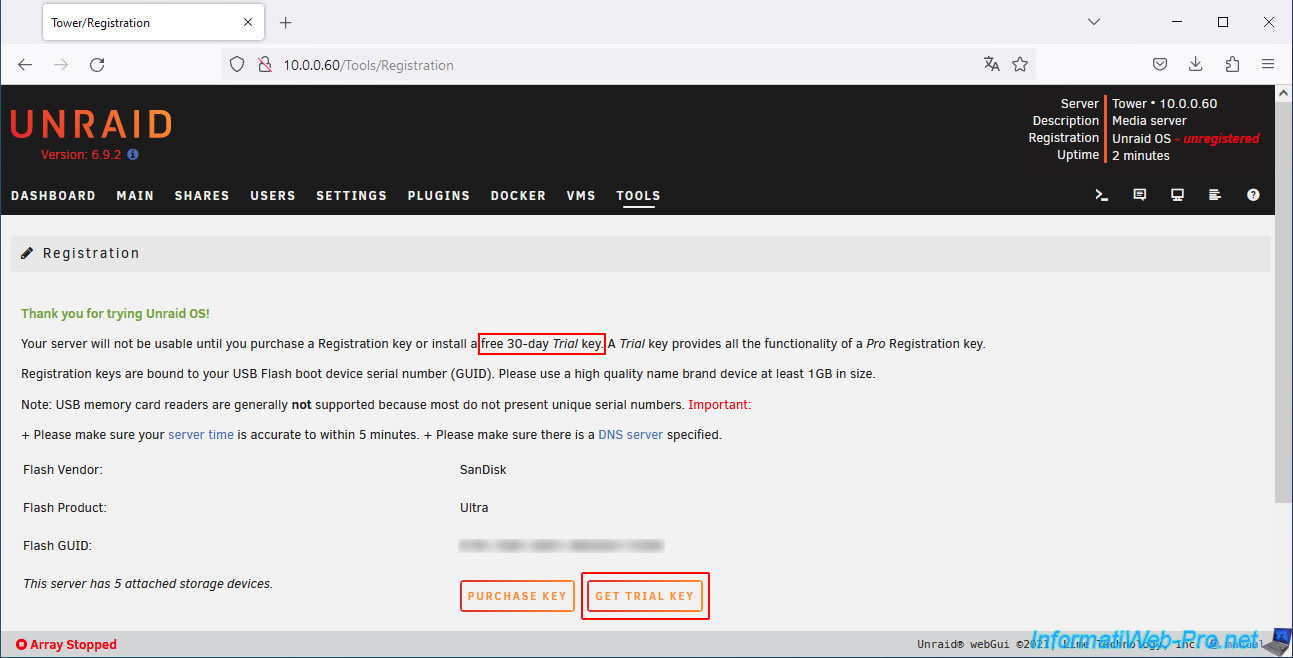
Access the Unraid web interface from your computer by simply entering Unraid's IP address into your web browser. The registration page will automatically appear.
Click the "Get trial key" button to start the Unraid evaluation period.
Important : the 30-day trial license will be linked to the unique ID of your physical USB key.
The same applies if you purchase an Unraid license.
Once you've downloaded the trial version, you'll see that Unraid is in "Trial" mode.
Note: the trial period is 30 days.
However, since we requested the license multiple times for the same USB key to show you how to virtualize Unraid on different VMware products, it's normal that there are only 26 days left in our case.

7. Configure Unraid array
To create the array on Unraid, the steps are the same as for our "Virtualize Unraid 6.9.2 with VMware Workstation 17.5.1" tutorial.
Here are the steps to follow quickly. If necessary, refer to the tutorial above.
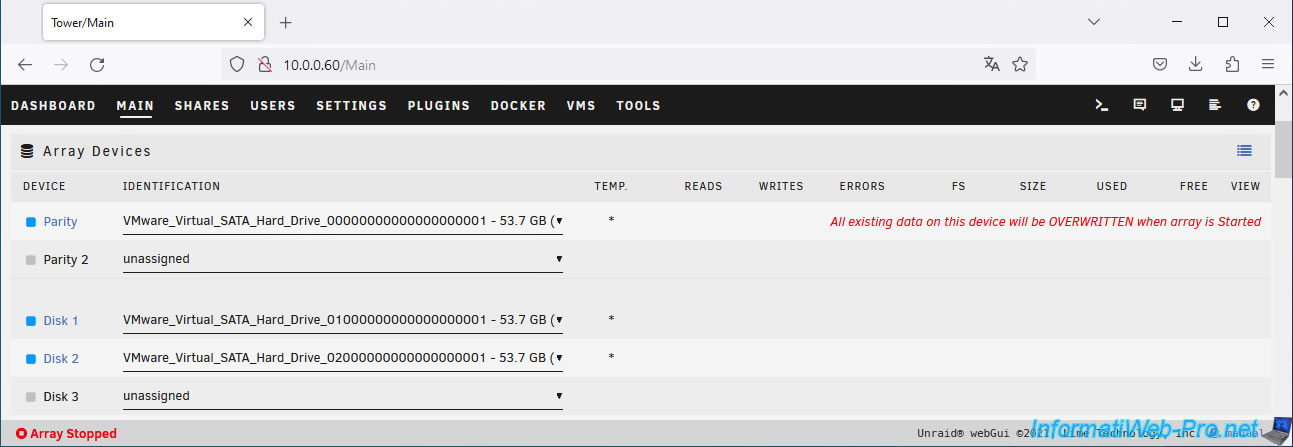
In the "Main" tab, assign the three SATA virtual hard drives to the following devices: "Parity," "Disk 1," and "Disk 2."
This way, one SATA drive will be used for parity and the other two SATA drives will be used for data storage.
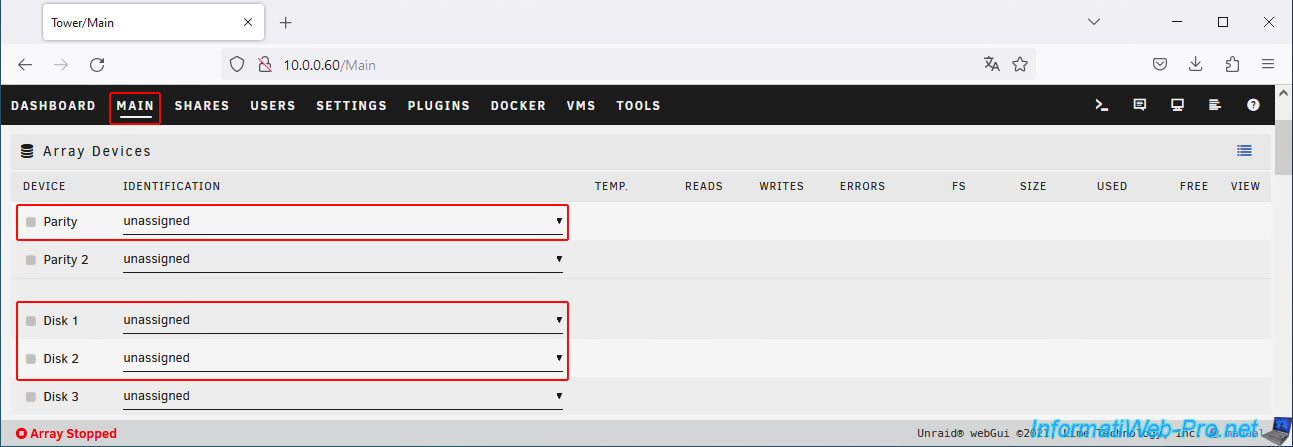
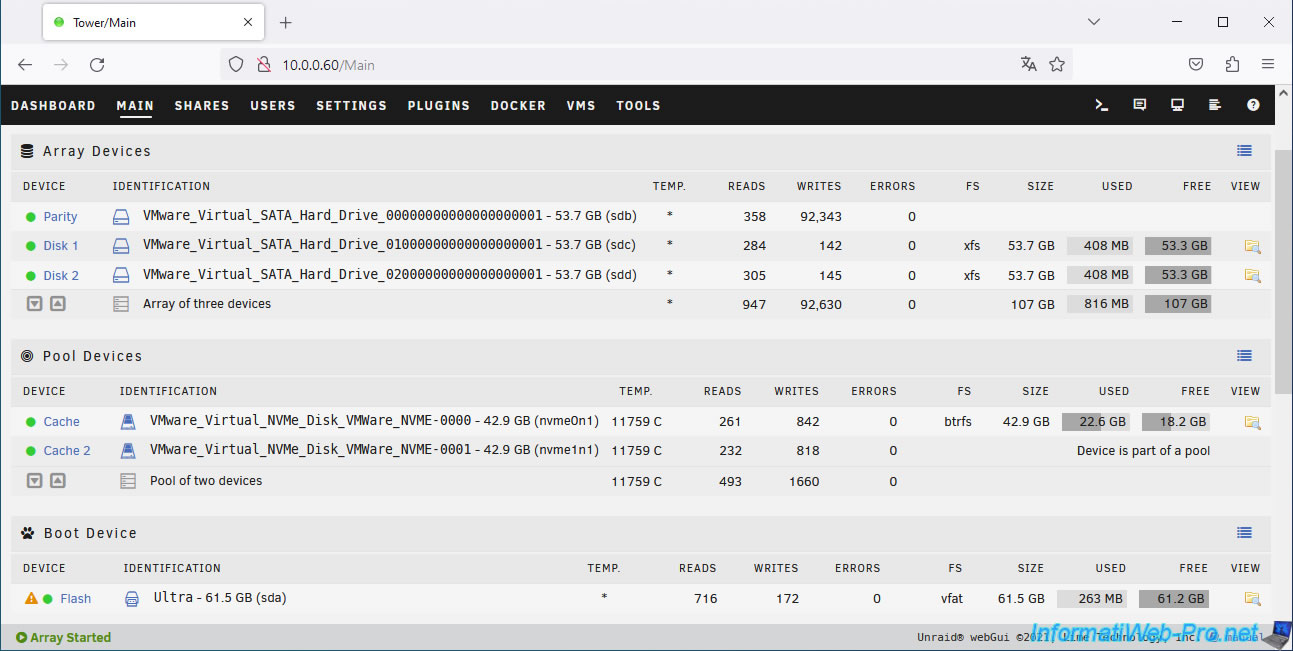
This is what it looks like for the disk array.
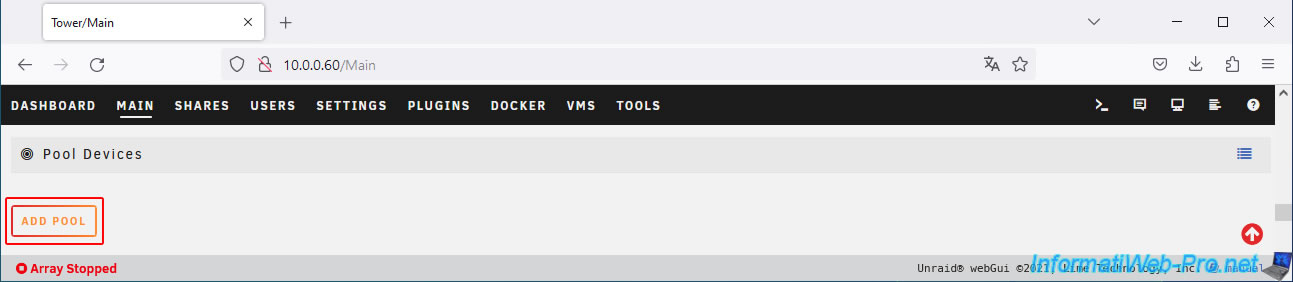
Then, for Unraid cache, click on the "Add pool" button present in the "Pool Devices" section.
Select "2" for the number of slots (which will allow you to use 2 disks for the Unraid cache).
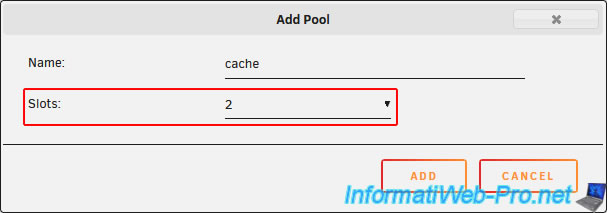
Assign your 2 virtual NVMe SSDs to the Unraid cache.

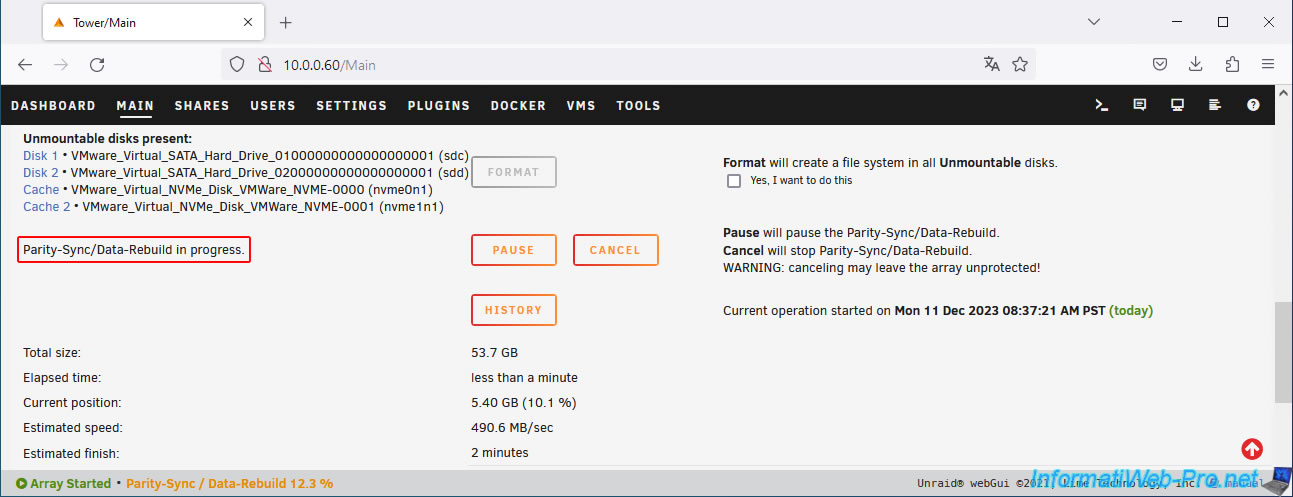
Then, start the array by clicking the "Start" button at the bottom of the page.
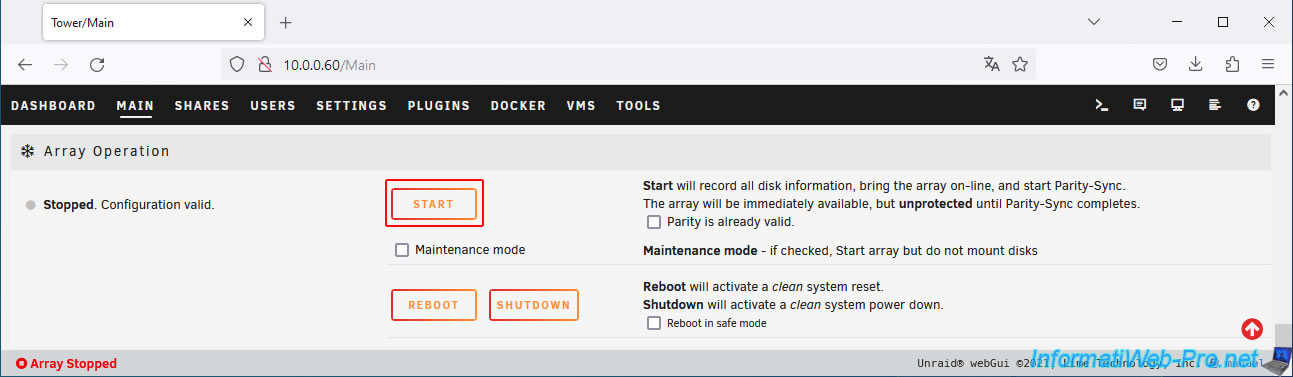
Please wait while the parity disk is calculated.
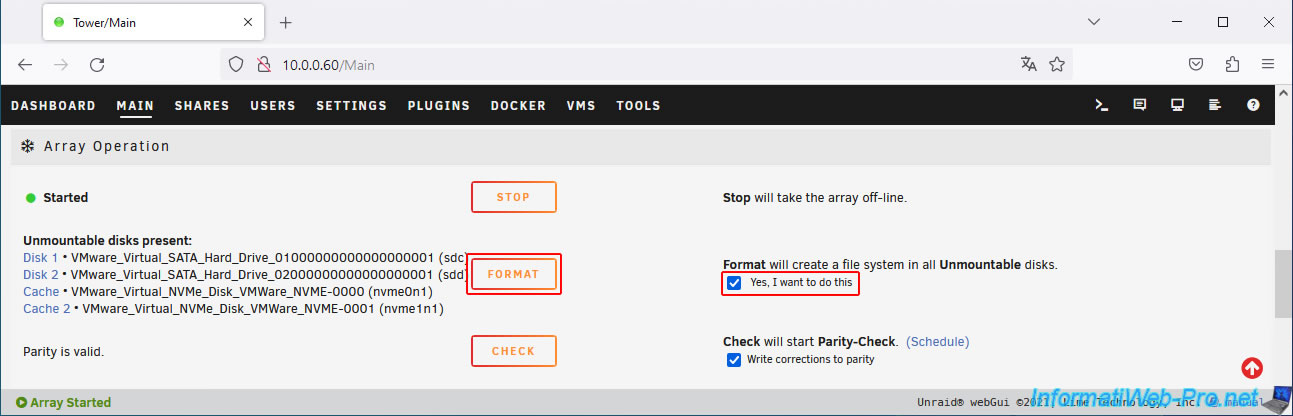
Once the parity disk is calculated, format the disks by checking the "Yes, I want to do this" box (to the right of the "Format" button), then click the "Format" button.
Once the disks are formatted, you will get this.
Share this tutorial
To see also
-
VMware 10/11/2024
VMware vSphere 6.7 - Convert a Hyper-V virtual machine to a VMware VM
-
VMware 9/19/2024
VMware vSphere 6.7 - Create a NFS 4.1 datastore
-
VMware 5/10/2024
VMware vSphere 6.7 - Extend a virtual hard disk (Linux LVM guest OS)
-
VMware 11/8/2024
VMware vSphere 6.7 - Migrate VMs via vMotion
No comment