- VMware
- 18 May 2024 at 16:13 UTC
-


Although it's possible to manage your hypervisor, as well as its virtual machines from a web interface, it may be necessary to perform some command line actions (if you know what you are doing) using the SSH protocol.
This SSH server integrated into VMware ESXi will also allow you to manage the files of the server and its various datastores via the SFTP protocol and third-party software.
- Enable the SSH server integrated with VMware ESXi
- Manage your VMware ESXi server from the command line (via SSH)
- Manage files and folders of your VMware ESXi server (via SFTP)
- Access the VMware ESXi server DCUI console remotely
1. Enable the SSH server integrated with VMware ESXi
1.1. Quickly enable SSH from the VMware ESXi home page
To enable SSH on your VMware ESXi hypervisor, access the web interface of your VMware ESXi hypervisor and log in as root.
Then, go to the "Host" section and click on : Actions -> Services -> Enable Secure Shell (SSH).
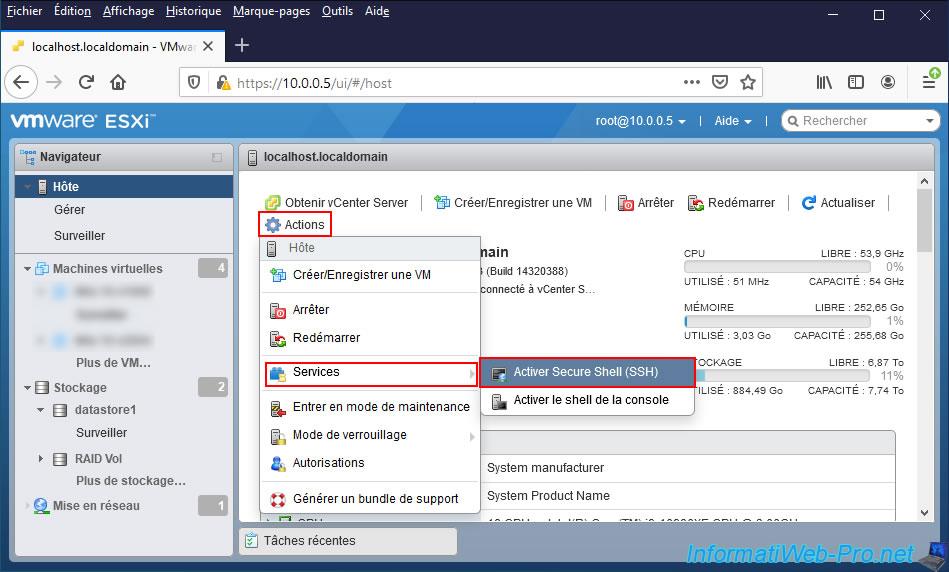
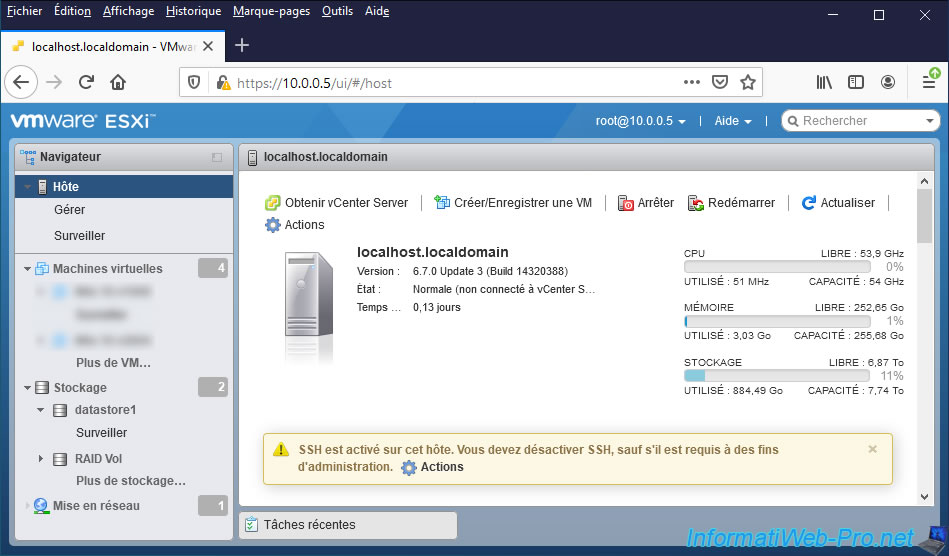
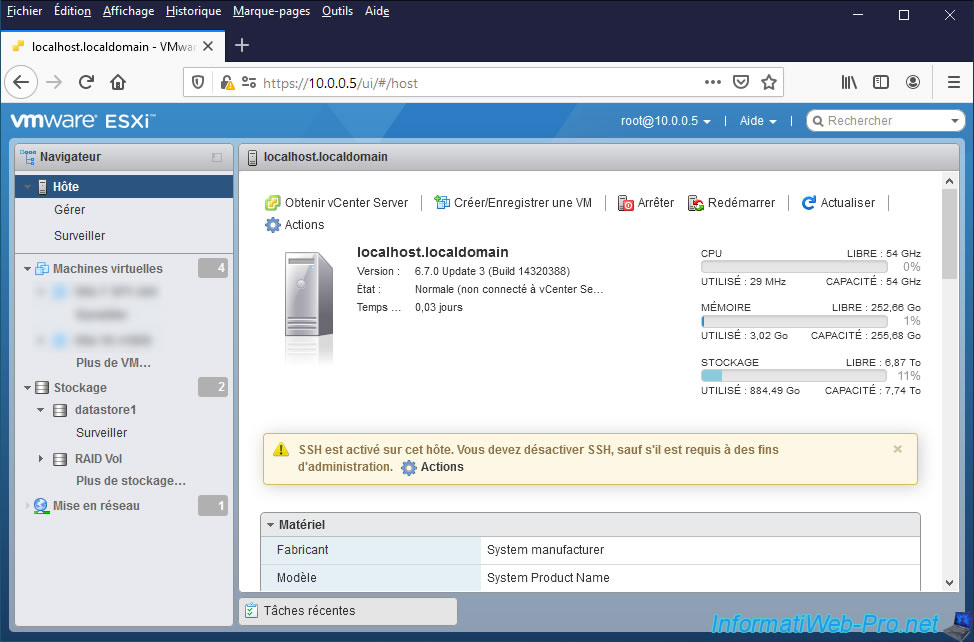
A warning stating that SSH is enabled on this host will be displayed as long as this service is started.
Plain Text
SSH is enabled on this host. You should disable SSH unless it is necessary for administrative purposes.
1.2. Enable SSH from the VMware ESXi services list
To enable the SSH protocol on your VMware ESXi hypervisor, you can also go to : Host -> Manage.
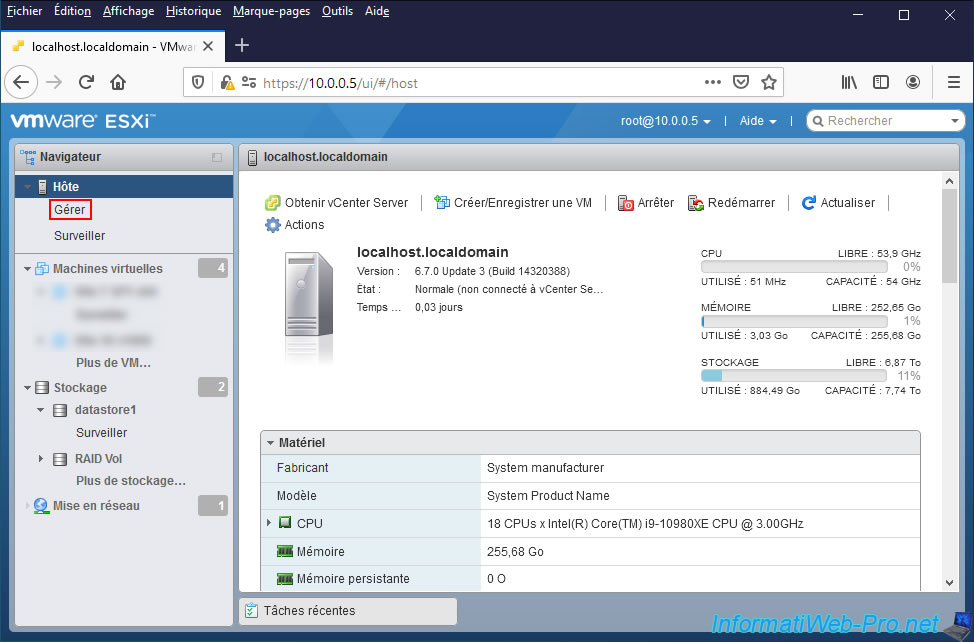
Then, in the "Services" tab, select the "TSM-SSH" service and click on : Start.
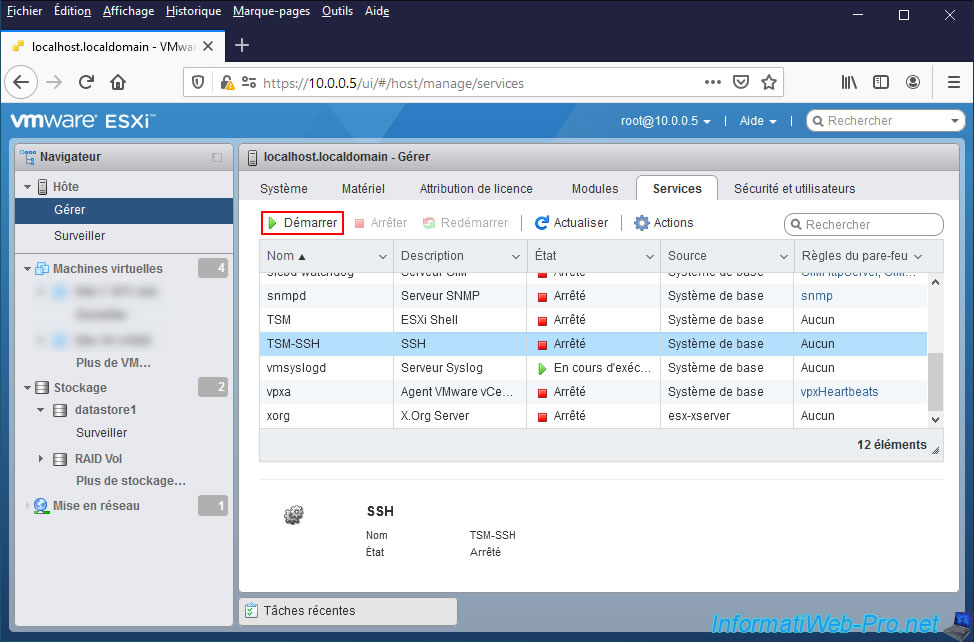
The "The service TSM-SSH was successfully started" message appears.

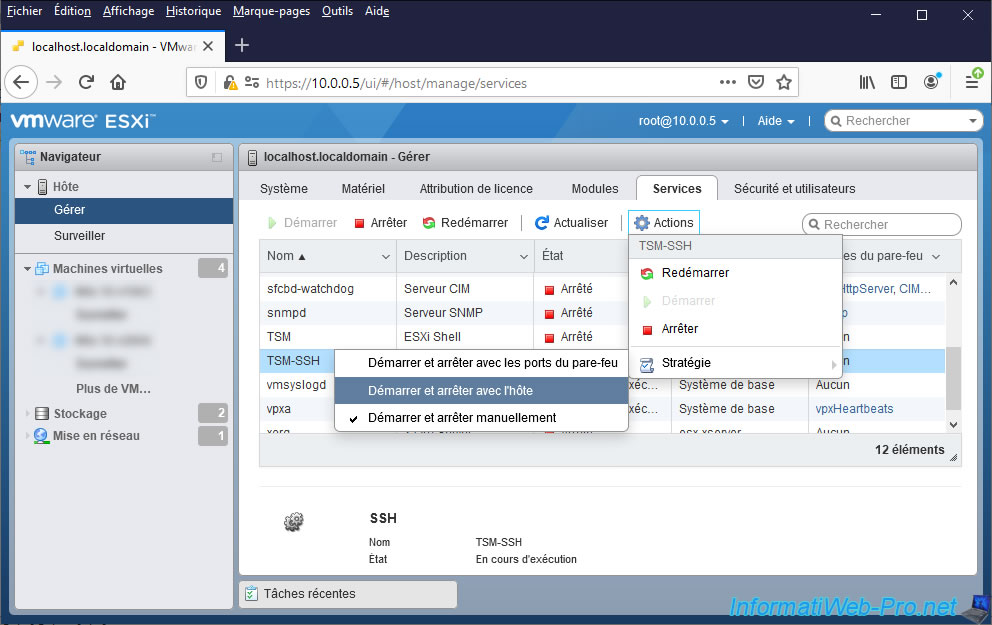
Note that if you restart your VMware ESXi hypervisor, this service will not restart automatically.
For the SSH protocol to be automatically enabled each time you start your server, you will need to click on : Actions -> Policy -> Start and stop with host.
Note that from the moment this "TSM-SSH" service is started, a warning will be displayed permanently (as long as the service is running) on the home page of the web interface of VMware ESXi :
Plain Text
SSH is enabled on this host. You should disable SSH unless it is necessary for administrative purposes.
2. Manage your VMware ESXi server from the command line (via SSH)
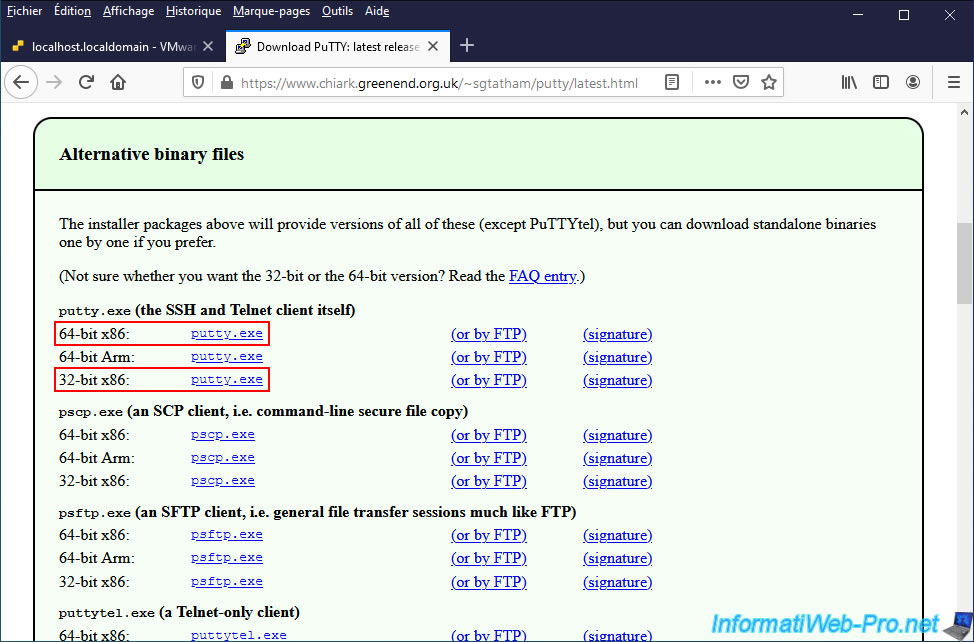
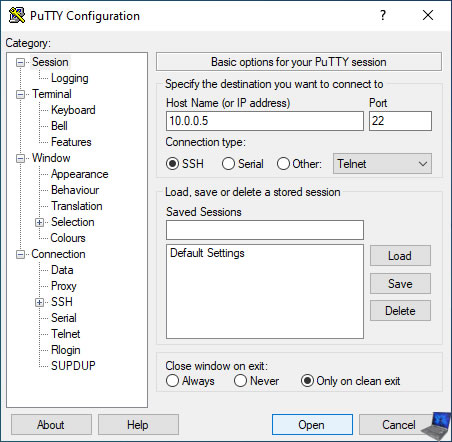
To manage your VMware ESXi server from the command line (via SSH), you can use the "PuTTY" client which is the most famous free SSH client.
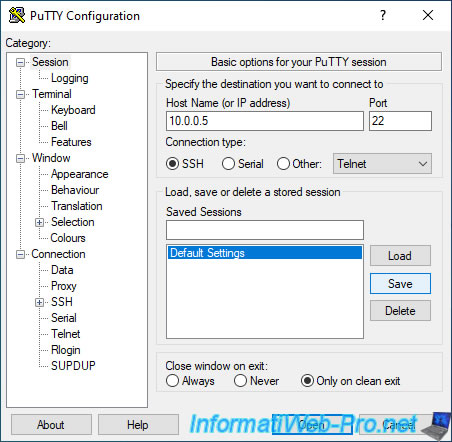
Once Putty is downloaded, launch it and specify the IP address of your VMware ESXi server.
Then, click on : Open.
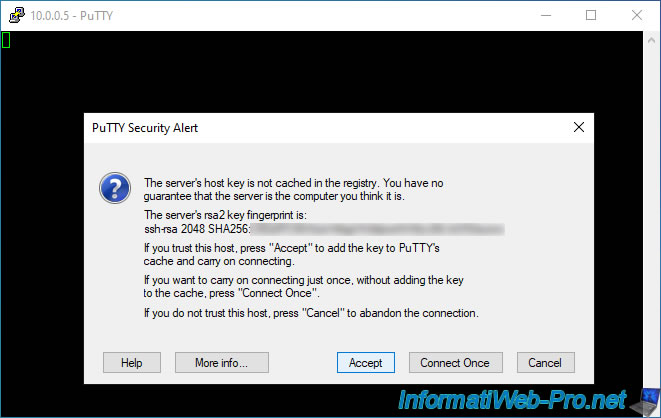
If SSH is enabled on your VMware ESXi server, PuTTY will attempt to connect to it and a security alert (PuTTY Security Alert) will be displayed.
Indeed, to ensure that you are connecting to the right server, PuTTY compares the digital fingerprint of your server with the digital fingerprints it already knows.
However, the first time you connect to a server via SSH, it's obviously unknown to PuTTY. In this case, ignore this alert and click "Accept" to connect, as well as save this digital fingerprint in the PuTTY configuration.
During your future connections, this alert will no longer appear. If this reappears, the remote server may have been understood, reinstalled, or replaced by a hacker.
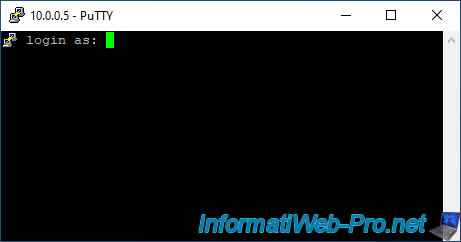
Log in as root.
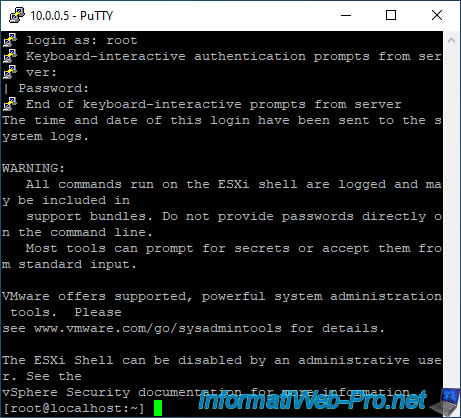
If the username and password are correct, the connection will be successful and VMware will tell you that all commands executed in the ESXi shell are logged and therefore can be included in archives to send to support in case of problem with your VMware ESXi server.
Warning : this also means that if you do something that is not officially supported by VMware in this ESXi shell, VMware will be able to find out and may deny your support request (if applicable).
Also, avoid including personal data in commands executed here, such as passwords or other sensitive information to avoid sending them to VMware support in case of a problem.
3. Manage files and folders of your VMware ESXi server (via SFTP)
Thanks to the SSH protocol, it's possible to manage the files and folders of a remote server via the SFTP protocol which operates on the same port.
To do this, all you have to do is use a file explorer supporting the SFTP protocol, such as : WinSCP.
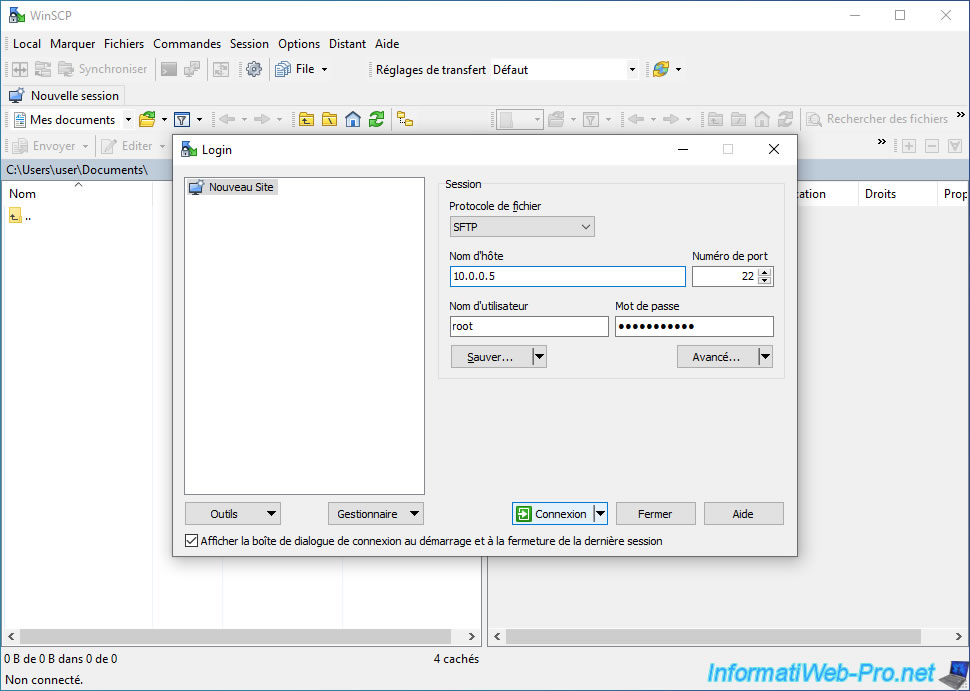
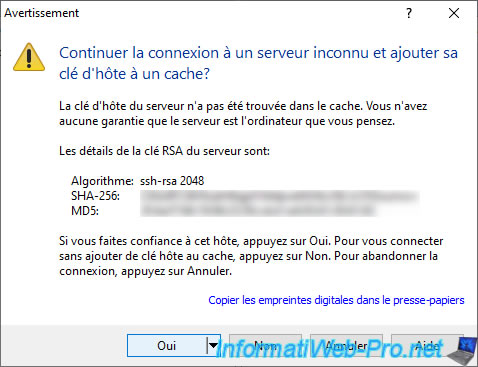
During the 1st connection to your VMware ESXi server, WinSCP will display a warning about the host key (digital fingerprint) which can't be found in the cache of WinSCP.
Click "Yes" (Accept) to trust this server and add this fingerprint to the cache.
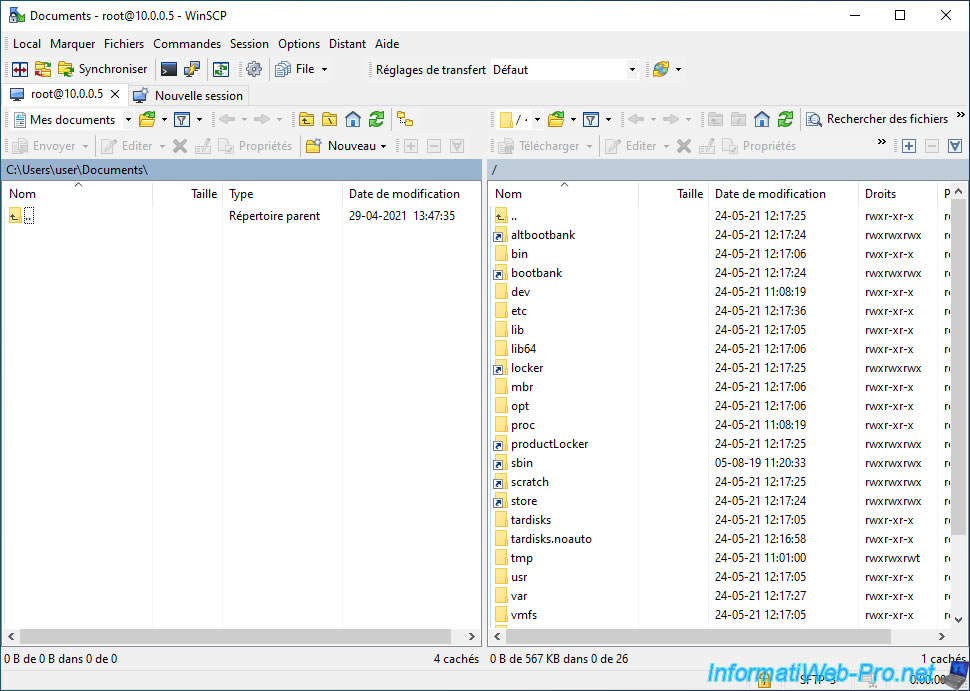
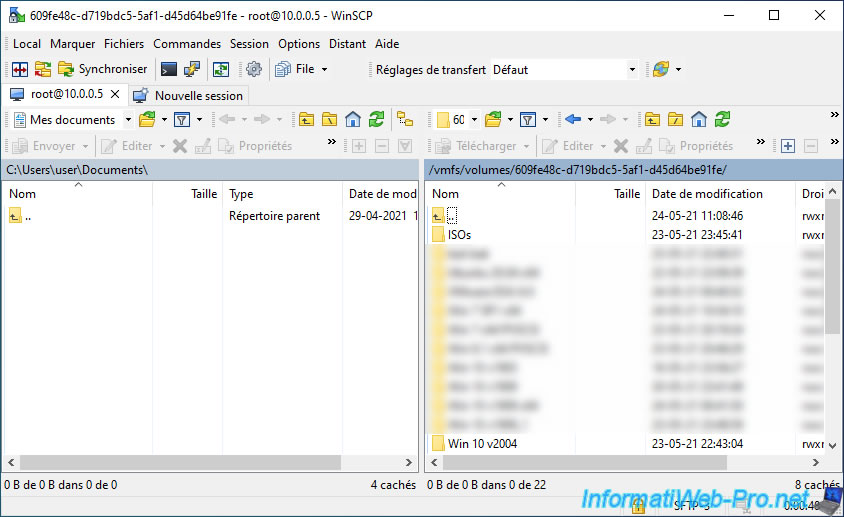
By default, you will access the root of the VMware ESXi server.
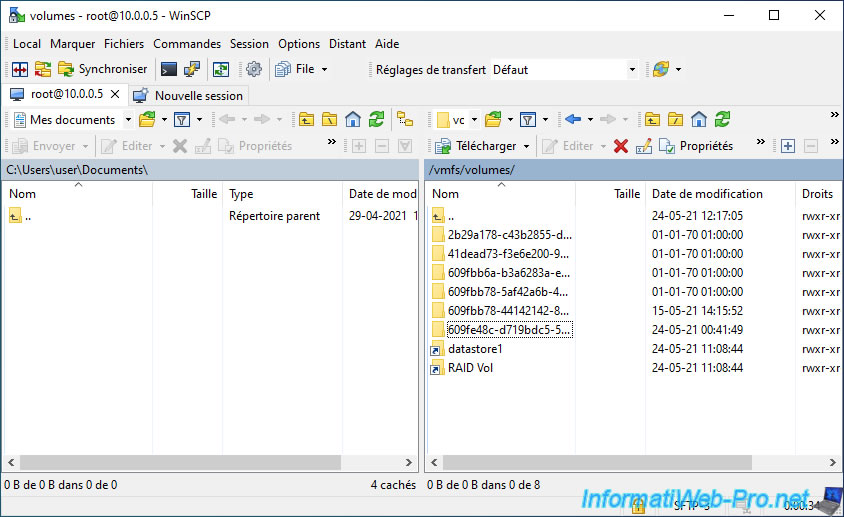
In the "/vmfs/volumes" folder, you will find :
- files with identifiers as names : these are the real folders of the datastores that contain the data
- folders with the name of your datastores : these are shortcuts to the corresponding folders (with identifier). You can also see a small arrow on their icon.
Since VMware ESXi 7, you will also find a folder whose name begins with "OSDATA" and which corresponds to the new partition appeared with VMware ESXi 7 and whose file system is "VMFS-L" (or "VMFSL" in the Web interface).
For more information about this new partition, refer to step "6. Storage since VMware ESXi 7 and new ESX-OSData partition volume type VMFS-L" of our tutorial about the installation and creation of a VM on VMware ESXi.

In our case, if we go into our "RAID Vol" folder (which corresponds to the datastore of the same name), WinSCP displays the contents of the corresponding folder (609fe48c-d719bdc5-...).
4. Access the VMware ESXi server DCUI console remotely
To remotely access the Direct Console User Interface (DCUI) of your VMware ESXi hypervisor via SSH, just type the command :
Batch
dcui
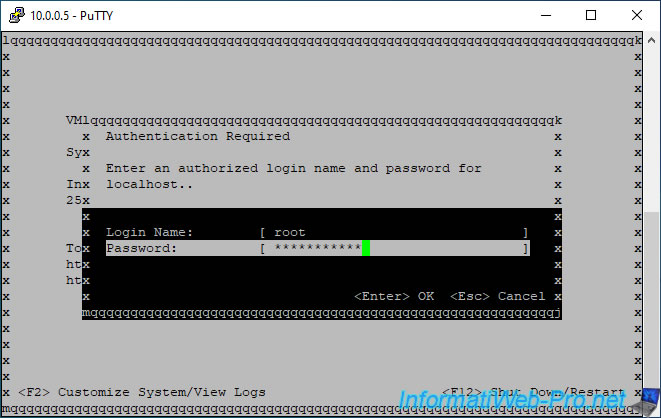
Then, you will see this displayed.

If you press F2, the "Authentication Required" login "window" will appear.
Log in as root and press Enter.
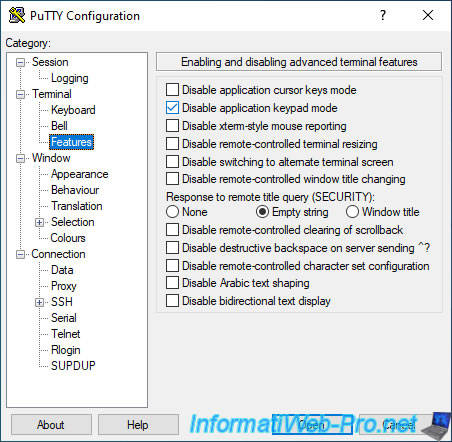
Note that if there are numbers in your password and you are currently using the PuTTY program, you will not be able to use the numeric keypad on your keyboard.
Indeed, by default, PuTTY doesn't react correctly in this specific case.
To fix the problem permanently, go to "Terminal -> Features" and check the "Disable application keypad mode" box.
Then, go to "Session", select "Default Settings" and click on Save.
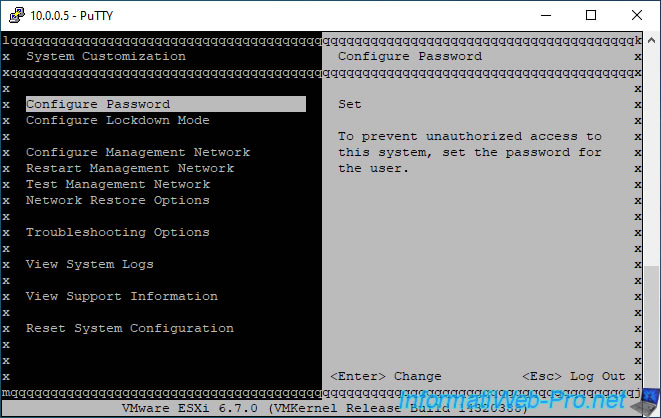
Once authenticated, you will be able to access the VMware ESXi console configuration settings.
Once you are done using this console, just press "CTRL + C" to exit this DCUI console and return to the PuTTY command line interface.
Share this tutorial
To see also
-

VMware 5/25/2022
VMware ESXi 6.0 - Install the VMware Host Client web client
-

VMware 5/27/2022
VMware ESXi 6.5 - Add a network driver in the installation ISO
-

VMware 1/27/2023
VMware ESXi 6.7 - Enable virtualization-based security (VBS)
-

VMware 12/2/2022
VMware ESXi 6.7 - Install and use the VMRC console on Linux
You must be logged in to post a comment