- VMware
- 04 September 2024 at 07:36 UTC
-

- 1/4

To improve the performance of your datastores created on a NAS or iSCSI server, you can configure your VMware ESXi host to use multiple network paths with different subnets.
Which means, doing iSCSI multipath.
- Configure your VMware ESXi host network
- Use Jumbo frames to improve performance (optional)
- Configuring the iSCSI server
- Configure the software iSCSI controller on your VMware ESXi host
- Configure the software iSCSI controller on your VMware ESXi host (on the 2nd host)
- Create an iSCSI datastore
- Detect the iSCSI datastore from a 2nd VMware ESXi host
- Multipathing policies
1. Configure your VMware ESXi host network
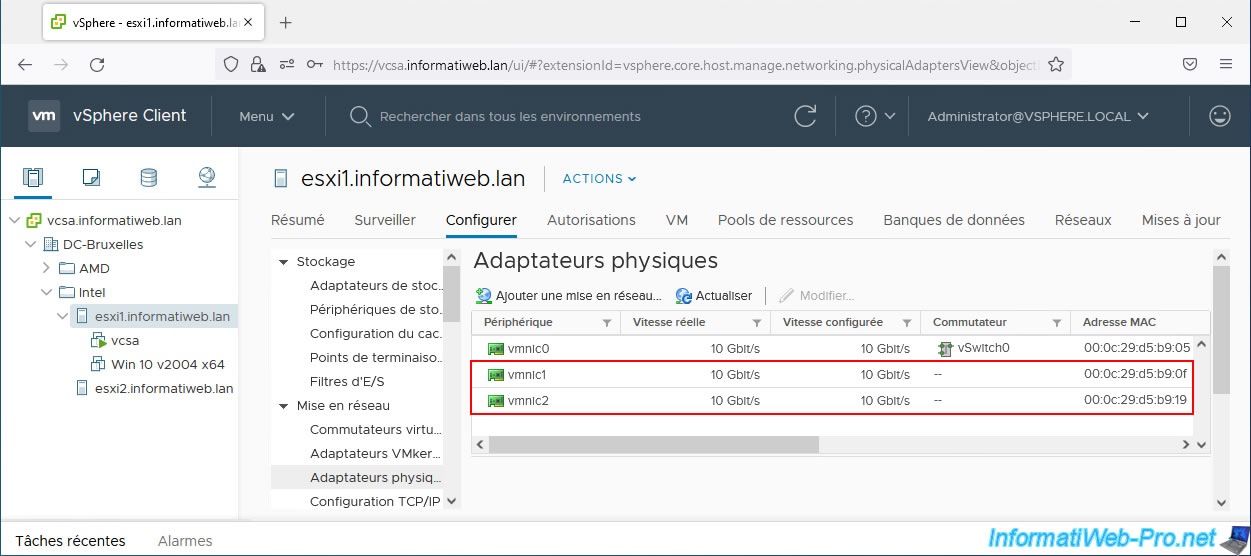
For this tutorial, we added 2 physical network cards to our host "esxi1", as well as our host "esxi2".
Our hosts' "vmnic1" cards are connected to a switch with a "10.10.0.x" network and our hosts' "vmnic2" cards are connected to another switch with another "10.20.0.x" network.
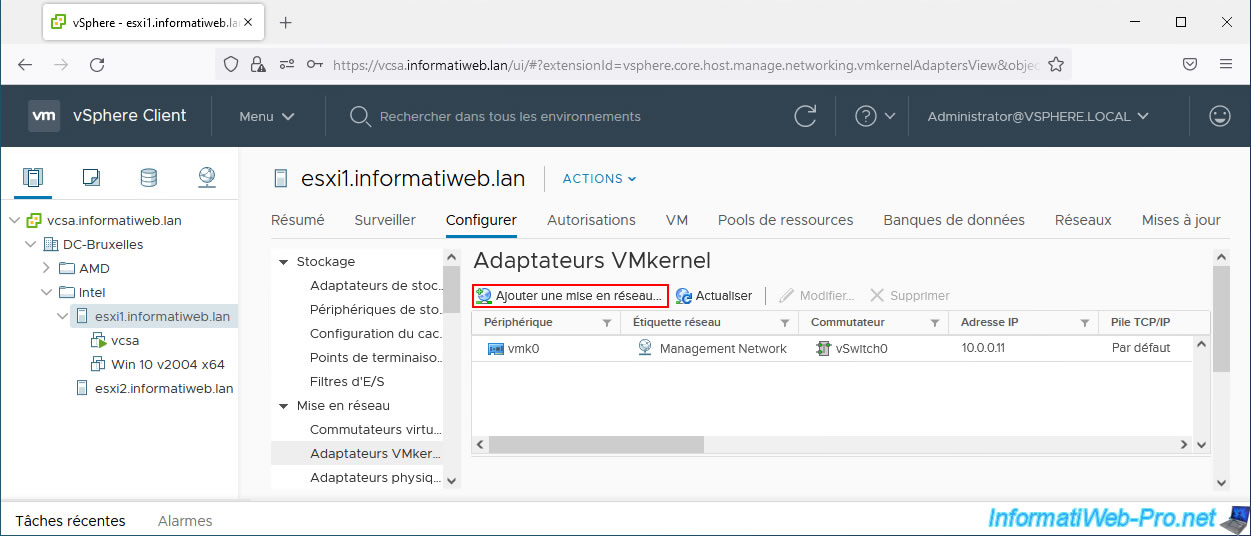
1.1. Add the 1st VMkernel adapter for iSCSI
To get started, select your 1st host and go to: Configure -> Networking -> VMkernel Adapters.
Then click: Add Networking.
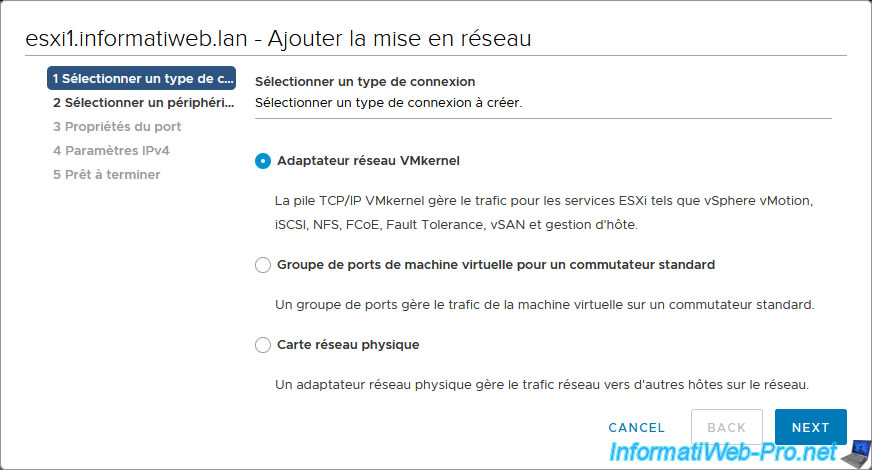
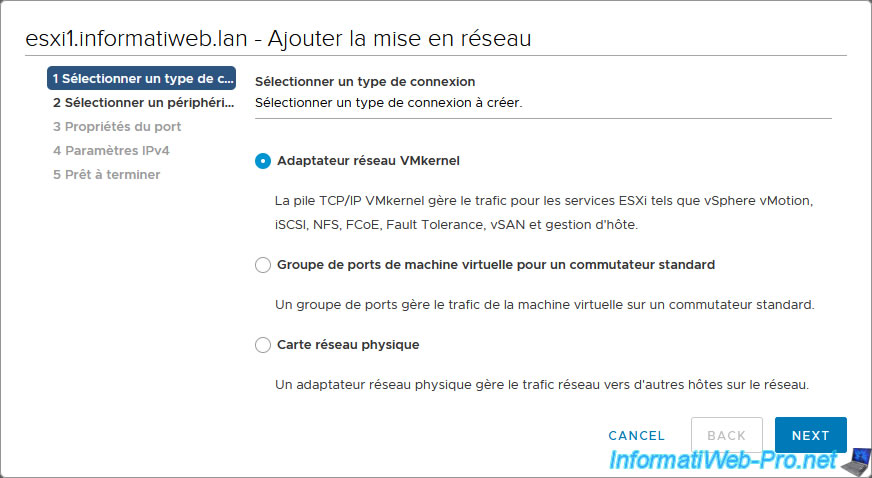
In the "Add Networking" wizard that appears, select "VMkernel Network Adapter" and click Next.
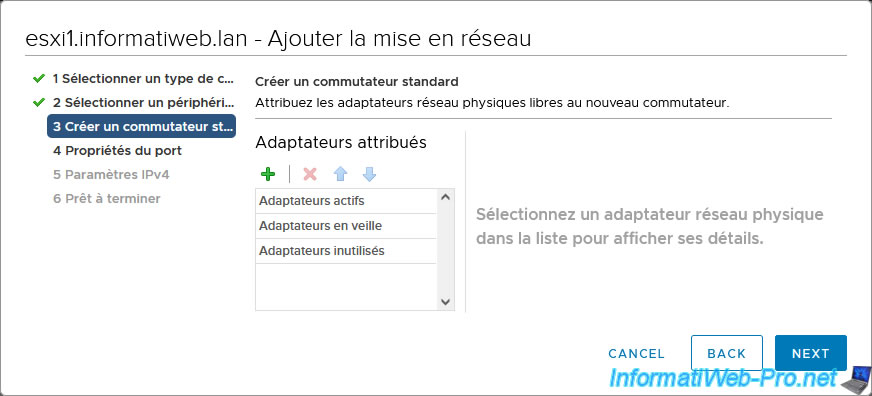
When creating your 1st VMkernel adapter for iSCSI traffic, select "New standard switch" and click Next.

Since you have chosen to create a new standard switch, you must assign it the network cards that will be used for iSCSI traffic.
To do this, click on the "+" icon.
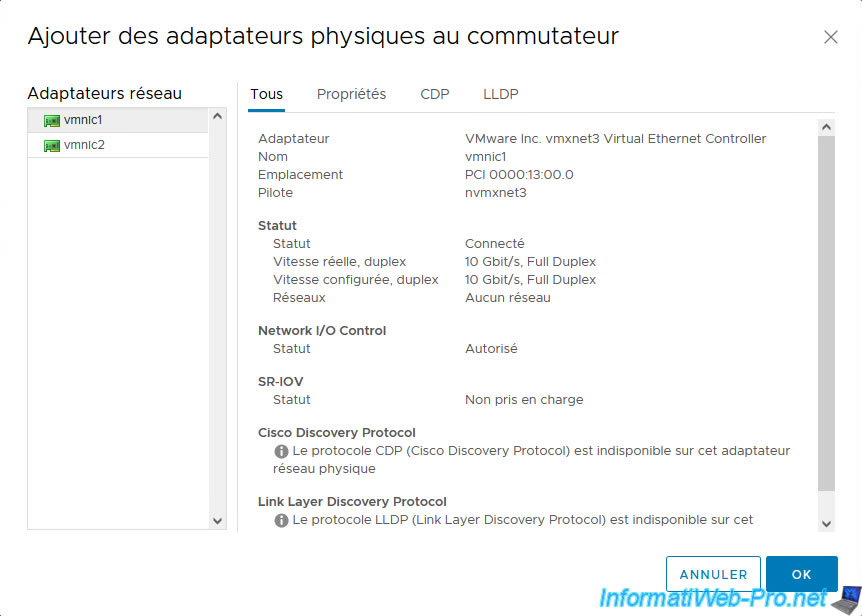
Important : you must add all network adapters necessary for iSCSI traffic. So in our case the physical NICs "vmnic1" and "vmnic2".
Select one of the physical network adapters to add and click OK.
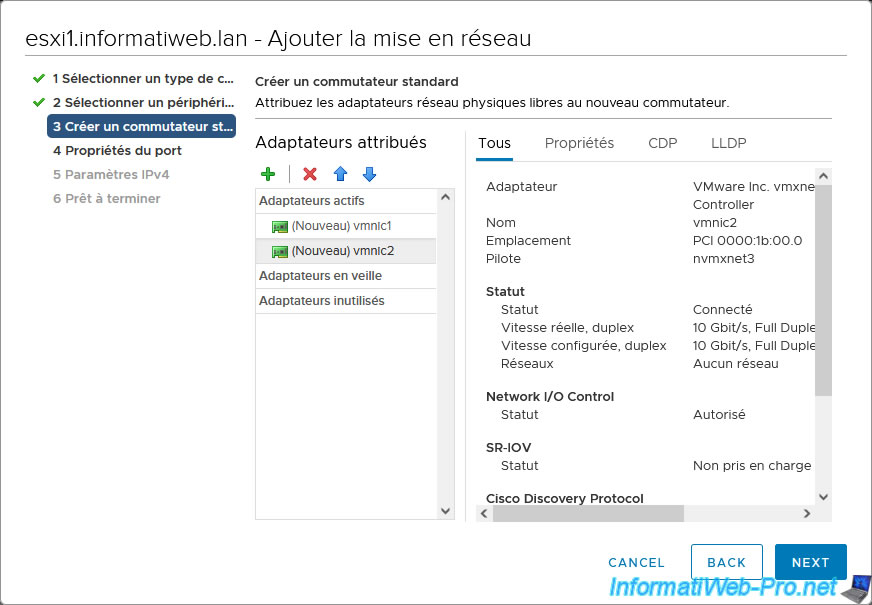
Then do the same thing again for the other physical network card.
In our case, we will use our "vmnic1" and "vmnic2" NICs for iSCSI traffic on this standard virtual switch.
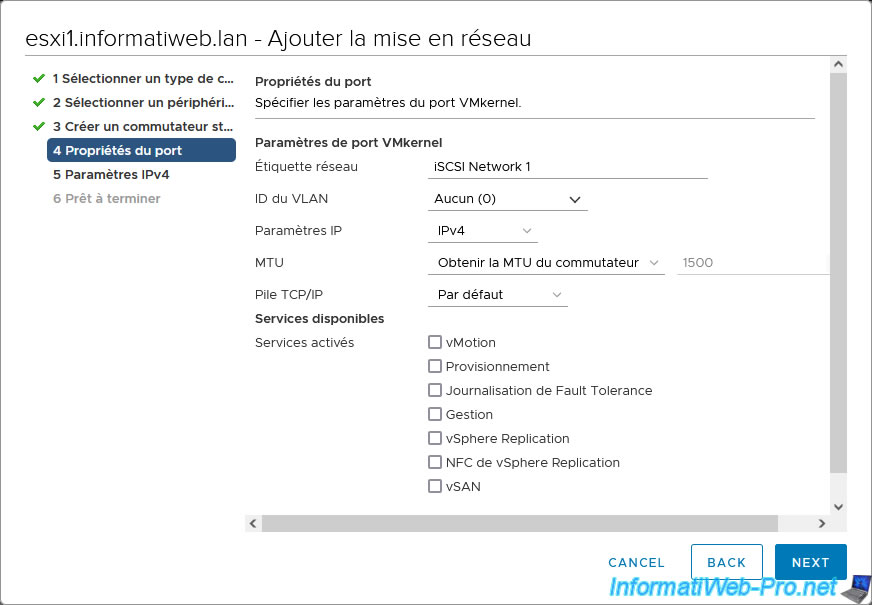
Specify "iSCSI Network 1" for the network label and click Next.
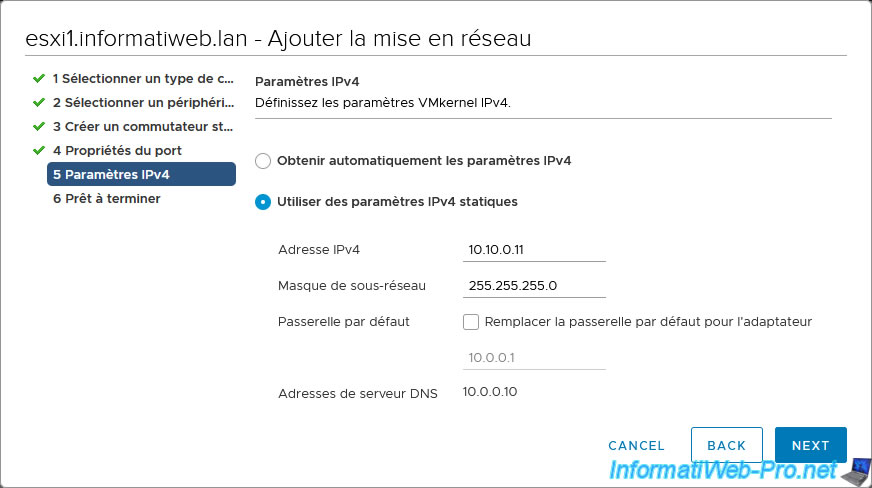
Since we only use physical switches to connect our VMware ESXi hosts to our iSCSI server for iSCSI traffic, there is no DHCP server on these dedicated networks.
So, we will use static IP addresses to simplify this tutorial.
As stated previously, the 1st subnet used for iSCSI traffic in our case is: 10.10.0.x.
So, we indicate this for the 1st VMkernel adapter of our 1st host:
- IPv4 address: 10.10.0.11
- Subnet mask: 255.255.255.0
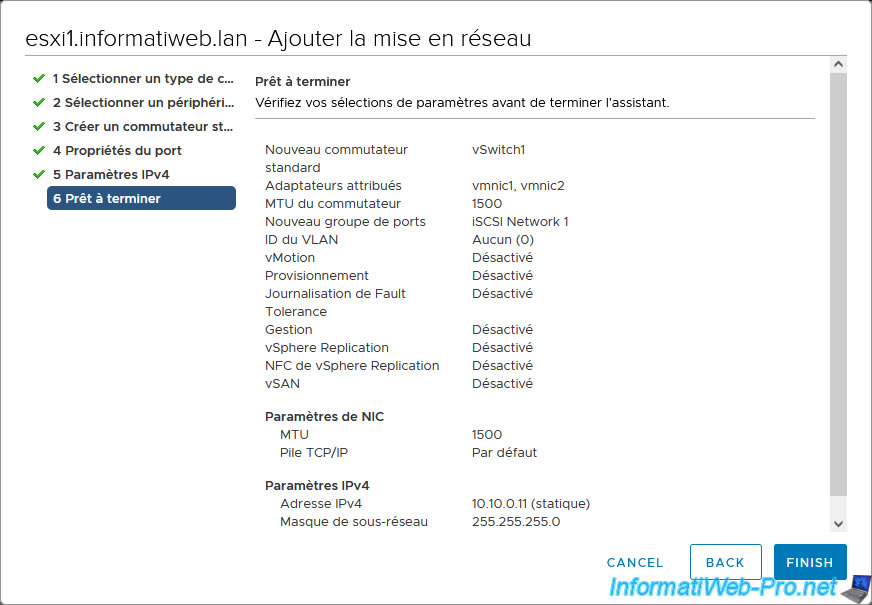
A summary of the configuration of your new virtual switch and your new VMkernel adapter appears.
Click Finish.
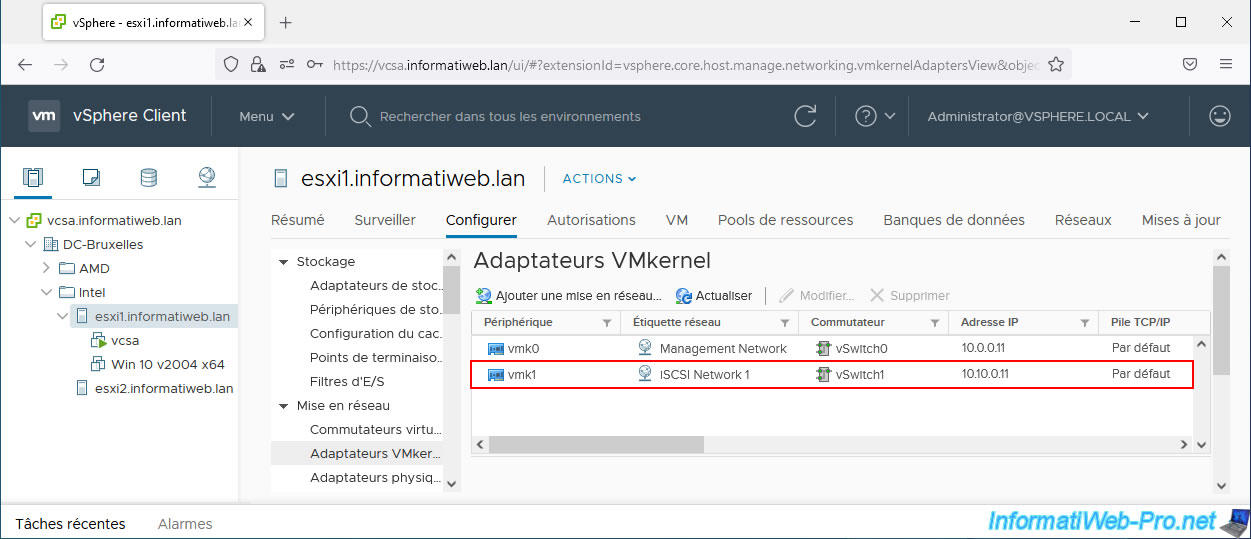
Your new VMkernel adapter appears.
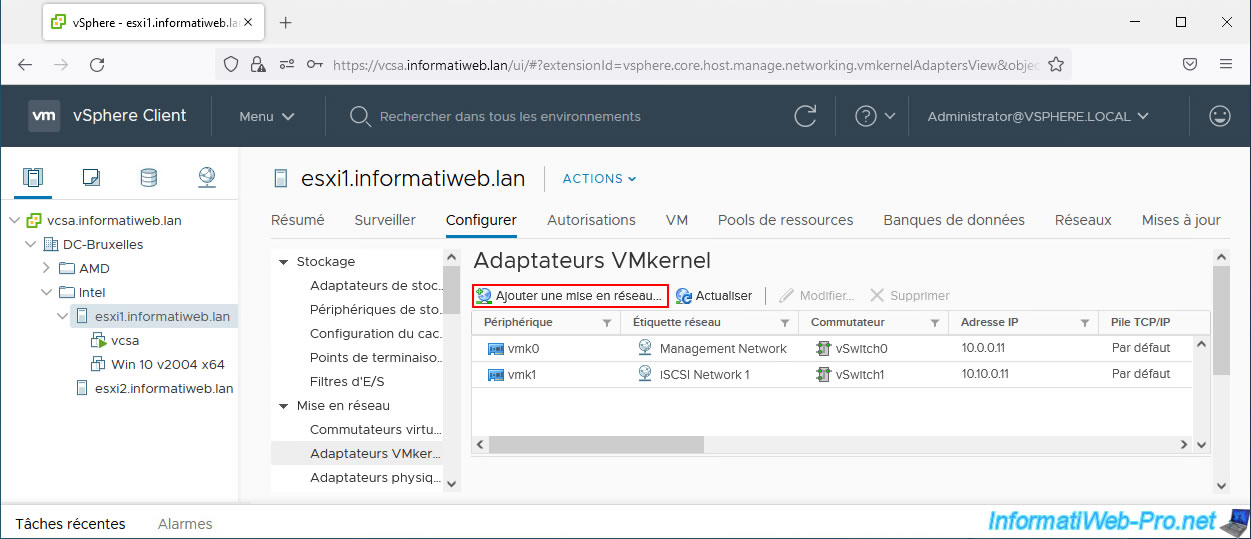
1.2. Add the 2nd VMkernel adapter for iSCSI
Add the 2nd VMkernel adapter by clicking: Add Networking.
Select "VMkernel Network Adapter" and click Next.
This time choose "Select an existing standard switch" and click Browse.

Select your new virtual switch created previously (in our case: vSwitch1) and click OK.
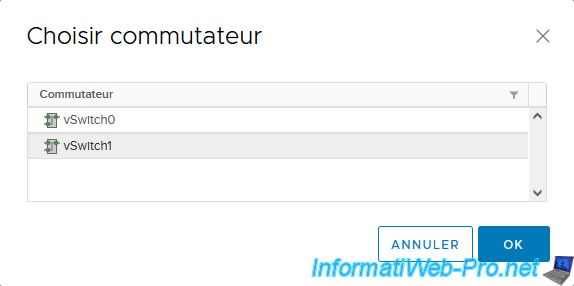
Once the virtual standard switch is selected, click Next.

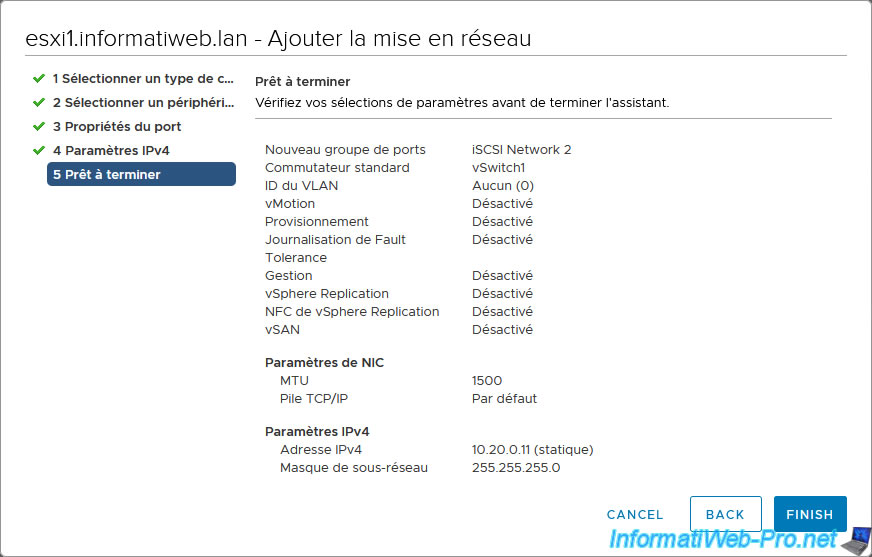
This time, specify "iSCSI Network 2" as the network label.
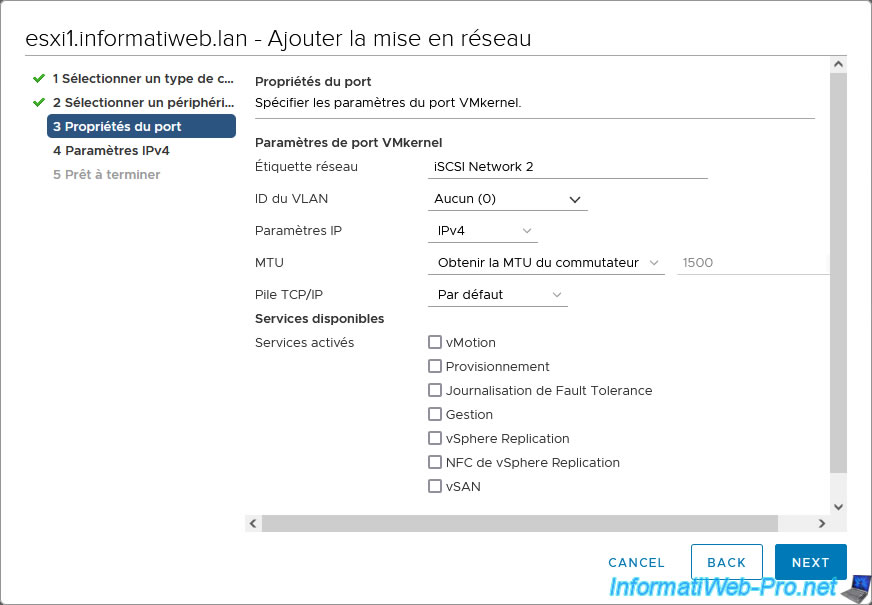
The 2nd VMkernel adapter is connected to our 2nd subnet dedicated to iSCSI traffic (10.20.0.x).
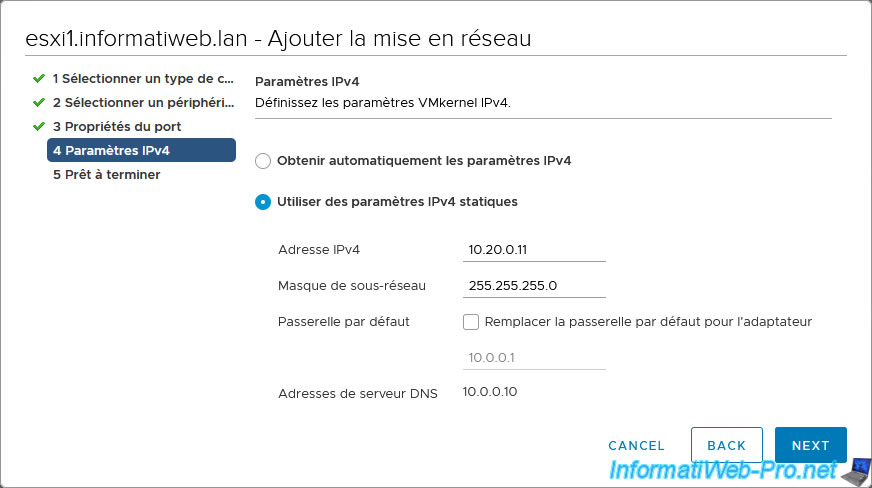
So, for the 2nd VMkernel adapter of our 1st VMware ESXi host, we indicate:
- IPv4 address: 10.20.0.11
- Subnet mask: 255.255.255.0
A summary of the configuration of your new VMkernel adapter appears.
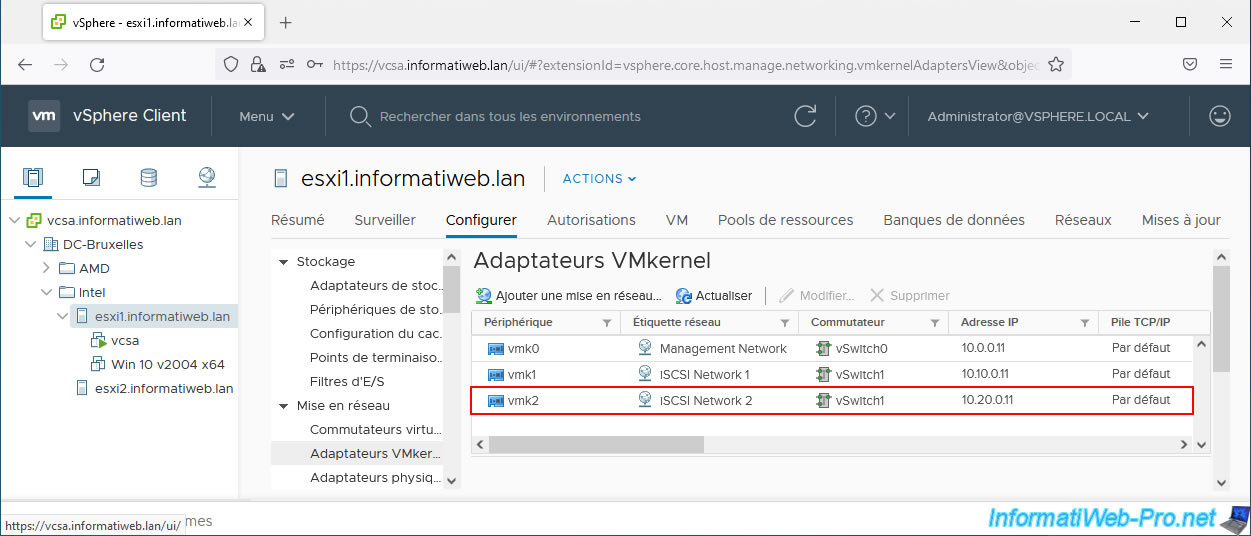
Your 2nd VMkernel adapter has been created on your 1st VMware ESXi host.
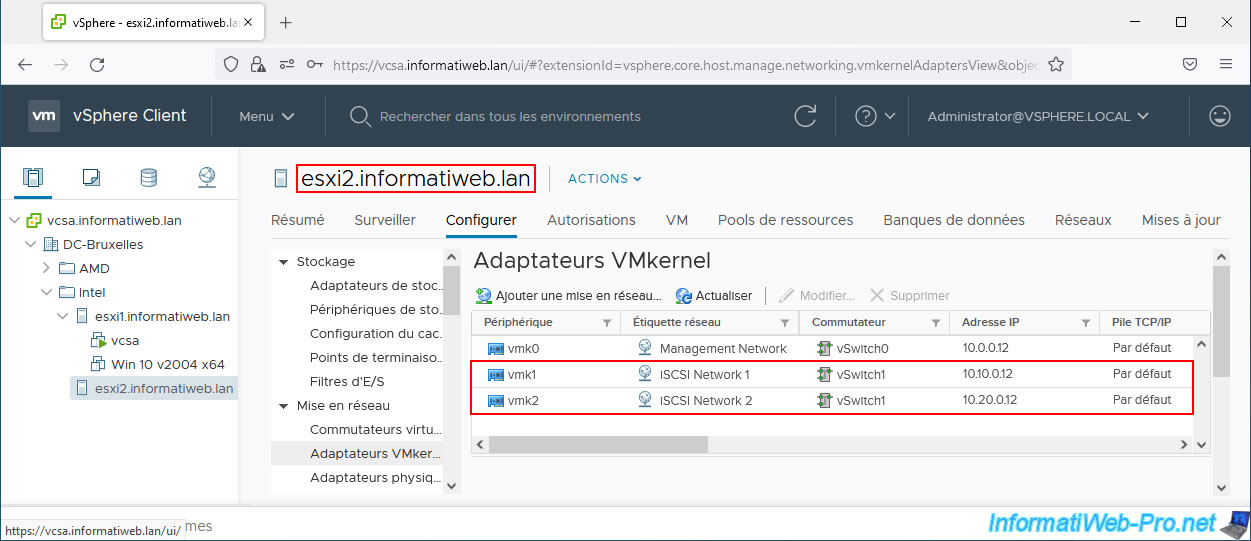
If applicable, also add the 2 VMkernel adapters on your 2nd VMware ESXi host.
In our case, we assigned the IP address:
- 10.10.0.12: for the 1st VMkernel adapter (vmk1)
- 10.20.0.12: for the 2nd VMkernel adapter (vmk2)
Share this tutorial
To see also
-

VMware 5/15/2024
VMware vSphere 6.7 - Add a physical disk to host
-

VMware 9/27/2024
VMware vSphere 6.7 - Array integration APIs (VAAI)
-

VMware 9/6/2024
VMware vSphere 6.7 - Configure port binding (iSCSI traffic)
-

VMware 6/13/2024
VMware vSphere 6.7 - Configure Virtual Flash (SSD cache)
You must be logged in to post a comment