- VMware
- 31 August 2022 at 14:03 UTC
-


Although the OVF or OVA format is a standard used by many virtualization solutions, sometimes the import from the web interface of your VMware ESXi hypervisor fails in some cases.
This is particularly the case with the "SexiLog" virtual appliance which enables central management of the logs of your VMware ESXi hypervisors and your VMware vCenter Server servers.
- Can't import OVF or OVA file with compressed virtual hard disk
- Convert OVF or OVA file with VMware OVF Tool (ovftool) to solve the problem
- Import the converted OVF or OVA file on VMware ESXi
1. Can't import OVF or OVA file with compressed virtual hard disk
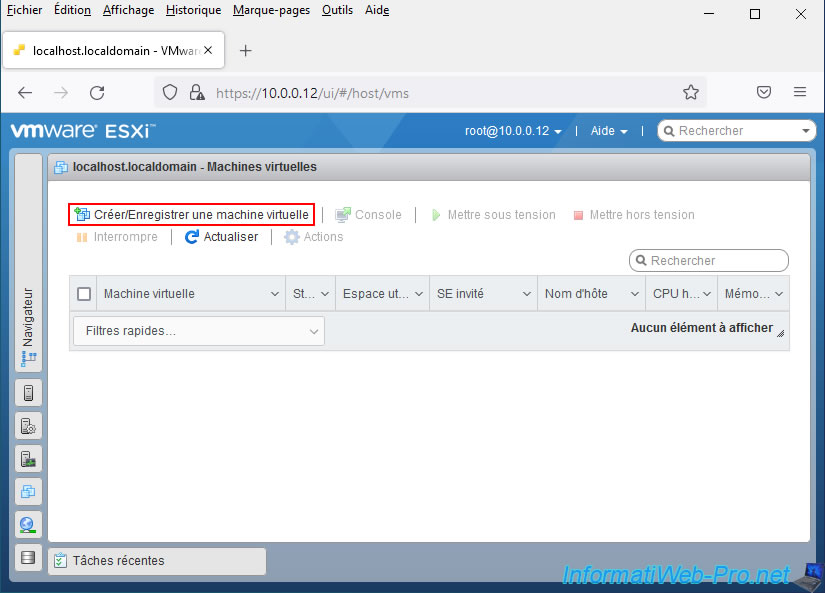
To begin, you go to the "Virtual Machines" section, then you click on : Create / Register VM.
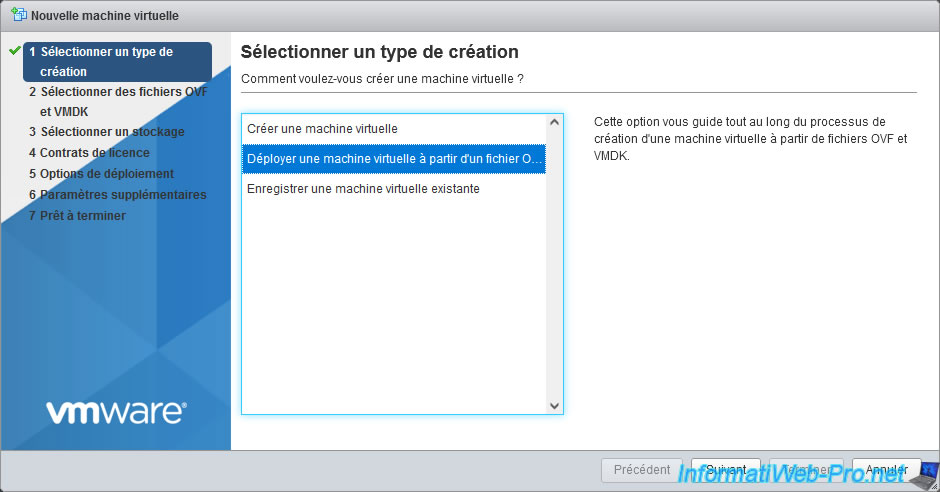
Select "Deploy a virtual machine from an OVF or OVA file" and click Next.
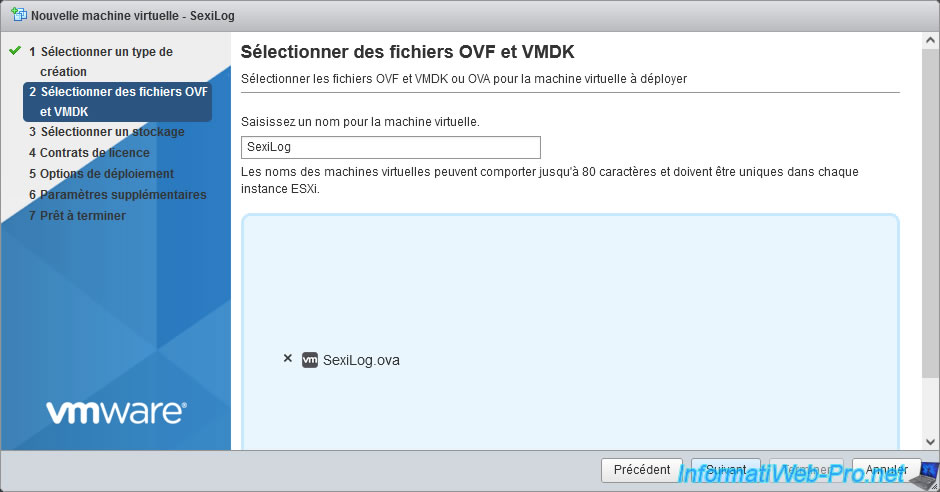
Provide a name for this virtual machine and select the desired OVF or OVA file.
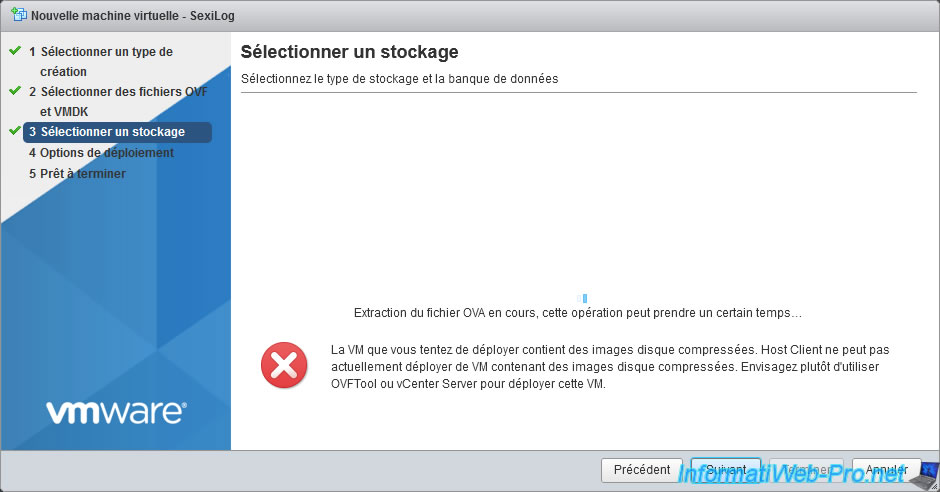
Then, you will see that an error message will appear :
Plain Text
The VM you are trying to deploy contains compressed disk images. Host Client is currently not able to deploy VMs that contain compressed disk images. Please consider using OVFTool or vCenter Server to deploy this VM.
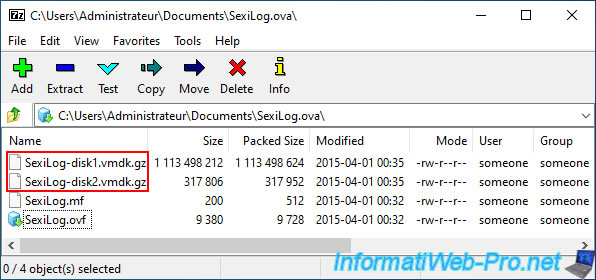
Indeed, if you open the desired ".ova" file with 7-Zip or any other file compression / decompression software (such as WinZip or WinRAR), you will see that the virtual hard disk(s) found in this ".ova" file are effectively compressed.
In this case, the ".vmdk" files inside this ".ova" file are compressed in the ".gz" format (which is a format used mainly on Linux).
Note : for OVF format, the virtual hard disk file is located in the same folder as the configuration file in ".ovf".
2. Convert OVF or OVA file with VMware OVF Tool (ovftool) to solve the problem
As stated on the "OVF Package with compressed disks is currently not supported for OVF import" page of the Broadcom official site, to solve this problem you will need to convert the ".ovf" or ".ova" file with the "VMware OVF Tool (ovftool)" tool so that the desired file becomes compatible with VMware solutions.
To do this, launch the tool like this.
Note : for OVF format, simply use the ".ovf" extension instead of ".ova" for the name of the source and the destination file.
Also, specify a different folder for the destination, otherwise the tool will try to overwrite the files it's reading.
Batch
ovftool.exe C:\Users\Administrateur\Downloads\SexiLog.ova C:\Users\Administrateur\Downloads\SexiLog-new.ova
Which will display this :
Plain Text
Opening OVA source: C:\Users\Administrateur\Downloads\SexiLog.ova
The manifest validates
Opening OVA target: C:\Users\Administrateur\Downloads\SexiLog-new.ova
Writing OVA package: C:\Users\Administrateur\Downloads\SexiLog-new.ova
Disk progress: 45%
When the conversion is complete, this will be displayed :
Plain Text
Transfer Completed
Completed successfully
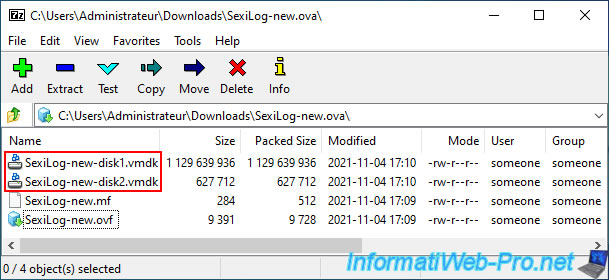
If you open the new .ova file with 7-Zip (or any similar software), you will see that the virtual hard disk in it has been unzipped by the VMware OVF Tool.
3. Import the converted OVF or OVA file on VMware ESXi
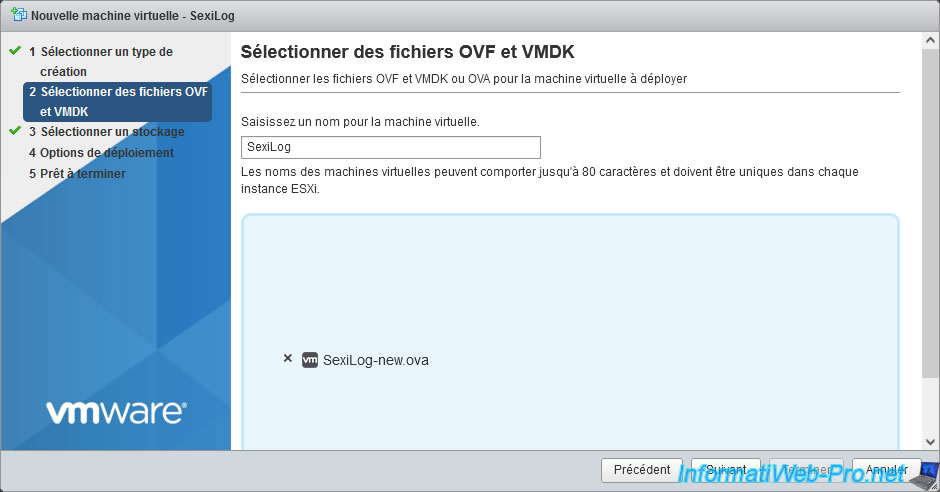
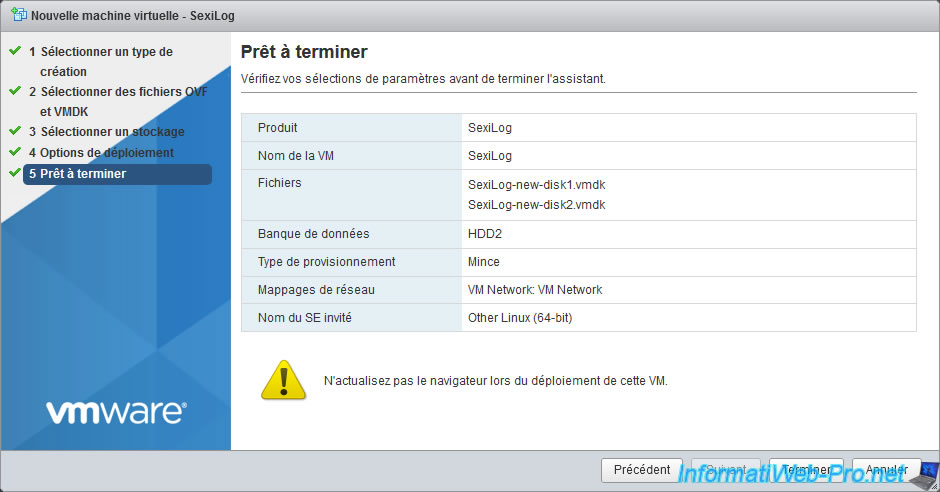
In the VMware ESXi OVF / OVA import wizard, select the new OVA file and click Next.
Note that you could also import the OVA or OVF file directly to your VMware ESXi server via VMware OVF Tool (ovftool) rather than converting it before selecting it here.
This is because since this command line tool supports this type of OVA or OVF file, the import will succeed even with the original file.
To do this, refer to our "VMware ESXi 7.0 / 6.7 - Export and import VMs via VMware OVF Tool" tutorial.
This time, no error will occur and you will be able to go until the end of the import wizard.
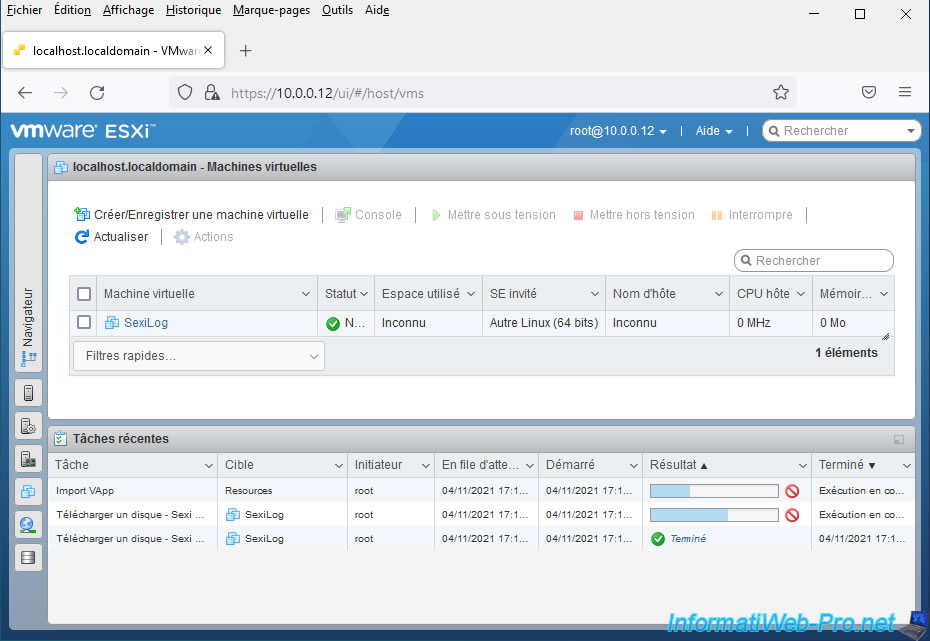
The import process starts.
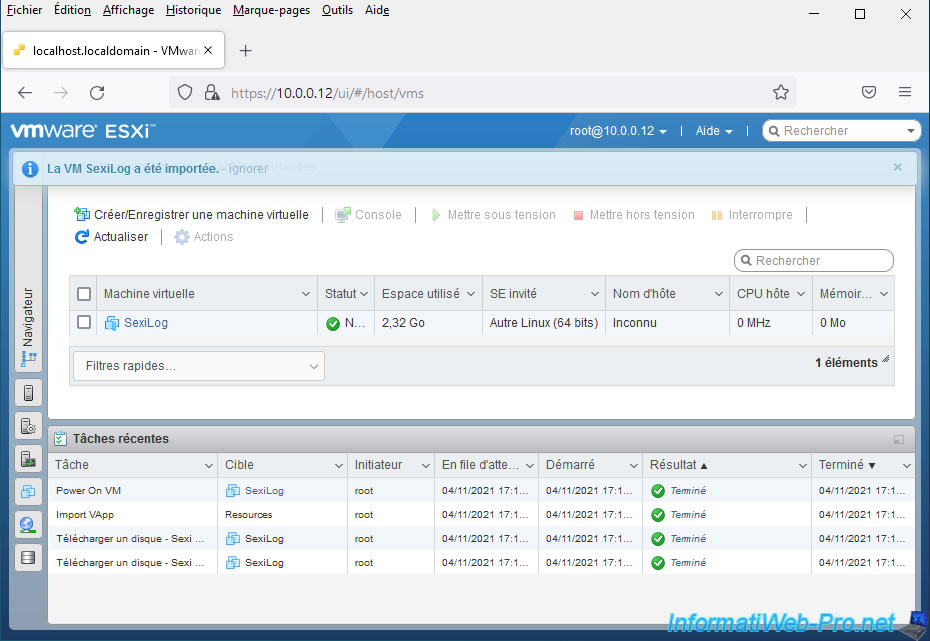
And the import will be successful.
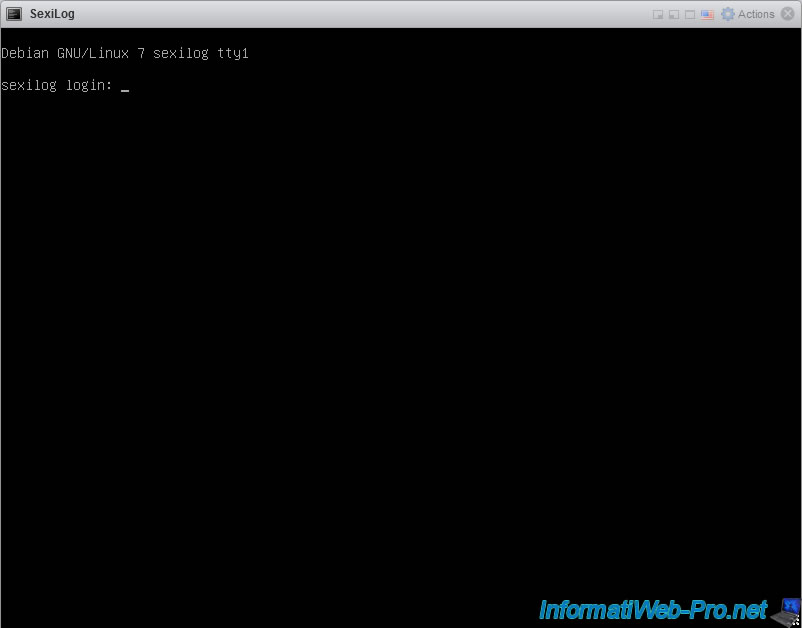
As expected, the virtual machine starts up and runs smoothly.
Share this tutorial
To see also
-
VMware 11/4/2022
VMware ESXi 6.7 - Convert a Hyper-V virtual machine to a VMware VM
-
VMware 10/14/2022
VMware ESXi 6.7 - Virtualize a physical computer (P2V)
-
VMware 8/19/2022
VMware ESXi 7.0 / 6.7 - Export and import VMs
-
VMware 8/24/2022
VMware ESXi 7.0 / 6.7 - Export and import VMs via VMware OVF Tool
You must be logged in to post a comment