Link multiple vCenter Servers to the same SSO domain using ELM on VMware vSphere 6.7
- VMware
- 01 November 2024 at 20:15 UTC
-

- 2/3

3. Configuration of site 2 (Paris)
3.1. Create a DNS record for VCSA on site 2 (Paris)
On your site 2 (Paris), go to the DNS manager of one of your DNS servers present on this physical site.
Important : to facilitate the deployment of your VMware vCenter Server (VCSA), we recommend that you create your DNS records on a DNS server present on the same physical site where you want to deploy your VMware vCenter Server (VCSA).
Indeed, although DNS records are replicated transparently from one DNS server to another thanks to the Active Directory replication system, this automatic replication is not instantaneous.
In short, in our case, we are going to create the DNS records for our VMware ESXi and VCSA hosts in Paris on our "PARIS-DC1" server.
To start, create a DNS record for each VMware ESXi host that is on this site 2 (Paris).
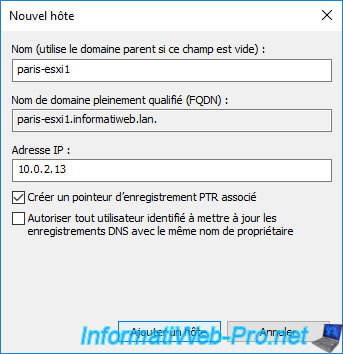
Also create a DNS record for the VCSA server that you will deploy on site 2 (Paris).
Important : make sure to check the box "Create associated pointer (PTR) record" so that the corresponding pointer (PTR) is created in the reverse lookup zone of your domain.
Indeed, this is one of the prerequisites for the deployment of VCSA.

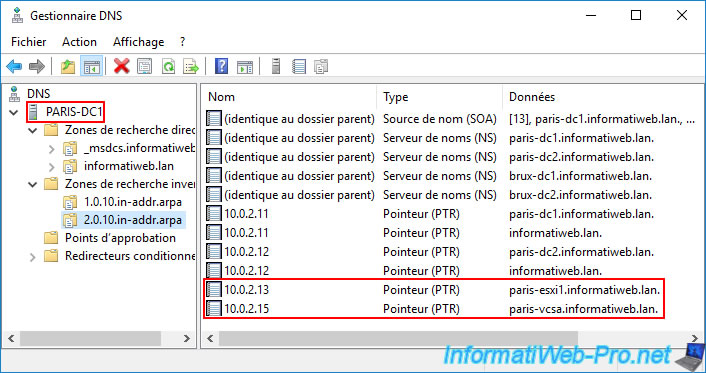
Once the DNS records are created, you will see them appear in your forward lookup zone.
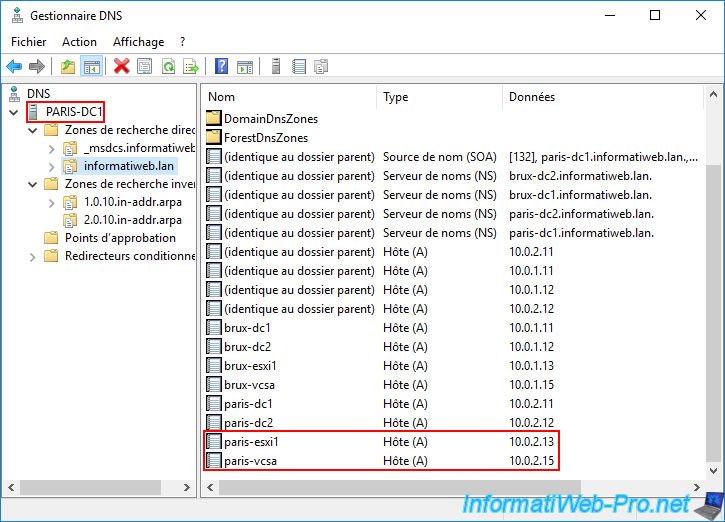
You will also find the matching pointers in the corresponding reverse lookup box.
3.2. Deploy vCenter Server Appliance (VCSA) on site 2 (Paris)
On your site 2 (Paris), insert the VMware VCSA installation DVD.
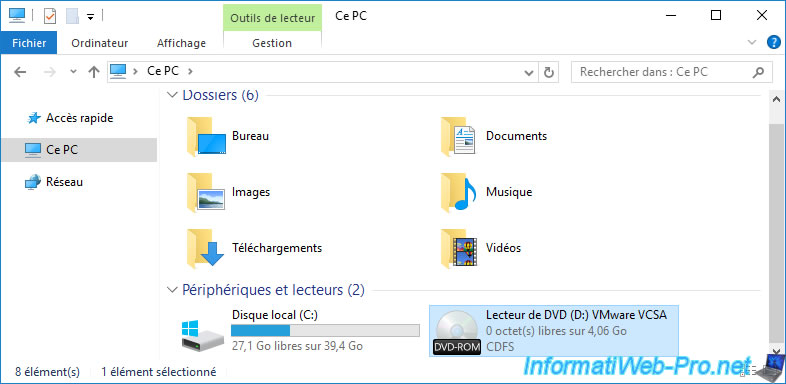
Launch the “vcsa-ui-installer\win32\installer.exe” file.

Select "French" at the top right, then click: Install.

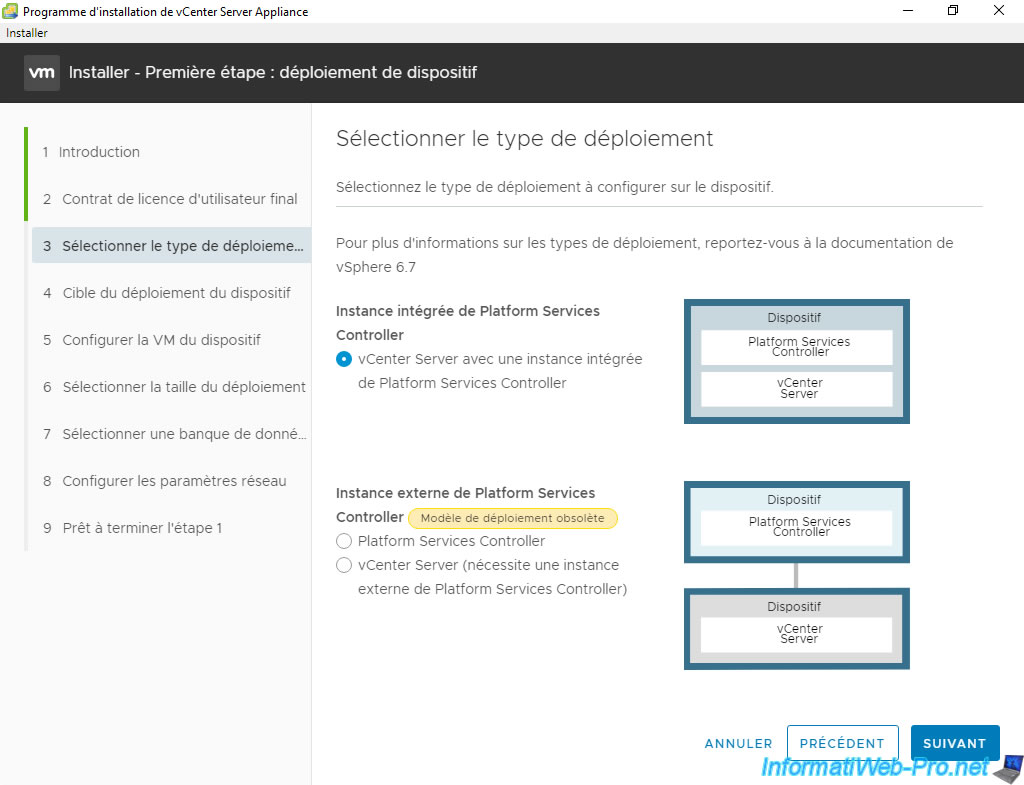
Choose again: vCenter Server with an embedded Platform Services Controller.
Important : as the vCenter Server Appliance (VCSA) installer tells you, using an external Platform Services Controller is deprecated (as of VCSA version 6.7).
When you used linked VMware vCenter Servers, you had to use an external PSC (Platform Services Controller) and link your different vCenter Servers to it.
However, since version 6.7 of VCSA, this type of deployment is deprecated and you should therefore favor the use of an integrated Platform Service Controller instance. Whether it's your 1st VCSA server or the others you want to link to the 1st.
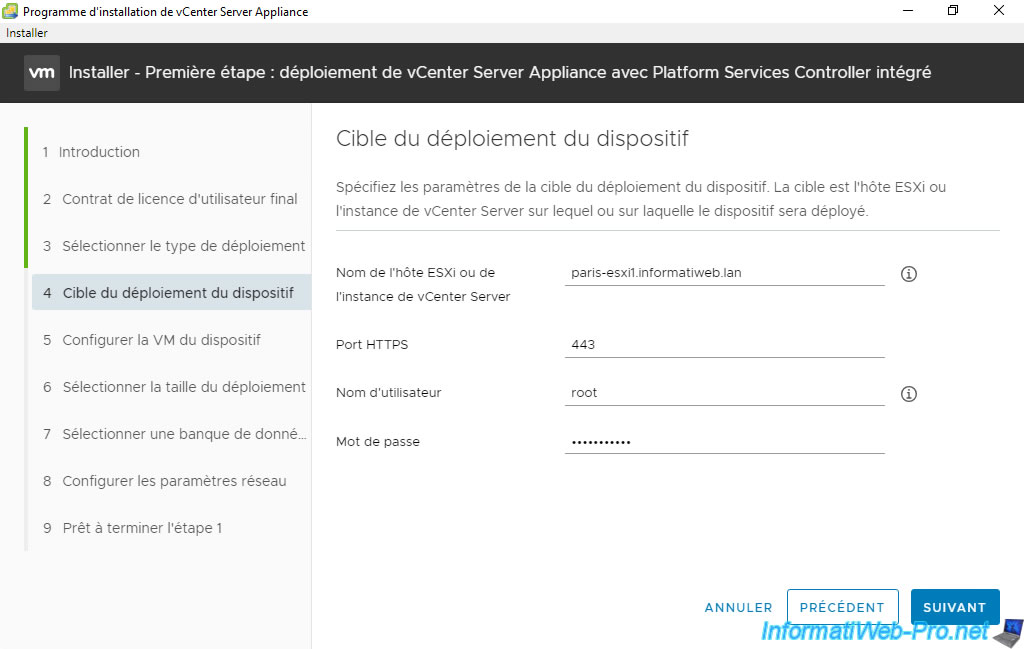
For the appliance deployment target, indicate the domain name or IP address of a VMware ESXi host present on your site 2 (Paris).
In our case, we will deploy our VCSA virtual machine on our VMware ESXi host: paris-esxi1.informatiweb.lan.
Then, indicate, for example, the identifiers of the "root" account of this VMware ESXi host.
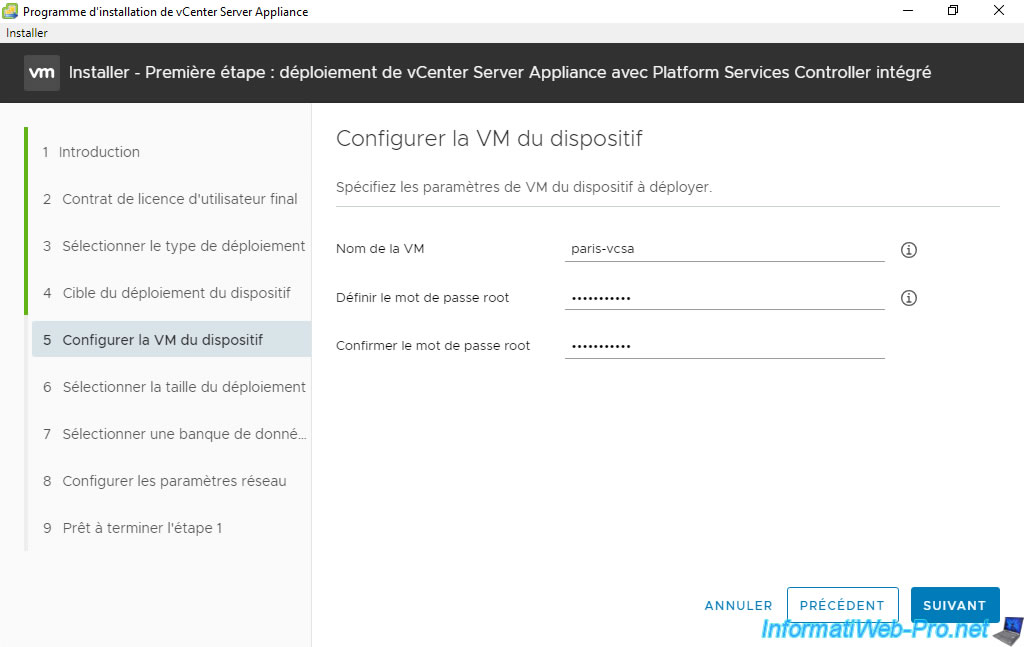
Indicate under what name your virtual machine should be created on your VMware ESXi host.
Note: again, this is the name that will appear on VMware ESXi and on VMware vCenter Server. This name may therefore be different from that used in the domain name that you previously created on your DNS server.
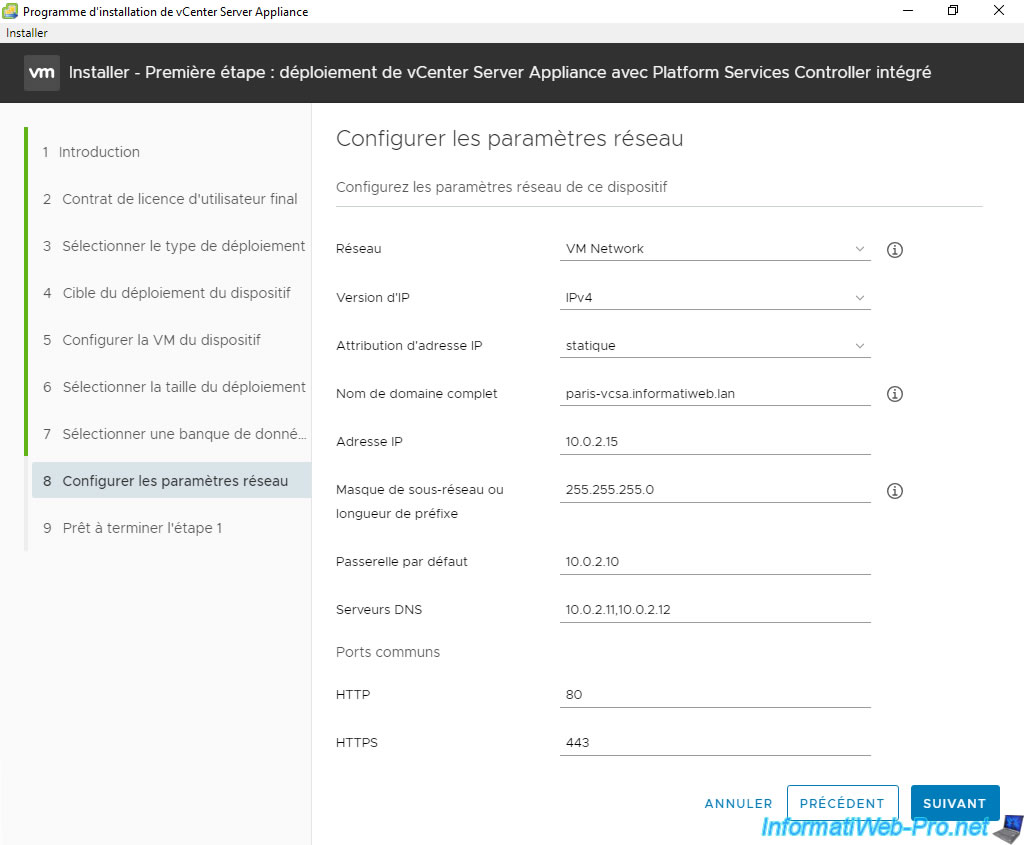
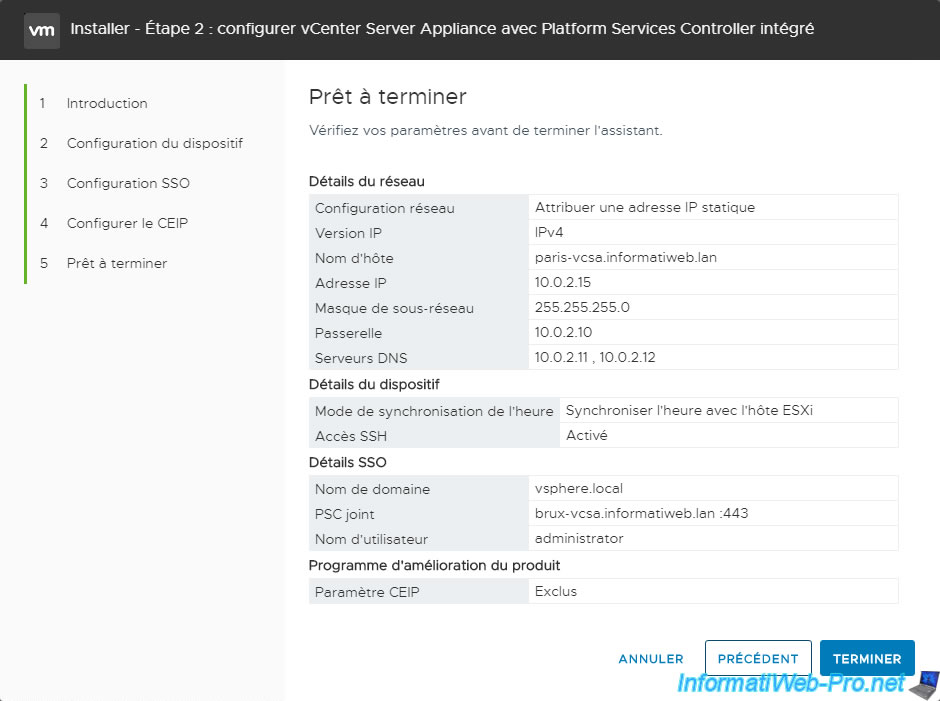
This time, the network settings to indicate must correspond to the network of your site 2 (Paris).
In our case, the information that changes is:
- IP address: the IP address of our 2nd VCSA server, whose IP address is "10.0.2.15" this time.
- Default gateway: the LAN IP address of our router on this site 2 (Paris).
This time, its IP address is: 10.0.2.10. - DNS servers: the IP address of the local DNS server(s).
This time, we will use the DNS servers present on site 2 (Paris) to speed up VCSA's DNS queries.
This time, the IP addresses that we will use in our case are: 10.0.2.11 and 10.0.2.12.
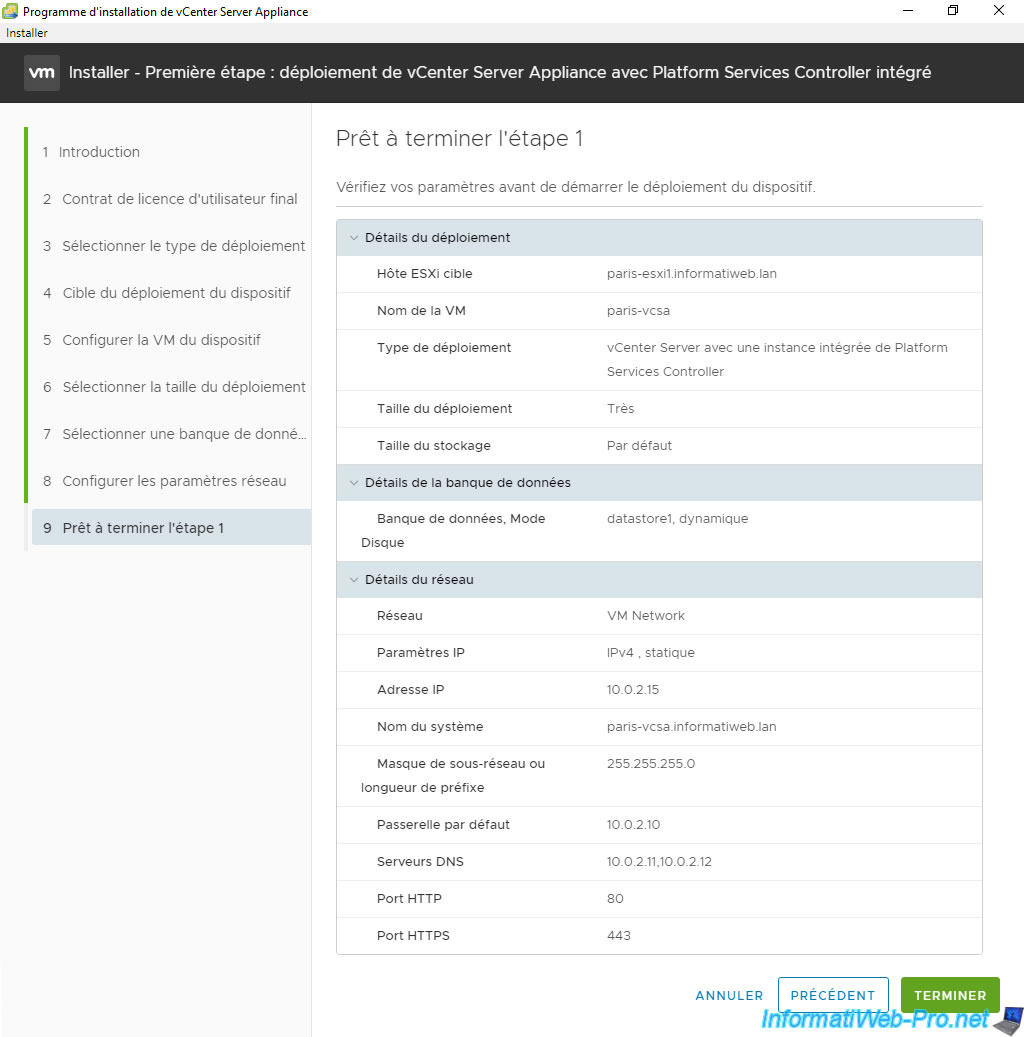
A summary of your VCSA server deployment on site 2 (Paris) is displayed.
Wait while the vCenter Server Appliance (VCSA) is deployed.
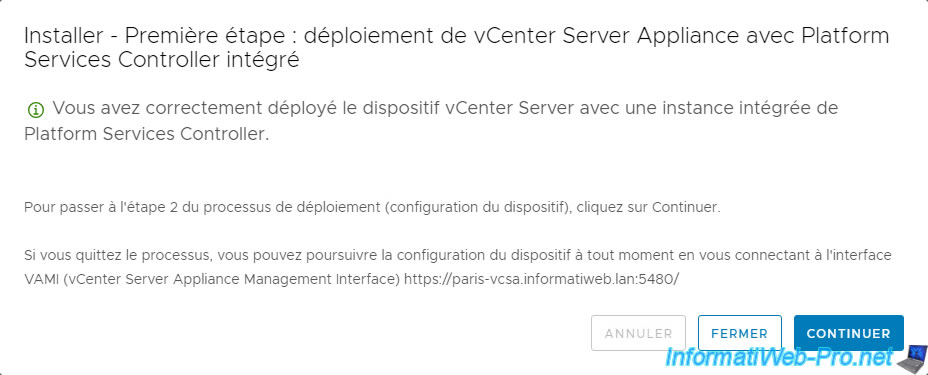
After the VCSA deployment is complete, click "Continue" to configure this device.
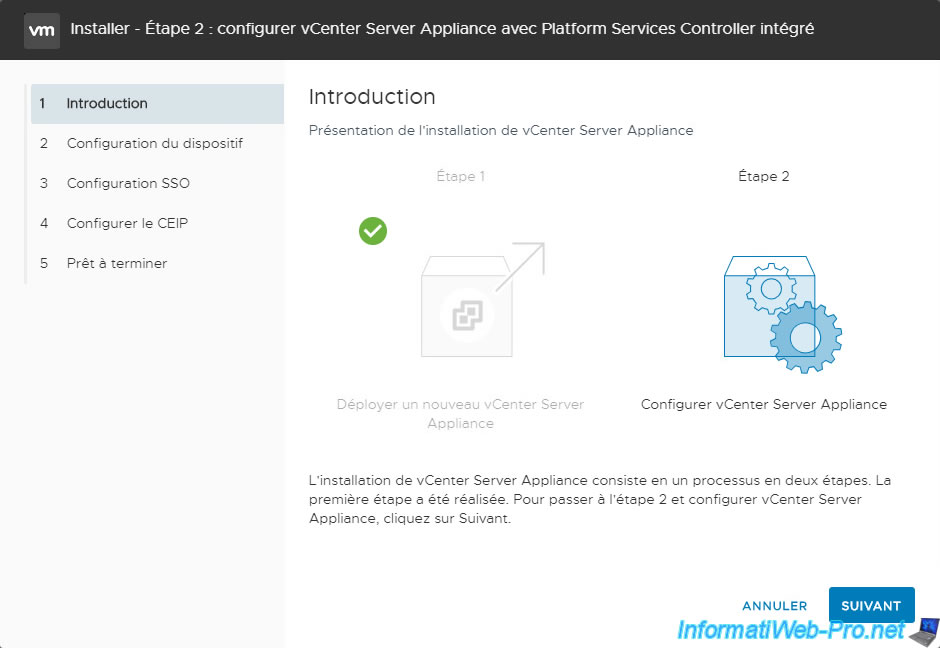
3.3. Configure vCenter Server Appliance (VCSA) on site 2 (Paris)
When the "Install - Stage 2: Set Up vCenter Server Appliance with an Embedded PSC" wizard appears, click Next.
If you exited the VCSA installer, you can access this setup wizard again by connecting to port 5480 on your VCSA server.
To do this, open a modern web browser (like Mozilla Firefox or Google Chrome) and type the address "https://[domain name of your VCSA server]:5480/".
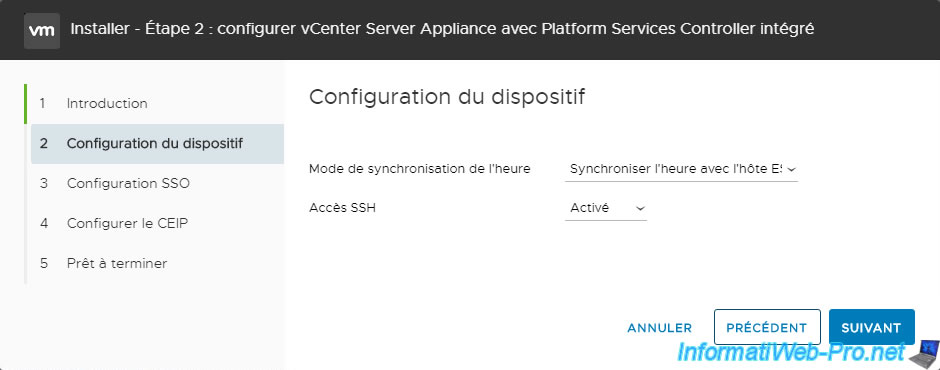
To avoid connection and/or authentication problems, you can choose to synchronize the time of your VCSA server from an NTP server (present by default in an Active Directory infrastructure).
But, you can also synchronize the time from the VMware ESXi host on which it was deployed. If the VMware ESXi host is already synchronized with an NTP server, this will do the trick.
Note: SSH access will allow you to connect to the command line on your VCSA VM if necessary and is required if you want to implement high availability for VCSA.
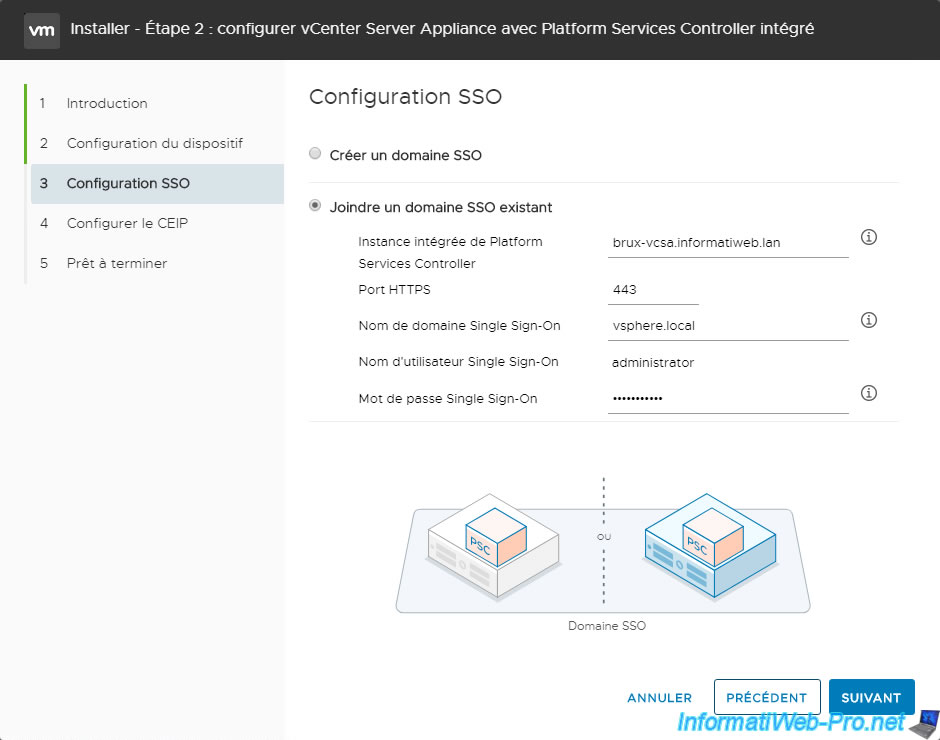
Important : to link this new VMware vCenter Server Appliance (VCSA) server from site 2 (Paris) to that of your site 1 (Brussels), you must choose: Join an existing SSO domain.
Then, specify:
- Embedded Platform Services Controller: The domain name of the site 1 vCenter Server that the wizard will need to connect to.
Note that this server must therefore be accessible remotely (via VPN gateways, for example) for this to work. - HTTPS port: 443 (default value).
- Single Sign-On domain name: The vSphere SSO domain name used on the vCenter Server listed above.
In our case, we used the default domain "vsphere.local" on the VCSA server at site 1 (Brussels). - Single Sign-On user name: The name of the administrator account used on VMware vCenter Server is always "administrator".
- Single Sign-On password: the password of the "administrator" account of the vCenter Server to which you want to connect.
A summary of your 2nd VMware vCenter Server (VCSA) from site 2 (Paris) appears.
Click: Finish.
Confirm the warning that appears by clicking OK.
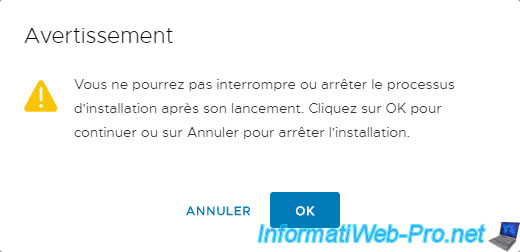
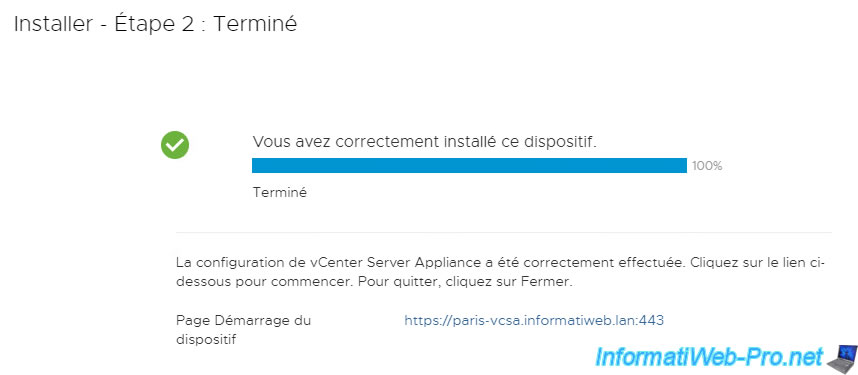
Wait while your VMware vCenter Server Appliance (VCSA) installs.

Once the installation of this 2nd VMware vCenter Server (VCSA) is complete, click on the link "https://[VCSA server domain name]:443/" which appears.
Share this tutorial
To see also
-
VMware 3/13/2024
VMware ESXi 6.7 - Synchronize the clock of ESXi hosts from a time server (NTP)
-
VMware 3/8/2024
VMware ESXi 6.7 - Synchronize the clock of VCSA from a time server (NTP)
-
VMware 7/31/2024
VMware vSphere 6.7 - Add an Active Directory identity source
-
VMware 5/22/2024
VMware vSphere 6.7 - Change default console
No comment