- VMware
- 29 May 2024 at 07:37 UTC
-


From the vSphere Client of your VMware vCenter Server, you can easily export (download) and import virtual machines (in OVF format) from a simple modern web browser.
1. Export a virtual machine in OVF format
When you want to export a virtual machine from your VMware vCenter Server, it will be exported in OVF format and not in VMware format (whose configuration file would be in .vmx format).
If you want to export the virtual machine in VMware format (.vmx), refer to our tutorial: VMware vSphere 6.7 - Export and import VMs with VMware Workstation Pro.
To export a virtual machine (in OVF format) from the vSphere Client, right-click on the virtual machine to export and click: Model -> Export OVF Template.
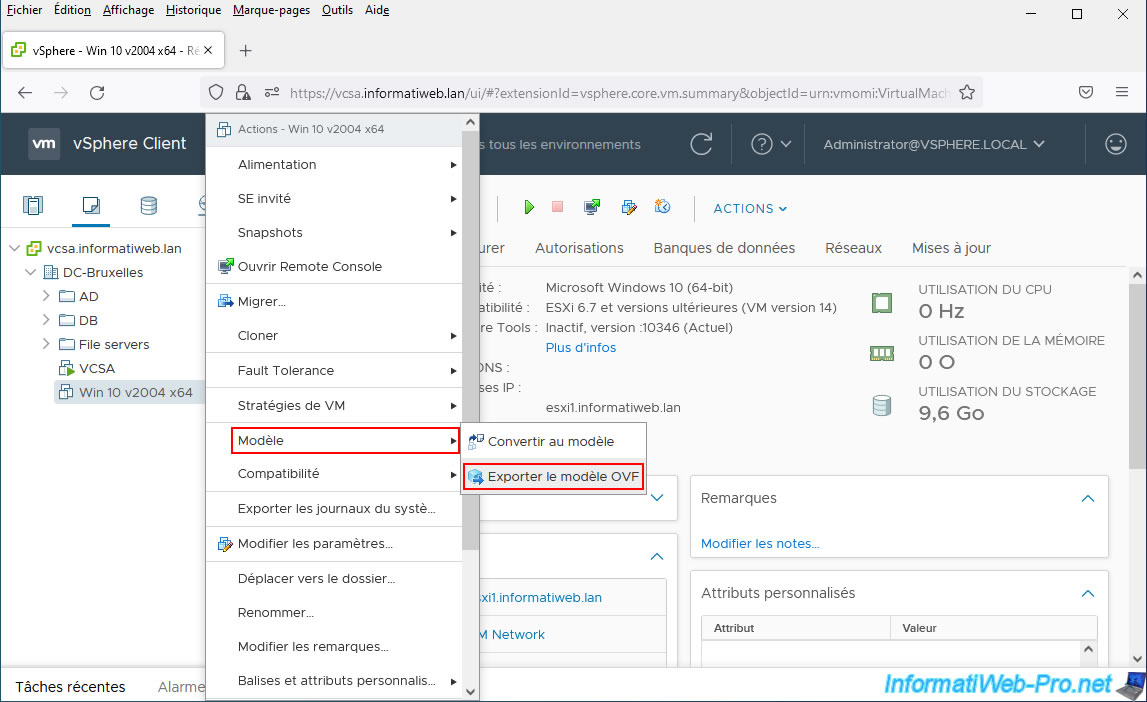
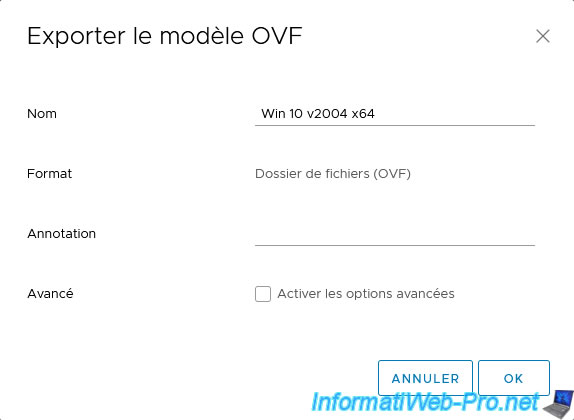
In the "Export OVF Template" form that appears, you can specify:
- Name: the name under which the virtual machine will be exported
- Format: the format in which the virtual machine will be exported.
In this case: Folder of files (OVF). - Annotation: information you want to add for the exported virtual machine.
- Advanced: enables advanced options.
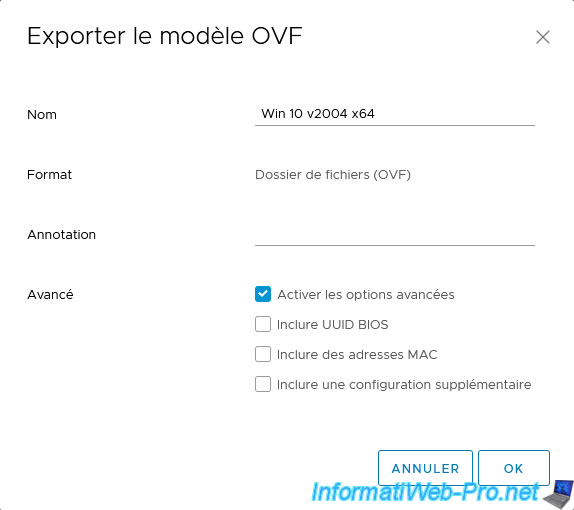
If you check the "Enable advanced options" box, you will have access to these options:
- Include BIOS UUID: allows you to keep the unique identifier assigned to the virtual motherboard of the VM.
This can be useful in the case where paid software (whose license/activation is therefore often linked to the hardware) is installed in the exported virtual machine to prevent the activation of this paid software from being corrupted following a hardware change (detected following the change of this UUID). - Include MAC addresses: allows you to keep the MAC addresses assigned to the different network cards of this VM.
The first reason is that this prevents the activation of paid software installed in the VM from being corrupted following the “change” of the virtual network card.
Indeed, since changing the MAC address is not possible on a physical network card, the software will think that this network card has been replaced by another.
The 2nd and most likely reason is that this will allow the reuse of static IP addresses that would be defined on a DHCP server.
Indeed, the DHCP server is based on the MAC address of the network cards which issue the IP address request to be able to send static IP addresses to specific client stations or servers. - Include extra configuration: allows you to include additional configuration (not documented by VMware)
Then click OK.
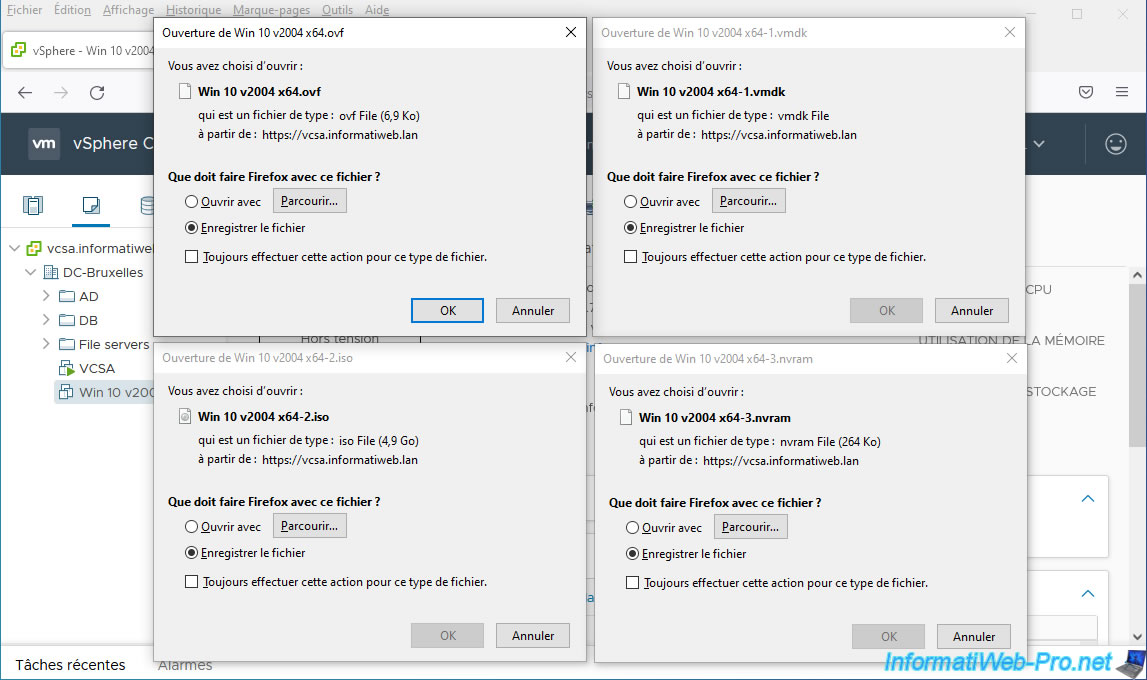
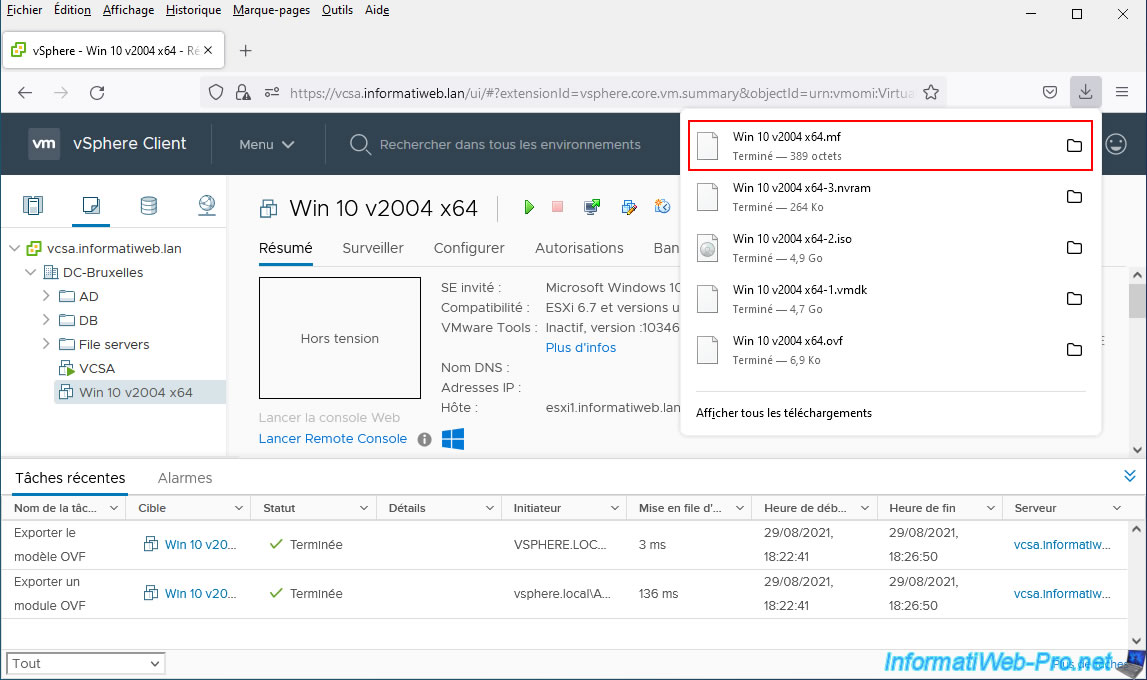
Several files will be offered to you for download:
- the configuration file in .ovf format
- the virtual hard disk in .vmdk format
- the iso file inserted in its virtual CD/DVD drive in .iso format (if applicable)
- the current BIOS configuration of the VM in .nvram format
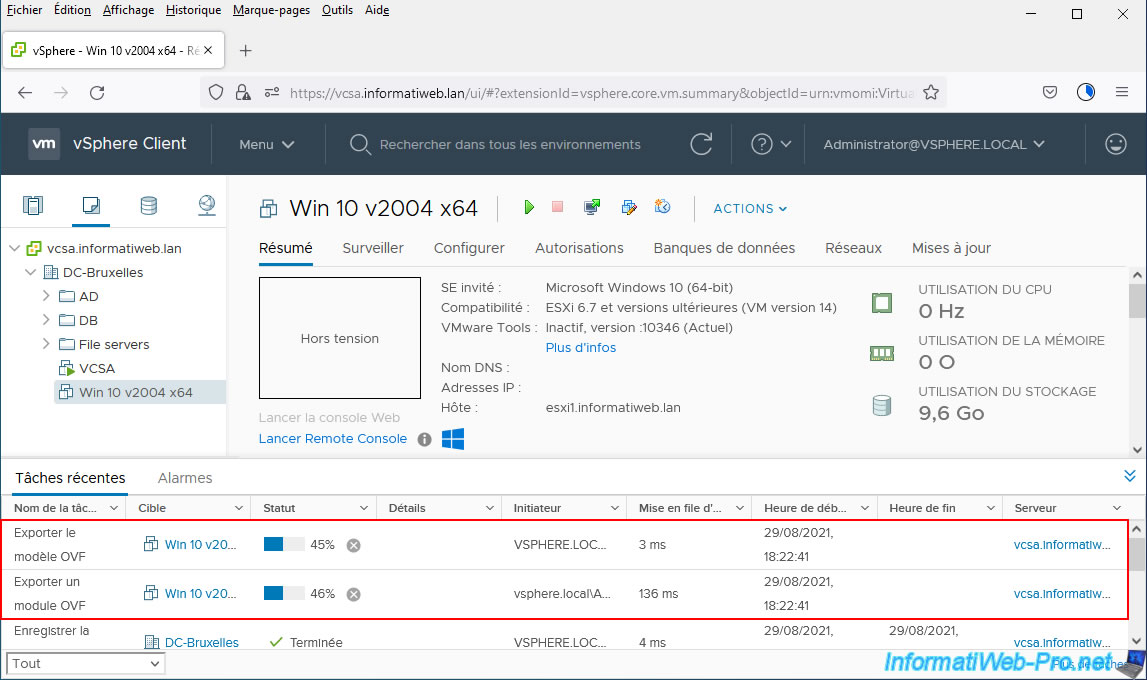
If you open the "Recent Tasks" panel at the bottom of the page, you will see that there are "Export OVF Template" tasks running.
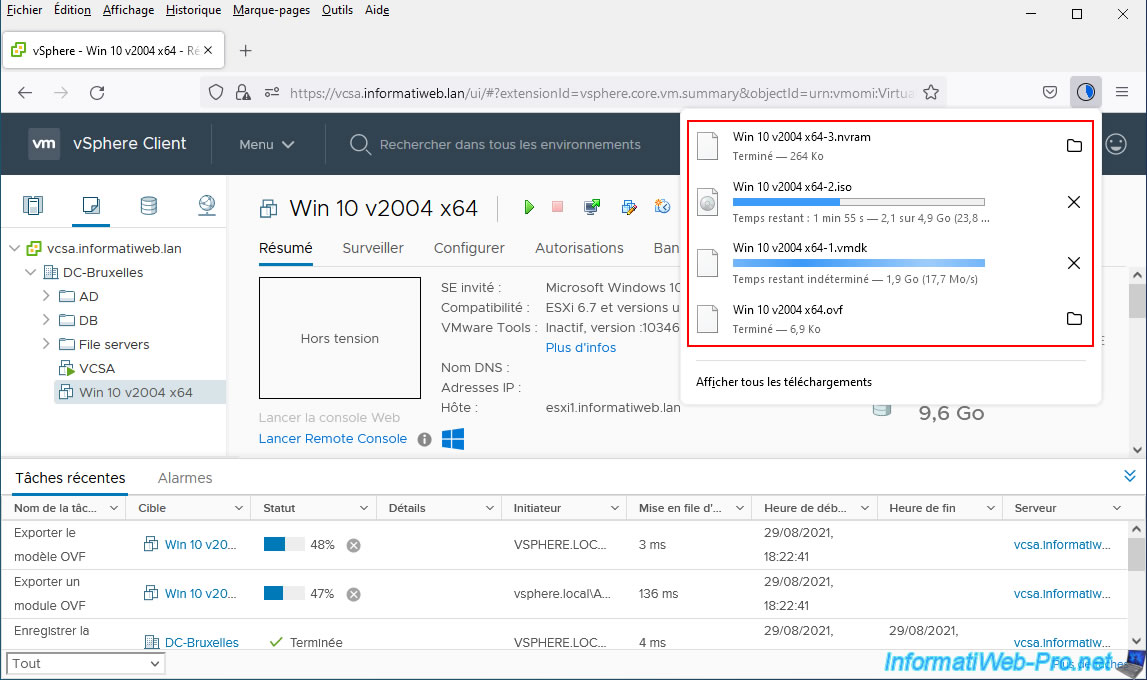
In your favorite web browser, you will see that the various files are downloading.
Obviously, the ".vmdk" file which corresponds to the virtual hard disk of the virtual machine is the largest file and the one for which it will take the longest for the download to be completed.
Once these different files have been downloaded, your VMware vCenter Server will automatically prompt you to download the latest file in ".mf" format.
This file is a manifest file used with the OVF format which allows you to check the integrity of a virtual machine in OVF format.
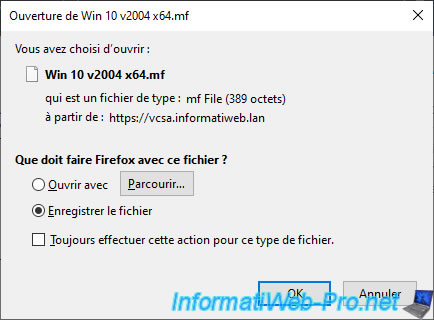
This file is very lightweight and will therefore download instantly.
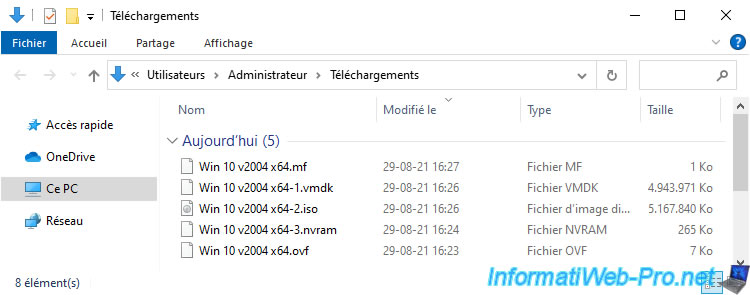
Here are the files obtained once the downloads are complete.
2. Import a virtual machine in OVF format
Now that you know how to export a virtual machine in OVF format from your VMware vCenter Server, here's how to import one.
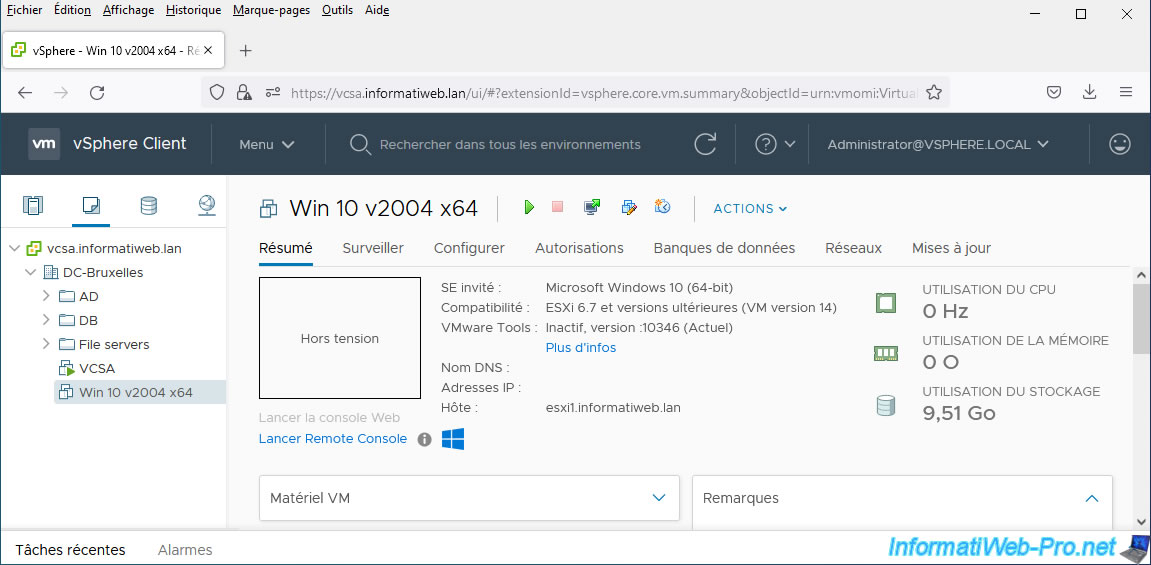
For the example, we deleted our virtual machine from our VMware vCenter Server to be able to re-import it.
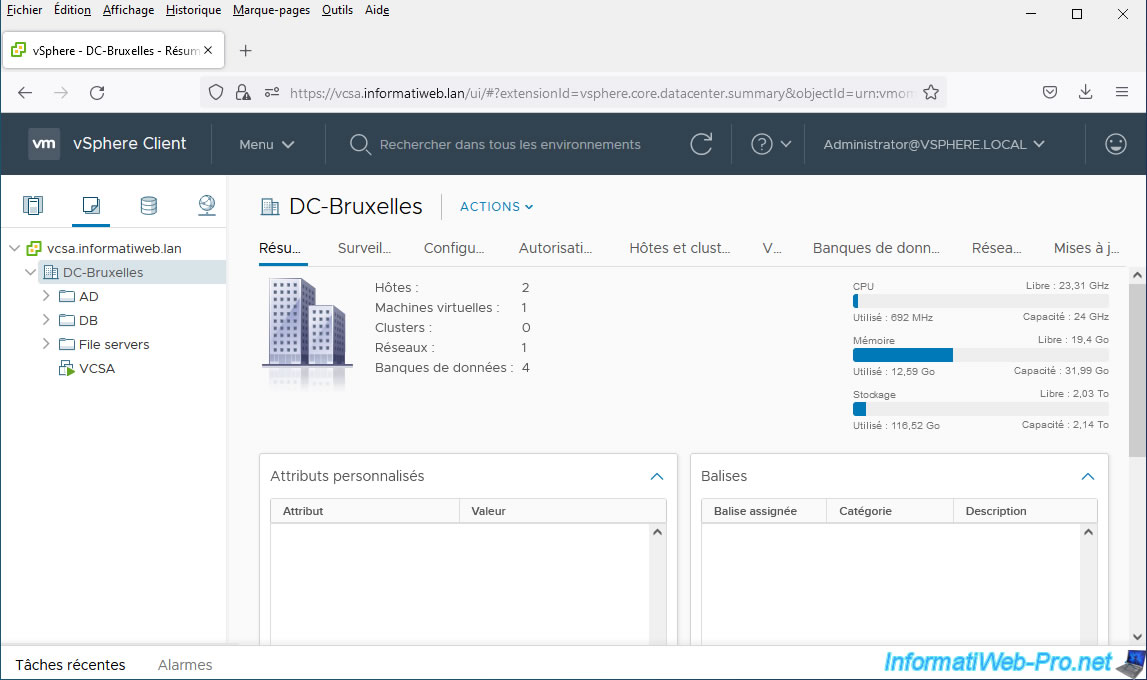
To import a virtual machine in OVF format, right-click the desired destination datacenter or folder, then click: Deploy OVF Template.

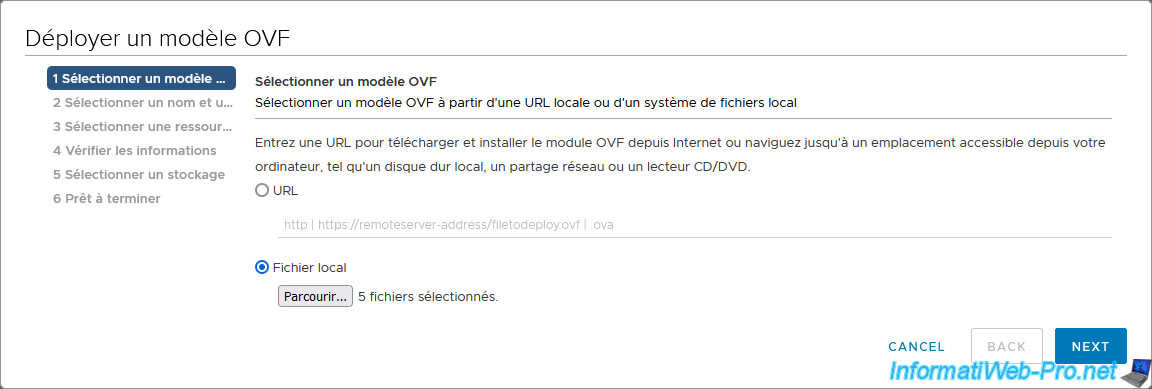
In the "Deploy OVF Template" wizard that appears, you can choose to import a virtual machine in OVF or OVA format from the Internet (by specifying its URL) or from a local file.
In our case, we will import the virtual machine exported previously in OVF format.
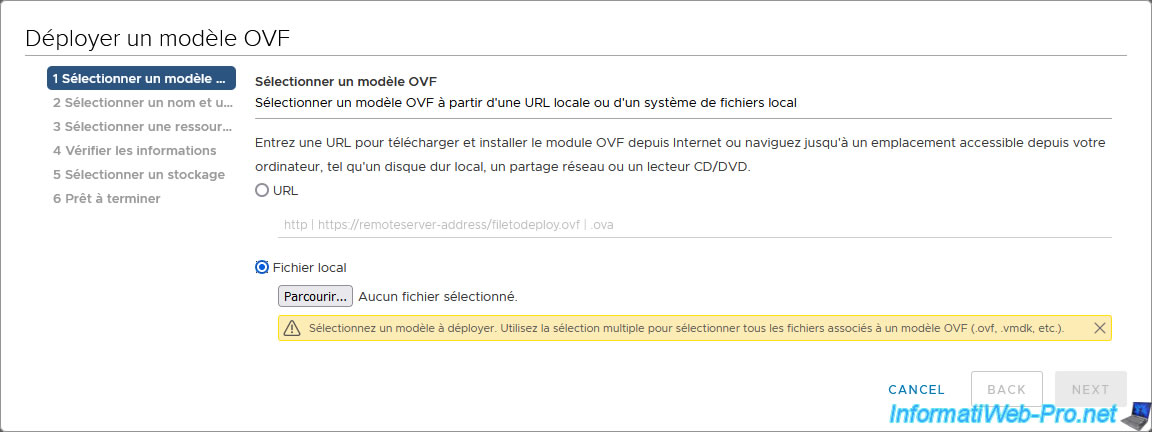
Select all previously exported files at once and click Open.
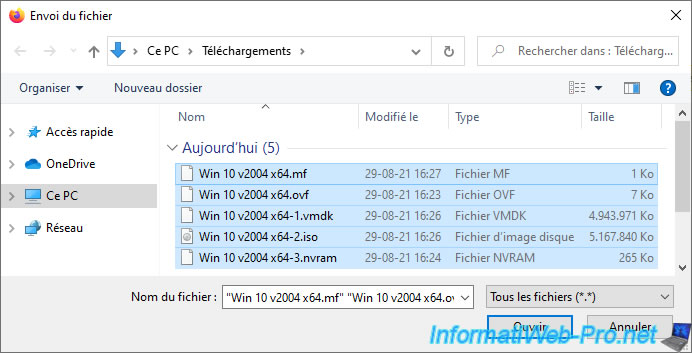
As you can see, the "Deploy OVF Template" wizard shows you: 5 files selected.
Click Next.
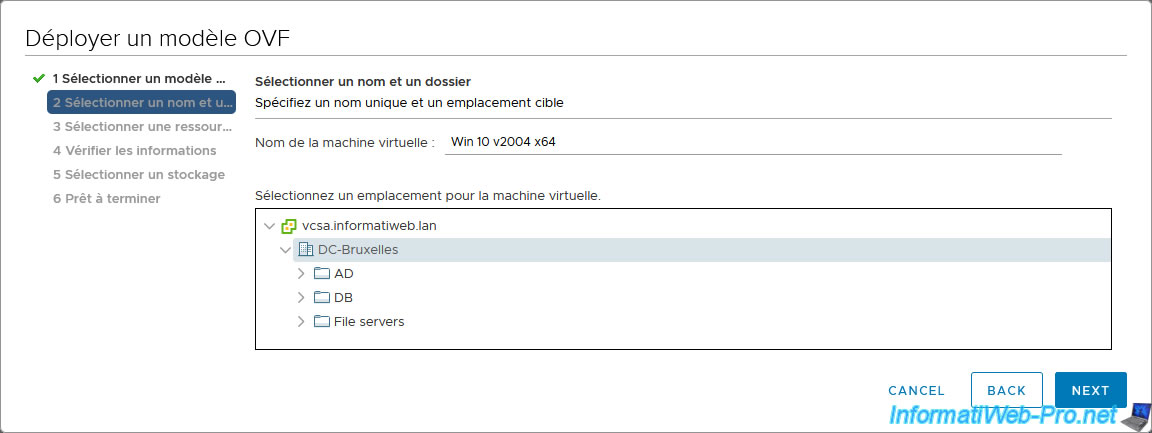
Indicate the name under which the virtual machine should be imported onto your VMware vCenter Server and select the location where you want to import it.
By default, the selected location will be the one on which you right-clicked "Deploy OVF Template".
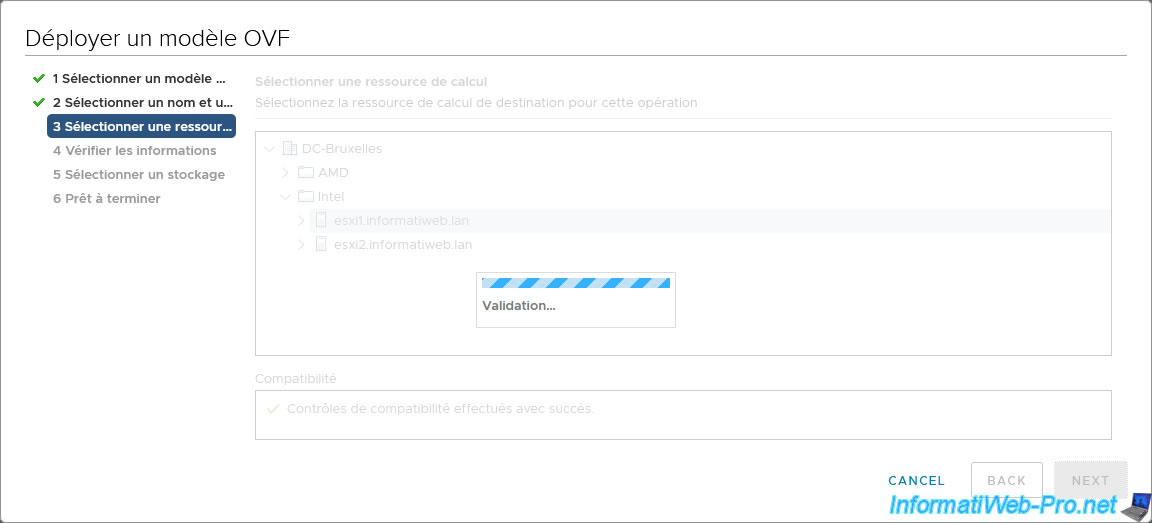
Select the computing resource where this virtual machine should be executed.
In other words, these are the resources (processor and RAM) of this VMware ESXi hypervisor which will be used to make it work.
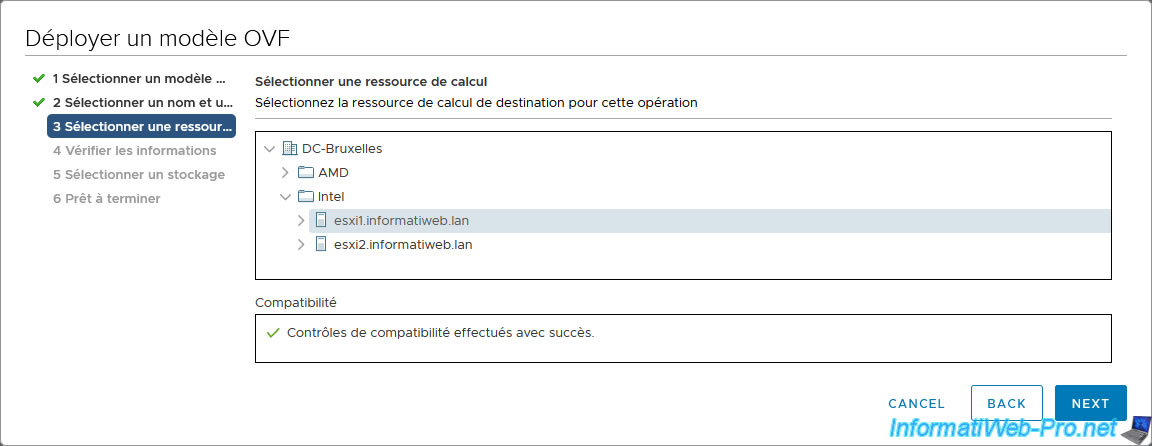
The message "Validation..." is displayed for a few seconds.
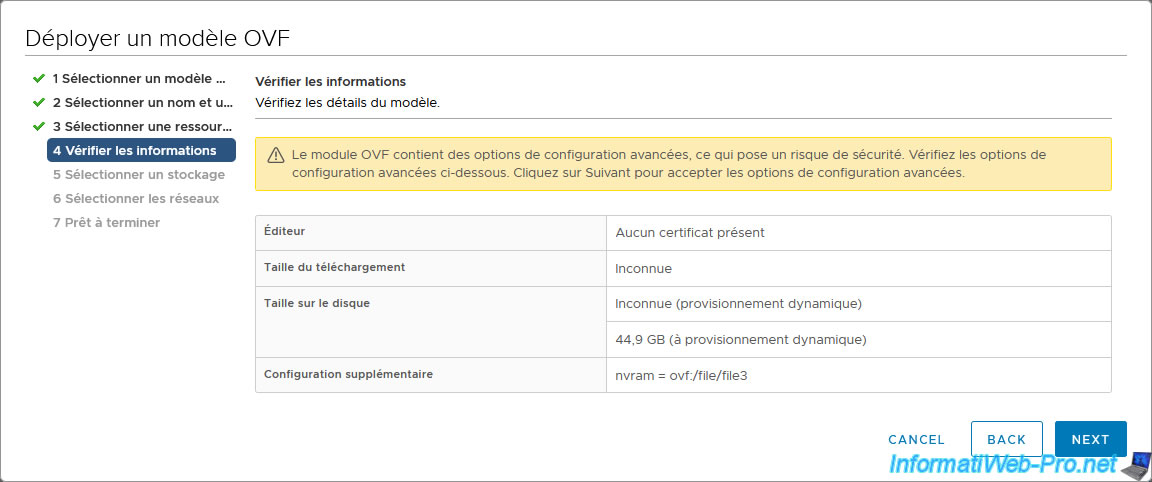
Check the information listed here.
Although this is especially interesting when you import a virtual machine created by a company. As you will see in a future tutorial.
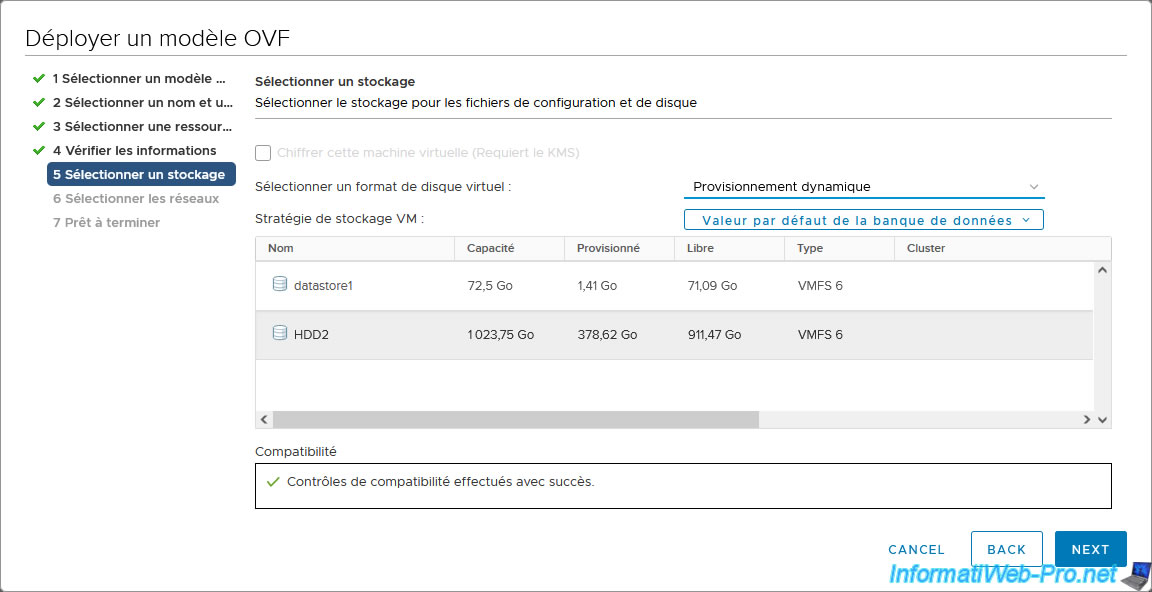
Select the storage (datastore) where this virtual machine should be stored on your VMware ESXi host.
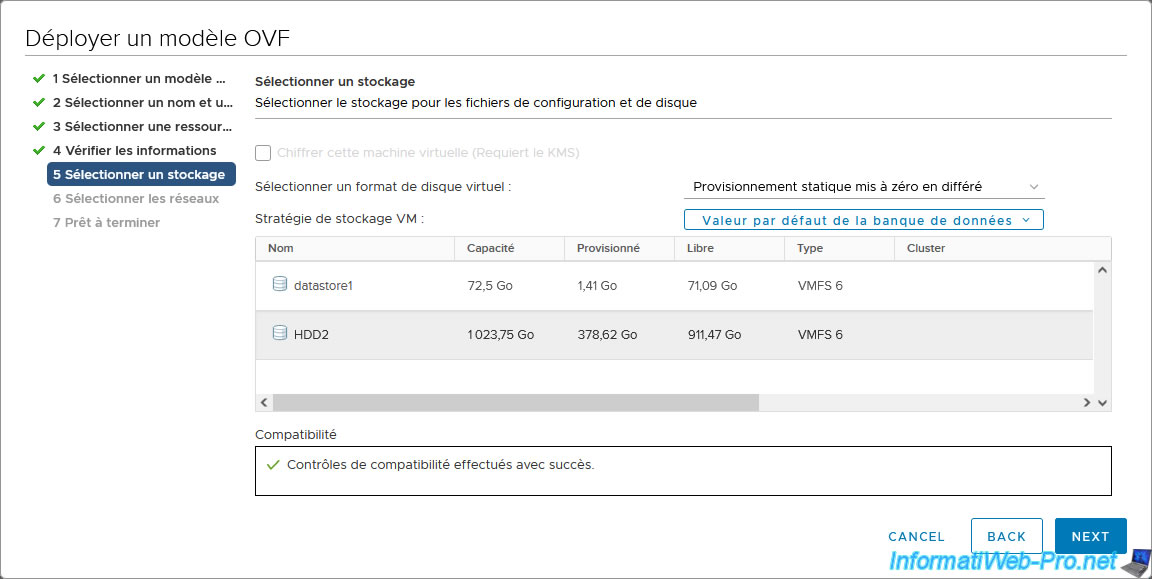
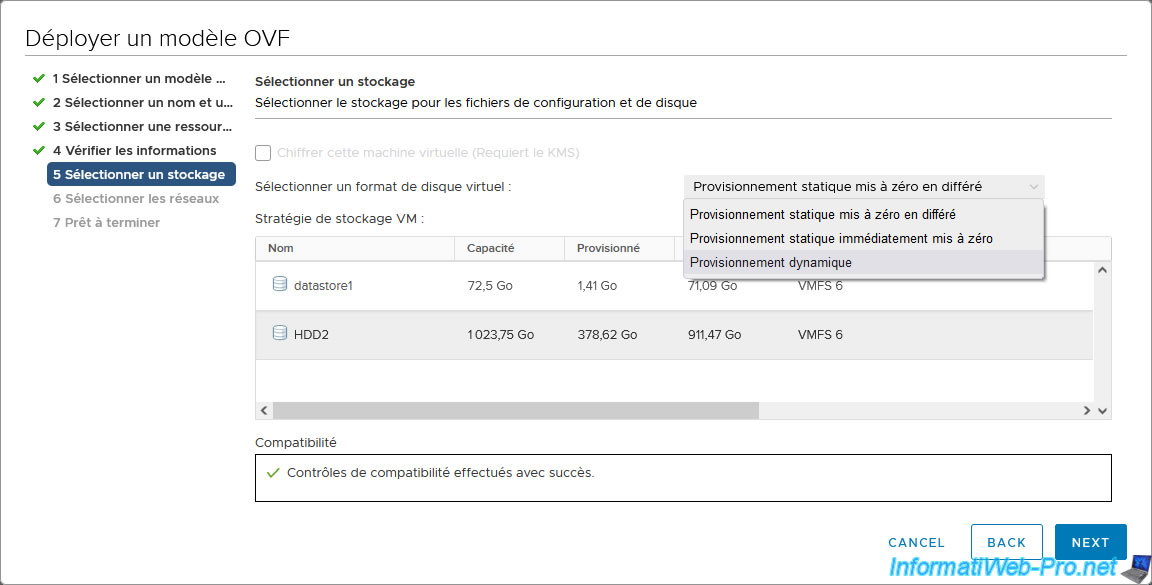
For virtual disk format, choose the desired provisioning type:
- Thick Provision Lazy Zeroed: allows you to directly allocate the necessary space as if the virtual hard disk was already full, in order to avoid the problem of overprovisioning.
- Thick Provision Eager Zeroed: same as the previous option, but this time, the blocks necessary for creating the virtual hard disk on your datastore will be zeroed before creating it.
This increases the time required to deploy your virtual machine in OVF format. - Thin provision: allows you not to pre-allocate space on the desired datastore.
Which means, the .vmdk file on the virtual hard drive will only take up the space needed for its contents and it will grow as you add files inside from the guest operating system.
In our case, we chose "Thin provision" to save disk space and to make it faster to deploy our virtual machine.
Then, click Next.
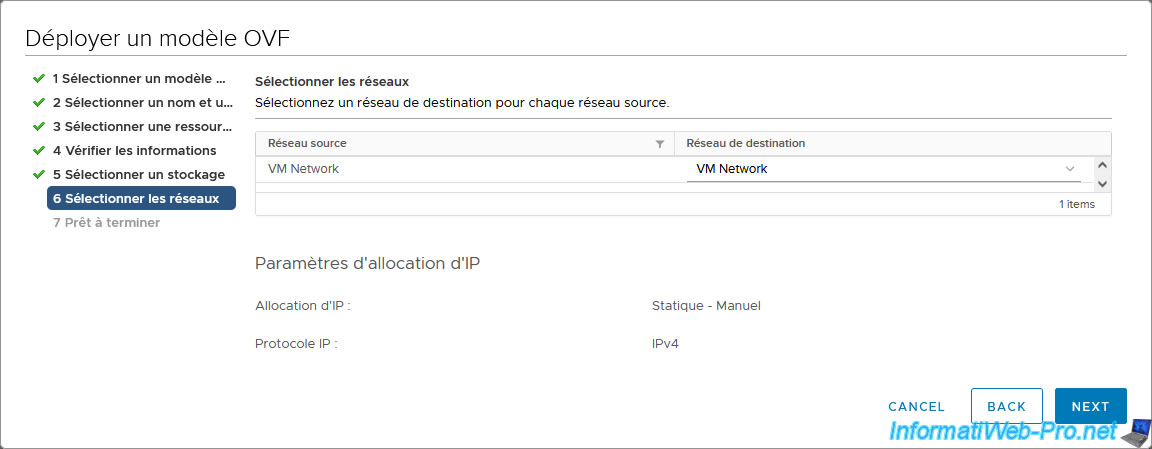
Map the virtual machine's networks to your own internal networks.
In our case, this virtual machine only had one network card connected to the default virtual network "VM Network".
So, we select our virtual network “VM Network”.
Note: these virtual networks correspond to the networks referenced on your VMware vCenter Server and configured as port groups on VMware ESXi.
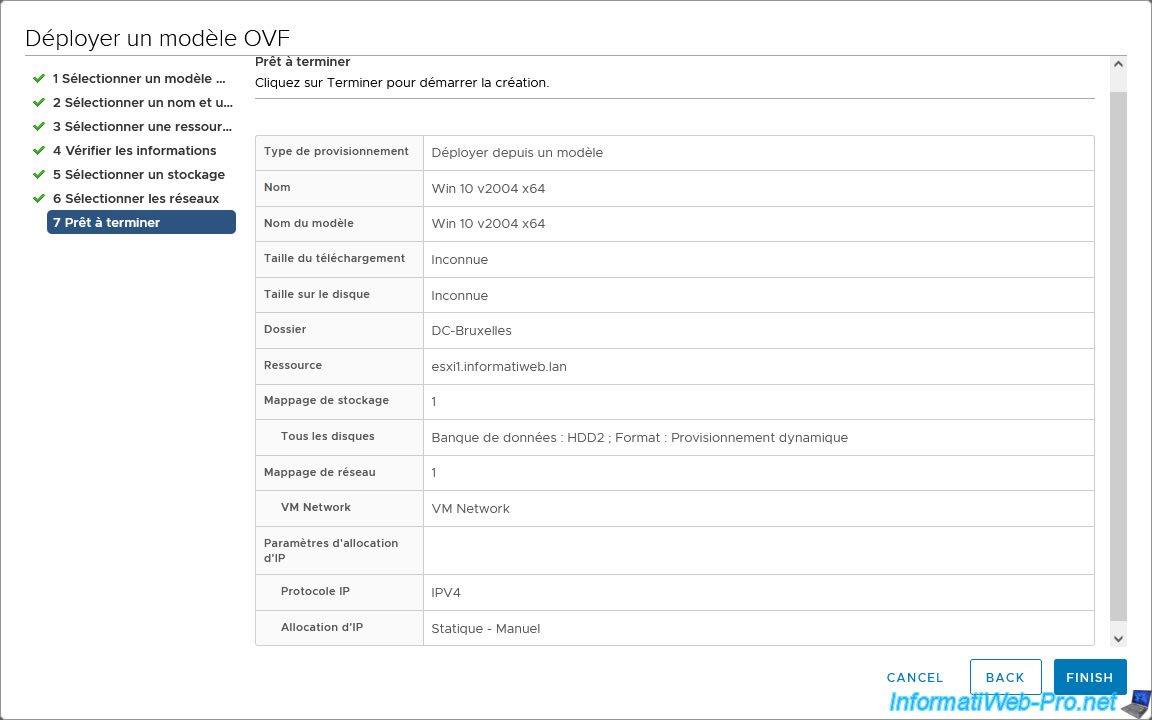
A summary of the OVF Template (virtual machine) deployment configuration appears.
Click Finish.
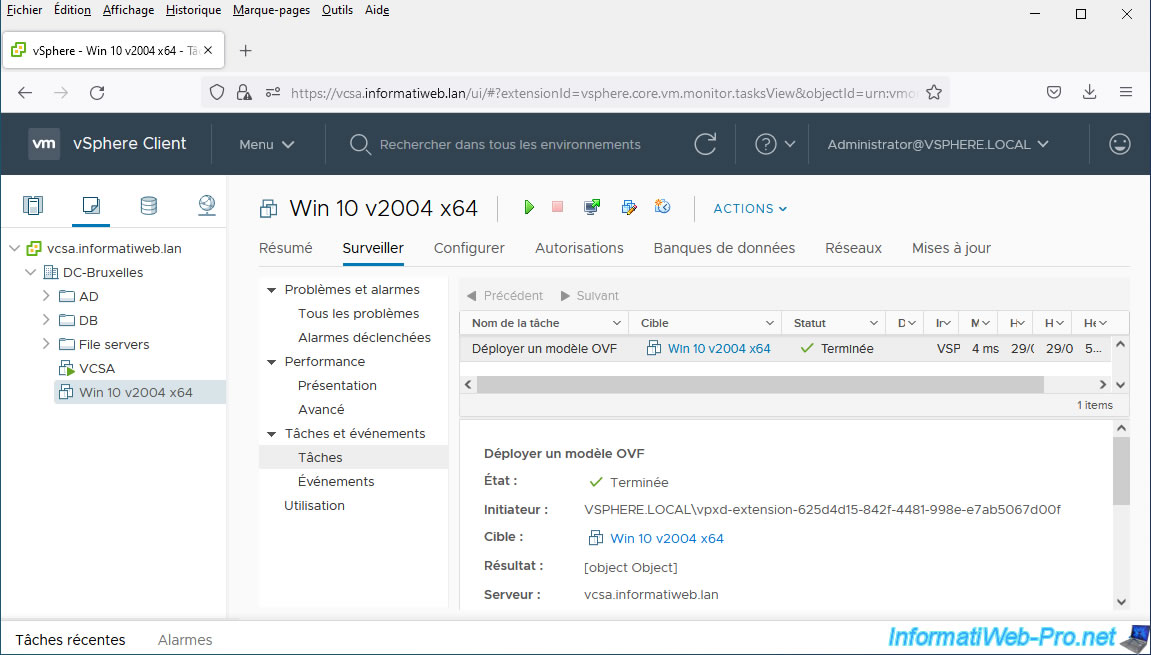
If you open the "Recent Tasks" panel at the bottom of the page, you will see that "Deploy OVF Template" and "Import OVF Module" tasks are running.
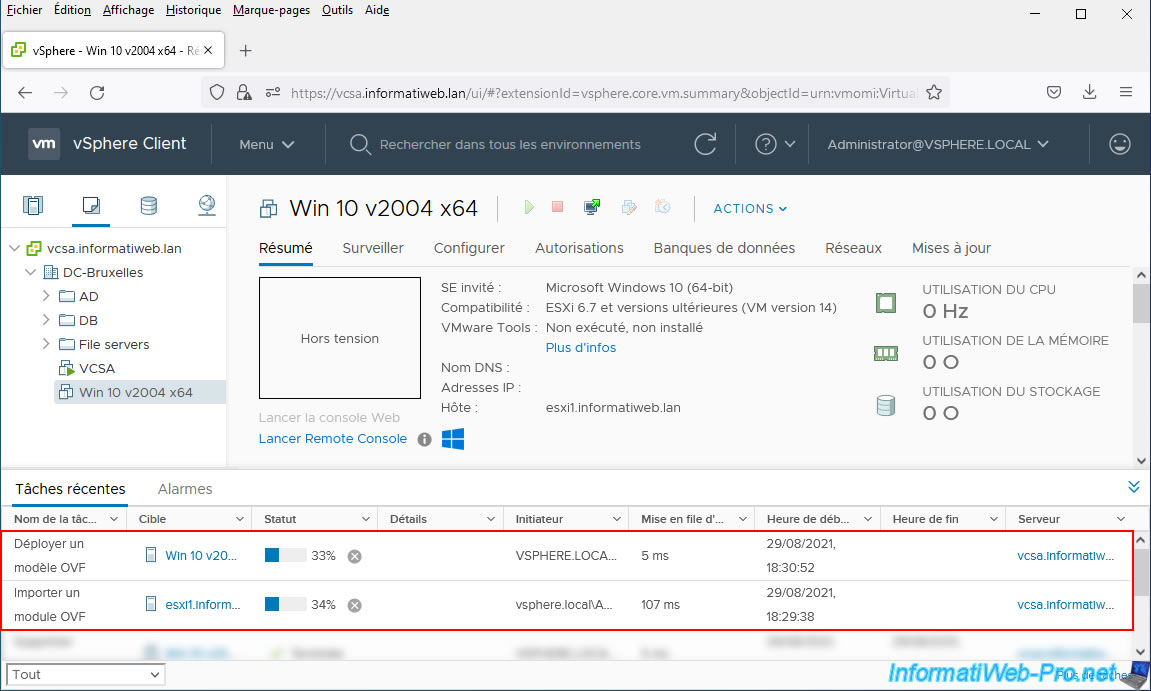
The virtual machine has been imported.
Once the OVF template deployment / VM import is completed, the status of the "Deploy OVF Template" task will be "Completed".
Share this tutorial
To see also
-

VMware 12/20/2024
VMware vSphere 6.7 - Clone vApps
-
VMware 10/4/2024
VMware vSphere 6.7 - Clone virtual machines
-
VMware 10/9/2024
VMware vSphere 6.7 - Clone virtual machines to a content library
-
VMware 10/11/2024
VMware vSphere 6.7 - Convert a Hyper-V virtual machine to a VMware VM
You must be logged in to post a comment