- VMware
- 04 November 2022 at 19:27 UTC
-

- 1/2

Thanks to VMware vCenter Converter Standalone, you can easily migrate virtual machines from your "Microsoft Hyper-V" hypervisor to your new "VMware ESXi" hypervisor.
In this tutorial, we used Microsoft Hyper-V on Windows Server 2016 x64 and VMware ESXi 6.7.0 U3.
- Source virtual machine on Microsoft Hyper-V
- Convert a Hyper-V virtual machine to VMware ESXi format
- Install VMware Tools
- Solution for Generation 2 imported virtual machines
- Delete the conversion task
1. Source virtual machine on Microsoft Hyper-V
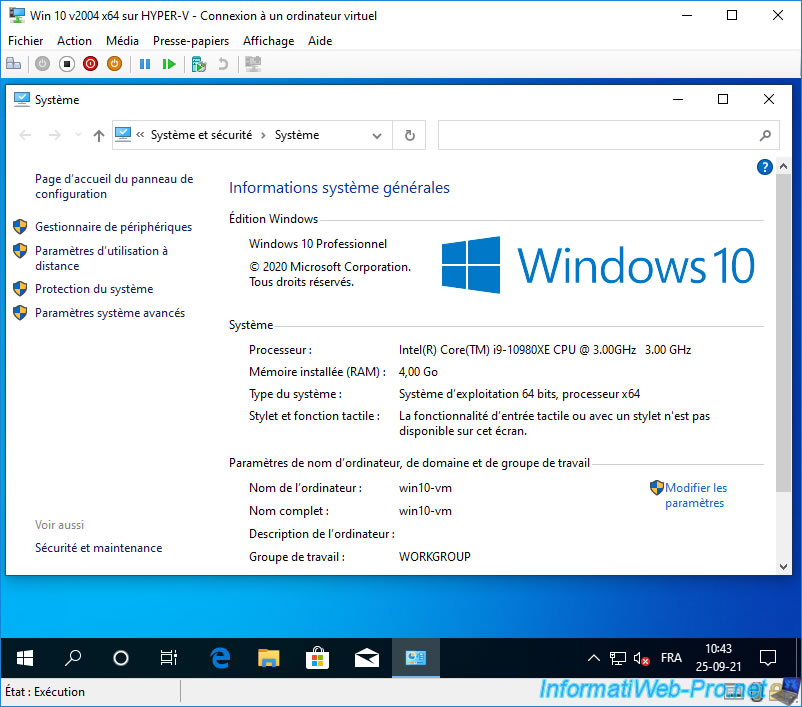
On our Hyper-V server on Windows Server 2016 x64, we have a virtual machine on Windows 10 v2004 x64, whose NETBIOS name is : win10-vm.
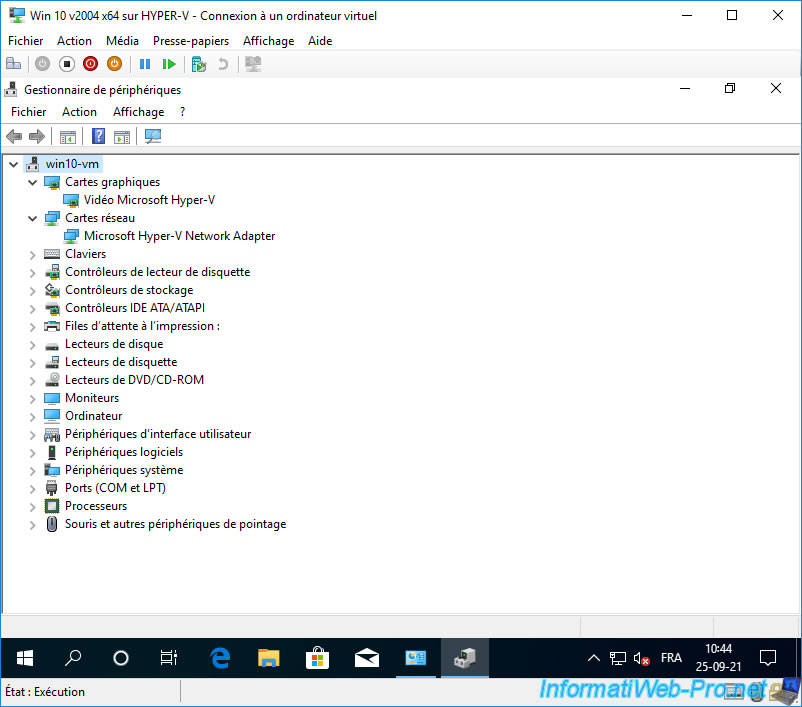
If you look in the device manager, you will notice that Windows 10 notably uses a "Microsoft Hyper-V Video" graphics card and a "Microsoft Hyper-V Network Adapter" network adapter.
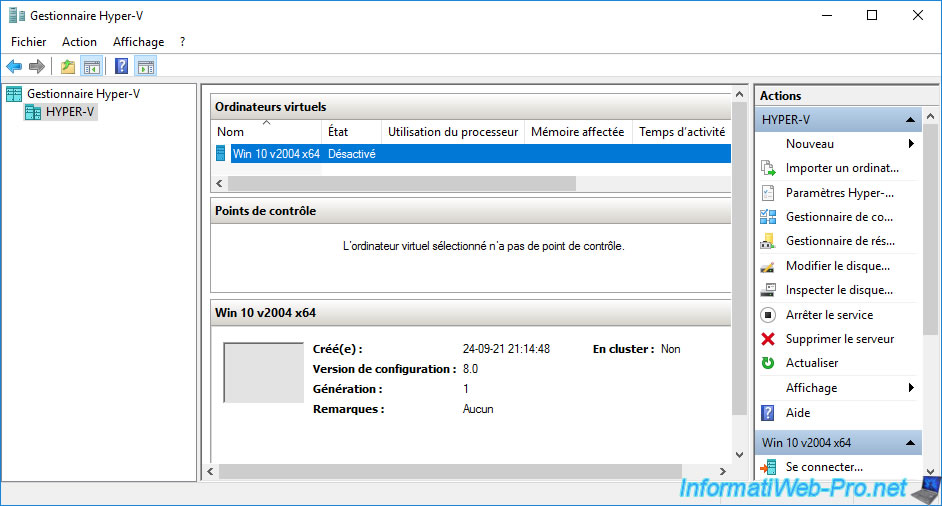
Note that to migrate a virtual machine from Hyper-V to your VMware ESXi server, it must be powered off.
This is because VMware vCenter Converter Standalone only supports powered off virtual machines (Off state).
2. Convert a Hyper-V virtual machine to VMware ESXi format
To start, install VMware vCenter Converter Standalone by choosing "Local installation" during its installation.
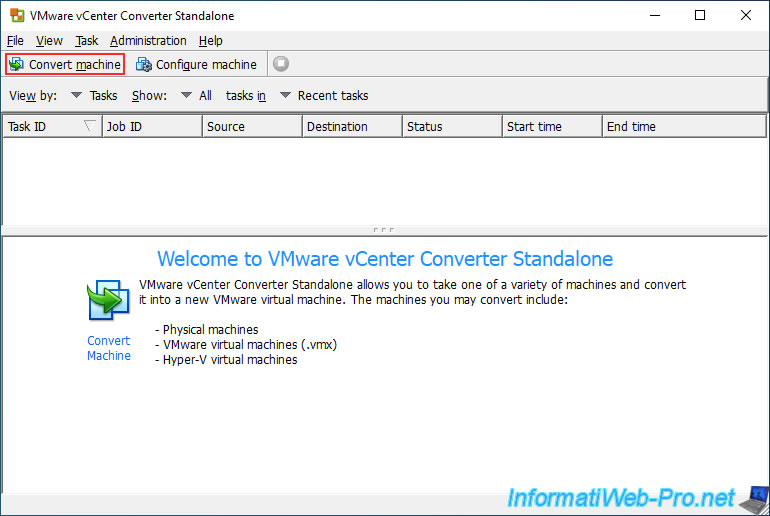
Then, launch this program "VMware vCenter Converter Standalone" as administrator and click on : Convert machine.
Note that this program can be installed on any client PC.
Select "source type: Powered off", then : Hyper-V Server.
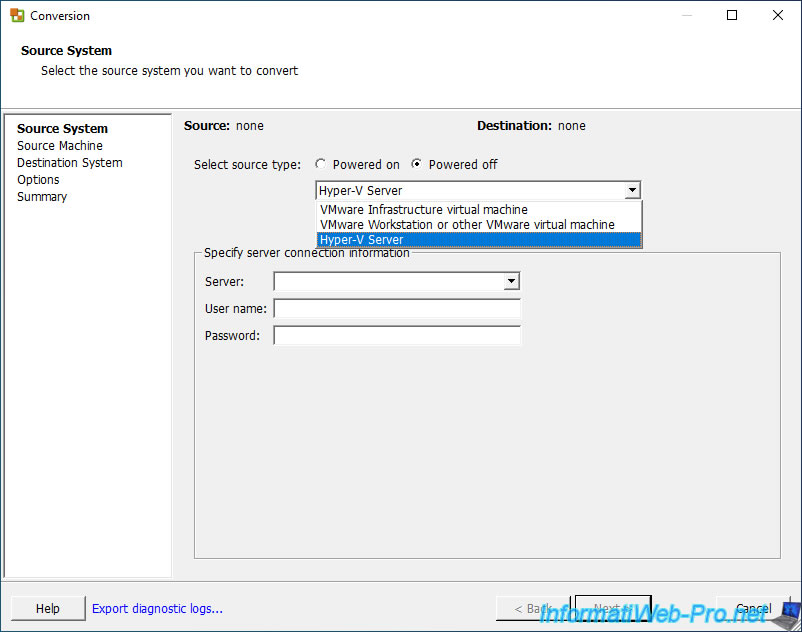
Then, specify :
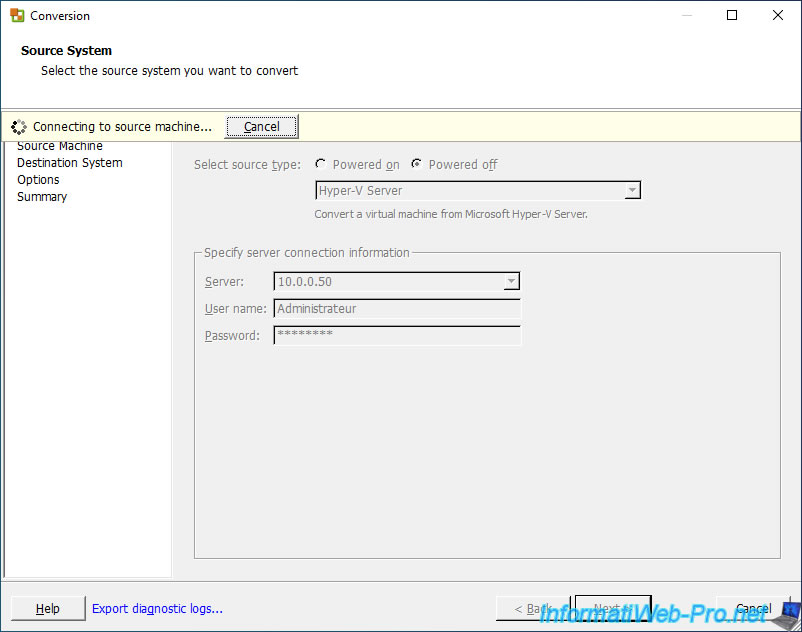
- Server : IP address or domain name of your Microsoft Hyper-V server
- User name : name of a user with administrator rights on the Hyper-V server.
- Password : his password
Note that you will need administrator rights to install the "VMware vCenter Converter Standalone Agent" remotely on your Hyper-V server using administrative shares ("ADMIN$" network share).

Wait while connecting to your Hyper-V server.
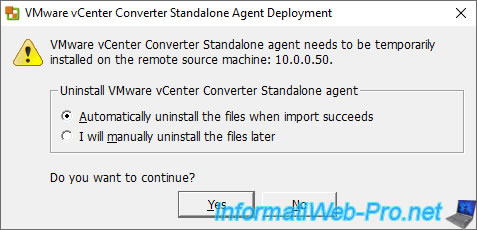
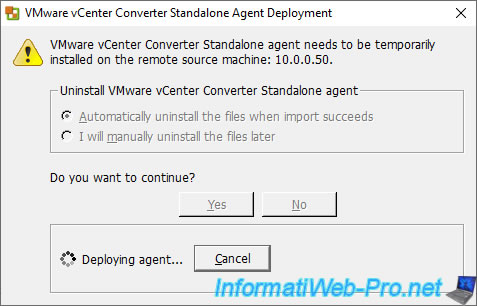
A VMware vCenter Converter Standalone Agent Deployment window will appear to tell you that an agent must be temporarily installed on the remote machine (Hyper-V server).
Plain Text
VMware vCenter Converter Standalone agent needs to be temporarily installed on the remote source machine: 10.0.0.50.
Choose if you want :
- Automatically uninstall the files when import succeeds : that the agent be uninstalled automatically when the import of your VM from Hyper-V to VMware ESXi is successful.
If you need to import a single virtual machine from your Hyper-V server, choose this option. - I will manually uninstall the files later : manually uninstall this agent later.
If you want to import multiple virtual machines from your Hyper-V server, choose this option.
In our case, we chose "Automatically uninstall the files when import succeeds" so that the agent is then automatically uninstalled when our VM has been imported to our VMware ESXi hypervisor.
Click on Yes.
Wait while the agent is deployed.
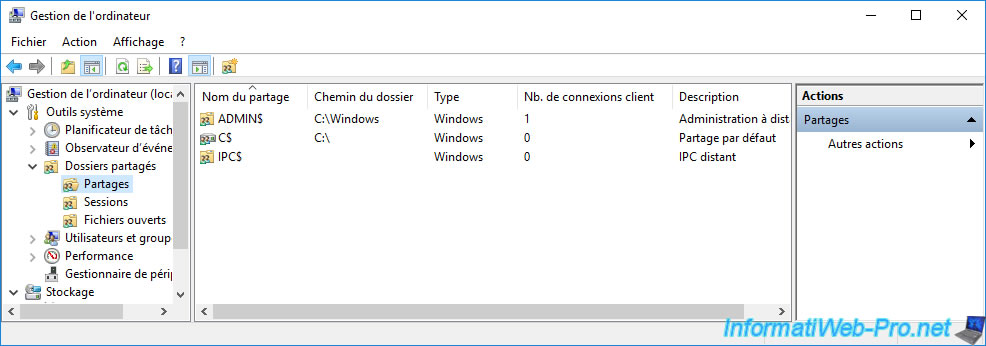
Optional : if you open the "Computer Management" console on your Hyper-V server and go to "Shared Folders -> Shares", you will see that a client is currently connected to the administrative shares (ADMIN$ and IPC$).

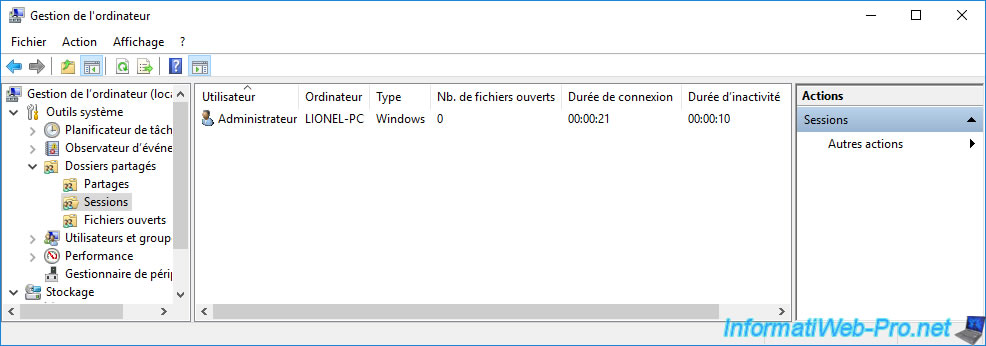
If you go to "Shared Folders -> Sessions", you will see that a session is opened as "Administrator" from the computer where VMware vCenter Converter Standalone is installed.
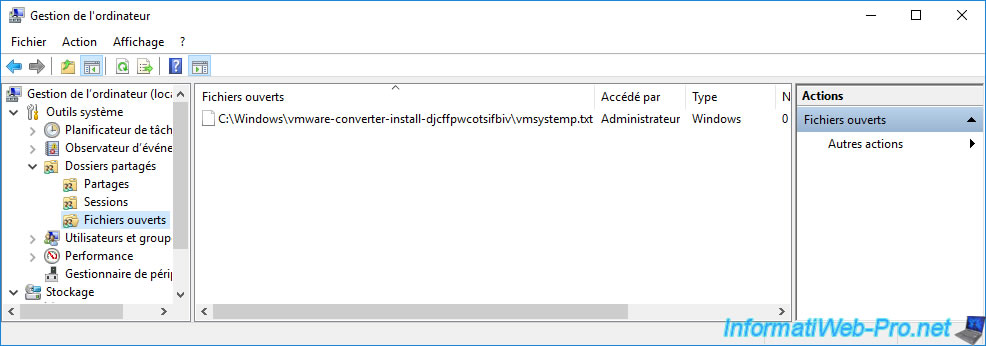
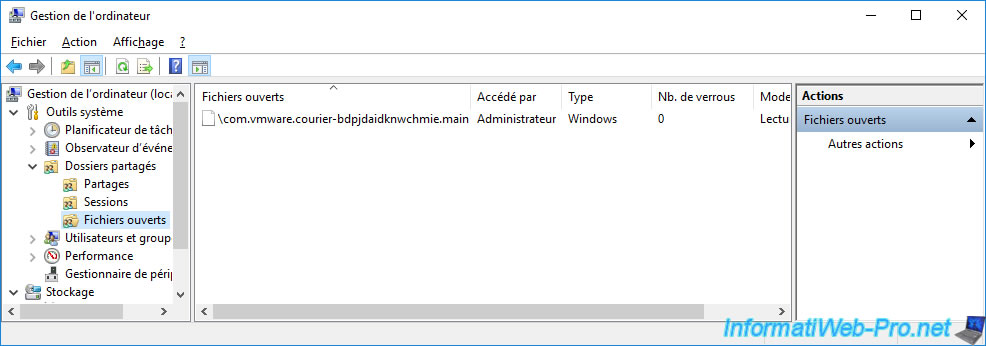
In "Shared Folders -> Open Files" you will see that a "C:\Windows\vmware-converter-install-...\vmsystemp.txt" file is currently opened by the "Administrator" user.
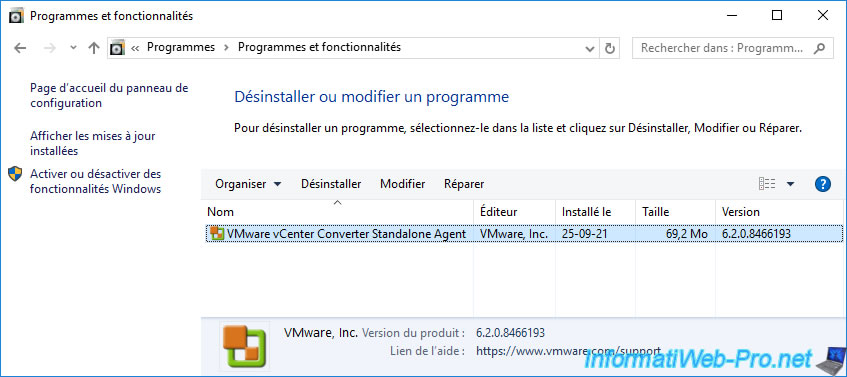
A little later, you will see that the "VMware vCenter Converter Standalone Agent" program has been installed on your Microsoft Hyper-V server.
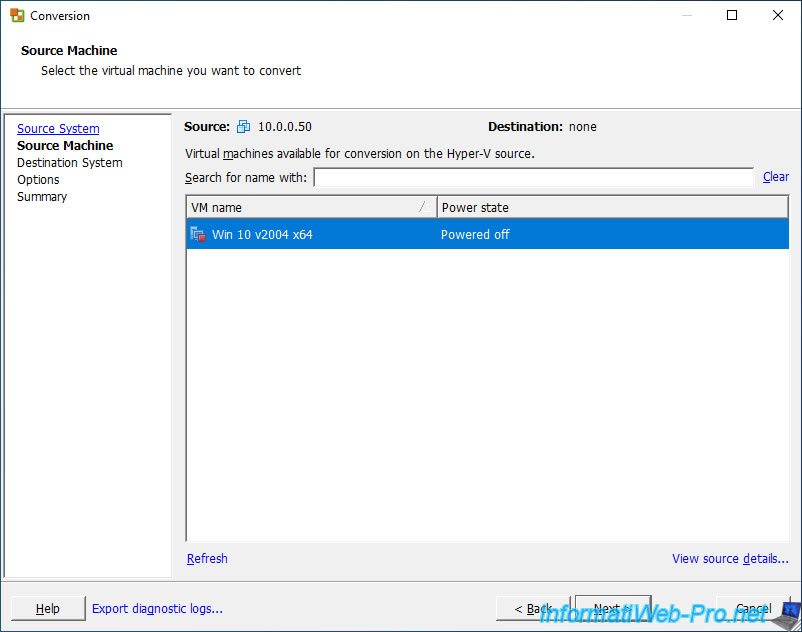
Once the agent is deployed on your Microsoft Hyper-V server, the list of virtual machines available on your server will be displayed.
In this list, you will find all the virtual machines existing on your Hyper-V server. Including those that are currently on.
As a reminder, VMware vCenter Converter Standalone only supports virtual machines that are powered off (Power state : Powered off).
To obtain information about a virtual machine in the list, select it and click on the "View source details" link (at bottom right).
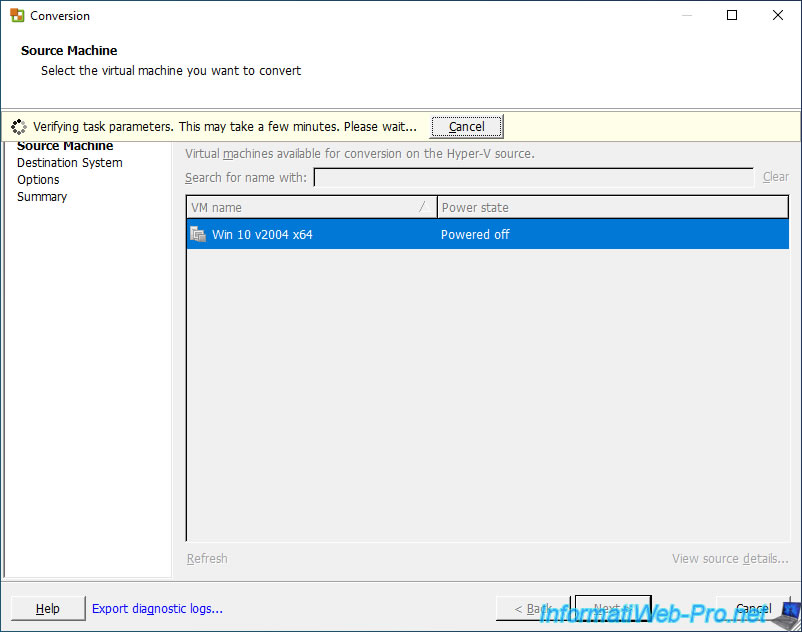
Wait while the informations about the desired virtual machine are retrieved.
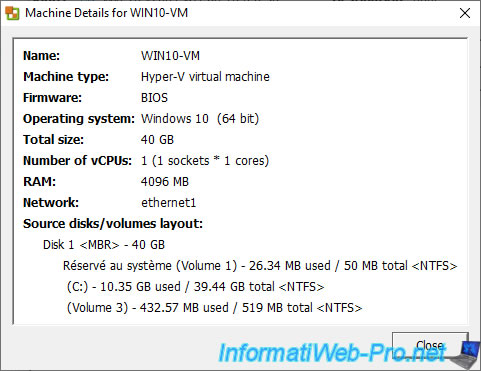
A "Machine Details for [virtual machine name]" window will appear with :
- Name : the NETBIOS name defined in the guest operating system of this virtual machine.
So, not the name of the virtual machine displayed in the Hyper-V manager. - Machine type : type of machine. In this case, a Hyper-V virtual machine.
- Firmware : indicates whether it's a BIOS (if it's a Generation 1 virtual machine) or an EFI firmware (if it's a Generation 2 virtual machine).
- Operating system : name, version, and architecture of the guest operating system installed in this virtual machine.
- Total size : total virtual machine size.
Note that this size may be larger than the storage space that will be required to store this virtual machine on VMware ESXi.
Indeed, in this case, the size indicated corresponds to the maximum size of the virtual hard disk used.
However, in this case, there are only about 10.78 GB used out of 40 GB. - Number of vCPUs : number of virtual processors (number of sockets * number of cores per virtual processor).
- RAM : the amount of RAM allocated to this virtual machine
- Network : name of its network adapter
- Source disks/volumes layout : information about the virtual hard disk of this virtual machine, as well as about its partitions.
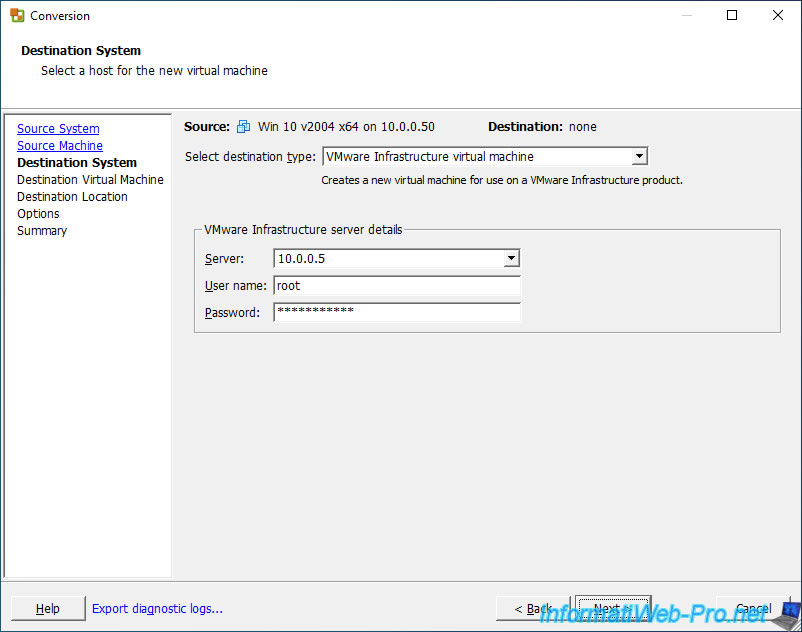
Select "VMware Infrastructure virtual machine" to import the virtual machine that will be converted to your VMware ESXi hypervisor.
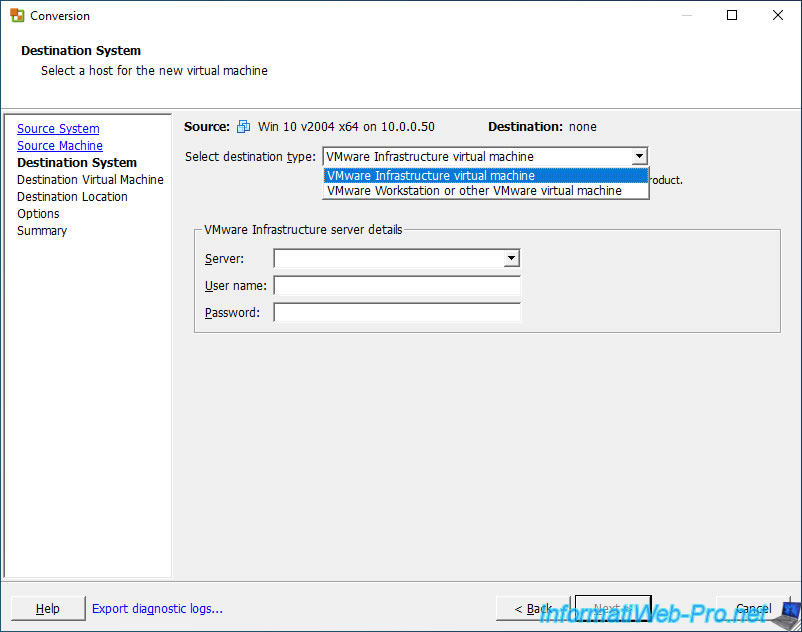
Then, in the "VMware Infrastructure server details" section, specify :
- Server : the IP address or domain name of your VMware ESXi server.
- User name : the name of a user with the necessary rights on your VMware ESXi server.
For example : the "root" account. - Password : his password.
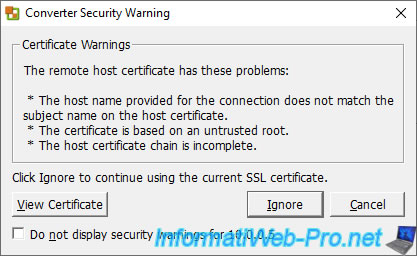
A "Converter Security Warning" window will appear :
- if you specified the IP address of your VMware ESXi server instead of its domain name.
- if the SSL certificate on your VMware ESXi server is a self-signed SSL certificate
- if it doesn't come from a certification authority recognized by your computer
- if it's invalid for another reason : expired certificate, ...
If this is normal in your case, ignore this warning by clicking Ignore.
However, in production, you should use a valid certificate on your VMware ESXi hypervisor to avoid accidentally logging into a pirated or compromised server.
The list of virtual machines present on the remote VMware ESXi hypervisor is displayed.
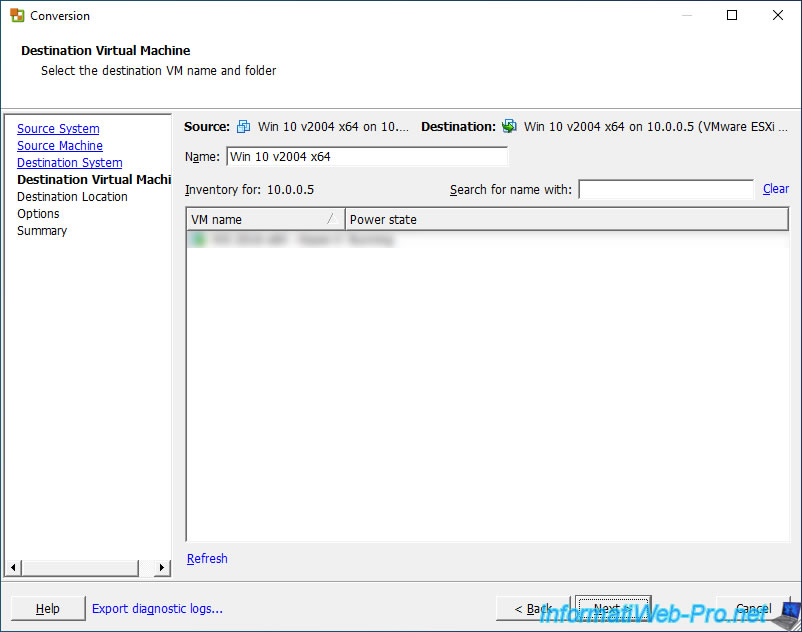
The name of your VMware ESXi server appears in the list.
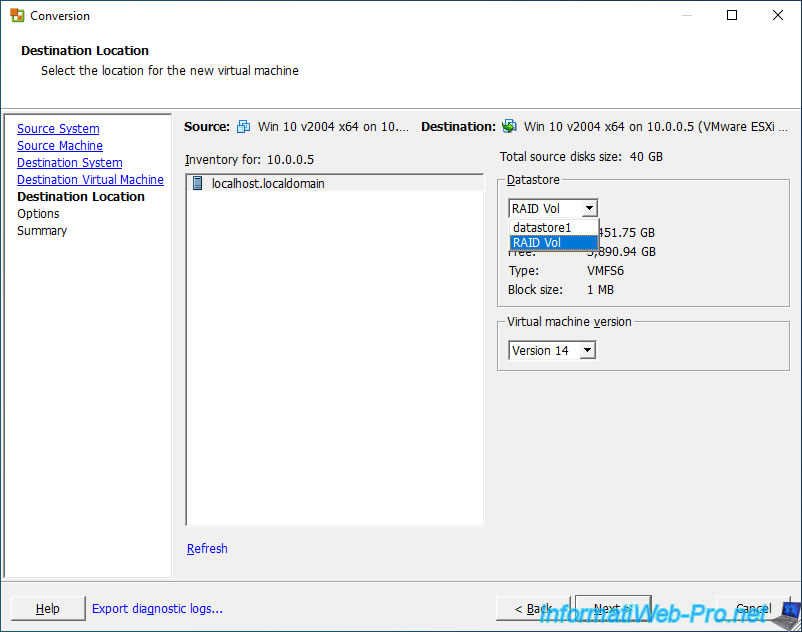
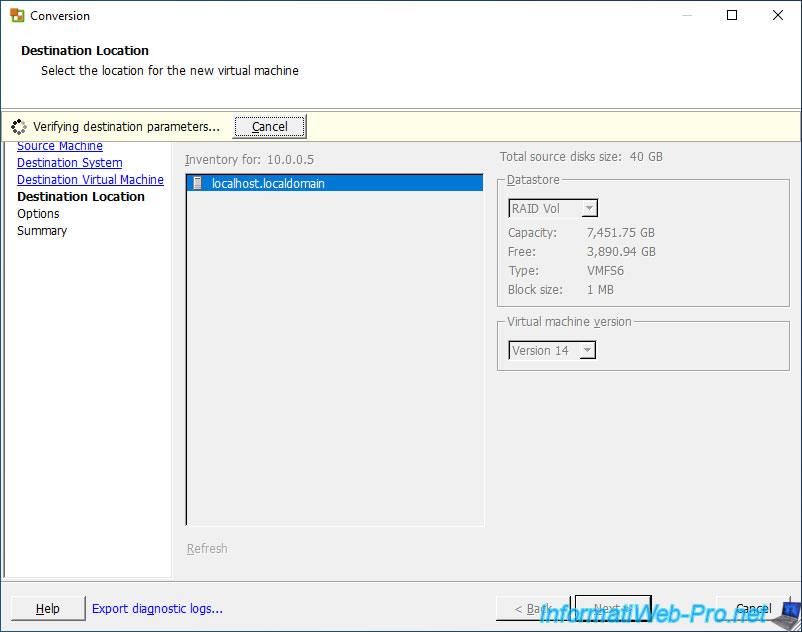
Select the datastore in which the converted virtual machine should be stored, as well as the version in which it should be created on your VMware ESXi server.
Wait a few seconds while the "Verifying destination parameters" message appears.
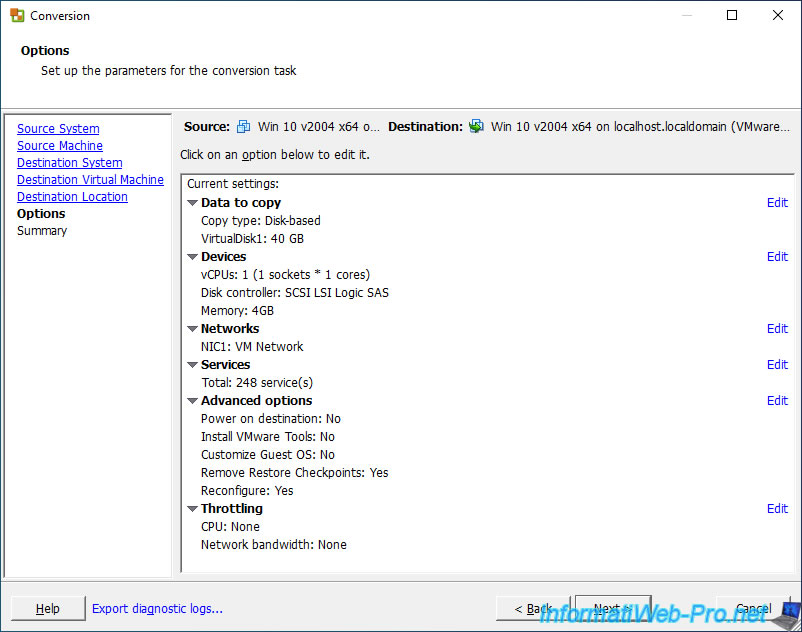
The available conversion parameters are displayed. This allows you to adapt some parameters for the destination virtual machine if you wish.
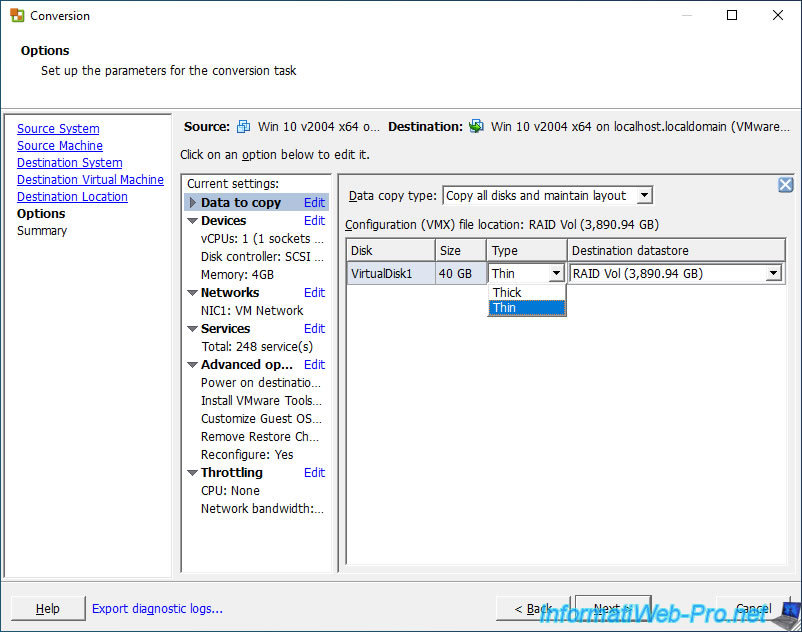
To choose the type of provisioning (dynamic or static) that should be used for the virtual hard disk, click on the "Edit" link in the "Data to copy" section.
Select the desired type for the virtual hard disk (VirtualDisk1) of this virtual machine :
- Thick : static provisioning. The space will be pre-allocated on the previously selected datastore and this virtual hard disk will therefore take up the space indicated here.
- Thin : dynamic provisioning. The virtual hard disk will only use the space necessary for the data on it, and the space will grow larger as you store data on it from the guest operating system.
Then, click on : Next.
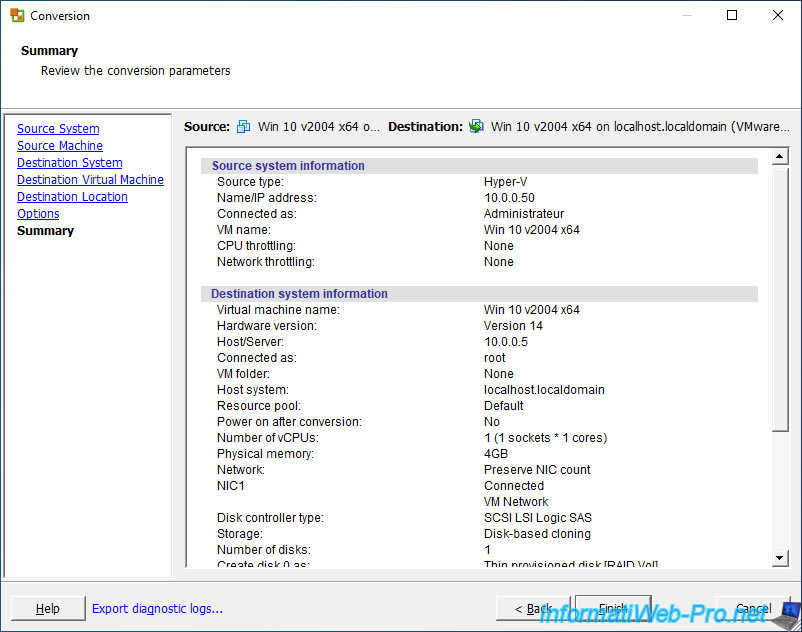
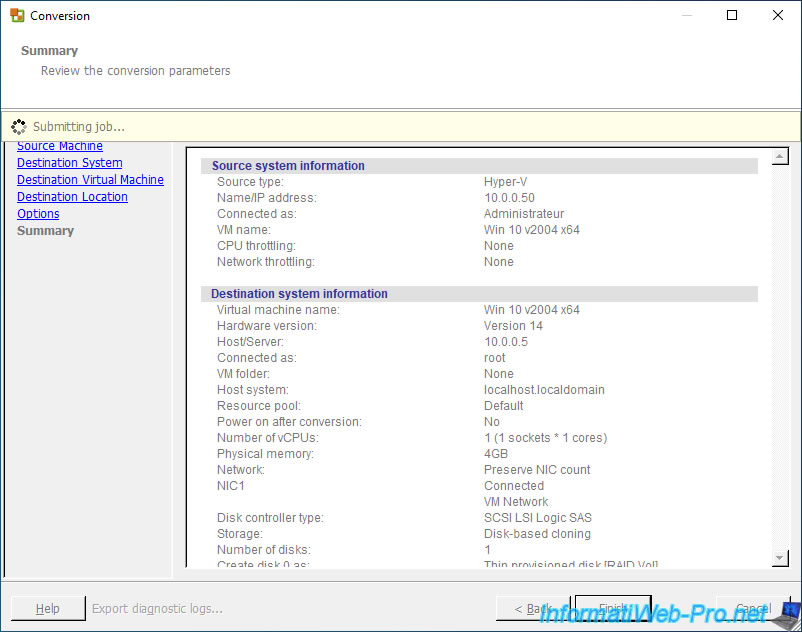
A summary of the conversion parameters appears.
Click on Finish.
The message "Submitting job" appears for a few seconds.
The conversion of the virtual machine begins.
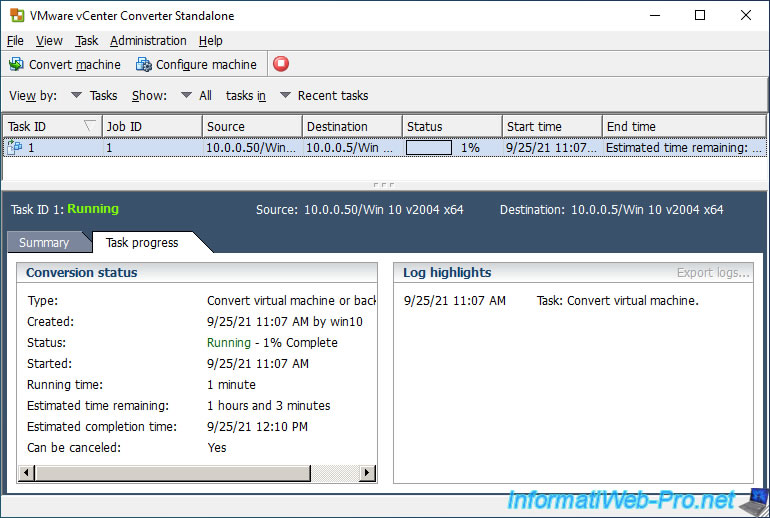
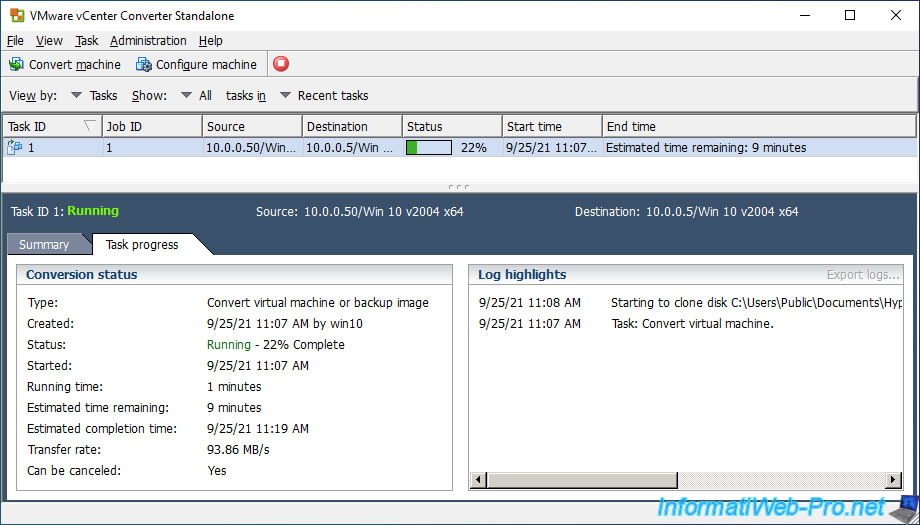
To begin, VMware vCenter Converter Standalone will convert the hard drive of the desired virtual machine.
Plain Text
Starting to clone disk C:\Users\Public\Documents\Hyper-V\Virtual Hard Disks\Win 10 v2004 x64.vhdx.
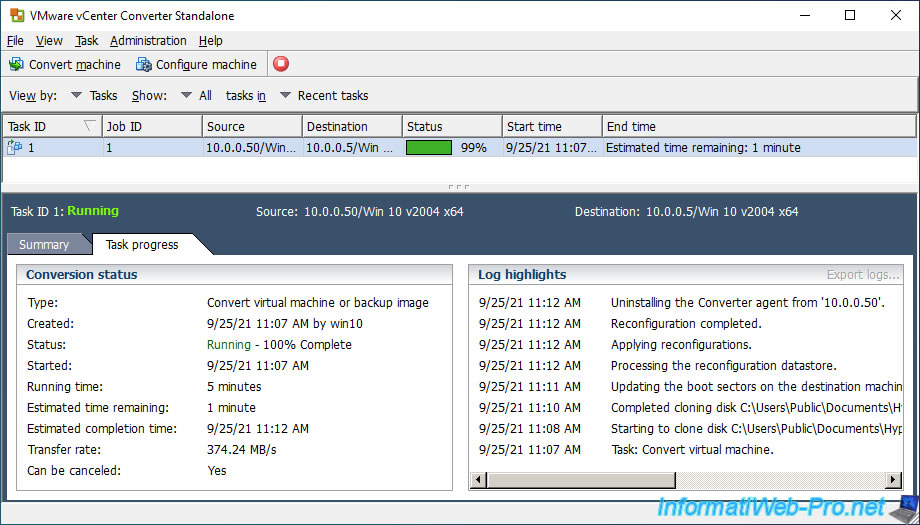
Then, VMware vCenter Converter Standalone will perform other steps, including :
- Updating the boot sectors on the destination machine : to update the boot sector on the destination VM.
- Applying reconfigurations : to reconfigure the boot of the guest operating system
- Uninstalling the Converter agent from '[IP address]' : the automatic uninstallation of the "VMware vCenter Converter Standalone Agent" agent if you wanted it at the begin of the wizard.
During the automatic uninstallation of this agent, you will again see a client connection on the "ADMIN$" share of your Microsoft Hyper-V server.
In the "Shared Folders -> Open Files" section, you will see that a "vmware" file is opened by the user specified at the begin of the wizard.
In our case, the "Administrator" user of our server.
When the conversion is complete, the status will be "Completed".

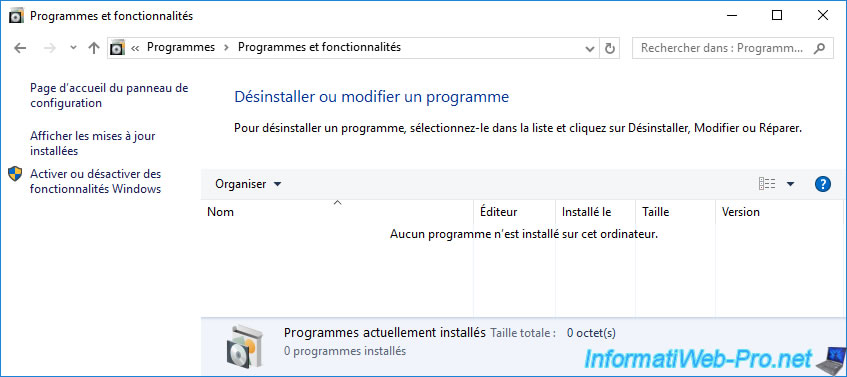
On your Microsoft Hyper-V server, you will see that the "VMware vCenter Converter Standalone Agent" program that was installed previously has been automatically uninstalled.
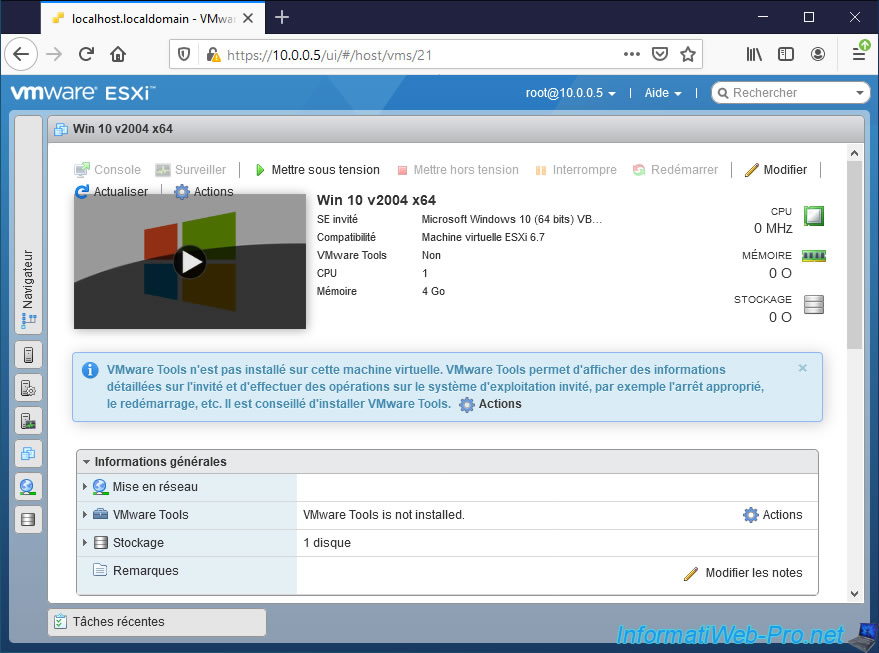
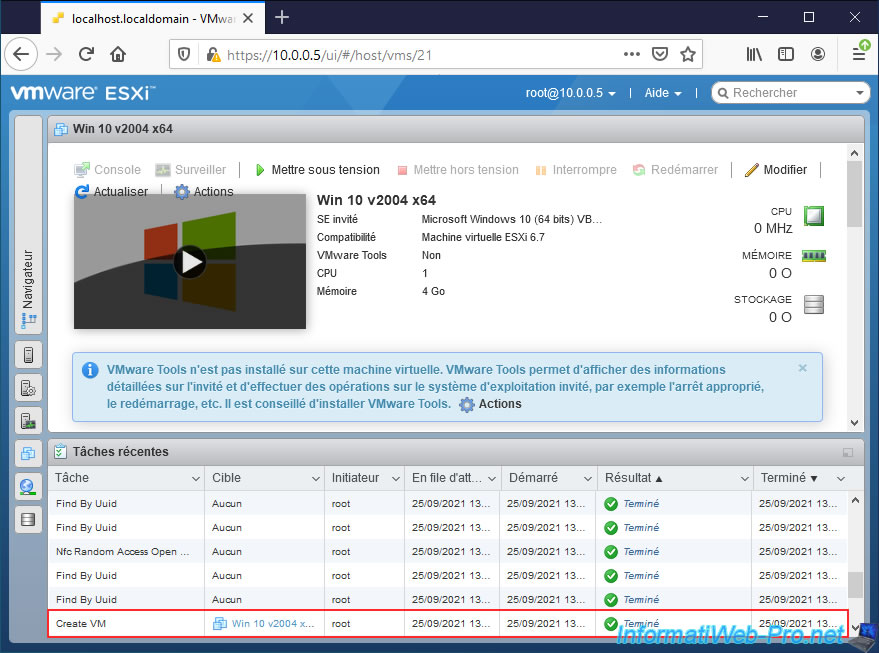
If you access the web interface of your VMware ESXi hypervisor, you will see that the virtual machine converted from your Microsoft Hyper-V server has appeared.
If you look in recent tasks, you will see that a "Create VM" task was run recently.
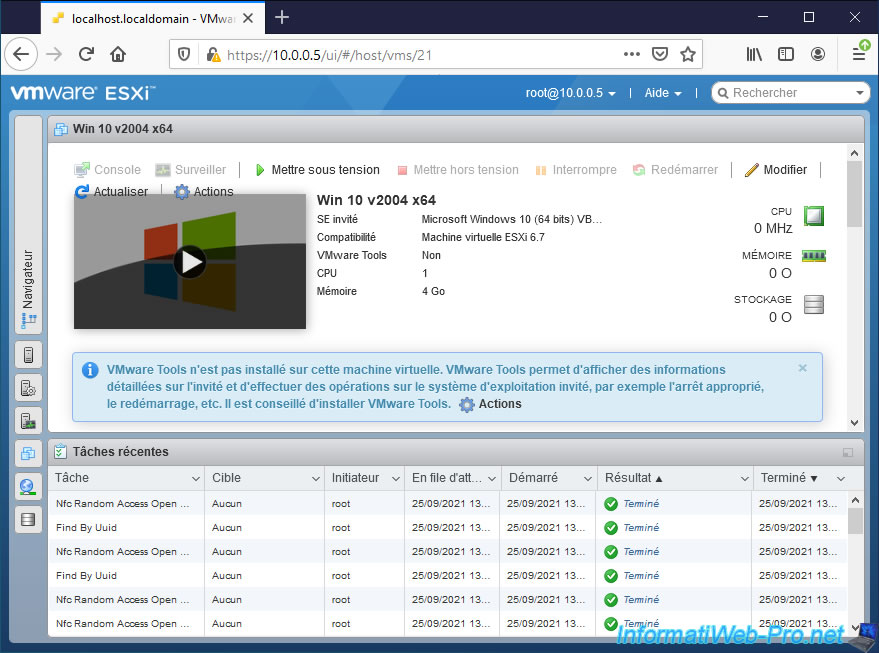
And that other tasks due to the conversion of the virtual machine from your Hyper-V server to your VMware ESXi hypervisor have also been performed :
- Nfc Random Access Open Disk : allows you to open a virtual hard disk for read / write
- Find By Uuid : allows you to find a virtual machine thanks to its unique identifier (UUID)
Share this tutorial
To see also
-
VMware 10/14/2022
VMware ESXi 6.7 - Virtualize a physical computer (P2V)
-
VMware 8/19/2022
VMware ESXi 7.0 / 6.7 - Export and import VMs
-
VMware 8/24/2022
VMware ESXi 7.0 / 6.7 - Export and import VMs via VMware OVF Tool
-

VMware 9/7/2022
VMware ESXi 7.0 / 6.7 - Export and import VMs with VMware Workstation Pro
You must be logged in to post a comment