- VMware
- 14 October 2022 at 12:55 UTC
-

- 1/2

Thanks to VMware vCenter Converter Standalone, you can very easily convert a physical PC into a virtual machine (or in other words, virtualize a physical PC) which will be created directly on your VMware ESXi hypervisor.
Tutorial made on Windows 10 x64 with VMware vCenter Converter Standalone 6.2.0 and VMware ESXi 6.7.0 u3.
Tutorial also tested on Windows 10 v2004 with VMware vCenter Converter Standalone 6.3.0 and VMware ESXi 6.7.0 u3.
- Install VMware vCenter Converter Standalone on the physical PC to be virtualized
- Virtualize a physical PC (P2V)
- Start the virtual machine
- Uninstall the drivers of the physical PC
- Install VMware Tools
- Uninstall the converter (VMware vCenter Converter Standalone)
1. Install VMware vCenter Converter Standalone on the physical PC to be virtualized
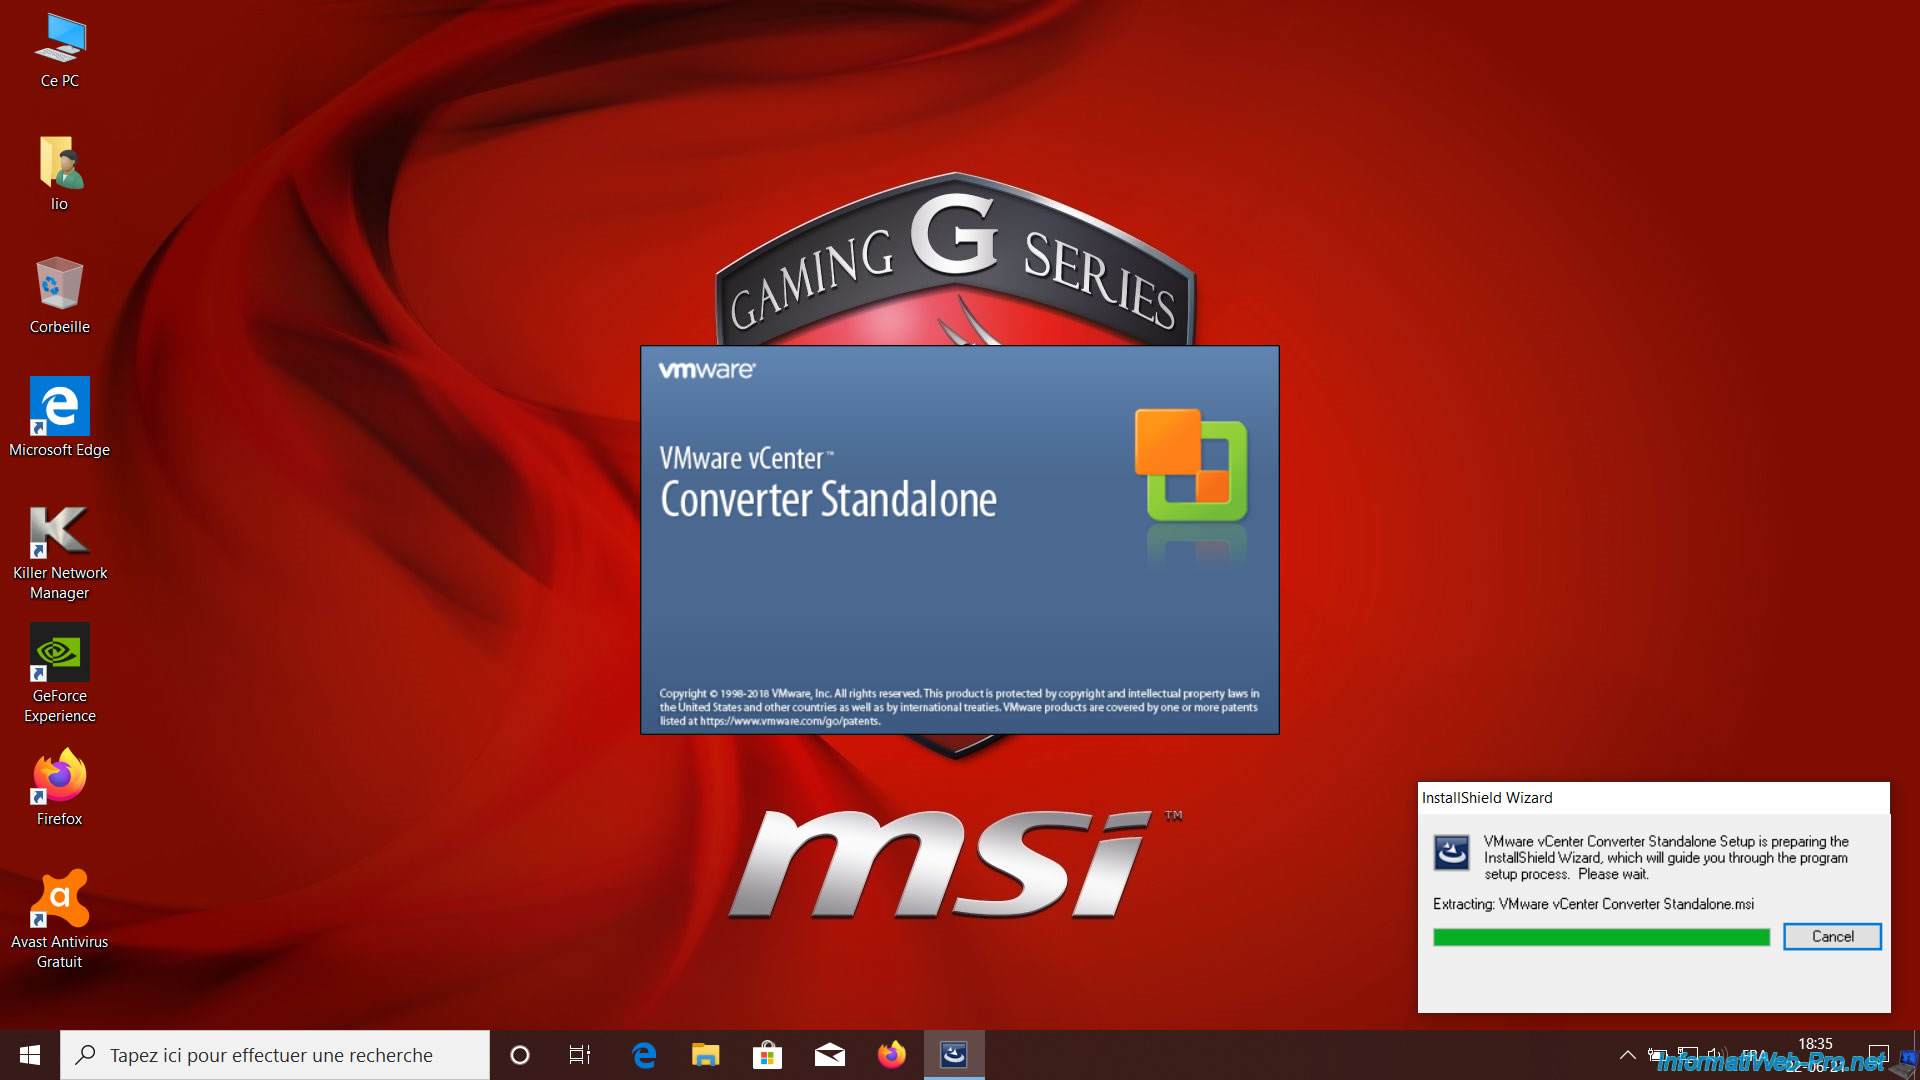
To get started, you need to download VMware vCenter Converter Standalone from VMware official website and launch the downloaded file.
On your computer, you will see the VMware vCenter Converter Standalone logo appear, as well as a small InstallShield Wizard window at the bottom right.
For this tutorial, we will virtualize our MSI laptop PC which is currently on Windows 10.
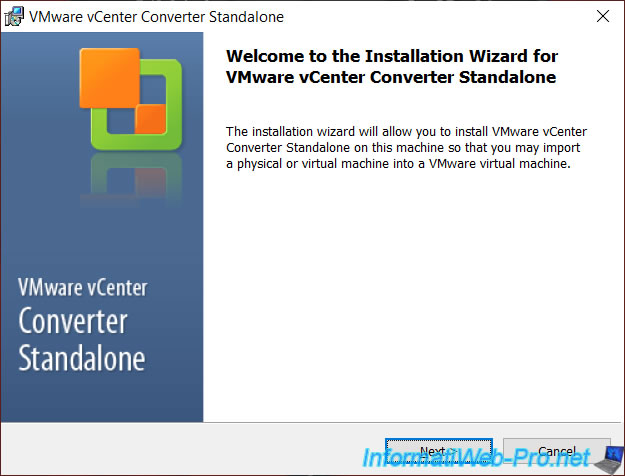
The VMware vCenter Converter Standalone installer appears.
Click on Next.
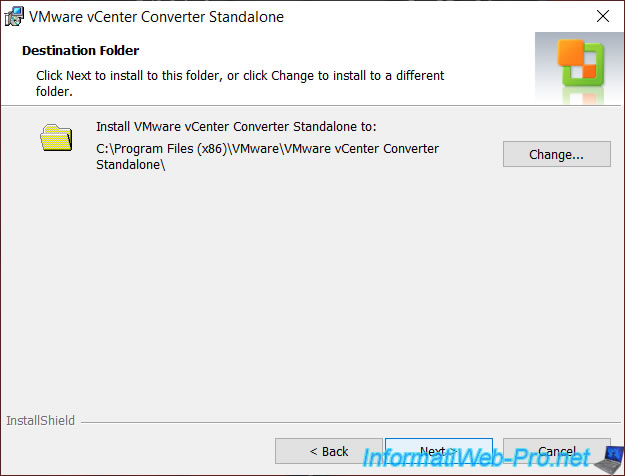
VMware vCenter Converter Standalone will be installed like any other program in the "C:\Program Files (x86)" folder.
Important : in this case, to virtualize a physical PC and transfer it as a virtual machine to a VMware ESXi server, you will need to select "Local installation".
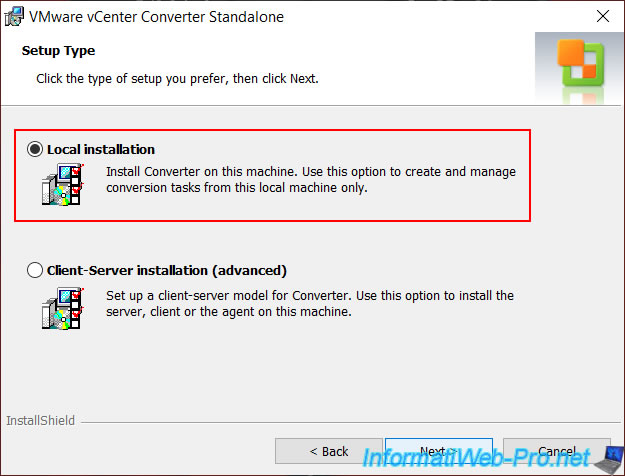
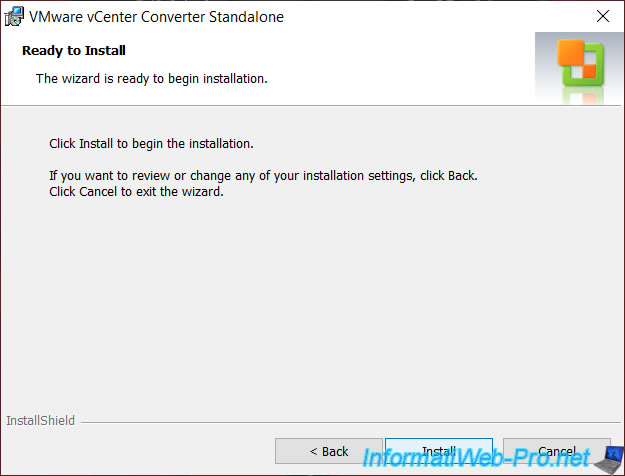
Then, click on Install.
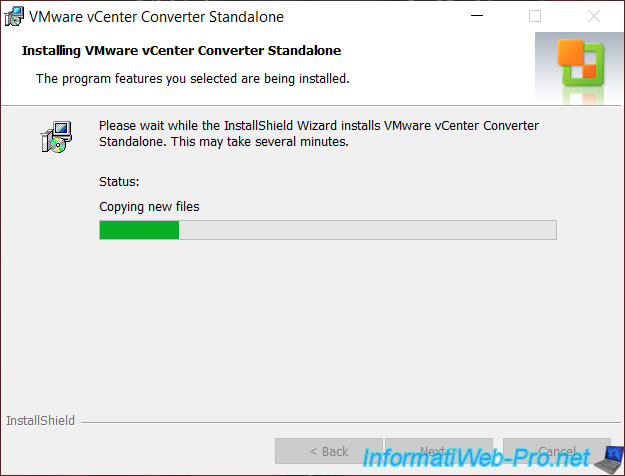
Wait while VMware vCenter Converter Standalone is installed.
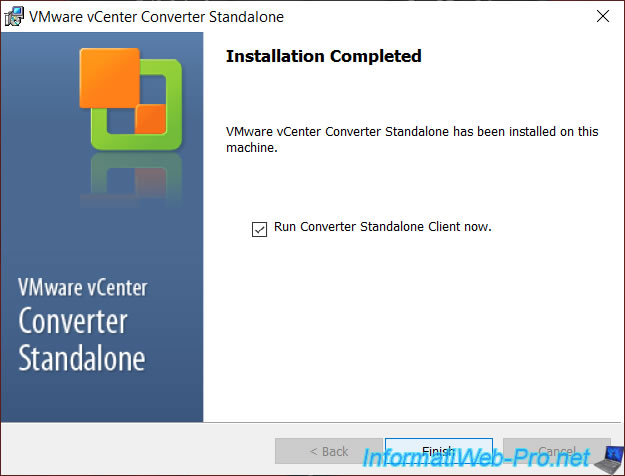
Once VMware vCenter Converter Standalone is installed, the installer will offer to automatically launch this program.
However, if you are not logged in with the Administrator account built into Windows (but disabled by default), you will see that this will quickly cause a problem.
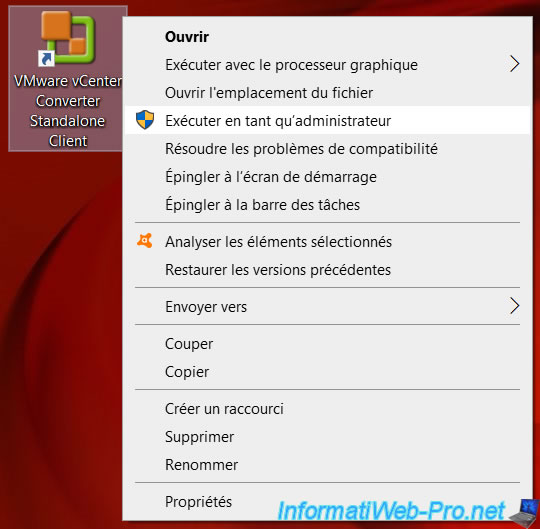
So, we recommend that you uncheck the box and launch this program as administrator using the shortcut that was automatically created on your desktop.
Click on Finish.
2. Virtualize a physical PC (P2V)
As you can see from the image below, our laptop PC is on Windows 10, its license is currently activated and its processor is an Intel i5-4200M. (The processor model doesn't matter, but once it's the virtual machine it will let you see that the hardware has changed).
Important : although the Windows 10 license is currently activated on our laptop PC, you should know that this activation is linked to the computer hardware.
This means that Windows 10 will no longer be activated when you start the corresponding virtual machine. Indeed, the hardware will have changed since it will have been replaced by the virtual hardware used by VMware ESXi.

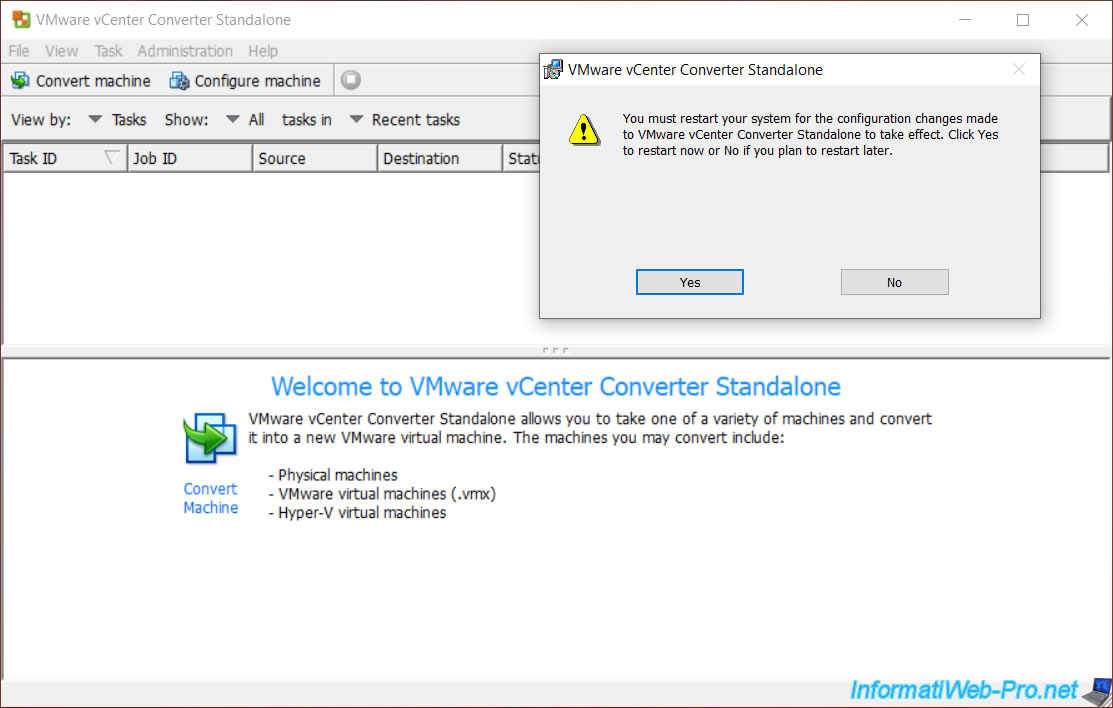
The first time you launch VMware vCenter Converter Standalone, a warning may appear asking you to restart your physical computer.
If so, click "Yes" to restart it.
Plain Text
You must restart your system for the configuration changes made to VMware vCenter Converter Standalone to take effect. Click Yes to restart now or No if you plan to restart later.
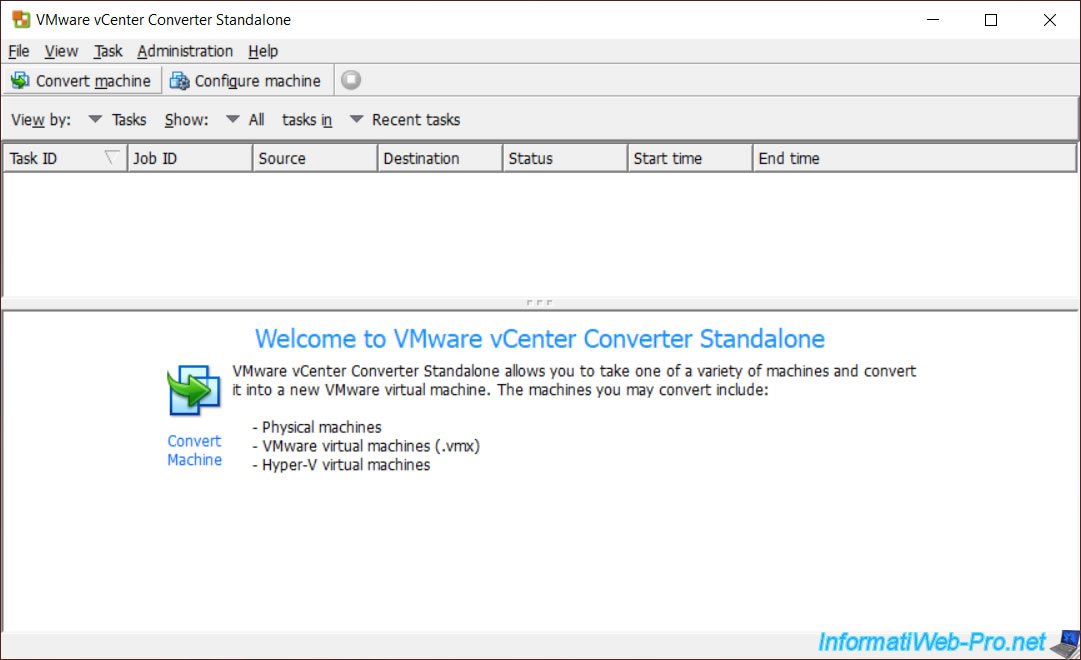
Once the computer has restarted (if necessary), launch this program again, then click on : Convert machine.
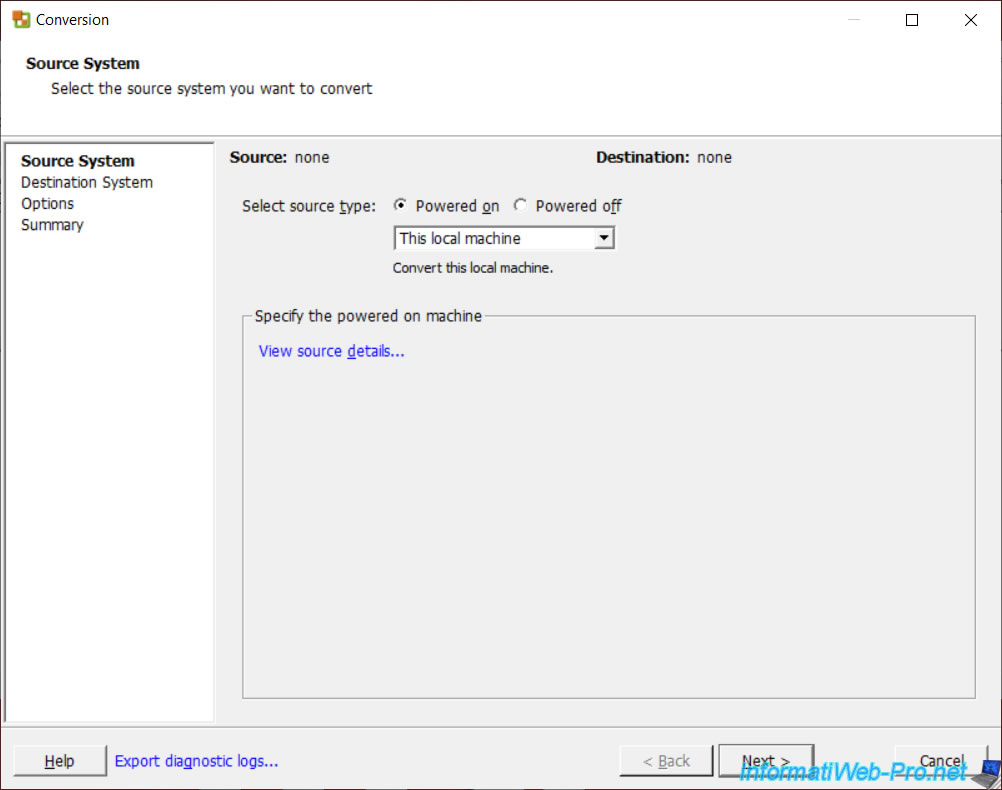
The conversion wizard appears.
Select "Powered on" and "This local machine", then click : Next.
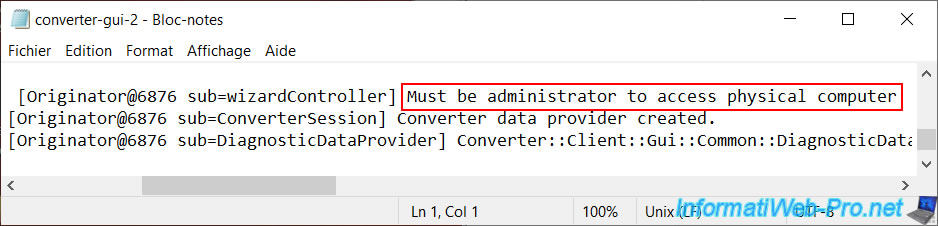
If the "Permission to perform this operation was denied" error appears, click on the "Export diagnostic logs" link.

Unzip the zip file created by "VMware vCenter Converter Standalone", then open the "converter-gui-2.log" file there.
This file may help you find the source of your problem.
In this case, this error is simply due to the fact that administrator rights are required to access the physical computer.
In this case, close VMware vCenter Converter Standalone, then right-click "Run as administrator" on the "VMware vCenter Converter Standalone Client" shortcut on your desktop.
Now, it will work and the conversion wizard will move on to the next step.
As indicated by the wizard, the source is the local machine and the operating system installed on your physical PC is indicated in parentheses.
Specifically, the virtual machine model that VMware ESXi will use to best match the operating system installed on your physical PC.
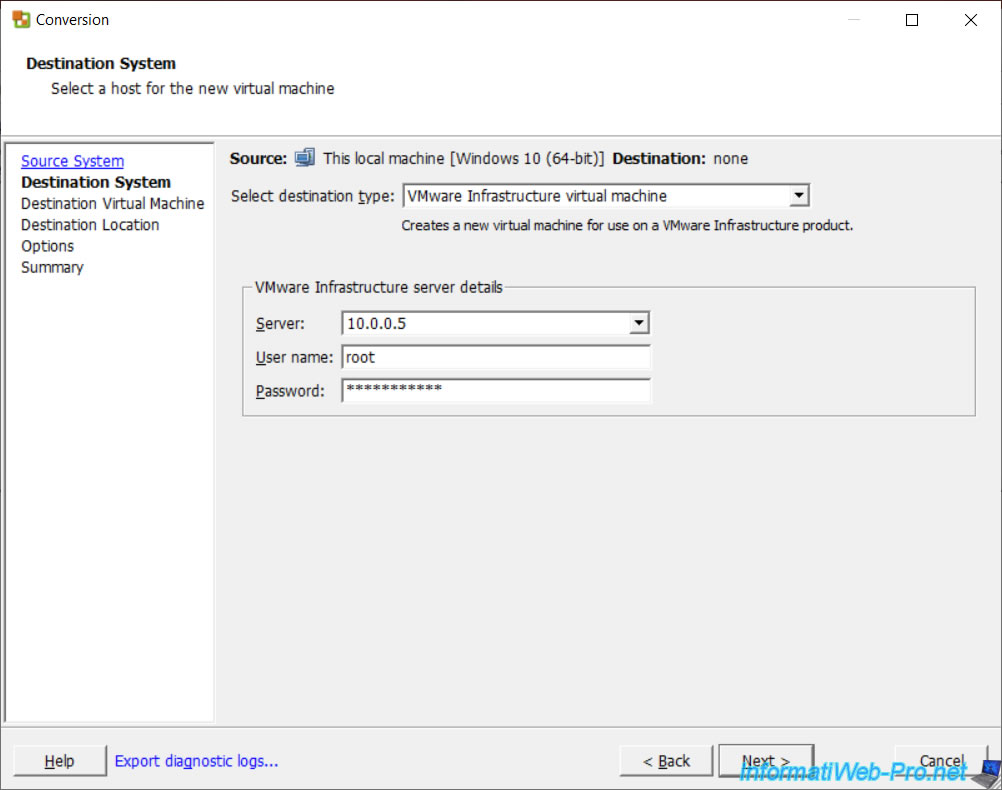
To create the virtual machine on a VMware ESXi hypervisor from VMware vCenter Converter Standalone, you must select "VMware Infrastructure virtual machine" as the destination type.
Then, specify :
- Server : the host name (preferably, so that the SSL certificate can be valid if possible) or the IP address of your VMware ESXi hypervisor
- User name : the username to use. For example : root.
- Password : the password of this user.
If the VMware ESXi SSL certificate is not valid or it's a self-signed SSL certificate (as is the default), this warning will be displayed :
Plain Text
Converter Security Warning.
This remote host certificate has these problems : ...
In our case, we ignored this warning by clicking "Ignore" since we are using the self-signed SSL certificate configured by default when installing VMware ESXi.
However, in business, you should use a valid SSL certificate to avoid connecting to a fake or compromised server.

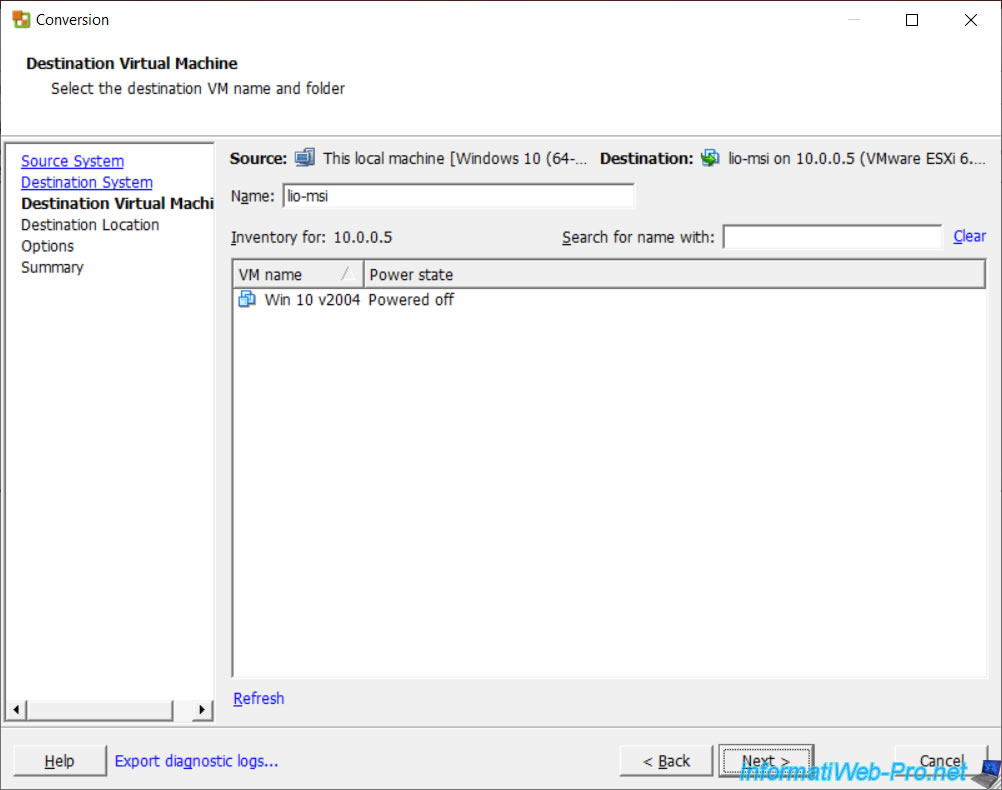
Once the connection is established to your VMware ESXi hypervisor, VMware vCenter Converter Standalone will show you the list of virtual machines already present on your VMware ESXi hypervisor.
Specify the name under which you want to create the virtual machine on this hypervisor and click Next.
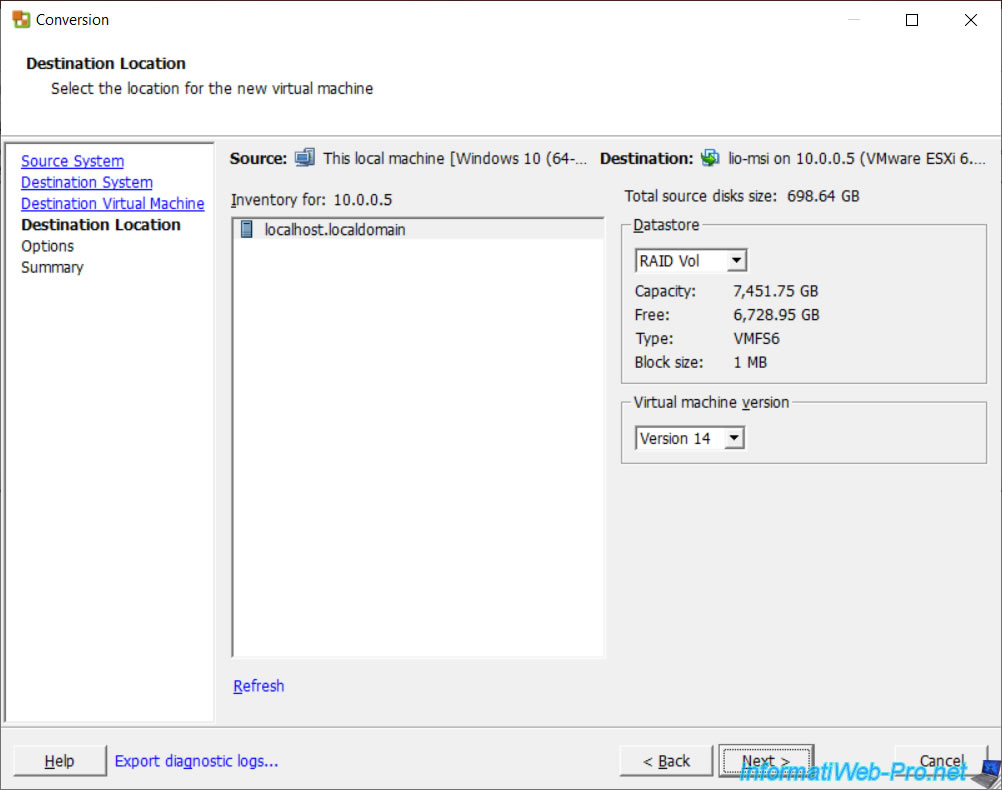
At this step, you can select :
- the destination hypervisor. In our case : localhost.localdomain.
- the datastore in which you want to store the virtual machine. In our case, we have selected our "RAID Vol" datastore which corresponds to a RAID volume of our server.
- the version of the virtual hardware. To know the version compatible with your VMware ESXi hypervisor, refer to Broadcom KB1003746 : Virtual machine hardware versions.
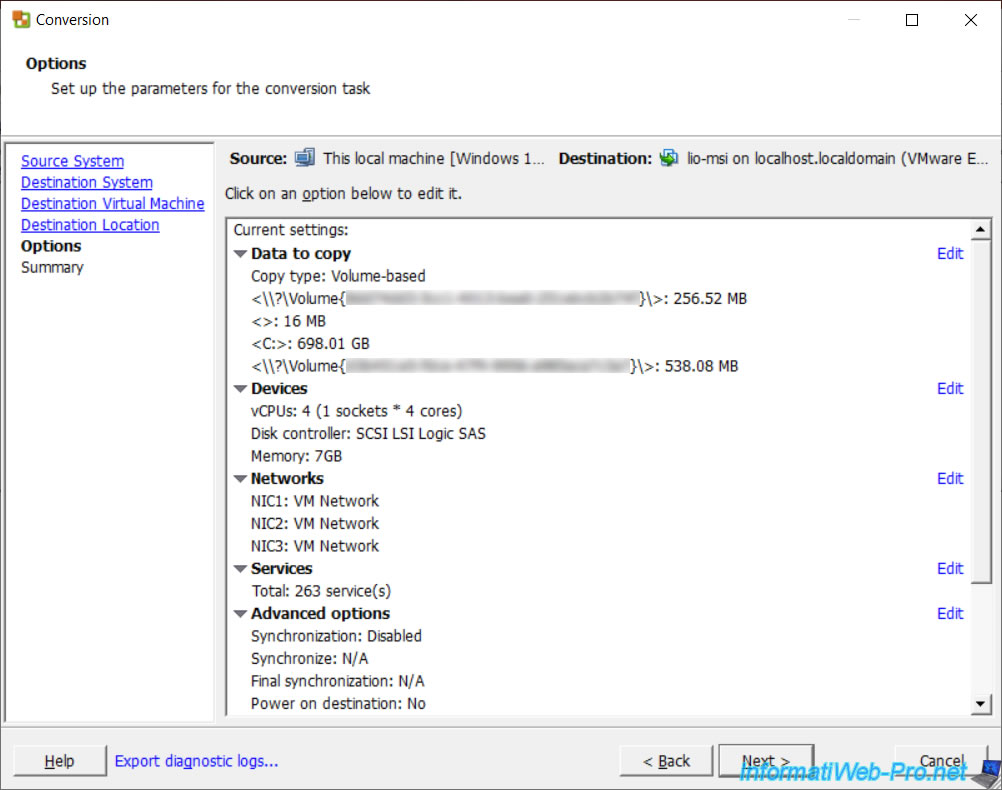
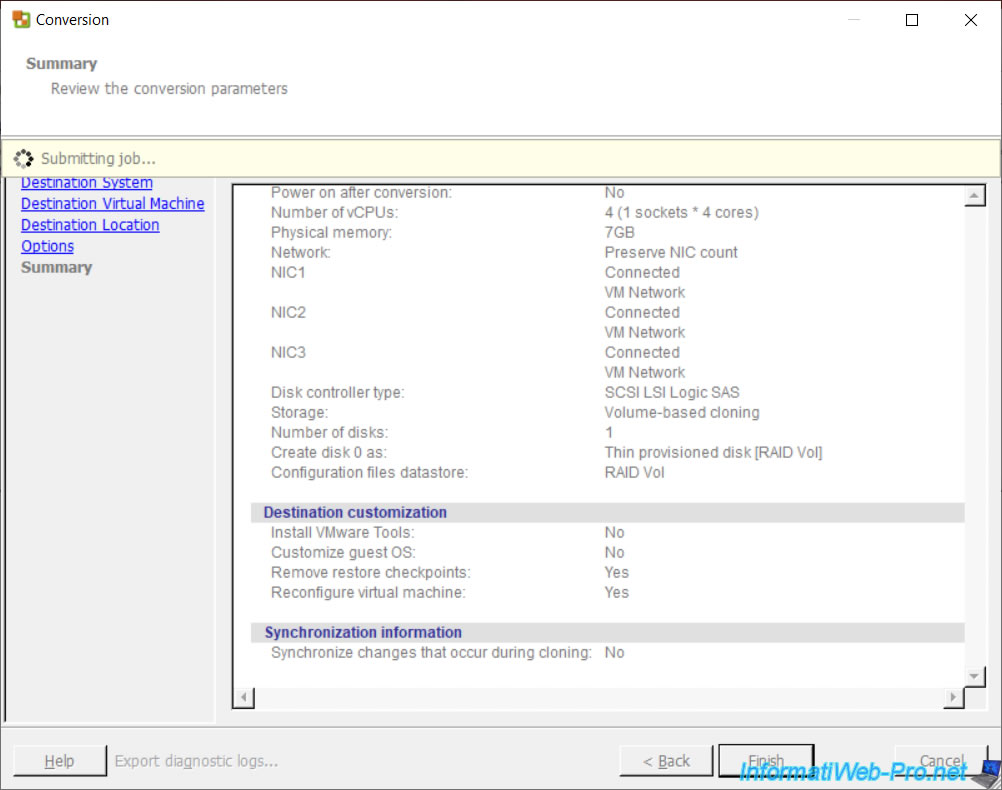
A summary of the conversion settings is displayed.
In this summary, we can see for example, that :
- the 698 GB hard drive with different volumes (partitions) will be copied
- the virtual machine will use 1 processor (socket) composed of 4 cores
- this will have about 7 GB of random access memory (RAM)
- and more
Warning : by default, the virtual hard disk will be created with static provisioning. However, as hard drives on physical PCs grow larger, we recommend that you change the copy settings for them. Otherwise, you risk filling your datastore with a physical hard drive that is probably less full than its maximum capacity.
Click on the "Edit" link in the "Data to copy" section.
Go to the "Destination layout" tab and change the type of provisioning to dynamic (Thin) instead of static (Thick).
Then, click on Next.
Important : be careful with overprovisioning due to the use of this dynamic provisioning with a hard disk which is probably very large (maximum capacity of the physical disk).

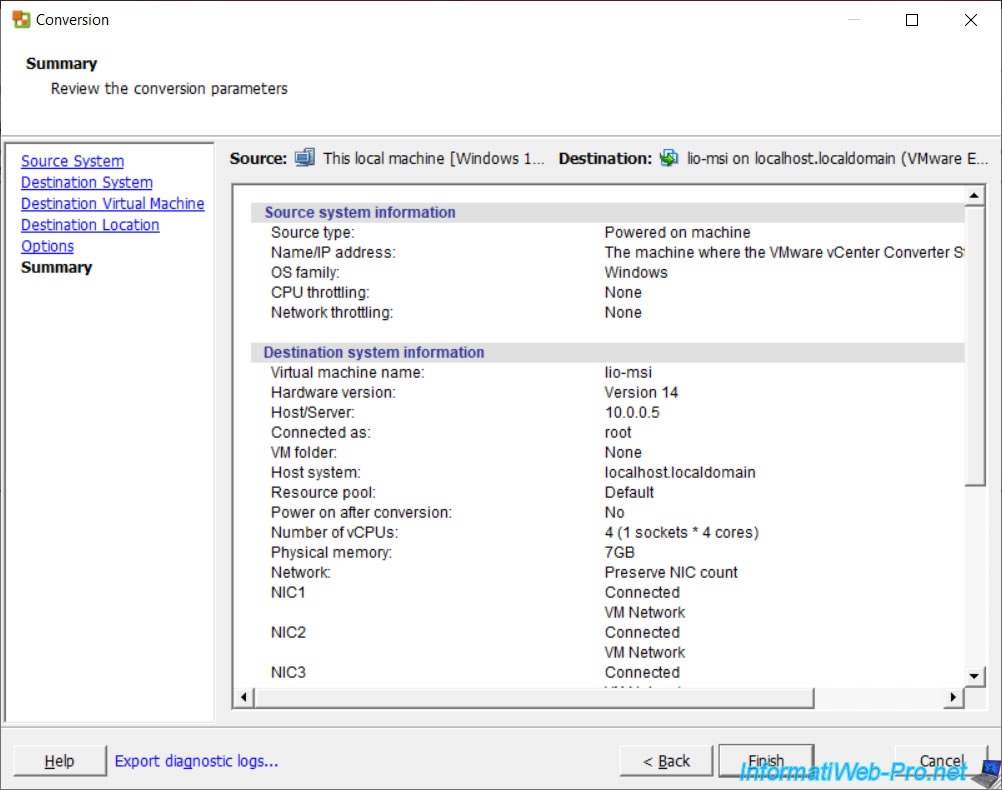
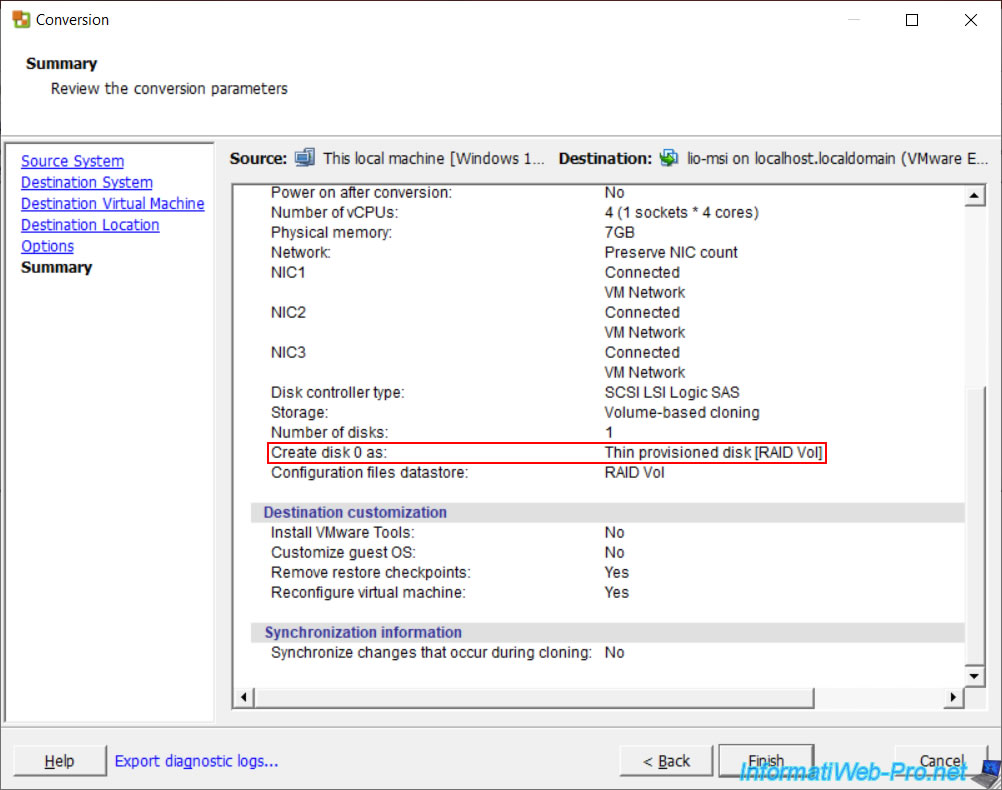
A summary of the configuration of this conversion appears.
If you have changed the provisioning mode of the virtual hard disk to dynamic, verify that the value of the "Create disk 0 as" option is "Thin provisioned disk [...]".
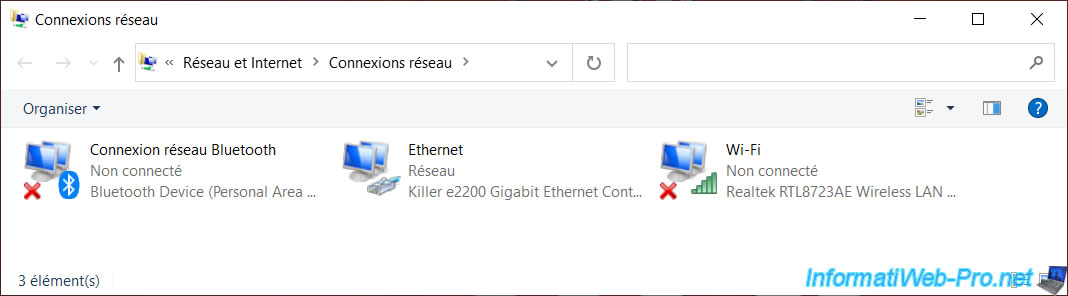
If you are wondering why the conversion wizard has configured us 3 virtual network cards, it's because of the "Network" option which is set to "Preserve NIC count" by default.
And given that our laptop PC has 3 network cards (one of which is because of the Bluetooth module integrated in it), the converter will create 3 virtual network cards.
Start the conversion by clicking on "Finish" and the "Submittng job" message will appear for a few seconds.
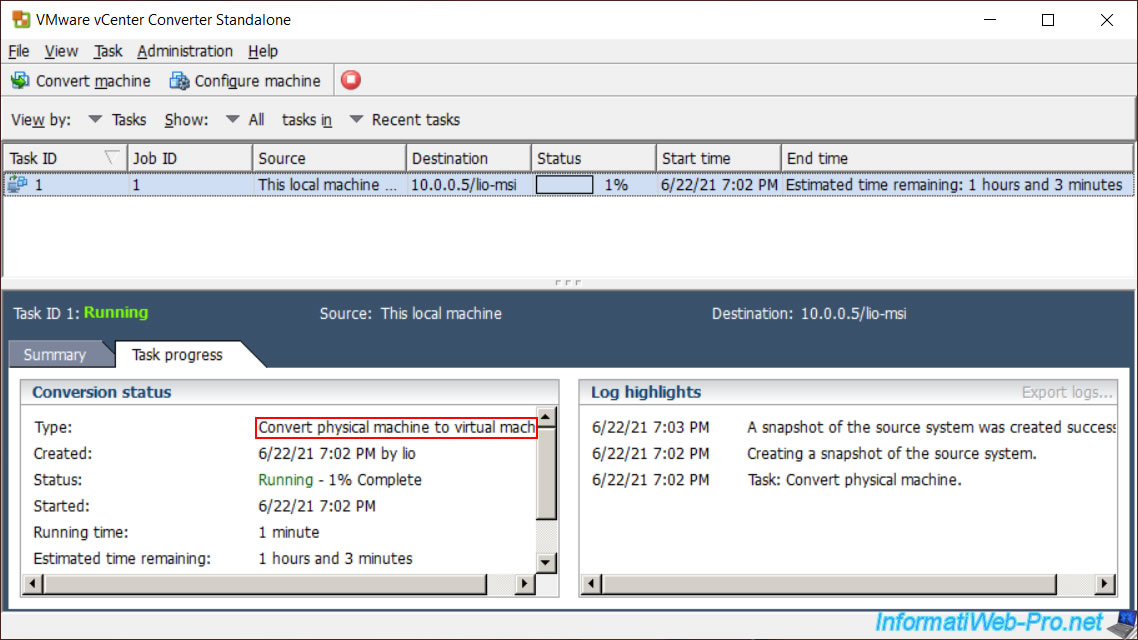
The conversion starts and several information appears in the VMware vCenter Converter Standalone interface.
In the table, you will see a new row with :
- Source : in this case, the physical PC where you are.
- Destination : the host name or IP address of the VMware ESXi server, as well as the name under which the virtual machine will be created on your hypervisor.
- Status : the progress status of the conversion.
- Start time : the date and time of the start of the conversion.
- End time : the estimated remaining time (as long as the conversion is not completed)
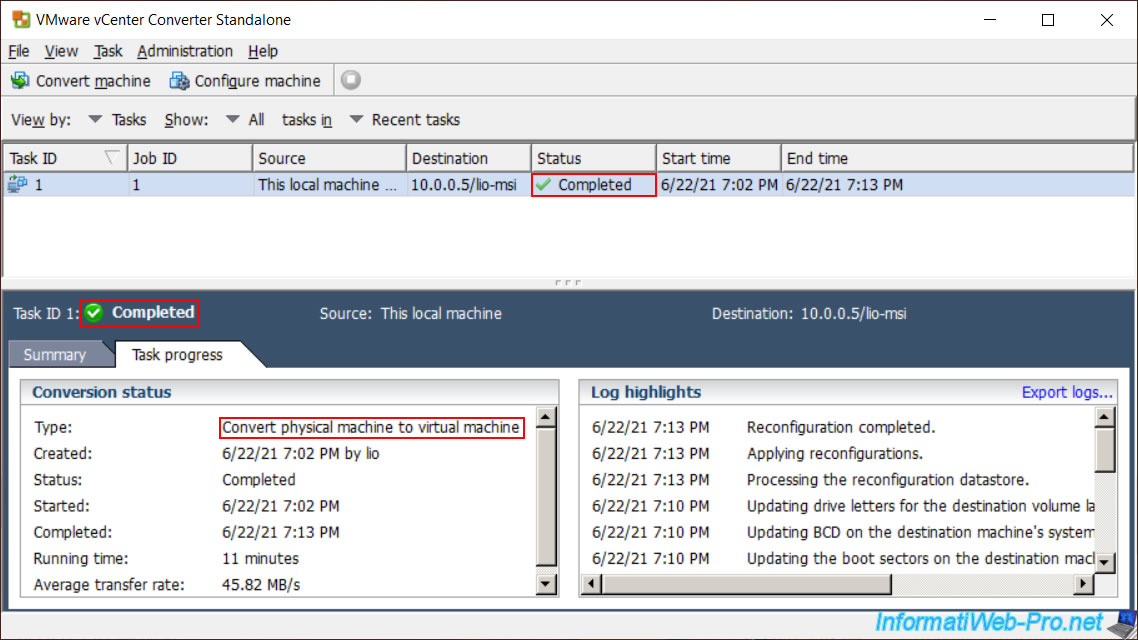
At the bottom left, in the "Conversion status" section, you will see that it's a conversion of a physical PC into a virtual machine (Convert physical machine to virtual machine).
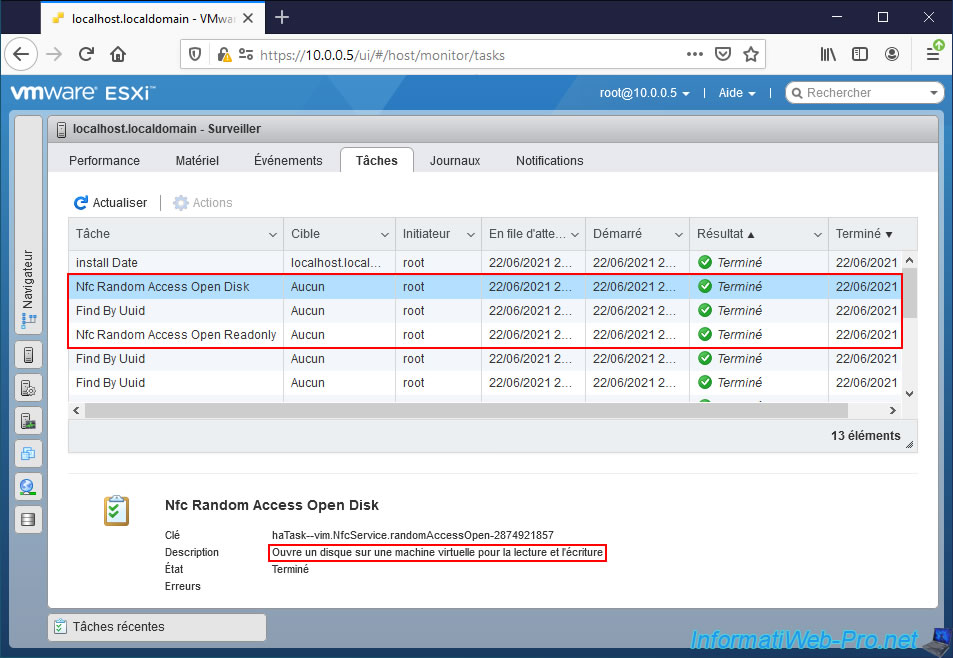
Once the conversion has started, if you look in the tasks of your VMware ESXi hypervisor, via the "Host -> Monitor -> Tasks" menu, you will see 3 tasks appear :
- Nfc Random Access Open Disk : which indicates that a disk is open in a virtual machine for reading and writing.
- Find By Uuid : allows you to find a virtual machine using its unique identifier (UUID).
- Nfc Random Access Open Read Only : indicates that a disk is open in read-only on a virtual machine.
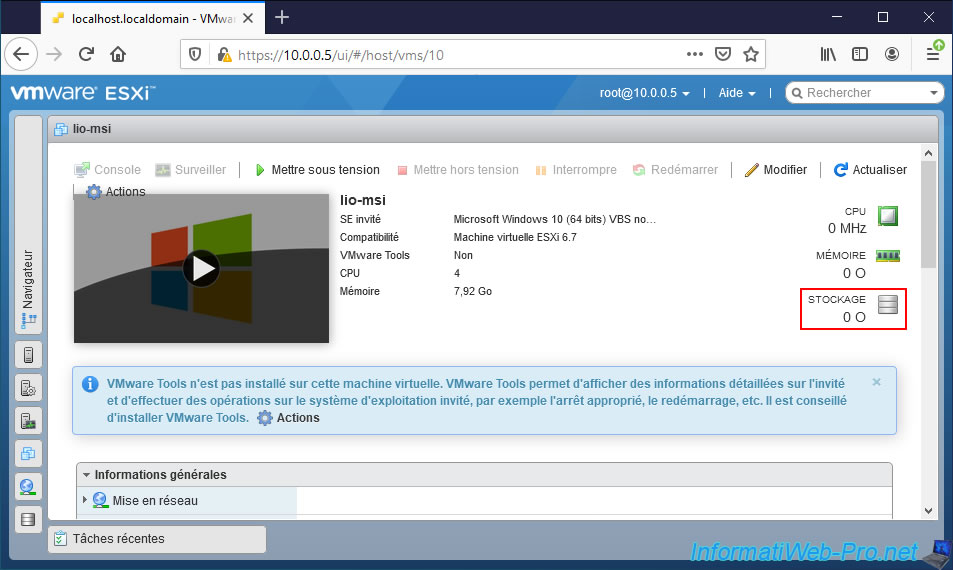
If you look at the list of virtual machines present on your VMware ESXi hypervisor, you will see the new virtual machine appear (although the conversion is still in progress).
However, you will see that its used space is currently unknown.
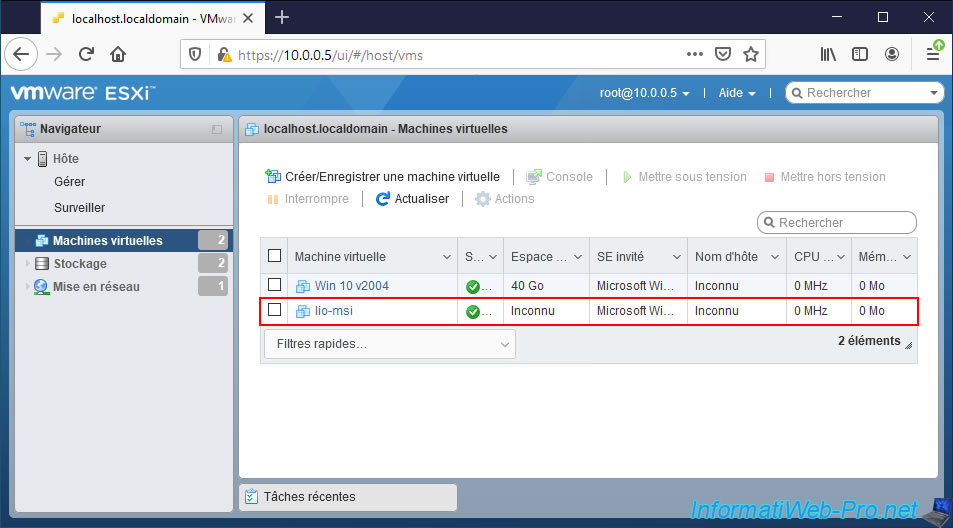
If you click on its name, you will see that its storage is currently 0 Byte.
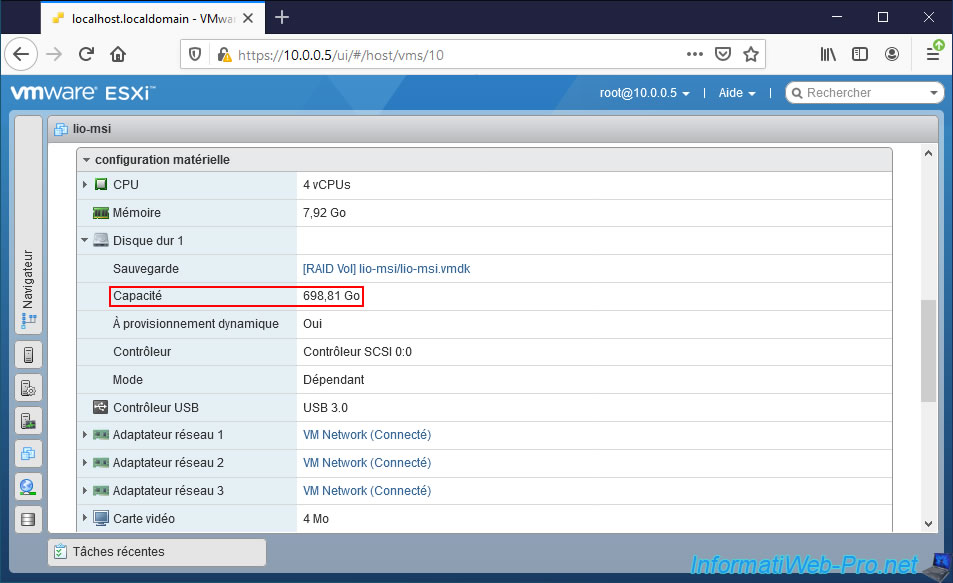
If you deploy the "Hard disk 1" node from the "Hardware Configuration" section, you will see that its capacity matches the size of the hard disk of the virtualized physical PC.
Once the conversion of the physical PC into a virtual machine is complete, the status will be "Completed".
Share this tutorial
To see also
-
VMware 11/4/2022
VMware ESXi 6.7 - Convert a Hyper-V virtual machine to a VMware VM
-
VMware 8/19/2022
VMware ESXi 7.0 / 6.7 - Export and import VMs
-
VMware 8/24/2022
VMware ESXi 7.0 / 6.7 - Export and import VMs via VMware OVF Tool
-

VMware 9/7/2022
VMware ESXi 7.0 / 6.7 - Export and import VMs with VMware Workstation Pro
You must be logged in to post a comment