- VMware
- 19 August 2022 at 13:01 UTC
-


Thanks to the web interface of your VMware ESXi server, you can, among other things, manage, export and import virtual machines through a simple web browser.
- Export a virtual machine in OVF format from a VMware ESXi Server
- Import a virtual machine in OVF format on your VMware ESXi server
1. Export a virtual machine in OVF format from a VMware ESXi Server
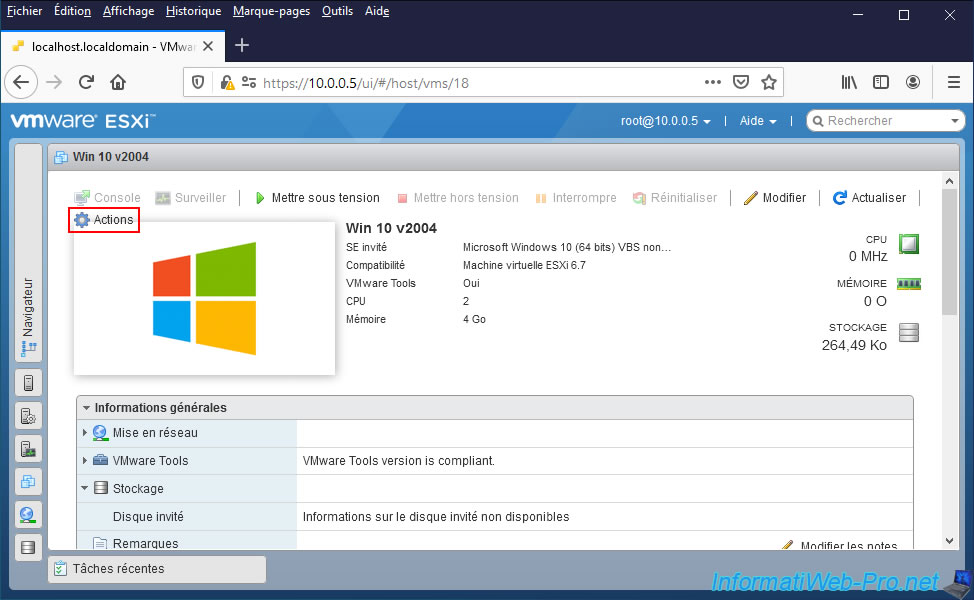
To export a virtual machine from your VMware ESXi hypervisor via its web interface, select the desired virtual machine and click on : Actions.
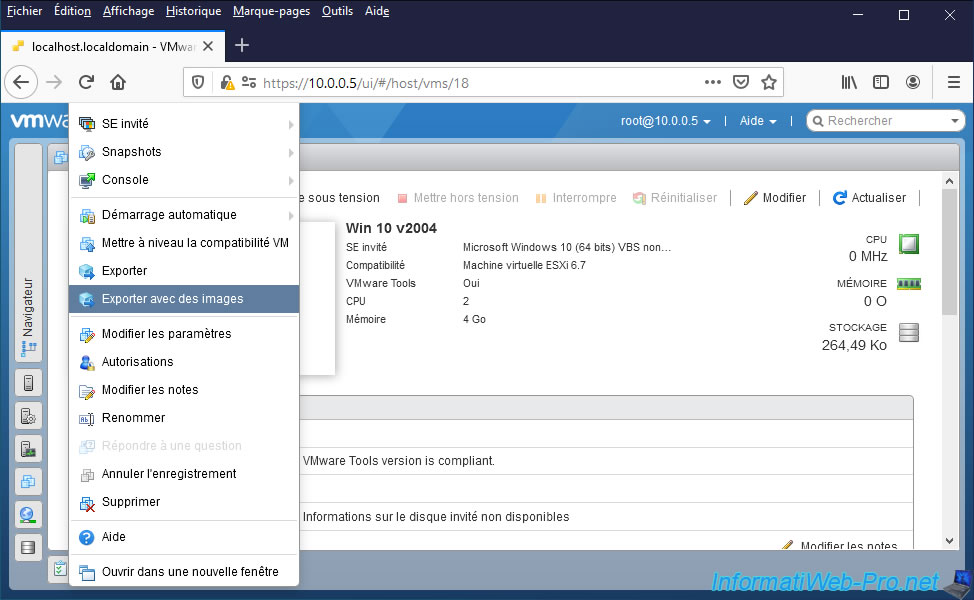
Then, click on one of these options :
- Export : to export only the virtual machine
- Export with images : to export the virtual machine, as well as the various images (ISOs files, ...) that would be linked to it
In our case, we have chosen the "Export With Images" option.
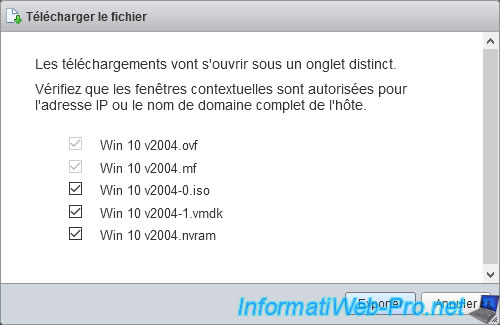
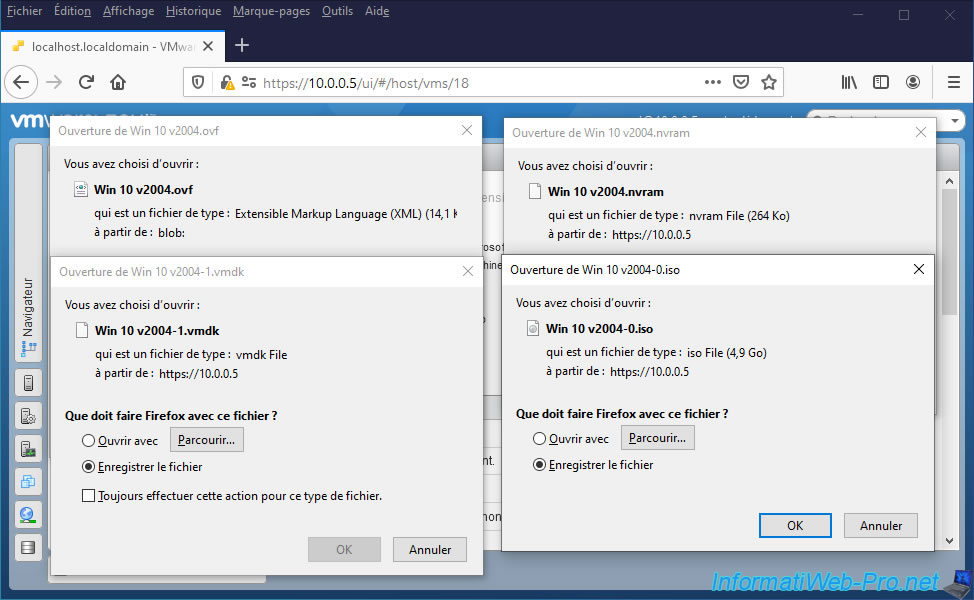
VMware ESXi displays a "Download file" window with the list of files that can be exported for this virtual machine :
- the ".ovf" file : this file corresponds to the configuration file of your virtual machine in OVF format (Open Virtualization Format).
Note that you will not be able to export your virtual machines in VMware format (with a configuration file in ".vmx" format) via this web interface.
To do this, you will need to connect via SFTP to your VMware ESXi server or connect to your VMware ESXi hypervisor from VMware Workstation (which is paid). - the ".mf" file : manifest file used by virtual machines in "OVF" (or "OVA") format which is used to check the integrity of a virtual machine when it's imported.
- image files (such as ".iso" files) that would currently be linked to it.
- the ".vmdk" file(s) : this file(s) correspond to the various virtual hard disks of the virtual machine.
- the ".nvram" file : this file contains the current BIOS configuration of the virtual machine.
Note that by default, only some boxes are checked.
However, to find your virtual machine in the same state as it is in your VMware ESXi hypervisor, we recommend that you check all the boxes. Including the ".nvram" file which can be important to maintain the current boot order of your virtual machine.
Then, click on : Export.
Several download windows will appear or downloads will start automatically.
It depends on the web browser used and its configuration for managing downloads.
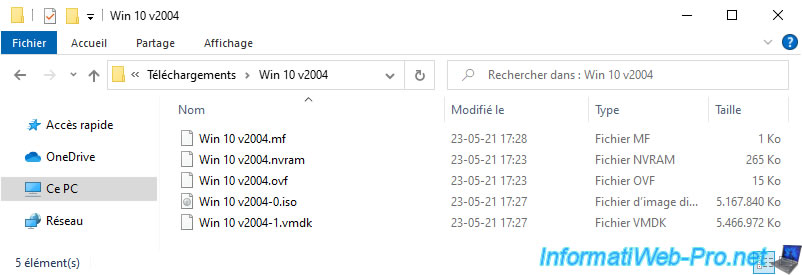
Once all the downloads are complete, you will see that we have in our case : 5 files.
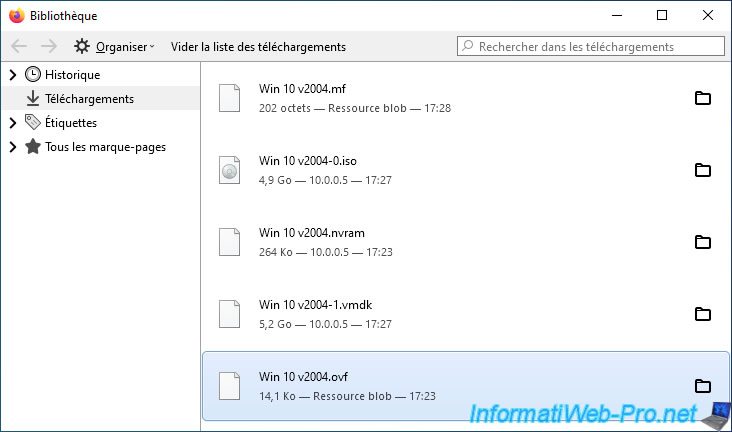
Here is your virtual machine in OVF format.
2. Import a virtual machine in OVF format on your VMware ESXi server
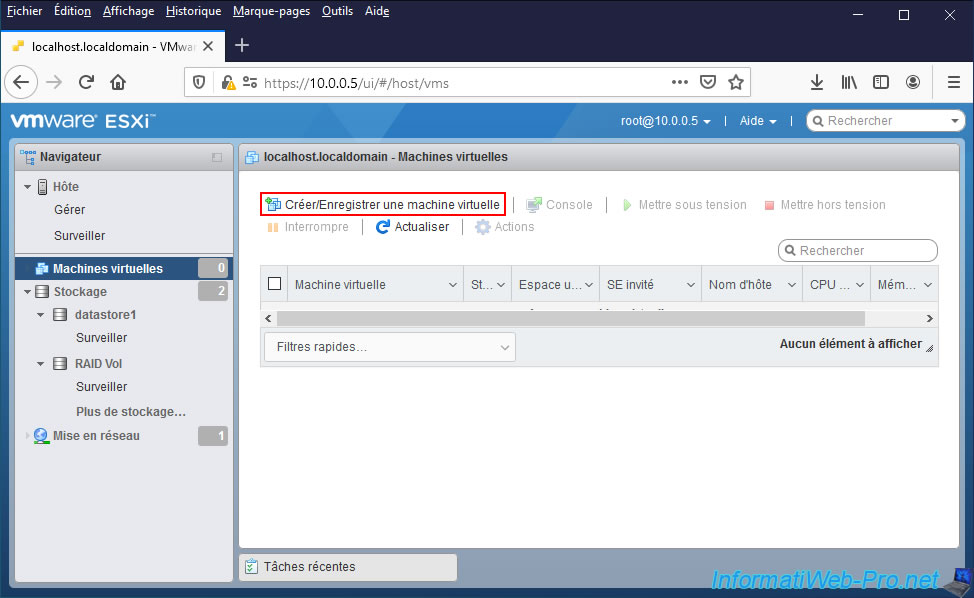
To import a virtual machine on your VMware ESXi hypervisor, go to its web interface.
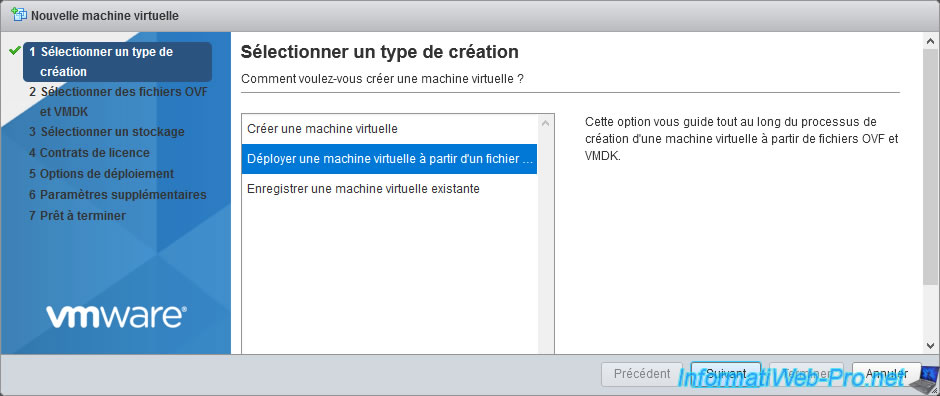
Then, go to "Virtual Machines" and click on "Create / Register VM".
Choose "Deploy a virtual machine from an OVF or OVA file" and click Next.
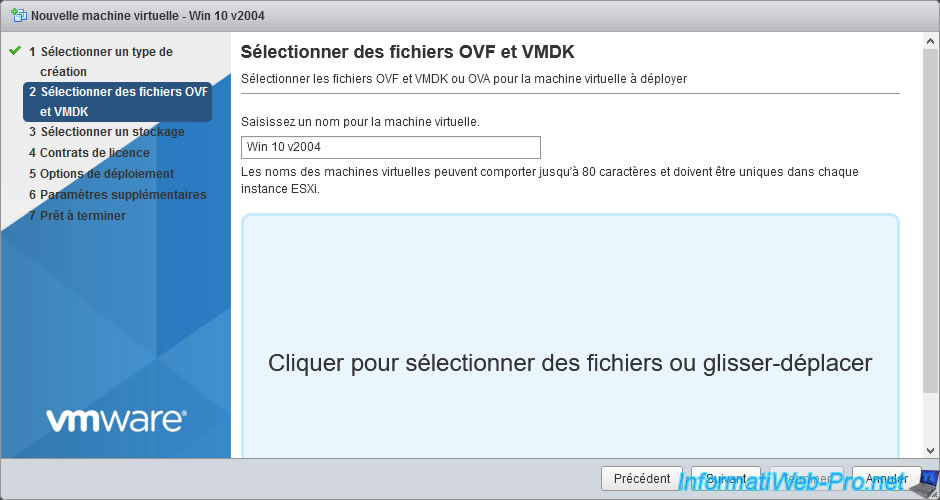
Specify under which name you want to import your virtual machine and click in the blue frame where the "Click to select files or drag/drop" message appears.
Note that you could also drag your virtual machine files in OVF (OVA) format onto this blue frame if you wish.
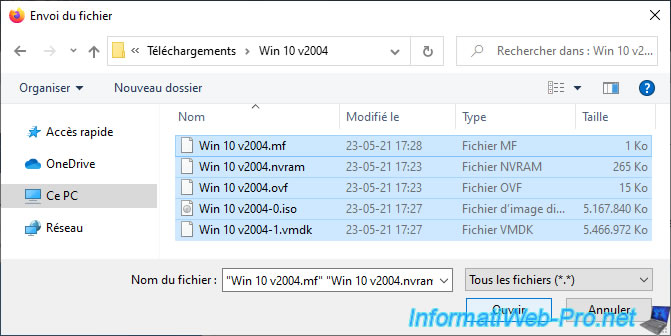
Select the virtual machine files in OVF (or OVA) format to import and click "Open".
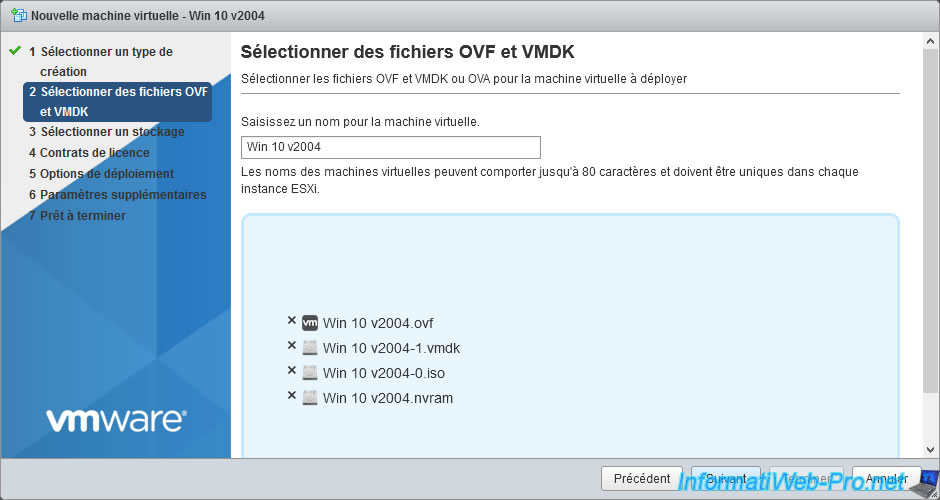
Once the required files have been selected, click Next.
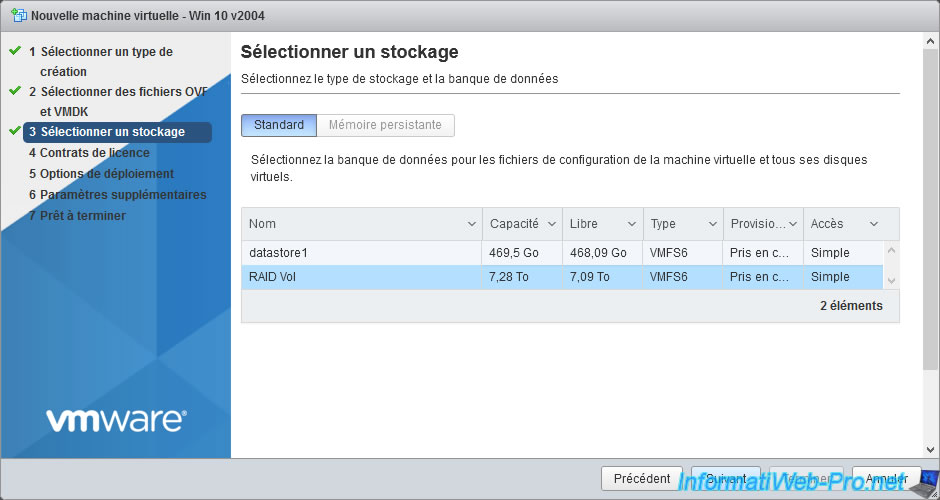
Select the datastore in which you want to store this virtual machine, and then click Next.
In our case, our "RAID Vol" RAID volume.
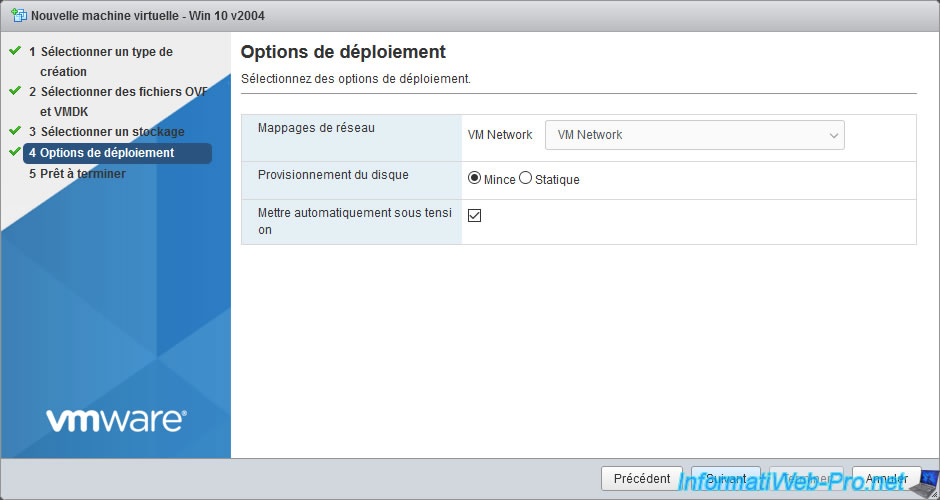
Choose :
- Network mappings : to which virtual networks of your hypervisor you want to connect it. Default : VM Network.
- Disk provisioning : how the virtual hard disk will be created.
- Thin : corresponds to dynamic provisioning. This means that the size of the virtual hard drive will match the size of the data on it.
- Thick : corresponds to a static provisioning. This means that all the disk space required for the virtual hard disk will be pre-allocated on your physical disk. In this case, the size of the virtual hard disk will be the same as its maximum size.
- Power on automatically : indicates whether the virtual machine to import will be automatically started after the import is complete or not.
Then, click on Next.
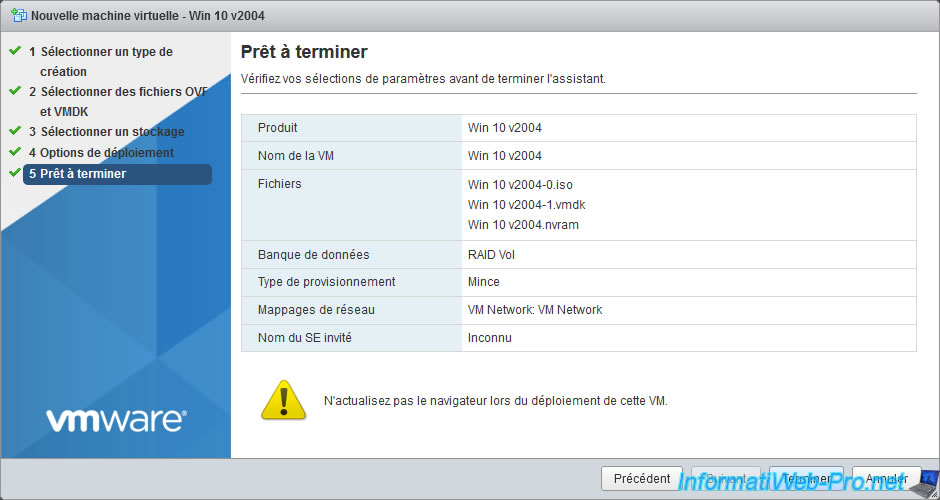
A summary of the import settings appears.
Click on Finish.
Warning : as indicated at this step of the import, you must not refresh the browser when deploying this VM (virtual machine).
Otherwise, the import will fail.
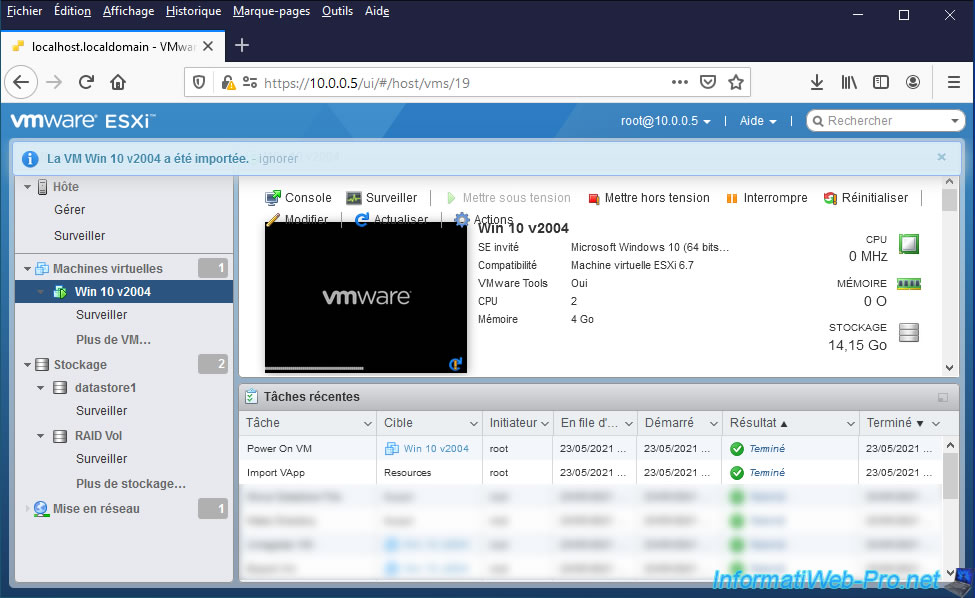
The virtual machine to import will appear directly in the list of virtual machines of your VMware ESXi hypervisor.
However, it's not yet usable for the moment.
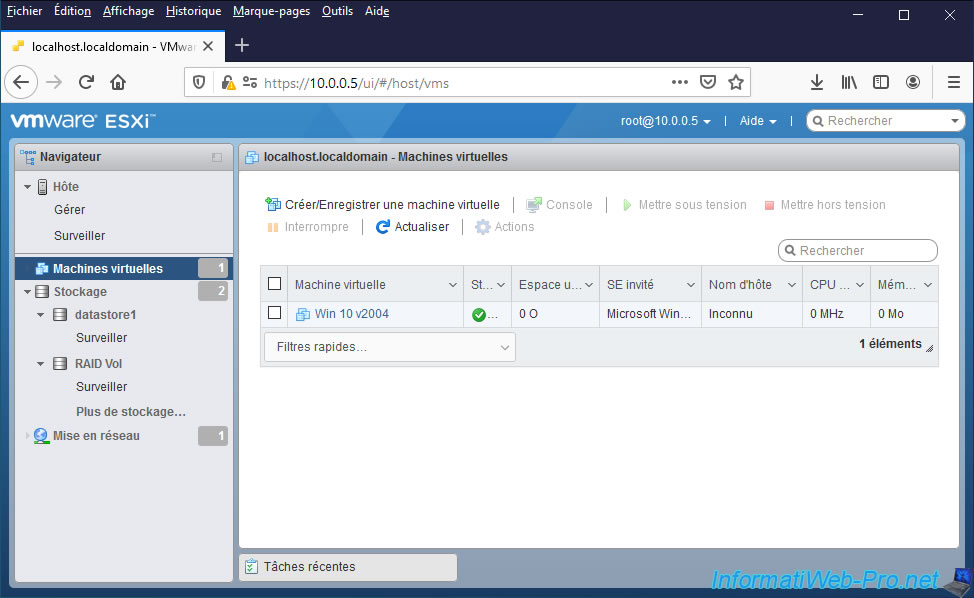
Indeed, if you display the "Recent tasks" block located at the bottom of the page, you will see that several tasks are being executed :
- Import VApp : overall process for importing the virtual machine
- Télécharger un disque : import of virtual hard disk files (in ".vmdk" format) and any images (".iso" files, ...)
You will be able to see the progress of the importation of your virtual machine and its various disks.

Once the virtual machine import is complete, the "Import VApp" task will be completed and the "VM [name of the imported VM] successfully imported" message will appear.
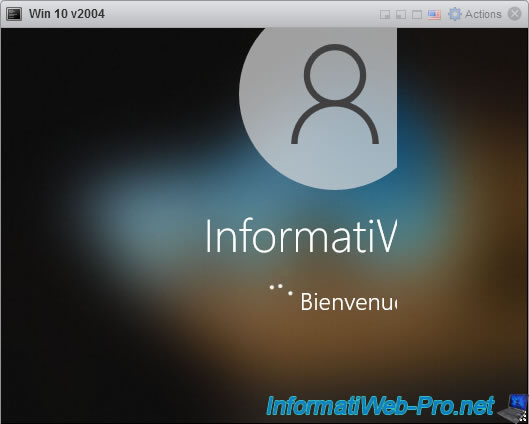
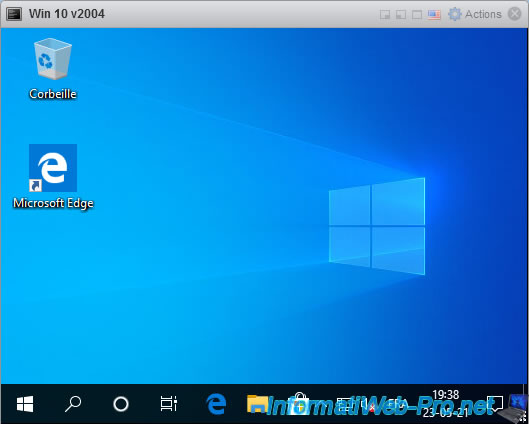
If you left the "Power on automatically" box checked towards the end of the wizard, the imported virtual machine will start automatically.
In our case, it starts without problem.
Share this tutorial
To see also
-
VMware 11/4/2022
VMware ESXi 6.7 - Convert a Hyper-V virtual machine to a VMware VM
-
VMware 10/14/2022
VMware ESXi 6.7 - Virtualize a physical computer (P2V)
-
VMware 8/24/2022
VMware ESXi 7.0 / 6.7 - Export and import VMs via VMware OVF Tool
-

VMware 9/7/2022
VMware ESXi 7.0 / 6.7 - Export and import VMs with VMware Workstation Pro
You must be logged in to post a comment