- VMware
- 07 June 2024 at 12:54 UTC
-

- 1/4

If you are using the free version of VMware ESXi, you may have noticed that you can't clone (copy) virtual machines from its "VMware Host Client" web interface.
Indeed, to clone virtual machines on a VMware ESXi host, you officially need VMware vCenter Server.
However, this additional VMware product (which is part of VMware vSphere) is chargeable and is only used in business.
In this tutorial, we will explain 4 alternative methods allowing you to clone virtual machines for free on your VMware ESXi hypervisor.
- Source virtual machine
- Clone a virtual machine using the datastore browser
- Clone a virtual machine using WinSCP
- Clone a virtual machine via export / import in OVF format
- Clone a virtual machine using VMware vCenter Converter Standalone
1. Source virtual machine
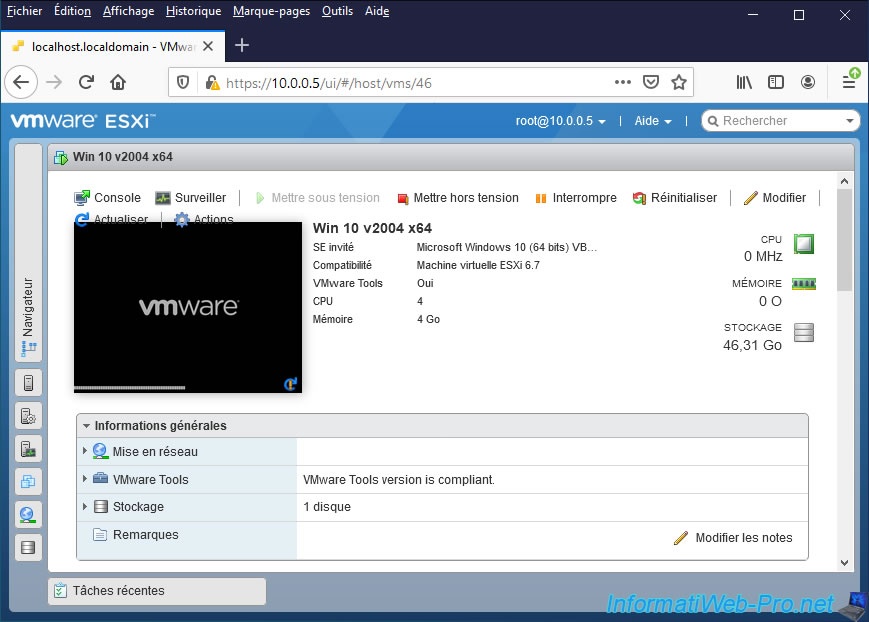
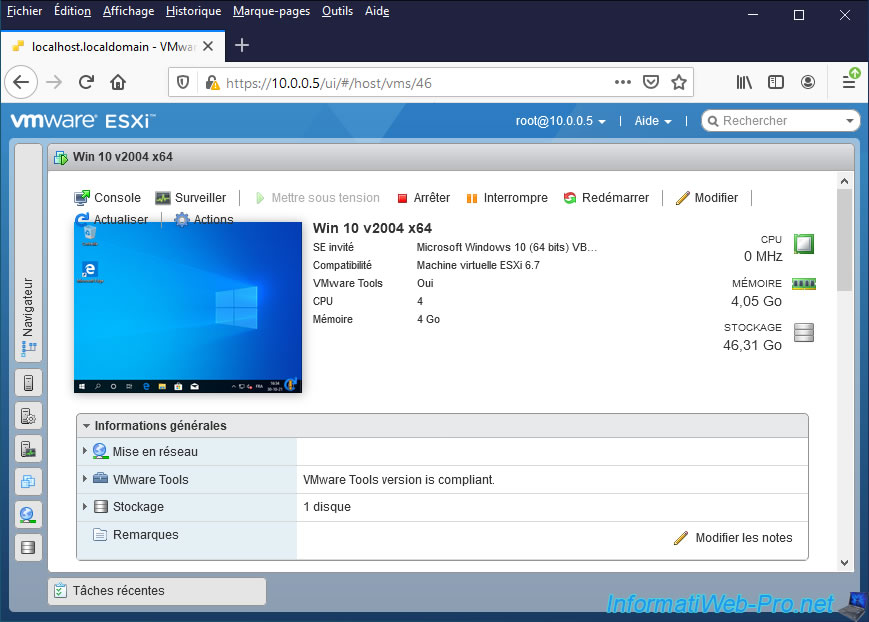
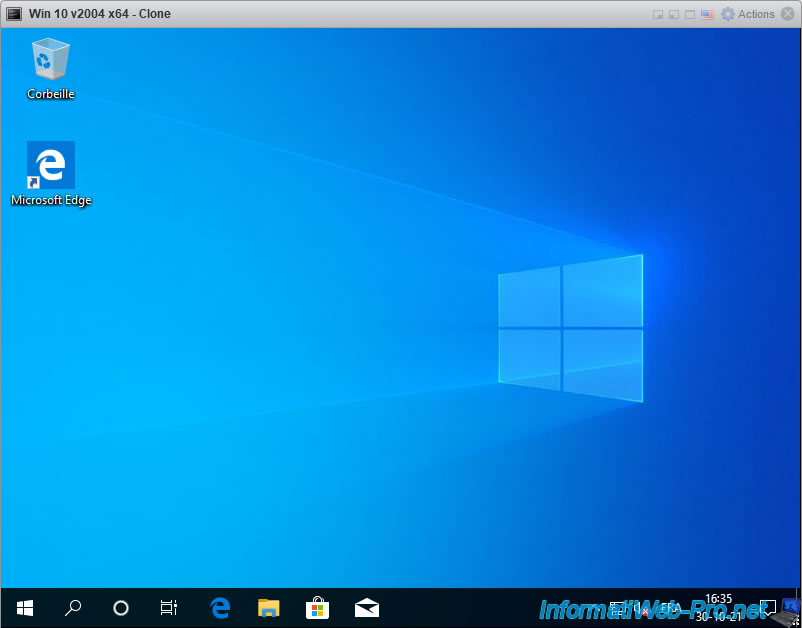
For this tutorial, we will be using a "Win 10 v2004 x64" virtual machine (but this is an example).
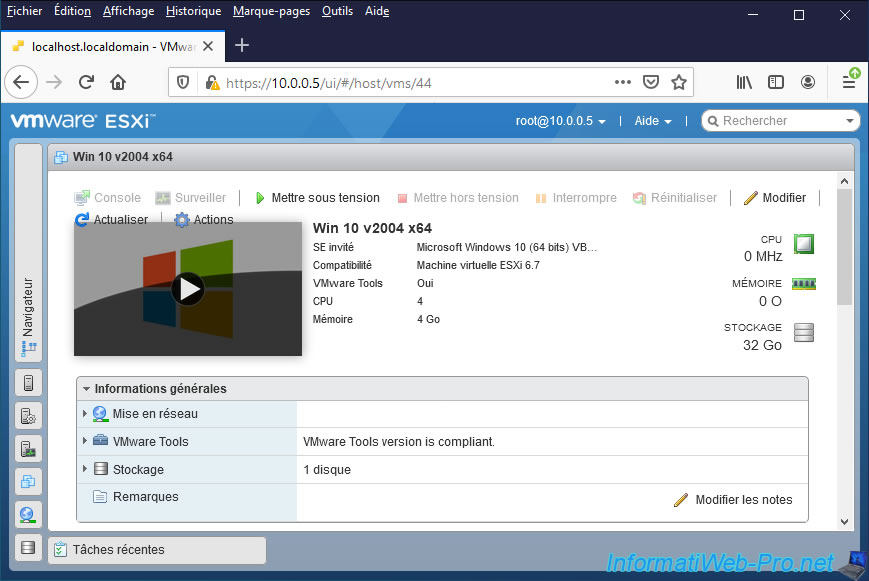
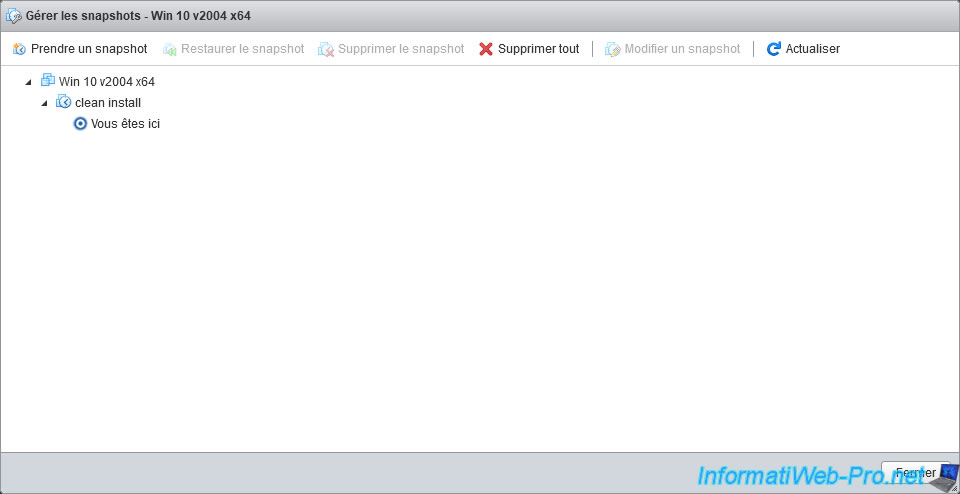
On this virtual machine, we have a snapshot.
The techniques explained in the tutorial will support the management of these snapshots. However, keep in mind that restoring a snapshot on the destination virtual machine will also restore the MAC address of the source virtual machine's NIC.
You will therefore have to remember to change its MAC address after restoring a snapshot on the destination virtual machine to avoid a MAC address conflict.
2. Clone a virtual machine using the datastore browser
The 1st technique to clone a virtual machine on VMware ESXi consists of using the datastore browser available in the "Storage" section of the web interface of your VMware ESXi hypervisor.
2.1. Copy virtual machine files from datastore browser
In the "Storage" section of the web interface of your VMware ESXi hypervisor, click the name of the datastore where the virtual machine to clone is located.
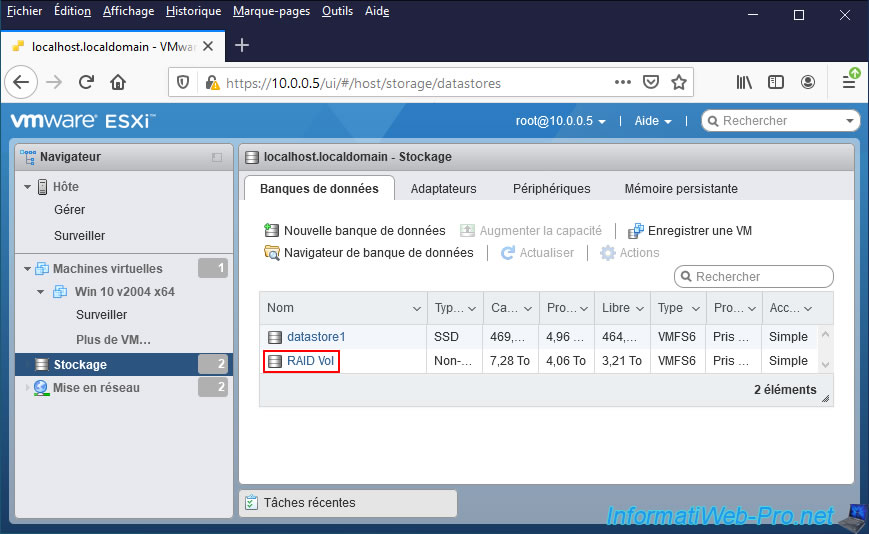
Click on : datastore browser.

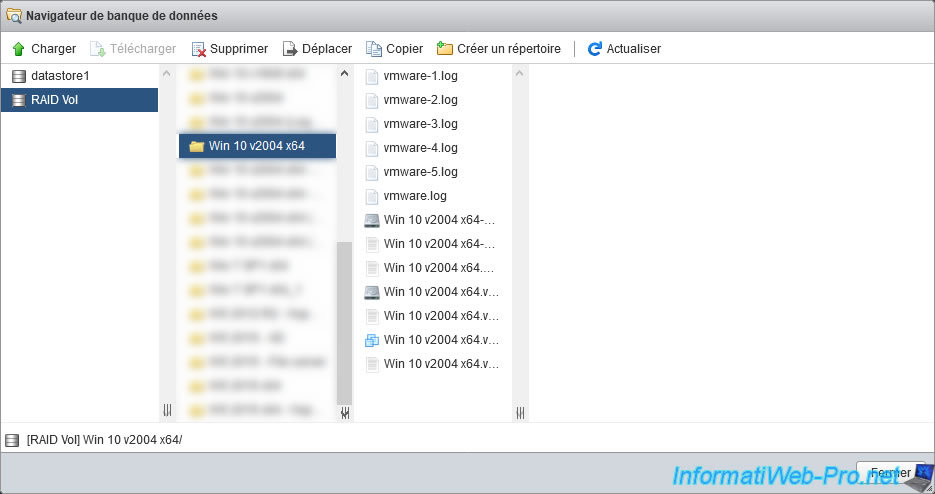
As you can see, if you select the source virtual machine, you will see that it's made up of several types of files.
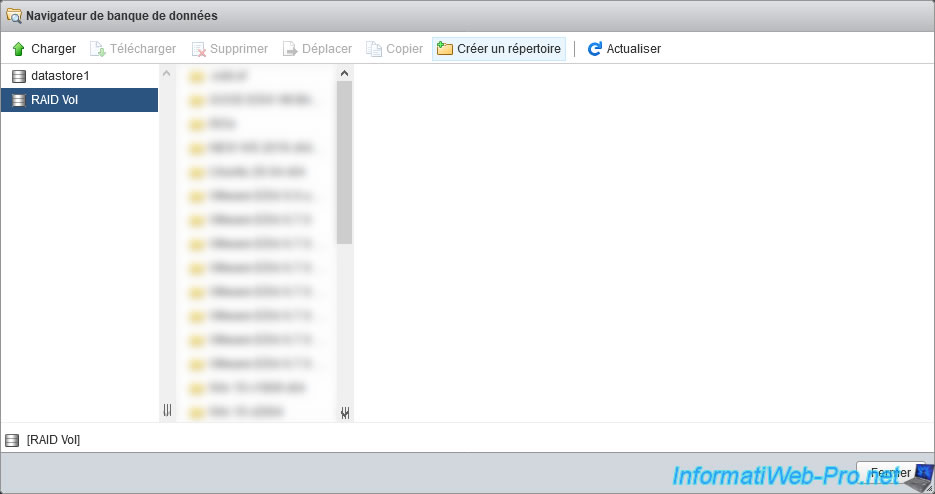
To create the new folder where the copy of this virtual machine will be stored, select your datastore on the left, then click : Create directory.
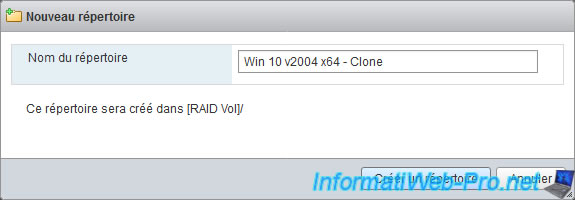
In the "New directory" window that appears, enter the name of your future virtual machine.
In our case : Win 10 v2004 x64 - Clone.
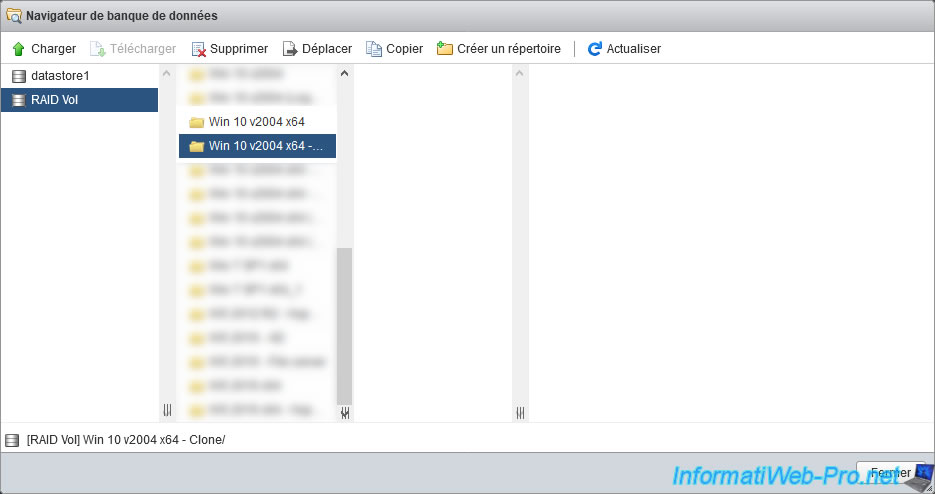
The new folder appears (in the 2nd column).
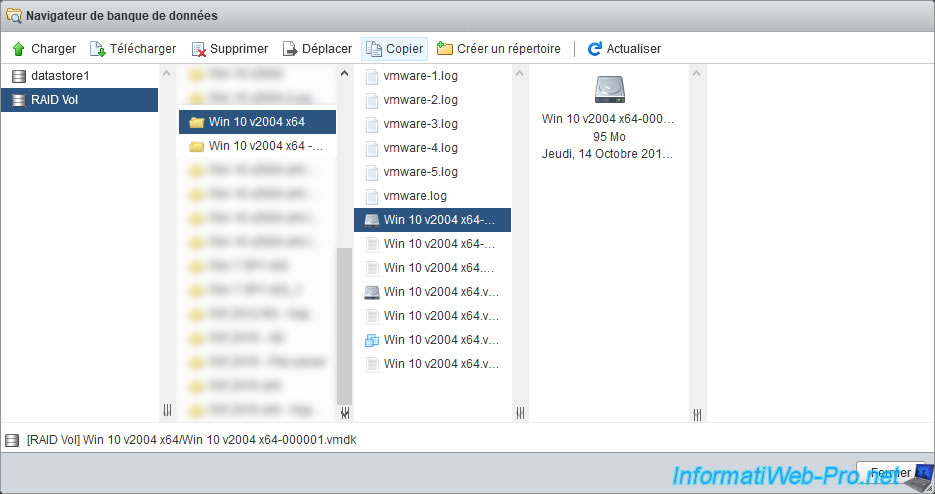
To clone a virtual machine, copy all of its files (except ".log" files which are just logs) one by one.
Select the 1st file to copy and click on : Copy.
The different types of files visible via the datastore browser are :
- .vmdk : the basic virtual hard disk and those generated with the creation of snapshots for those with a number.
- .vmx : the virtual machine configuration file
- .vmsd : the file containing the data relating to the different snapshots present for this virtual machine
- .vmsn : the files corresponding to the different snapshots created on this virtual machine
- .log : log files to help find the cause of a problem. But, no need to copy them when you want to clone a virtual machine.
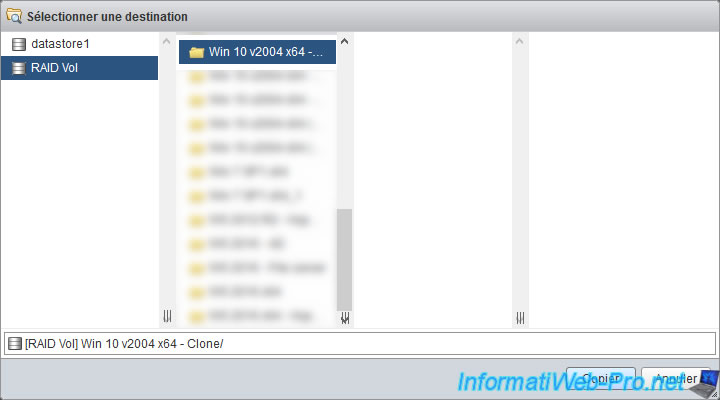
In the "Select destination" window, select the new folder created previously (in our case : Win 10 v2004 x64 - Clone).
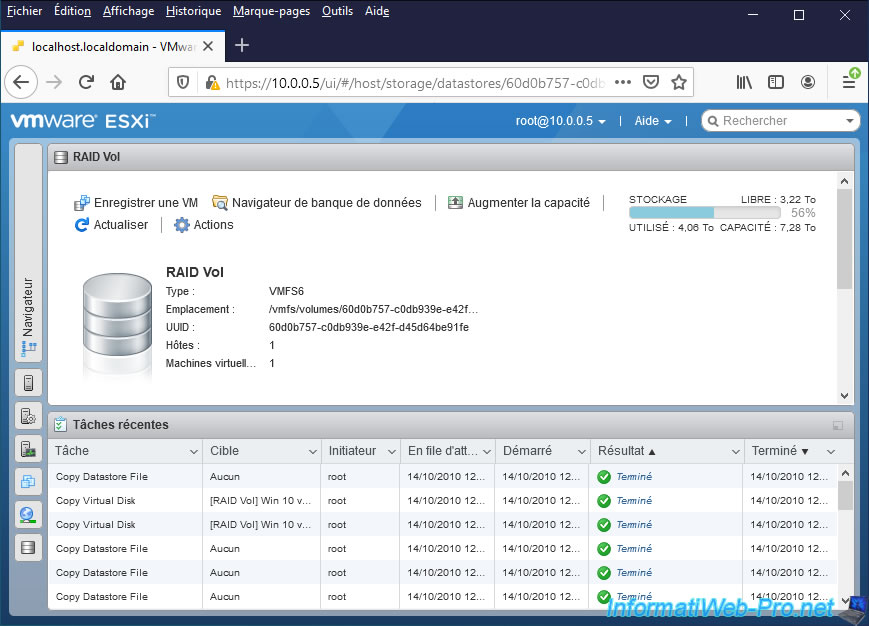
To monitor the progress of copying files of your virtual machine, monitor the progress of the tasks displayed in the "Recent tasks" block.
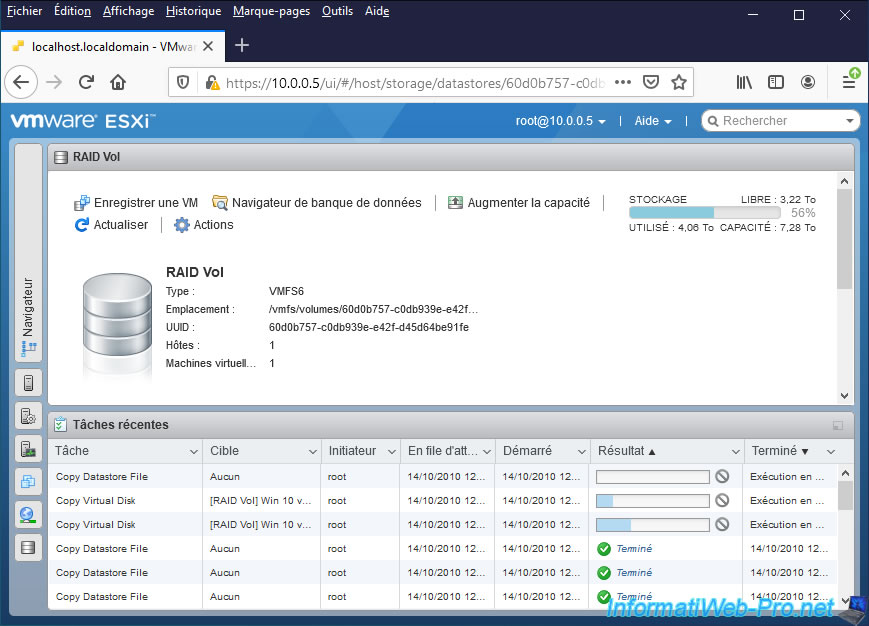
Once the copying of these files is complete, all the tasks displayed in the "Recent tasks" block will be completed.
2.2. Register the virtual machine from the datastore browser
Open the datastore browser and go to the folder for your new virtual machine.
Then, right-click on its configuration file (.vmx) and click : Register VM.
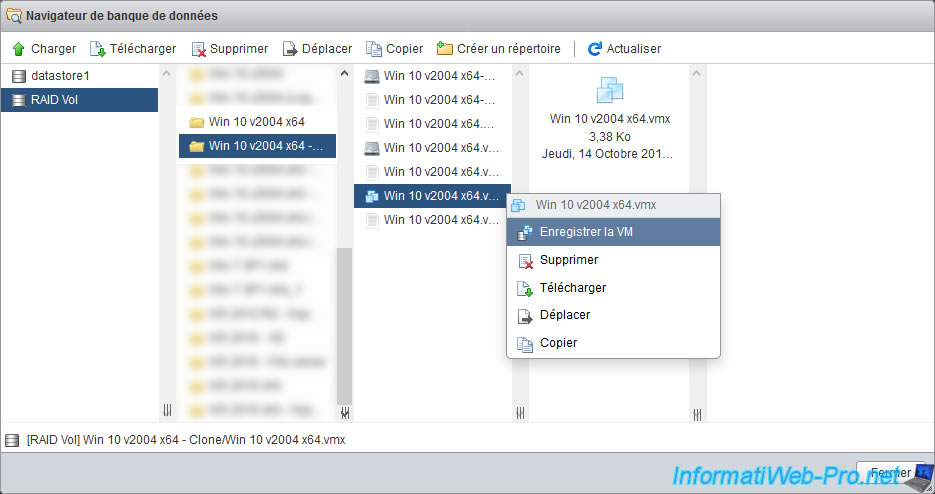
The "VM [datastore name] [new folder name]/[source virtual machine name].vmx successfully registered" message will appear.

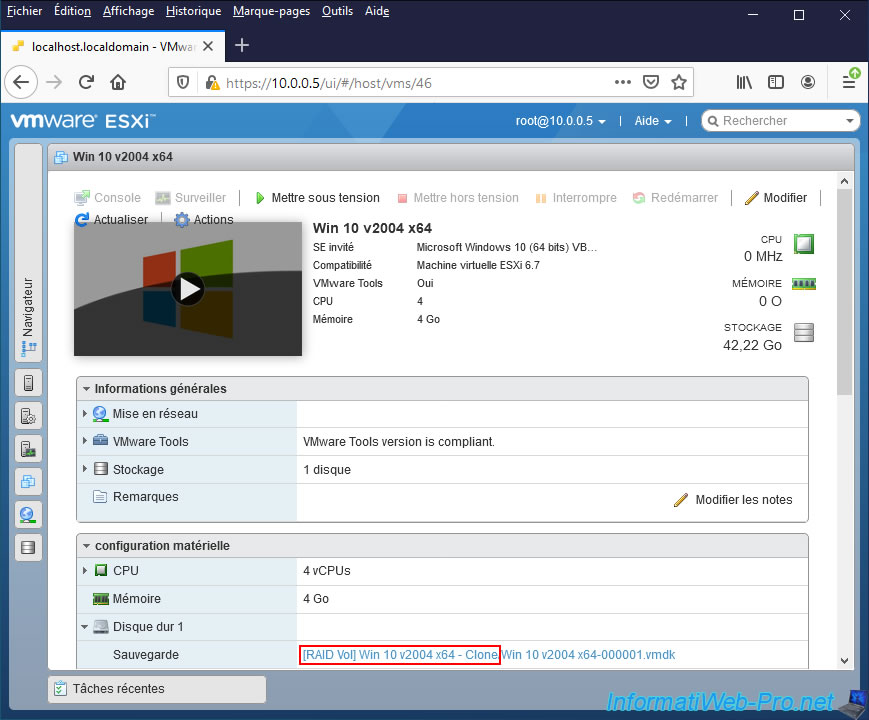
Since we just copied the files, the name given in the configuration file for it has not changed.
Hover over the name of the 2 virtual machines (the source VM and the destination VM) and find the link with the highest number of the 2.

You can then verify that this is the new virtual machine by deploying the "Hard disk 1" node.
There, you will be able to see in which folder its virtual hard disk is located and thus know if it's the source virtual machine or the destination one.
If you had created snapshots on the source virtual machine, you will see that they are still present on the destination one.

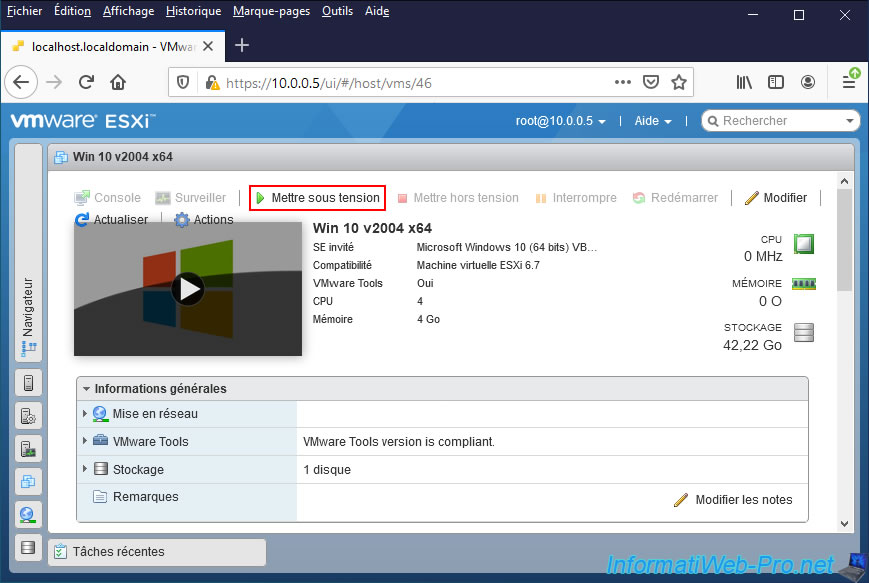
2.3. Start and rename the virtual machine
To begin, start the new virtual machine at least once by clicking on : Power on.
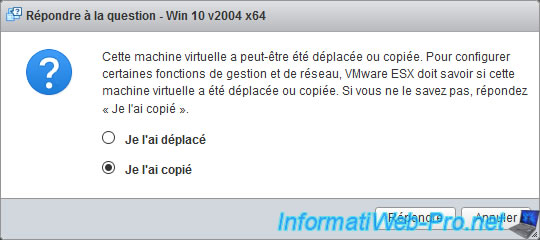
A question will appear telling you that : This virtual machine might have been moved or copied.
Answer "I Copied It" to have VMware ESXi automatically change the MAC addresses defined on the virtual network adapters of this virtual machine.
Otherwise, a MAC address conflict would have occurred if the 2 virtual machines were started simultaneously.
The virtual machine starts up.
The virtual machine has started.
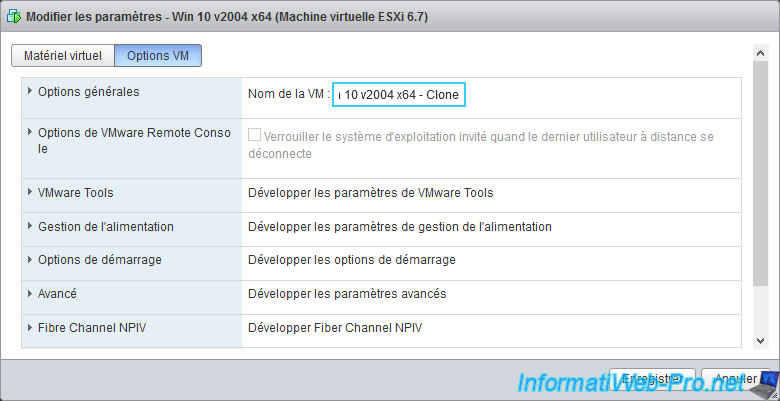
Don't forget to change the name of this virtual machine to reflect its new name.
To do this, click on "Edit", go to the "VM Options" tab and change the name of this VM.
In our case, we therefore again specified "Win 10 v2004 x64 - Clone" (which corresponds to the name of the new folder created previously via the datastore browser).
The virtual machine was successfully reconfigured.
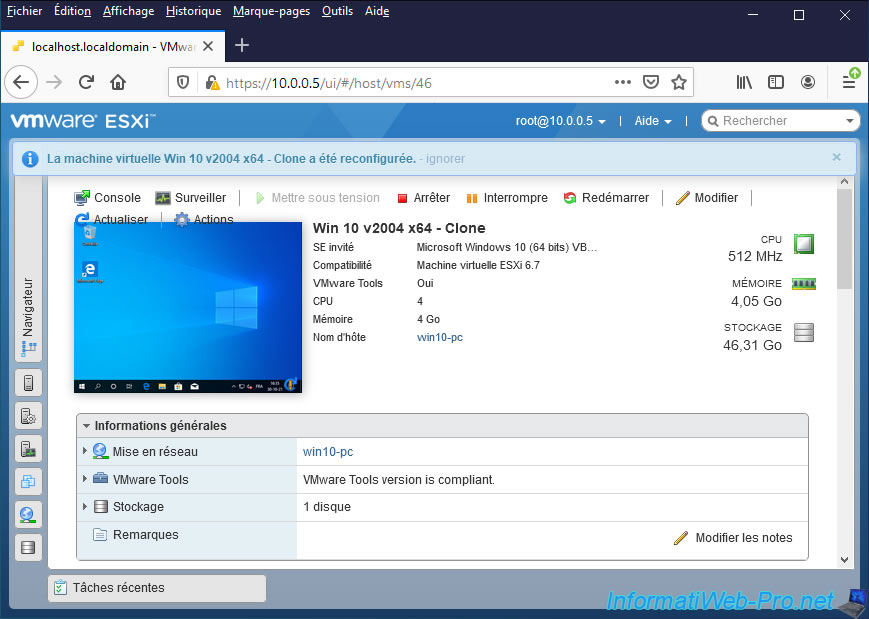
As you can see, the new virtual machine is now functional.
Warning : although the virtual machine is now unique on your VMware ESXi hypervisor, it's also important to modify its guest operating system slightly so that it's also unique on the network.
Indeed, by default, the NETBIOS name and the SID will be the same on the virtual machines.
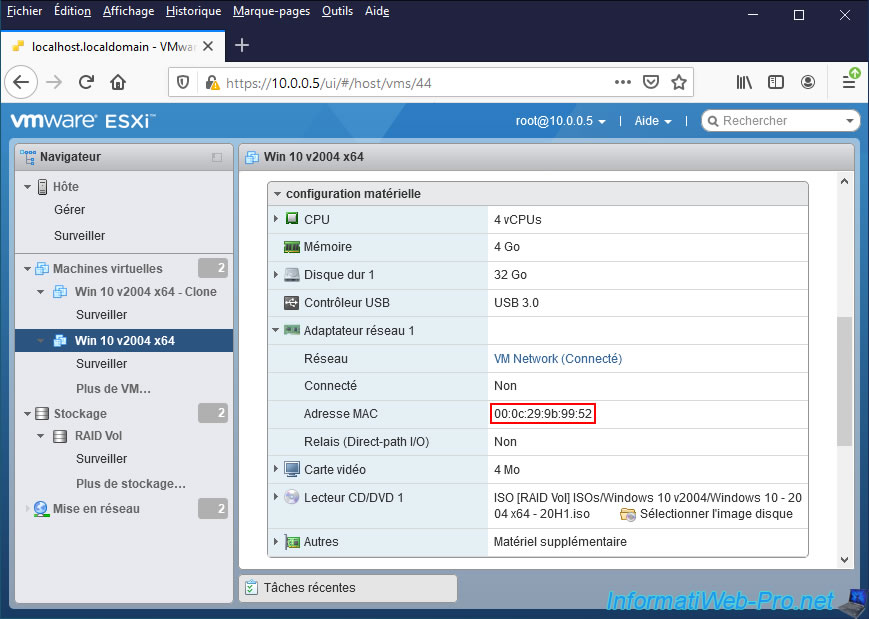
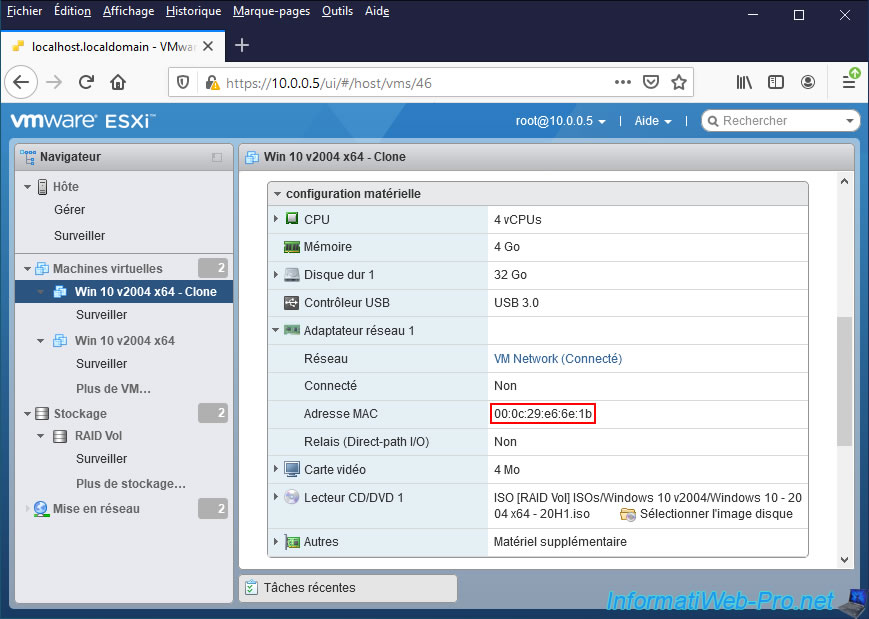
If you deploy the "Network adapter 1" node of the source virtual machine and that of the destination virtual machine, you will see that its MAC address will have changed.
Hence the importance of choosing "I Copied It" when you start the destination virtual machine for the first time.
Share this tutorial
To see also
-

VMware 5/25/2022
VMware ESXi 6.0 - Install the VMware Host Client web client
-

VMware 5/27/2022
VMware ESXi 6.5 - Add a network driver in the installation ISO
-

VMware 1/27/2023
VMware ESXi 6.7 - Enable virtualization-based security (VBS)
-

VMware 12/2/2022
VMware ESXi 6.7 - Install and use the VMRC console on Linux
You must be logged in to post a comment