Clone virtual machines on VMware ESXi 7.0 and 6.7 without VMware vCenter Server
- VMware
- 07 June 2024 at 12:54 UTC
-

- 2/4

3. Clone a virtual machine using WinSCP
When the source virtual machine is made up of many files, which is particularly the case when you create several snapshots on it, the easiest way is to use third-party software supporting the SFTP or SCP protocol such as WinSCP.
3.1. Enable SSH protocol (to use SFTP or SCP protocol)
To be able to connect to your VMware ESXi with a software compatible with the SFTP or SCP protocol, such as WinSCP, you will first need to enable the SSH protocol on your VMware ESXi hypervisor.
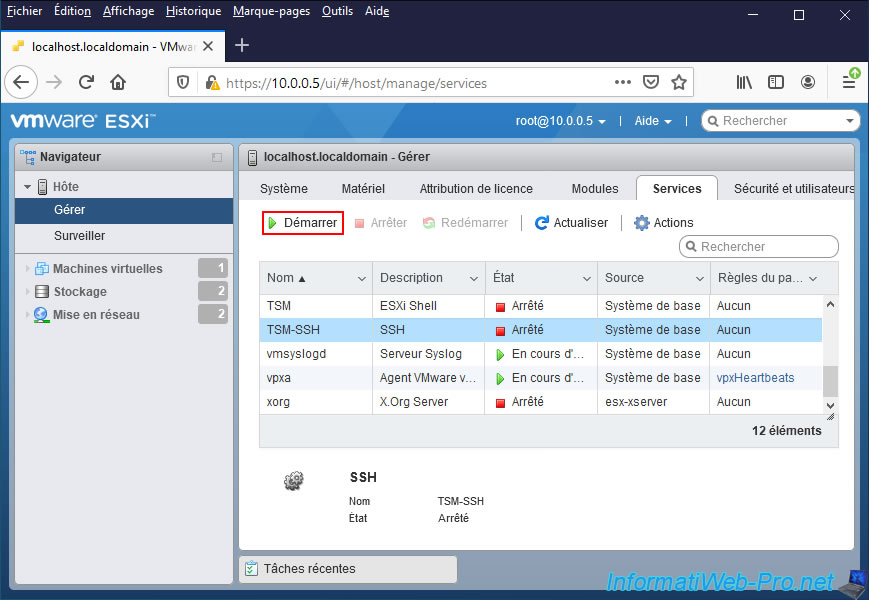
To do this, go to the menu : Manage -> Services.
Then, select the "TSM-SSH" service and click "Start".
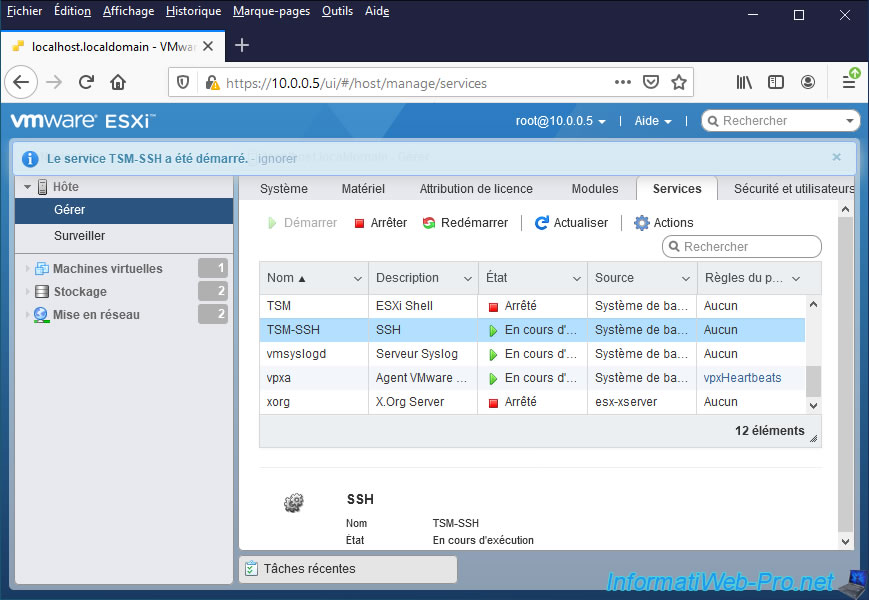
The "The service TSM-SSH was successfully started" message appears.
3.2. Copy virtual machine files using WinSCP
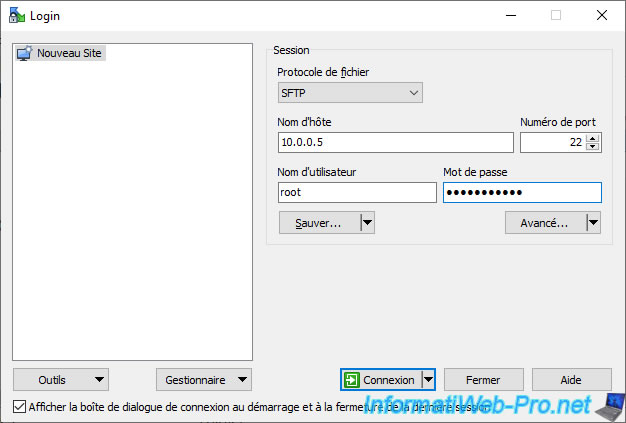
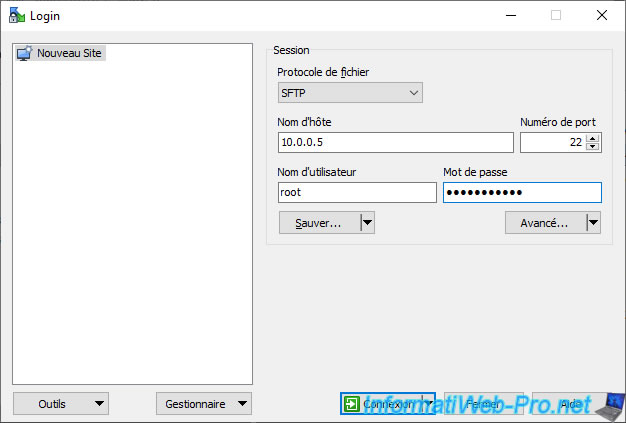
Start WinSCP and a Login window will appear automatically.
In this window, specify :
- File protocol : SFTP.
- Host name : IP address or domain name of your VMware ESXi hypervisor.
In our case : 10.0.0.5. - Port number : 22 (specified by default and corresponds to SSH and SFTP protocols).
- User name : root.
- Password : his password.
Then, click on the button : Login.
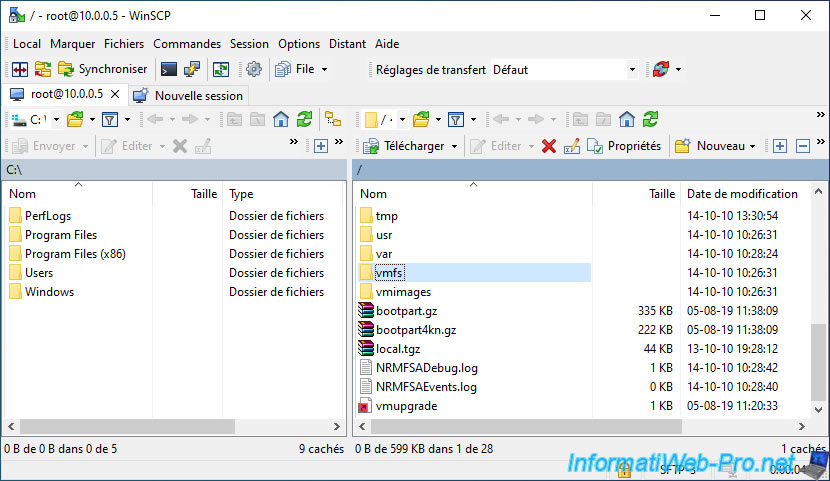
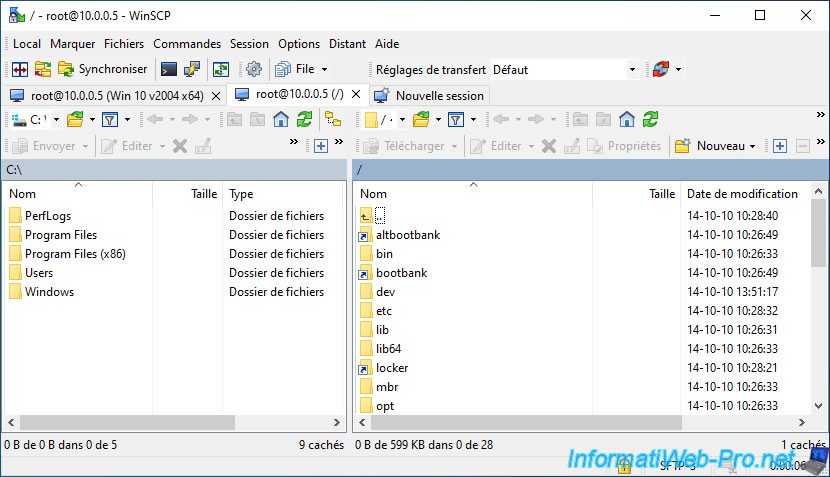
The root of your VMware ESXi hypervisor will appear.
Go into the "vmfs/volumes" folder.
In this "/vmfs/volumes" folder, you will find the list of your datastores.
Folders with a name are shortcuts to folders with an identifier as the name.
In our case, we go into the "RAID Vol" folder which corresponds to the datastore where our source virtual machine is located.
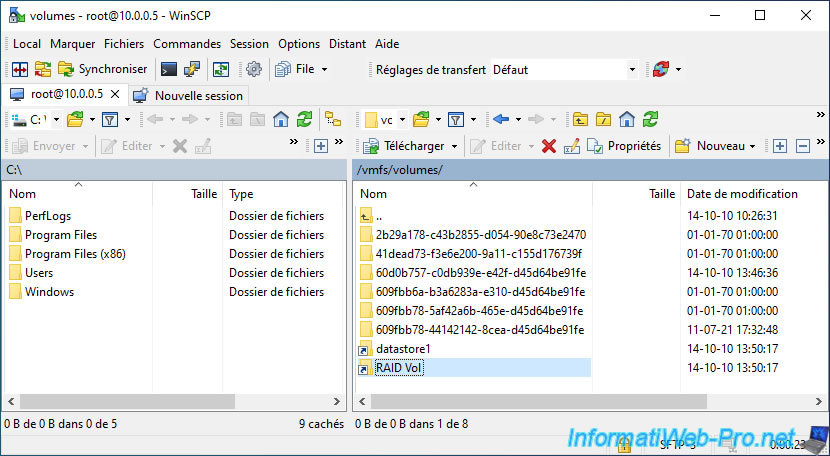
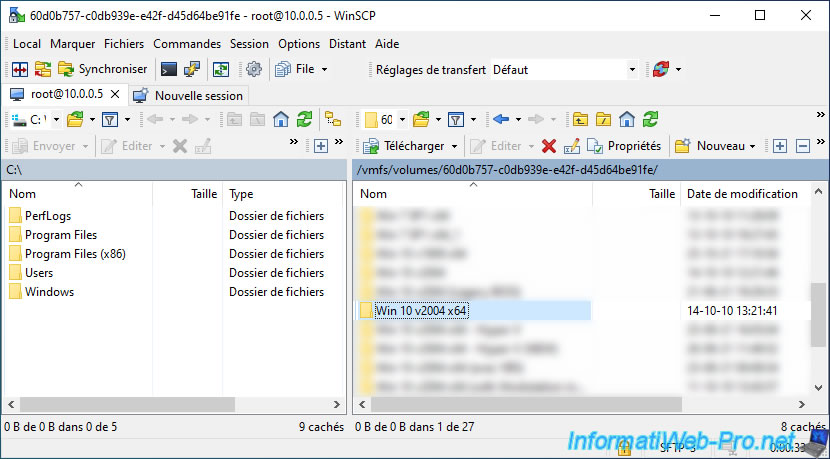
As you can see, WinSCP is entered in the folder named with the identifier of the concerned datastore.
In this folder, we can see the folder of our source virtual machine : Win 10 v2004 x64.
Get into this folder.
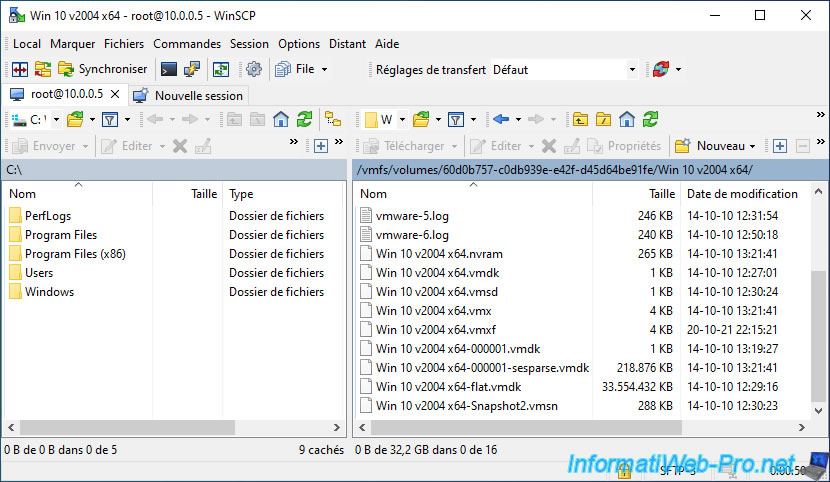
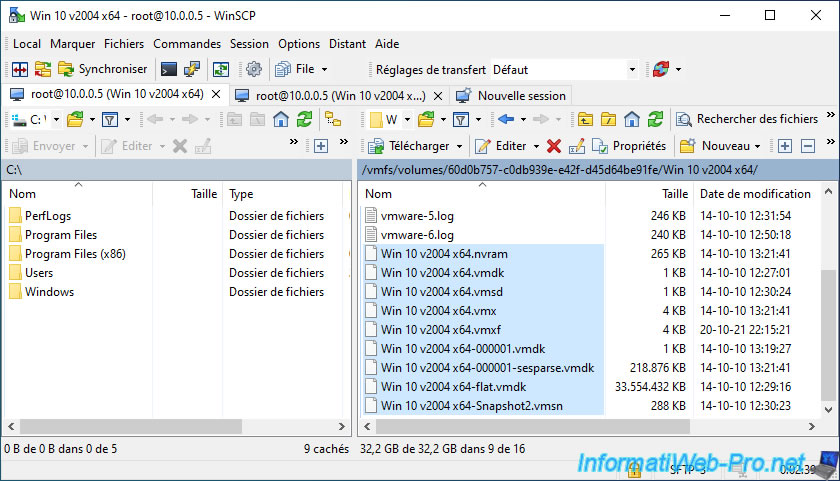
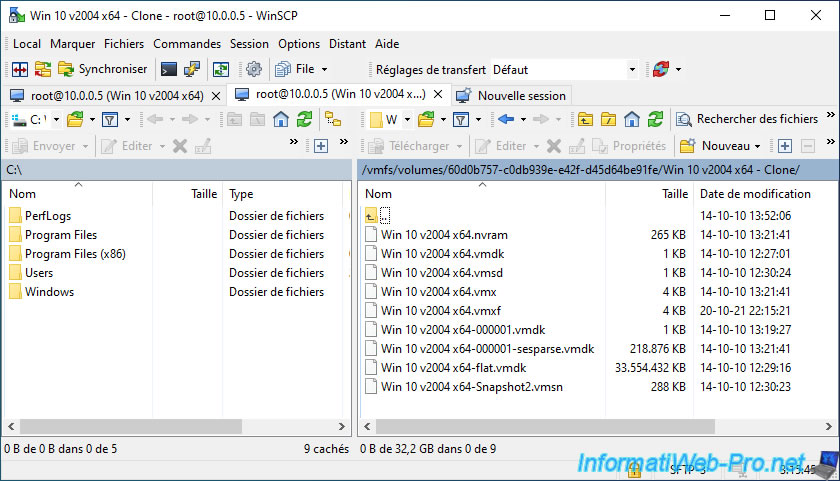
In the folder of this source virtual machine, you will find different types of files :
- .nvram : the current BIOS / EFI firmware configuration of your virtual machine.
- .vmdk : the base virtual hard disk, as well as additional files created when creating snapshots on your virtual machine.
- .vmsd : a file containing data relating to the various snapshots that you have created on your virtual machine.
If there are no snapshots in your case, it's possible that this file still exists, but is empty. - .vmsn : additional files created for each snapshot.
Note that the list of files displayed here is different from what you might see through the datastore browser available from the web interface of your VMware ESXi hypervisor.
This is because the datastore browser virtually merges some files under the same name.
To copy large files via WinSCP, you need to create a new session.
To do this, click on the "New session" tab and enter the same connection information as before.
An additional tab appears and the root of your VMware ESXi hypervisor appears.
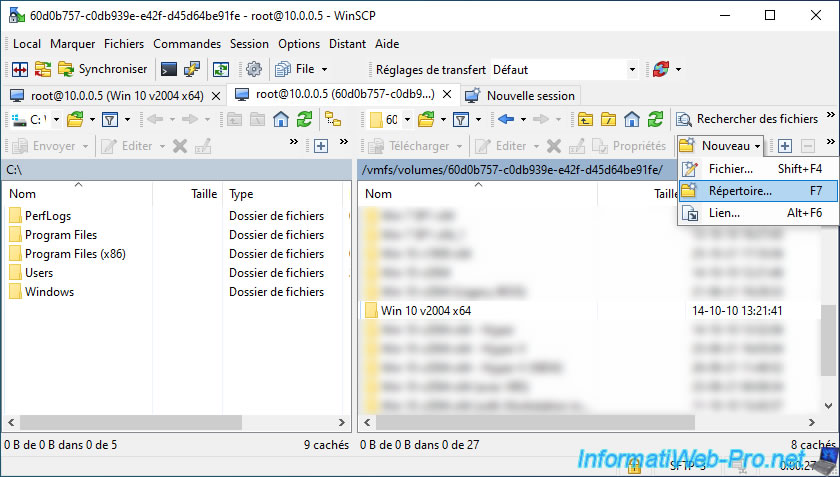
Go to the datastore folder where you want to store your new virtual machine.
In our case : /vmfs/volumes/RAID Vol.
Then, click on : New -> Directory.
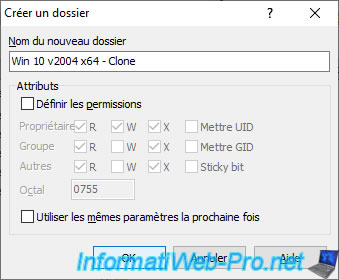
Enter the name of your future virtual machine and click OK.
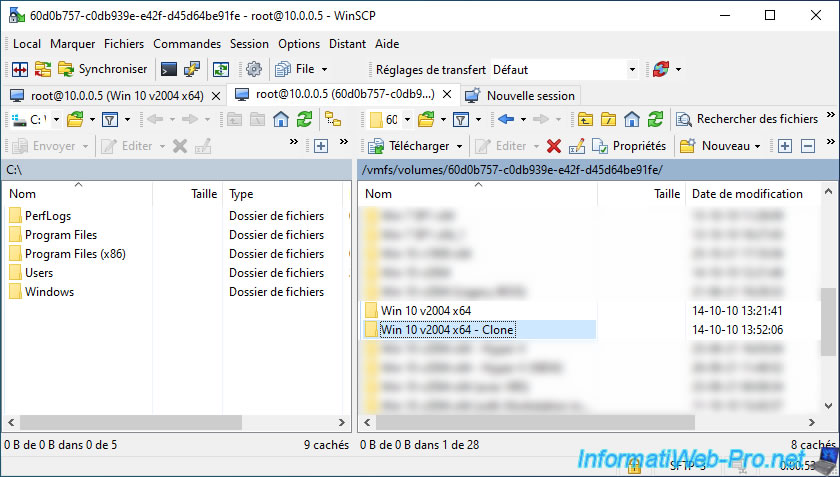
The new directory (folder) appears in the list.
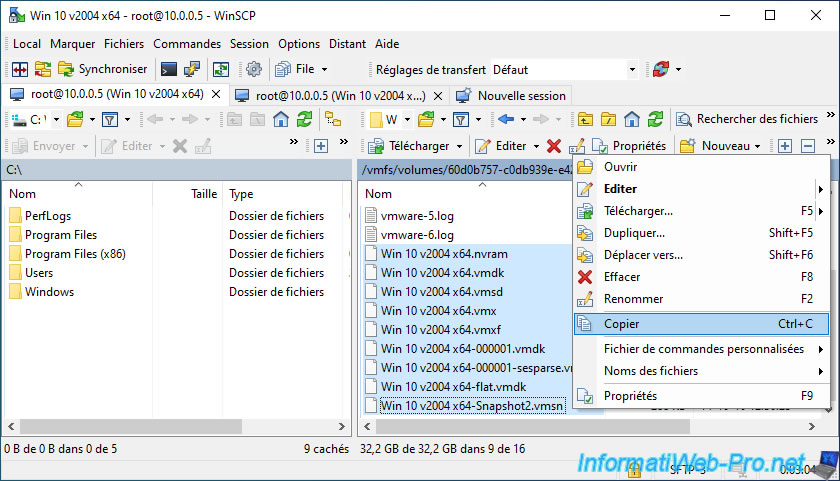
In the 1st tab, select the files of the source virtual machine (except the ".log" files which are simple logs).
Then, right click "Copy" on them.
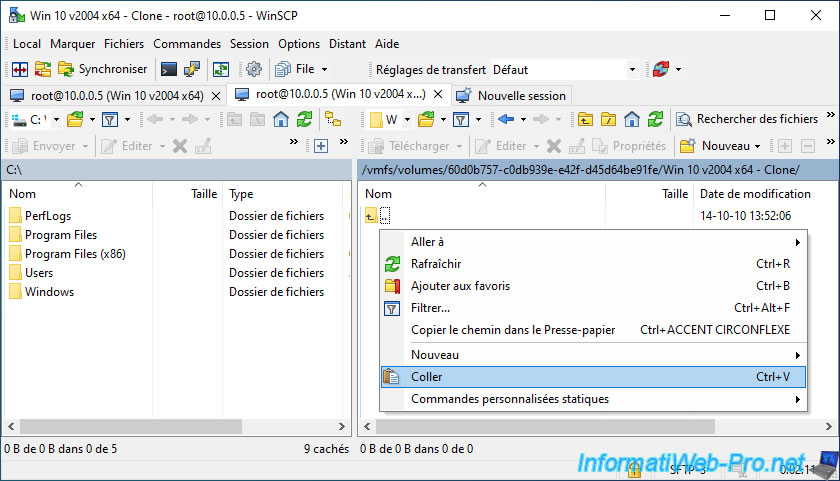
Then, go to the 2nd tab and go inside the empty folder you just created for your future virtual machine.
Then, right click "Paste" in the empty space of this folder.
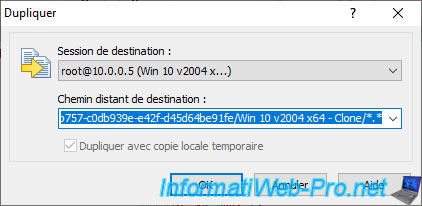
By default, the selected destination session corresponds to that of the 2nd tab.
Leave the values specified by default and click only on OK.
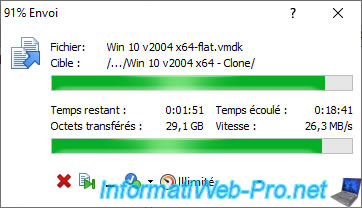
A download window will appear.
This is because WinSCP will first download the files of your source virtual machine to a temporary folder on your computer.
Important : make sure you have enough free space on your "C" partition to prevent the transfer from failing.

Once all the files are uploaded, they will be sent to your server at the desired location.
Note that the use of 2 sessions is necessary when the files are large. Otherwise, an error would have occurred after 30 seconds.
All of the files of your source virtual machine have been copied to the destination folder.
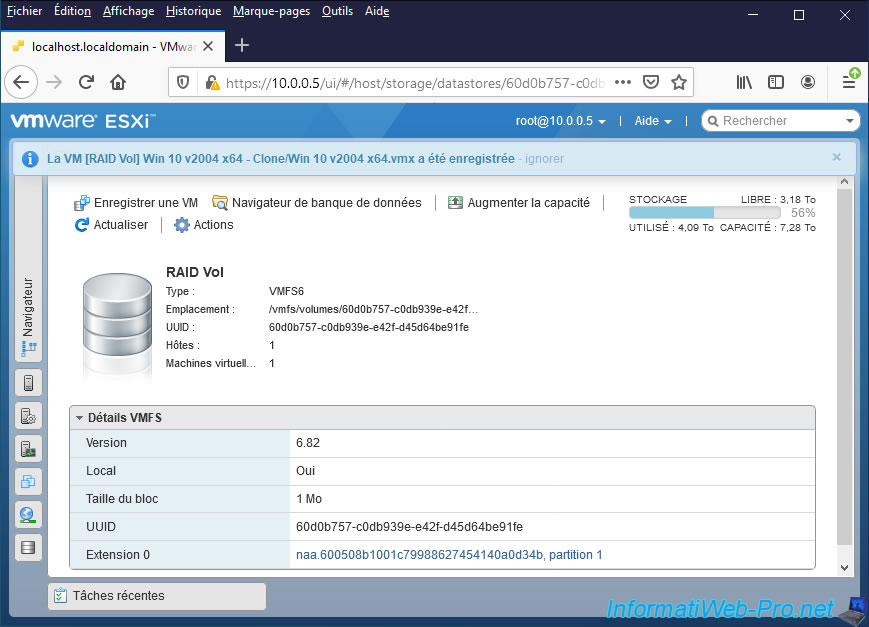
3.3. Register the virtual machine from the datastore browser
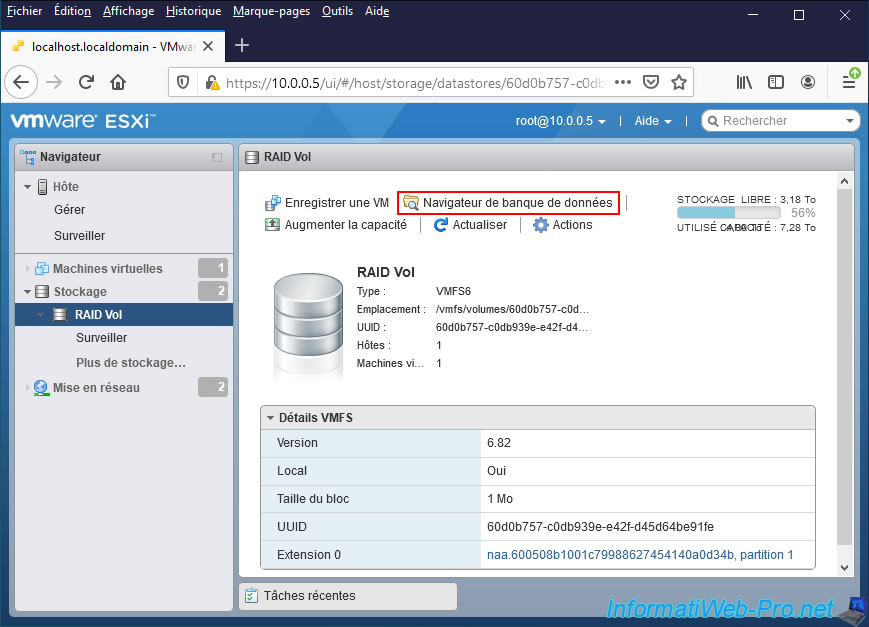
To register your new virtual machine (add this one in the web interface of your VMware ESXi hypervisor), go to the "Storage" menu, then click on the name of your datastore.
Then, click on : Datastore browser.
Go into the folder of your new virtual machine and right click "Register VM" on its configuration file.
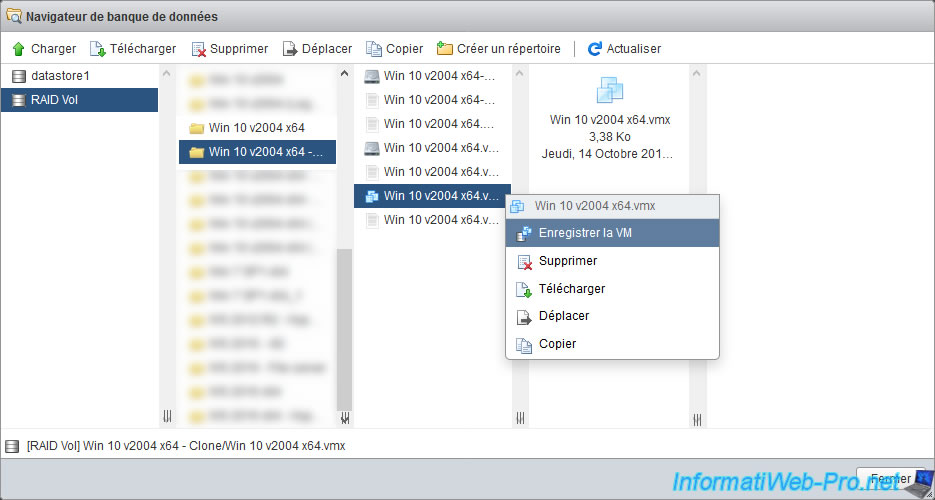
The "VM [datastore name] [new folder name]/[source virtual machine name].vmx successfully registered" message appears.
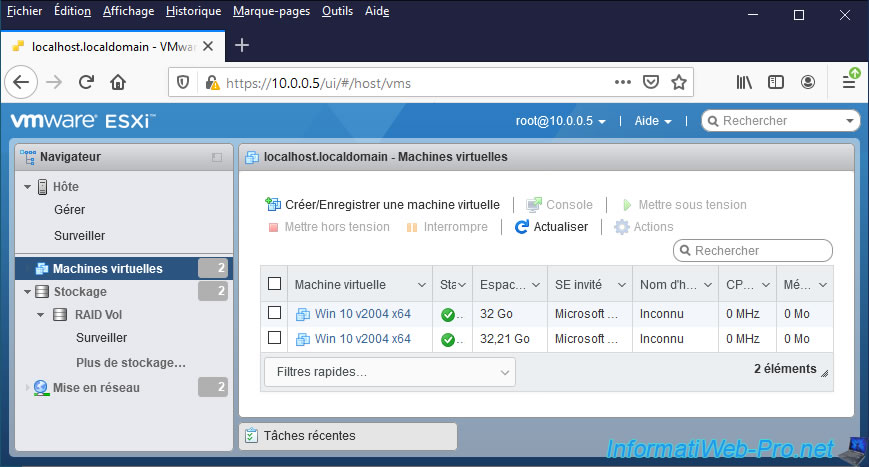
Your new virtual machine will appear under the same name as the source virtual machine in the "Virtual Machines" section.
To find your new virtual machine, hover over the link for those virtual machines and look at the number present at the end of its URL.
The larger number corresponds to the new virtual machine.
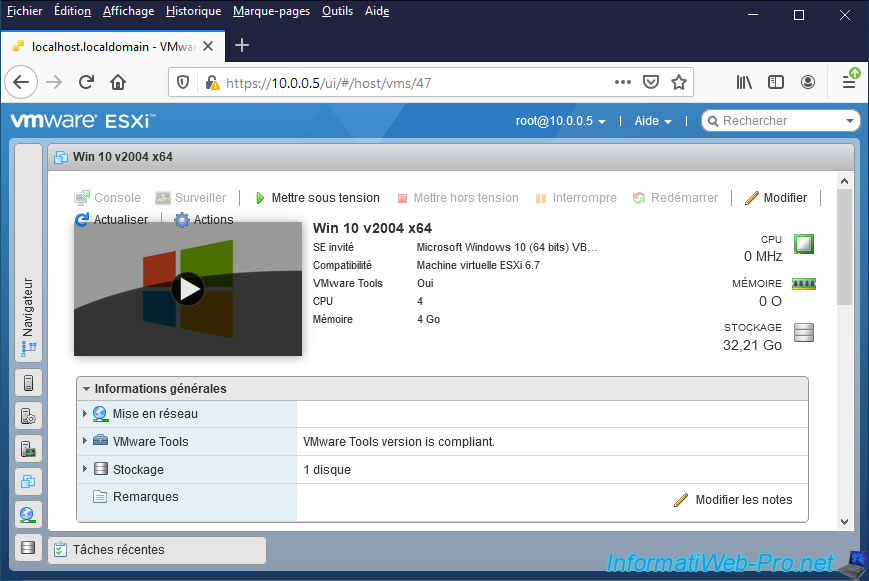
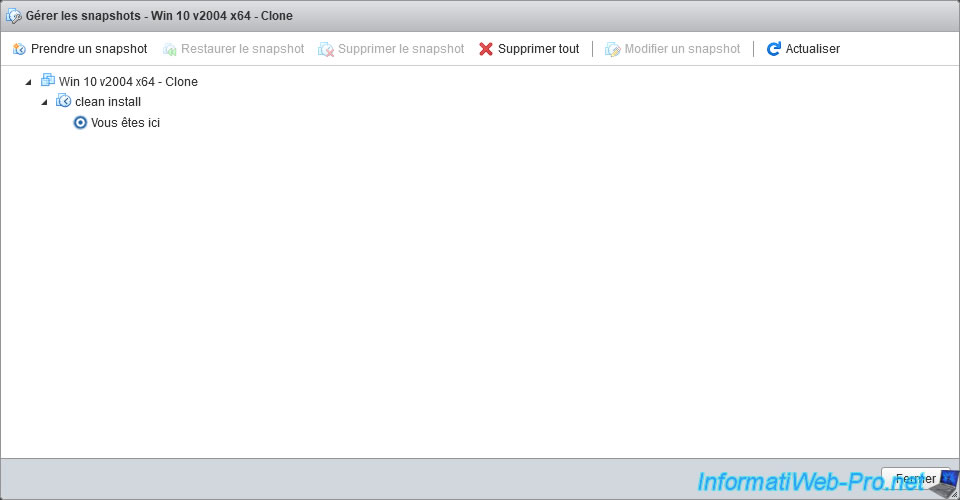
Our new virtual machine appears.
To verify that this is the new virtual machine, deploy the "Hard disk 1" node and look at its location.
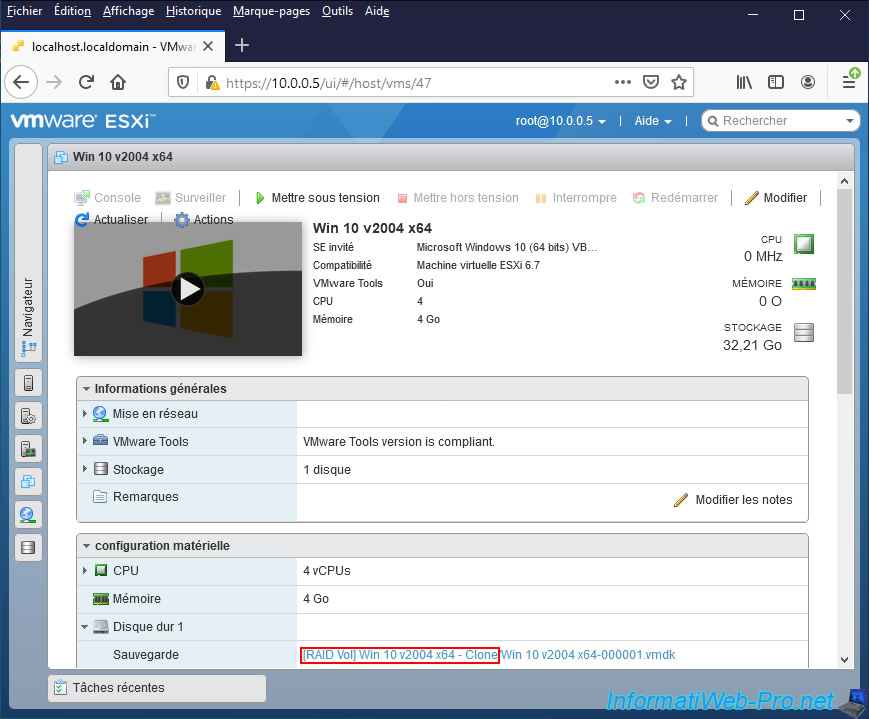
Note that the snapshots will have been kept (if any).
3.4. Rename and start the new virtual machine
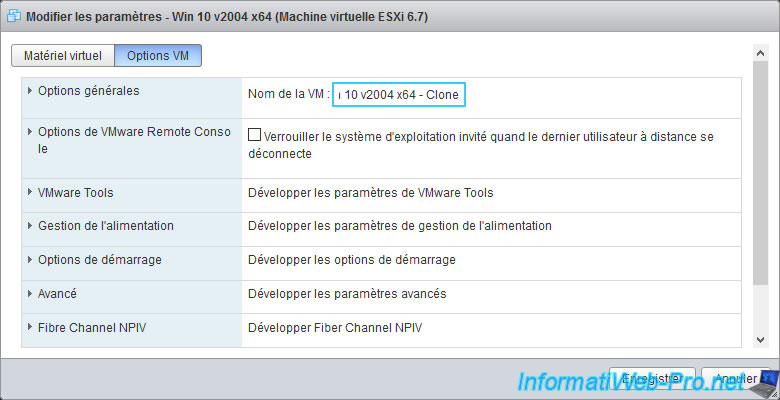
To rename your new virtual machine via the web interface of your VMware ESXi hypervisor, click on "Edit", then on "VM Options".
Then, change its name in the "VM Name" box.
Then, click on Save.
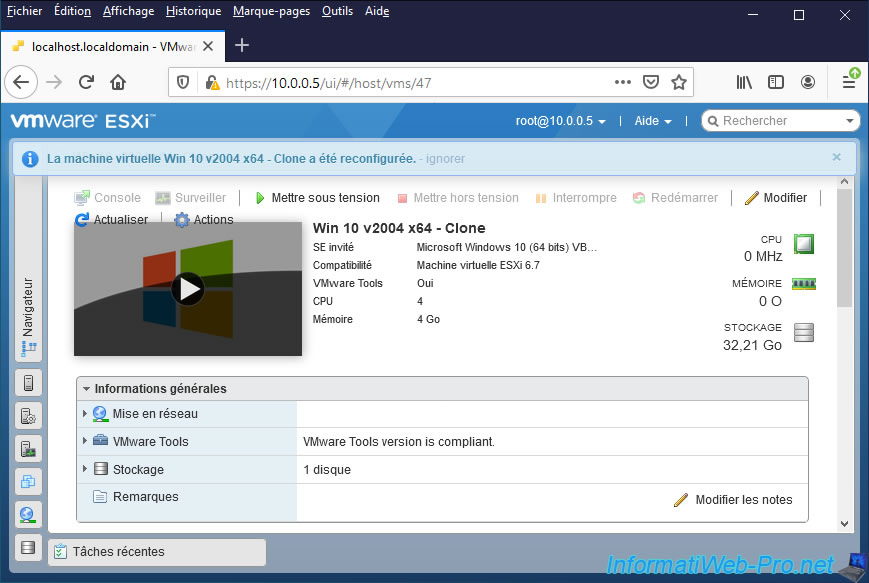
The "Virtual machine [name of the new virtual machine] was successfully reconfigured" message will appear.
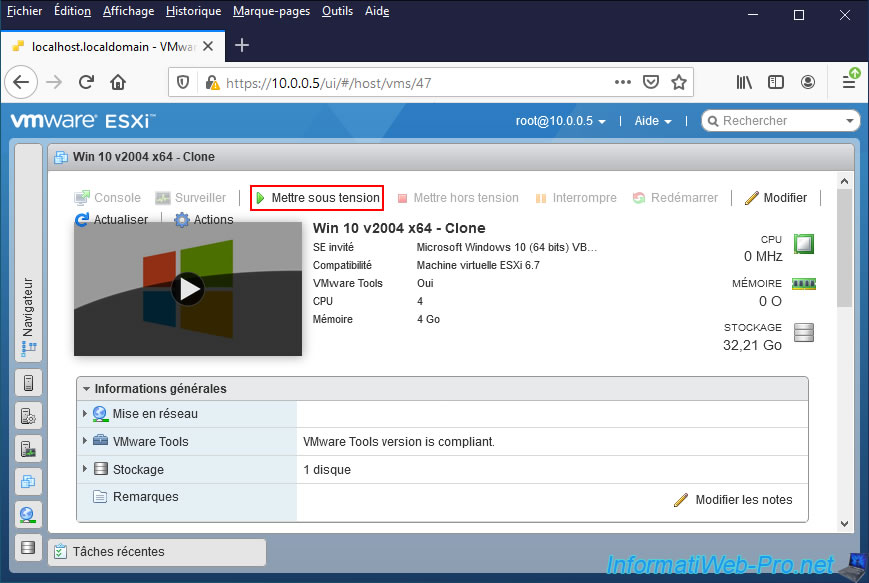
Start your new virtual machine at least once.
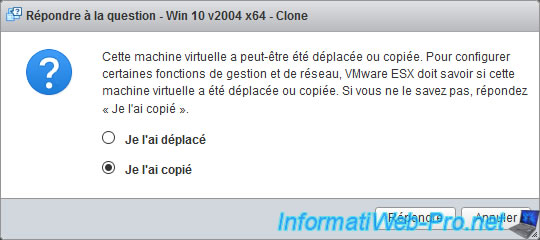
VMware ESXi will detect that this virtual machine has been moved or copied and will ask you to answer this question :
Plain Text
This virtual machine might have been moved or copied. In order to configure certain management and networking features, VMware ESXi needs to know of this virtual machine was moved or copied. If you don't know, answer "I Copied It".
Answer "I Copied It" to this question so that the MAC address of its network adapter is changed automatically to avoid a future conflict with the network adapter of the source virtual machine.
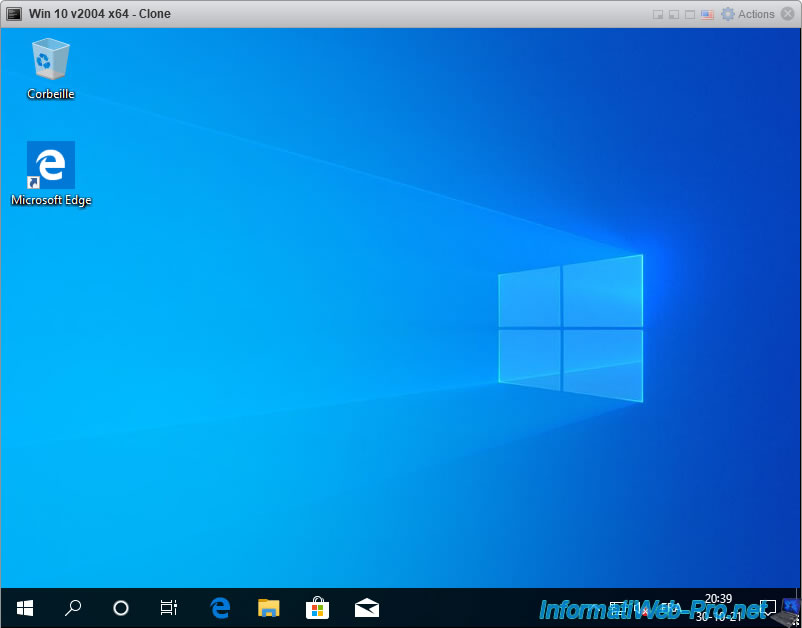
Your new virtual machine starts up.

The virtual machine started without problem.
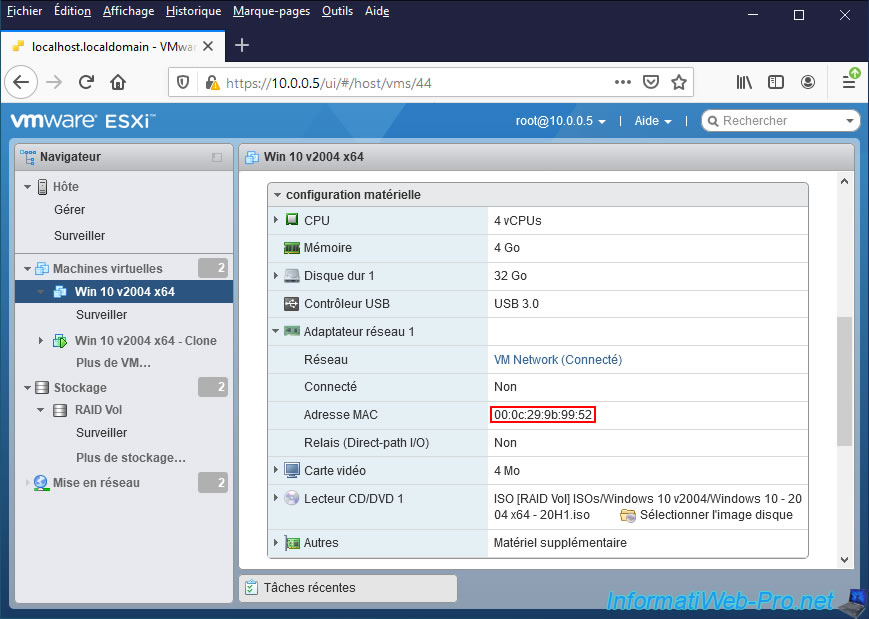
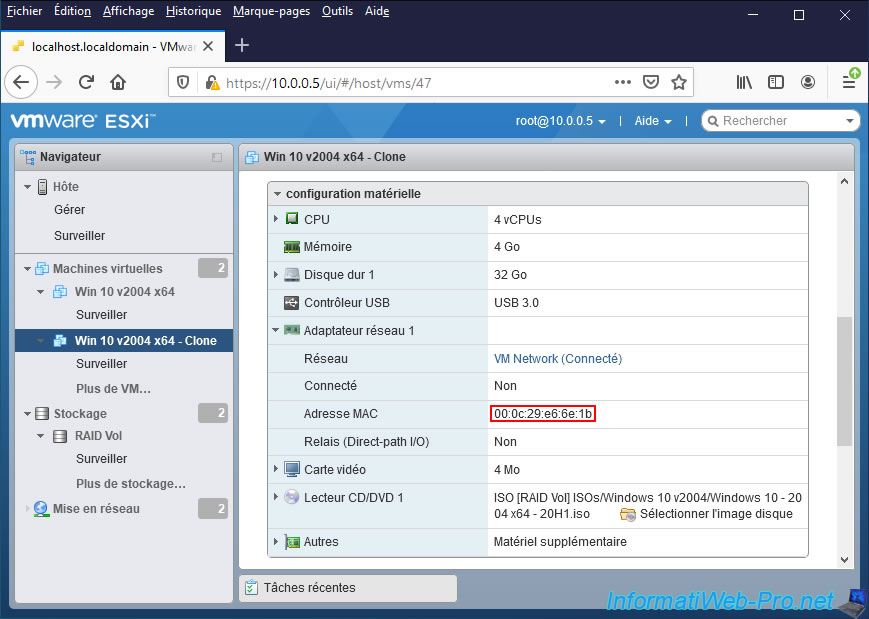
If you look at the MAC address of your source virtual machine and that of your new virtual machine, you will see that it has been automatically changed by VMware ESXi.
Hence the importance of having answered "I Copied It" to the question asked by VMware ESXi at the 1st launch of your new virtual machine.
Share this tutorial
To see also
-

VMware 5/25/2022
VMware ESXi 6.0 - Install the VMware Host Client web client
-

VMware 5/27/2022
VMware ESXi 6.5 - Add a network driver in the installation ISO
-

VMware 1/27/2023
VMware ESXi 6.7 - Enable virtualization-based security (VBS)
-

VMware 12/2/2022
VMware ESXi 6.7 - Install and use the VMRC console on Linux
No comment