Clone virtual machines on VMware ESXi 7.0 and 6.7 without VMware vCenter Server
- VMware
- 07 June 2024 at 12:54 UTC
-

- 3/4

4. Clone a virtual machine via export / import in OVF format
Another way to easily clone a virtual machine on VMware ESXi is to export and then re-import the virtual machine from your server's web interface.
4.1. Export the virtual machine in OVF format
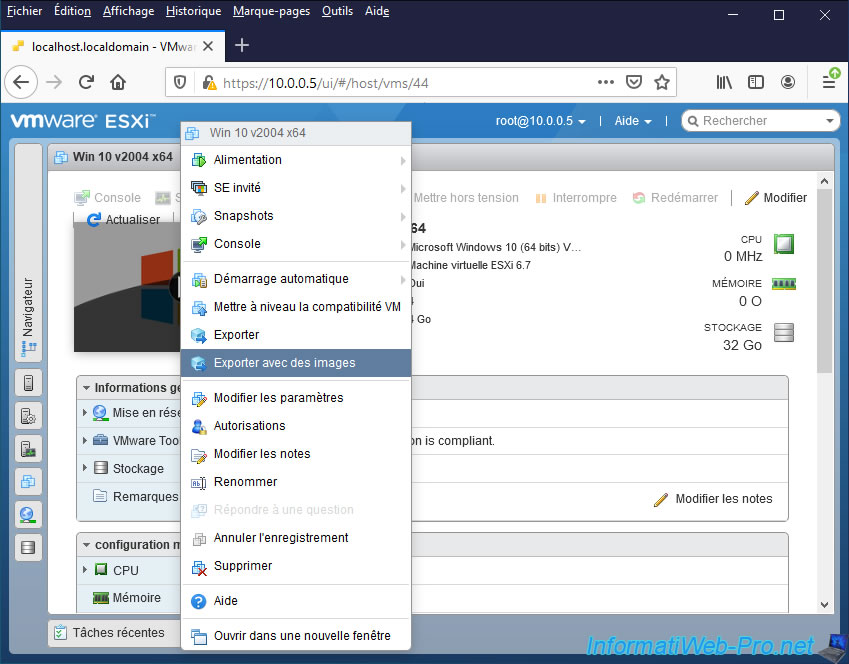
To export your virtual machine in OVF format, select your virtual machine, then click : Actions.
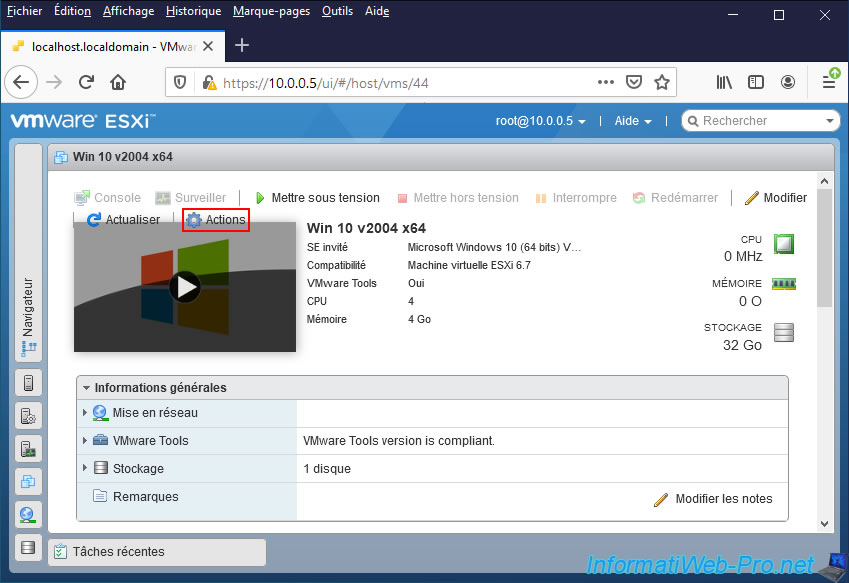
Then, click on "Export" or on "Export With Images" (if you also want to export the associated ".iso" file).
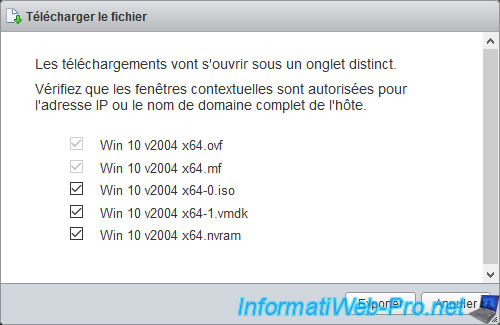
Select the files to export.
The only optional file being the ".iso" file (if applicable).
Wait while the various files of your virtual machine are downloaded.
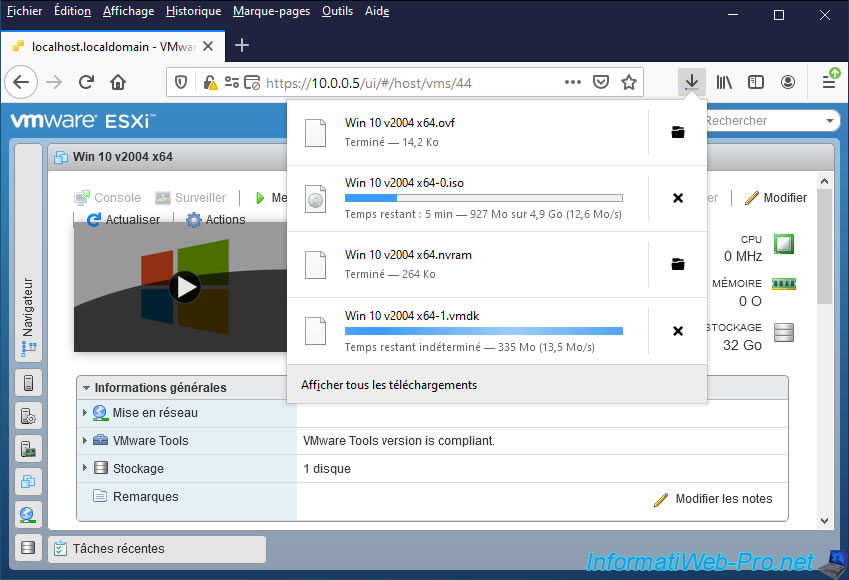
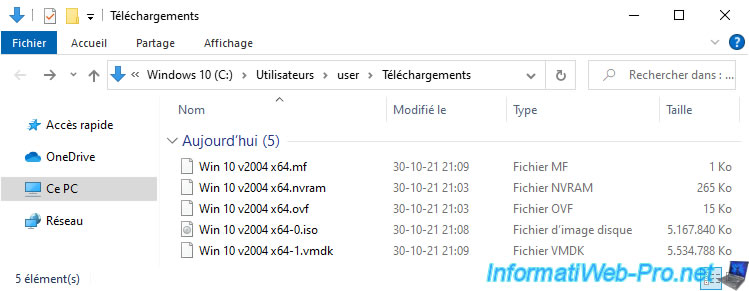
Once the downloads are complete, you will have this.
4.2. Deploy the new virtual machine from the OVF format
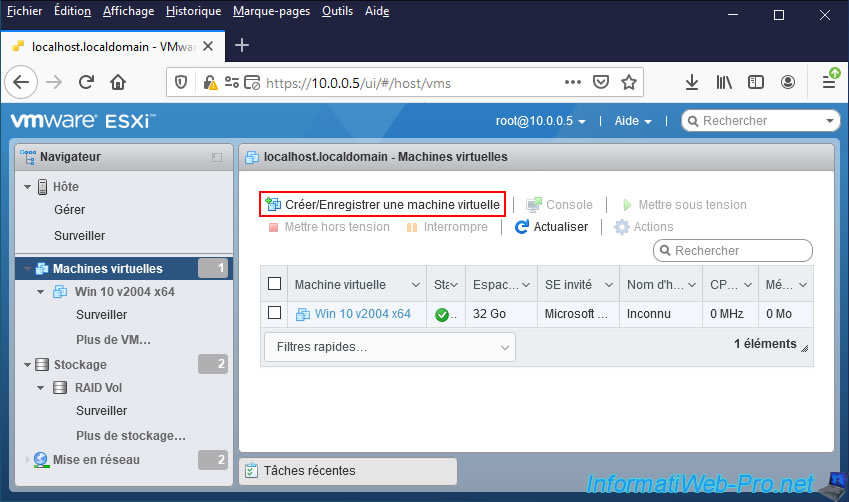
To deploy a new virtual machine from the files you have just downloaded, go to the "Virtual Machines" section and click on : Create / Register VM.
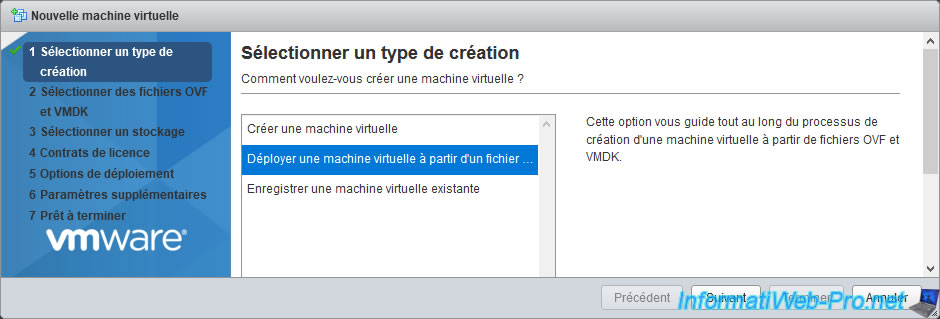
Then, select "Deploy a virtual machine from an OVF or OVA file" and click Next.
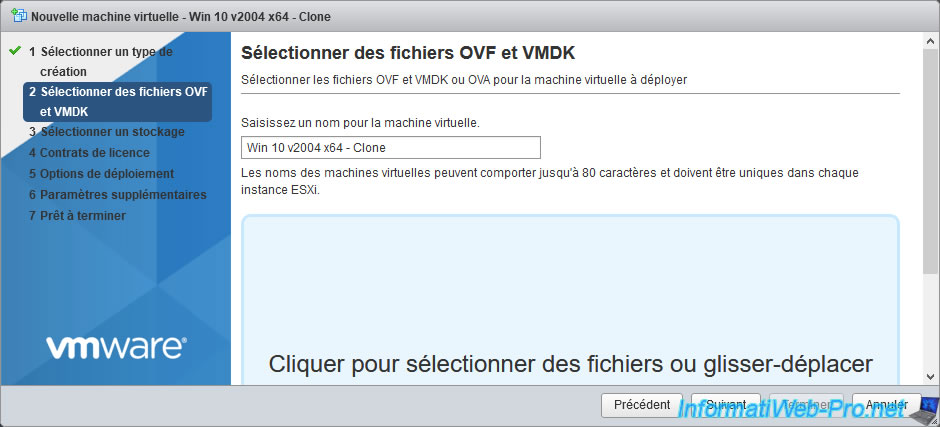
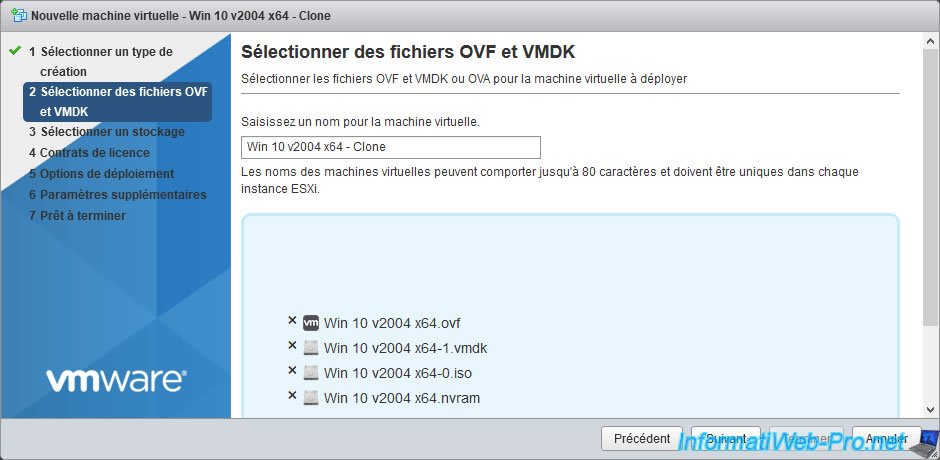
Enter the name of your new virtual machine, then click on the large blue rectangle just below.
Select the files of your source virtual machine downloaded previously and click Open.
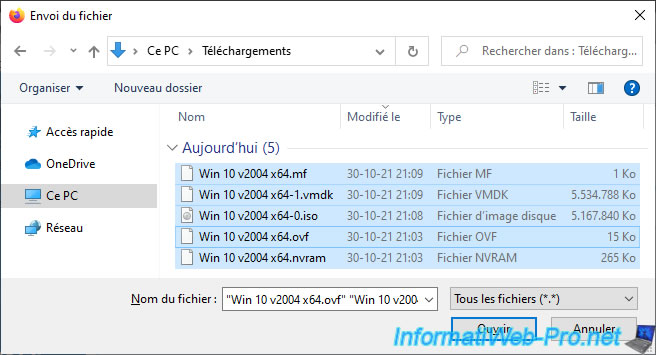
Then, click on Next.
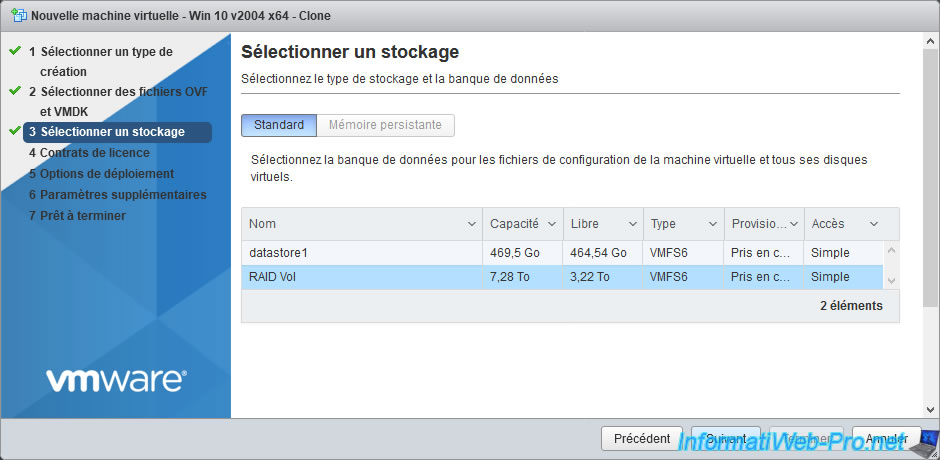
Select the destination datastore.
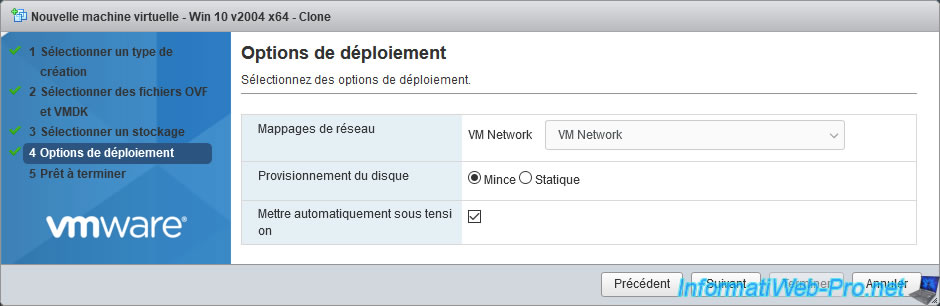
Select the virtual network to use. Preferably the same.
For disk provisioning, you have the choice between :
- Thin : dynamic provisioning = NOT pre-allocated space.
- Thick : static provisioning = pre-allocated space.
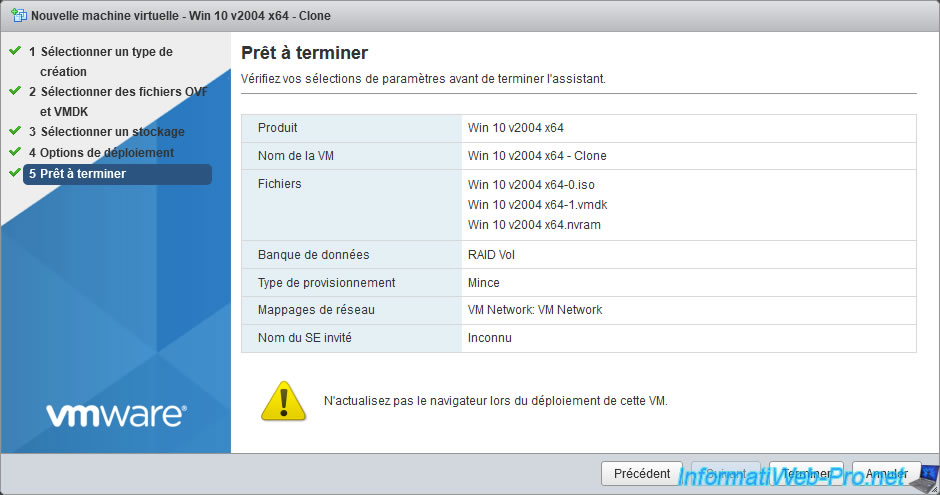
A summary is displayed.
Click on Finish.
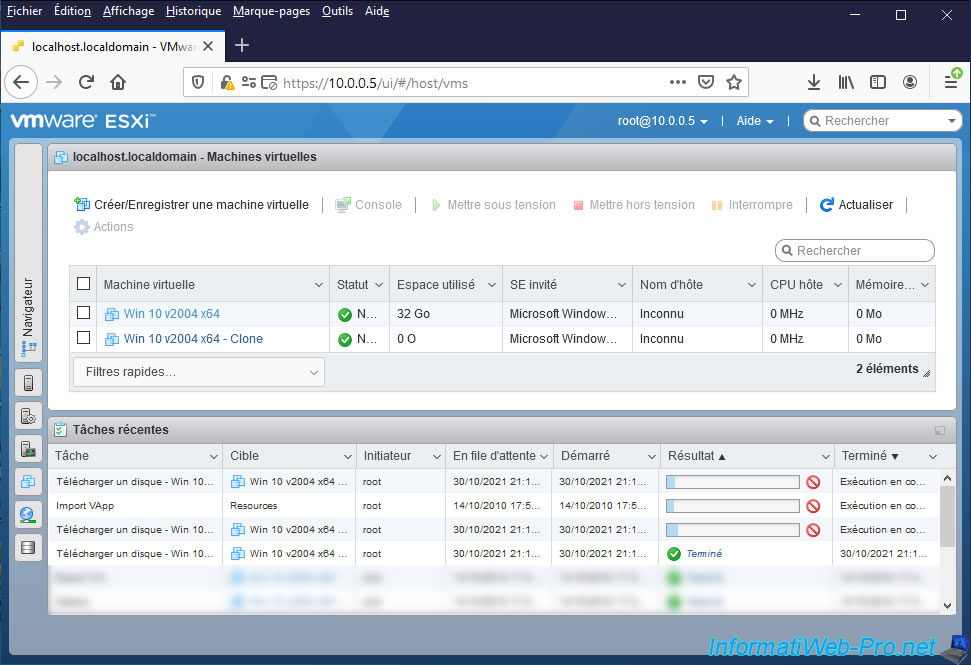
In recent tasks, you will be able to see the progress of importing your new virtual machine.
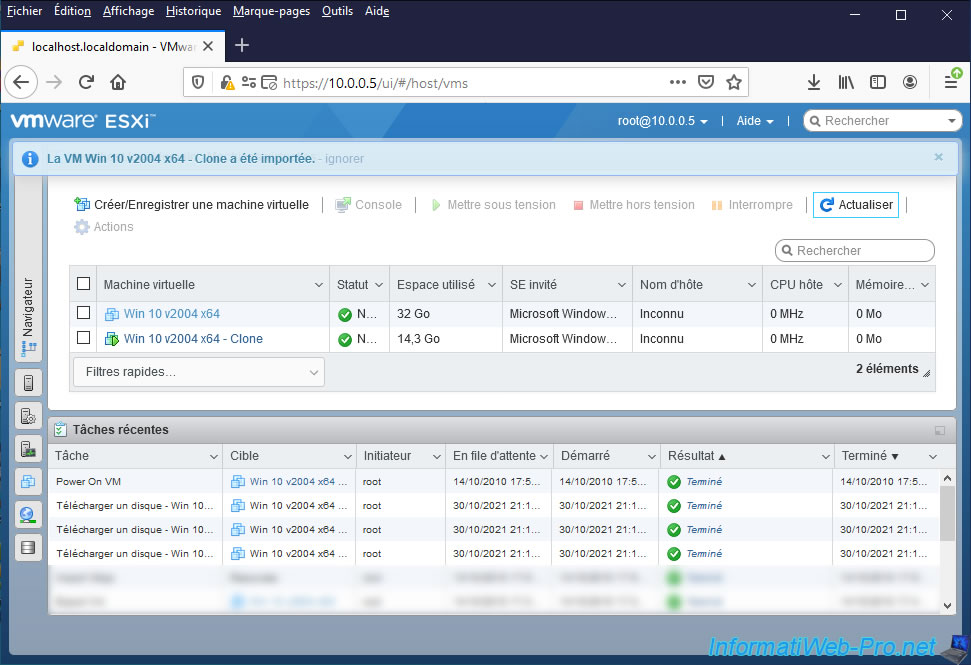
When the virtual machine import is complete, the "VM [name of the new virtual machine] successfully imported" message will appear.
4.3. Start the virtual machine
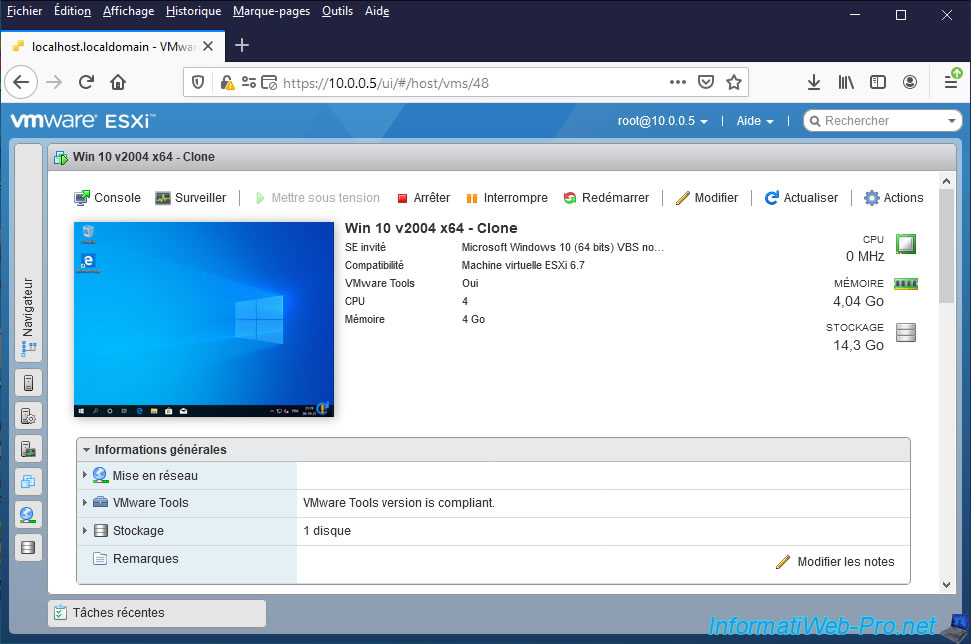
Start your new virtual machine.
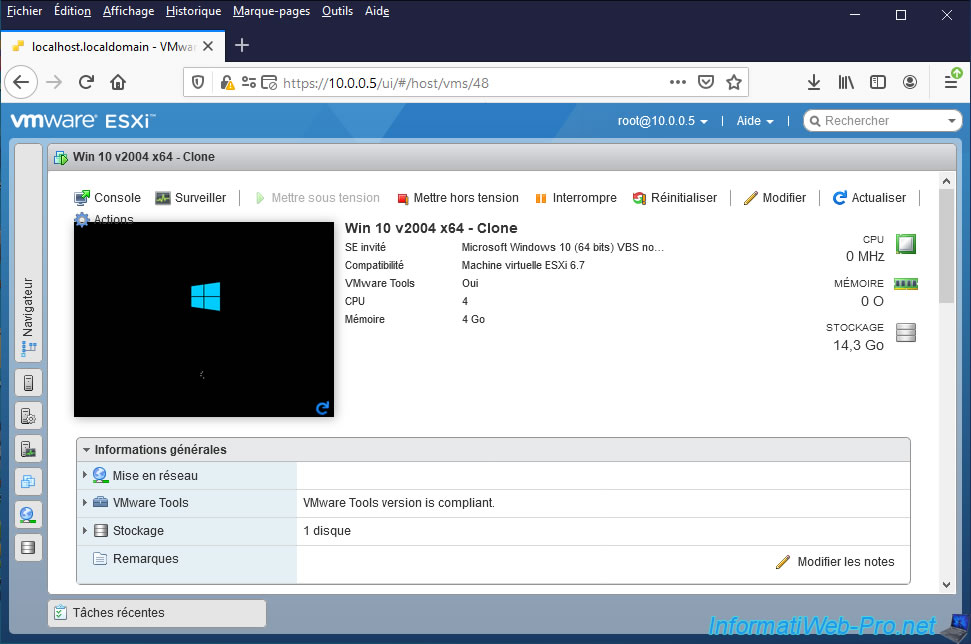
The new virtual machine has started.
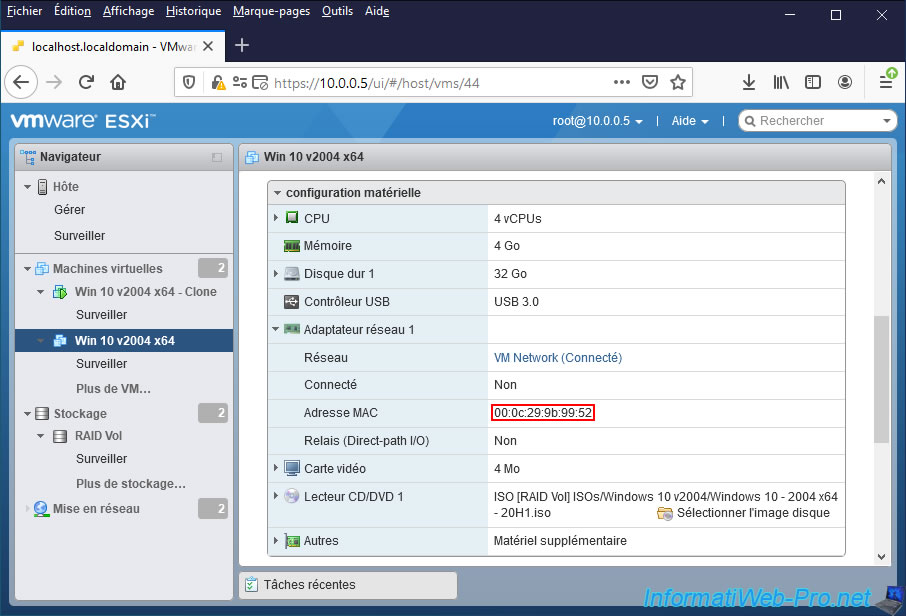
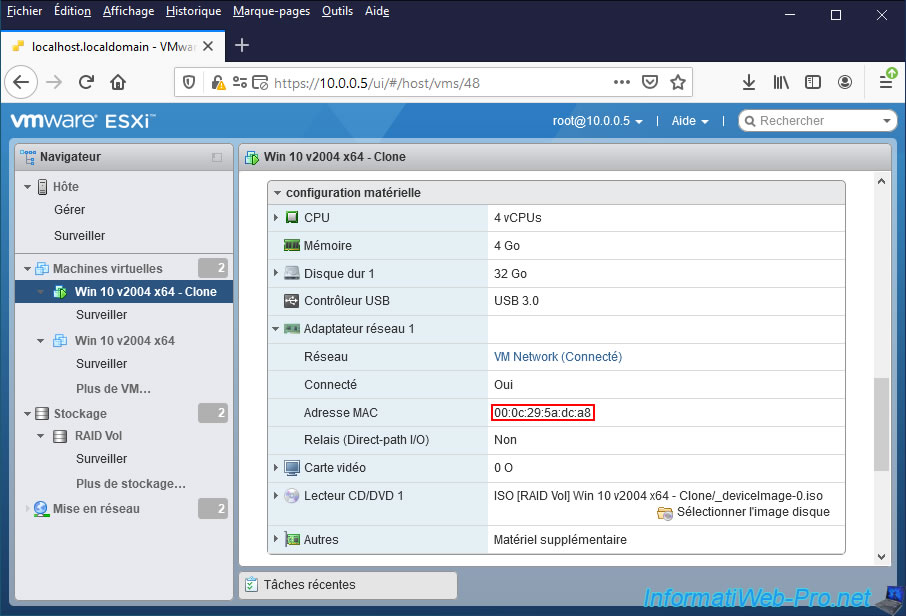
As you can see, the MAC address of the destination virtual machine will not be the same as that of the source virtual machine.
Share this tutorial
To see also
-

VMware 5/25/2022
VMware ESXi 6.0 - Install the VMware Host Client web client
-

VMware 5/27/2022
VMware ESXi 6.5 - Add a network driver in the installation ISO
-

VMware 1/27/2023
VMware ESXi 6.7 - Enable virtualization-based security (VBS)
-

VMware 12/2/2022
VMware ESXi 6.7 - Install and use the VMRC console on Linux
No comment