- VMware
- 16 September 2022 at 12:50 UTC
-

- 1/2

With snapshots, you can quickly save and restore the state of a virtual machine with just a few clicks.
Note that a snapshot is used to restore both the configuration of the virtual machine and the data present in the virtual hard disk of this virtual machine.
- Information about the use of snapshots
- Snapshots limitations
- Create a snapshot
- Create a snapshots hierarchy and manage snapshots
- Consolidate snapshots
- Can't extend a virtual hard disk after creating a snapshot
1. Information about the use of snapshots
Before using the snapshot system offered by VMware ESXi, here is some important information about them :
- don't use snapshots as backups.
Indeed, a snapshot will only contain data created and/or modified since the moment it was created. It's therefore not a copy (backup) of your virtual machine.
If the base virtual hard disk of your virtual machine is damaged, you will not be able to recover data from the snapshot files. - VMware recommends that you don't use more than 2-3 snapshots for performance reasons.
However, you can still create up to 32 nested snapshots if you want during testing, for example. - it's recommended that you don't use a single snapshot for more than 72 hours, as the size of the corresponding snapshot file will continue to increase. Which can impact performance.
- if you create backups of your virtual machines with third-party backup software, ensure that the snapshots are deleted after a backup is completed.
- and more
For more information on best practices for this snapshot system with VMware ESXi 6.0, 6.5, 6.7 and 7.0, see the "Best practices for using VMware snapshots in the vSphere environment (1025279)" page on the VMware site.
2. Snapshots limitations
You can't use snapshots with :
- physical disks used from a virtual machine
- iSCSI disks configured through an iSCSI initiator in the guest operating system
- PCI vSphere Direct Path I/O devices (= PCI passthrough)
- and more
Source : Snapshot Limitations - VMware Docs
3. Create a snapshot
3.1. Create a cold snapshot
The fastest way to create a snapshot is to create it when your virtual machine is stopped (= cold snapshot creation).
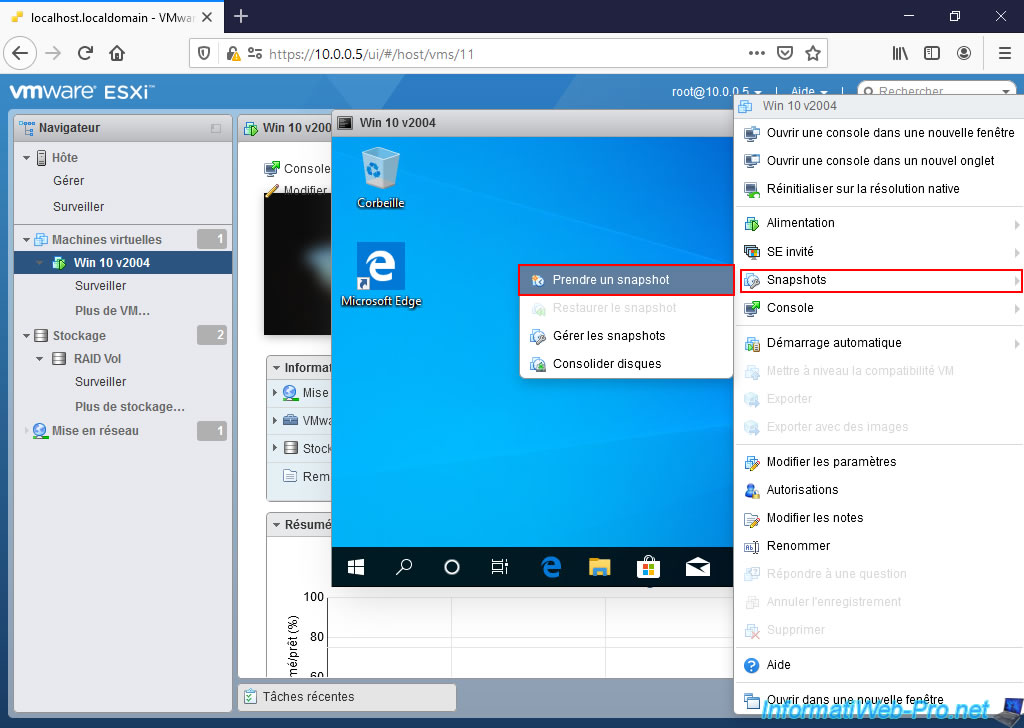
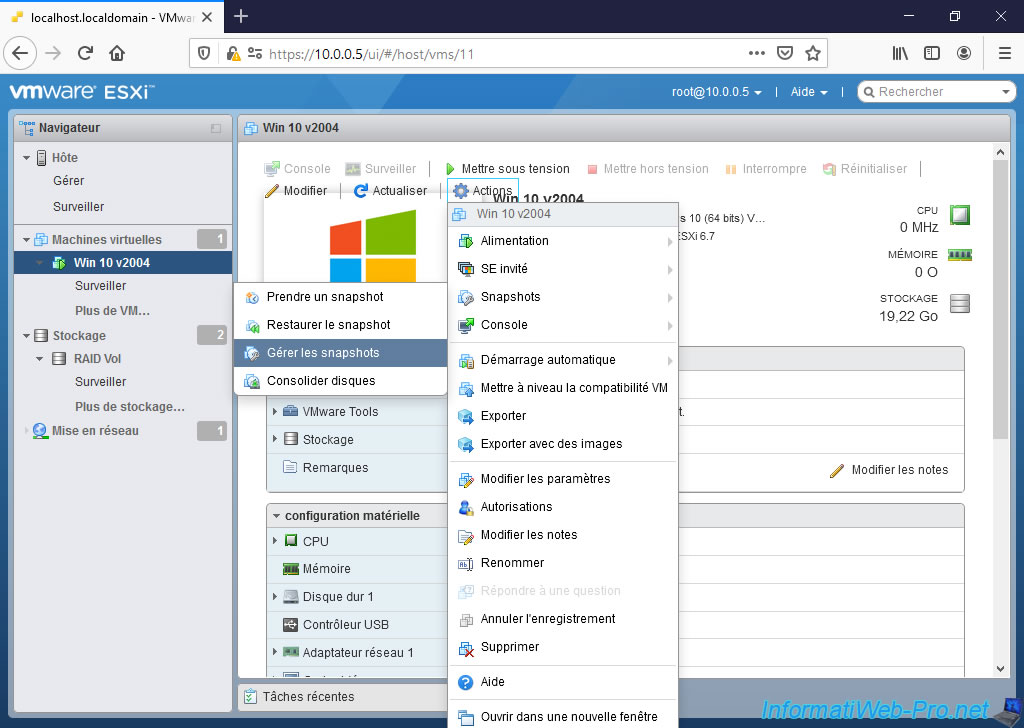
To do this, stop the virtual machine (if it's not already the case), then once the machine is completely stopped, click on "Actions".
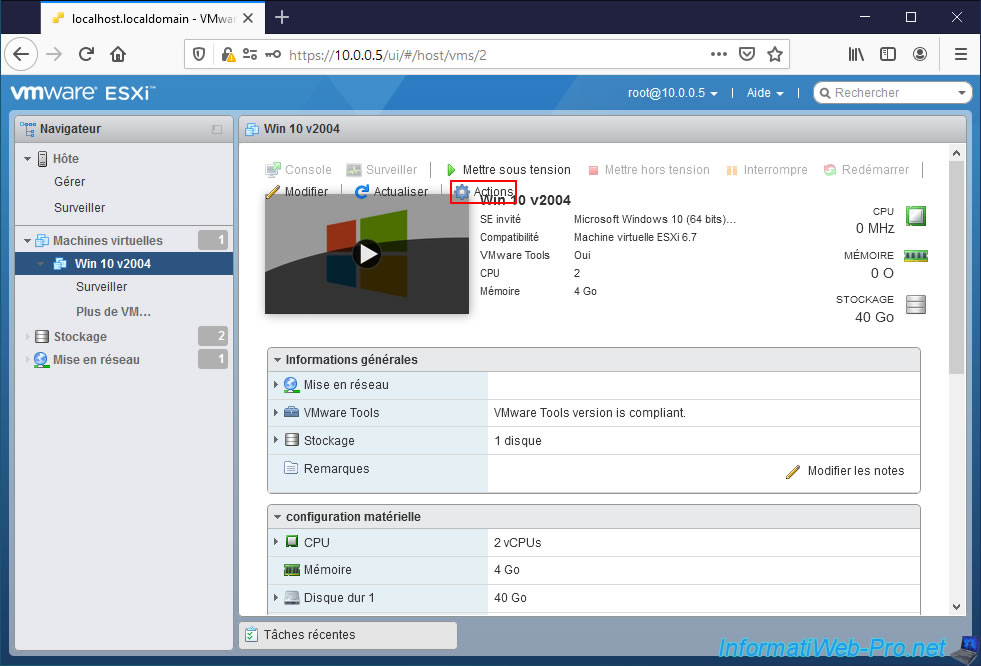
Then, click on : Snapshots -> Take snapshot.
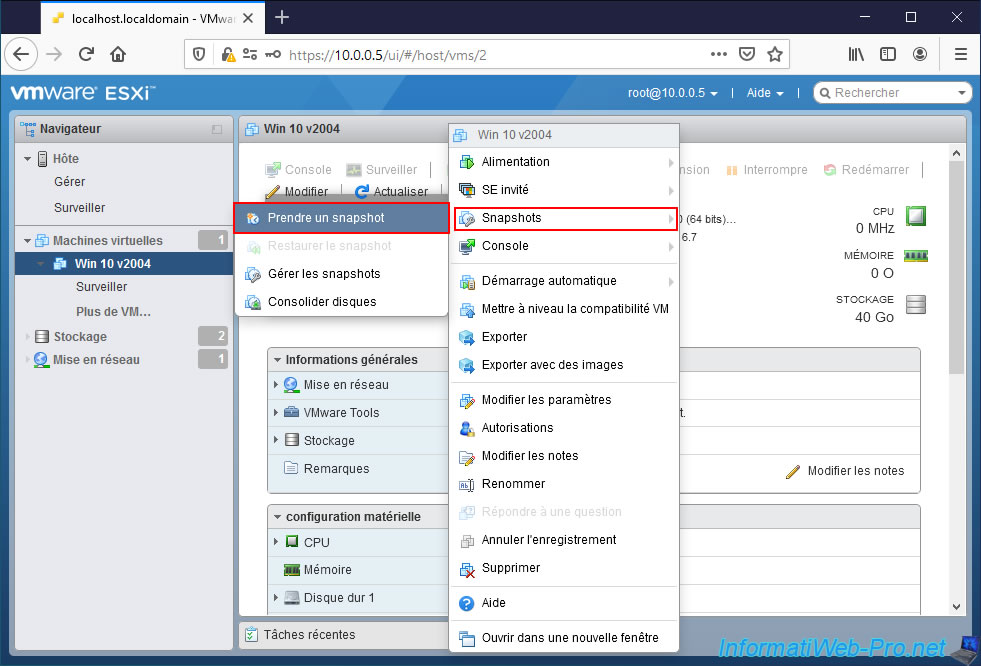
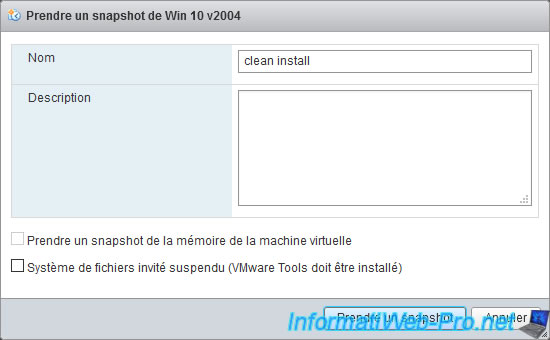
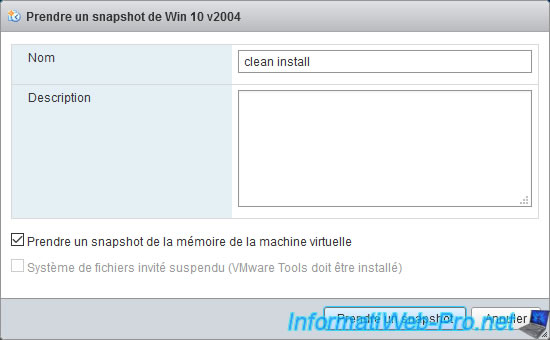
Enter a name for your snapshot and click on : Take snapshot.
The creation of the snapshot only takes a few seconds.
The 1st option concerns the backup of the virtual machine's RAM, but it's grayed out since our virtual machine is currently stopped.
For the "Suspended guest file system (VMware Tools must be installed)" option, this allows to very briefly suspend the running processes in the virtual machine so that the file system is in a consistent state and known. This is possible thanks to features like Volume Shadow Copy Service (VSS) on Windows, for example.
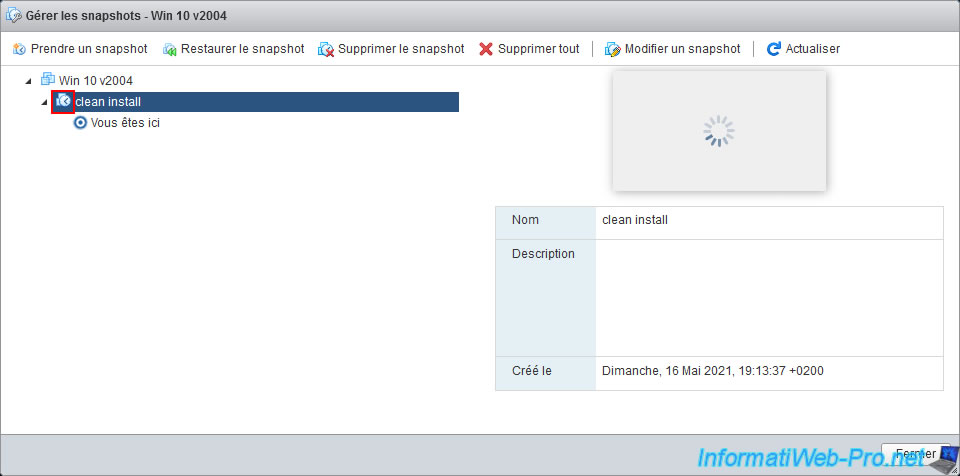
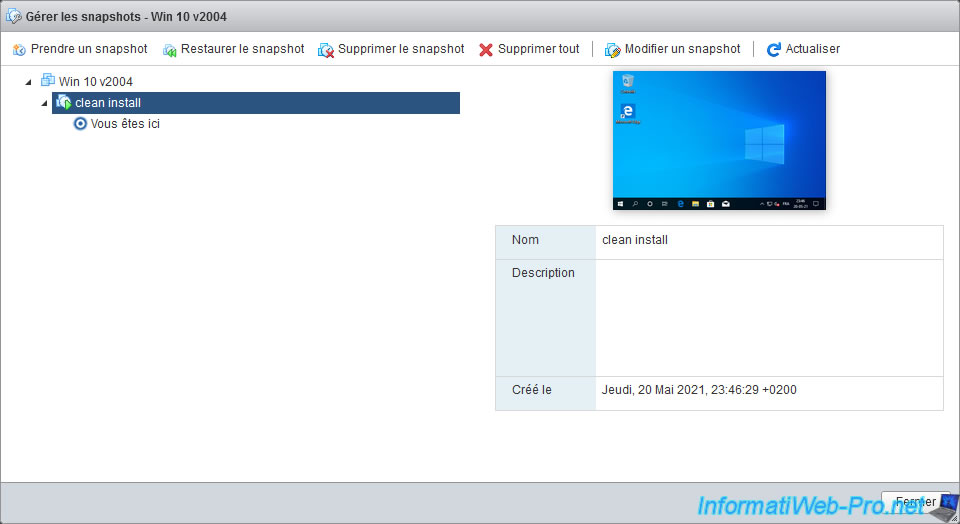
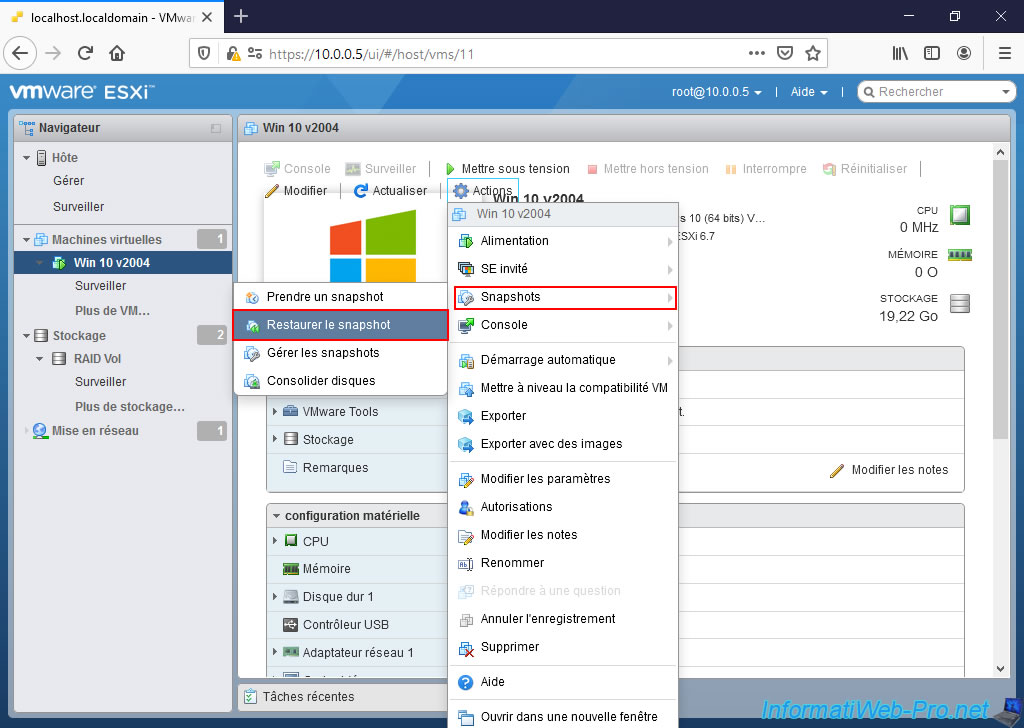
To see the snapshot created, go to : Actions -> Snapshots -> Manage snapshots.
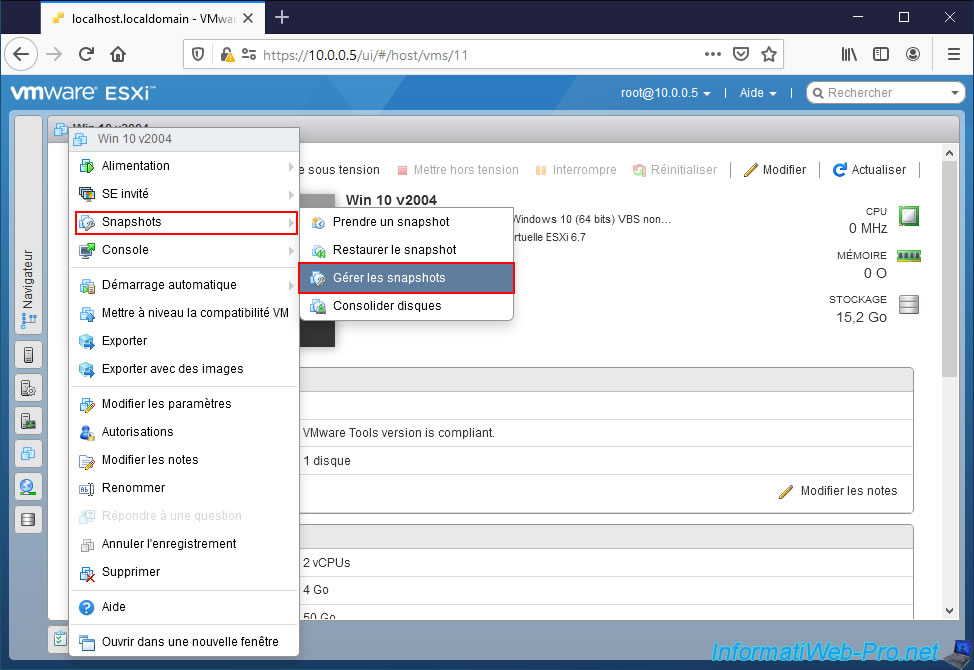
As you can see, the icon of the created snapshot is completely blue. Which means that this one was created when the virtual machine was stopped.
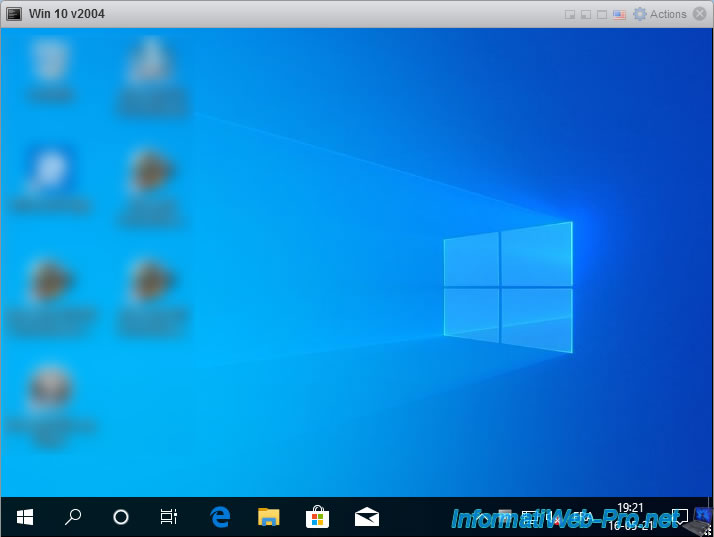
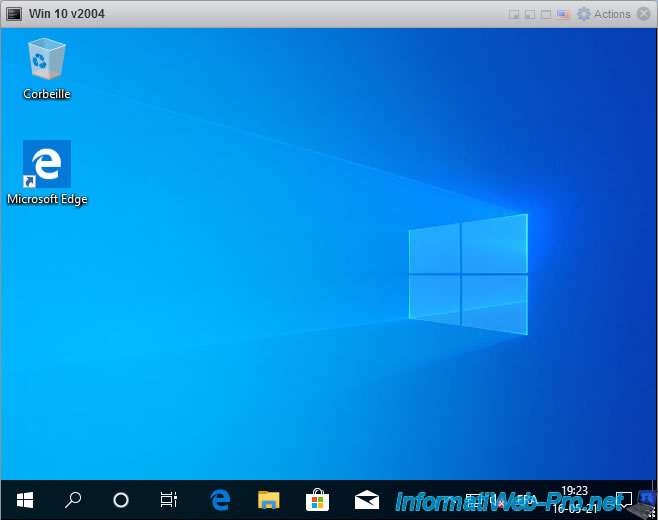
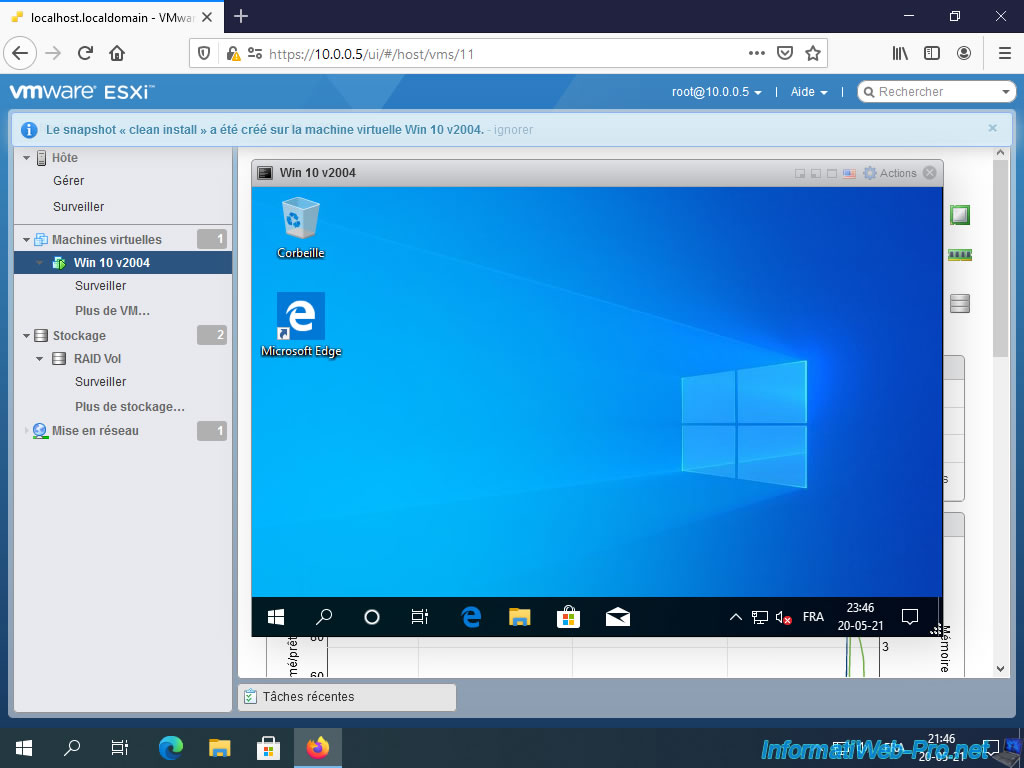
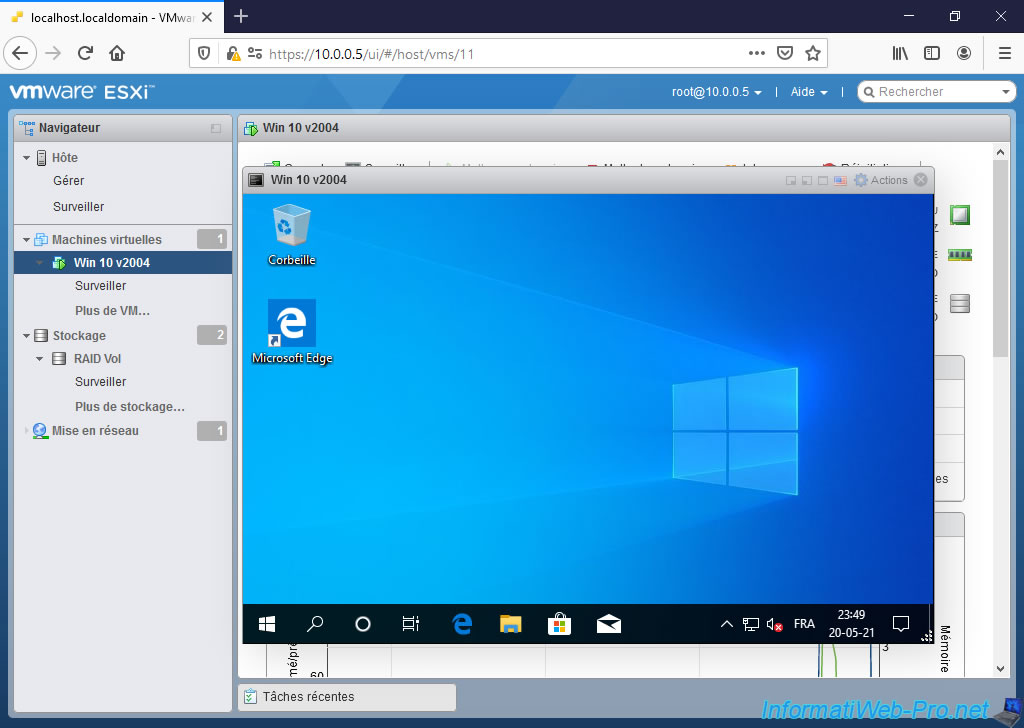
Start your virtual machine and do whatever you want in it.
For the tutorial, we have installed several software whose icons you can see on the desktop. (Their names don't matter.)
Then, to restore the previous state of your virtual machine thanks to the last snapshot created, go to the "Actions" menu and click on : Snapshot -> Restore snapshot.

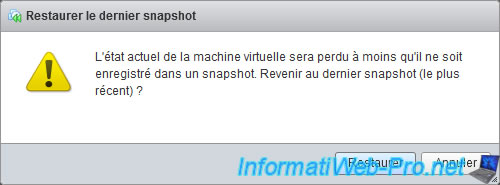
Confirm the restoration of the snapshot by clicking on : Restore.
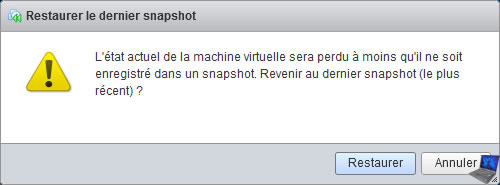
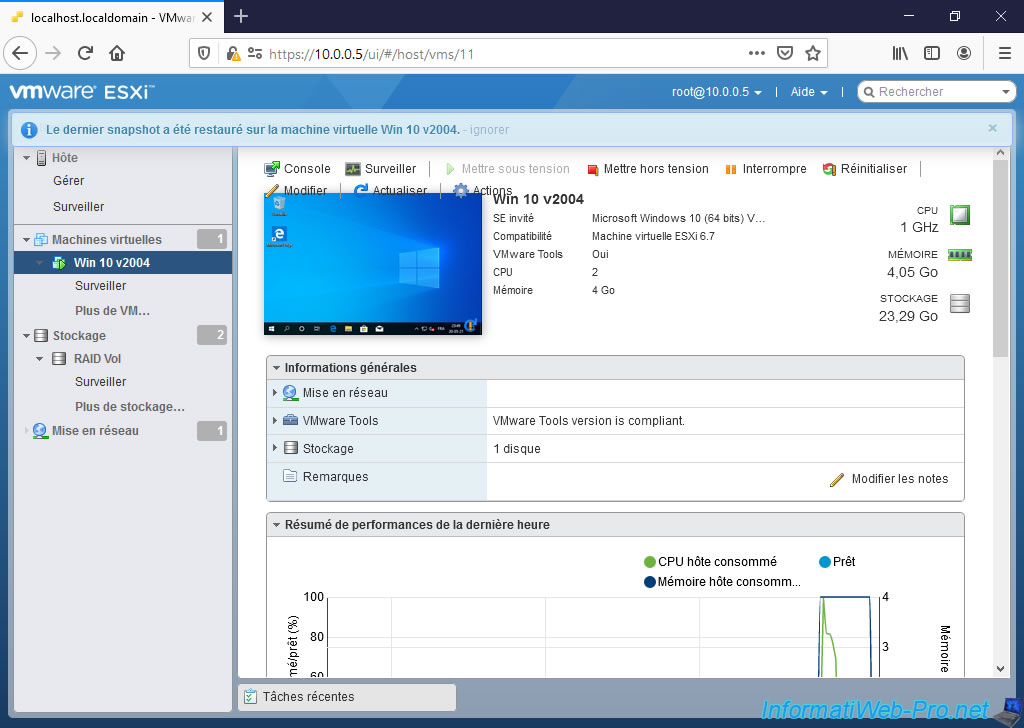
Your virtual machine was restored with the last snapshot in a few clicks and the "Virtual machine [Name of your virtual machine] successfully restored to latest snapshot" message appears.
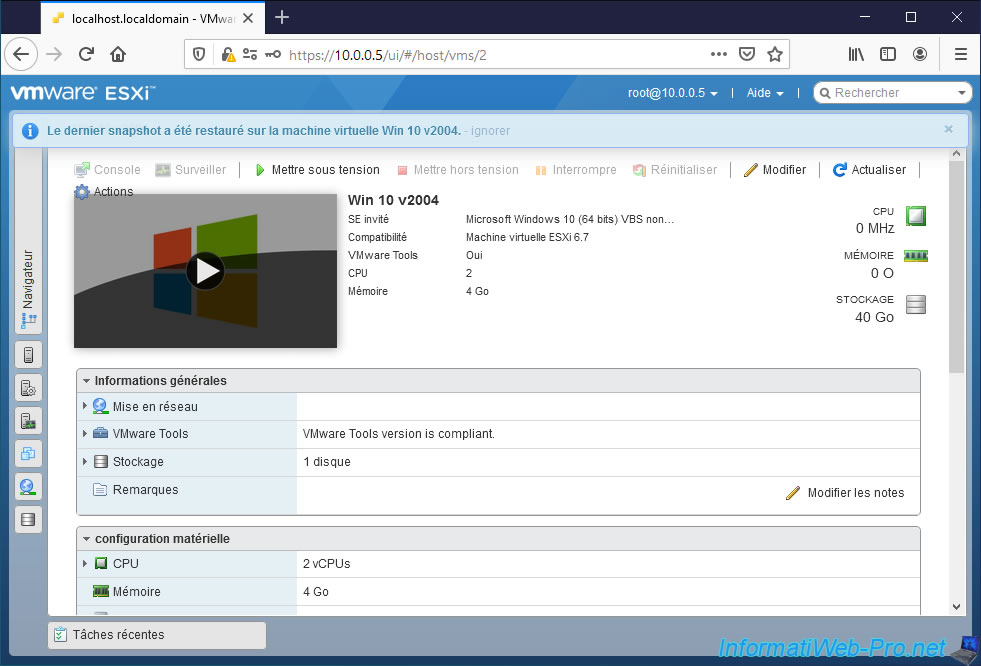
Start your virtual machine again and you will see that the changes that were made after the snapshot was created are gone.
3.2. Create a hot snapshot
Although it's possible to save the state of a virtual machine when it's stopped, it's also possible to do it when it's running.
To do this, when the virtual machine is running, click on : Actions -> Snapshots -> Take snapshot.
Specify a name for this snapshot and check the "Snapshot the virtual machine's memory" box to also save the state of the RAM of your virtual machine.
This will allow you to restore your virtual machine to a "powered on" state by backing up its current RAM.
Then, click on : Take snapshot.
Important : since the RAM will also be backed up, it may take longer to create the snapshot.
The more RAM you have allocated to this virtual machine, the more time it will take to create a snapshot.
The "Snapshot [Snapshot name] successfully created on virtual machine [Virtual machine name]" message appears.
Shut down the virtual machine.
To see the created snapshot, click on : Actions -> Snapshots -> Manage snapshots.
Since the snapshot was created when the virtual machine was started :
- you will have a preview of the virtual machine screen as it was when the snapshot was created.
- you will see a green triangle on the affected snapshot icon (on VMware ESXi 6.7) or a different icon from a cold snapshot (on VMware ESXi 7).
To restore the state of your virtual machine using this snapshot, select it and click : Restore snapshot.
Or click on : Actions -> Snapshots -> Restore snapshot.
Confirm the restoration of the snapshot by clicking Restore.
The previous state of your virtual machine has been restored and the "Virtual machine [Virtual machine name] successfully restored to latest snapshot" message will appear.
As you can see, since this was a hot-created snapshot, the affected VM was powered back on automatically and it was restored to the same state as when you created the snapshot.
If you display the console of this virtual machine, you will see that its state is the same as the snapshot created previously.
Share this tutorial
To see also
-

VMware 5/25/2022
VMware ESXi 6.0 - Install the VMware Host Client web client
-

VMware 5/27/2022
VMware ESXi 6.5 - Add a network driver in the installation ISO
-

VMware 1/27/2023
VMware ESXi 6.7 - Enable virtualization-based security (VBS)
-

VMware 12/2/2022
VMware ESXi 6.7 - Install and use the VMRC console on Linux
You must be logged in to post a comment