Clone virtual machines on VMware ESXi 7.0 and 6.7 without VMware vCenter Server
- VMware
- 07 June 2024 at 12:54 UTC
-

- 4/4

5. Clone a virtual machine using VMware vCenter Converter Standalone
Thanks to VMware vCenter Converter Standalone, you can easily clone a virtual machine from your VMware ESXi hypervisor.
In our case, we used a server on VMware ESXi 6.7.0 u1, because the latest version available at the time of writing the tutorial was version 6.2.0 (dating from 2018) and the latest version of VMware ESXi supported by this version 6.2.0 was VMware ESXi 6.7.0 u1.
However, since October 2022, the new version 6.3.0 has been released and allows you to support VMware ESXi up to and including version 7.0 u3.
News 2022 : tutorial also tested with VMware vCenter Converter Standalone 6.3.0 and VMware ESXi 6.7 u3 hypervisor.
5.1. Clone the virtual machine using VMware vCenter Converter Standalone
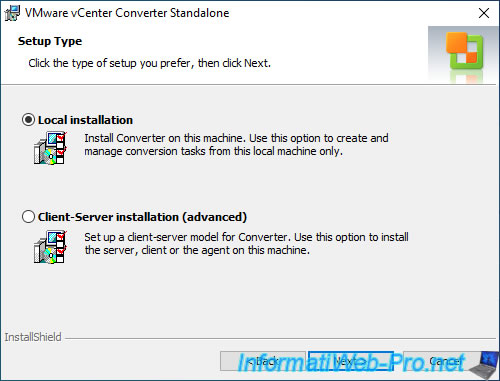
For the installation of this official VMware converter, select "Local installation" during its installation.
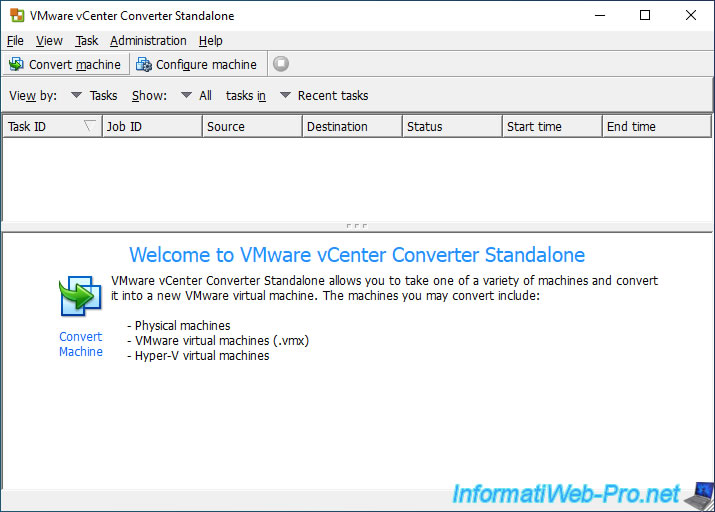
Then, launch this "VMware vCenter Converter Standalone" converter and click on : Convert machine.
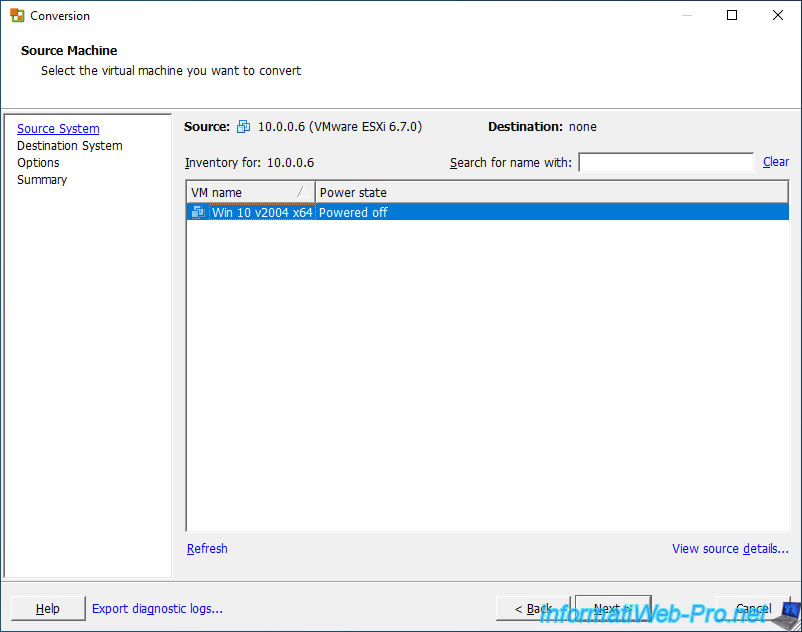
For the source, first select "Powered off", then : VMware Infrastructure virtual machine.
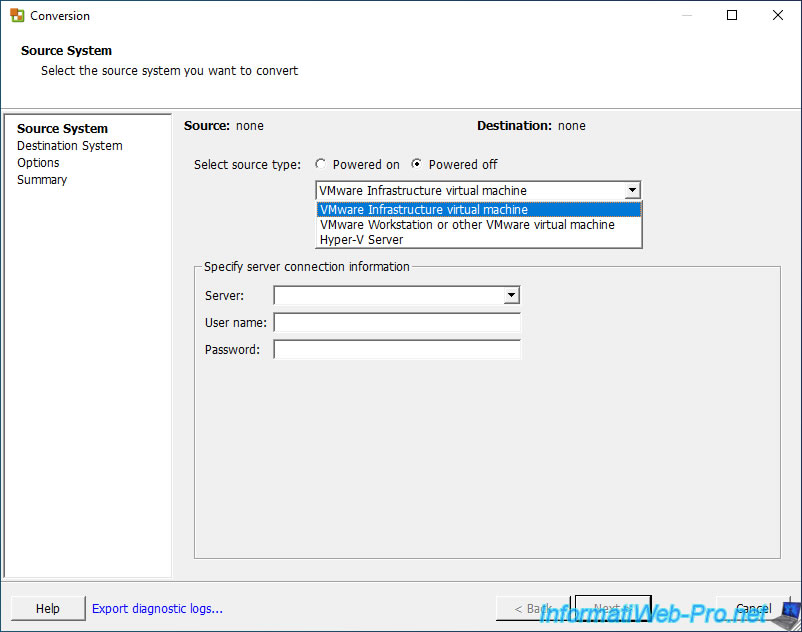
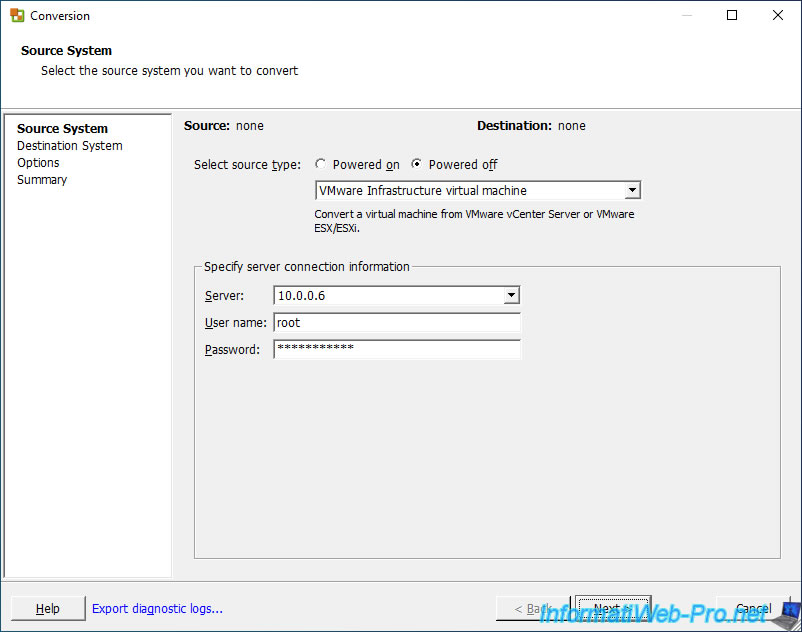
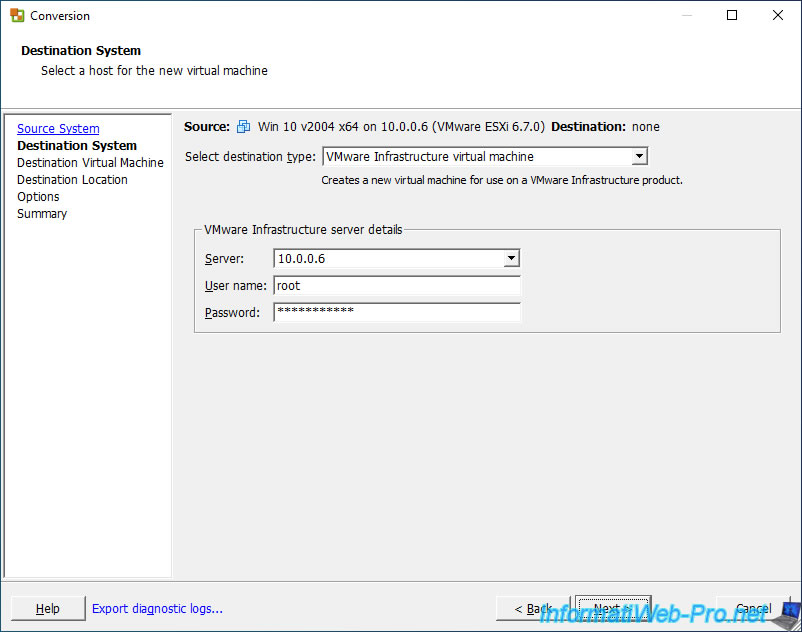
Then, provide the connection information to your VMware ESXi hypervisor :
- Server : the IP address or domain name of it.
- User name : the name of the user to use on it. Default : root.
- Password : his password.
If you are using a self-signed certificate, ignore the warning that appears by clicking on : Ignore.

The list of virtual machines available on your VMware ESXi hypervisor appears.
For the destination, select "VMware Infrastructure virtual machine" again and provide the same connection information as before.
Ignore again the warning about your VMware ESXi server certificate.

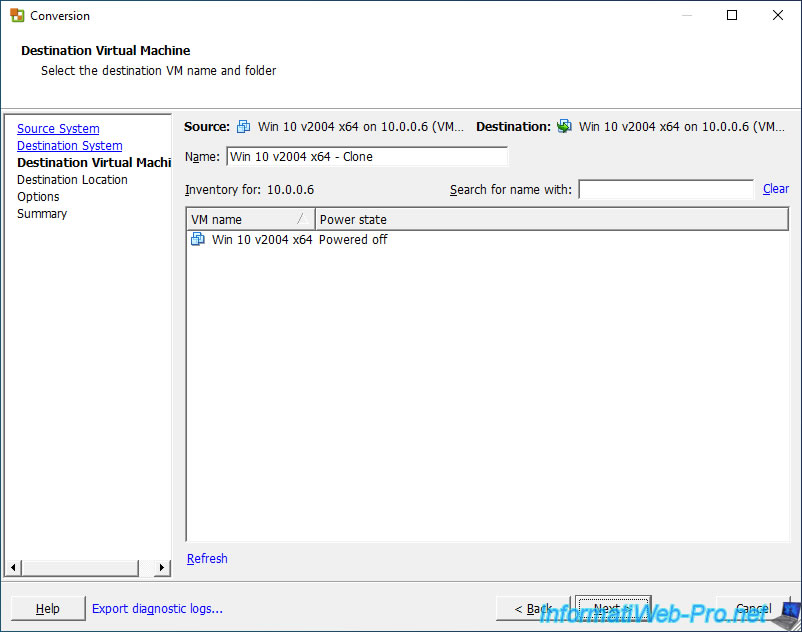
Specify the name of your future virtual machine in the "Name" box and click on Next.
Note that the list of virtual machines displayed here simply allows you to specify a name that is not already present on your VMware ESXi hypervisor.
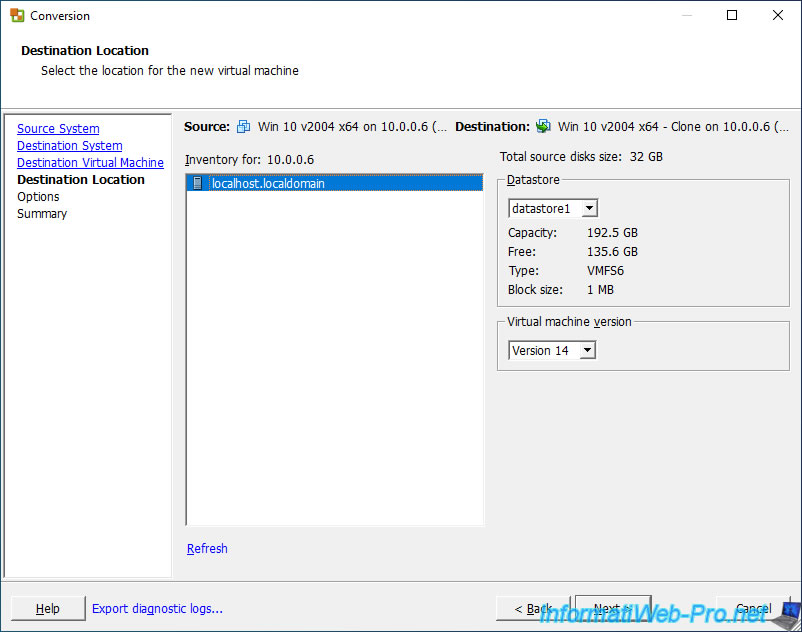
Select the destination datastore, as well as the version of the virtual hardware that will be used.
Note that the latest version of the virtual hardware available is "Version 14" (= ESXi 6.7) up to version 6.3.0 of this VMware converter.
However, since version 6.4.0 of this VMware converter, the maximum version is "Version 19" (= ESXi 7.0 U2).
We have therefore chosen version 19 of the virtual hardware for our test with VMware vCenter Converter Standalone v6.4.0 and VMware ESXi 7.0 U3n.
Source : Virtual machine hardware versions (1003746).
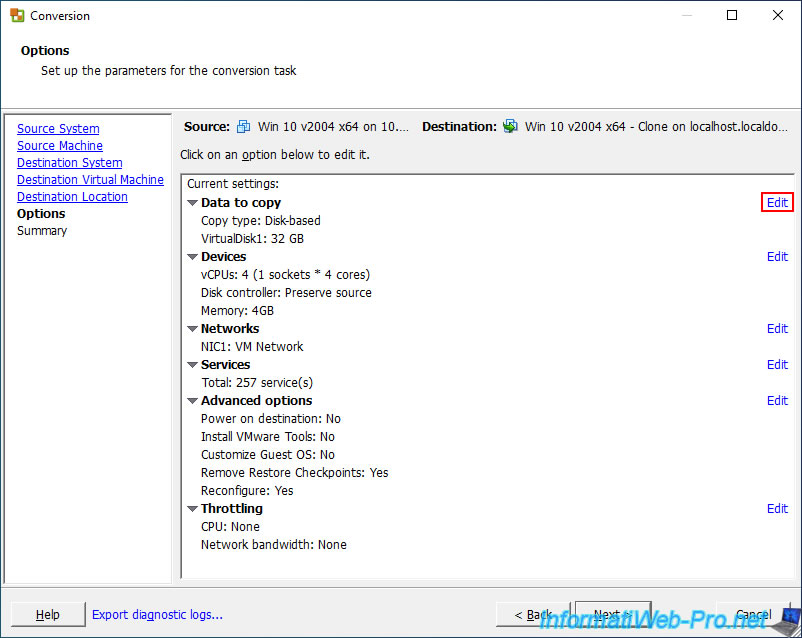
A list of conversion options appears.
Click on the "Edit" link of the "Data to copy" option.
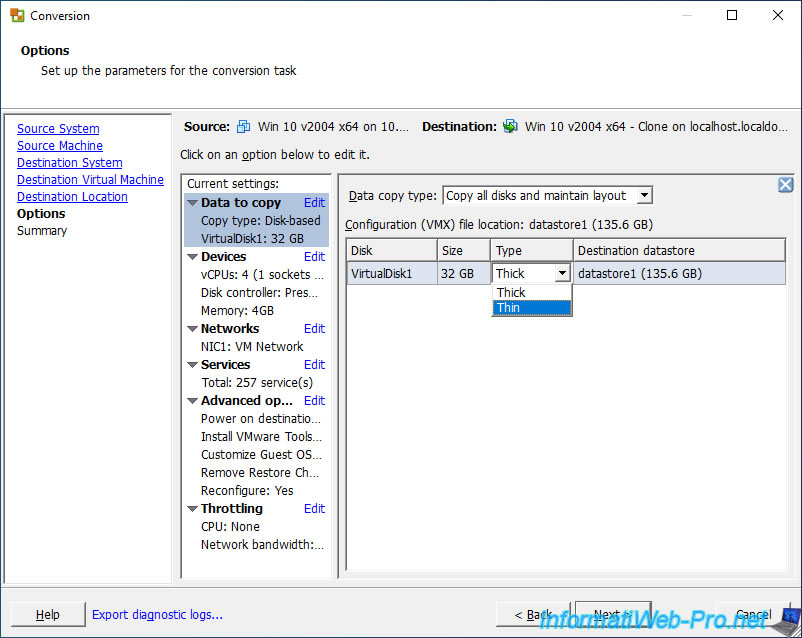
Select the type of provisioning you want to use for your virtual hard disks :
- Thick : static provisioning = pre-allocated space on your VMware ESXi hypervisor datastore.
- Thin : dynamic provisioning = NOT pre-allocated space.
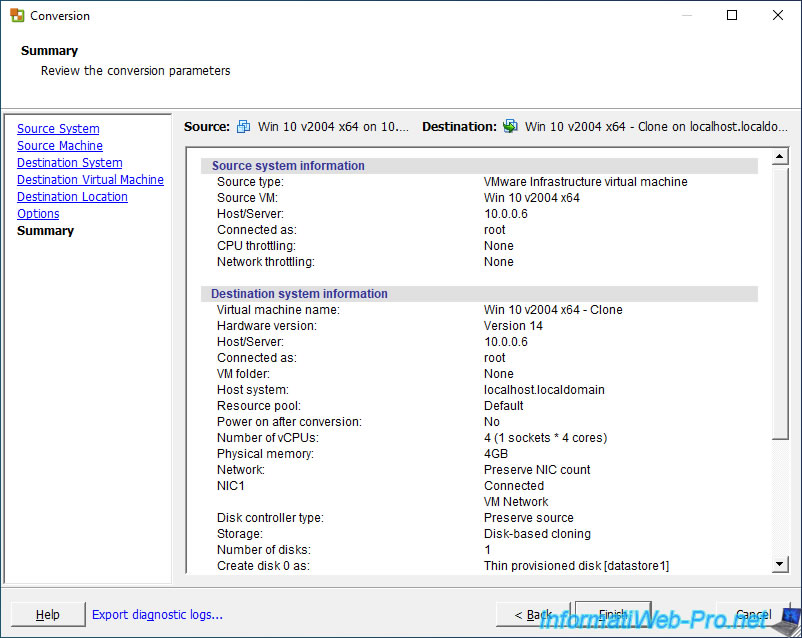
A summary of the conversion parameters appears.
Click on Finish.
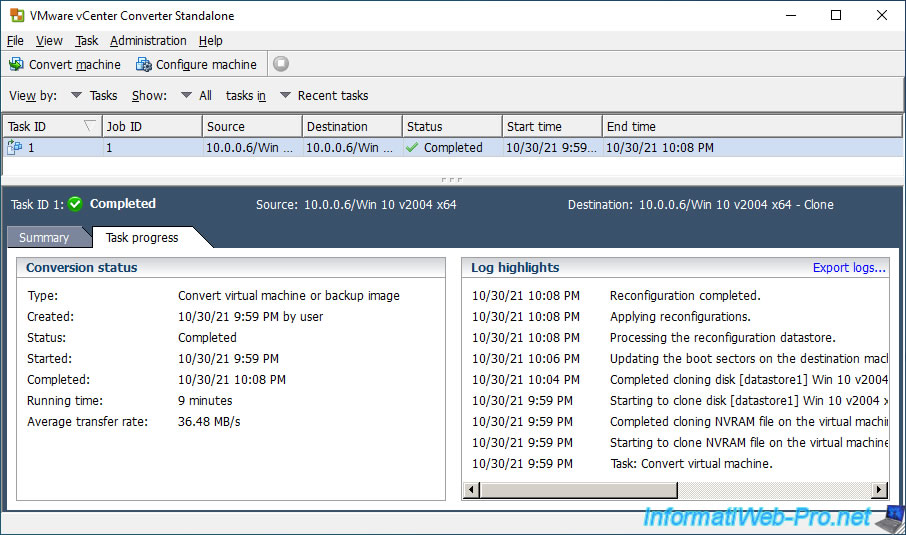
The "Convert virtual machine or backup image" conversion task appears.
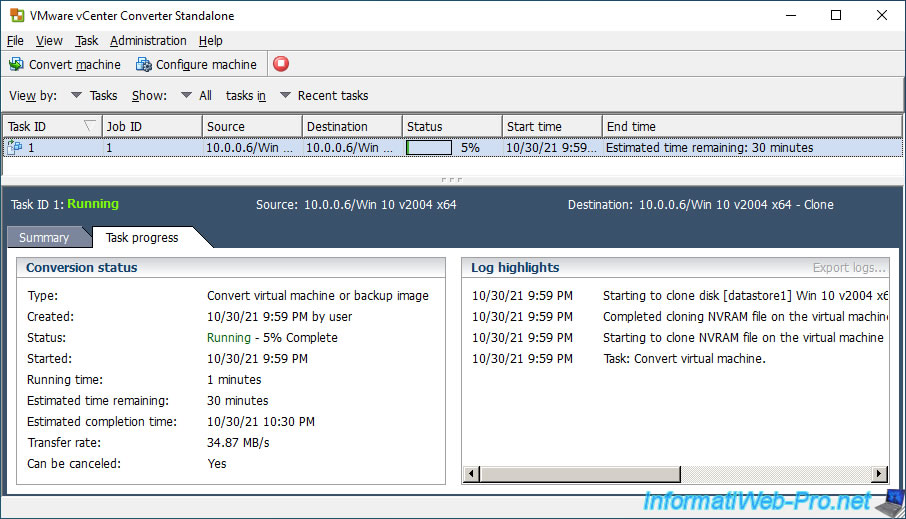
Once the "conversion" is complete, the status of this task will be : Completed.
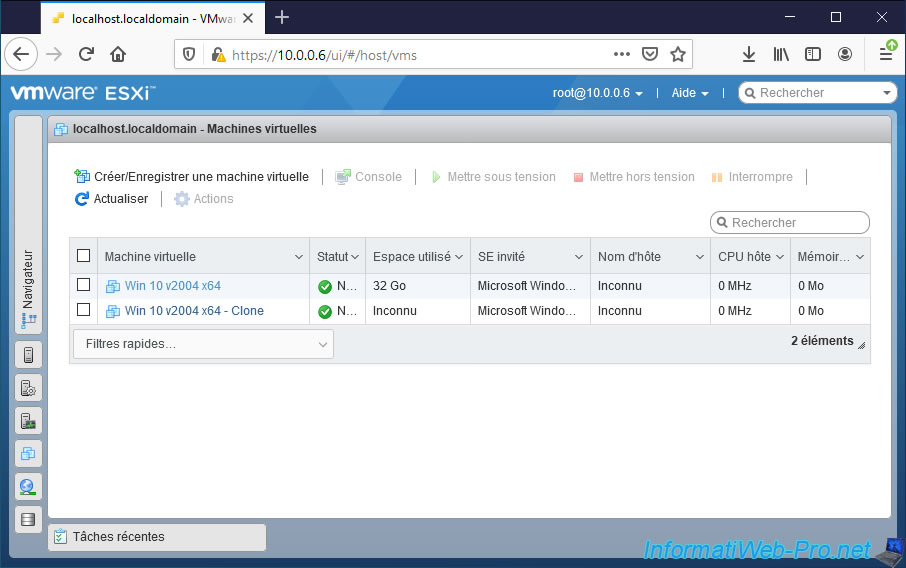
5.2. Start your new virtual machine
In the "Virtual Machines" section of your web interface, you will see your new virtual machine appear.
Click on its name.
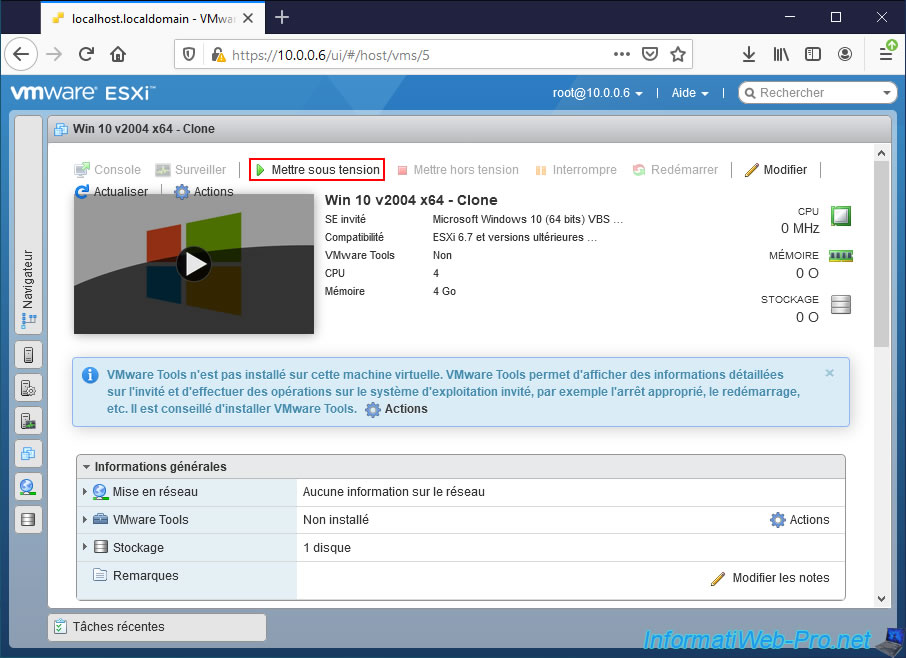
Start it by clicking on : Power on.
Note that the message indicating that VMware Tools are not installed is false and will disappear after you start your new virtual machine at least once.
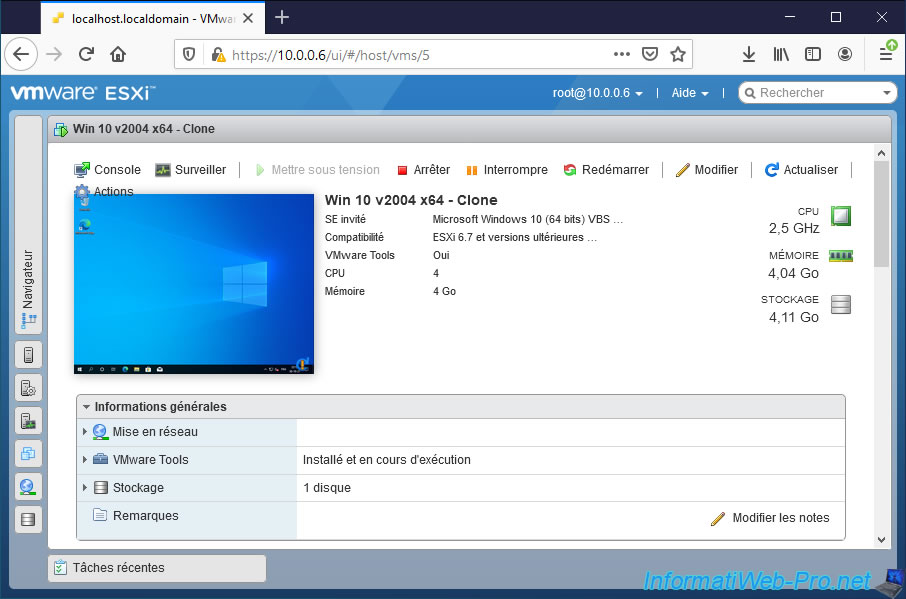
After your new virtual machine has completely booted, you will see in the "General Information" section that VMware Tools are installed and running.
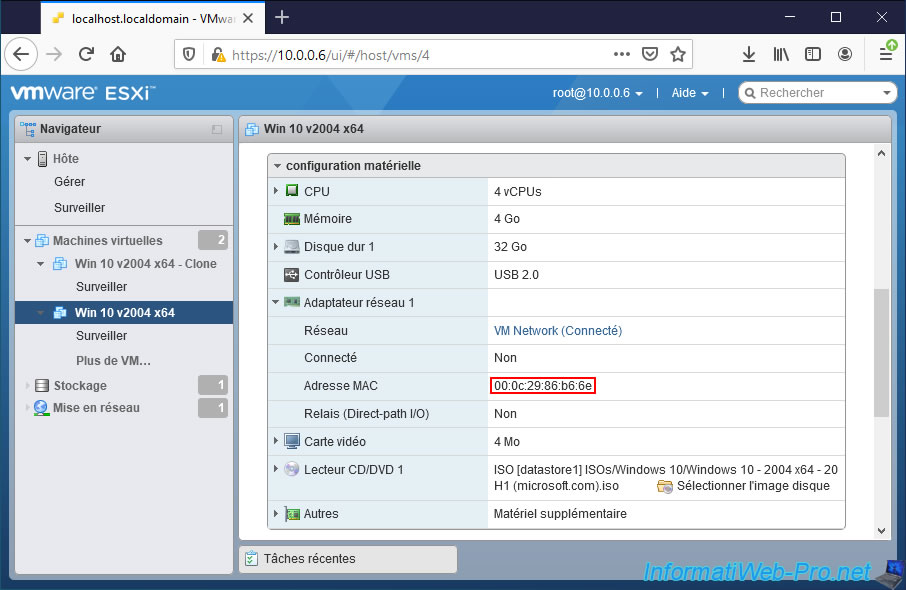
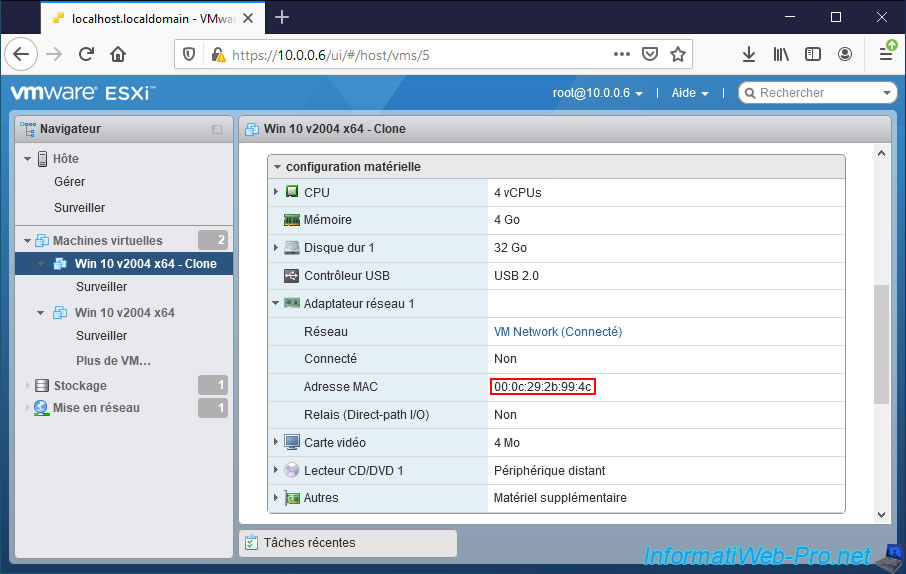
If you check the MAC address of the source virtual machine's network adapter and the MAC address of the destination virtual machine's network adapter, you will see that it will have changed automatically.
This will avoid a possible MAC address conflict if the 2 virtual machines had been started simultaneously.
Share this tutorial
To see also
-

VMware 5/25/2022
VMware ESXi 6.0 - Install the VMware Host Client web client
-

VMware 5/27/2022
VMware ESXi 6.5 - Add a network driver in the installation ISO
-

VMware 1/27/2023
VMware ESXi 6.7 - Enable virtualization-based security (VBS)
-

VMware 12/2/2022
VMware ESXi 6.7 - Install and use the VMRC console on Linux
No comment