- VMware
- 29 June 2022 at 09:15 UTC
-


If you have used VMware Workstation Pro on your computer before, you have probably noticed that it's possible to control a VMware Workstation virtual machine remotely using any VNC client.
Although this is not stated anywhere for the VMware ESXi hypervisor, it's still possible to do the same. In other words, control a virtual machine of your VMware ESXi hypervisor remotely from your favorite VNC client.
Warning : although this works as well as on VMware Workstation, this technique is not officially supported by VMware.
You should therefore not use this technique in business. In addition, it requires modifying a configuration file for your VMware ESXi hypervisor, as well as configuring its firewall.
This could be a problem if you want to contact VMware support later, as they will see that this file has been manually edited.
This tutorial is therefore intended for people using a server on VMware ESXi at home or for tests, but who don't need VMware support.
Important : this hidden feature has been removed since VMware vSphere 7.0, as you can see on the "VMware vSphere 7.0 Release Notes" page.
- Enable VMware ESXi SSH protocol
- Configuring the firewall for the VNC server
- Virtual machine configuration
- Connecting via VNC to a virtual machine
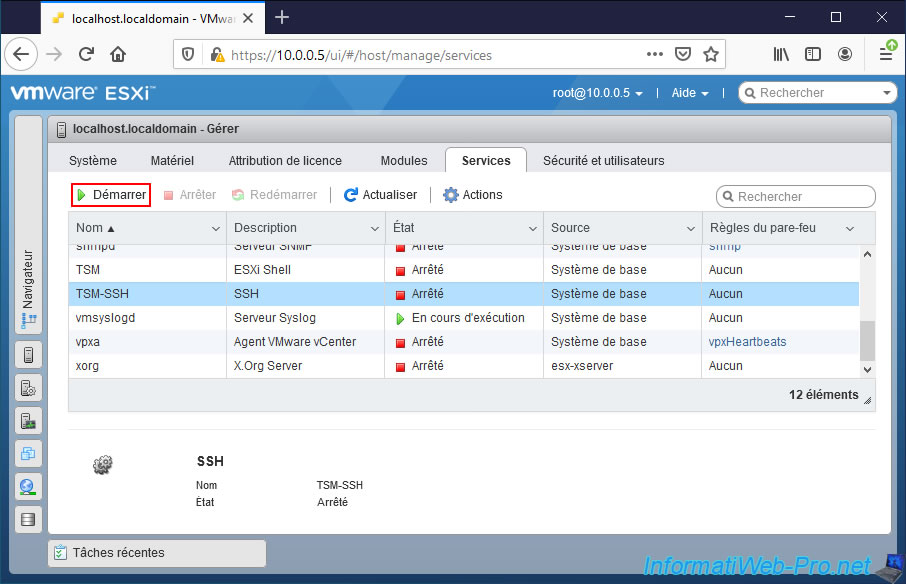
1. Enable VMware ESXi SSH protocol
To begin, you will need to enable the SSH protocol of your VMware ESXi hypervisor so that you can make the necessary changes from the command line.
Indeed, this option is not available via the graphical interface since VMware doesn't support it by default for VMware ESXi.
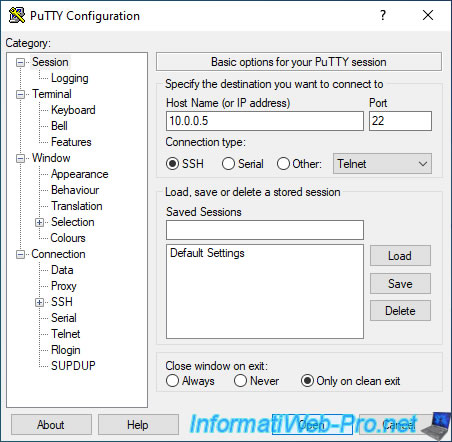
2. Configuring the firewall for the VNC server
Use your preferred SSH client.
For example : PuTTY on Windows.
To be able to access your virtual machines via the VNC protocol, you must edit the "/etc/vmware/firewall" configuration file of your VMware ESXi hypervisor.
However, as you can see, this file is read-only by default ("r" right = "read" = "read right").
Bash
ls -an /etc/vmware/firewall
Plain Text
-r--r--r-- 1 0 0 20822 Aug 5 2019 service.xml
To be able to edit this file, you must first change its rights using these commands :
Bash
chmod 644 /etc/vmware/firewall/service.xml
chmod +t /etc/vmware/firewall/service.xml
As you can see, the permissions have been changed for this file :
Bash
ls -an /etc/vmware/firewall
Plain Text
-rw-r--r-T 1 0 0 21167 Nov 16 10:02 service.xml
Then, edit this configuration file with "vi":
Bash
vi /etc/vmware/firewall/service.xml
Go to the end of this file by pressing "SHIFT + G", then enter insert mode in "vi" by pressing the letter "i" once.
Just before the "</ConfigRoot>" located at the end of this file, add the block below.
Note : replace the "SERVICE_UNIQUE_ID" value with an unique service ID in this file.
Note that the services are sorted by default by their ID.
In our case, the last service of this file has the id "0044".
So, we used the service ID "0045" for the VNC service.
Plain Text
  <!-- VNC server -->
  <service id='SERVICE_UNIQUE_ID'>
    <id>VNC</id>
    <rule id='0000'>
      <direction>inbound</direction>
      <protocol>tcp</protocol>
      <porttype>dst</porttype>
      <port>
        <begin>5900</begin>
        <end>5964</end>
      </port>
    </rule>
    <enabled>true</enabled>
    <required>false</required>
  </service>
Then, press the "Esc" key once on your keyboard to switch to "commands" mode and type ":wq" (without the quotes).
Then, to restore the default rights of this file, use the command :
Bash
chmod 444 /etc/vmware/firewall/service.xml
Check the rights of this file with this command :
Bash
ls -an /etc/vmware/firewall
As expected, this file is read-only again.
Plain Text
-r--r--r-- 1 0 0 21167 Nov 16 10:02 service.xml
Refresh your VMware ESXi hypervisor firewall rules for this change to take effect.
Bash
esxcli network firewall refresh
Enable the new "VNC" rule that you just created in your hypervisor firewall :
Bash
esxcli network firewall ruleset set --ruleset-id VNC --enabled true
View the list of firewall rules.
Bash
esxcli network firewall ruleset list
Towards the end of the list that appears, you should see your "VNC" rule appear :
Plain Text
Name                    Enabled
----------------------  -------
...
VNC                        true
Then, list the rules present in the firewall rules :
Bash
esxcli network firewall ruleset rule list
Plain Text
Ruleset                 Direction  Protocol  Port Type  Port Begin  Port End
----------------------  ---------  --------  ---------  ----------  --------
...
VNC                     Inbound    TCP       Dst              5900      5964
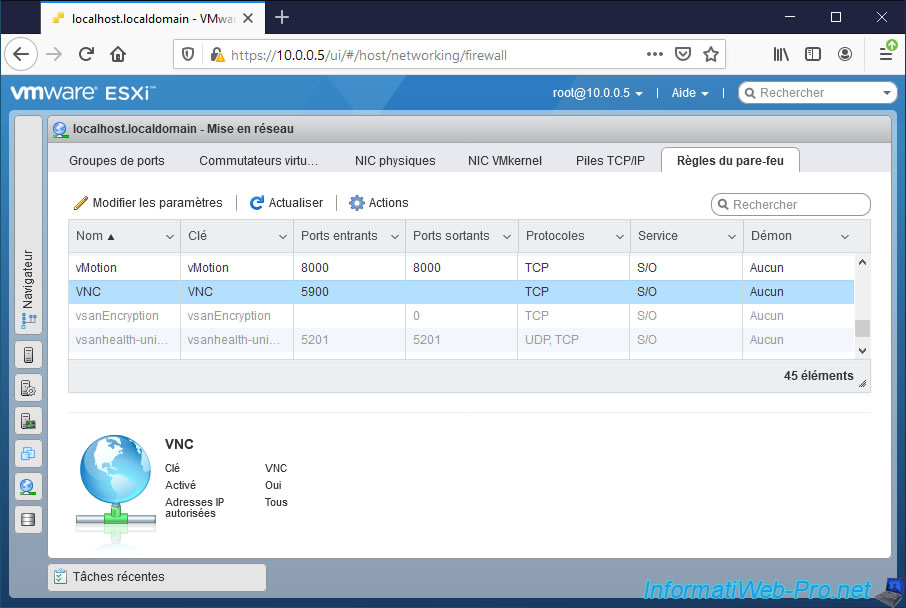
In the web interface of your VMware ESXi hypervisor, go to : Networking -> Firewall rules.
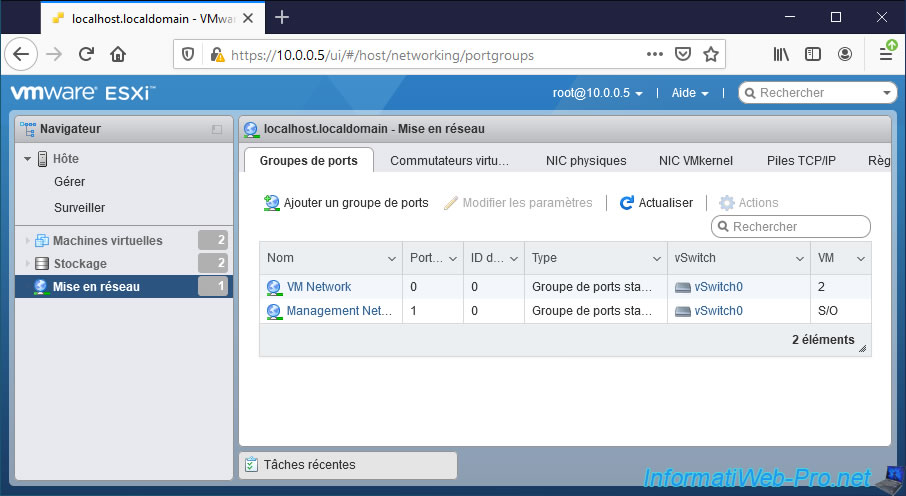
At the end of the list that appears, you will find your rule regarding VNC.
Official sources used :
- Creating custom firewall rules in VMware ESXi (2008226)
- Incoming and Outgoing Firewall Ports for ESXi Hosts
3. Virtual machine configuration
Now that your VMware ESXi hypervisor firewall has been configured, you need to enable remote control through VNC on the desired virtual machines.
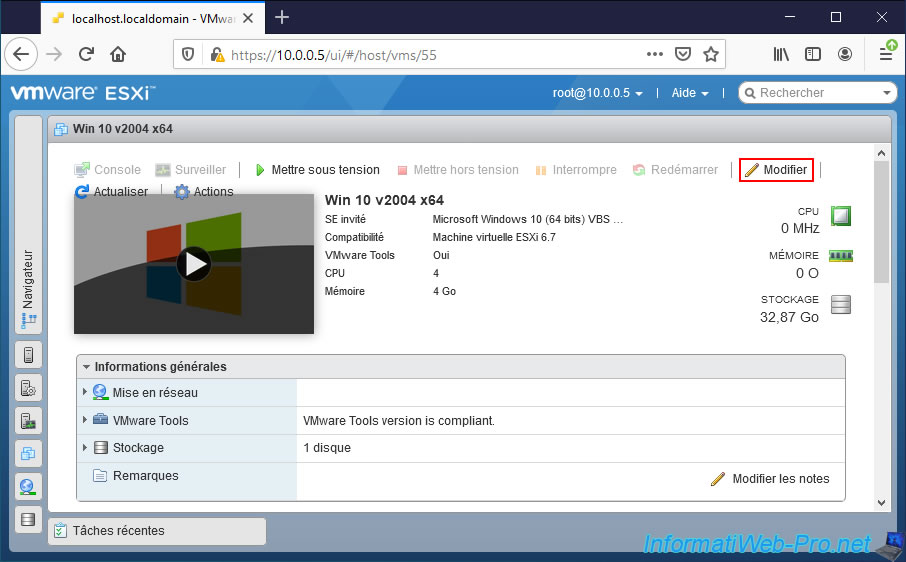
To do this, select the desired virtual machine and click on "Edit".
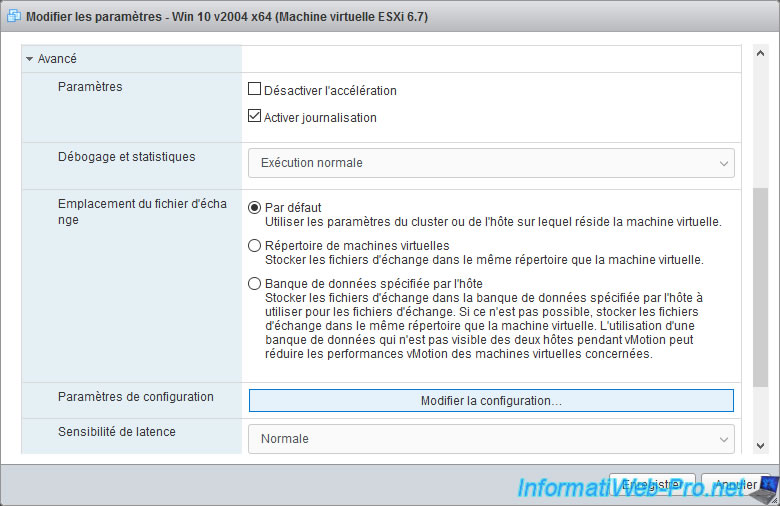
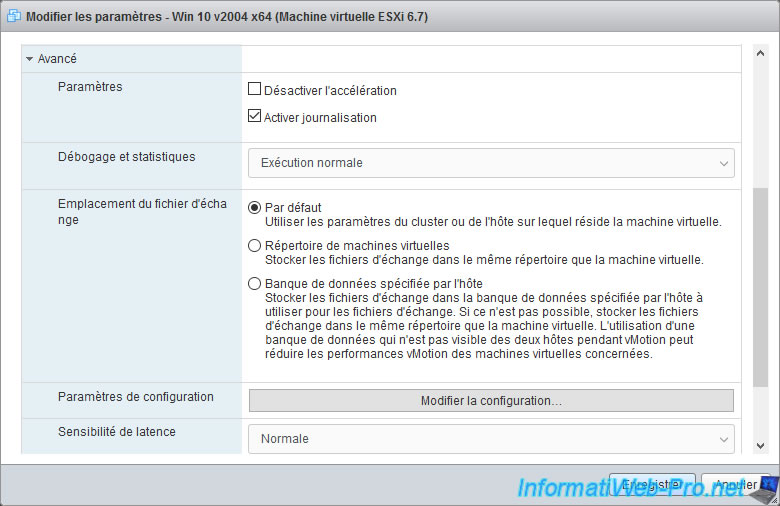
Go to "VM Options -> Advanced" and click on the "Edit Configuration" button.
In the "Configuration Parameters" window that appears, click on : Add parameter.
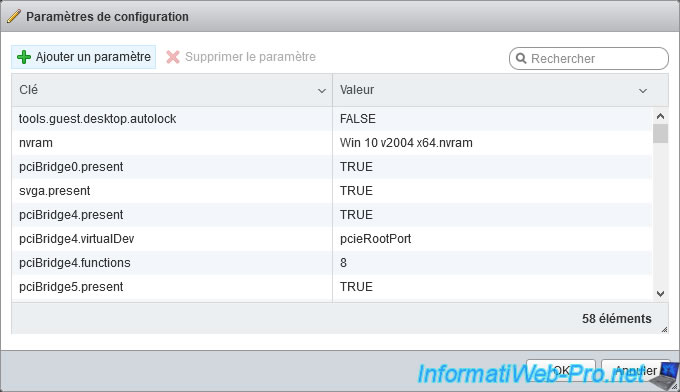
Several lines will appear.
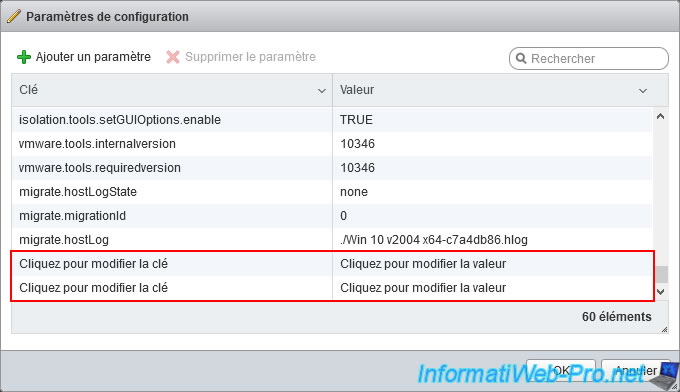
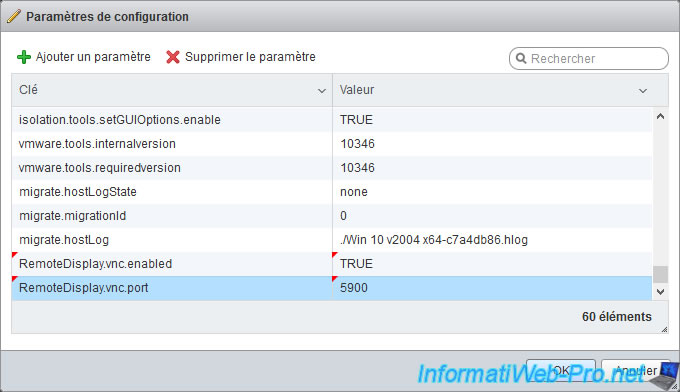
Click on the boxes to add the following parameters :
Plain Text
RemoteDisplay.vnc.enabled="TRUE"
RemoteDisplay.vnc.port=5900
The "RemoteDisplay.vnc.enabled" parameter enables remote control of this virtual machine via the VNC protocol.
The "RemoteDisplay.vnc.port" parameter allows you to define on which port this virtual machine will be accessible via your preferred VNC client.
Important : the port used must be unique per virtual machine.
Indeed, since the VNC server is located on your VMware ESXi hypervisor, you must specify the IP address of your ESXi server, as well as the port indicated for the desired virtual machine to connect to it.
The port must therefore be unique for each virtual machine.
The valid port range being that defined previously in the "/etc/vmware/firewall" file : 5900-5964.
In addition to these mandatory parameters, you can also specify the layout of your keyboard so that it's correct when you connect to your virtual machine via the VNC protocol.
To do this, use the "RemoteDisplay.vnc.keyMap" parameter and specify "us" for the "US English" keyboard.
To know all the possible values for the other keyboard layouts, consult the "Language Codes" page of the VMWare site.
Plain Text
RemoteDisplay.vnc.keyMap="us"
Finally, you can also set a password for remote control of this virtual machine through your preferred VNC client.
This optional parameter is "remoteDisplay.vnc.password" and the password to use must be specified as a value.
Plain Text
remoteDisplay.vnc.password="MyPassword"
Once you have added the parameters you want, click OK.
Then, click on : Save.
The "Virtual machine [VM name] was successfully reconfigured" message appears.

If you have enabled access via VNC protocol on multiple virtual machines, you may not know which ports are already in use and which ports are free.
To quickly find which ports are in use and by which virtual machines (including whether they are powered off right now), use the command :
Bash
grep "vnc.port" */*/*/*/*.vmx
Which gives this in our case.
Note that virtual machines will appear twice :
- once with the identifier of the relevant datastore
- the other time with the name of the relevant datastore.
Plain Text
vmfs/volumes/xxxxxxxx-xxxxxxxx-.../Win 10 v2004 x64/Win 10 v2004 x64.vmx:RemoteDisplay.vnc.port = "5900"
vmfs/volumes/RAID Vol/Win 10 v2004 x64/Win 10 v2004 x64.vmx:RemoteDisplay.vnc.port = "5900"
4. Connecting via VNC to a virtual machine
To access your virtual machine, start it, then download and launch your favorite VNC client.
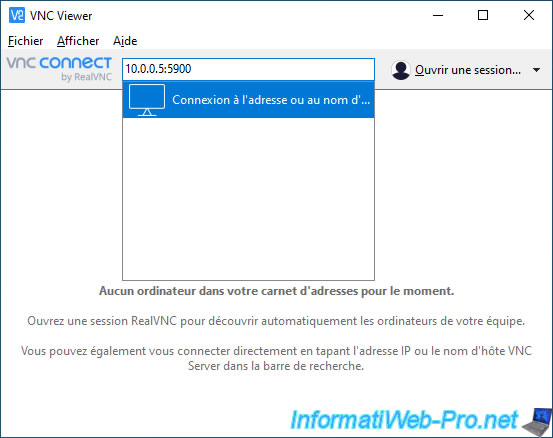
In our case, we have chosen the "VNC Viewer" client of "RealVNC".
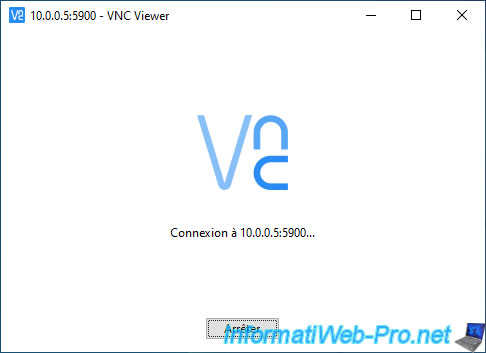
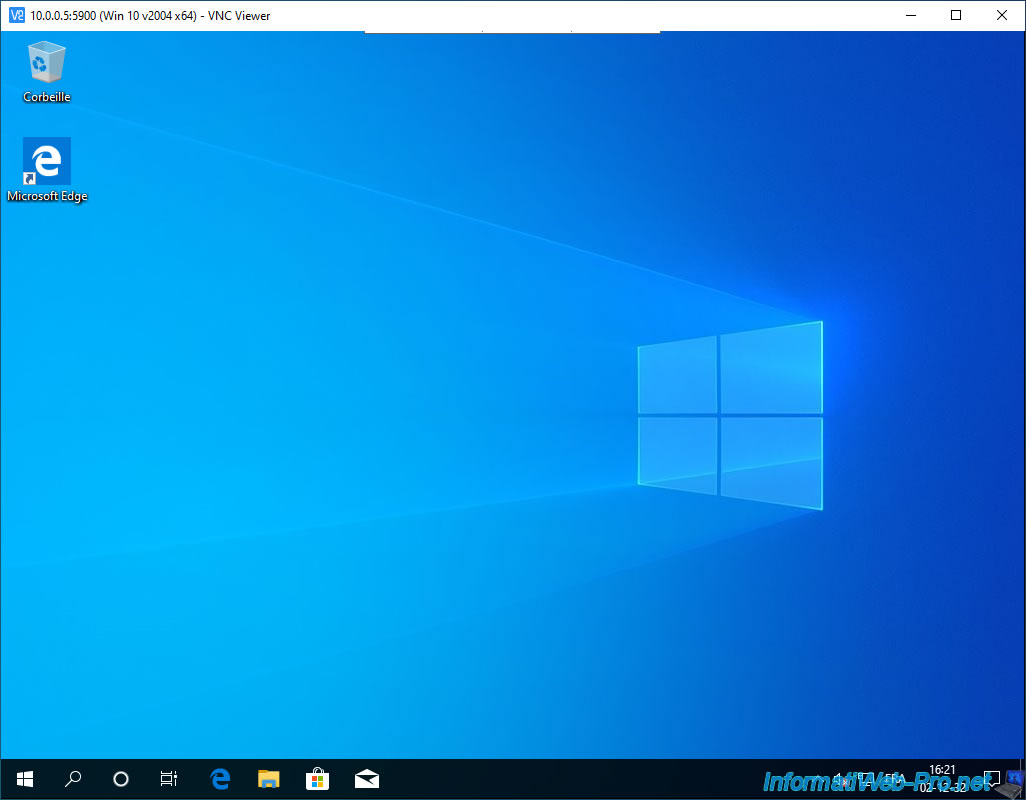
Once this VNC client is installed, launch it and specify the IP address of your VMware ESXi hypervisor, followed by the ":" symbol, then the port corresponding to the virtual machine you want to access.
In our case, this gives "10.0.0.5:5900". Then, click on the "Connect to address or hostname ..." option that appears.
A connection window appears.
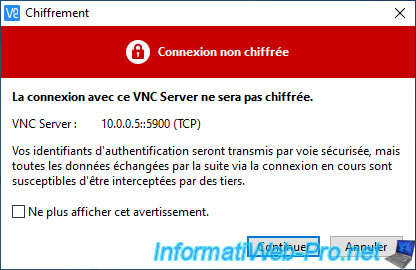
Then, a window will tell you : unencrypted connection.
Ignore this warning by checking the "Don't warn me about this again on this computer" box, then clicking "Continue".
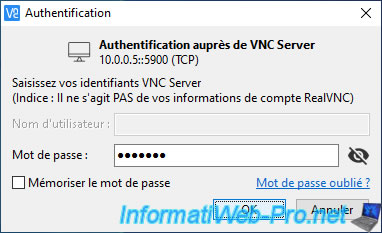
If you have defined a password with the "remoteDisplay.vnc.password" vmx parameter, then an "Authentication" window will appear.
In this case, enter this password here and click OK.
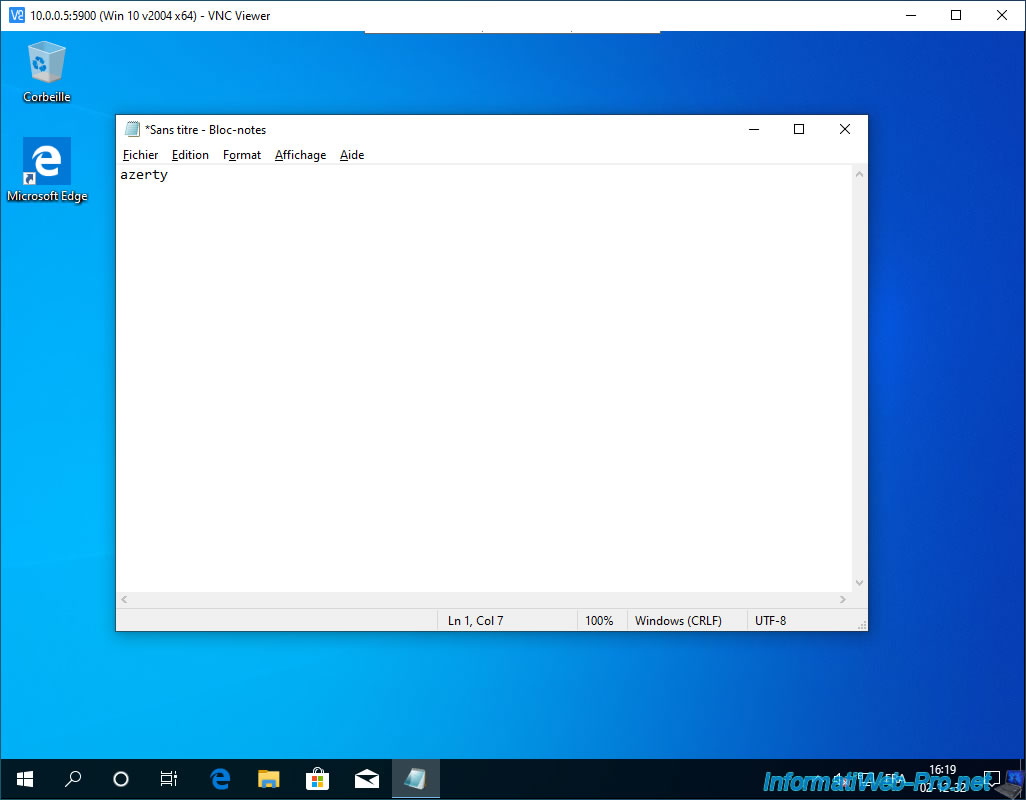
As expected, your virtual machine screen appears in this VNC client.
Important : file transfer is not supported by the VNC server on your VMware ESXi hypervisor.
Whether you are using RealVNC's VNC client (as is the case here) or any other VNC client (such as "TightVNC Client" which also supports file transfer when remote VNC server supports it too), this will not work.
Indeed, we have tested all the VNC clients that exist on the Internet and none allowed to transfer files through the VNC server hosted by VMware ESXi.
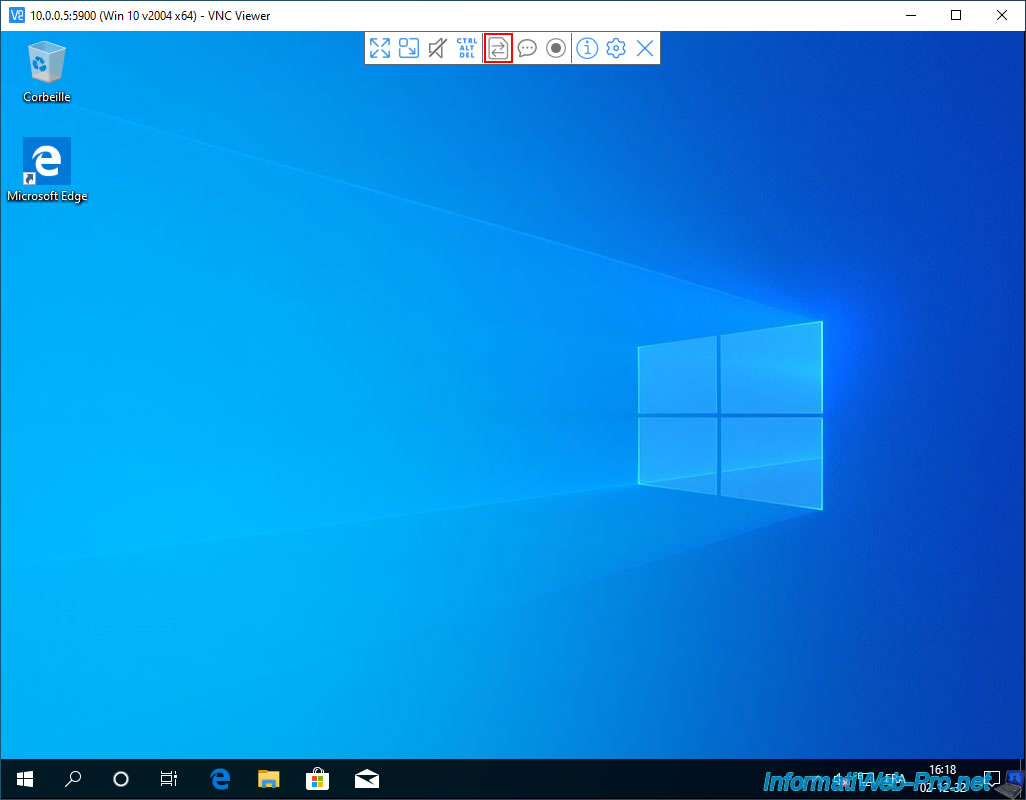
If you have correctly configured the "RemoteDisplay.vnc.keyMap" parameter in your virtual machine configuration, your keyboard layout should be correct.
Otherwise, check your VNC client configuration.
In our case, no modification was necessary for this VNC client.
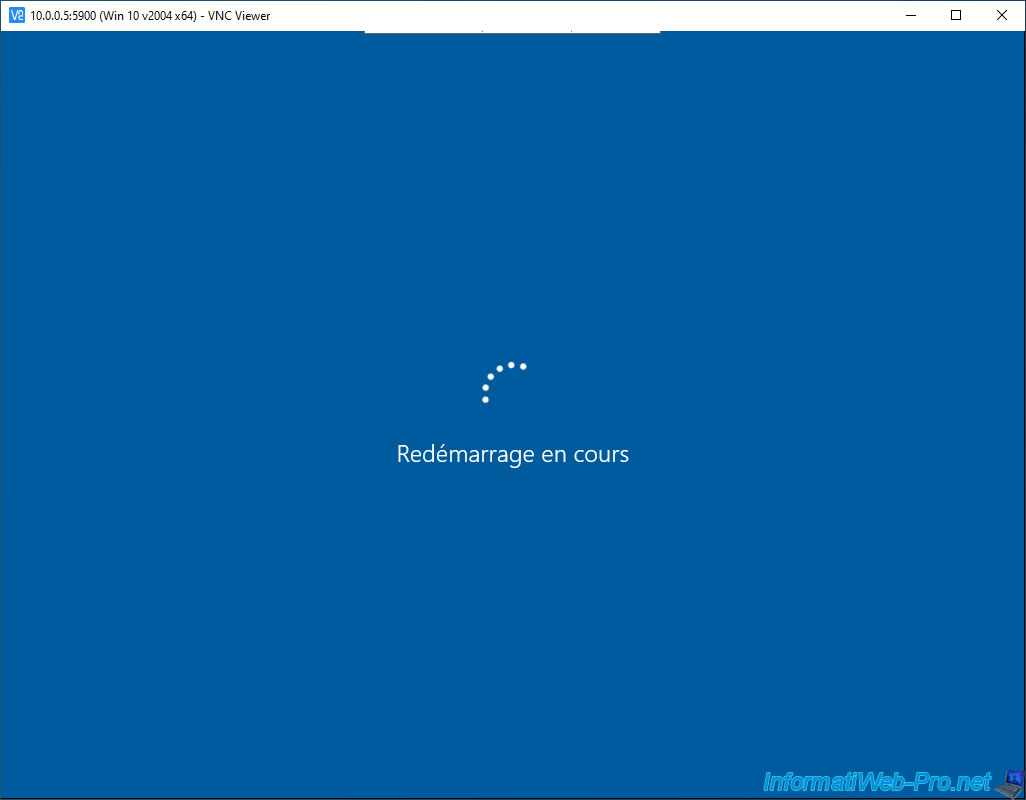
One of the advantages of the VNC protocol in this case is that you are connected to the VNC server of your VMware ESXi hypervisor and not to the one that you would have installed in your virtual machine.
This means that if you restart the virtual machine, you will not lose access to it.
However, the connection will be lost if you shut down the virtual machine instead of restarting it.
As you can see, even the VMware logo (displayed especially when starting a virtual machine, but also when restarting) will appear.
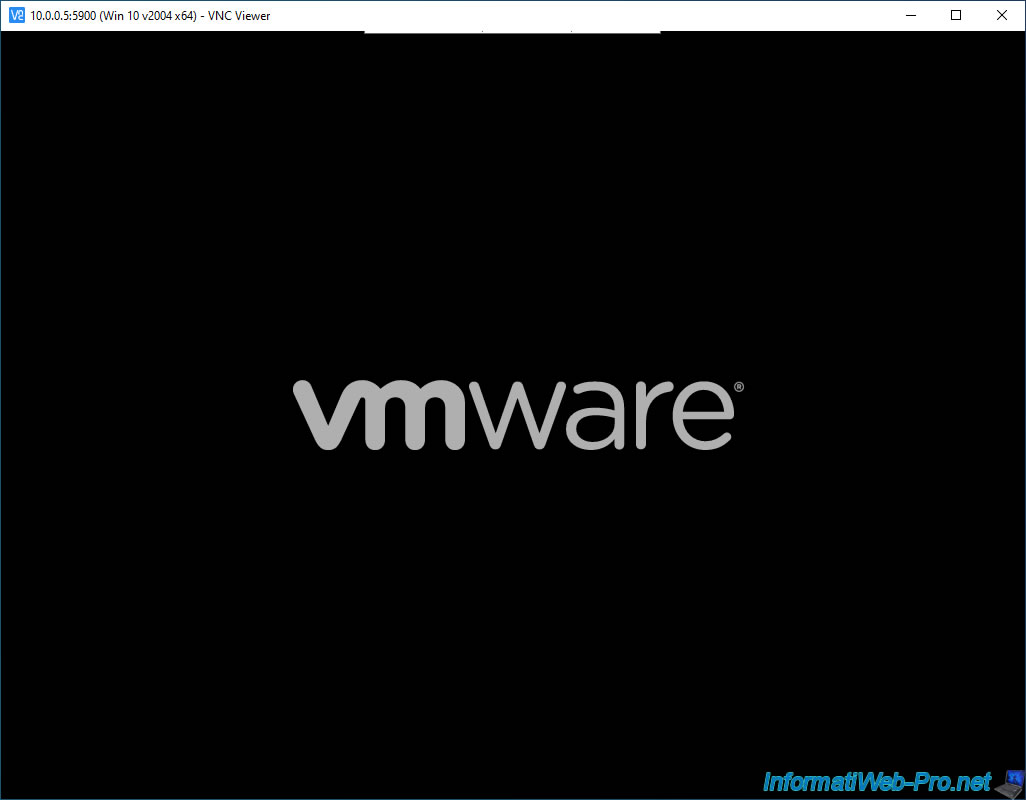
The virtual machine continues to start.
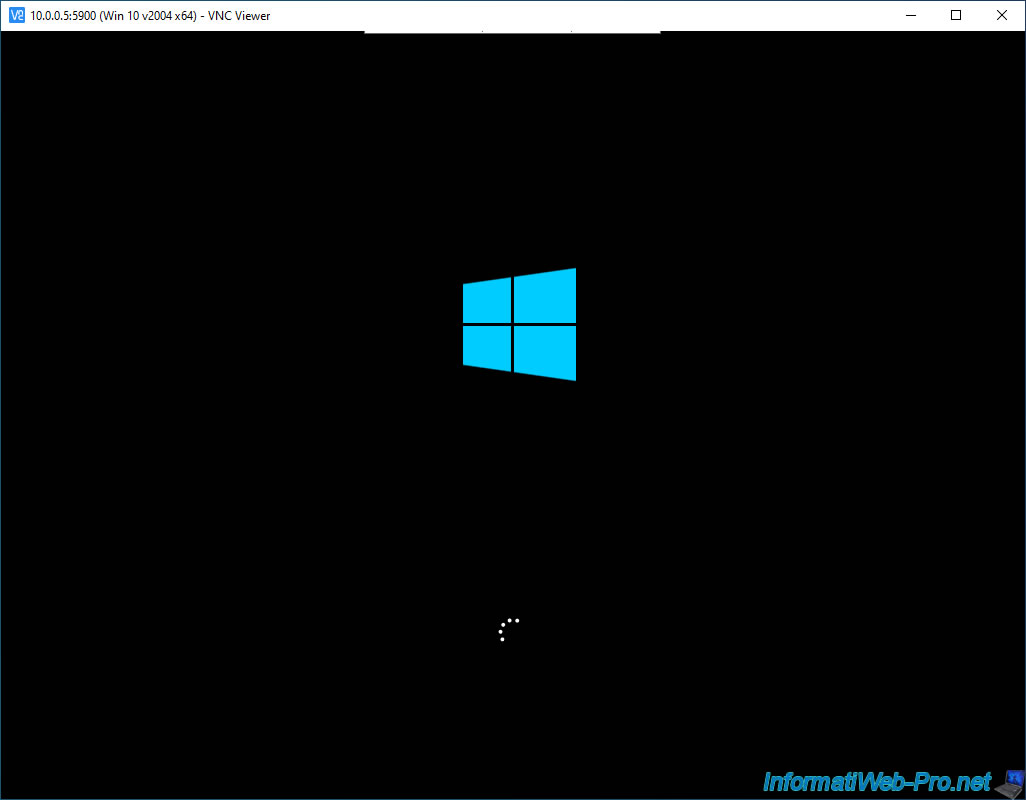
And there you have it, the restart is complete and the connection has not been interrupted.
Share this tutorial
To see also
-

VMware 5/25/2022
VMware ESXi 6.0 - Install the VMware Host Client web client
-

VMware 5/27/2022
VMware ESXi 6.5 - Add a network driver in the installation ISO
-

VMware 1/27/2023
VMware ESXi 6.7 - Enable virtualization-based security (VBS)
-

VMware 12/2/2022
VMware ESXi 6.7 - Install and use the VMRC console on Linux
You must be logged in to post a comment