- VMware
- 20 July 2022 at 12:02 UTC
-


When you create a copy of a virtual hard disk, you can't link it to the same virtual machine as the original one.
Indeed, in this case, the virtual machine will not start, because the unique identifier (UUID) of these is identical.
- Error displayed when 2 virtual disks have the same identifier (UUID)
- Change the unique identifier (UUID) of the virtual hard disk
- Offline virtual hard disk in a Windows virtual machine
- Change the signature of a hard drive on Windows
- Hard disks visible in the virtual machine
1. Error displayed when 2 virtual disks have the same identifier (UUID)
To verify the previously mentioned problem, we created a virtual hard drive which we then initialized from the guest operating system.
Then, we used a few Linux and VMware commands to create a carbon copy of this virtual hard drive.
We therefore try to also add this copy to the same virtual machine by clicking on : Add hard disk -> Existing hard disk.
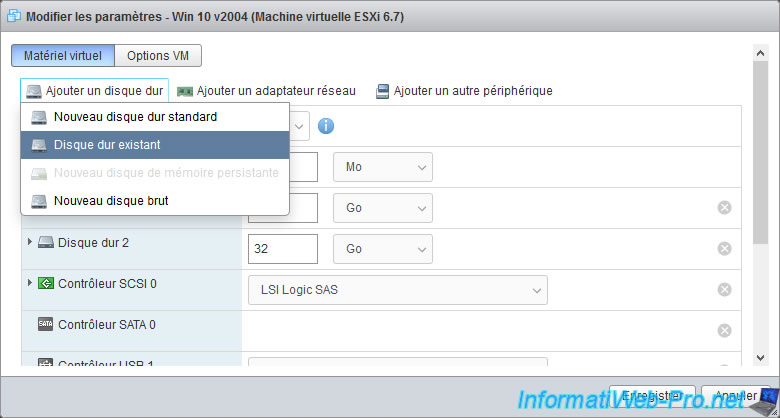
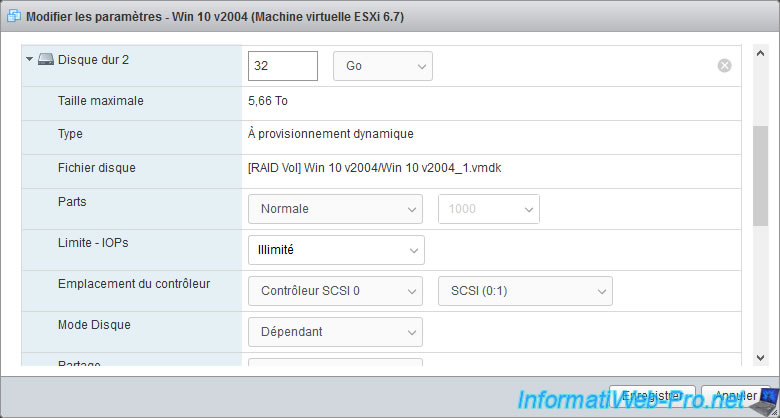
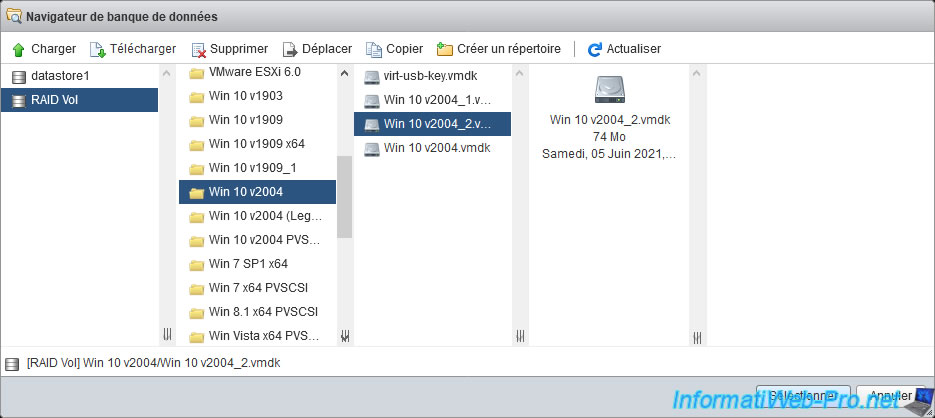
We select the "Win 10 v2004_2.vmdk" file which is a copy of the "Win 10 v2004_1.vmdk" virtual hard disk.
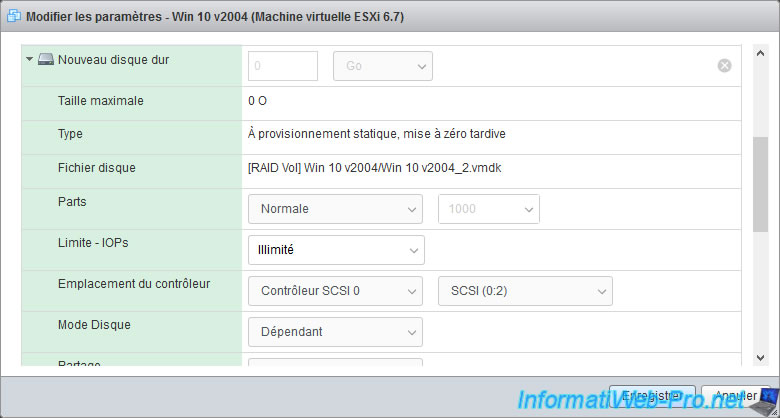
The new hard drive appears and we can click on : Save.
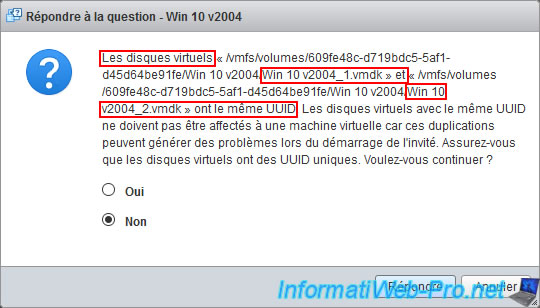
Except that when you try to start your virtual machine, VMware ESXi will tell you that the "Win 10 v2004_1.vmdk" and "Win 10 v2004_2.vmdk" virtual disks have the same UUID.
This can cause problems when starting the guest.
For safety, answer "No" and click "Answer".
Then, you will again see a similar error message appear :
Plain Text
Failed to power on virtual machine [VM name]. Virtual disks "/vmfs/volumes/[datastore identifier]/[name of the 1st virtual hard disk]" and "/vmfs/volumes/[datastore identifier]/[name of the 2nd virtual hard disk]" have the same UUID.
Click here for more details.

2. Change the unique identifier (UUID) of the virtual hard disk
To change the unique identifier (UUID) of a virtual hard drive, you will need to use the command line.
To do this, enable SSH on your VMware ESXi server, and then connect to it.
Then, move to the relevant virtual machine folder.
In our case, we used the name of our datastore (RAID Vol) instead of its identifier (609fe....).
Note : the "\" character allows you to escape spaces.
Bash
cd /vmfs/volumes/RAID\ Vol/Win\ 10\ v2004
Change the unique identifier (UUID) of one of the conflicting virtual hard disks :
Bash
vmkfstools -J setuuid Win\ 10\ v2004_2.vmdk
This command will display a result similar to this :
Plain Text
UUID is 60 00 C2 9e e7 dd 10 c9-1a 8e ed 80 dd 5e ee be
Which means that the UUID of the virtual hard disk has been changed.
3. Offline virtual hard disk in a Windows virtual machine
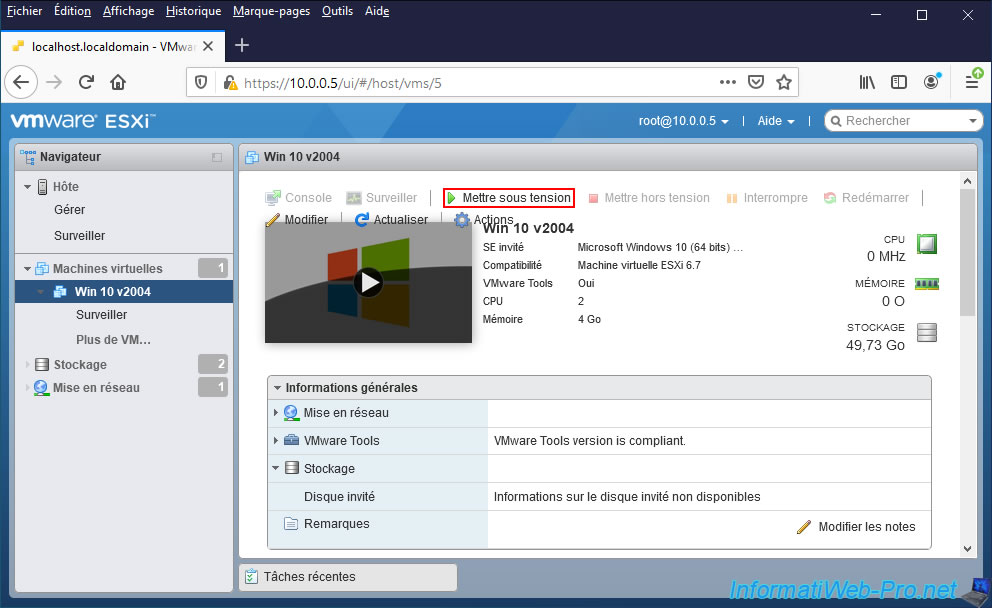
Start your virtual machine by clicking on "Power on".
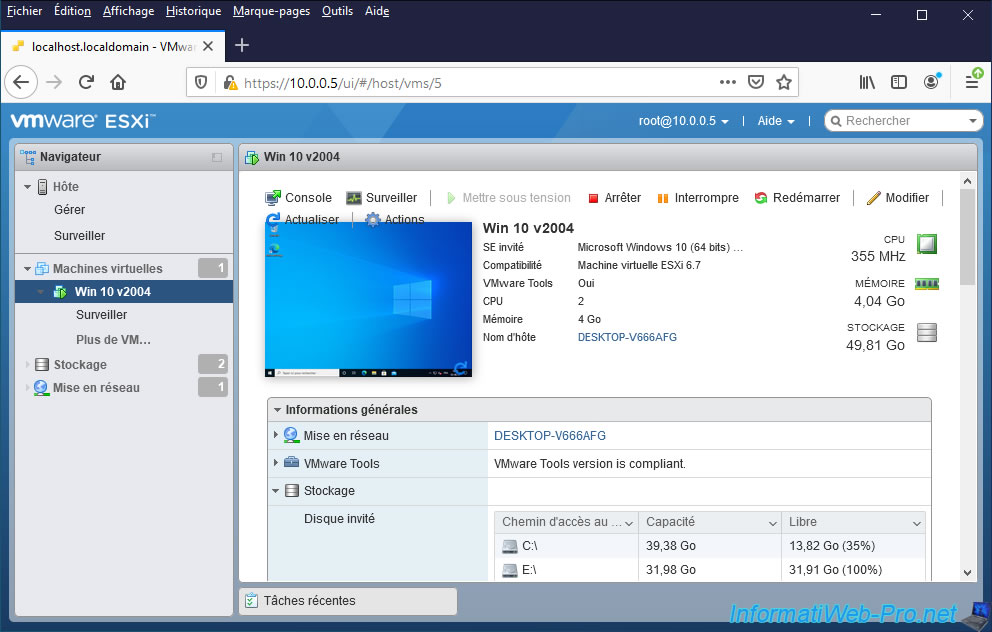
As you can see, VMware ESXi allows you to start the virtual machine and the guest operating system (in this case : Windows) starts.
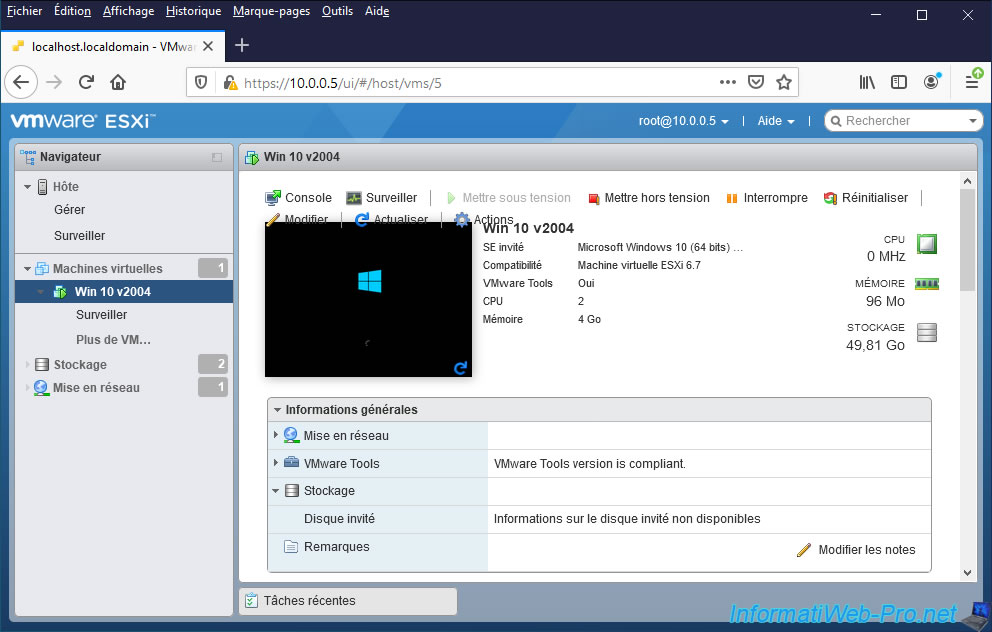
Windows 10 is started and it seems to be working.
Except if you right click "Manage" on "This PC" (or "Computer"), you will see that one or more of the drives that had the same UUID are offline, because they have a signature collision with another disk.
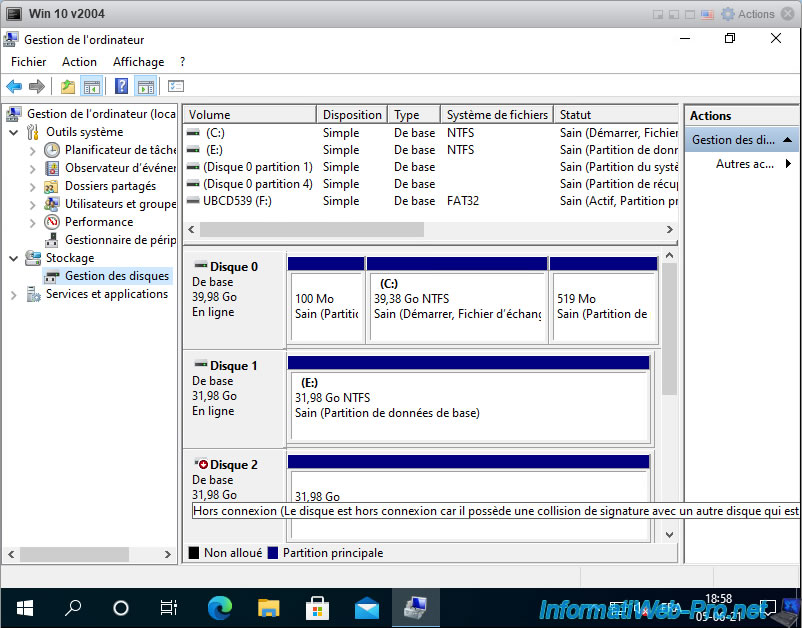
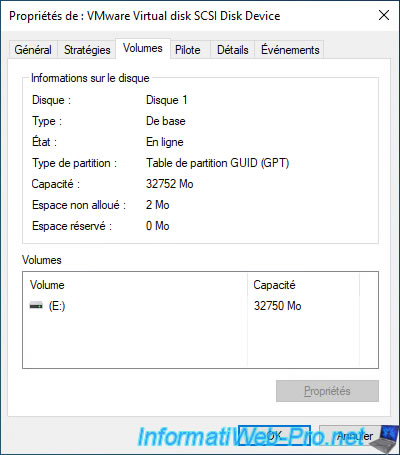
To find out if it's a hard drive with an MBR or a GPT file system, right click "Properties" on the offline drive.
This information is useful, because the format of the hard drive signature varies depending on this information.
4. Change the signature of a hard drive on Windows
To change the signature of a hard disk on Windows, start the "diskpart.exe" program.
Note that this program requires administrator rights.
This will be displayed :
Plain Text
Microsoft DiskPart version 10.0.19041.964

Copyright (C) Microsoft Corporation.
On computer : [computer name]

DISKPART>
Once in diskpart, list the disks present in your virtual machine.
As we can see very easily below, our 2 identical virtual disks are : Disk 1 and Disk 2.
Disk 2 being taken offline by Windows 10 since it has the same signature as Disk 1.
Batch
list disk
Plain Text
  Disk ###   Status          Size     Free     Dyn  Gpt
  ---------  -------------   -------  -------  ---  ---
  Disk 0      Online           40 GB  1024 KB        *
  Disk 1      Online           32 GB  1024 KB        *
* Disk 2      Offline          32 GB  1024 KB        *
Select the 1st disk that had an identical UUID before :
Batch
select disk 1
Plain Text
Disk 1 is now the selected disk.
To know the signature of this hard drive, use this command :
Batch
uniqueid disk
As you can see, our 1st disk has this signature.
Note that the signature is in GUID format (as below) when the partitioning type is GPT and in hexadecimal format (much shorter) when using a standard MBR.
Plain Text
Disk ID : {BBEE121A-B3A9-4F09-A52A-2E3BDF58A480}
Then, select the second disk identical to the first.
Batch
select disk 2
Plain Text
Disk 2 is now the selected disk.
Display the signature of this second disk and you will see that it's most likely the same.
This is why Windows 10 took the second hard drive offline indicating that there was a signature collision with another drive.
Batch
uniqueid disk
Plain Text
Disk ID : {BBEE121A-B3A9-4F09-A52A-2E3BDF58A480}
To change the signature of the second hard drive and thus resolve this signature collision problem, use the following command, reusing almost the same identifier.
Simply change one of the 4 characters located in the center.
In our case, we replaced the block "4F09" with "4F19".
Batch
uniqueid disk id=BBEE121A-B3A9-4F19-A52A-2E3BDF58A480
To check if the signature has been modified, use this command again :
Batch
uniqueid disk
As expected, this one has been changed and is now different from the other hard drive.
Plain Text
Disk ID : {BBEE121A-B3A9-4F19-A52A-2E3BDF58A480}
Once the signature is changed, put it online so you can use it by typing this command :
Batch
online disk
Plain Text
DiskPart successfully onlined the selected disk.
To quit Diskpart, type :
Batch
exit
5. Hard disks visible in the virtual machine
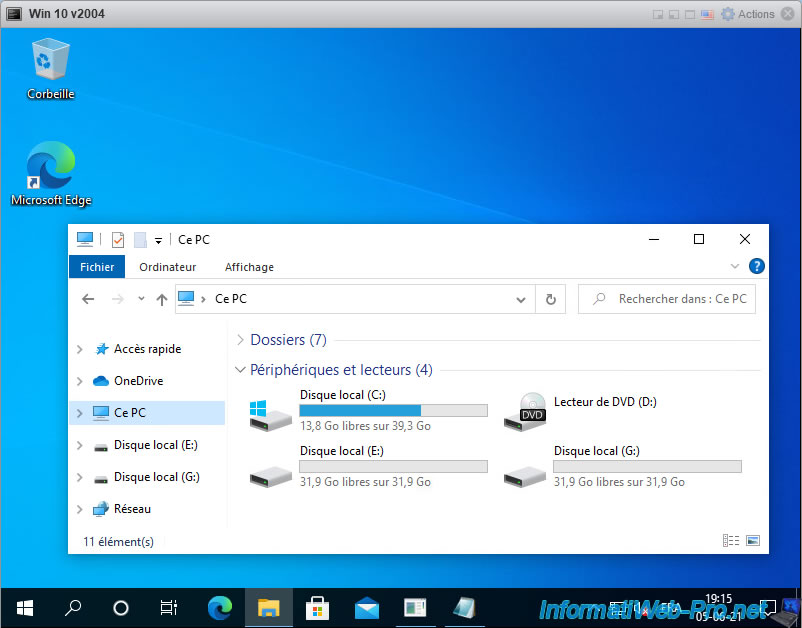
If you close Computer Management and open it again and go back to Disk Management, you will see that the disks are now online and no error is displayed.
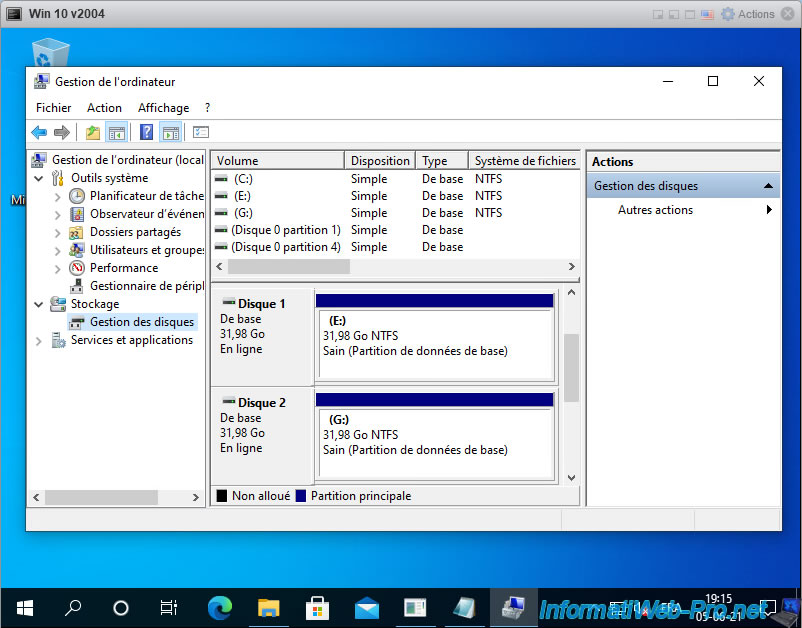
And the partitions will also appear (if you had partitioned the affected hard drives).
Share this tutorial
To see also
-
VMware 4/21/2023
VMware ESXi 6.7 - Change virtual disk provisioning
-
VMware 5/19/2023
VMware ESXi 6.7 - Create an iSCSI datastore
-
VMware 5/5/2023
VMware ESXi 6.7 - Direct Attached Storage (DAS)
-
VMware 12/23/2022
VMware ESXi 6.7 - Improve the performance by using a physical HDD
You must be logged in to post a comment