- VMware
- VMware ESXi
- 05 August 2017 at 12:04 UTC
-

- 1/3

By default, the VMware ESXi 5 server is secured with a self-signed SSL certificate.
This allows you to secure the connection to the ESXi server, but it also causes a warning about its certificate, because it doesn't originate from a trusted CA.
This is normal, because the server has delivered it to itself.
For the certificate to be valid, it must come from :
- a reliable certification authority such as : GeoTrust, digicert, ...
- your certification authority created on Windows Server or Linux.
Warning : this requires a little configuration on client computers. If the client workstations are linked to the Active Directory, then follow this.
VMware ESXi 5.0 End of Support
VMware ESXi 5.0 (which is part of the VMware vSphere 5.0 solution) is no longer supported by VMware since August 2016.
We therefore advise you to upgrade to a more recent version, such as : VMware ESXi 6.7.
To secure a VMware ESXi 6.7 hypervisor, refer to our tutorial : VMware ESXi 6.7 - Secure the server with a SSL certificate.
- Configuration used
- Domain name configuration
- Creating the certificate request, the certificate, and its private key
- Enabling SSH on the ESXi server
- Transfer the certificate and the private key to the ESXi server
- Restart ESXi server management agents
- Disabling the SSH protocol on the ESXi server
- Test the secure connection
1. Configuration used
For this tutorial, we have created an Active Directory domain controller and a certification authority on Windows Server 2012.
In this case, the Active Directory server allows us to automatically distribute our CA certificate to the client PCs in our network.
Thus, all PCs in our network recognize our certification authority as a trusted certification authority.
The certification authority (CA) will allow us to create a valid certificate for our ESXi 5.0 server.
2. Domain name configuration
To be able to secure your ESXi server with a valid SSL certificate, your VMware ESXi virtualization server must have a domain name or a simple name.
Since we have an Active Directory server in our network, our ESXi server will be part of our "informatiweb.lan" domain.
To get started, connect to your ESXi server with the VMware vSphere Client (direct link for the 5.0 version).

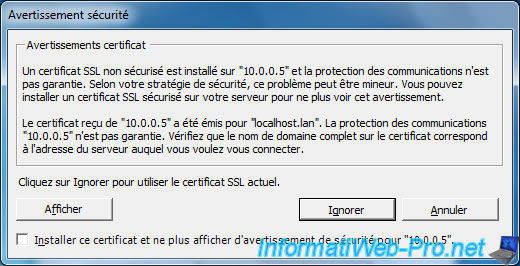
For now, a warning is displayed because the certificate is self-signed and delivered to localhost.lan.
Since the address doesn't match the address used when connecting to the server, this warning is displayed.
For now, click "Ignore".
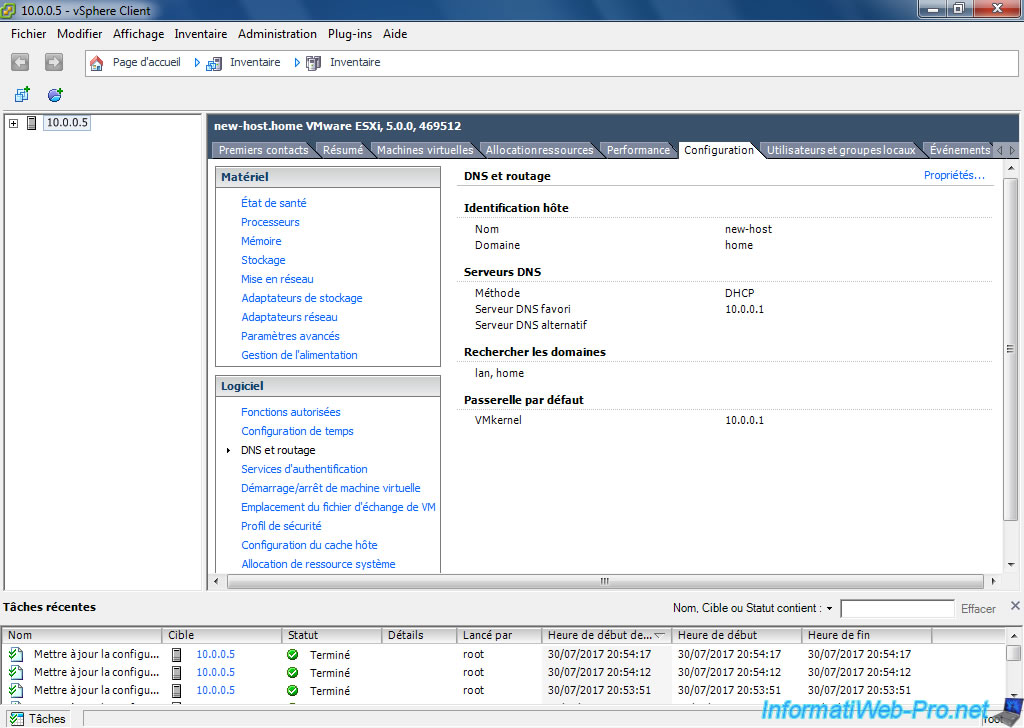
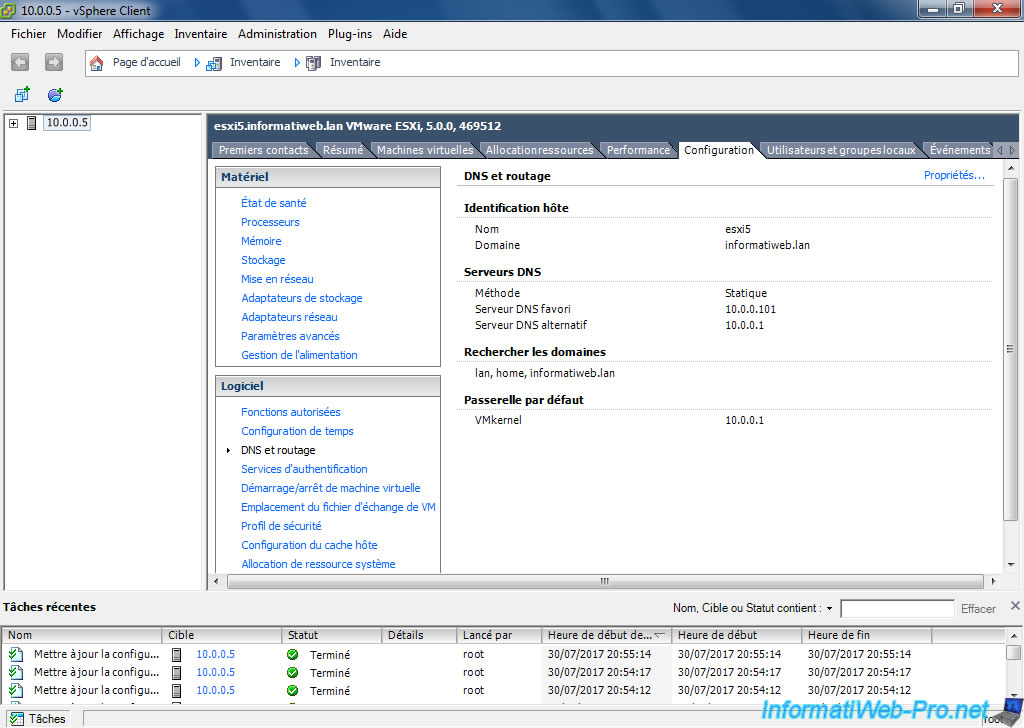
To change the name of your ESXi server, click Inventory and go to the Configuration tab.
Then, in the left menu, click "DNS and Routing".
To finish, on the right, click on the "Properties" link located at the top right.
To change the name of your server, you must first select the "Use the following DNS server address" option.
Since our server will be part of our domain "informatiweb.lan", we specify this :
- Name : esxi5
- Domain : informatiweb.lan
Since the installation of our Active Directory server also caused the installation of a DNS server, we take advantage of it to provide it as the preferred DNS server.
Then, we specify the IP address of our router as the alternate DNS server.
Finally, if your server is part of a local domain, you can also add your local domain name in the "Look for hosts in the following domains" box.
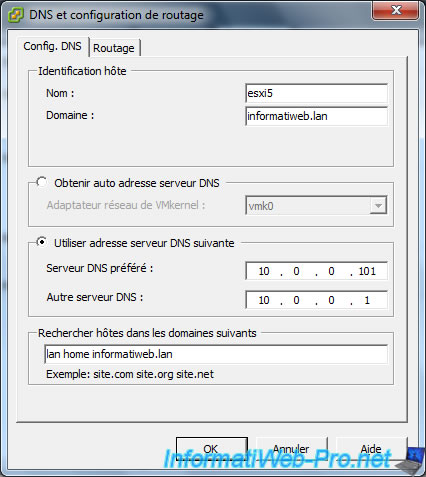
Now, our server is named : esxi5.informatiweb.lan
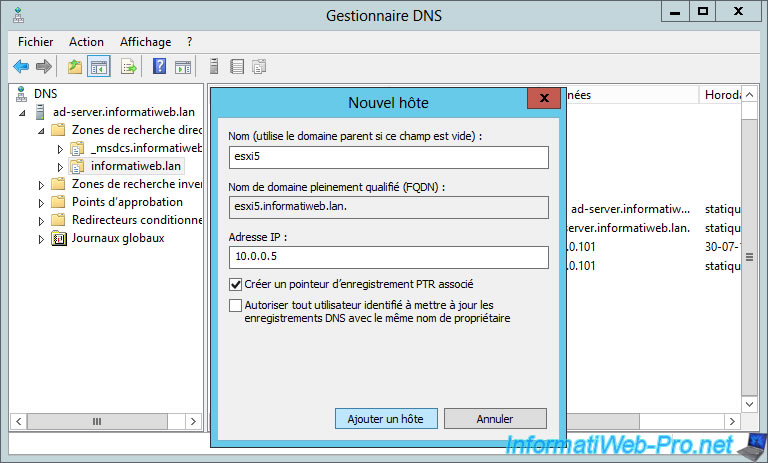
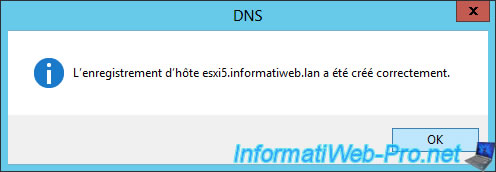
For this domain name to point to your ESXi server, you will also need to create a new A record in your local DNS server.
3. Creating the certificate request, the certificate, and its private key
To create a valid and adapted certificate for the ESXi server, you'll need the configuration provided by VMware :
Configuring OpenSSL for installation and configuration of CA signed certificates in the vSphere environment.
Download OpenSSL for Windows and unpack the downloaded file.
Then, copy the contents of the "bin" folder to the "C:\OpenSSL" folder (you must create this folder).
Finally, create a file "openssl.cfg" and paste this inside.
In this file, you will need to change the informations of the "req_distinguished_name" section, as well as the values given in the "subjectAltName" line.
Notes :
- the informations you need to change are in red on the VMware site.
- for the country code, see the "SSL Certificate Country Codes" page of the DigiCert website.
Plain Text
[ req ]
default_bits = 2048
default_keyfile = rui.key
distinguished_name = req_distinguished_name
encrypt_key = no
prompt = no
string_mask = nombstr
req_extensions = v3_req

[ v3_req ]
basicConstraints = CA:FALSE
keyUsage = digitalSignature, keyEncipherment, dataEncipherment
extendedKeyUsage = serverAuth, clientAuth
subjectAltName = DNS:esxi5, IP:10.0.0.5, DNS:esxi5.informatiweb.lan

[ req_distinguished_name ]
countryName = BE
stateOrProvinceName = Luik
localityName = Luik
0.organizationName = InformatiWeb
organizationalUnitName = ESXiServers
commonName = esxi5.informatiweb.lan
To create the certificate request, open a command prompt, and then move to the OpenSSL folder by typing this :
Batch
cd C:\OpenSSL
Then, create the certificate request (CSR) by using this command :
Batch
openssl req -new -nodes -out rui.csr -keyout rui-orig.key -config openssl.cfg
This will create the certificate request in a "rui.csr" file and a private key in the "rui-orig.key" file.
Plain Text
Generating a 2048 bit RSA private key
......................+++
....+++
unable to write 'random state'
writing new private key to 'rui-orig.key'
-----
As requested by VMware, convert the private key to RSA format by using this command :
Batch
openssl rsa -in rui-orig.key -out rui.key
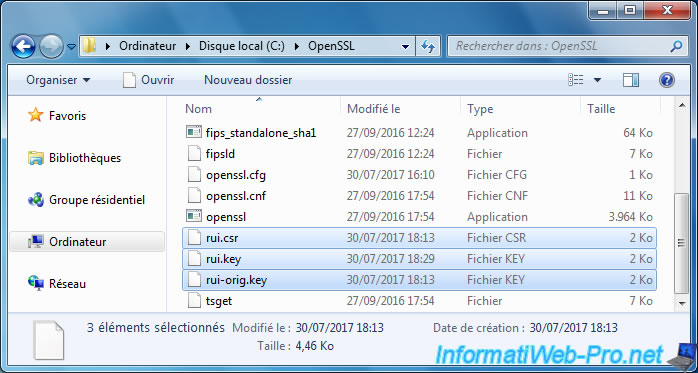
Now, you will find 3 new files in the OpenSSL folder :
- rui.csr : the certificate signing request
- rui.key : the RSA private key.
- rui-orig.key : the private key generated at the outset.
To obtain a valid certificate, you must send the certificate request to a trusted CA or submit it to your own CA.
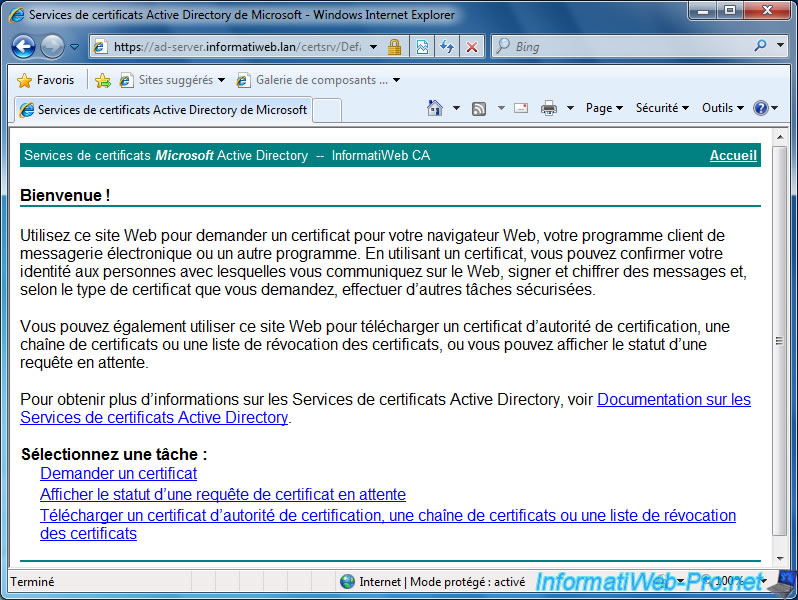
In our case, our Windows Server certification authority is accessible at : https://ad-server.informatiweb.lan/CertSrv
Once logged in with the domain administrator account, click on the "Request a certificate" link.
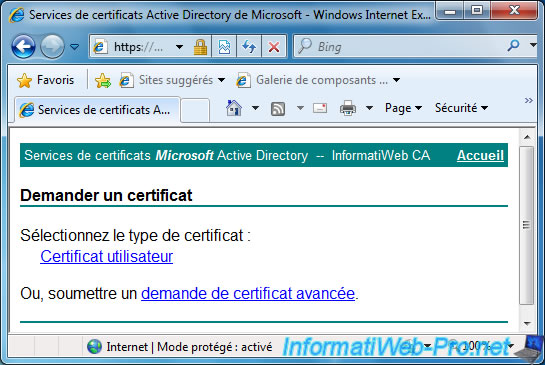
Click on "advanced certificate request".
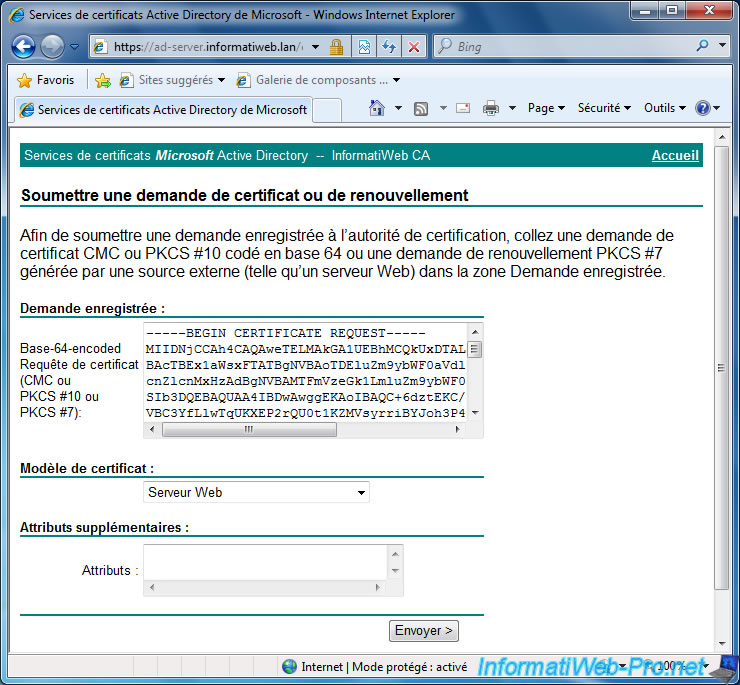
Then, as requested by VMware, you will need to submit your certificate request coded in base 64.
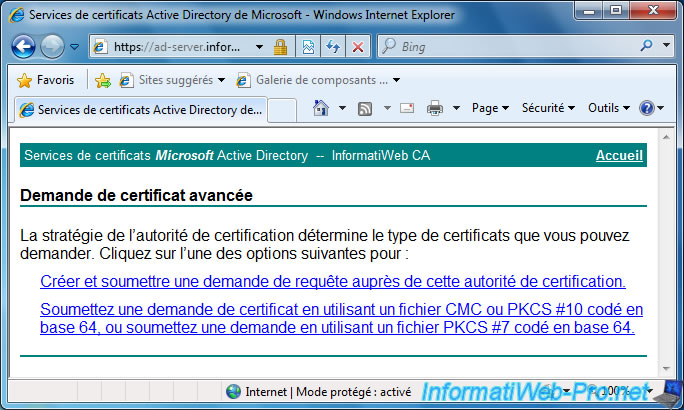
Open the "rui.csr" file with the notepad and copy its contents (from the -----BEGIN CERTIFICATE REQUEST----- line to the "-----END CERTIFICATE REQUEST-----" line included).
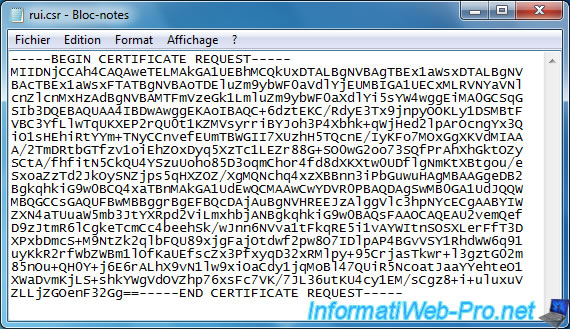
Then, paste it on the certificate request page of your CA.
Select "Web Server" for the certificate template and click "Send".
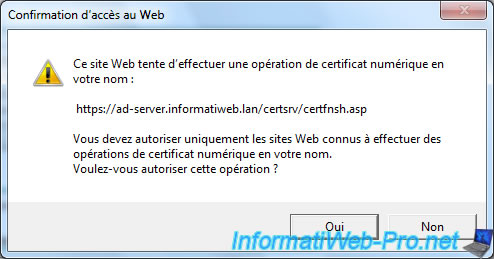
Confirm the digital certificate operation by clicking Yes.
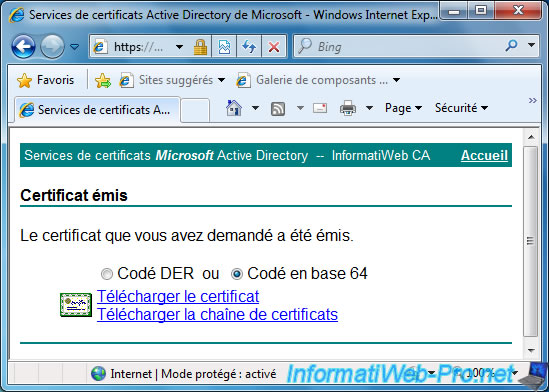
Select "Base 64 encoded" and click "Download certificate" to download your new digital certificate.
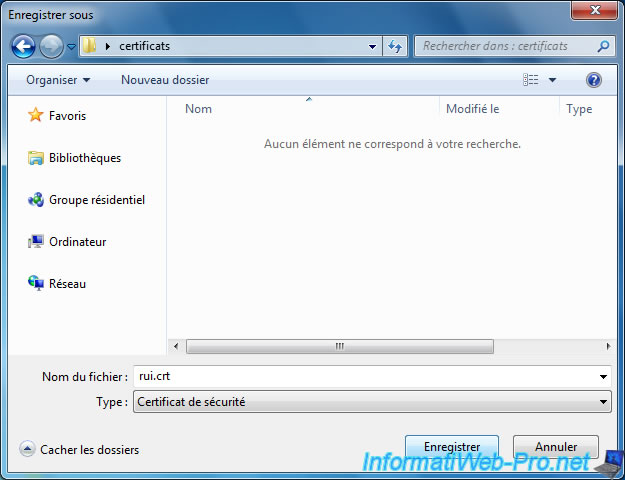
Save this file where you want.
Share this tutorial
To see also
-
VMware 11/2/2022
VMware ESXi 6.7 - Manage services and firewall
-
VMware 12/16/2022
VMware ESXi 6.7 - Slice the virtual hard disk of a VM
-
VMware 10/15/2025
VMware ESXi 7.0 - Create a bootable USB key to install VMware ESXi 7.0
-
VMware 7/15/2022
VMware ESXi 7.0 / 6.7 - Change the network configuration (IP and DNS)
You must be logged in to post a comment