- Windows Server
- AD CS
- 04 January 2015 at 10:57 UTC
-

- 1/4
When you want to secure the connection to a web server, a "Terminal Server" server, ... you must use an SSL certificate. However, when you do not want to pay an SSL certificate, you will use a "self-signed" certificate. This type of certificate is used to secure the connection but the web browser or the program that uses it will display a warning because he is a "self-signed" certificate. The certificate has not been verified by a trusted authority.
In the case of a terminal server, you must use a certificate signed by a trusted authority to access the "RemoteApps" through Windows (without using the web browser). In this case, either you buy an SSL certificate from a recognized authority, or you create a root CA on your server and you add your root certificate in the list of "trusted certification authorities" of the client.
In this tutorial, we will create an Enterprise Root CA (linked to Active Directory) and will modify group policies for clients of the Active Directory automatically receive the certificate of our root CA. Thus, our authority will be recognized by the client computers and no warning will be displayed about our SSL certificates.
Prerequisite :
- an Active Directory
Windows Server 2012 End Of Support
Support for Windows Server 2012 will end on October 10, 2023.
We therefore advise you to upgrade to a more recent version, such as: Windows Server 2016.
To install a certificate authority (CA), refer to our new tutorial : WS 2016 - AD CS - What is a CA and install an enterprise CA.
- Installing and configuring the Enterprise Root CA
- Export the root authority certificate
- Create a new certificate template
- Request a Certificate
- Protect the IIS Web server with the generated certificate
- Distribute the certificate to the Active Directory clients
- Install the web interface of the certification authority
- Overview of the certification authority web interface
- Configuring HTTP and File protocols for revocation lists
- Revoke a certificate
- Request a new certificate
- Revoke the new certificate
1. Installing and configuring the Enterprise Root CA
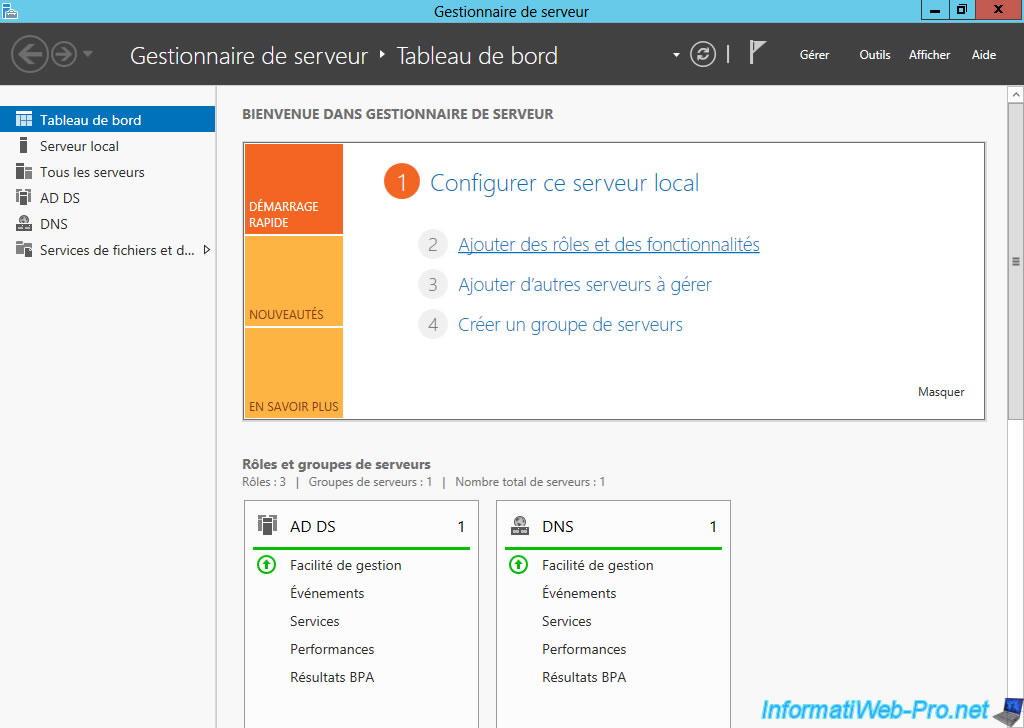
To begin, we will install our root CA. To do this, click on "Add roles and features."
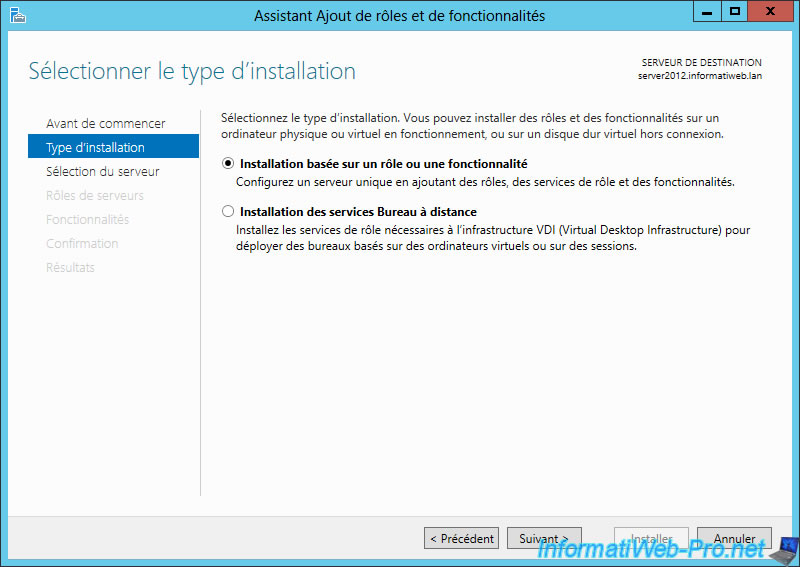
Select "Application based on a role or feature".
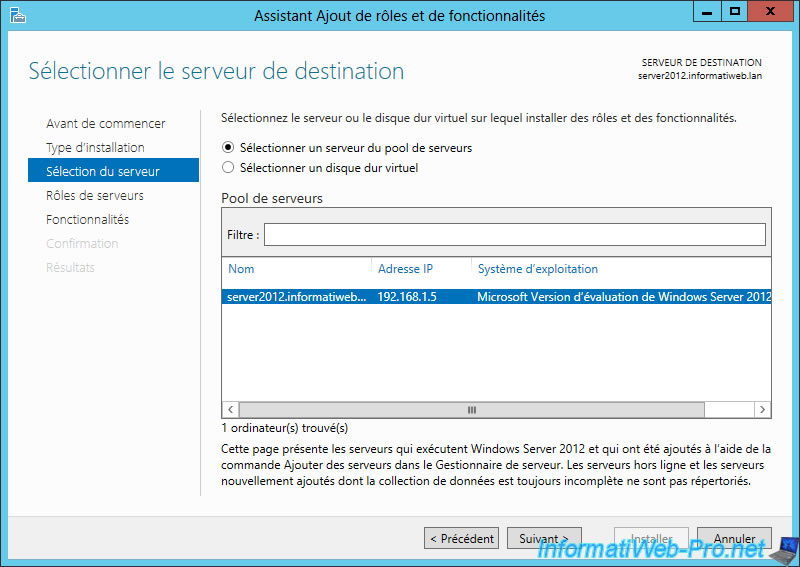
Select the destination server.
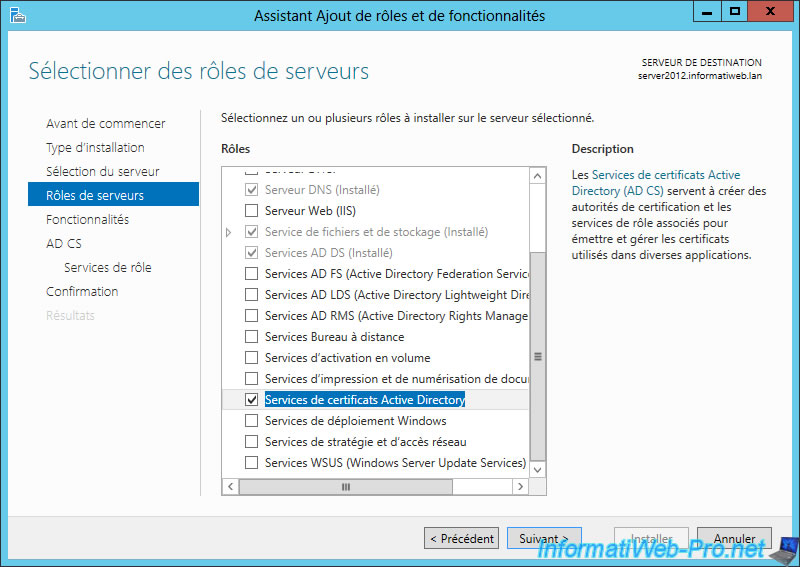
Select "Active Directory Certificate Services" (AD CS).
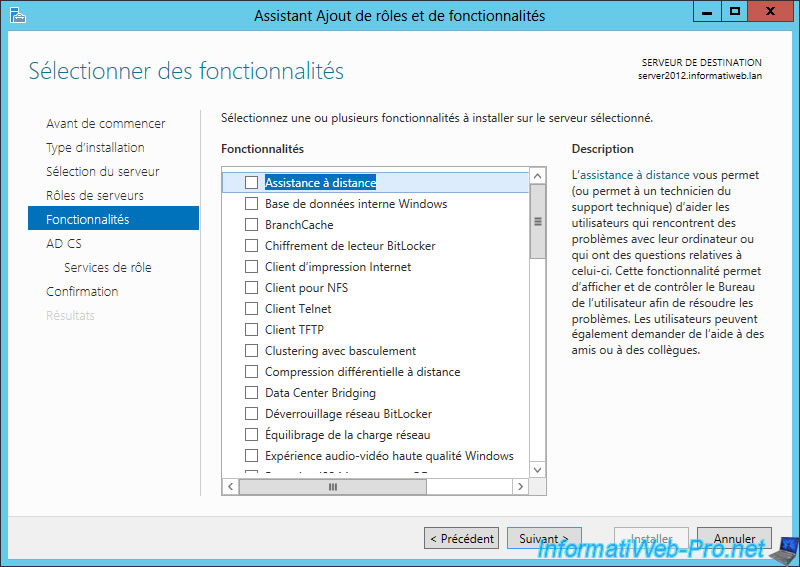
No additional features.
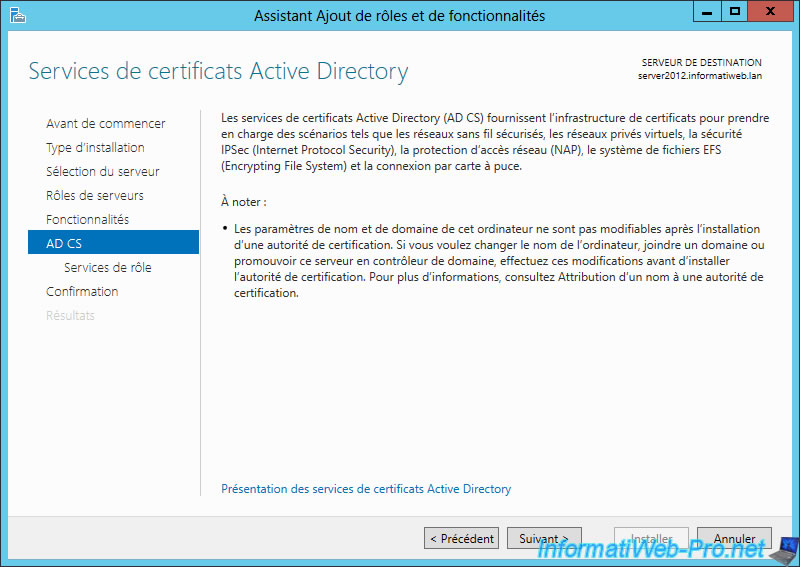
Windows displays a description of the role "Active Directory Certificate Services".
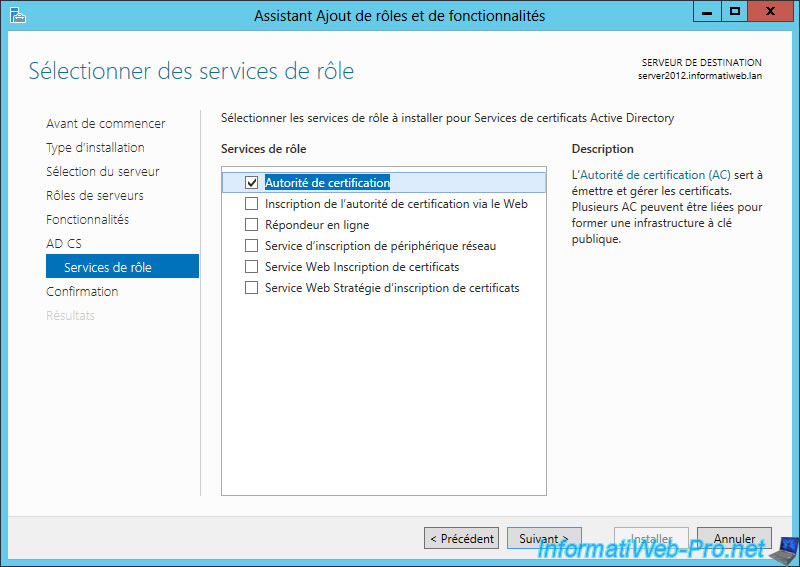
Select "Certification Authority".
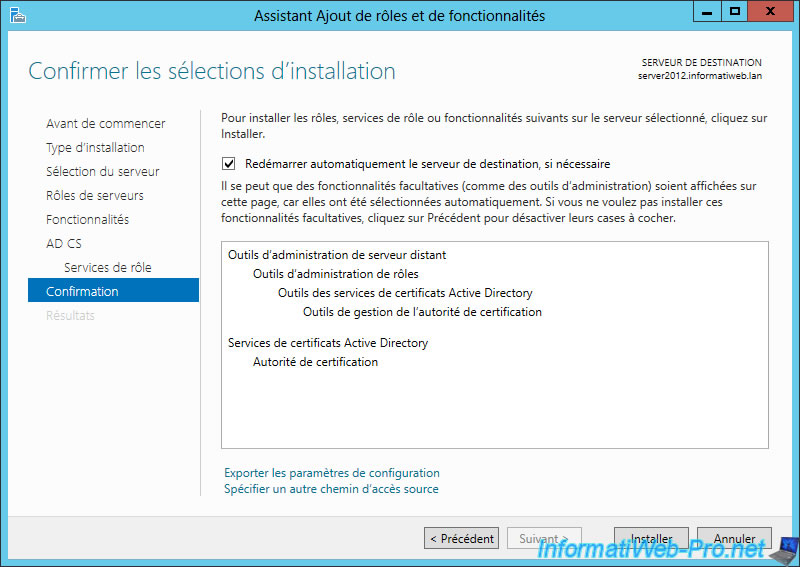
Check the "Automatically restart ..." box and click "Install".
Once installation is complete, click on the link : "Configure Active Directory Certificate Services on the destination server".
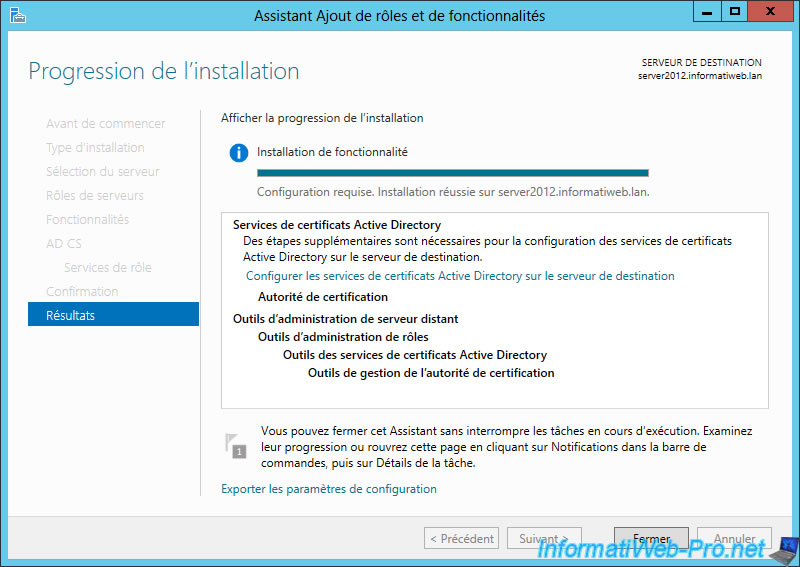
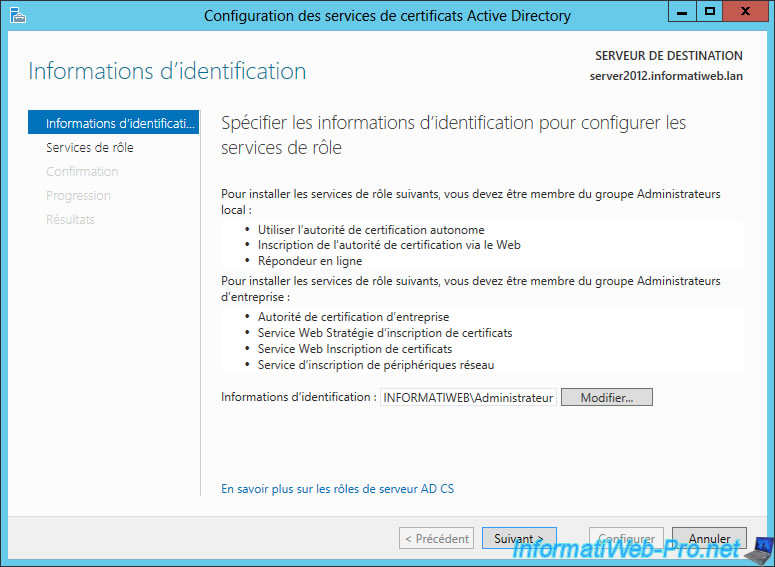
"Configuring Active Directory Certificate Services" window appears.
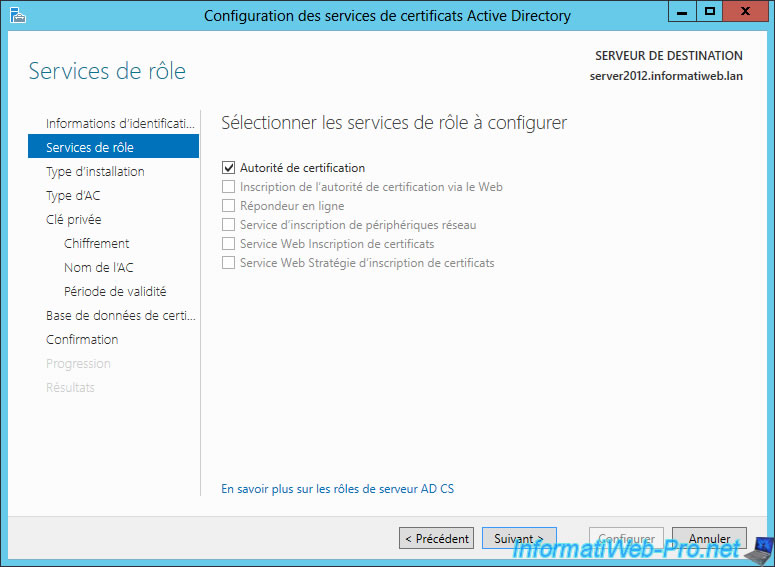
Check the "Certification Authority" box to configure this role.
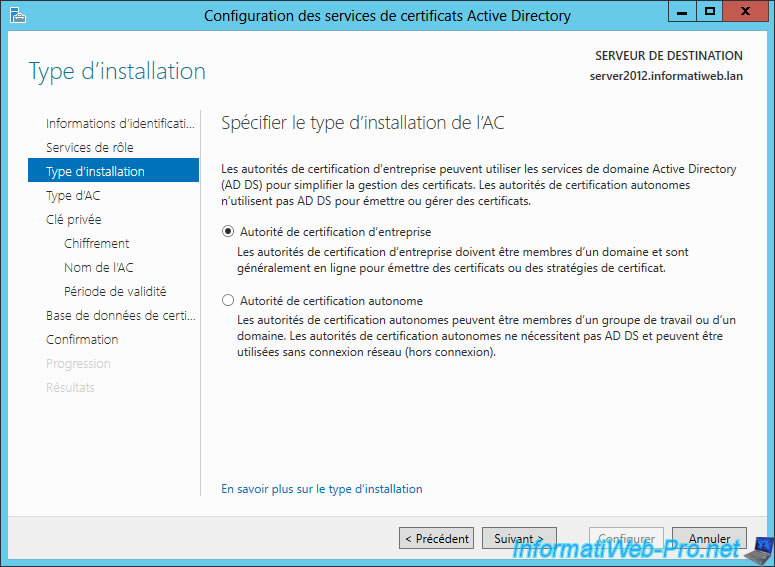
Select "Enterprise Certification Authority".
Note : If this box is grayed out, is that this server isn't a member of an Active Directory. This role can be installed on the same server by following our tutorial : "Windows Server 2012 - Creating an Active Directory".
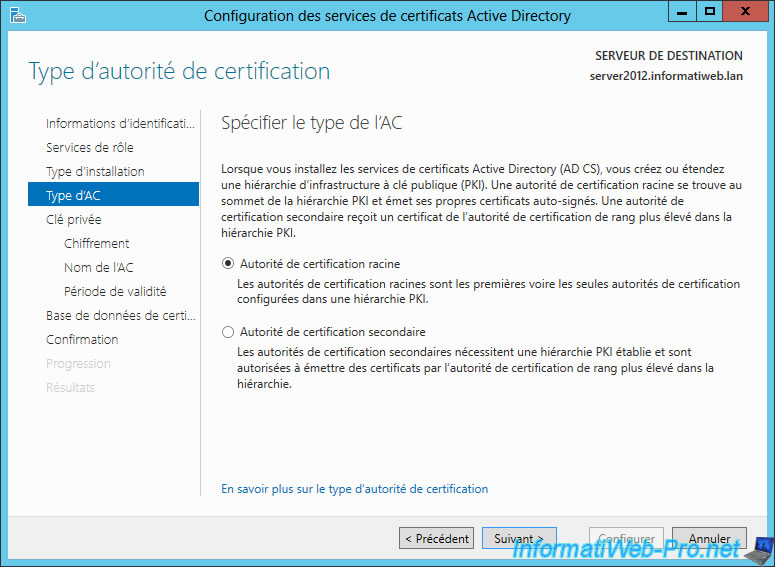
Select "Root certification authority" (Root CA) because our authority isn't dependent on another.
Information about these two types of authority :
- For example, Google has created a subordinate certification authority because "GeoTrust" has sign the certificate of his authority. "Equifax Secure CA" has signed the certificate of authority of Geotrust. And because that the certificate "Equifax Secure CA" is present in the list of trusted authorities on Windows, the certification authority of Google is thus validates and his certificates too.
- In our case, we do not depend on any CA so we have to distribute our certificate to client computers so that our certificates are considered valid. This type of CA is interesting for an intranet (preferably with an Active Directory) but is not recommended for public access. Because our authority is not in the trusted certificate authorities by default, people around the world would see a warning about our certificates. If you want to use your certificates for a public website, you should buy your certificates separately or create a secondary authority as Google.
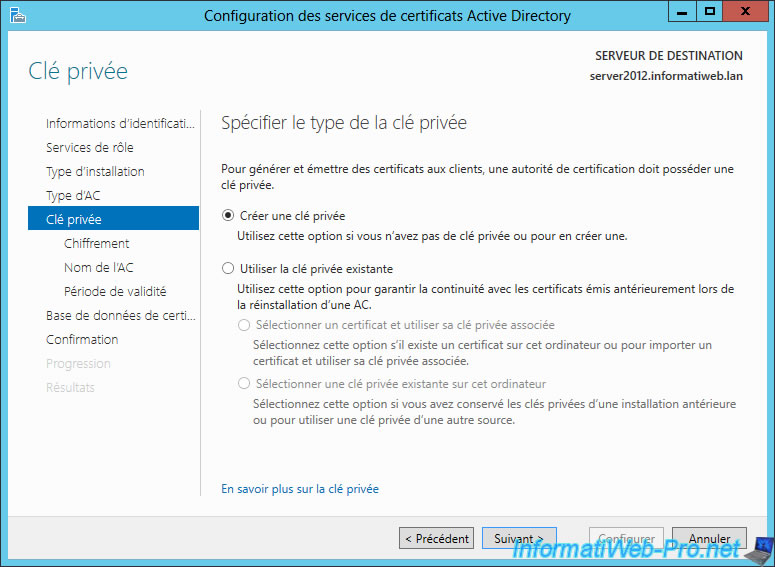
Because this is the first installation of our CA, we will create a new private key.
The second option allows you to choose the private key from an old installation of your CA and you will ensure the continuity of certificates issued prior to the new installation
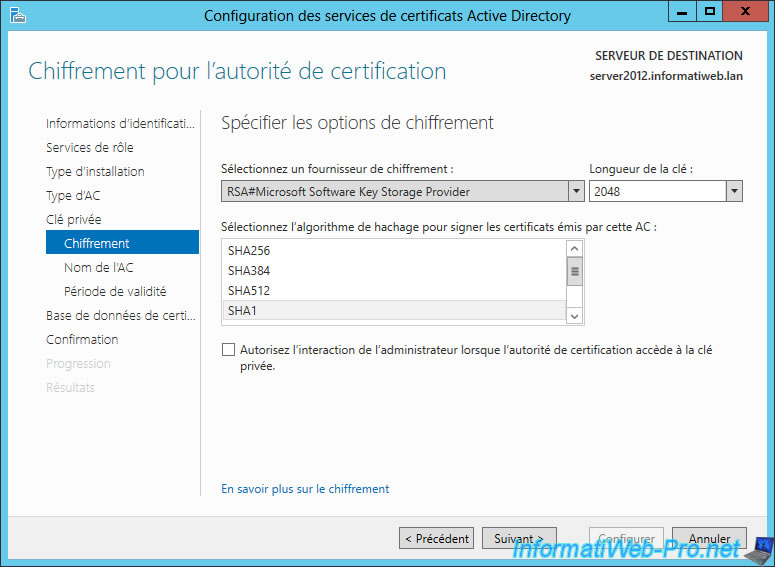
When writing this tutorial, you could use the default encryption (SHA1) which was the one used by Google for its certificates.
Warning : since 2022, use the "SHA256" hashing algorithm. Otherwise, the "Edge" web browser will block access to the "secure" website with a certificate whose algorithm is considered weak.
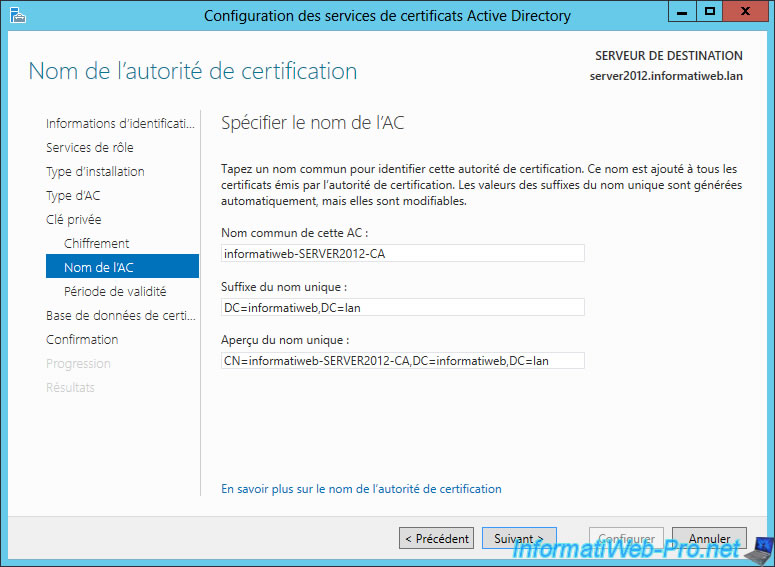
By default, values ​​are already given but you can change the common name of the CA if you wish. When you access a website secured with your certificates is the common name that will be displayed because it's the real name of the authority.
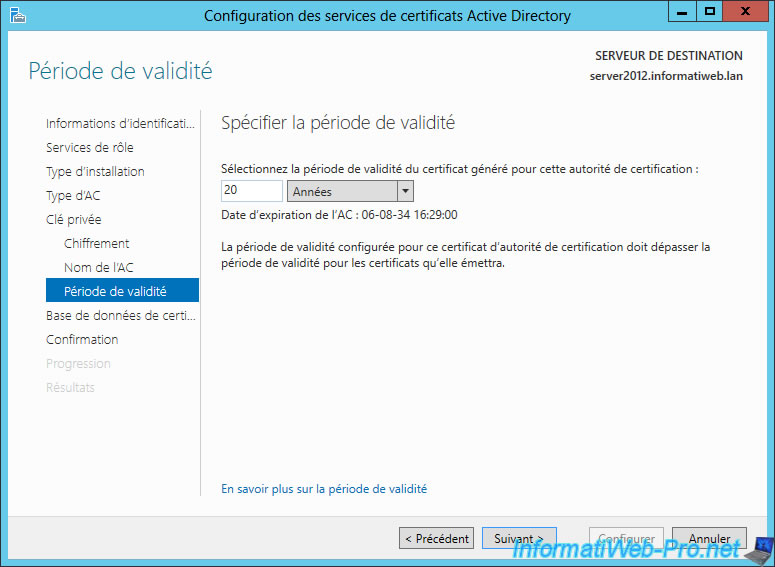
Specify a validity period for the certificate of your CA.
Note : As shown in this image, the validity period set for the authority's certificate must exceed the validity period of the certificates she will emit.
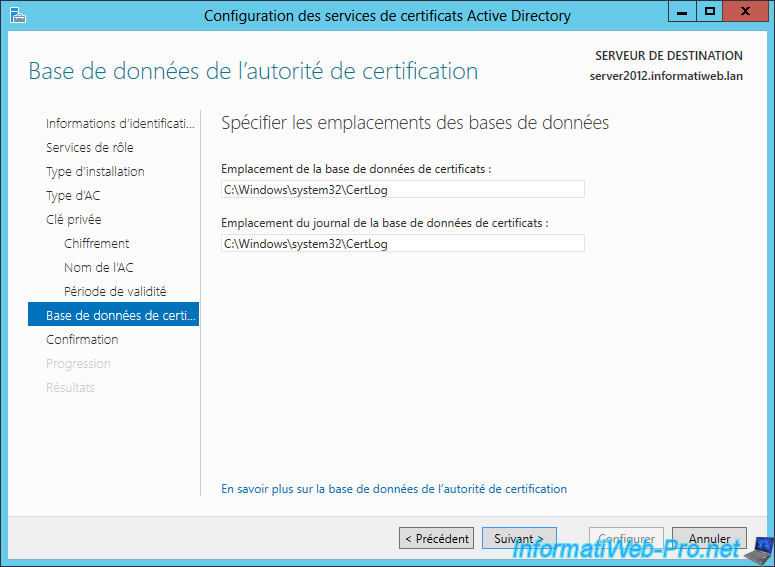
Let the folders of databases, by default.
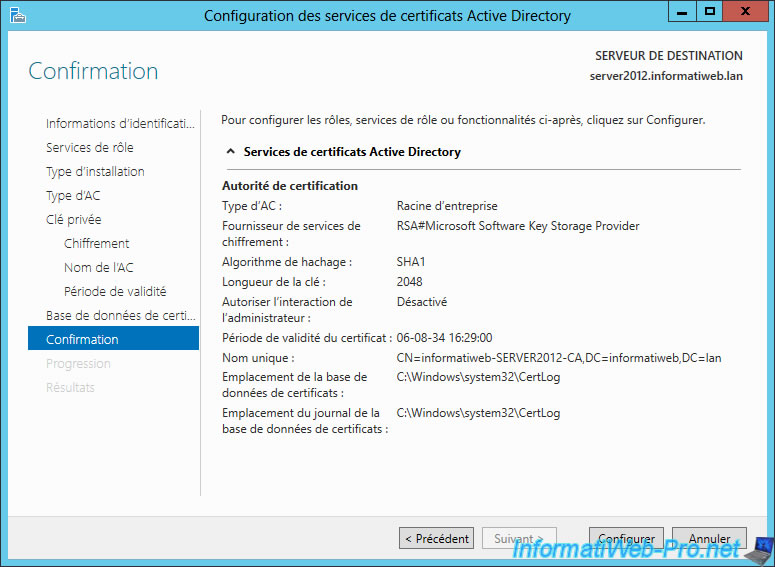
The wizard displays a summary of your configuration.
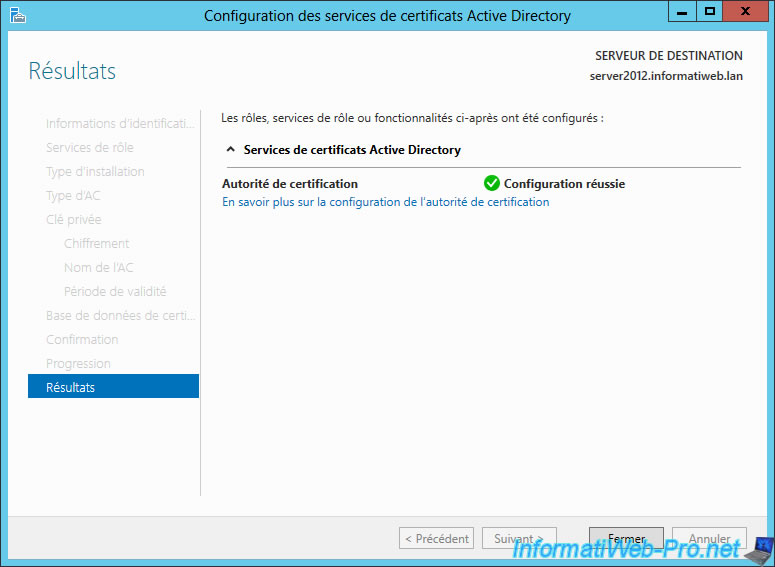
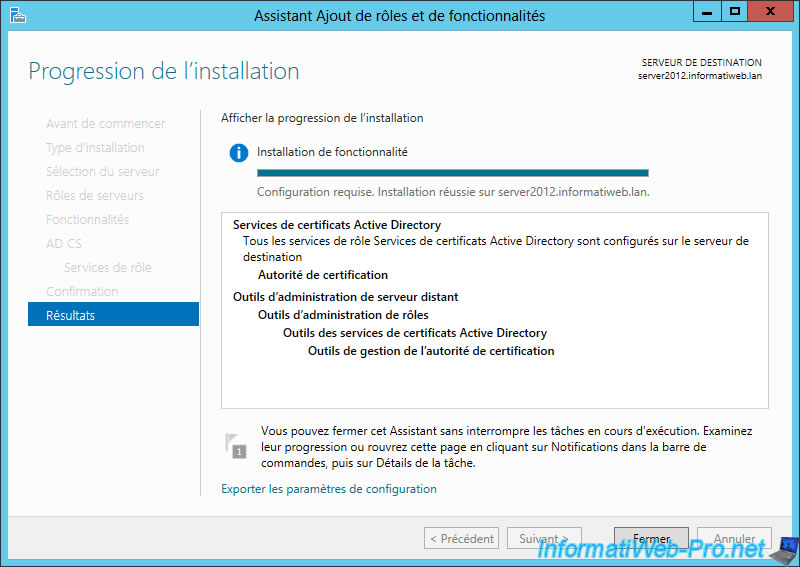
Our certification authority is now installed and configured.
2. Export the root authority certificate
To distribute our root certificate to clients of the Active Directory, we will need our root certificate.
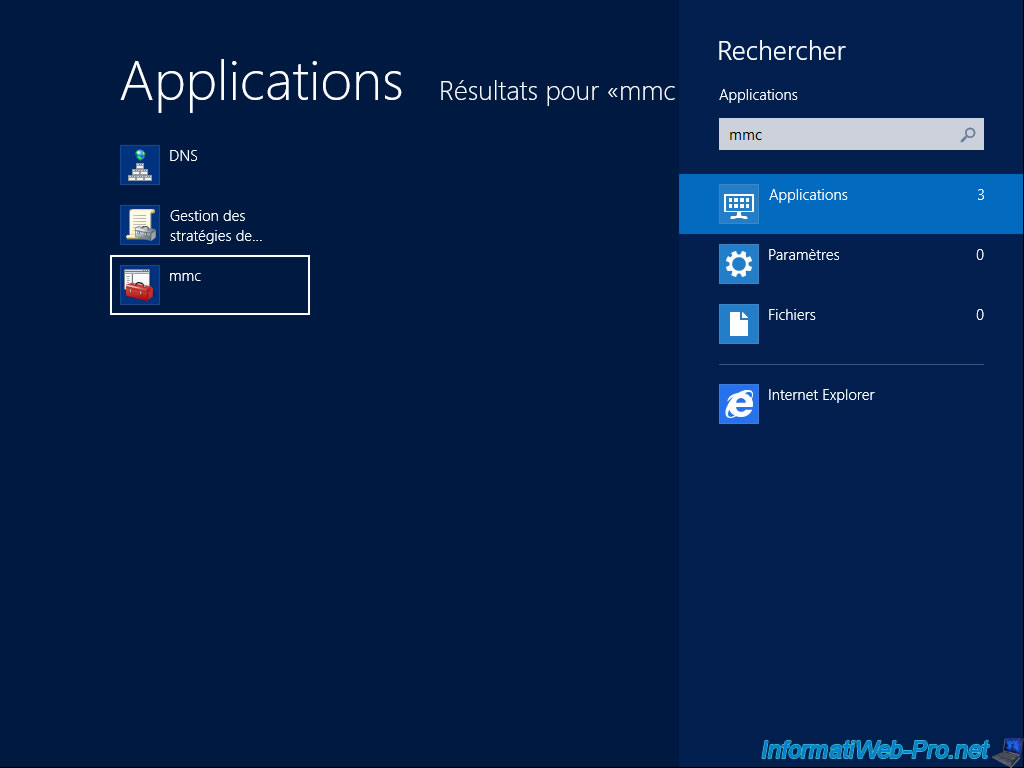
To export it, go to the bottom corner left to go to the touch interface and type "mmc".
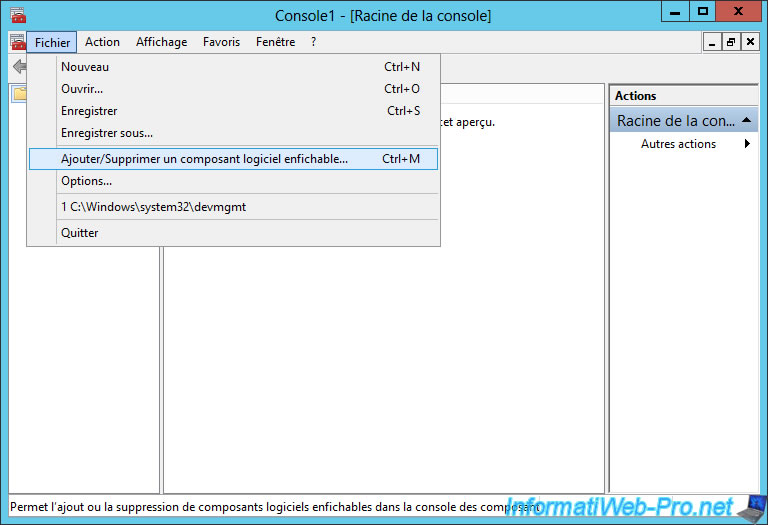
In the console that opens, go to the menu "File -> Add/Remove Snap-in".
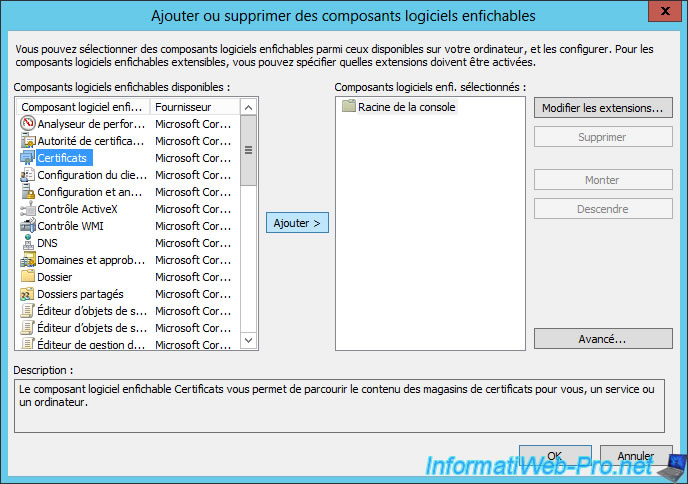
Select "Certificates" in the left column and click "Add >".
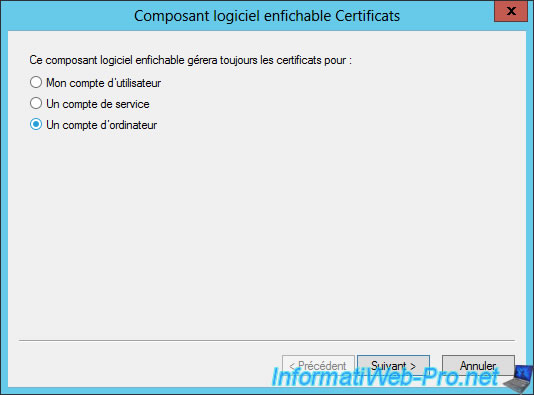
Select "A computer account".
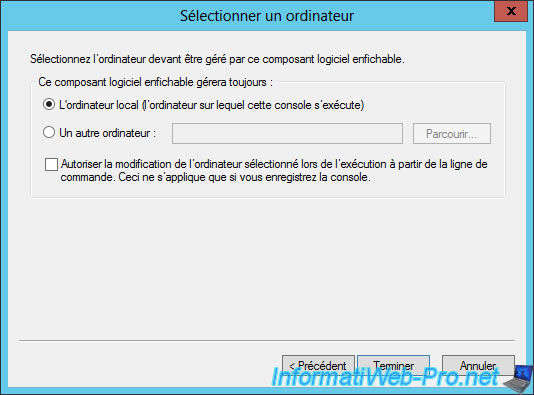
Then, "Local Computer".
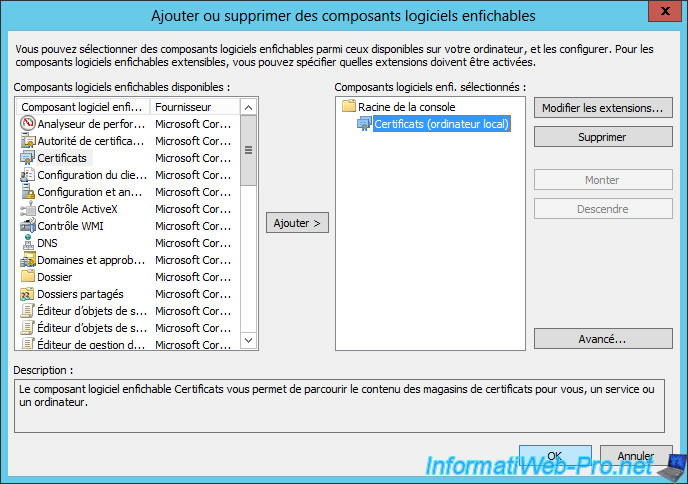
The component "Certificates (Local Computer)" will appear in the right column. Click "OK".
By going to "Certificates ... -> Trusted Root Certificate Authorities -> Certificates", you will see that our root certificate is already present in this list.
The certificates we generate will be considered as valid by our server (only).
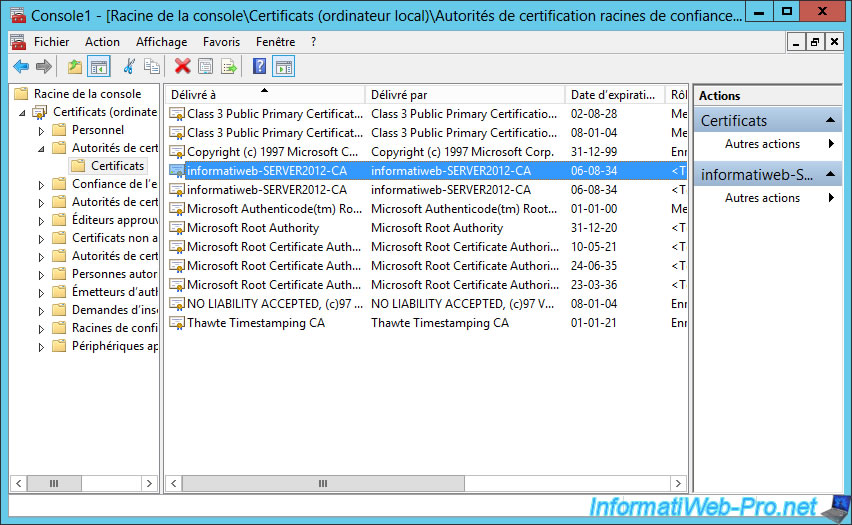
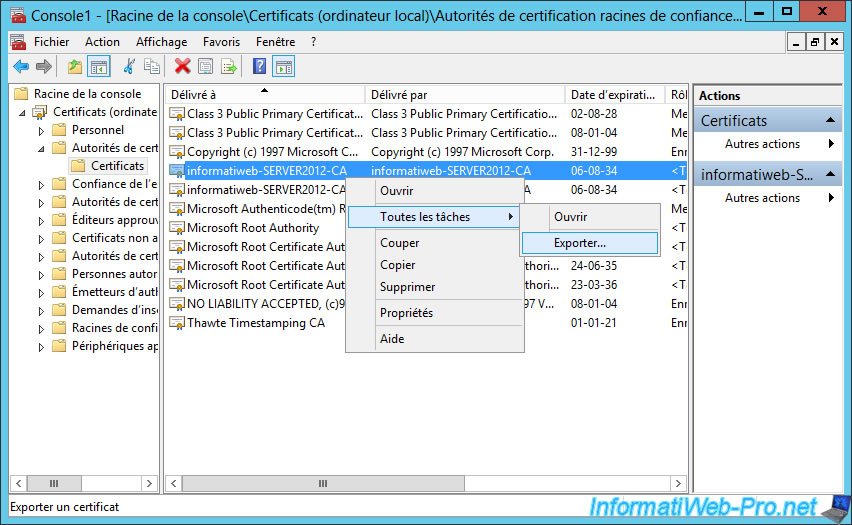
To export the certificate, select the first that matches your certification authority and right-click -> "All Tasks -> Export".
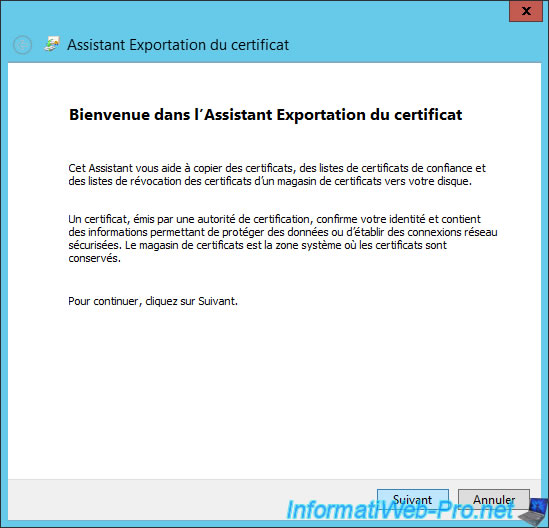
The Export Wizard appears.
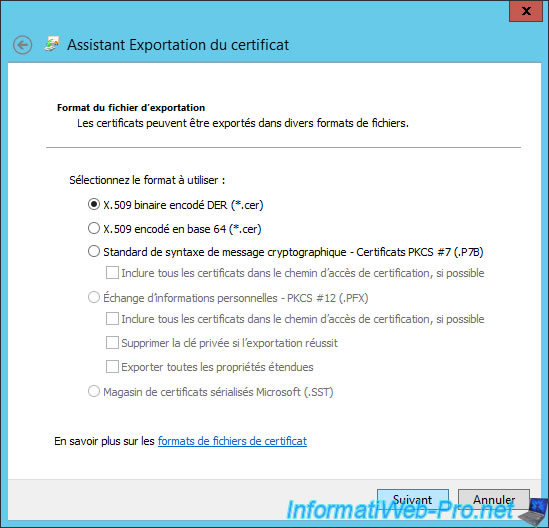
Select "DER encoded binary X.509 (*.cer)."
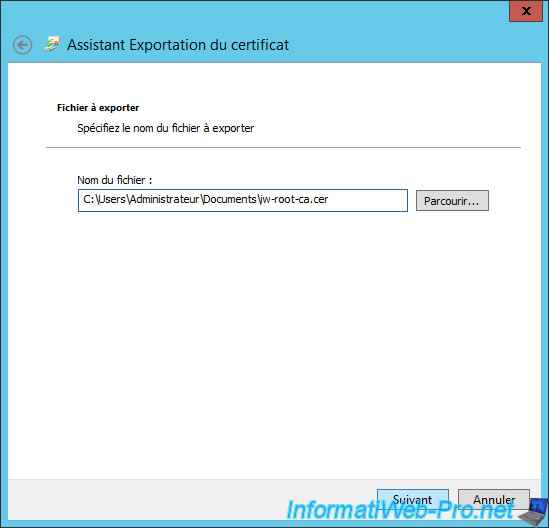
Click "Browse" to select the folder where you want to export your certificate.
A summary is displayed.
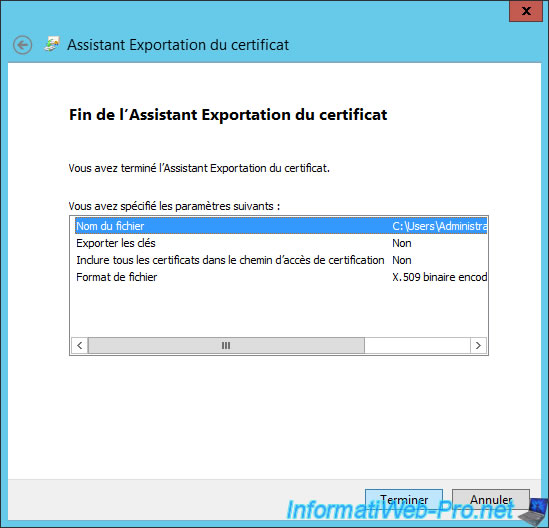
The certificate was exported.
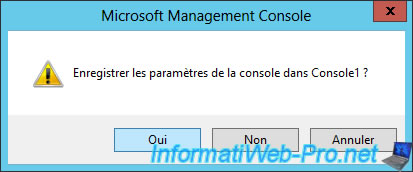
Close the console and click "Yes" to save it. It will save you time when you want to manage your certificates.
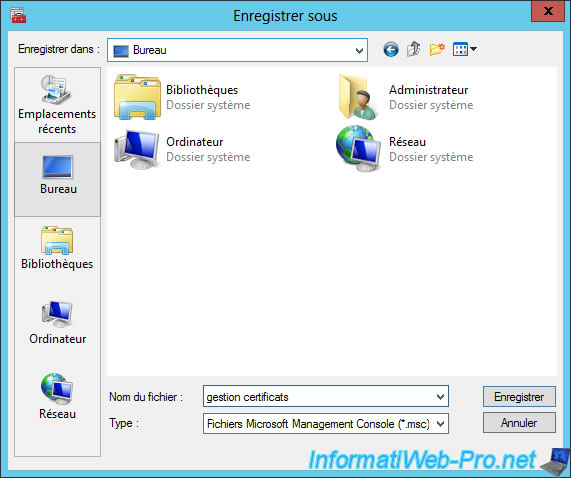
In our case, we'll save it on the desktop.
3. Create a new certificate template
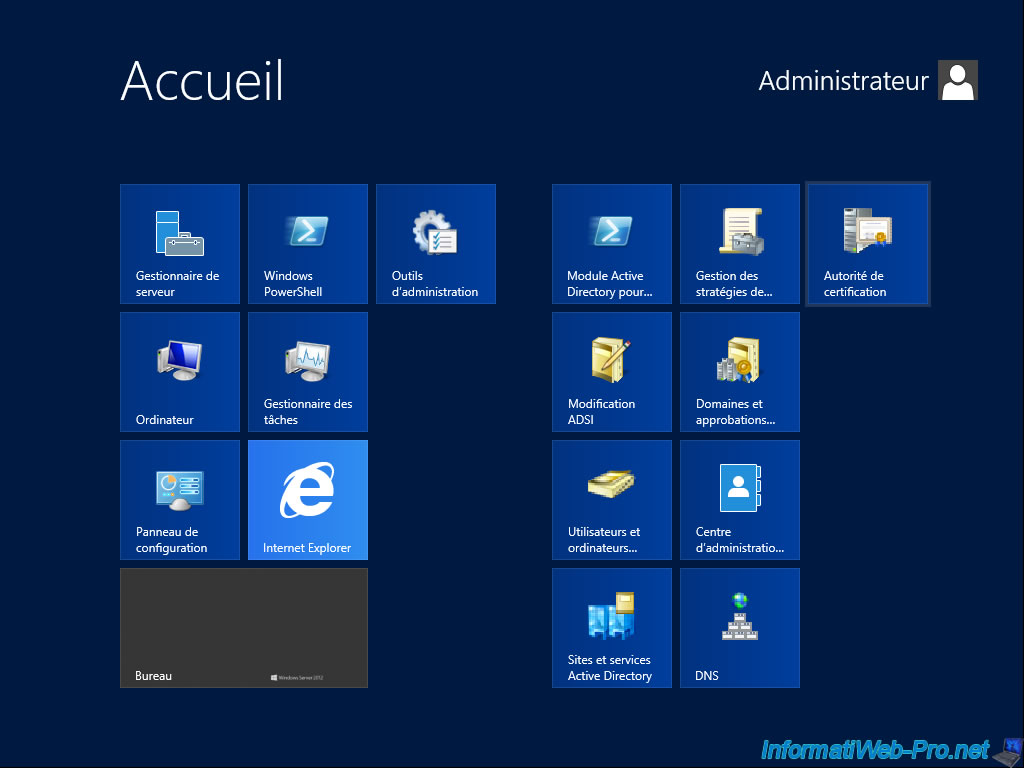
To manage the certificate templates, return to the touch interface and click on "Certification Authority".
Note : For Windows Server 2012 R2, you must first click the arrow at the bottom left to find this shortcut.
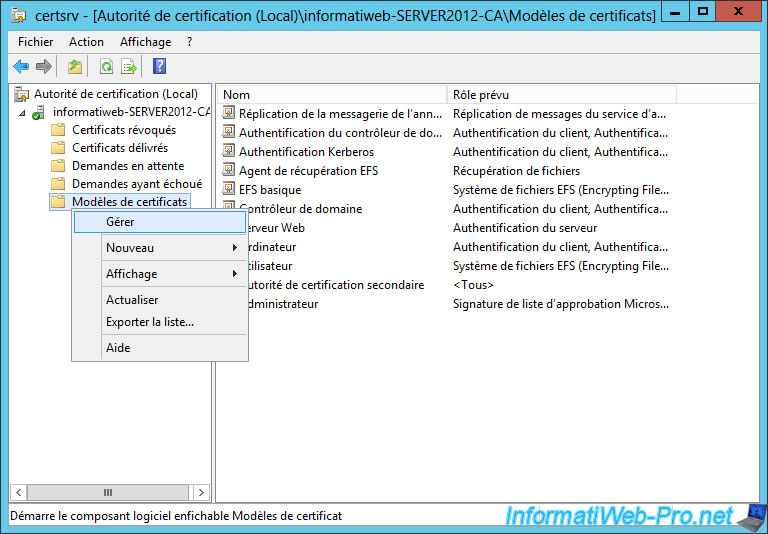
Go to "Certification Authority (Local) -> [name of your authority]" and right-click "Manage" on "Certificate Templates".
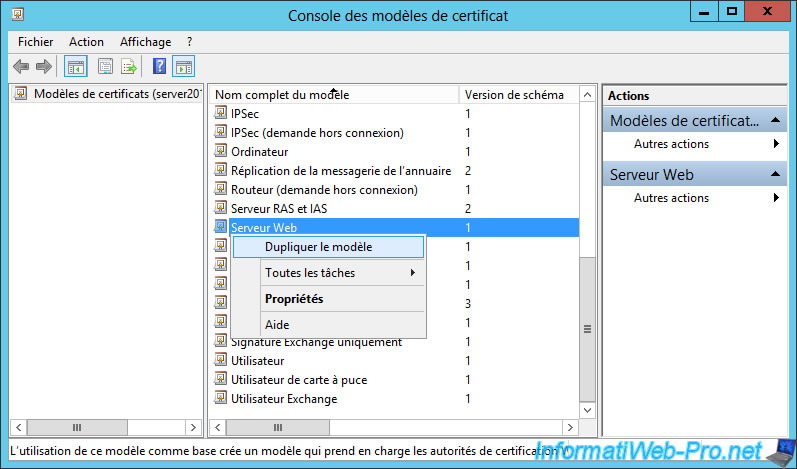
Duplicate the "Web Server" template, for example. Because, we show how to secure IIS web server.
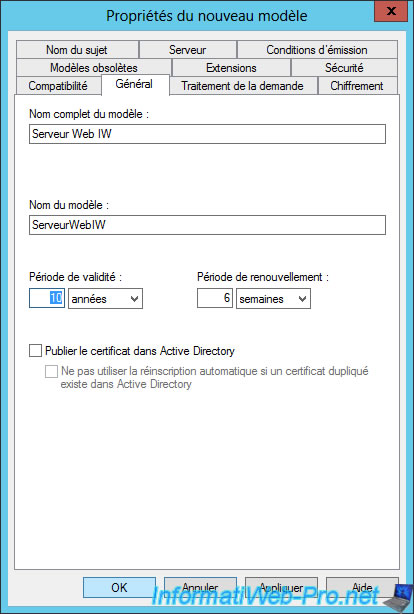
Rename the new certificate template and change the validity period if you wish.
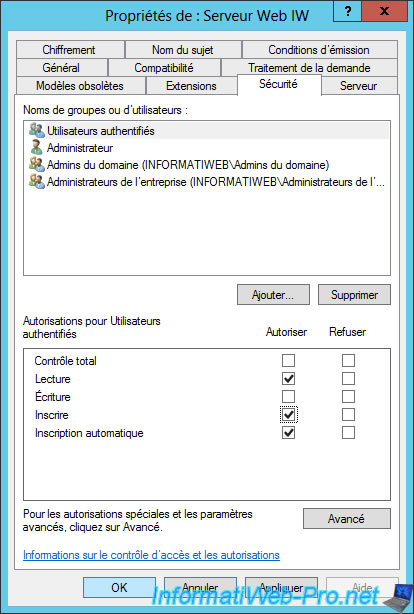
Then, go to the "Security" tab and change the permissions of "Authenticated Users" so that they can request certificates (registrations).
Check the "Registration" and "Automatic Registration" boxes.
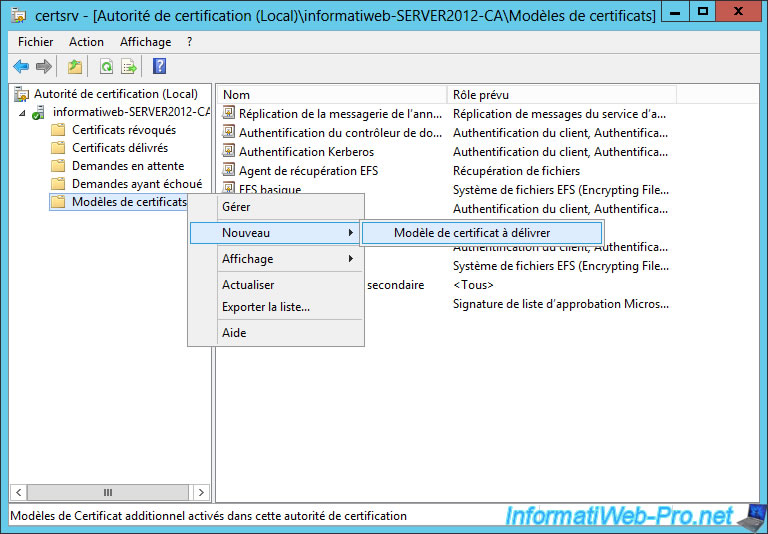
As you can see, the new model isn't displayed by default. For this new model certificate is displayed, you must right-click on "Certificate Templates" and click "New -> Certificate Template to emit".
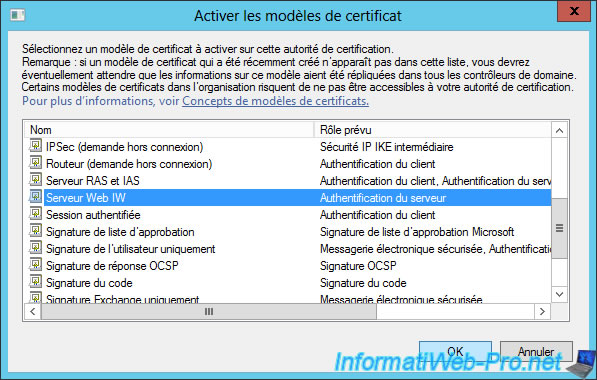
Select your new model.
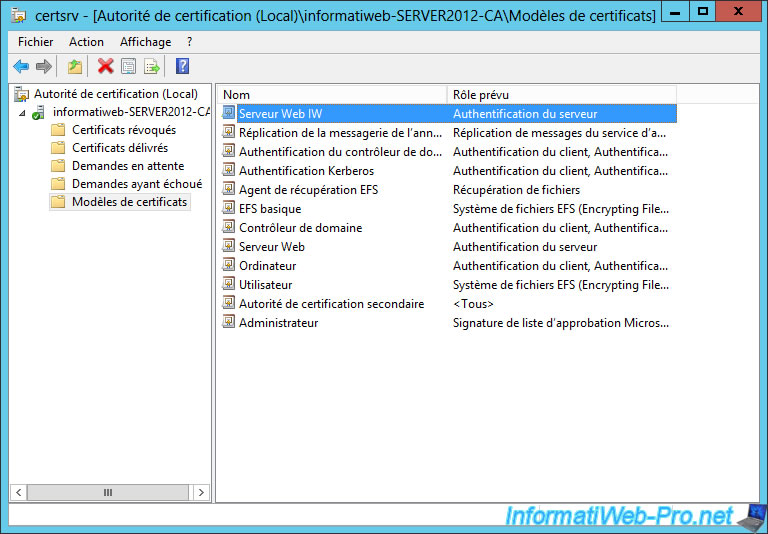
Your new template is displayed.
Share this tutorial
To see also
-
Windows Server 12/29/2023
WS 2016 - AD CS - Backup and restore a certificate authority (CA)
-
Windows Server 12/22/2023
WS 2016 - AD CS - Deploy a multi-site PKI infrastructure
-
Windows Server 12/15/2023
WS 2016 - AD CS - Fix the issue of an expired CRL on a root CA (0x80092013)
-
Windows Server 10/27/2023
WS 2016 - AD CS - Securing an IIS web server

You must be logged in to post a comment