- Microsoft
- 13 December 2019 at 15:35 UTC
-

- 1/4

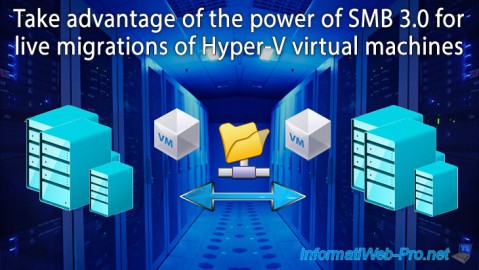
When you create a SMB share (a shared folder) on a Windows Server file server, you have the option of creating different types of SMB shares, including SMB - Applications sharing.
This type of SMB sharing is version 3 of this technology and, as indicated by the Windows Server New Share wizard, this type of sharing is appropriate for Hyper-V, as well as other basic or server applications.
In this tutorial, we will create a "Scale-Out File Server" cluster on which we will create a SMB v3 share (SMB Share - Applications).
- What's new and advantages of SMB 3.0
- Creating the failover cluster
- Add the "File Server" cluster role
- Create a SMB share - Applications
- Enable and enjoy SMB Direct performance with RDMA
- Disable version 1 of the SMB protocol
- Migrating the storage of a virtual machine
- Adding the virtual machine to the cluster
1. What's new and advantages of SMB 3.0
Network adapters compatible with SMB 3.0 have various advantages and include :
- Direct SMB : which allows (with RDMA (Remote Direct Memory Access) compatible network adapters to transfer data between 2 network adapters without using the server processor.
In addition, each network adapter allows you to use 2 RDMA connections. - multichannel : which allows, with the RSS (Receive Side Scaling), to create 4 TCP/IP connections simultaneously instead of just one for standard network adapters.
- SMB directory leasing : which makes it possible to cache the properties of the files for a quicker access to them. Note that this only applies to the properties of the files (not the contents of these files).
- encryption : by default, data transferred can be encrypted between different computers with SMB 3.0 compliant network adapters.
Note that this can be disabled if you wish. - and more
Note that if you want to test the SMB 3.0, you can use virtual machines under Hyper-V because this protocol is supported.
For more information about what's new in SMB 3.0, see the "New SMB 3.0 features in the Windows Server 2012 file server" page on the Microsoft site.
2. Creating the failover cluster
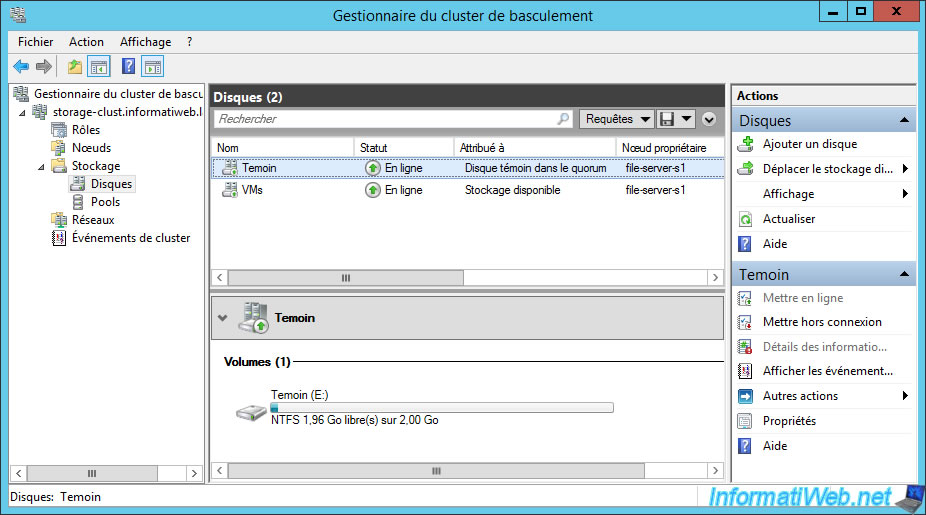
When you want to create a failover cluster, you need at least 2 iSCSI disks :
- 1 which will be used as a witness disk by the cluster
- 1 where you will store data related to the clustered role. In our case, virtual machines of our Hyper-V cluster.
If you have never created a failover cluster, we recommend that you first follow our tutorial : Create a failover cluster of file servers
Indeed, we will not explain in detail here how to create a failover cluster, but only the clustering of the "Scale-Out File Server for application data" role, as well as how you will need to use it.
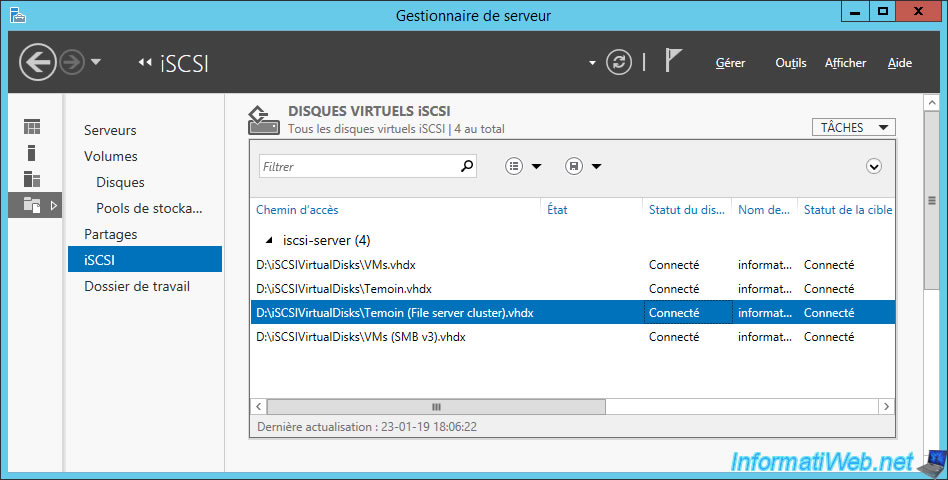
Once you have connected the nodes of your file server cluster to your iSCSI server, be sure to partition your iSCSI disks.
In our case, we will use :
- 1 witness disk of 2 GB
- 1 disk of 1 TB to store our virtual machines
Create your failover cluster.
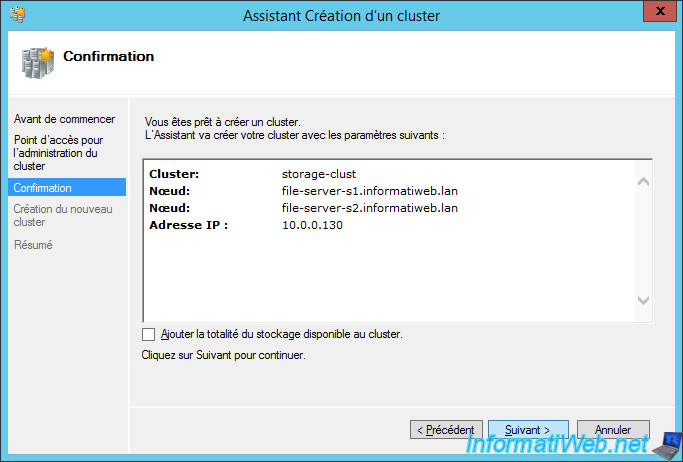
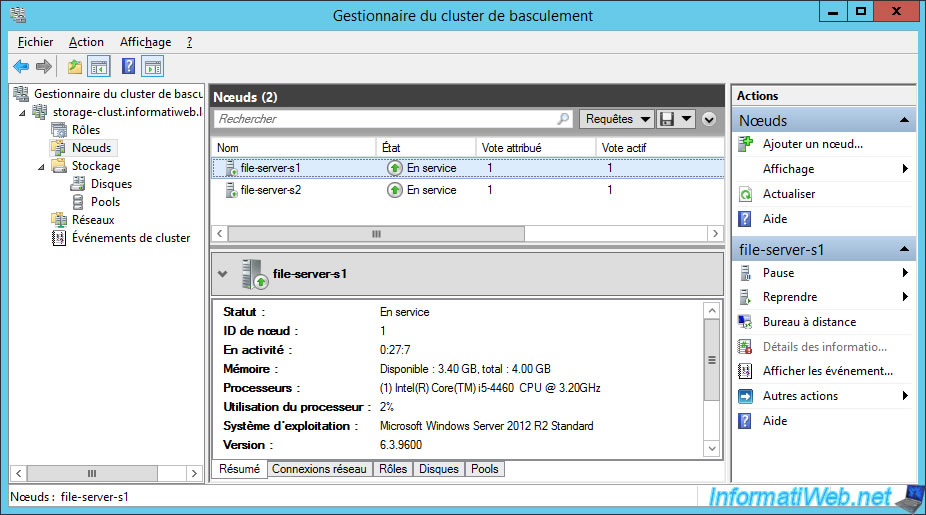
Our failover cluster is created.
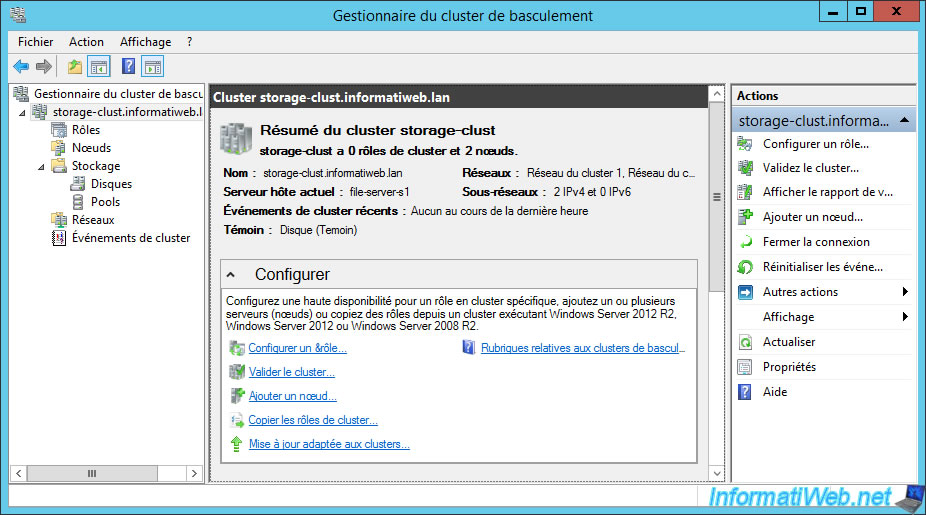
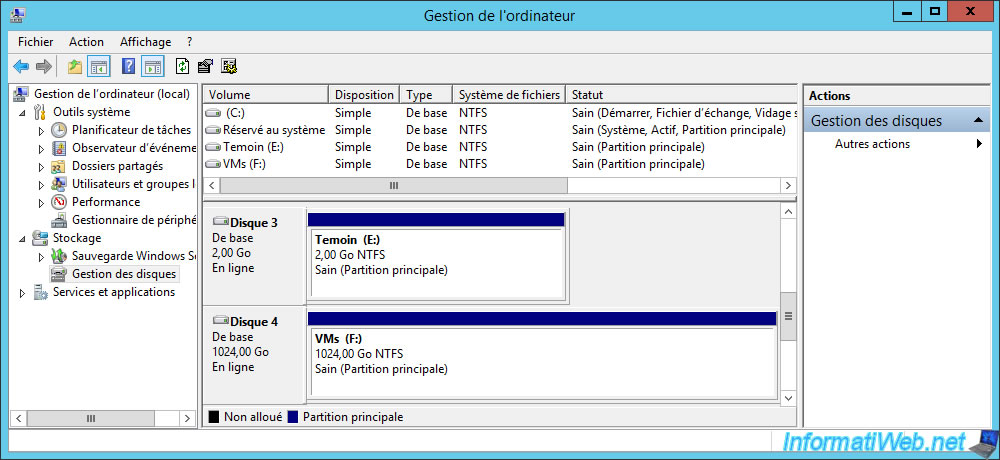
Our cluster has 2 nodes.
And we find our 2 iSCSI disks, including the disk of 2 GB which was automatically assigned as a witness disk.
3. Add the "File Server" cluster role
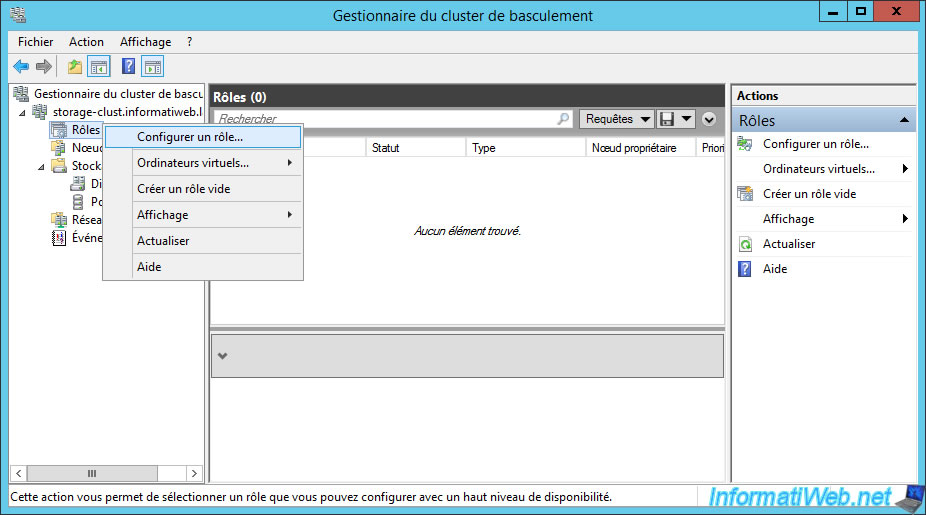
Let's move on to the main part of our tutorial, adding the clustered role : Scale-Out File Server.
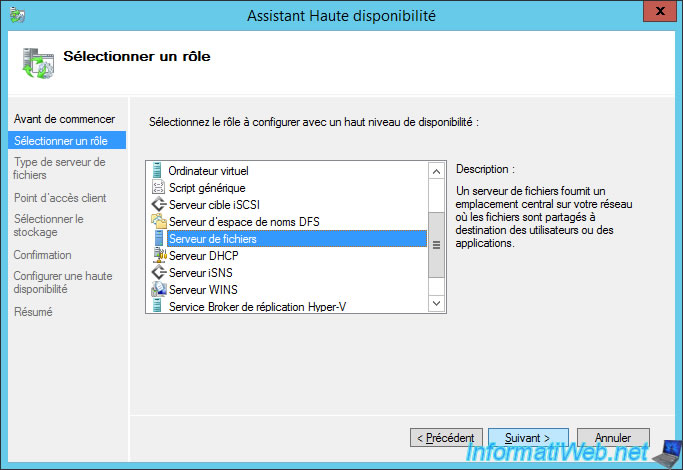
To do this, right-click "Configure Role" on "Roles".
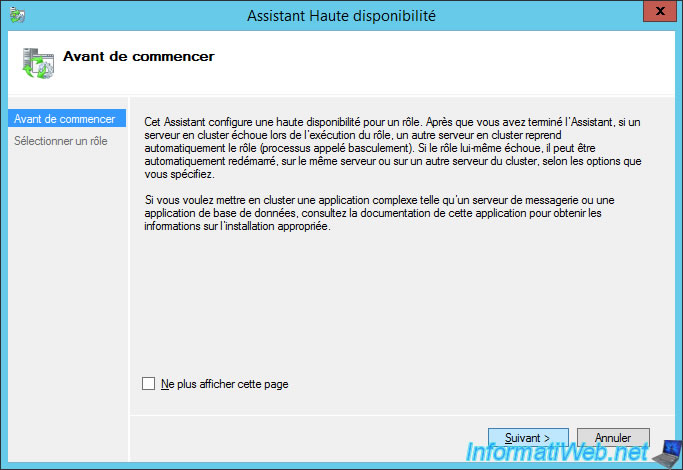
The High Availability Wizard is displayed.
Select the "File Server" role and click Next.
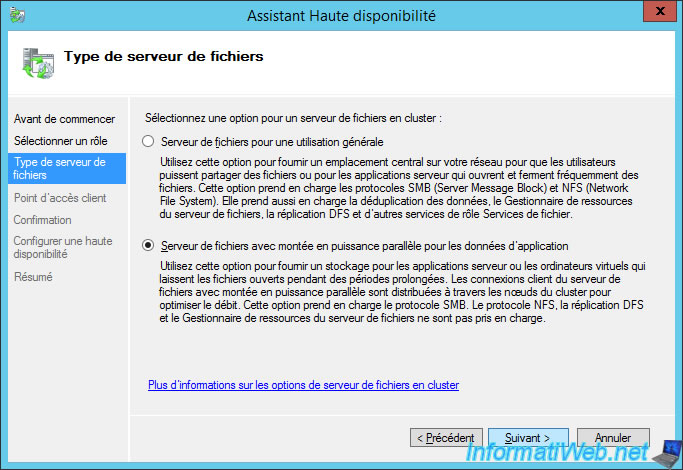
Then, choose the "Scale-Out File Server for application data" option.
As indicated by the wizard, this option provides storage for virtual machines or server applications that leave files open for extended periods.
In addition, client-initiated connections are distributed across the different nodes of the cluster, which means that your cluster will work in "active / active" and not "active / passive" as would be the case with the other option (general use).
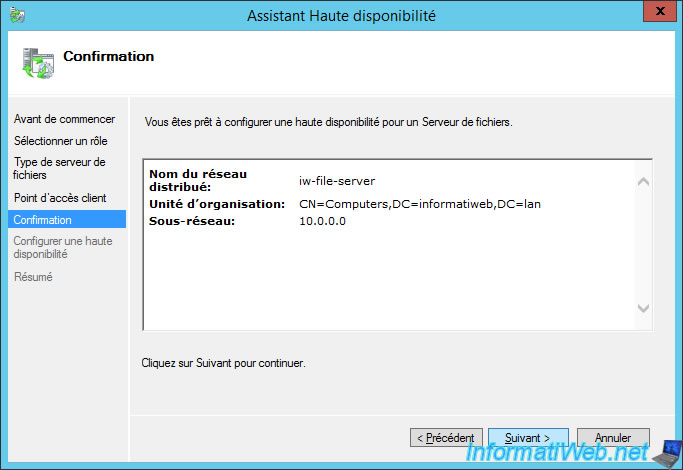
Specify the name that your client PCs will need to use to connect to your clustered file server.
Note that for this type of use, you will not need to specify an IP address for this role.
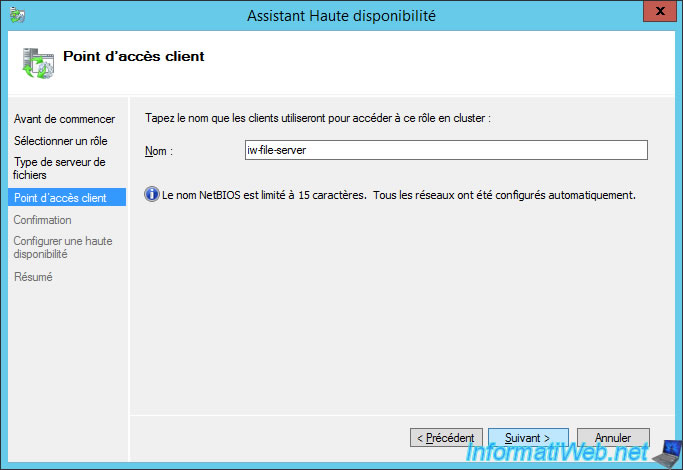
Click Next.
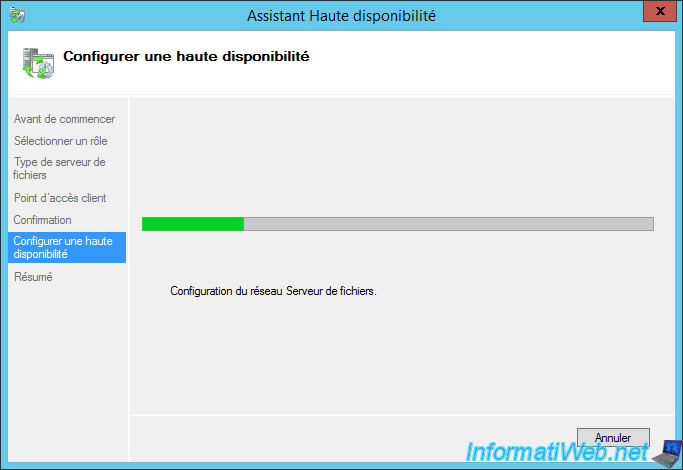
The wizard configures the network for this role.
A summary is displayed.
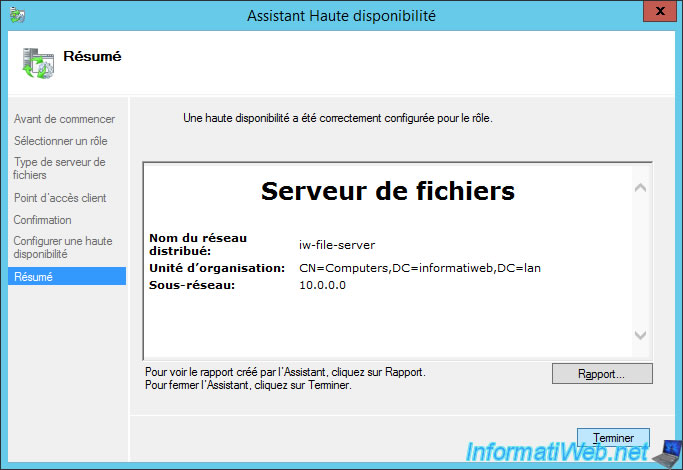
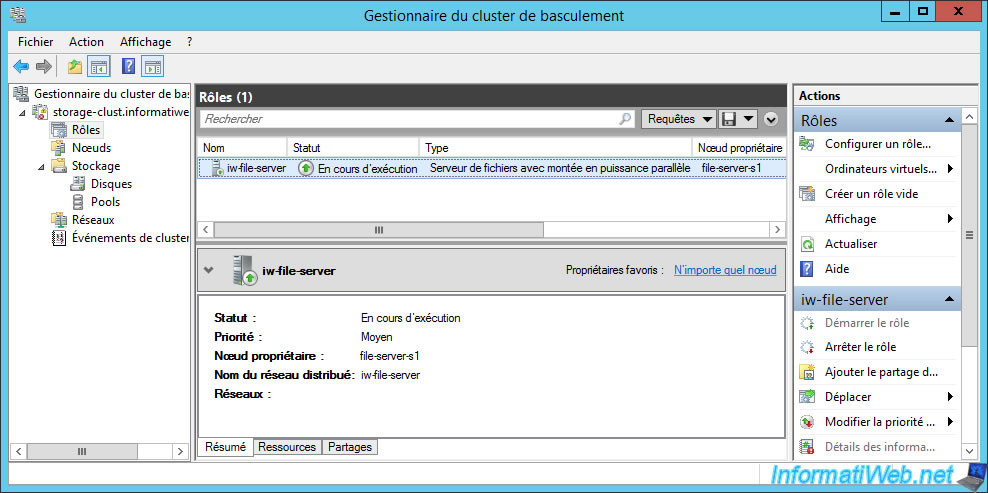
Our Scale-Out File Server is now running.
Share this tutorial
To see also
-
Microsoft 9/6/2019
Hyper-V (WS 2012 R2 / 2016) - Create a generation 2 VM
-
Microsoft 8/10/2019
Hyper-V (WS 2012 R2 / 2016) - Install Hyper-V and create your first VM
-
Microsoft 11/8/2019
Hyper-V (WS 2012 R2 / WS 2016) - Automatically replicate virtual machines
-
Microsoft 11/15/2019
Hyper-V (WS 2012 R2 / WS 2016) - Automatically replicate virtual machines (securely)
You must be logged in to post a comment