Take advantage of the power of SMB 3.0 for live migrations of Hyper-V virtual machines on WS 2012 R2 or WS 2016
- Microsoft
- 13 December 2019 at 15:35 UTC
-

- 4/4

5. Enable and enjoy SMB Direct performance with RDMA
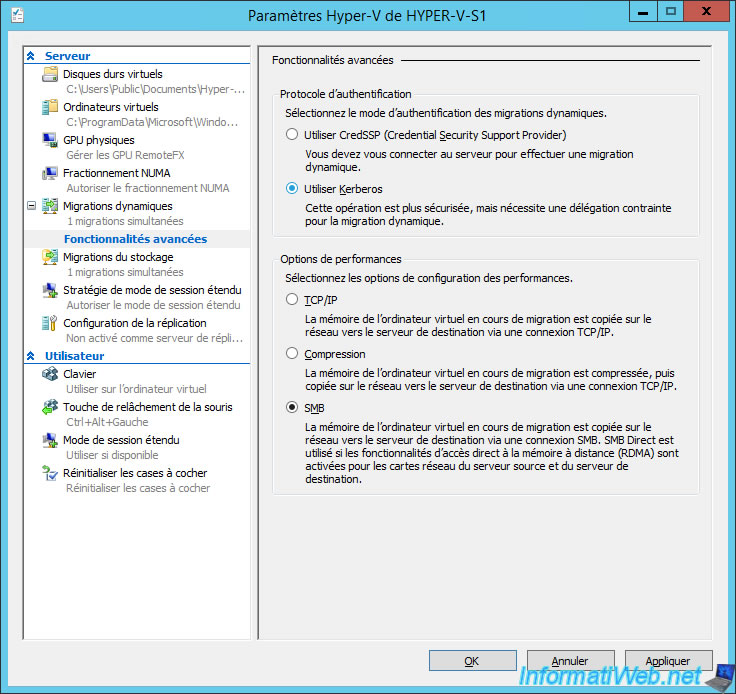
If you have already configured live migration on your Hyper-V servers, you've probably noticed that there is a "SMB" option in its advanced features.
This option corresponds to the SMB 3.0 protocol.
Indeed, if the network cards on your Hyper-V servers support the RDMA (Direct Memory Access), you can take advantage of SMB Direct for live migrations between Hyper-V servers.
Since your network cards will have direct access to memory, the processor will not be used.
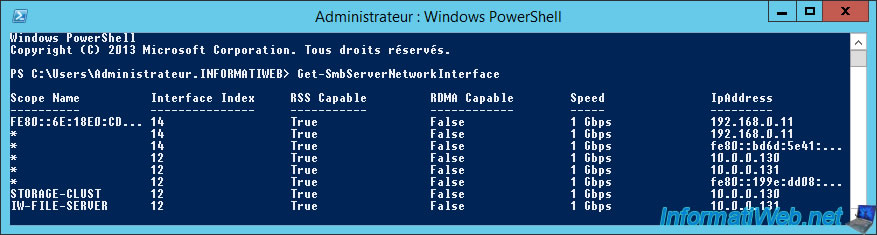
To find out if your network cards are compatible with RSS (Receive Side Scaling) and/or RDMA (Remote Direct Memory Access), just use this PowerShell command :
PowerShell
Get-SmbServerNetworkInterface
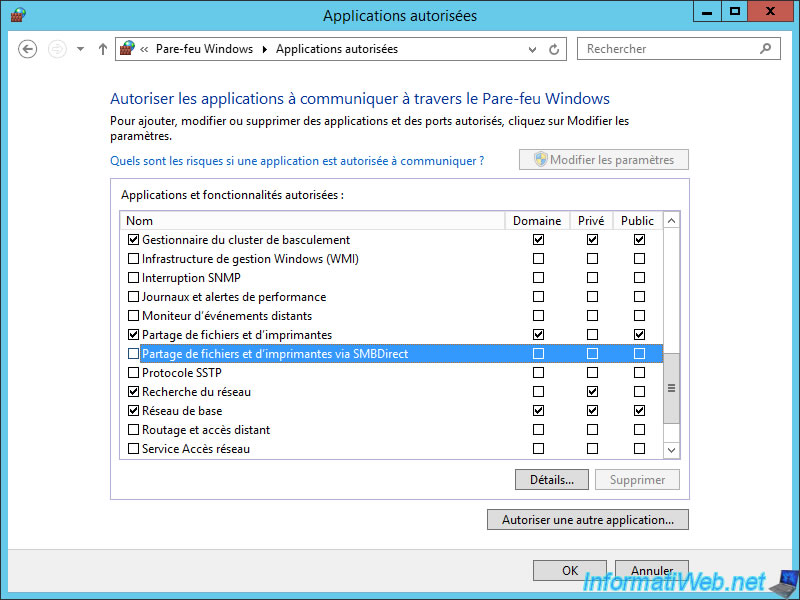
If your network cards are compatible with the RDMA (and therefore also the SMBDirect), know that you will need to activate a rule in the firewall of your servers : File and Printer Sharing over SMBDirect.
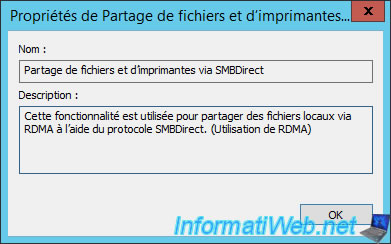
As described in the details of this rule, this feature is used to share files via RDMA using the SMBDirect protocol.
6. Disable version 1 of the SMB protocol
If you want to use SMB 3.0, it may be interesting to disable version 1 of the SMB protocol.
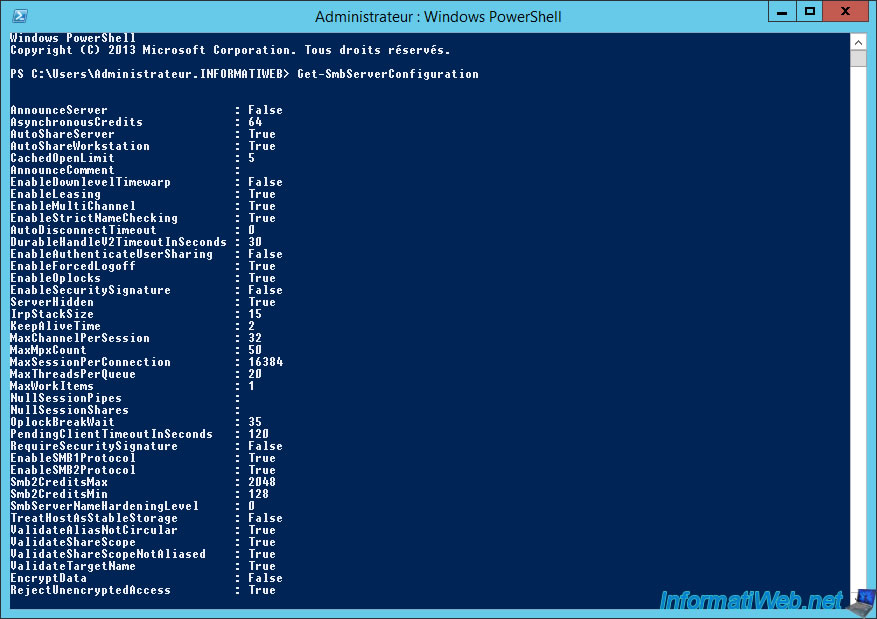
Indeed, as you can see with the PowerShell command "Get-SmbServerConfiguration", version 1 and version 2 of the SMB protocol are enabled by default.
However, be aware that version 2 can't be disabled because version 3 is based on it.
PowerShell
Get-SmbServerConfiguration
Plain Text
EnableSMB1Protocol		True
EnableSMB2Protocol		True
To disable version 1 of the SMB protocol, use this PowerShell command :
PowerShell
Set-SmbServerConfiguration -EnableSMB1Protocol $false
Then, answer "Y" to the question.

7. Migrating the storage of a virtual machine
Now that we have our file server with a SMB 3.0 share, we need to move the storage of one of our virtual machines to take advantage of the performance of the SMB 3.0 (if your cards are compatible with this new technology).
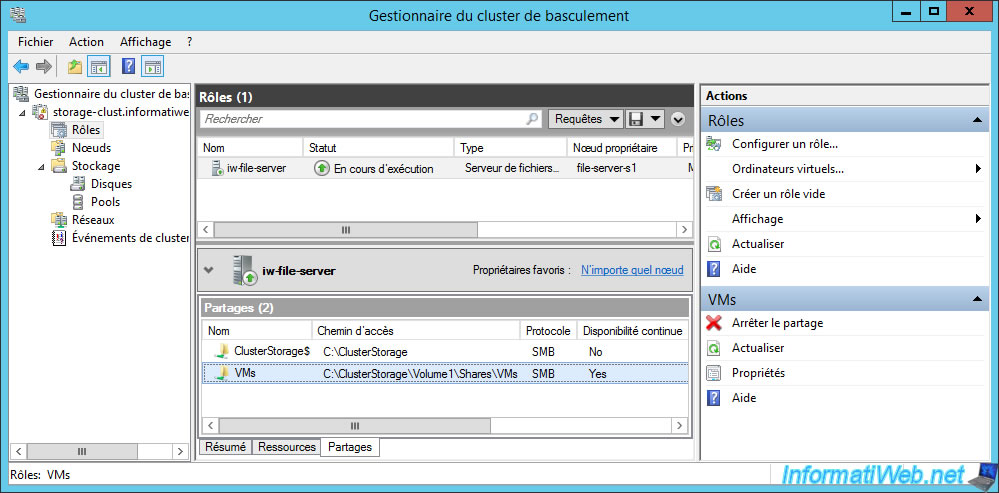
In our case, our share (accessible from the 2 nodes of the file server cluster) is called VMs.
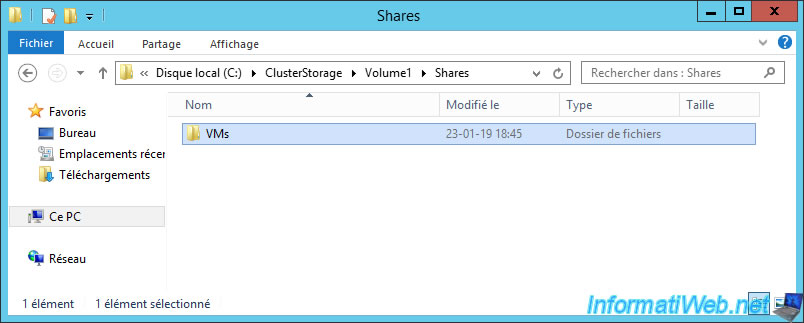
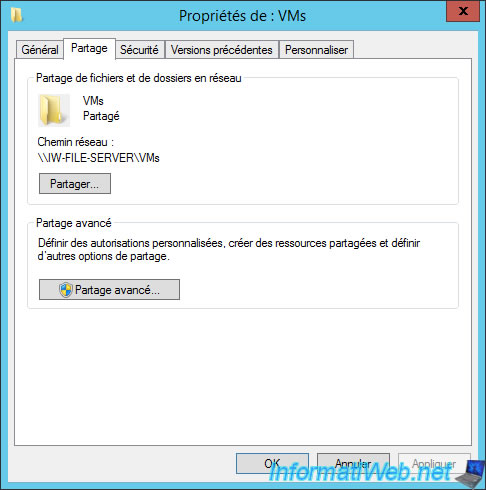
However, to access this share from our Hyper-V cluster, we will need the network path of this folder.
To do this, simply go to the properties of the folder, in the "Sharing" tab.
On your Hyper-V server, right-click "Move" on the virtual machine you want to store on your SMB 3.0 share.
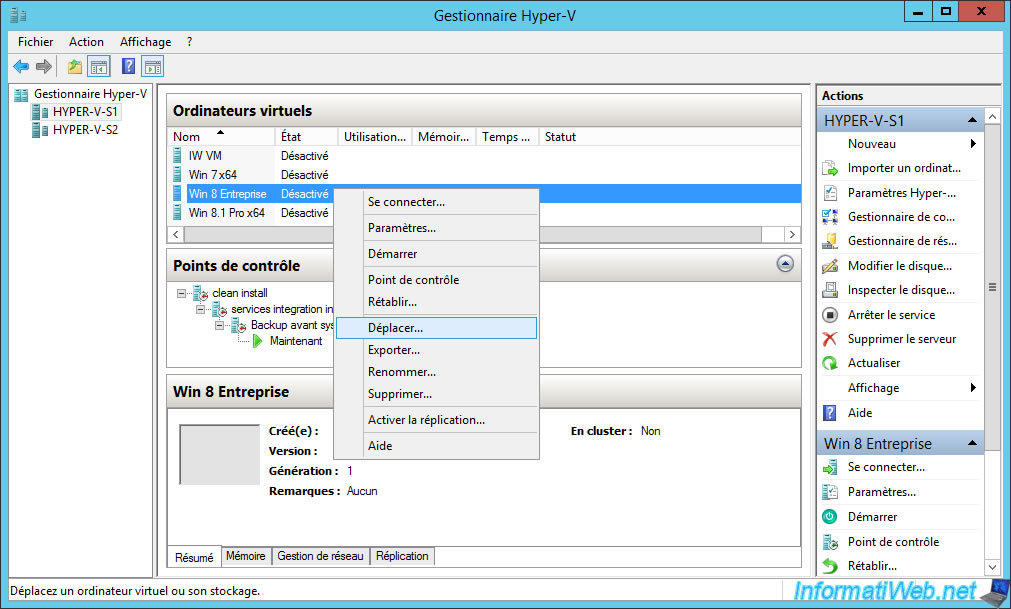
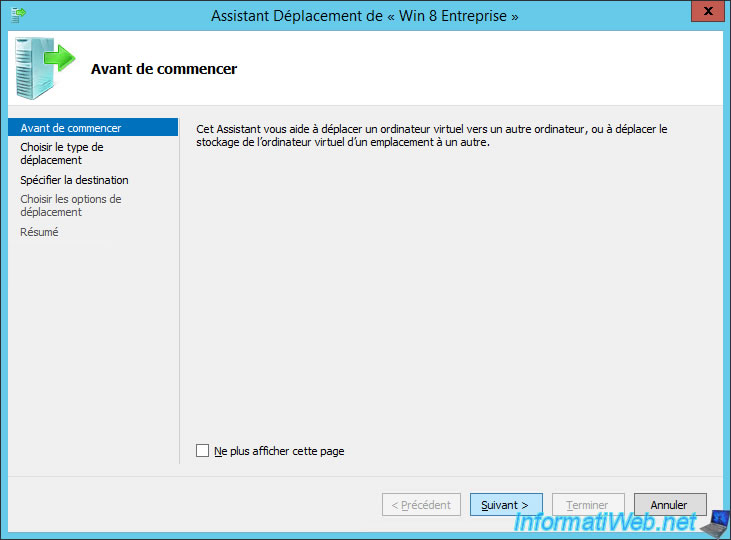
The Move [virtual machine name] Wizard is displayed.
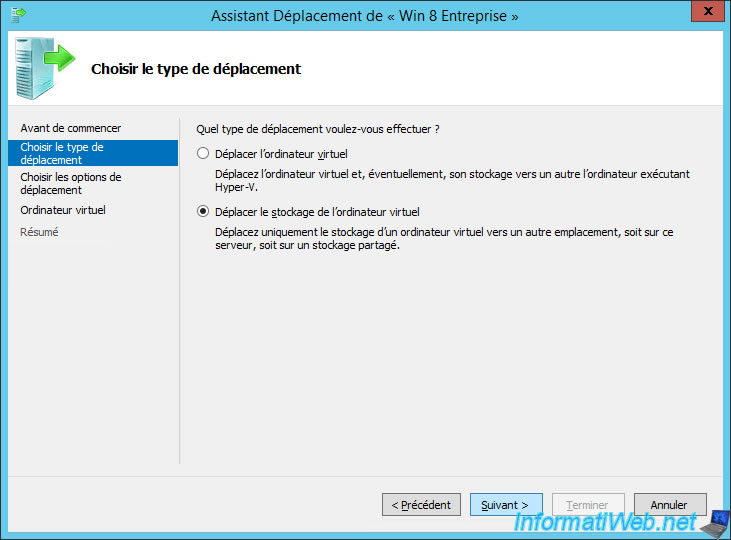
Choose : Move the virtual machine's storage.
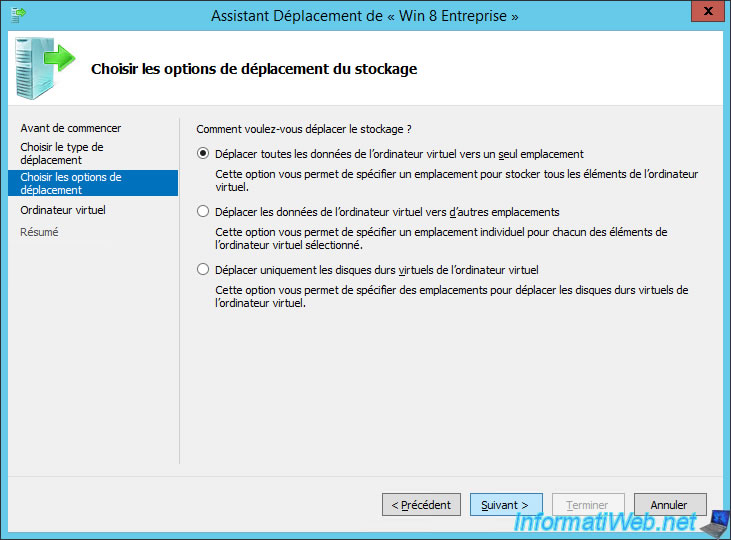
Choose : Move all of the virtual machine's data to a single location.
Specify the network path of your SMB 3.0 share.
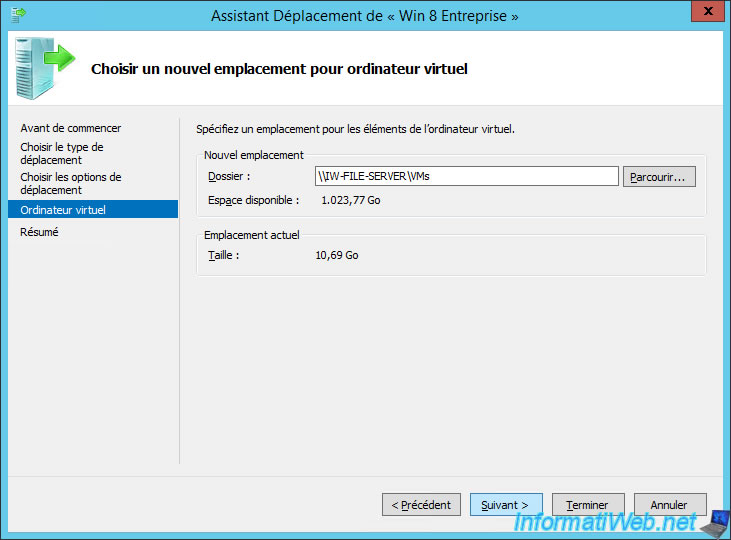
Click Finish.

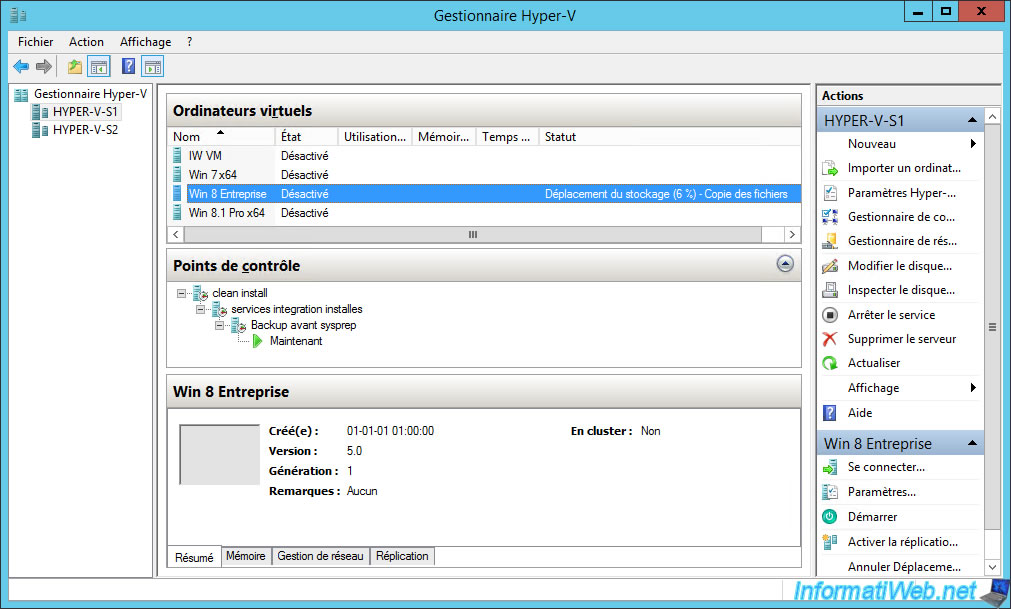
Wait while moving the storage of the virtual machine.

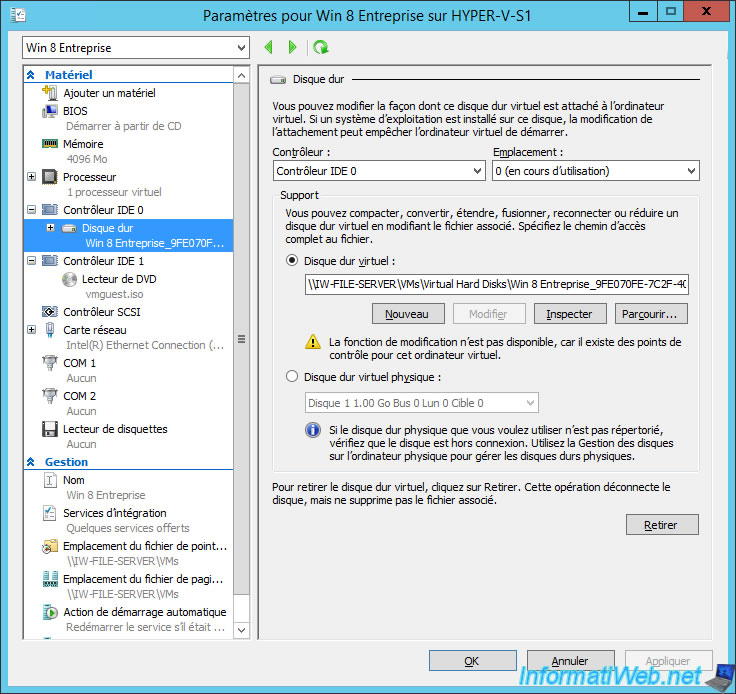
Once the storage move of your virtual machine is complete, go to the settings of it.
As expected, its virtual hard disk is now stored on your SMB 3.0 share.
8. Adding the virtual machine to the cluster
Finally, don't forget to add your virtual machine to your Hyper-V cluster to take advantage of the high availability for it.
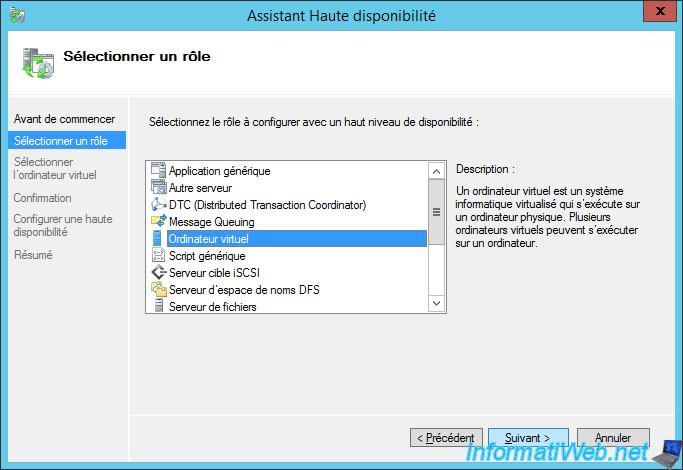
To do this, right-click "Configure Role".
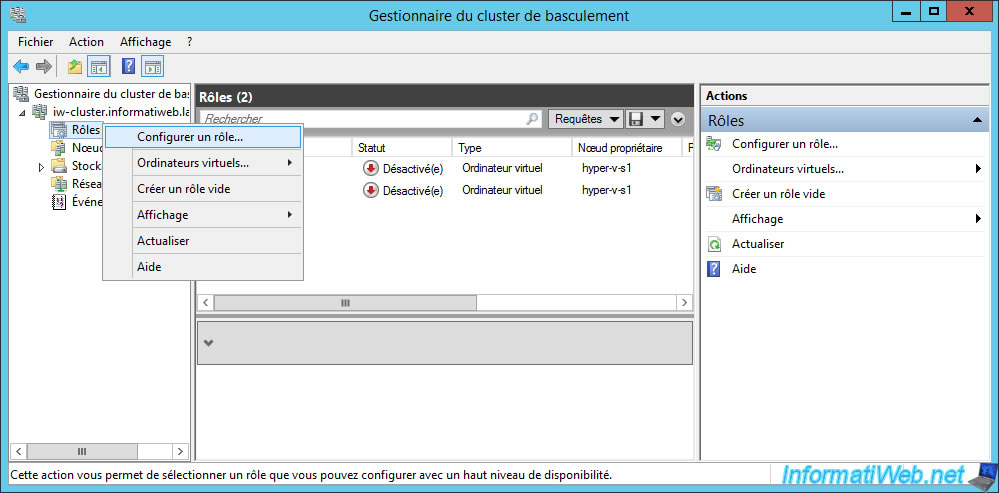
Select the "Virtual Machine" role.
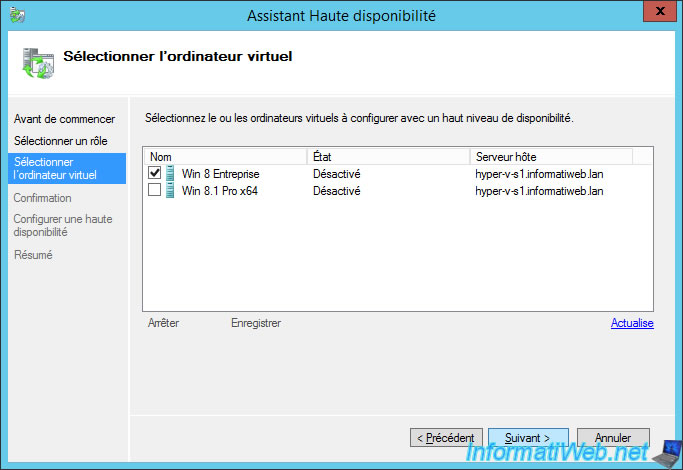
Select the virtual machine that you just moved storage to your SMB 3.0 share.
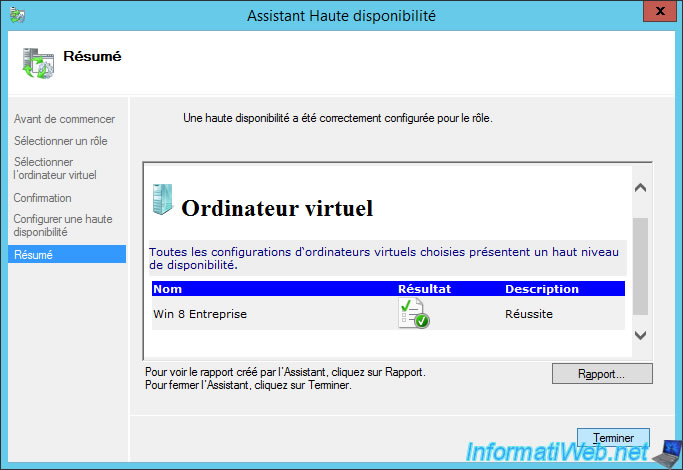
High availability has been configured for this virtual machine.
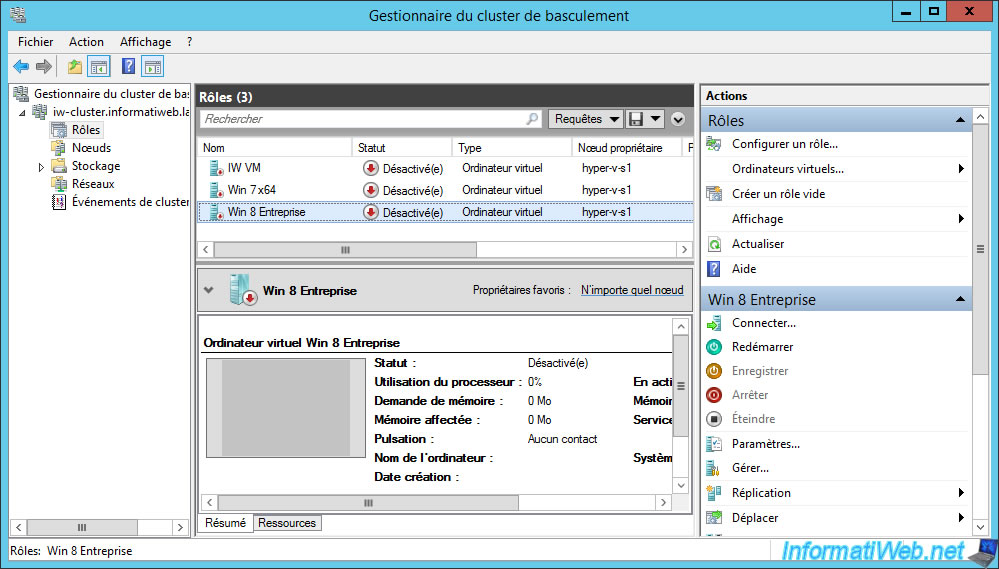
The virtual machine is now part of your Hyper-V cluster.
Share this tutorial
To see also
-
Microsoft 9/6/2019
Hyper-V (WS 2012 R2 / 2016) - Create a generation 2 VM
-
Microsoft 8/10/2019
Hyper-V (WS 2012 R2 / 2016) - Install Hyper-V and create your first VM
-
Microsoft 11/8/2019
Hyper-V (WS 2012 R2 / WS 2016) - Automatically replicate virtual machines
-
Microsoft 11/15/2019
Hyper-V (WS 2012 R2 / WS 2016) - Automatically replicate virtual machines (securely)
No comment