Take advantage of the power of SMB 3.0 for live migrations of Hyper-V virtual machines on WS 2012 R2 or WS 2016
- Microsoft
- 13 December 2019 at 15:35 UTC
-

- 3/4

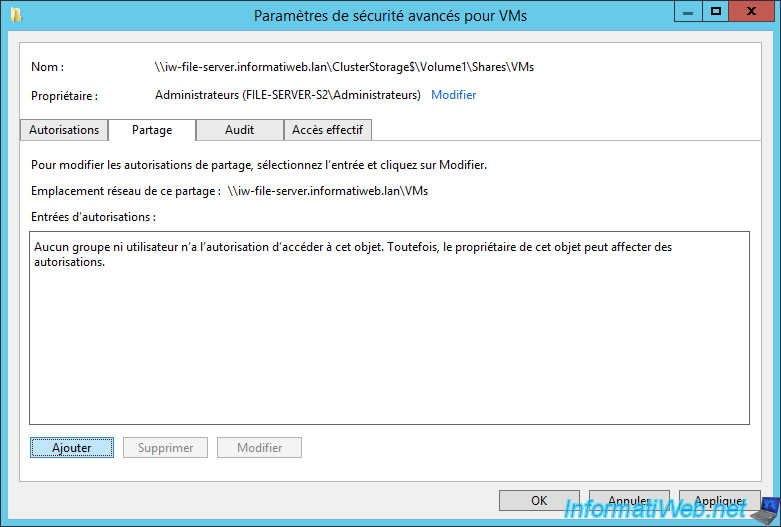
In the "Share" tab, delete the permission for the "Everyone" group.
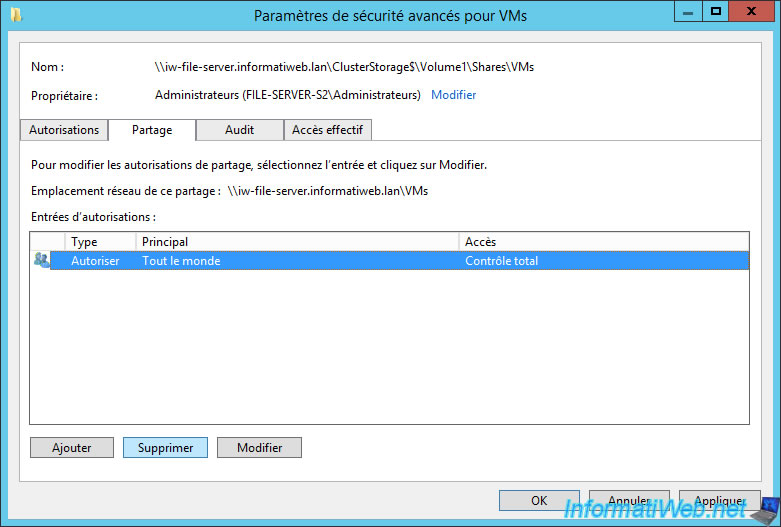
Add the same permissions for sharing permissions.
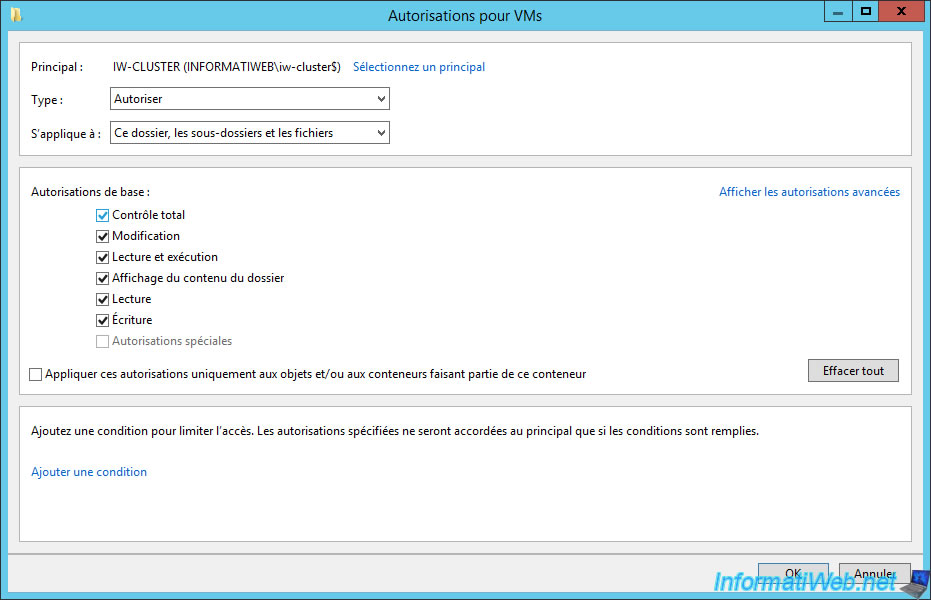
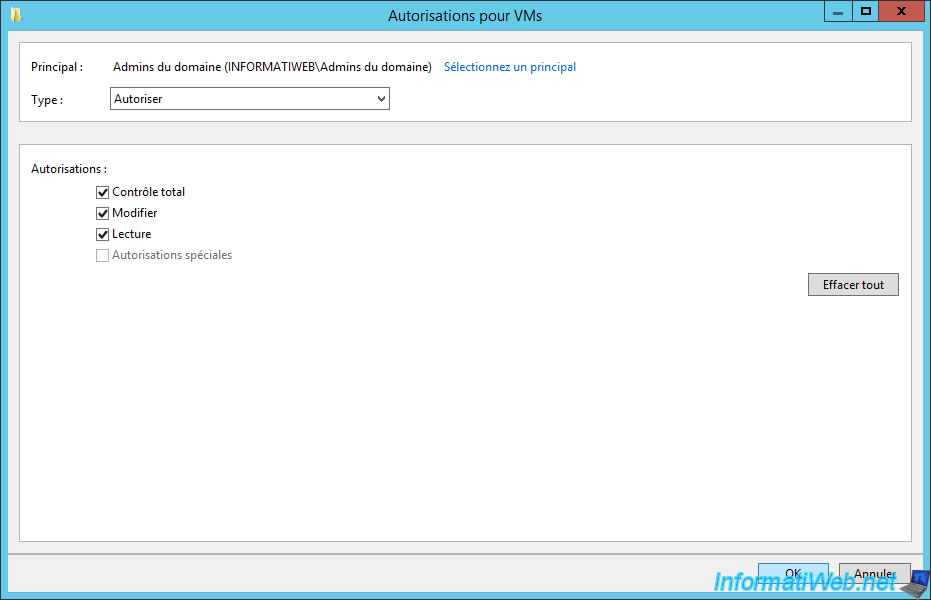
Allow full control for each one.
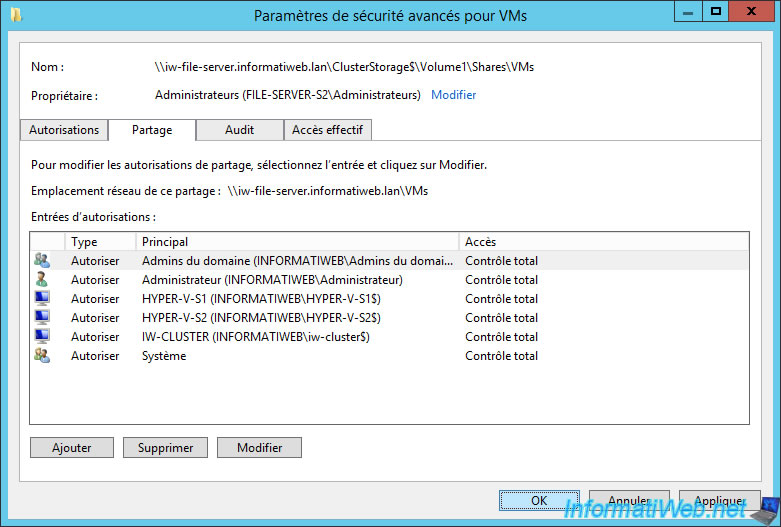
Finally, in the "Share" tab, you will have "Full Control" permissions for :
- the "Domain Admins" group
- the "Administrator" account of the domain
- the Hyper-V servers of your Hyper-V cluster, and the computer account associated with this cluster
- the System account
Click OK.
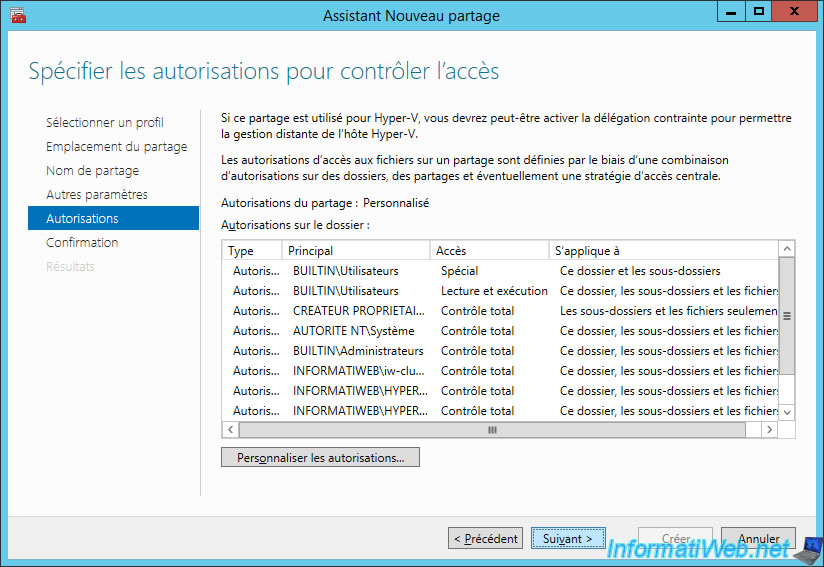
Now that the permissions are correctly configured, click Next.
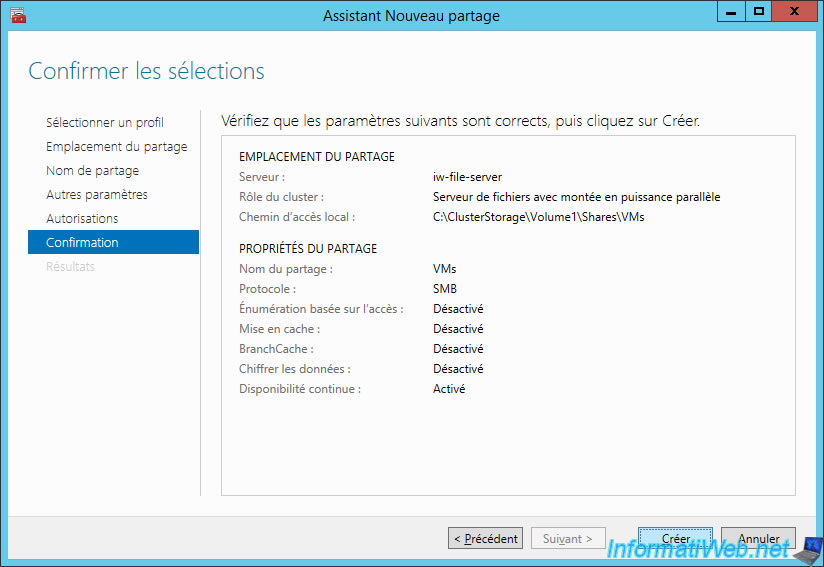
Click Create.
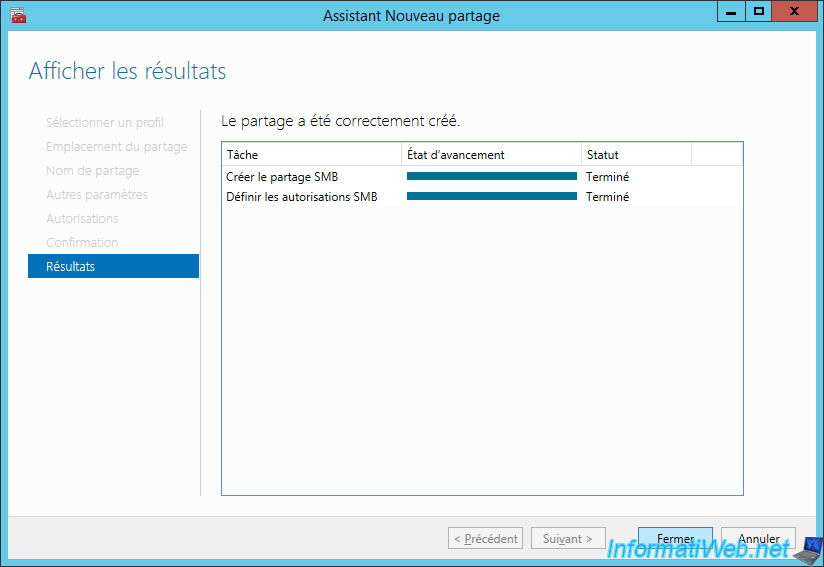
Your SMB share is created.
To see the share that you just created, go to Roles, select the "File Server ..." role and go to the "Shares" tab at the bottom of the window.
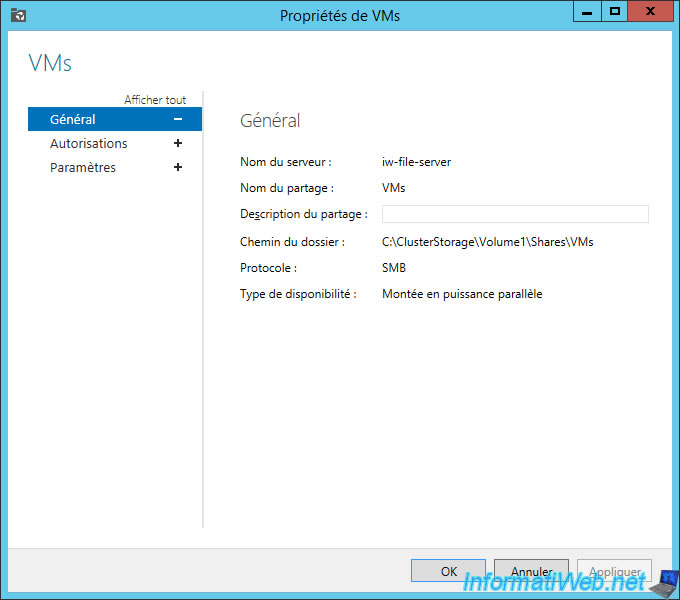
To know the settings and permissions associated with this share, select it from the list and click Properties (in the right column).
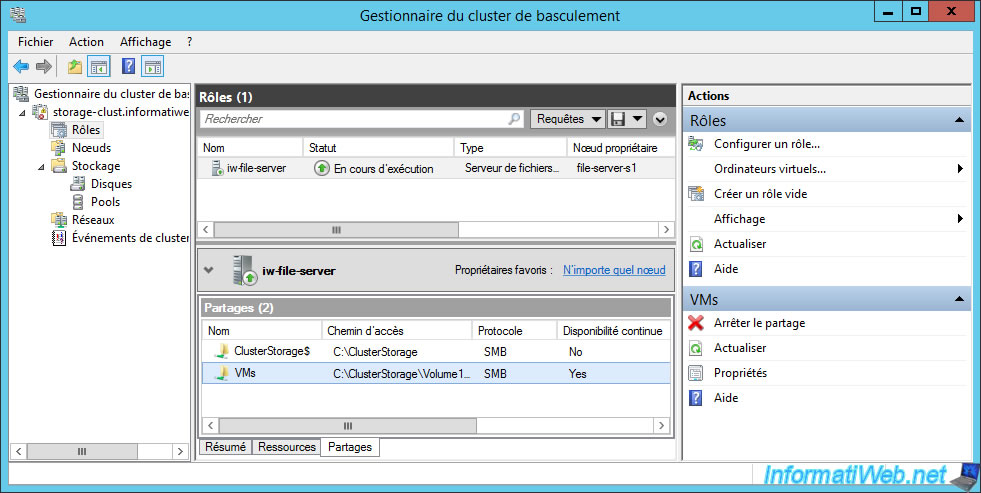
As you can see, this is an accessible share via the SMB protocol via this local path : C:\ClusterStorage\Volume1\Shares\VMs.
In addition, the type of availability is : Scale-Out File Server.
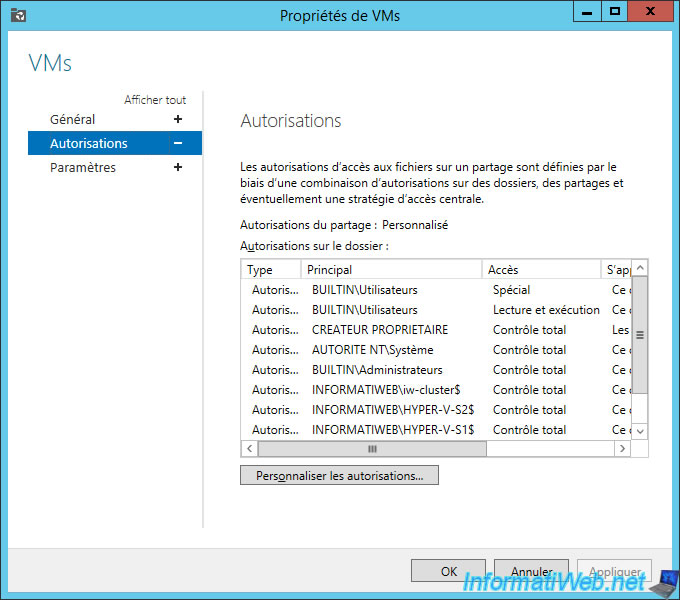
You can also view the list of permissions applied to this share.
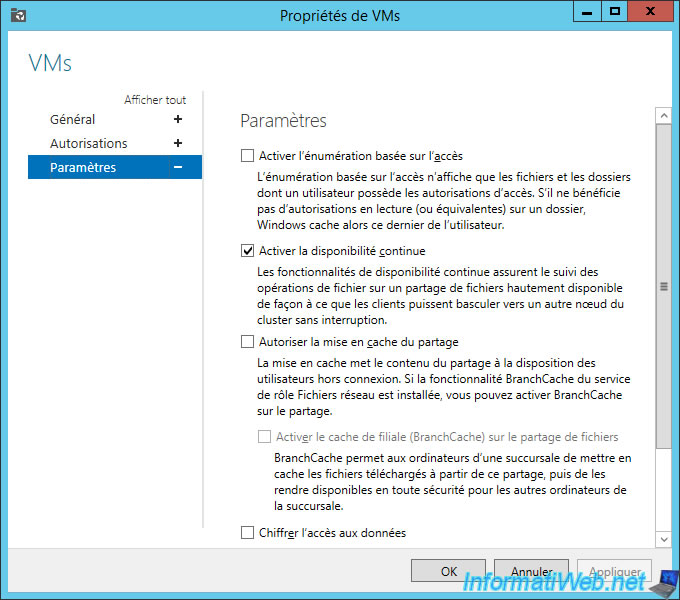
As well as the settings of this share.
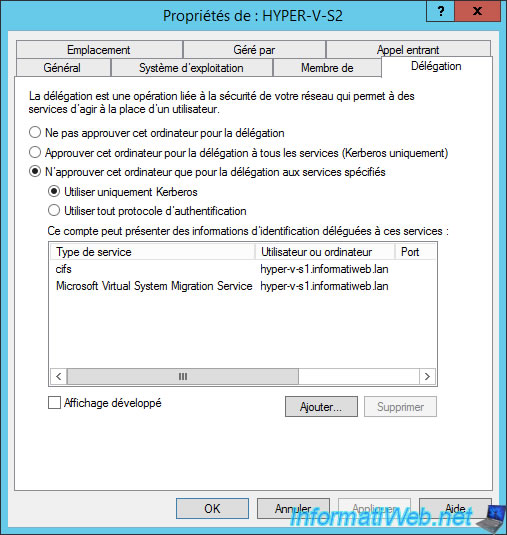
As mentioned earlier, if you want to use this share with Hyper-V servers, you may need to configure constrained delegation.
To do this, on your Active Directory server, go to the properties of the computer accounts of your Hyper-V servers.
Then, in the "Delegation" tab :
- select : Trust this computer for delegation to specified services only
- select : Use Kerberos only
- add the "cifs" service (which is required to migrate virtual machines to a SMB v3 share)
Note : the "Microsoft Virtual System Migration Service" service allows you to do live migration using Kerberos.

Share this tutorial
To see also
-
Microsoft 9/6/2019
Hyper-V (WS 2012 R2 / 2016) - Create a generation 2 VM
-
Microsoft 8/10/2019
Hyper-V (WS 2012 R2 / 2016) - Install Hyper-V and create your first VM
-
Microsoft 11/8/2019
Hyper-V (WS 2012 R2 / WS 2016) - Automatically replicate virtual machines
-
Microsoft 11/15/2019
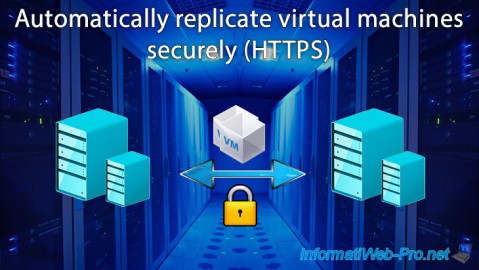
Hyper-V (WS 2012 R2 / WS 2016) - Automatically replicate virtual machines (securely)
No comment