- Windows Server
- 02 December 2023 at 09:55 UTC
-

- 1/3

In our tutorial "WS 2016 - AD CS - Enable and use automatic certificate enrollment", we explained how to automatically enroll (issue) certificates for your computers, servers and users.
However, you can automatically enroll different certificate templates depending on your needs. You are not required to use the "Computer" and "User" certificate templates that we used in the previous tutorial.
In this new tutorial, you will use auto-enrollment to automatically enroll (issue) certificates based on the "Basic EFS" template to allow your users to encrypt data using the EFS file system available natively on Windows.
The main advantages will be that the certificates will be enrolled (issued) by your certification authority instead of being self-signed certificates and that the certificate will be enrolled (issued) automatically during the 1st logon of the user concerned.
You will also enable certificate roaming so that a user can use the certificate, which is generated only once per user and that the user can retrieve it from another server or computer in the event that they have the possibility of connecting to different servers and/or servers in your company.
Important : when a user encrypts a file, he uses his private key to encrypt the file header. This encrypted header contains a symmetric key.
It's therefore important that a user always has the same certificate (and therefore also the same private key) so that he can later access his files again, even if he connects via another server or computer in your company.
Hence the need to use roaming profiles or enable certificate roaming as you will see in this tutorial.
For more information on how the EFS file system works, refer to our tutorial : Windows 10 / 11 - Encrypt data using EFS.
- Create a new user in Active Directory
- Create a new certificate template for EFS
- Change the certificate template used by EFS by default
- Add the option to encrypt or decrypt data from context menu
- Automatic enrollment of user certificates
- Enrolled (issued) user certificate
- Encrypt data using the EFS file system
- Enable certificate roaming
- Certificate roaming test
1. Create a new user in Active Directory
To test this tutorial, we recommend that you first create a test user.
Indeed, you will see that it's recommended to enable the roaming of certificates before your users connect for the 1st time so that the certificate enrolled automatically (AS well as its associated private key) is directly saved in the Active Directory.
For this tutorial, we will create a user named : InformatiUser.
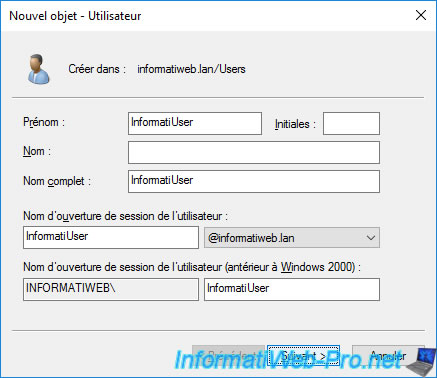
The created user appears.

2. Create a new certificate template for EFS
To enable auto-enrollment for certificates used with EFS, you will need to duplicate the original "Basic EFS" template.
Since we will be using a copy of it and deprecating the original one (to avoid conflicts), you must first remove the original "Basic EFS" certificate template from the list of templates certificates to be issued.
To do this, in the "Certification Authority" console, go to the "Certificate Templates" folder and delete the "Basic EFS" certificate template.
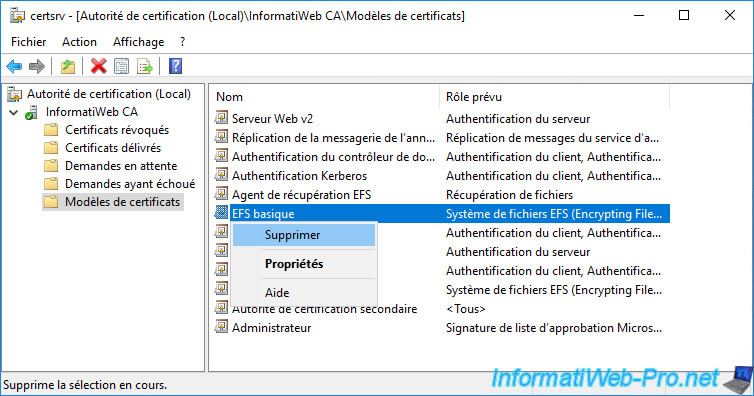
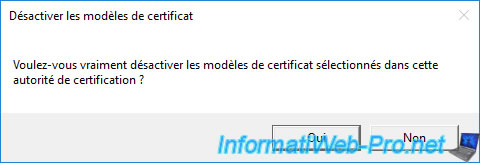
Confirm disabling this certificate template by clicking Yes.
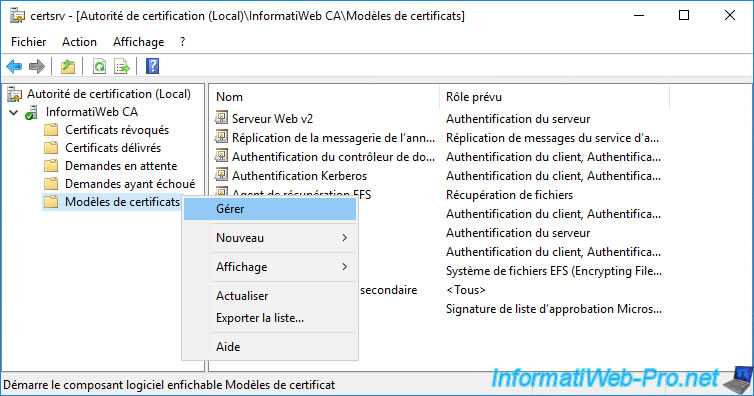
Then, right click "Manage" on this "Certificate Templates" folder.
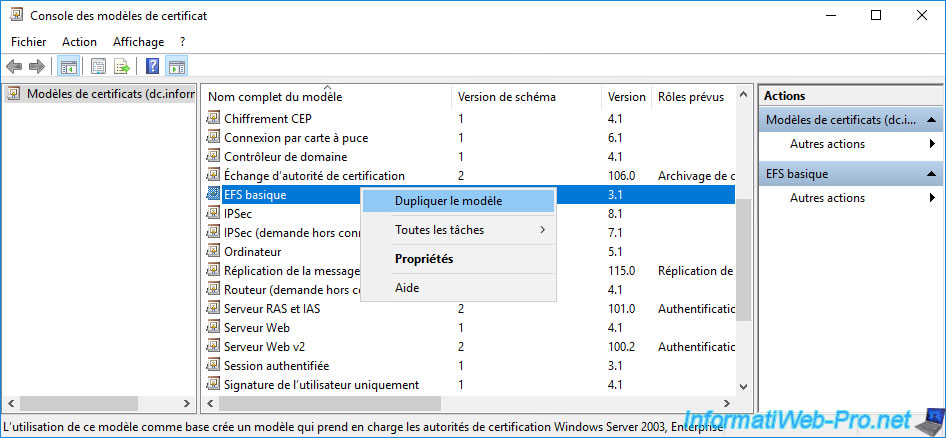
In the certificate templates console that appears, right-click "Duplicate Template" on the "Basic EFS" certificate template.
In the "Compatibility" tab, leave the default values to maximize compatibility.
Important : never select "Windows Server 2012" for these 2 values for this new basic EFS-based certificate template.
Otherwise, your Active Directory domain controller's Group Policy Management Editor will crash when you try to change the default EFS template to use for automatic certificate requests.
Selecting "Windows Server 2012" for these 2 compatibility options would create a version 4 certificate template instead of a version 2.
Source : WS2012R2 GPMC MMC appcrash when trying to change EFS certificate template in GPO.

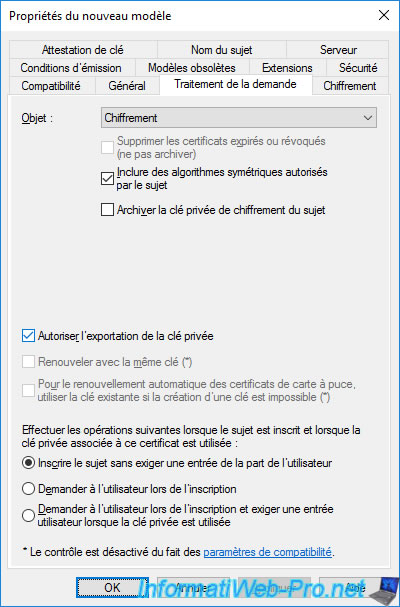
In the "Request Handling" tab, check the "Allow private key to be exported" box to allow the user to export his certificate and private key from his certificate store (via the "mmc" console by example) to be able to restore it and therefore later access its encrypted data again (if applicable).
Indeed, as you will see later, the private key is only present on the computer where the user received his certificate.
If he loses his certificate (and therefore also his private key), he will no longer be able to access his data.
Note : if you use smart cards, it may be interesting to select the "Prompt the user during enrollment" option so that your user has time to insert their smart card into their card reader before enrolling the certificate.
If you select this option, an icon will appear in the taskbar a few seconds after logging in to specify that certificate enrollment is required.
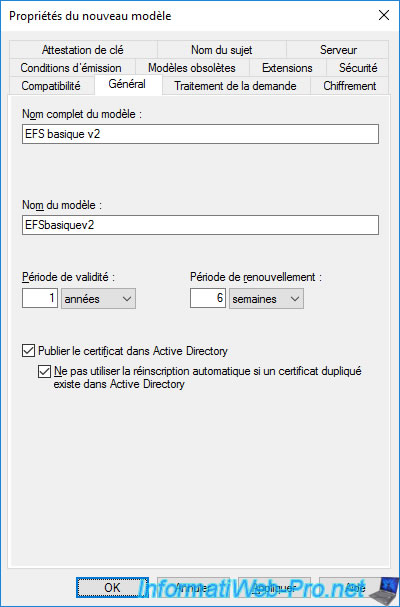
In the "General" tab, specify a name for this new certificate template.
For example : Basic EFS v2.
Important : check both boxes :
- Publish certificate in Active Directory : allows you to store a copy of the certificate (but NOT of the associated private key) in the Active Directory.
However, enabling this option is necessary for certificate roaming (which you will enable later) to work properly. - Do not automatically reenroll if a duplicate certificate exists in Active Directory : allows a certificate based on this new certificate template to be issued once to each user.
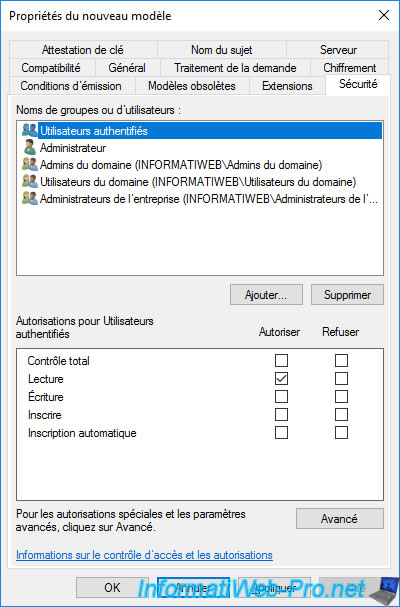
In the "Security" tab, make sure that the "Authenticated Users" group has at least "Read" permission.
This allows your users to see that this certificate template exists on your CA.
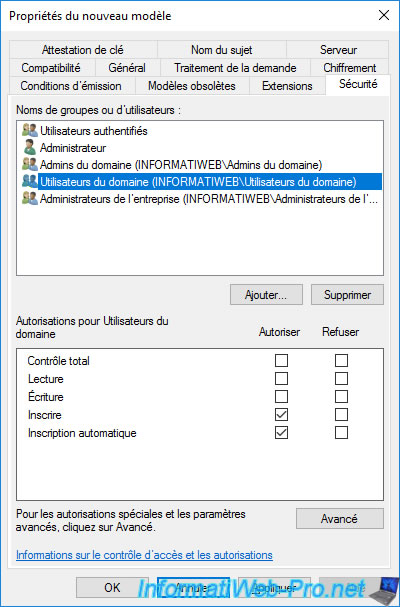
Grant "Enroll" and "Autoenroll" rights to the users you want to allow to encrypt data and thus obtain a certificate based on this new certificate template.
In our case, we will grant these rights to all users of the domain.
- Enroll : allows your users to obtain a certificate to encrypt and decrypt data via EFS (in this case)
- Autoenroll : allows you to automatically obtain this certificate as soon as you open a session (to avoid having to wait for the first data encryption that they will do via EFS)
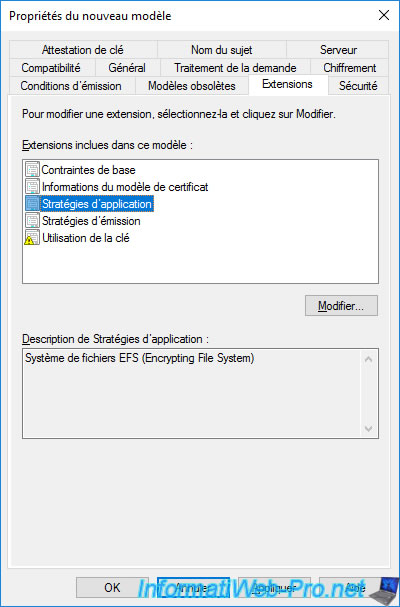
In the "Extensions" tab, you will see that the application policy for this certificate is : Encrypting File System.
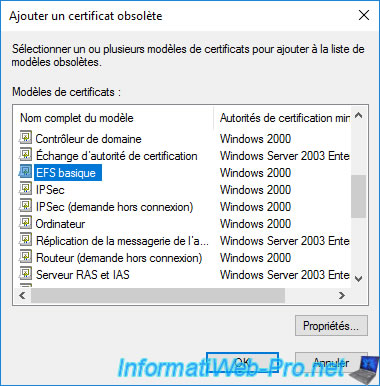
In the "Superseded Templates" tab, click on : Add.
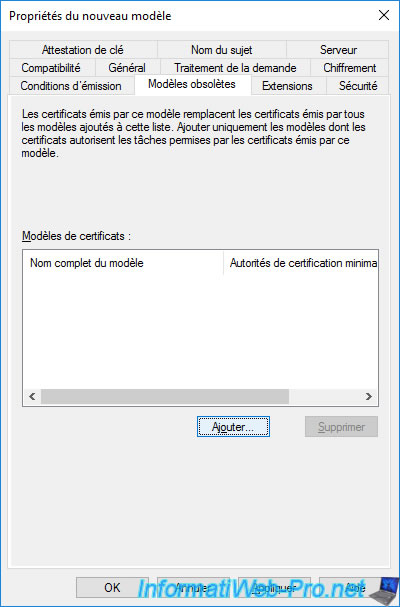
Select the "Basic EFS" certificate template (as you will be using your new certificate template instead of the original one).
Thus, in the event that a user has already received a certificate based on this "Basic EFS" certificate template, it will be possible to automatically replace the old certificate with a new one based on this new certificate template.
Note that updating superseded certificate templates is an option available in the auto-enrollment setting present in Group Policies (GPO).
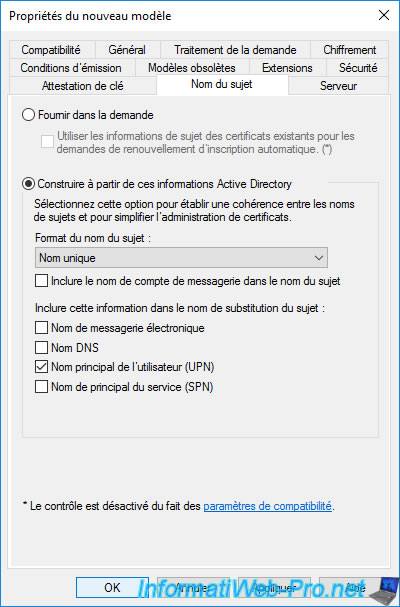
In the "Subject Name" tab, you will see that the subject name will be the User principal name (UPN).
Click OK.
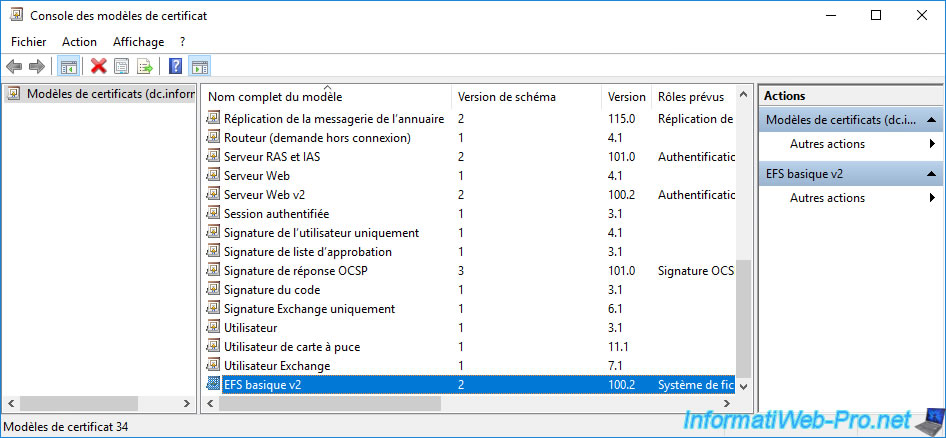
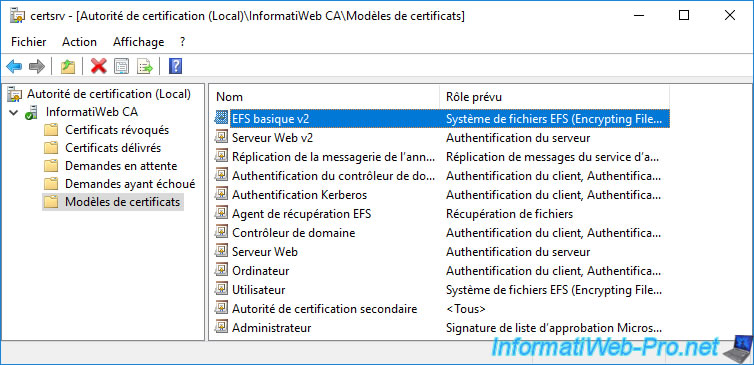
The new certificate template created (in our case : Basic EFS v2) appears in the list of existing certificate templates on your certification authority.
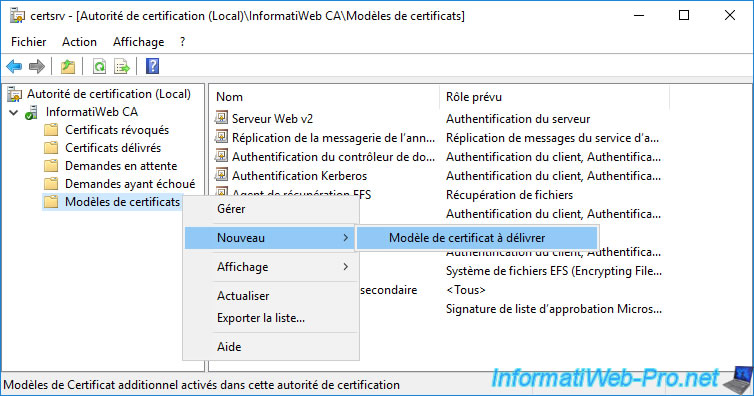
For your new certificate template to be visible and to be able to be used for automatic enrollment, it must be one of the certificate templates to be issued.
To do this, right-click on "Certificate Templates" and click on : New -> Certificate Template to Issue.
Select your new "Basic EFS v2" certificate template and click OK.

Your new certificate template appears in the list.
3. Change the certificate template used by EFS by default
By default, Windows uses the "Basic EFS" certificate template.
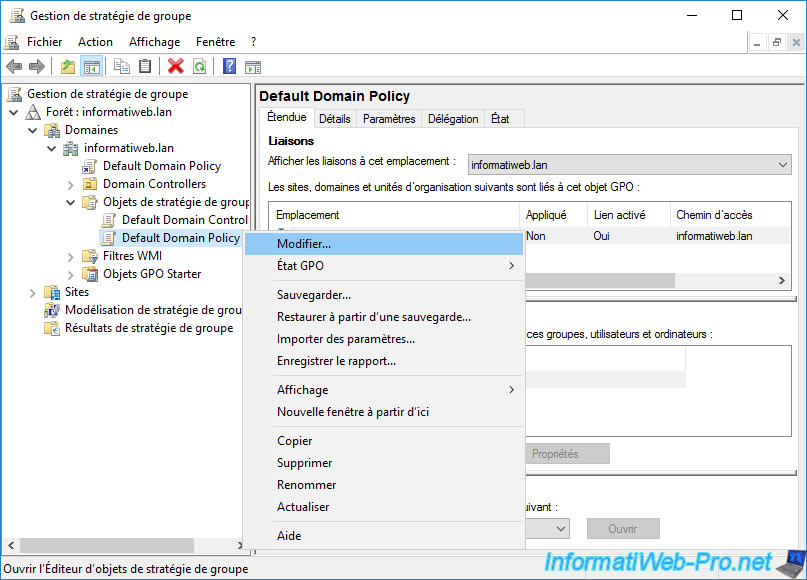
To change this behavior and use your new "Basic EFS v2" certificate template, open the "Group Policy Management" console on your Active Directory domain controller, then edit the "Default Domain Policy" GPO.
Note : this GPO object concerns all the computers and servers linked to your Active Directory domain.
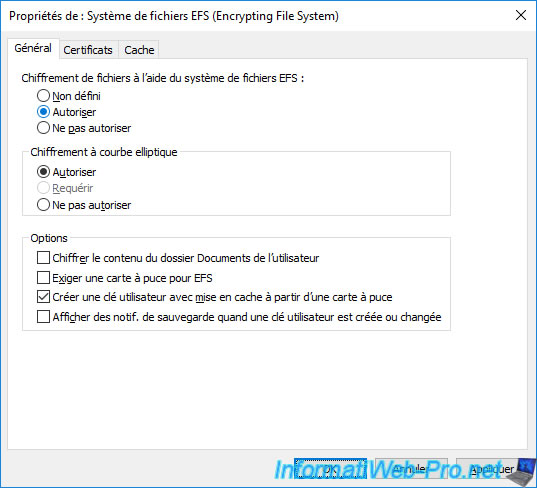
In the Group Policy Management Editor that appears, go to "Computer Configuration -> Policies -> Windows Settings -> Security Settings -> Public Key Policies" and right-click "Properties" on : Encrypting File System.

With this policy, you will be able to allow or disallow (not allow) file encryption using the EFS file system on your servers and computers if desired.
Select "Allow" to authorize the use of EFS in your company.
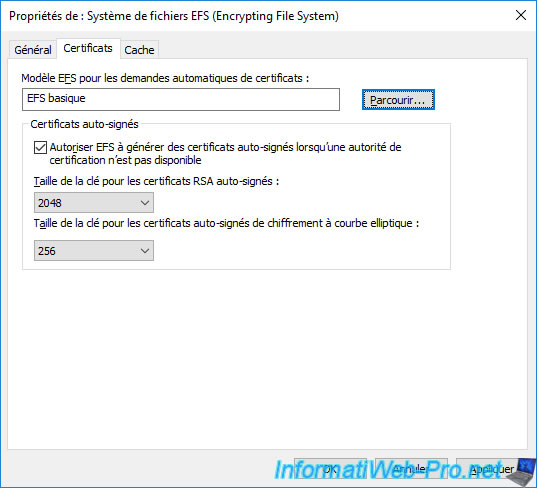
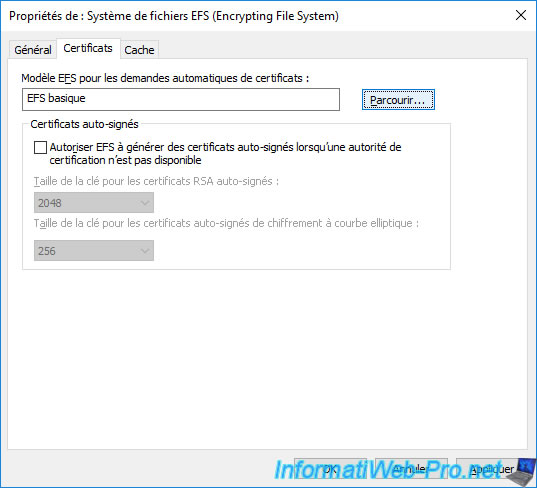
Then, in the "Certificates" tab, you will see that the certificate template used by default is : Basic EFS.
If you know how EFS works, you probably know that by default, Windows automatically generates a self-signed certificate for the user when the user encrypts a file for the first time.
To disable this default behavior on your servers and computers linked to your Active Directory domain, you will need to uncheck the "Allow EFS to generate self-signed certificates when a certification authority is not available" box.
Then, to use your new "Basic EFS v2" certificate template instead of the original one (shown in the "EFS template for automatic certificate requests" box), you will need to click "Browse".
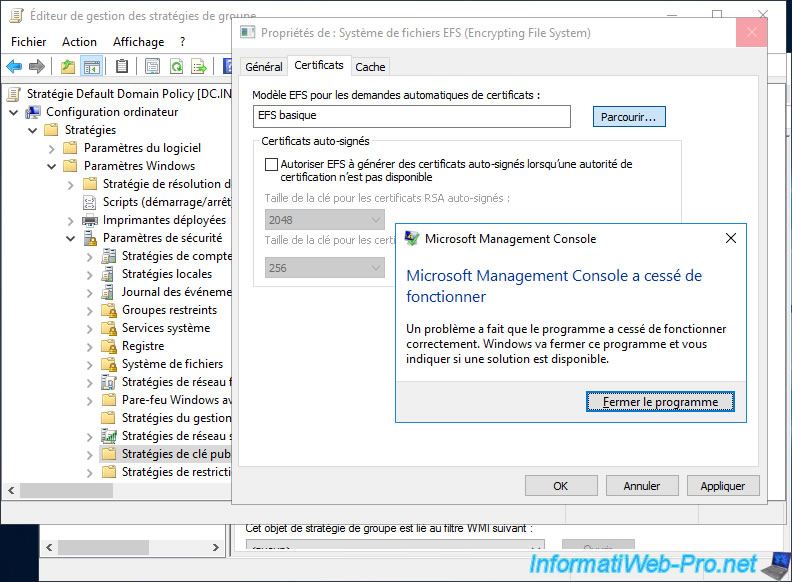
If a "Microsoft Management Console has stopped working" error appears when you click the "Browse" button, which also blocks access to the "Group Policy Management Editor" window, you have changed the compatibility of your certificate template to a value equal to or greater than "Windows Server 2012".
In this case, you have a version 4 certificate template instead of a version 2.
However, on Windows Server 2016, this is apparently not supported and the "Microsoft Management Console" (mmc) console crashes.
To solve the problem, you must completely delete your new "Basic EFS v2" template from the certificate templates (as well as from the list of certificate templates to be issued) of your certification authority, then recreate it as explained previously WITHOUT modifying the compatibility settings of it.
Thus, you will have a version 2 certificate template instead of version 4 (which is not supported in this specific case).
Note that the version of the certificate template to use is chosen by Windows Server when creating the certificate template. This doesn't change when modifying an existing certificate template.
Source : WS2012R2 GPMC MMC appcrash when trying to change EFS certificate template in GPO.
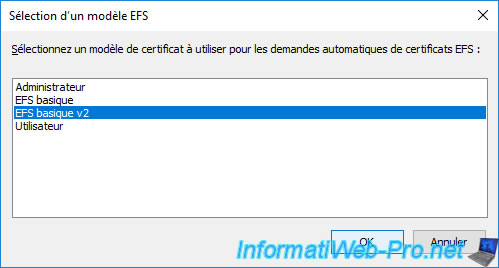
In the "EFS Template Selection" window that appears, select your new "Basic EFS v2" certificate template and click OK.
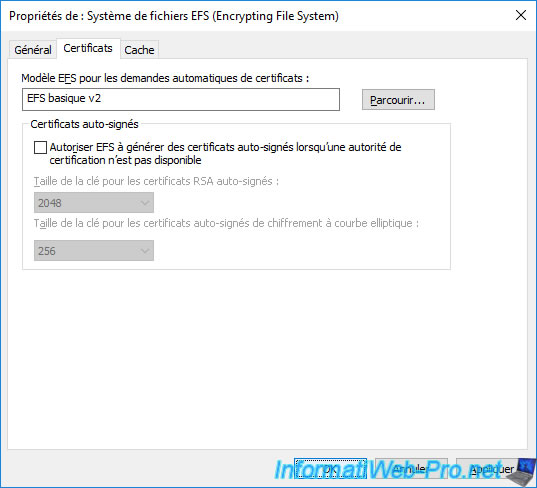
The new certificate template chosen appears.
Share this tutorial
To see also
-

Articles 1/26/2024
SafeNet Authentication Client (SAC) - Installation and overview
-

Articles 9/8/2023
What is encryption and how does it work ?
-
Windows Server 12/29/2023
WS 2016 - AD CS - Backup and restore a certificate authority (CA)
-

Windows Server 1/19/2024
WS 2016 - AD CS - Buy smart cards and log in via them
You must be logged in to post a comment