- Windows Server
- 13 October 2023 at 11:07 UTC
-

- 1/2

Although you can manually enroll (issue) certificates to your servers, computers or users. You can also do it automatically for them thanks to the auto-enrollment policies available in group policies (GPO).
- Create a new user in Active Directory
- Allow auto-enrollment for certificates based on the User template
- Enable certificate auto-enrollment for your servers and computers
- Enable automatic certificate enrollment for your users
- Certificates issued
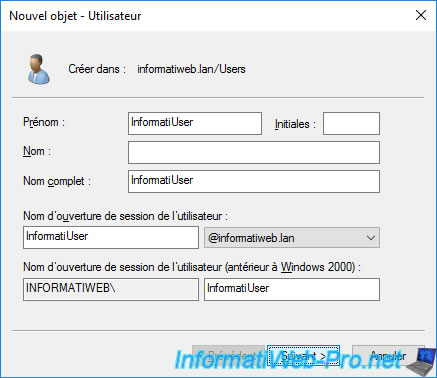
1. Create a new user in Active Directory
To begin, we will create a new user on our Active Directory domain controller.
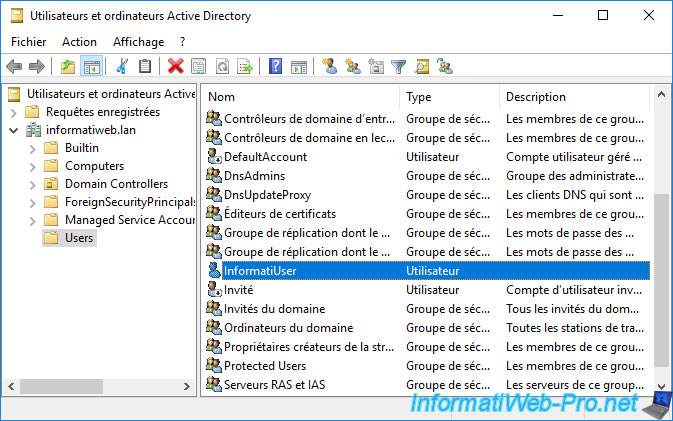
The new user created appears in the list.
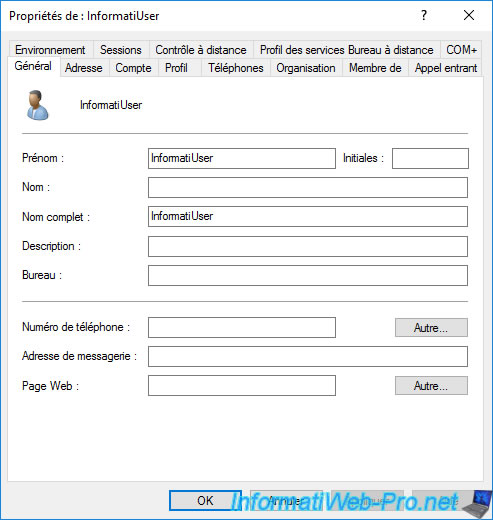
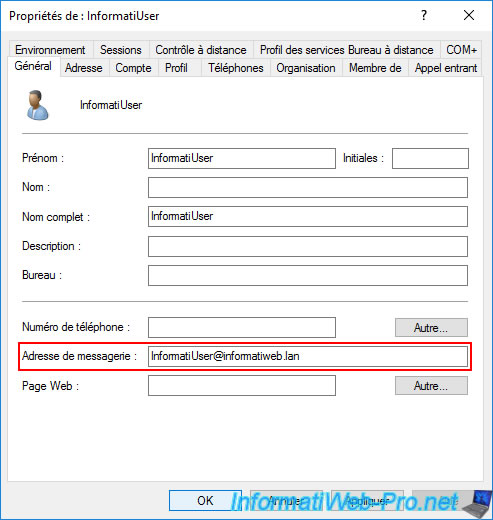
Warning : if you want to use the auto-enrollment of user certificates based on the "User" certificate template, the "E-mail" field of your users must be defined.
Otherwise, the user certificate will never be enrolled by your users.
Note that you could also use auto-enrollment with other certificate templates (such as "Basic EFS" for example, which doesn't require this change).
It all depends on your needs.
For the example, we specified "[user name]@[Active Directory domain]" as the value.
Although this email address doesn't exist in our case.
This information is important, because it will be found in the subject of the certificate that will be generated.
2. Allow auto-enrollment for certificates based on the User template
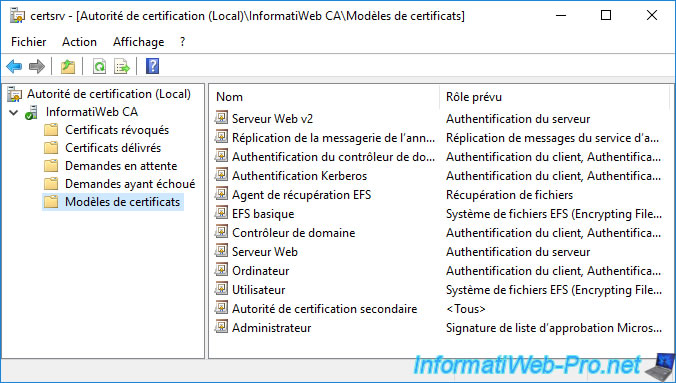
On the server where your CA is installed, go to the "Certificate Templates" folder.
As you can see, by default, multiple certificate templates can be enrolled (if you have the necessary permissions).
However, the "User" certificate template visible here is version 1 and can't be used for the auto-enrollment of user certificates (given that this permission is not available in version 1).
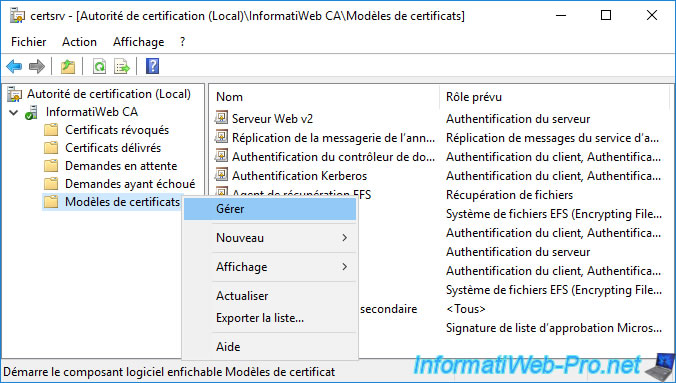
To allow auto-enrollment of User certificates, right-click "Manage" on "Certificate Templates".
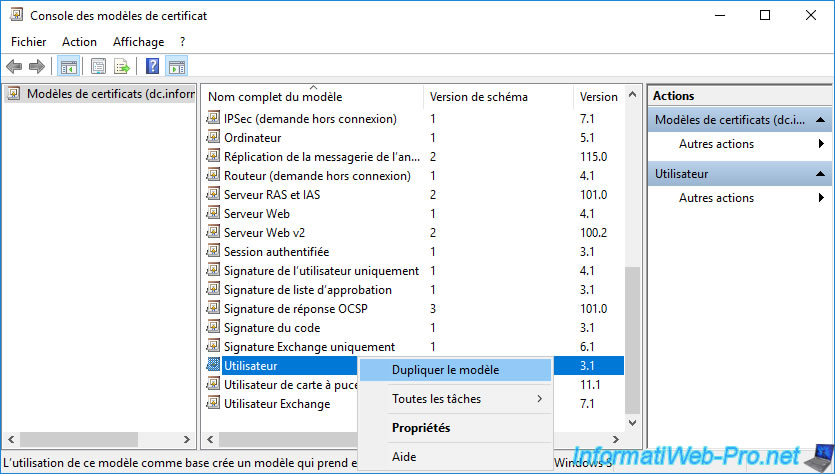
Right click "Duplicate Template" on the "User" certificate template (which is by default in version 1).
Note : in case you don't know, duplicating a version 1 certificate template without modifying anything will automatically create a version 2 certificate template.
This will allow you to enable the auto-enrollment.
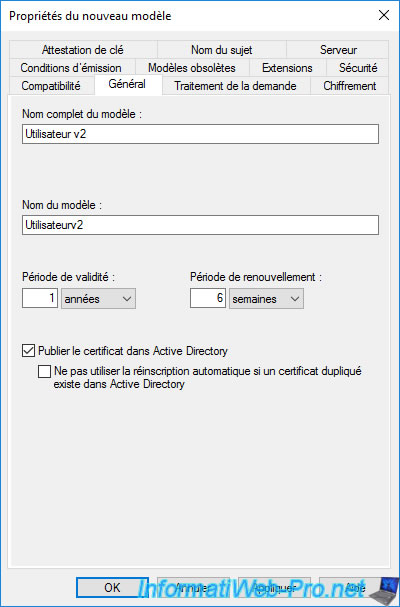
In the "General" tab, change the full model name to : User v2 (for example).
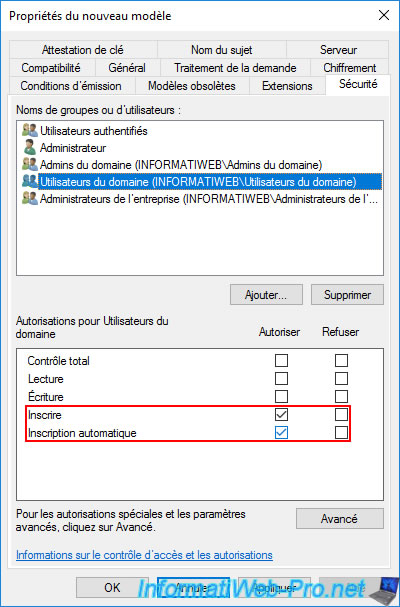
In the "Security" tab, grant "Enroll" and "Autoenroll" rights for domain users (or for users or groups for which you want to autoenroll certificates).
Note : it's important that the "Authenticated Users" group has the "Read" permission so that the certificate template is visible to all your users.
This is the default, but it's important to keep this permission.
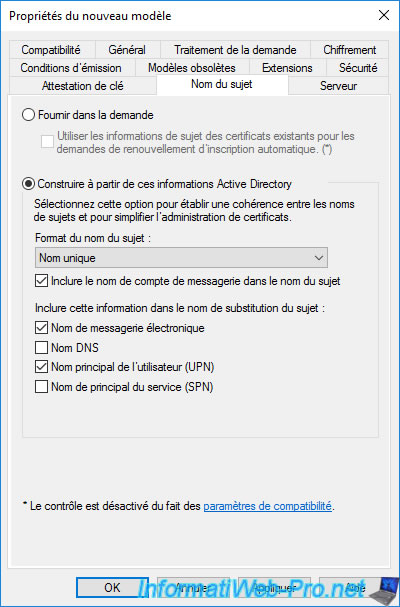
In the "Subject Name" tab, there is nothing to change.
However, as you can see, the e-mail name will be included in the subject name.
This explains the need to define the "E-mail" field of the users for whom you want to automatically enroll user certificates.
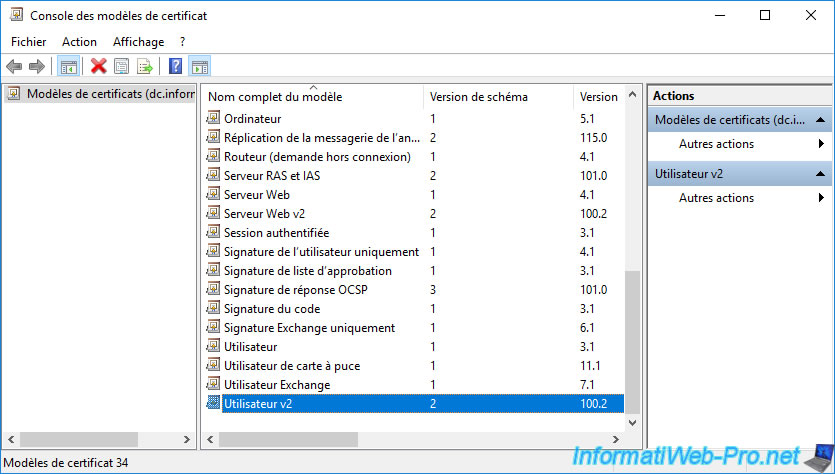
The newly created certificate template appears.
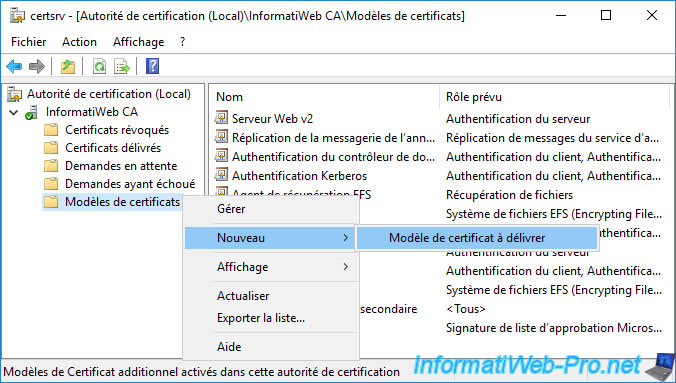
Now that this new certificate template has been created and auto-enrollment has been enabled for it, right-click "New -> Certificate Template to Issue" on "Certificate Templates".
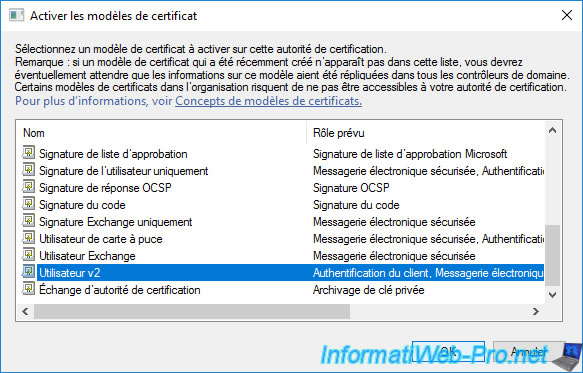
Select the new certificate template created (in our case : User v2) and click OK.
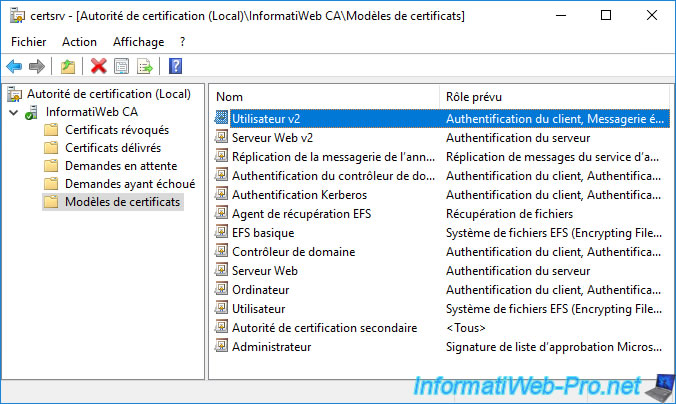
The new certificate template to be issued appears.
3. Enable certificate auto-enrollment for your servers and computers
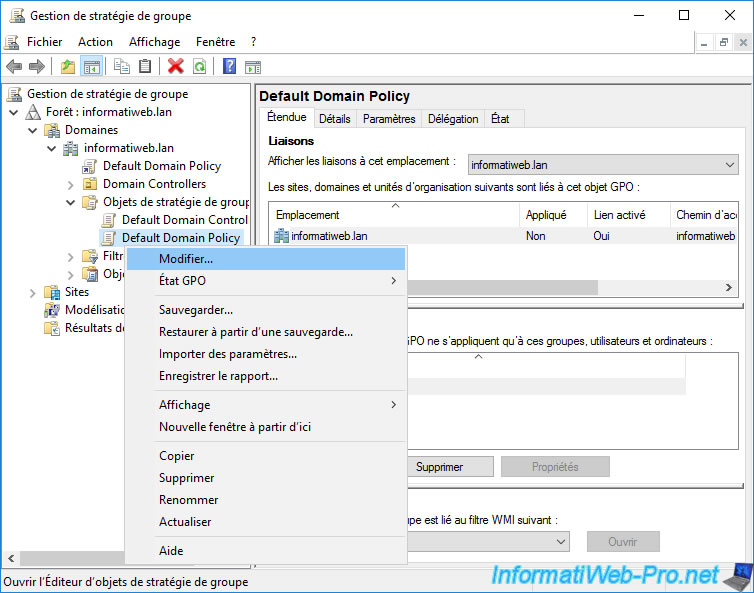
To enable certificate auto-enrollment for your servers and computers, you must open the "Group Policy Management" console of your Active Directory domain controller.
Then, go to "Domains -> [your AD domain name] -> Group Policy Objects and right-click "Edit" on the "Default Domain Policy" GPO to modify the group policy applied to all your computers, servers and users.
Go to "Computer Configuration -> Policies -> Windows Settings -> Security Settings -> Public Key Policies" and double click on the "Certificate Services Client - Auto-Enrollment" policy.
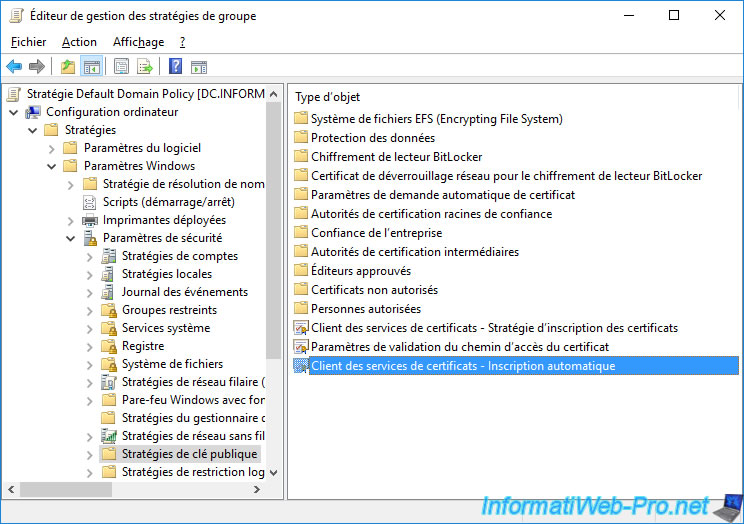
As you can see, this Group Policy (GPO) is not configured by default.
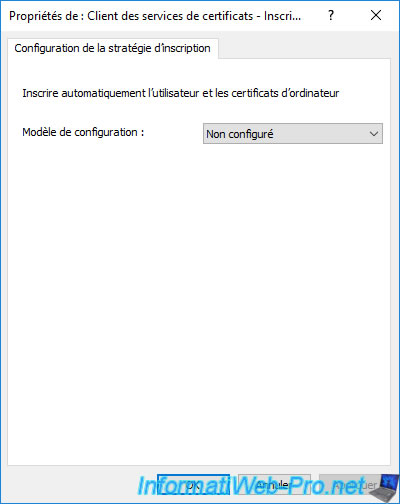
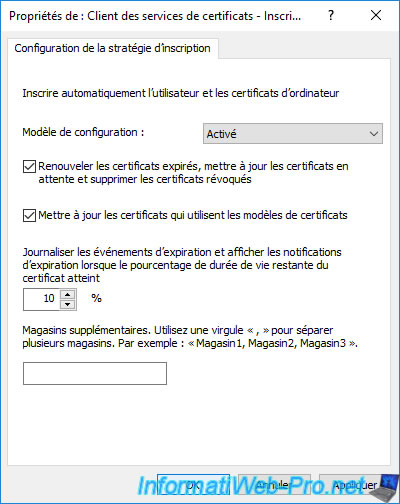
Select "Configuration Model : Enabled" to enable certificate auto-enrollment and check the 2 boxes :
- Renew expired certificates, update pending certificates, and remove revoked certificates
- Update certificates that use certificate templates : allows you to update certificates by auto-enrolling from a new certificate template that would replace the old one (if any).
As you can see, thanks to this group policy, the certificates for your computers and servers will be automatically enrolled (issued), renewed, deleted (for those revoked), updated if you have created a new certificate template replacing the old (if any).
You can also log the expiration events of these certificates and display an expiration notification when the validity period of the certificate concerned becomes less than 10%.
Finally, the "Additional stores ..." option allows you to enable notifications for additional certificate stores.
In order for a certificate to be automatically enrolled (following the activation of the policy above) for each of your servers and computers, you must specify the certificate template to be used.
To do this, go to "Computer Configuration -> Policies -> Windows Settings -> Security Settings -> Public Key Policies" and right-click "New -> Automatic Certificate Request" on "Automatic Certificate Request Settings".
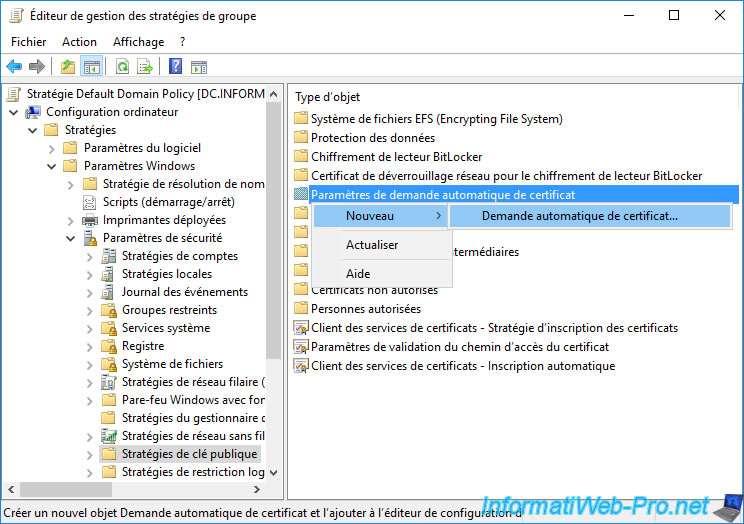
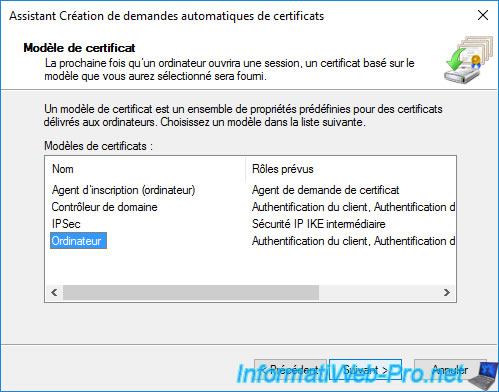
The Automatic Certificate Request Setup Wizard appears.

In this wizard, select the certificate template to use to enroll certificates for your computers or servers, and then click Next.
For the example, we will use the "Computer" certificate template.
Note that the "Computer" certificate template is present by default when you install an enterprise certification authority on Windows Server and that this certificate template is part, by default, of the certificate templates to be issued.
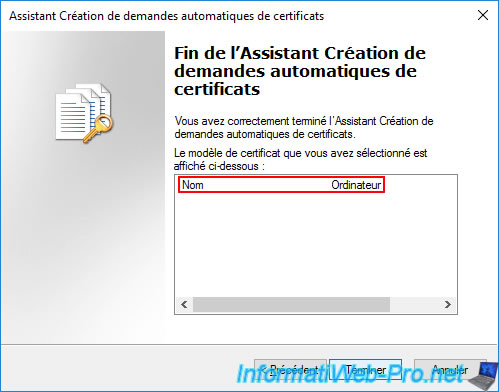
The previously selected certificate template appears at the end of the wizard.
Click Finish.
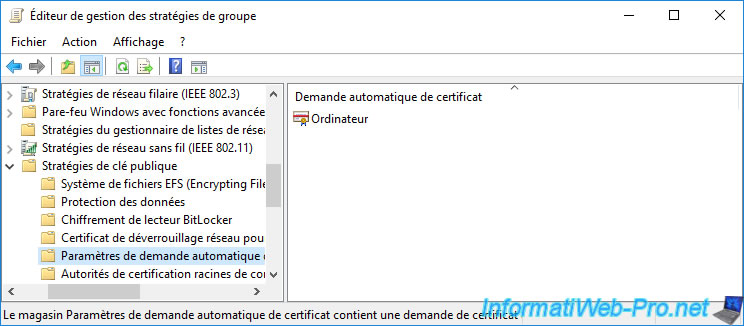
If you go into the "Automatic Certificate Request Settings" folder, you will see the name of the certificate template to use appear.
In our case, the "Computer" certificate template.
Share this tutorial
To see also
-

Articles 1/26/2024
SafeNet Authentication Client (SAC) - Installation and overview
-

Articles 9/8/2023
What is encryption and how does it work ?
-
Windows Server 12/29/2023
WS 2016 - AD CS - Backup and restore a certificate authority (CA)
-

Windows Server 1/19/2024
WS 2016 - AD CS - Buy smart cards and log in via them
You must be logged in to post a comment