- Windows Server
- 28 July 2023 at 08:37 UTC
-

- 1/5


On Windows 7, it was possible to install an XP mode for free and officially thanks to Virtual PC.
However, it's also possible to import this XP mode into other virtualization solutions, including Hyper-V which succeeds Virtual PC on the following versions of Windows.
Warning : don't reinstall Windows XP in business. Since Windows XP hasn't been updated for years, it's a security hole right now.
Use this technique only in the case of a lab at home if you really need it to solve a compatibility problem (for example).
Note : tutorial made on Windows Server 2012 R2 and also tested with Windows Server 2012 and 2016.
- Download Microsoft XP Mode
- Download a newer web browser (Firefox 52.9.0 ESR)
- Create a virtual machine for XP mode
- XP mode mini install
- Uninstall old drivers used by Virtual PC
- Install Hyper-V Integration Services (drivers) on Windows Server 2012 and 2012 R2
- Install Hyper-V Integration Services (drivers) on Windows Server 2016
- Install a newer web browser (Firefox 52.9.0 ESR)
- Enable remote desktop (RDP) on Windows XP Pro
- Transfer files via Remote Desktop between Hyper-V host and virtual machine on Windows XP Pro
1. Download Microsoft XP Mode
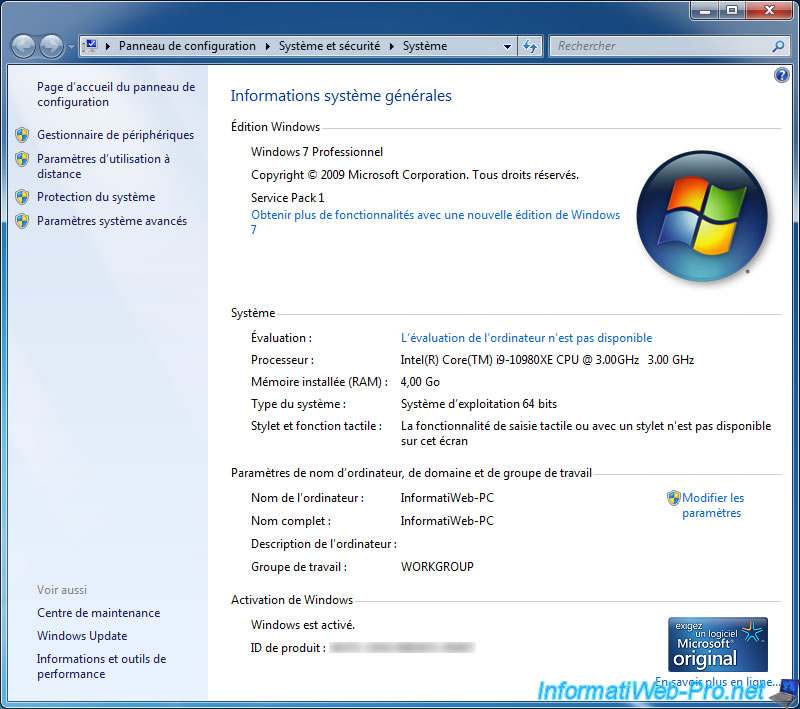
To begin, officially, XP Mode can only be installed if you have a Windows 7 Professional, Enterprise, or Ultimate license.
Which is our case.
You don't need Windows 7 installed, but officially you need a Windows 7 license.
Since Windows 7 is no longer supported and this XP mode was intended for this version of Windows, the XP mode has disappeared from Microsoft's servers.
However, it is still possible to download Windows XP Mode via the "archive.org" site.
The "WindowsXPMode_en-us.exe" file to download weighs approximately 469 MB.

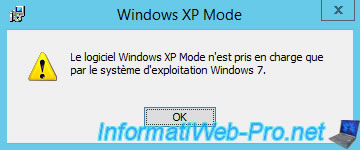
No need to try to launch this file, because this error will appear :
Plain Text
Windows XP Mode software is only supported on Windows 7 operating system.
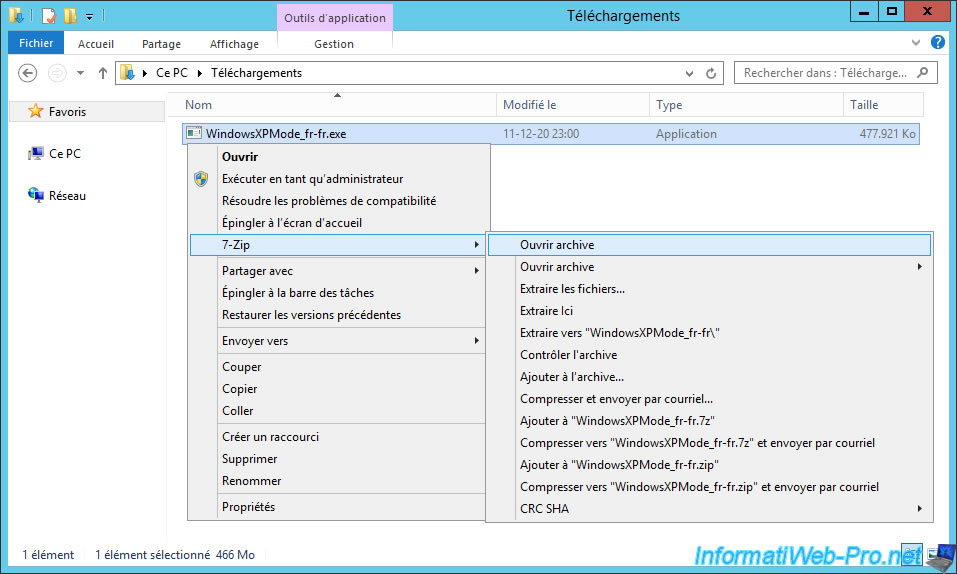
To use XP mode on another version of Windows and with another virtualization solution, you will need to download and install 7-Zip (free).
Once 7-Zip is installed, right click "7-Zip -> Open archive" on the downloaded file.
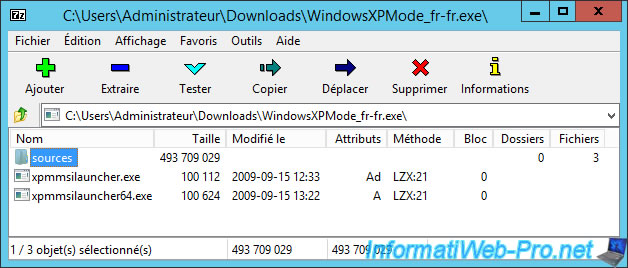
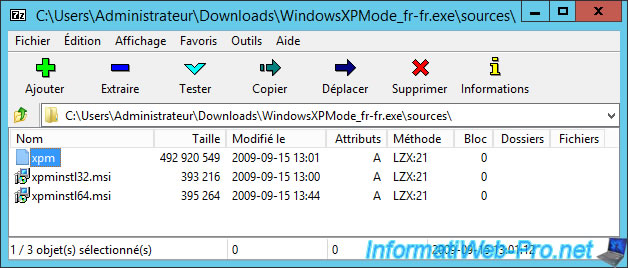
As you can see, this file contains a large "sources" folder, as well as 2 exe files.
Go into the "sources" folder.
Then, double click on the "xpm" file to open it with 7-Zip as well.
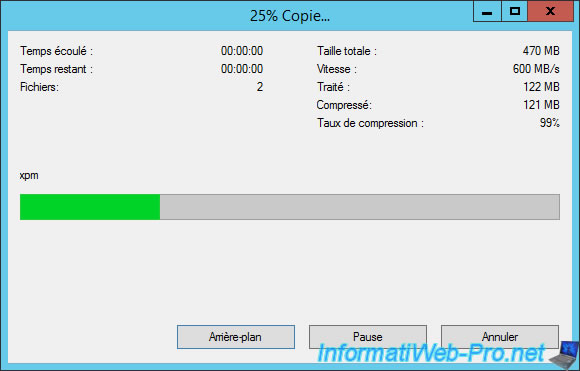
Wait a few seconds while this file is copied (probably in Windows temporary files).
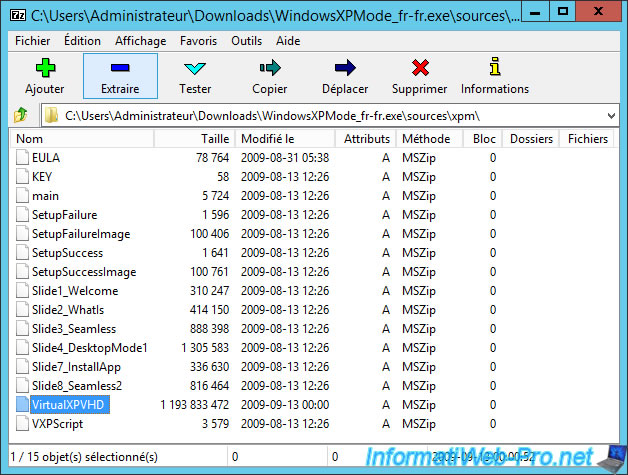
As you can see, this "xpm" file contains a large file named "VirtualXPVHD".
Note that the serial number used by this installation of Windows XP is available in the "KEY" text file.
Select the "VirtualXPVHD" file and click Extract.
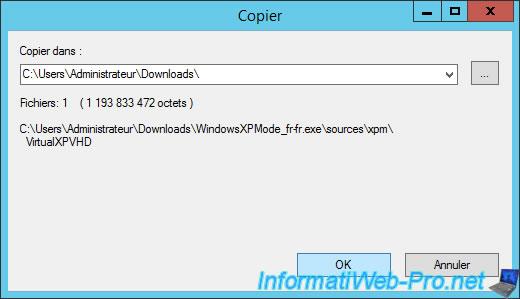
Choose the folder where you want to extract this file and click OK.
In our case, the current user's "Downloads" folder.
Wait while extracting this "VirtualXPVHD" file.
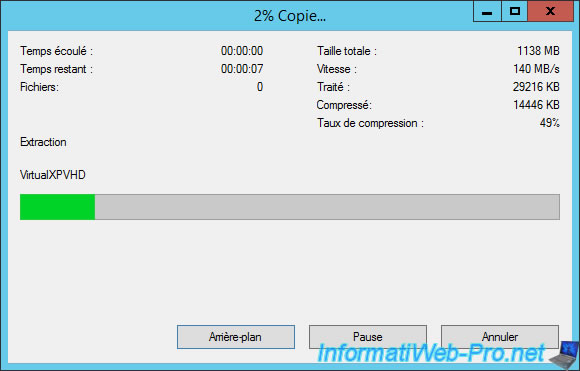
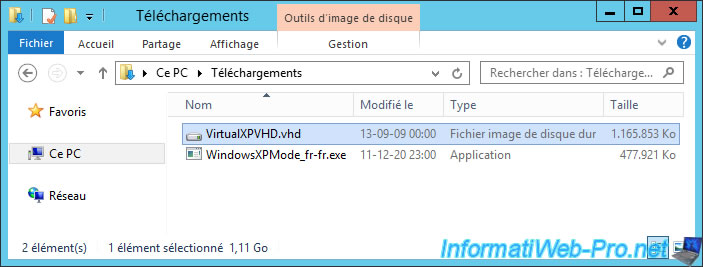
The "VirtualXPVHD" file has been extracted and weighs around 1 GB.

Rename this file to add the ".vhd" extension.
2. Download a newer web browser (Firefox 52.9.0 ESR)
By default, XP mode uses version 6 of Internet Explorer.
The problem is that this version is so old that most websites will be inaccessible.
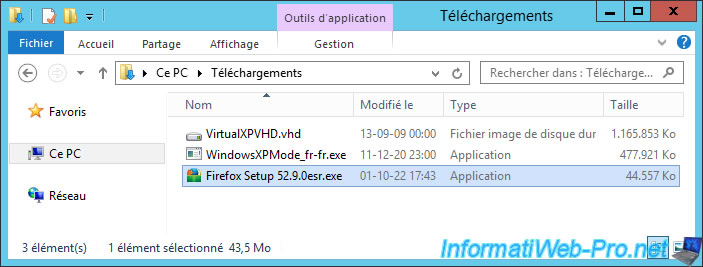
To fix the problem, the easiest solution is to download the latest version of Firefox available for Windows XP.
According to Mozilla's "Firefox has ended support for Windows XP and Vista | Firefox Help" page, the latest version compatible with Windows XP is "Firefox 52.9.0 ESR" (available from Mozilla official website).
To simplify its installation, right click "Mount" or double click on the virtual hard disk "VirtualXPVHD.vhd" to mount it on your server.
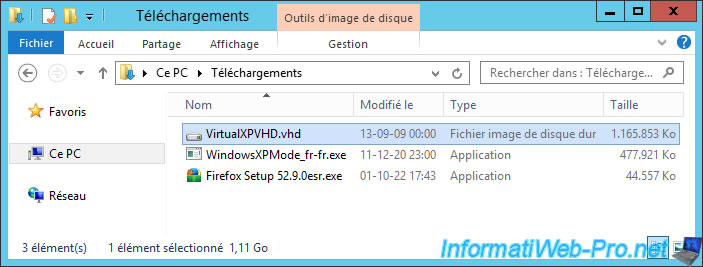
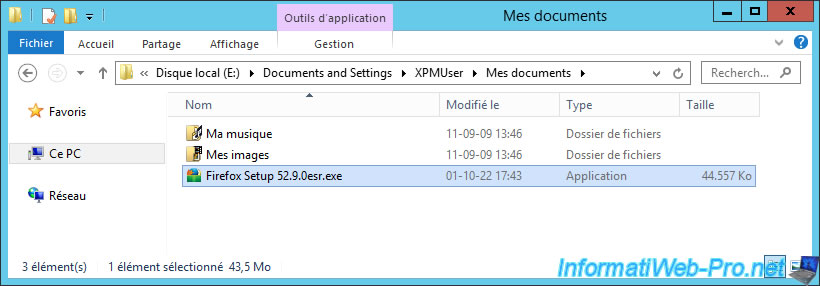
Then, copy this installation file in the "My documents" folder of the "XPMUser" user or in that of all users (All Users).
The advantage is that you will be able to easily access these folders and that this copy will not require administrator rights on your server.
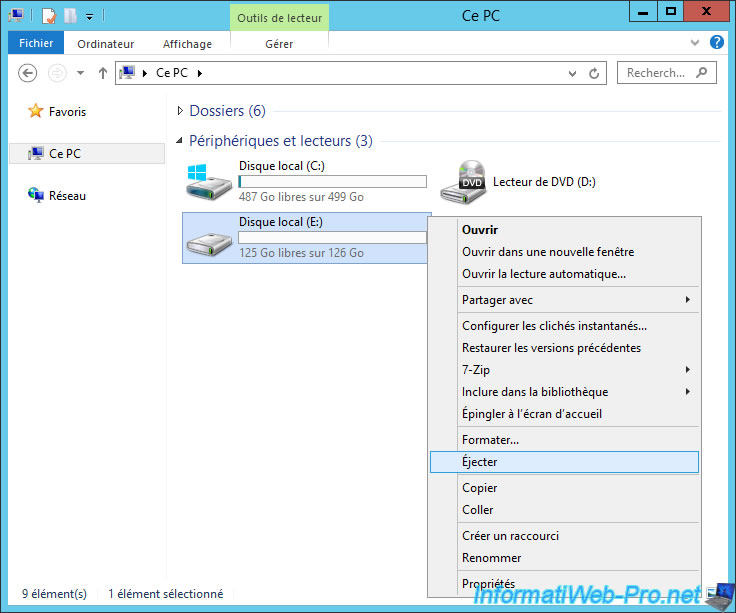
Once the Firefox 52.9.0 ESR installation file has been copied to the Windows XP Mode virtual hard disk, remember to eject this virtual hard disk from your server.
Indeed, a virtual machine can't use a virtual hard disk (.vhd) if it's mounted on your server.
To do this, right-click "Eject" on the partition corresponding to the Windows XP Mode virtual hard disk.
3. Create a virtual machine for XP mode
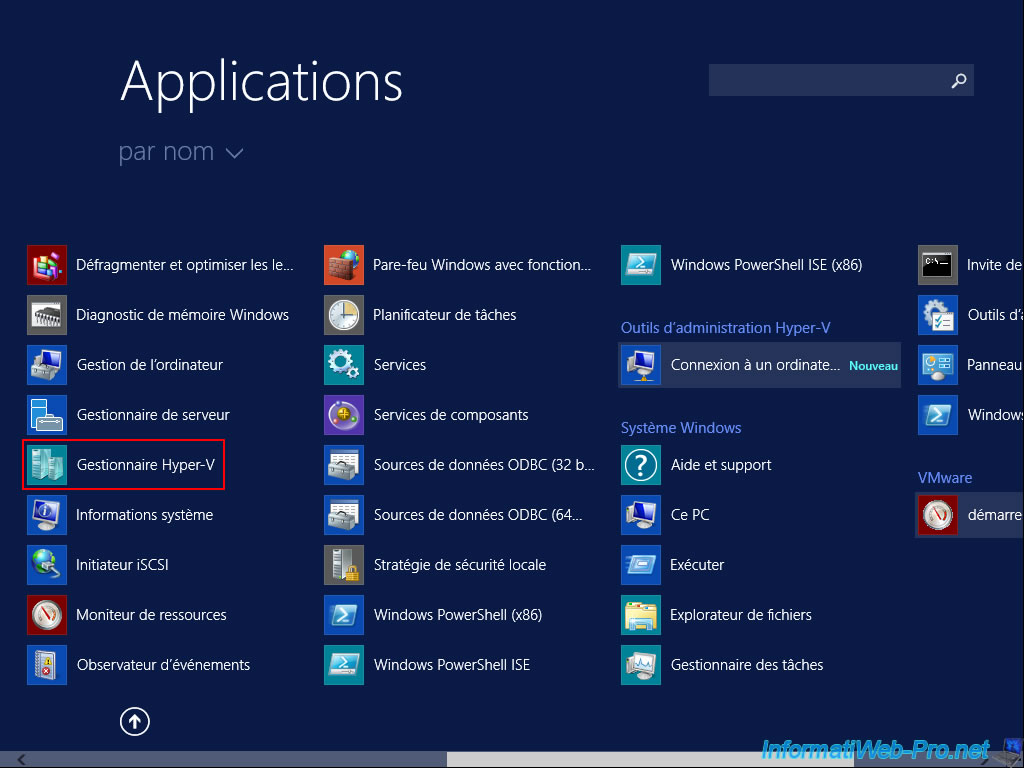
To get started, open Hyper-V Manager from the Windows Server 2012 / 2012 R2 home screen or from the Windows Server 2016 start menu.
In Hyper-V Manager, click : Action -> New -> Virtual Machine.
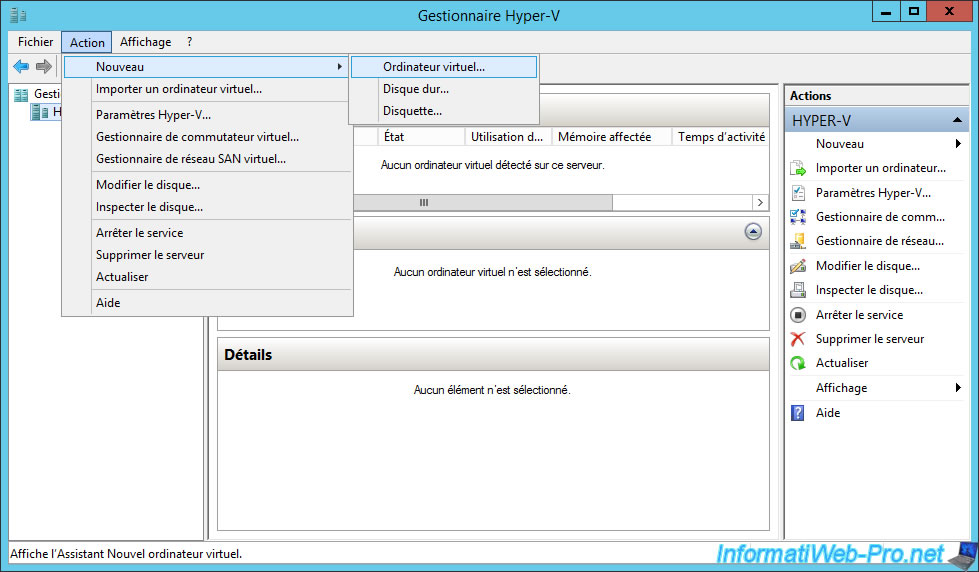
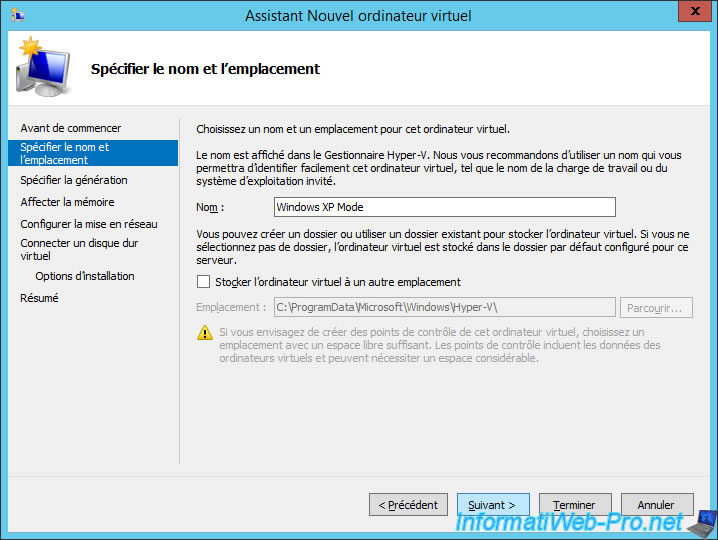
In the New Virtual Machine wizard that appears, specify "Windows XP Mode" for the name and click Next.
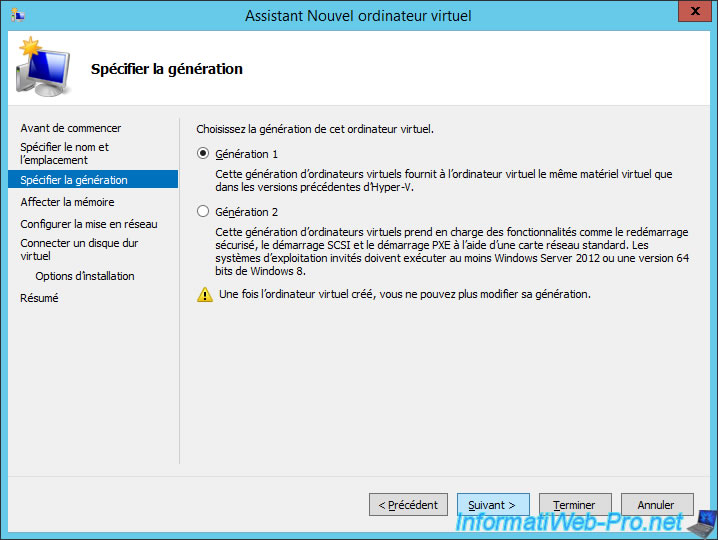
Select "Generation 1" to use an older BIOS.
Note : generation 2 uses EFI firmware, which is not supported by Windows XP.
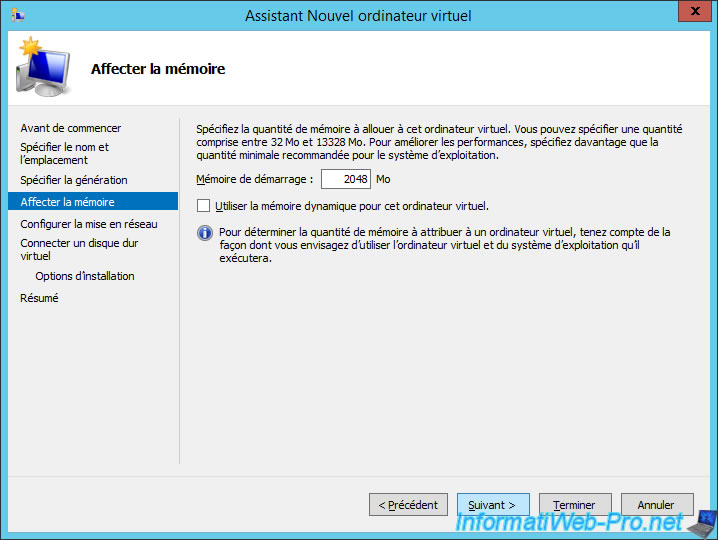
For RAM, we have allocated 2048 MB (2 GB) of RAM.
However, Windows XP might even work fine with 512MB of RAM.
Warning : uncheck the "Use Dynamic Memory for this virtual machine" box since it's an old OS and anyway, it doesn't need a lot of memory. So this feature is useless in this case.
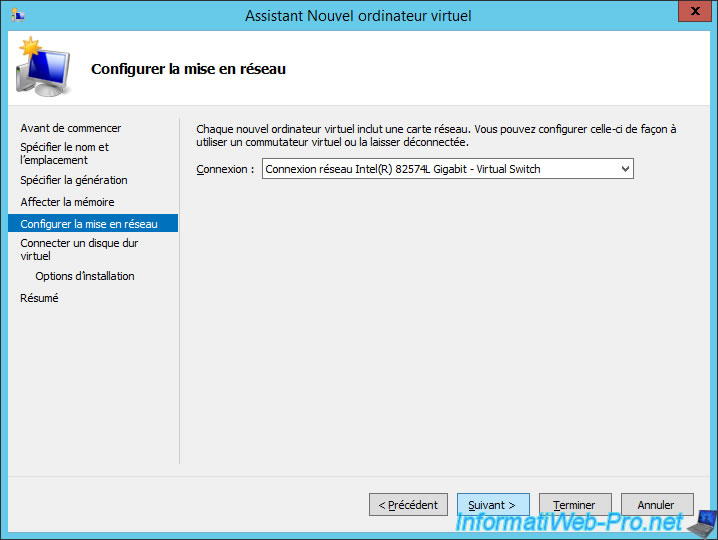
Choose the virtual switch to use.
Note : by default, you were able to create one when installing the "Hyper-V" role on your server.
Select "Use an existing virtual hard disk" and click on : Browse.
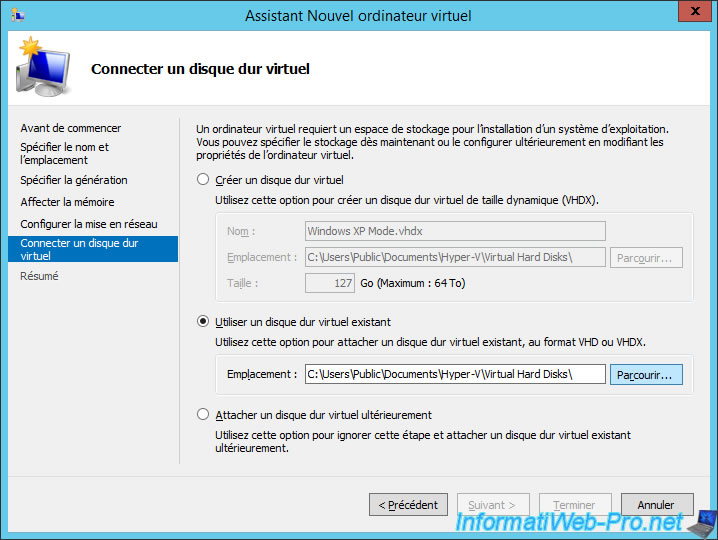
Preferably, copy the "VirtualXPVHD.vhd" file into the "Virtual hard disks" folder that appears to avoid accidentally deleting it.
Then, select this "VirtualXPVHD.vhd" file and click Open.
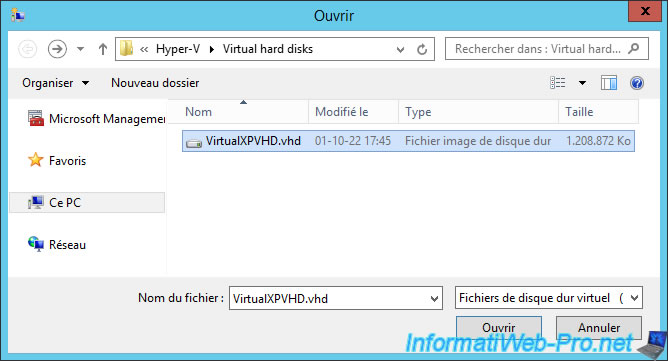
Once the "VirtualXPVHD.vhd" virtual hard disk is selected, click Next.

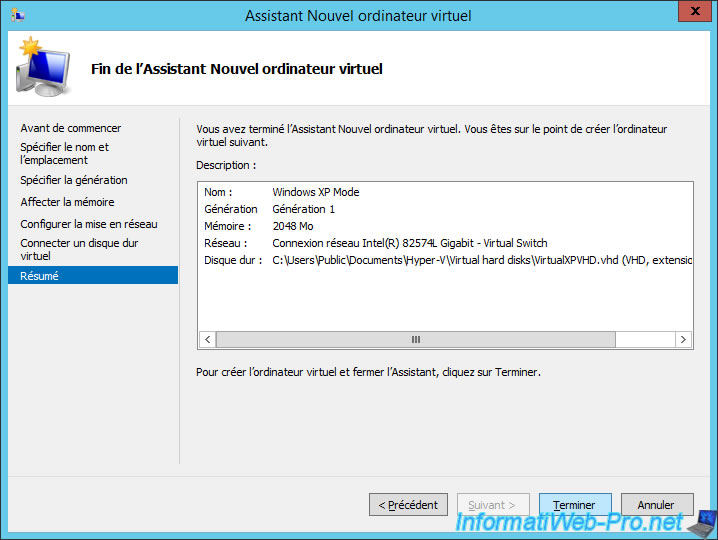
A summary of the configuration of your "Windows XP Mode" virtual machine appears.
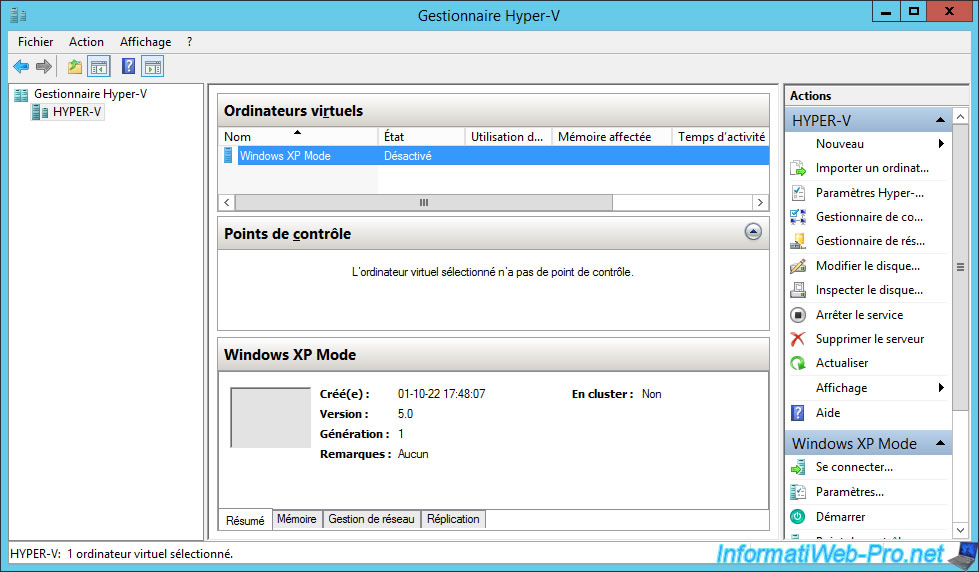
Your "Windows XP Mode" virtual machine has been created.
Double click on it to open it.
Share this tutorial
To see also
-
Microsoft 9/6/2019
Hyper-V (WS 2012 R2 / 2016) - Create a generation 2 VM
-
Microsoft 8/10/2019
Hyper-V (WS 2012 R2 / 2016) - Install Hyper-V and create your first VM
-
Microsoft 11/8/2019
Hyper-V (WS 2012 R2 / WS 2016) - Automatically replicate virtual machines
-
Microsoft 11/15/2019
Hyper-V (WS 2012 R2 / WS 2016) - Automatically replicate virtual machines (securely)
You must be logged in to post a comment