Import Windows XP Mode of Microsoft on Hyper-V on Windows Server 2016 and 2012
- Windows Server
- 28 July 2023 at 08:37 UTC
-

- 5/5
9. Enable remote desktop (RDP) on Windows XP Pro
To be able to transfer files between your host and your "Windows XP Mode" virtual machine, you will need to use Windows XP Pro remote desktop.
Indeed, file transfer does not seem to work despite the installation of Hyper-V integration services on Windows XP Pro.
Additionally, you can't use extended session mode either since it is only supported from Windows 8.1 (for guest OS).
Since the Windows XP mode provided by Microsoft and imported under Hyper-V corresponds to a professional edition of Windows XP, you will be able to activate remote desktop in your virtual computer.
To enable remote desktop in Windows XP Pro, refer to our tutorial: Control a computer remotely (Win XP).
Warning : if you installed Hyper-V on Windows 10 or 11, your virtual machine is probably connected to an internal network (which is a subnet different from your physical network and where there is no Internet).
It's therefore necessary to create a new virtual switch which will be connected to the external network (your physical network) so that you can then connect to the "Remote Desktop" server of your virtual machine from the "Remote Desktop" client of your physical PC (host PC).
To resolve this issue (on Windows 10 or 11), refer to step "4. Virtual switch created by default on Windows 10 and 11" of our tutorial on enabling the "Hyper-V" feature on Windows (client version).
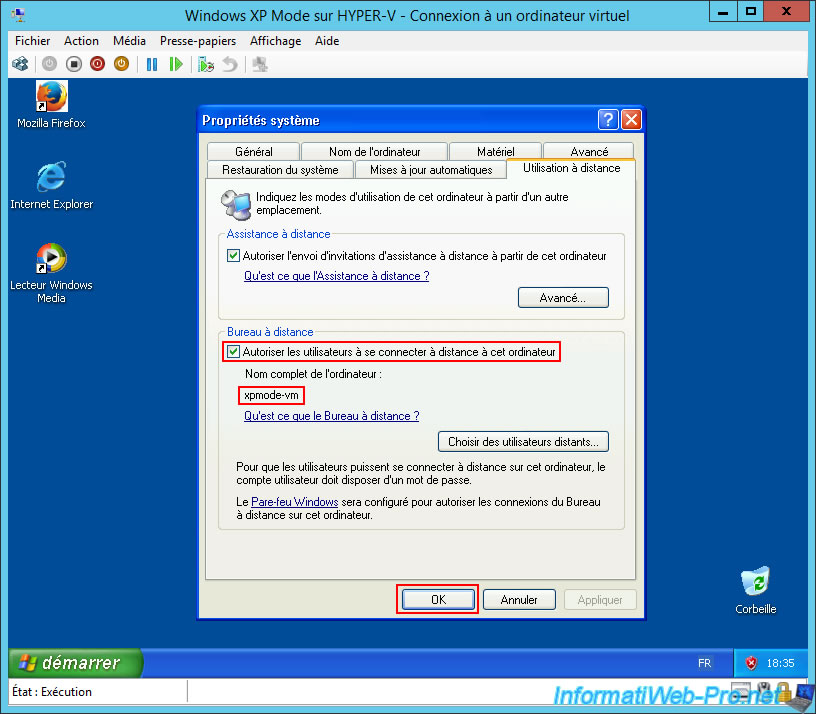
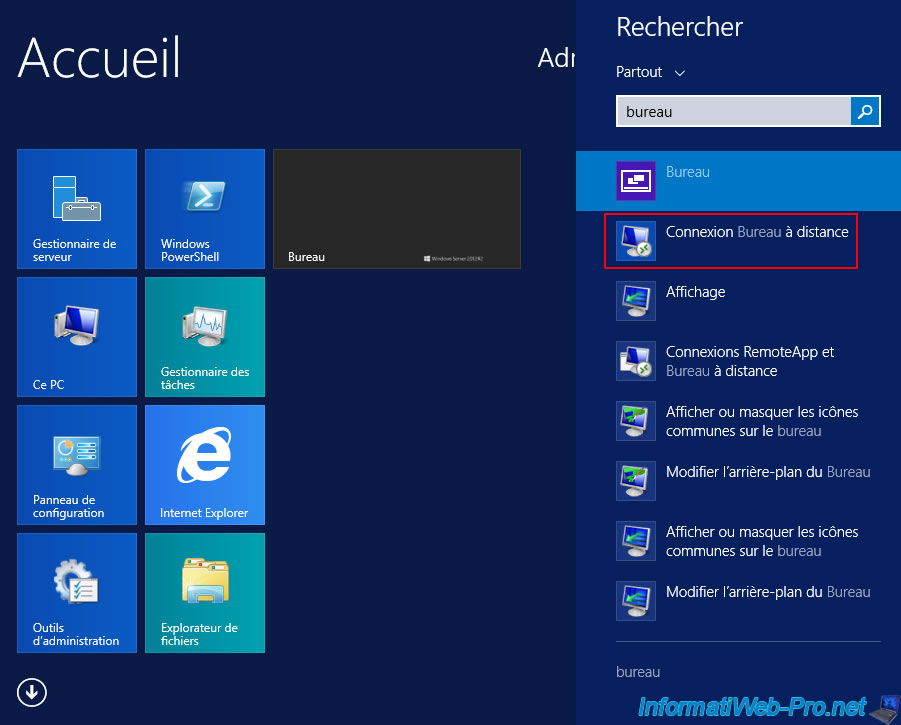
Then, launch the “Remote Desktop Connection” client present on your Hyper-V server or on any PC on your local network.
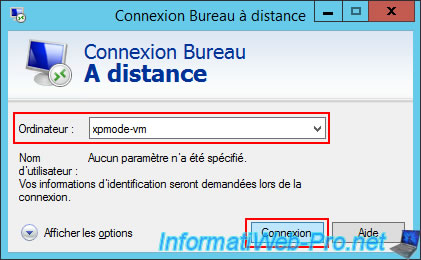
Type the computer name defined in your "Windows XP Mode" virtual computer and click: Connection.
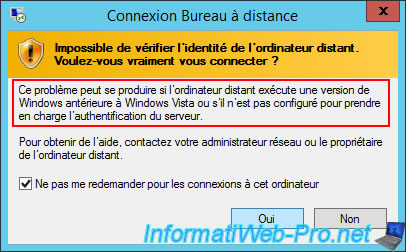
Depending on your version of Windows Server or Windows (on the client PC), you may see a warning telling you that the remote computer is using an older version of Windows.
Plain Text
The identity of the remote computer cannot be verified.
Do you want to connect anyway?

This problem can occur if the remote computer is running a version of Windows that is earlier than Windows Vista ...
Ignore this warning by checking the "Don't ask me again for connections to this computer" box, then click "Yes".
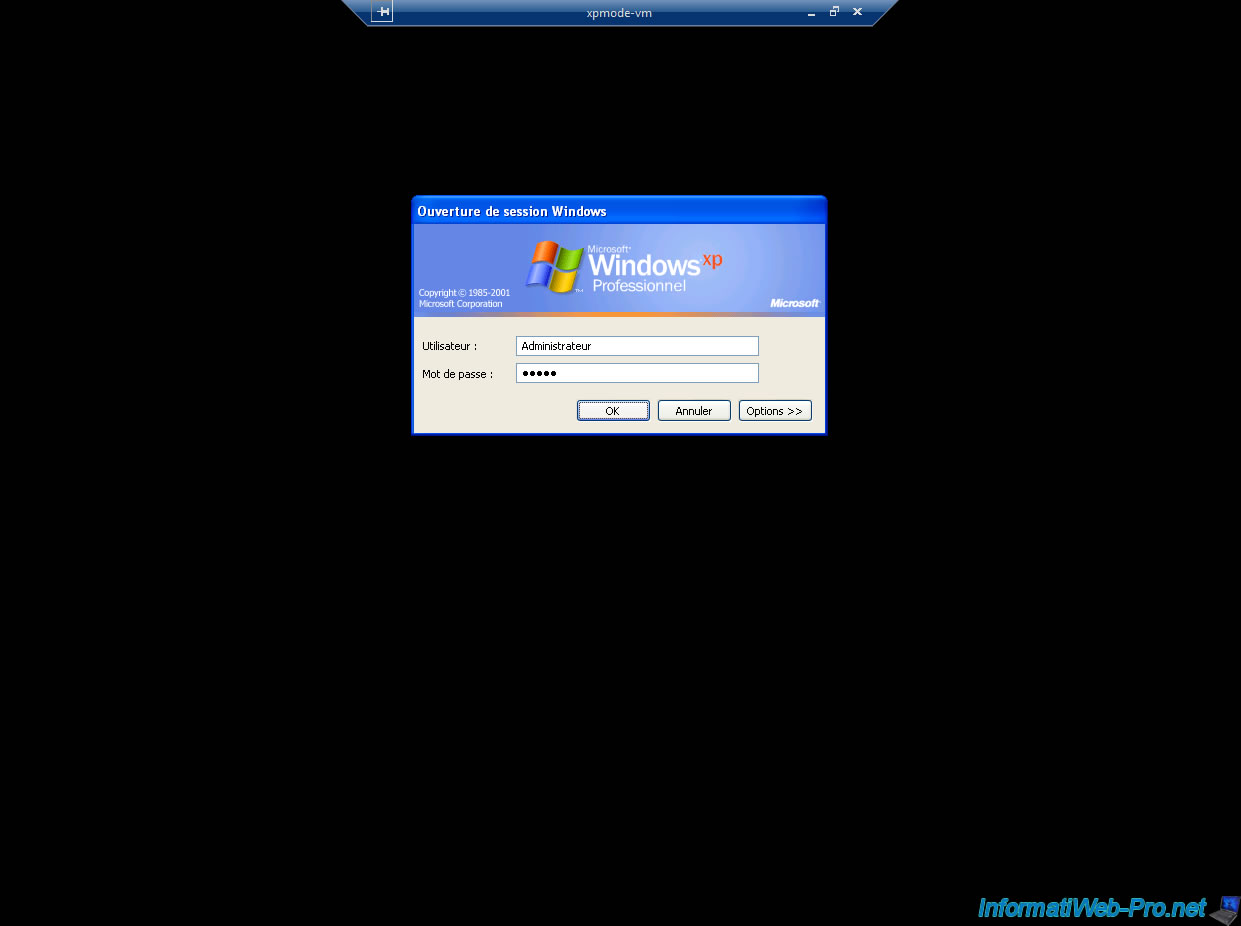
A black screen will appear for approximately 10 seconds with the blue bar at the top of the screen.
Just wait for the Windows XP Professional “Log On to Windows” window to appear.
Next, log in with an account authorized to log in via Remote Desktop on your virtual machine running Windows XP Pro.
Notes:
- by default, you can use the account you were signed in with when you enabled Remote Desktop in Windows XP Pro.
- the user account used must be protected by a password (as explained in the tutorial cited above).
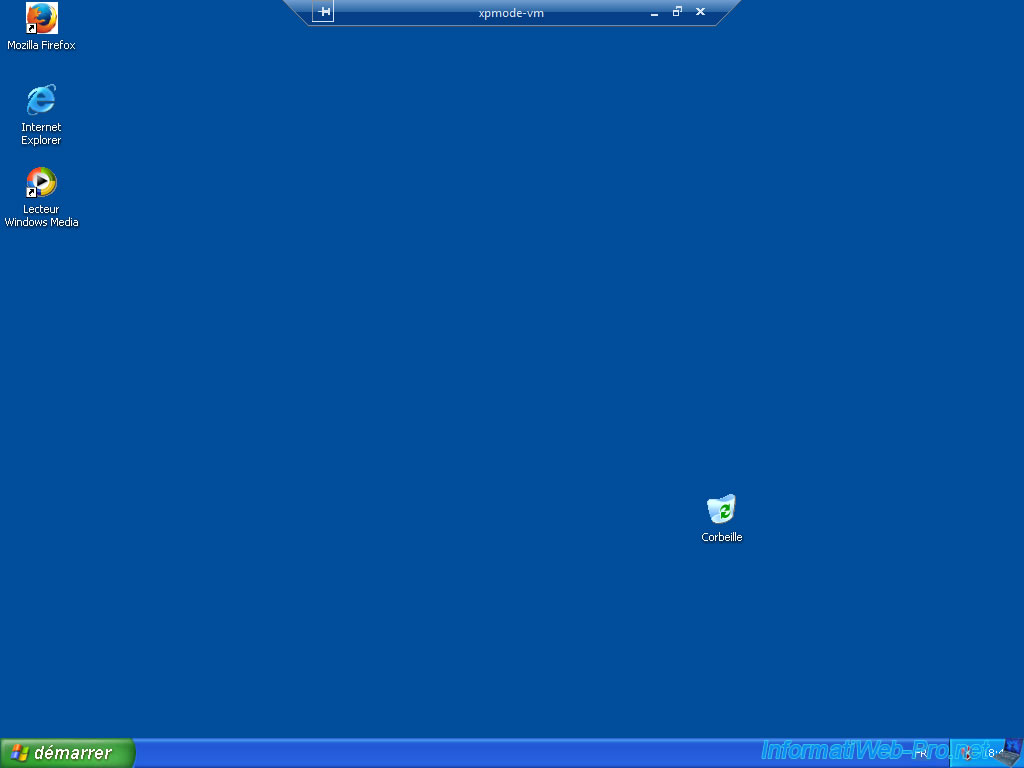
The desktop of your "Windows XP Mode" virtual machine appears via the "Remote Desktop Connection" client.
Important : copy and paste to transfer files is not supported by Windows XP Pro remote desktop server.
To transfer files between your host and your virtual machine on Windows XP Pro, you will need to use the trick described in the next step of this tutorial (and in more detail in the tutorial cited previously).
10. Transfer files via Remote Desktop between Hyper-V host and virtual machine on Windows XP Pro
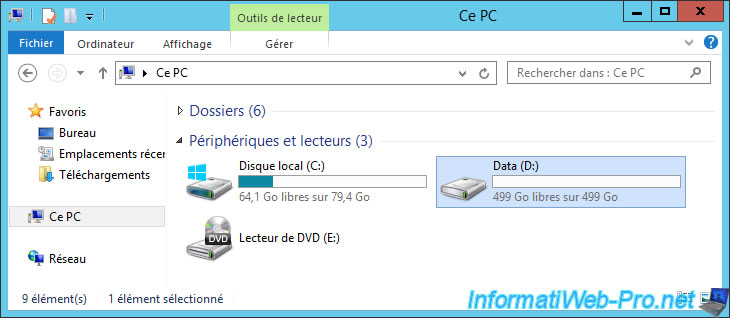
On our Hyper-V server, we have a 2nd hard drive with a partition named "Data (D:)".
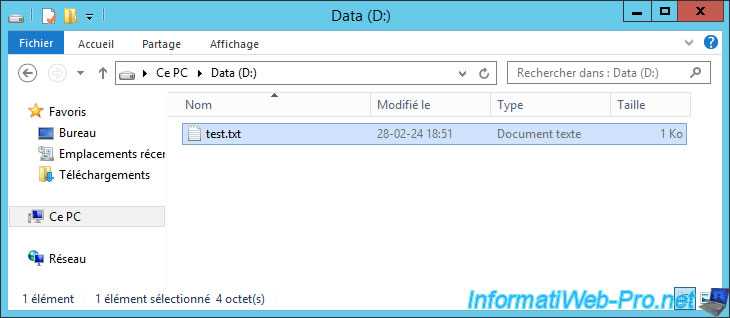
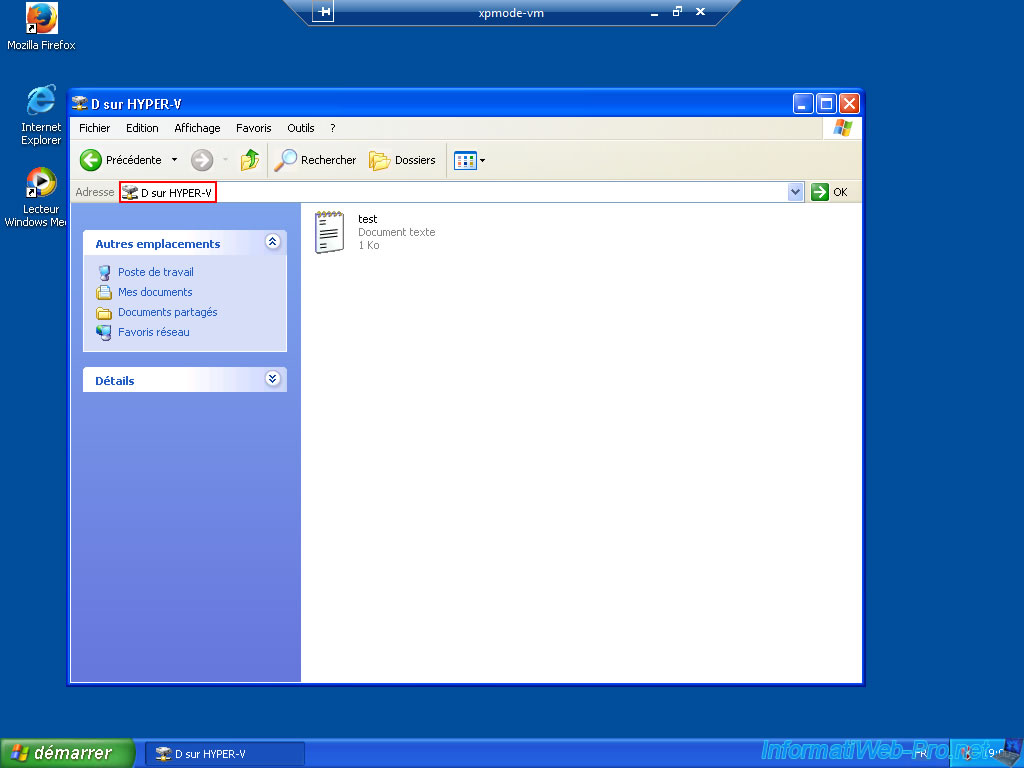
In this partition, we have created a test file.
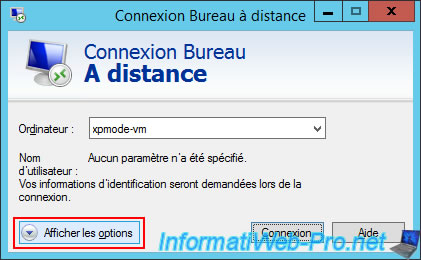
In the “Remote Desktop Connection” client, click “Show Options”.
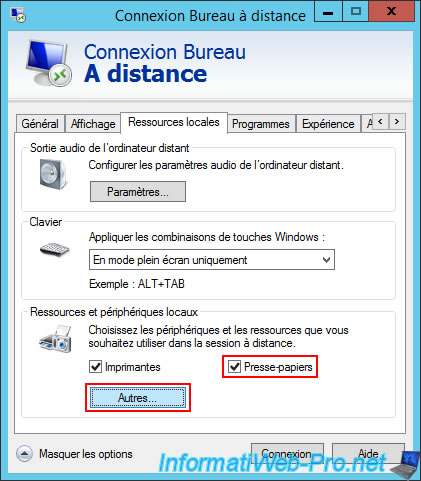
In the "Local Resources" tab, check the "Clipboard" box in the "Local devices and resources" section, then click the button: More.
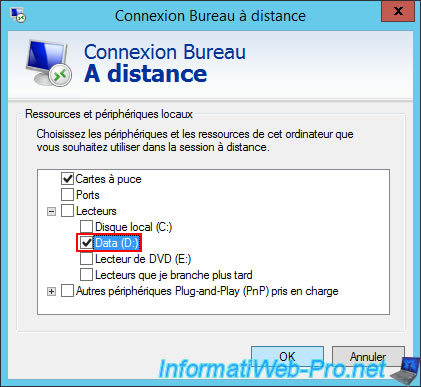
Expand the "Drives" node and check the box corresponding to the partition of your Hyper-V server (or your host PC if you are using Hyper-V on a client version of Windows), then click OK.
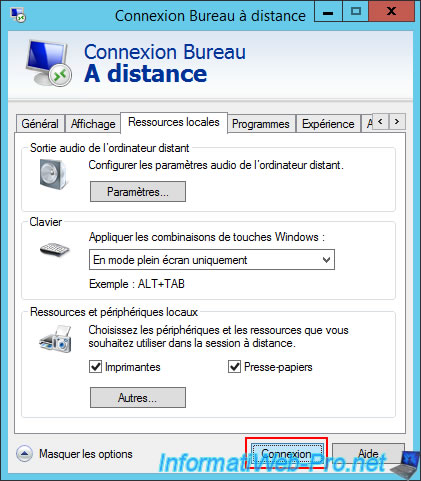
Now, click on the “Connect” button located at the bottom of the window.
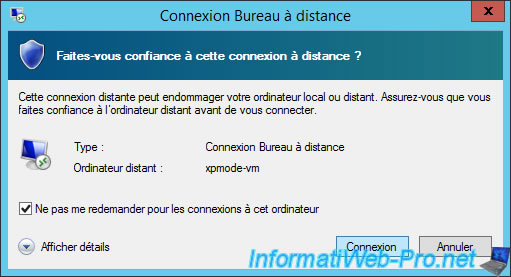
Windows (Server) tells you that this remote connection may damage your local or remote computer.
Which is normal since your Windows XP virtual machine can access a partition of your Hyper-V server (and vice versa).
Ignore this message by checking the "Don't ask me again for connections to this computer" box, then click: Connect.
Log in with a user account authorized to connect via remote desktop to this virtual computer, and then open the Windows XP Pro desktop.
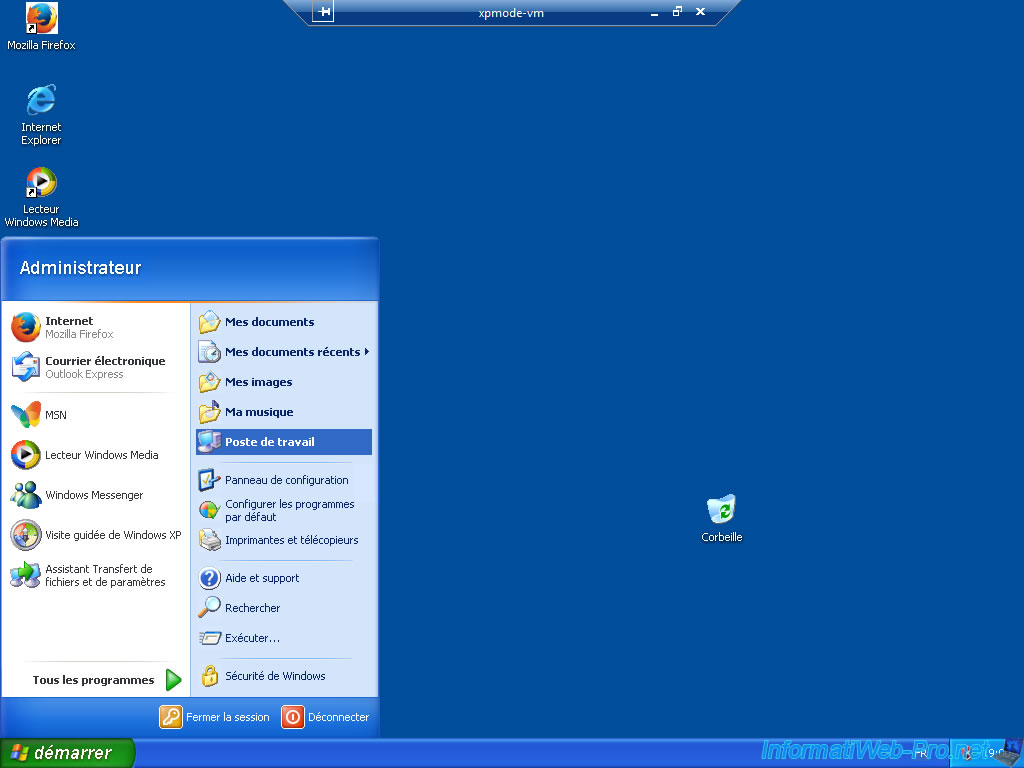
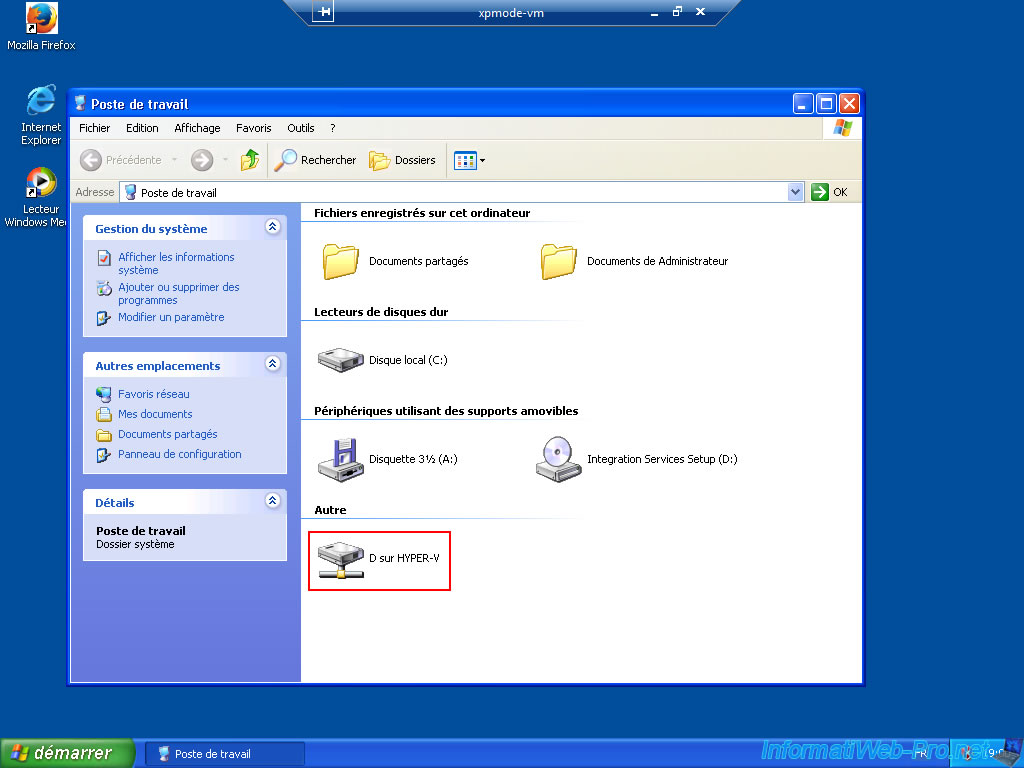
In the workstation, you will see that a new disk "D on HYPER-V" appears in an "Other" section.
Which corresponds to the partition of your Hyper-V server for which you checked the box in the “Remote Desktop Connection” client settings.
In the workstation, you will see that a new disk "D on HYPER-V" appears in an "Other" section.
Which corresponds to the partition of your Hyper-V server for which you checked the box in the “Remote Desktop Connection” client settings.
Share this tutorial
To see also
-
Microsoft 9/6/2019
Hyper-V (WS 2012 R2 / 2016) - Create a generation 2 VM
-
Microsoft 8/10/2019
Hyper-V (WS 2012 R2 / 2016) - Install Hyper-V and create your first VM
-
Microsoft 11/8/2019
Hyper-V (WS 2012 R2 / WS 2016) - Automatically replicate virtual machines
-
Microsoft 11/15/2019
Hyper-V (WS 2012 R2 / WS 2016) - Automatically replicate virtual machines (securely)

No comment