Import Windows XP Mode of Microsoft on Hyper-V on Windows Server 2016 and 2012
- Windows Server
- 28 July 2023 at 08:37 UTC
-

- 3/5

6. Install Hyper-V Integration Services (drivers) on Windows Server 2012 and 2012 R2
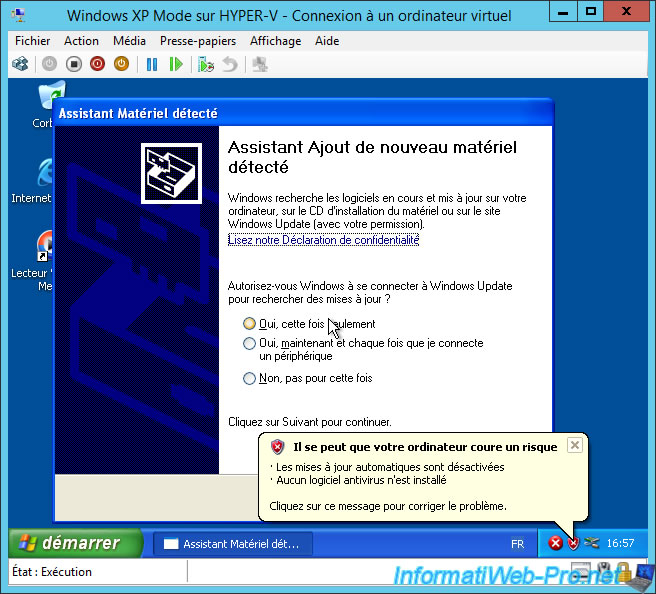
Now, several "Found New Hardware Wizard" windows will appear (given that your virtual machine drivers are not installed).
Press the "Esc" key 3 times to close them.
Warning : if you installed Hyper-V on Windows Server 2016 (or Windows 10 for the corresponding client version) or later, go directly to the next step "7. Install Hyper-V Integration Services (drivers) on Windows Server 2016" of this tutorial.
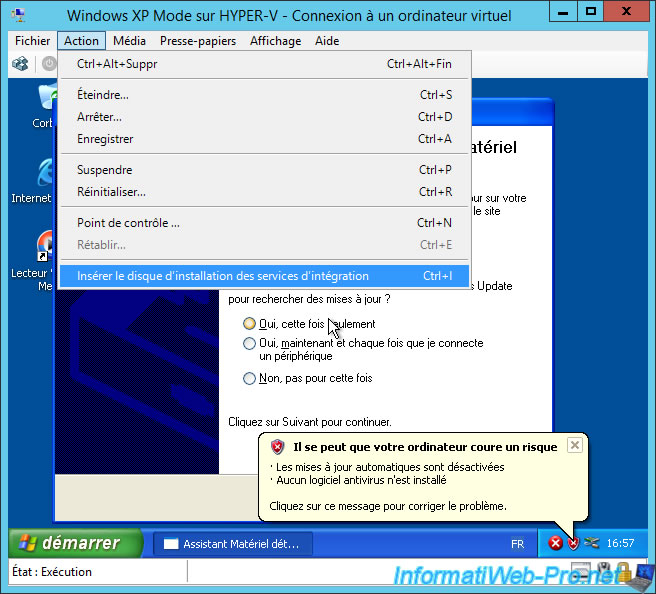
Then, click : Action -> Insert Integration Services Setup Disk.
Open the file explorer (using the keyboard shortcut : Windows + E), select the "Integration Services Setup" CD/DVD drive and press Enter to start installing them.

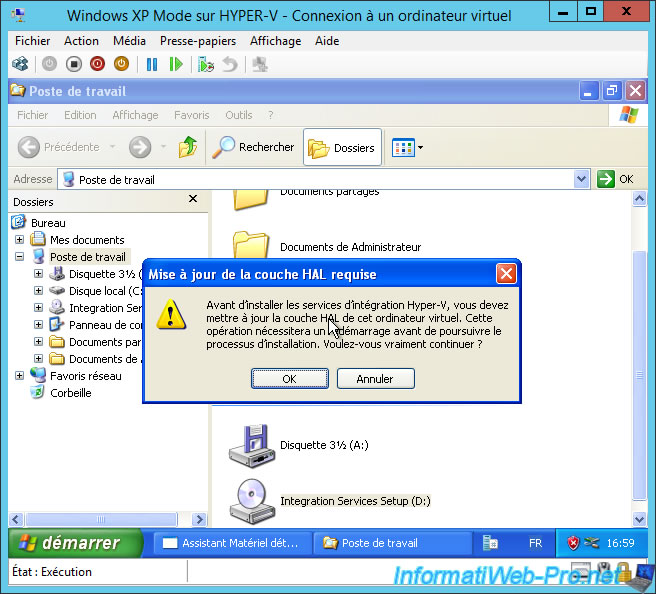
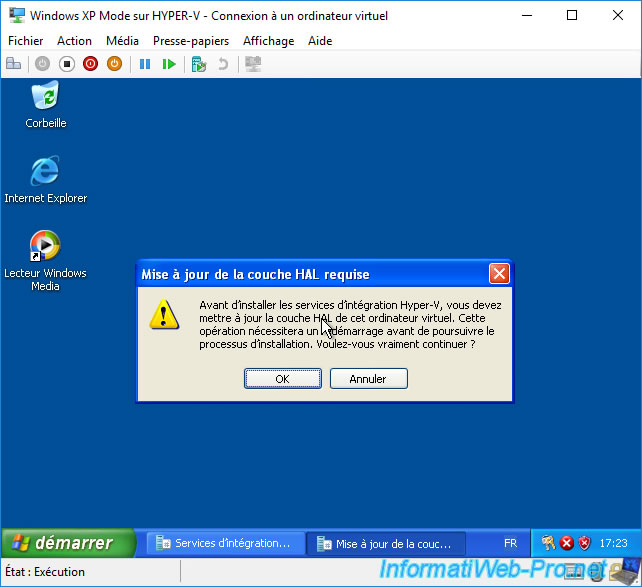
A "Update HAL layer required" window appears.
Which means that the hardware abstraction layer (HAL) between the operating system (Windows XP) and the virtual hardware used (which is different from that of Virtual PC) must be updated.
Plain Text
Before installing Hyper-V Integration Services, you must update the HAL layer of this virtual machine. This operation will require a reboot before continuing with the installation process. Do you really want to continue?
Press Enter (to press OK).
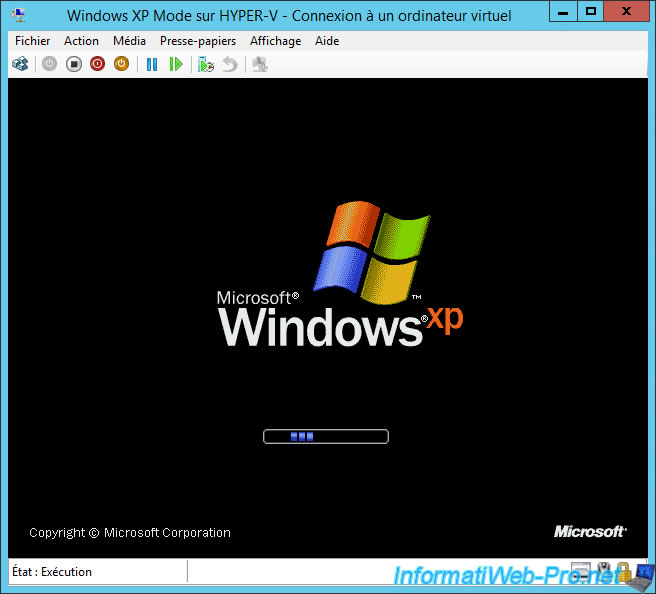
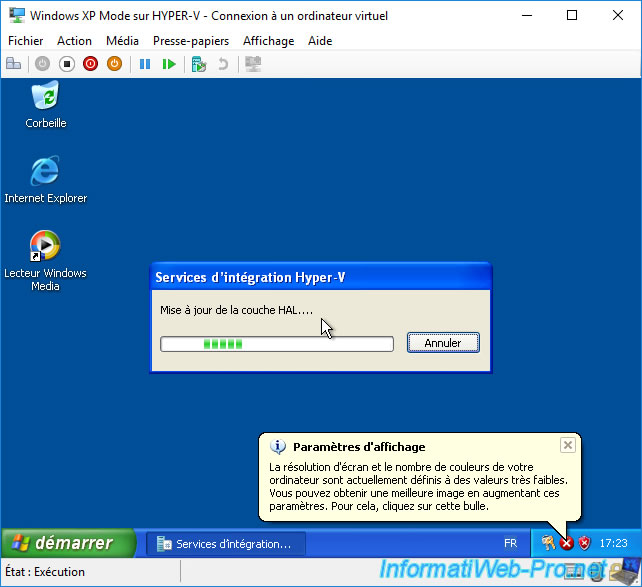
The update of the HAL layer is carried out.

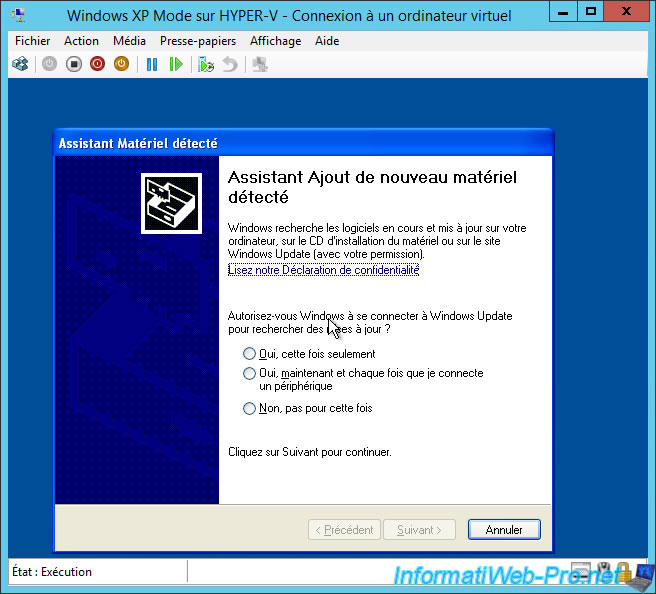
Then, a detection of new devices will be performed.

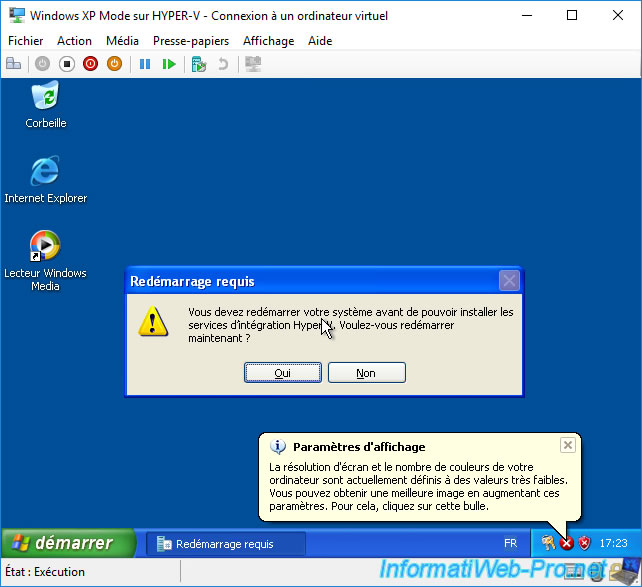
Then, as expected, a reboot will be required.
Plain Text
You must restart your system before you can install Hyper-V Integration Services. Do you want to restart now.
Press Enter (to answer Yes).

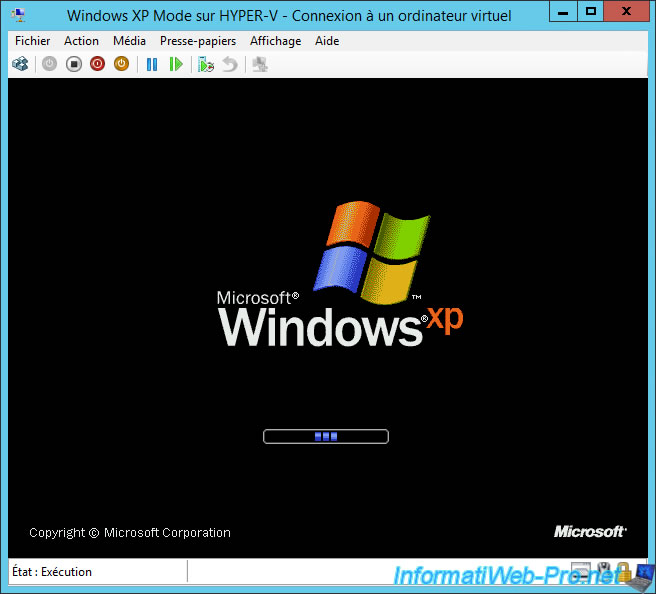
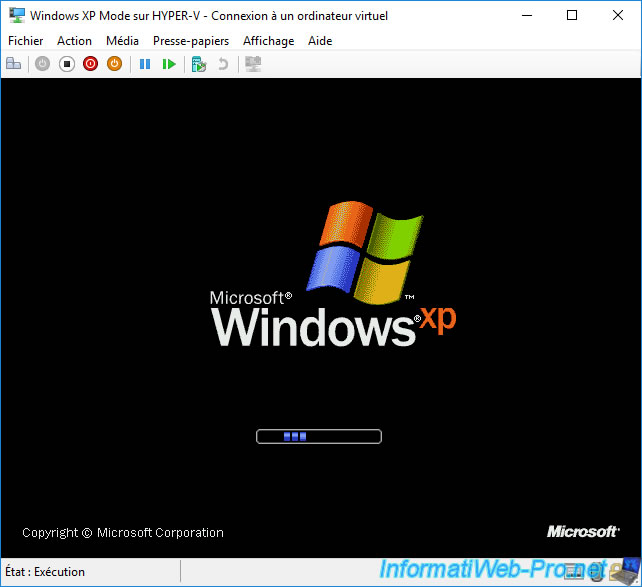
Windows XP restarts.
After restarting Windows XP, the Hyper-V Integration Services installation will reappear automatically.
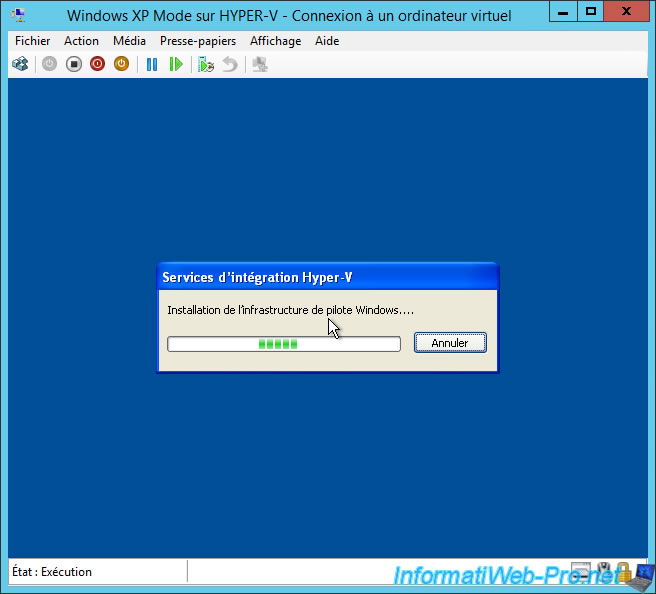
Wait while the Windows Driver Framework installs.
Important : when "Found New Hardware Wizard" windows appear, press "Esc" to close them.
Indeed, if you leave them open, the installation of the Hyper-V integration services will not progress.
Installation of Hyper-V Integration Services continues.

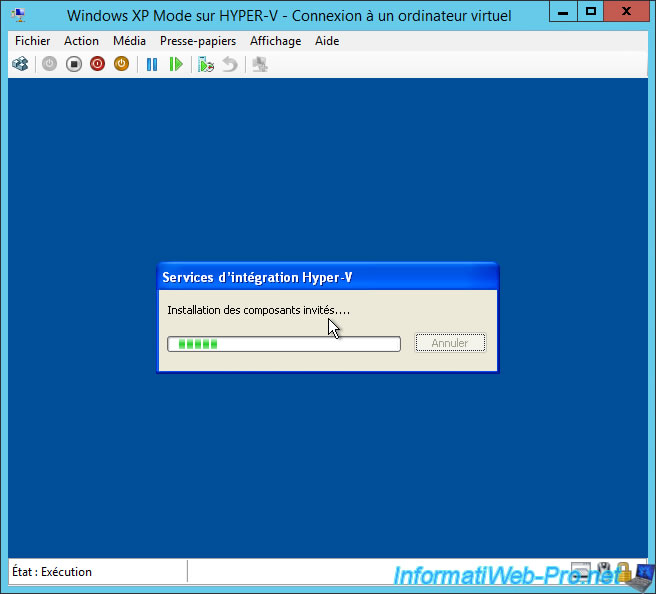
Then the installation of the guest components will proceed.
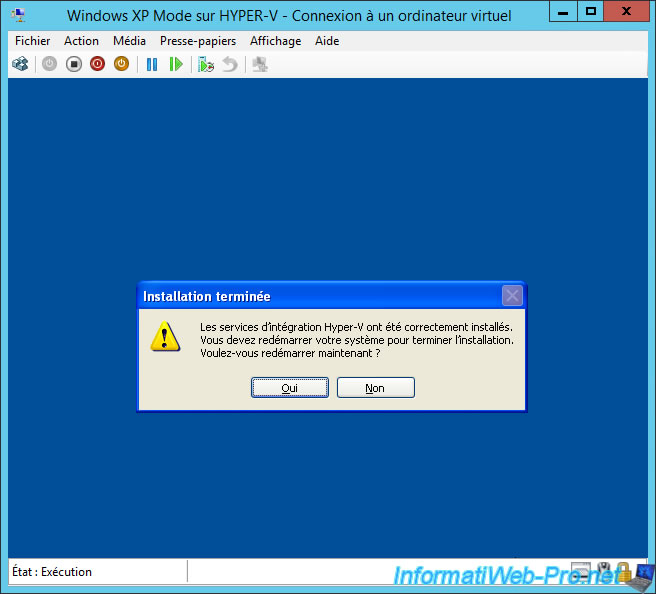
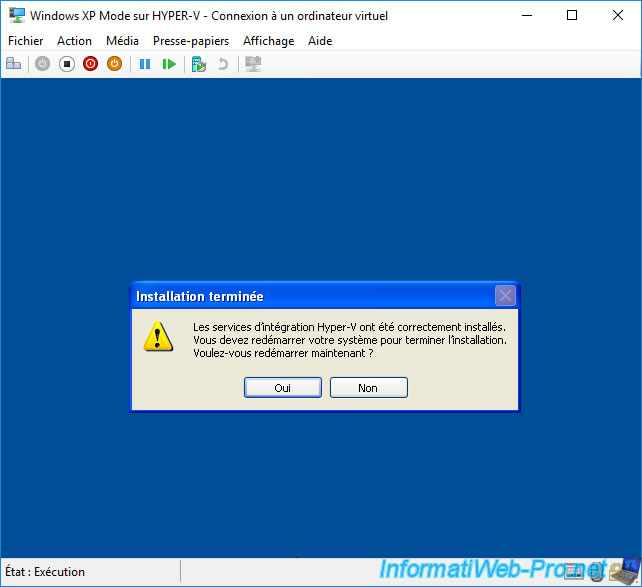
After Hyper-V Integration Services is installed, click Yes.
Plain Text
The Hyper-V Integration services has been successfully installed.
You must restart your system to complete the installation.
Do you want to restart now?
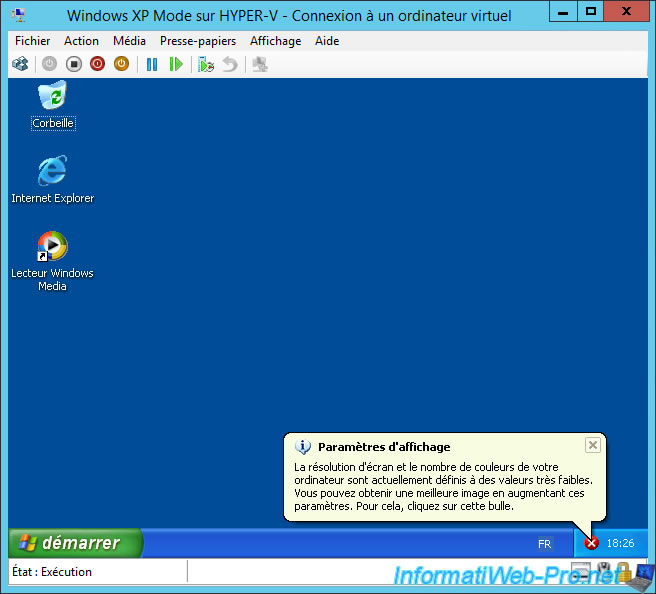
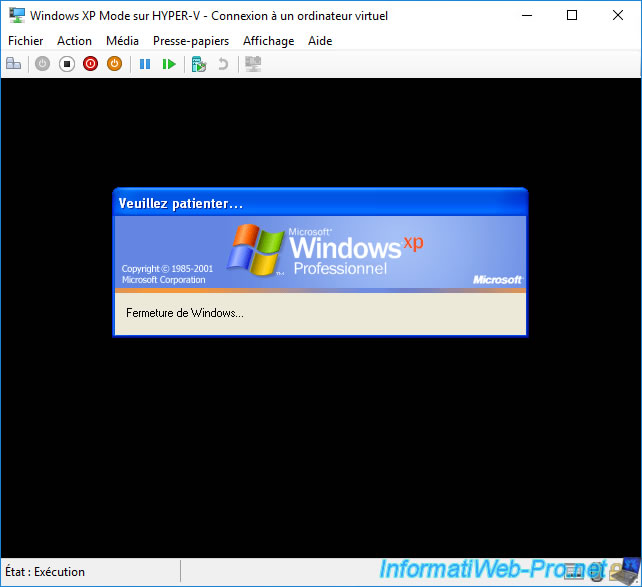
Wait while your virtual machine restarts.
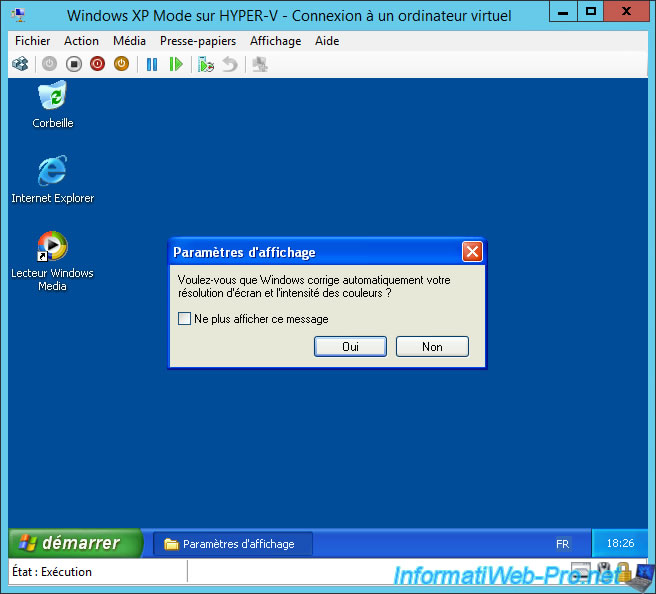
If the "Display settings" bubble appears, click on it.
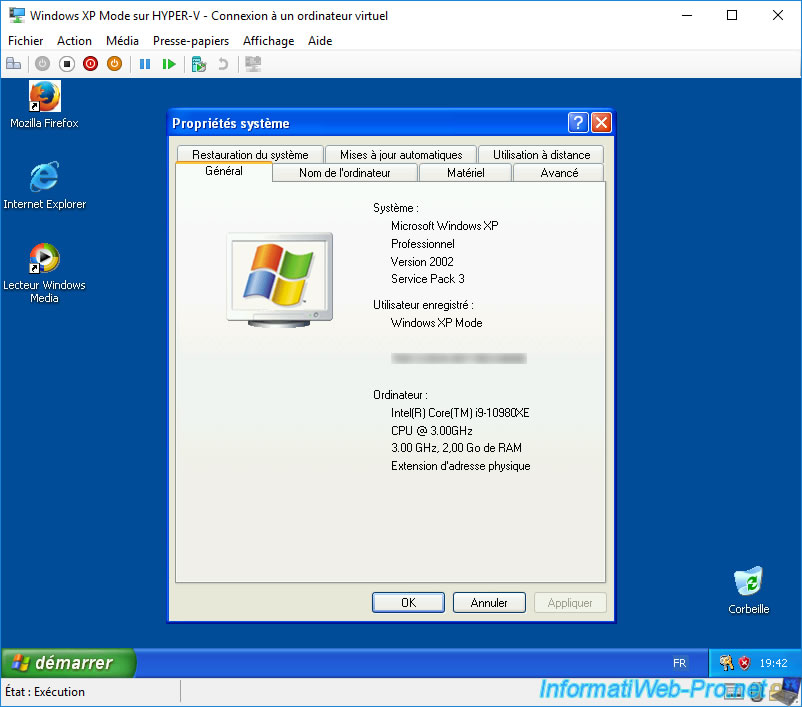
Now, the mouse works fine (thanks to the drivers you just installed).
Answer "Yes" to the question "?".
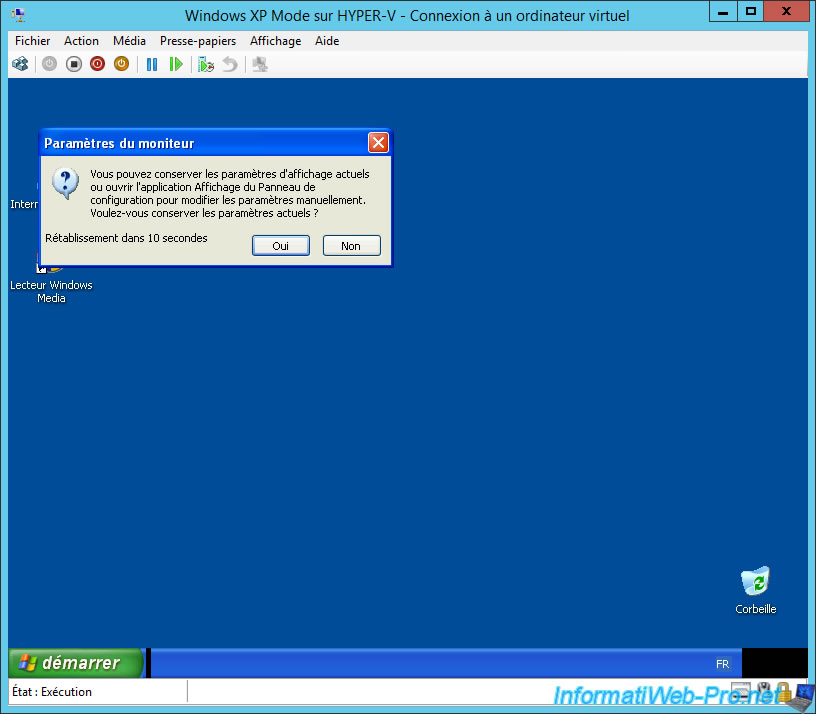
Then, answer "Yes" to the second question to validate the new settings used.
7. Install Hyper-V Integration Services (drivers) on Windows Server 2016
As of Windows Server 2016, the Hyper-V Integration Services installation CD is no longer present.
However, all you have to do is recover the "C:\Windows\System32\vmguest.iso" file from an installation of Windows Server 2012 or 2012 R2.
If necessary, install one of these older versions of Windows Server, install the "Hyper-V" role on it and retrieve the file mentioned above.
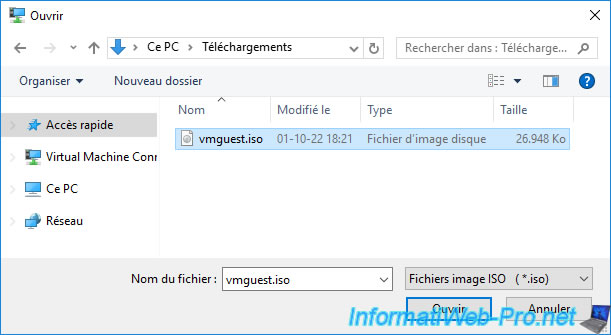
In our case, we retrieved this "vmguest.iso" file to insert it into the CD/DVD drive of our virtual machine.
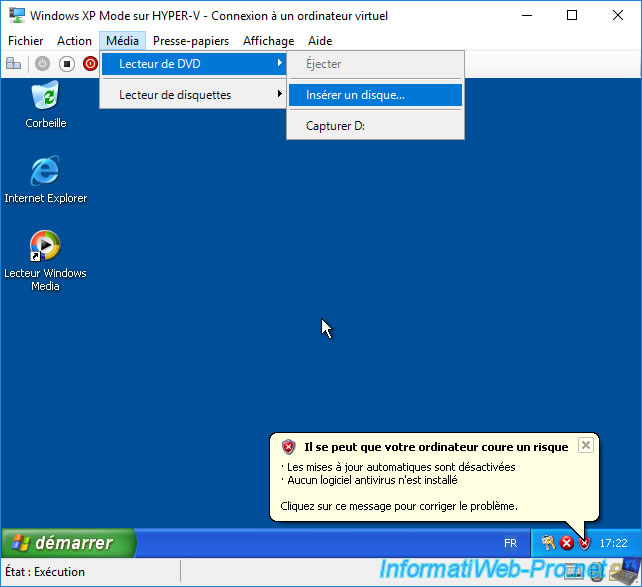
To do this, click on : Media -> DVD Drive -> Insert Disk.
Select the "vmguest.iso" file and click Open.
As expected, you will see the warning "HAL layer update required" (as was already the case on Windows Server 2012 / 2012 R2).
Press Enter to press OK.
The update of the HAL layer is carried out.
Restart your virtual machine by clicking Yes.
Wait while your "Windows XP Mode" virtual machine restarts.
As expected, the Hyper-V Integration Services installation will succeed.
Click Yes.
Windows XP restarts.
Windows XP Mode works fine and the mouse does too.
Share this tutorial
To see also
-
Microsoft 9/6/2019
Hyper-V (WS 2012 R2 / 2016) - Create a generation 2 VM
-
Microsoft 8/10/2019
Hyper-V (WS 2012 R2 / 2016) - Install Hyper-V and create your first VM
-
Microsoft 11/8/2019
Hyper-V (WS 2012 R2 / WS 2016) - Automatically replicate virtual machines
-
Microsoft 11/15/2019
Hyper-V (WS 2012 R2 / WS 2016) - Automatically replicate virtual machines (securely)
No comment