Unboxing, assembly and connecting the Broadcom MegaRAID 9560-8i controller and its battery (CVPM05)
- RAID
- 16 April 2025 at 07:43 UTC
-

- 3/4

6. Unboxing the Broadcom BBU-BRACKET-05 mounting plate
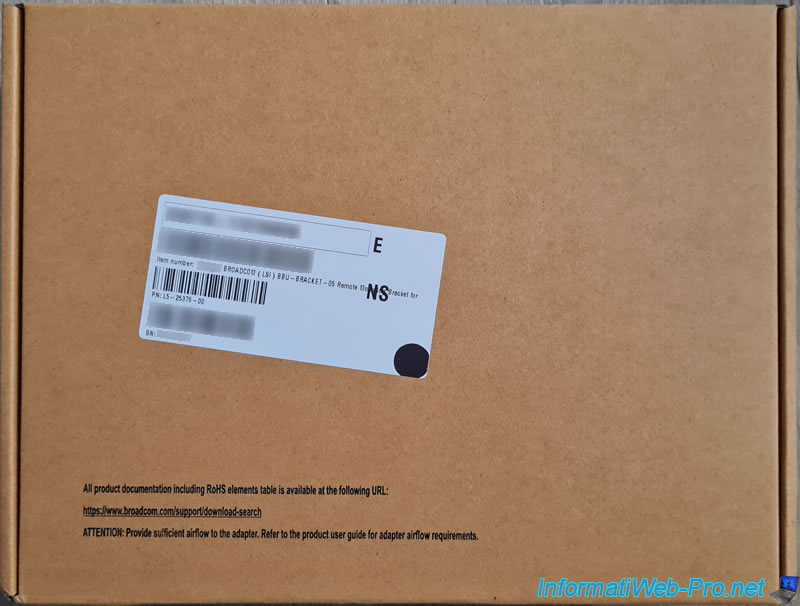
This is what the box of the Broadcom BBU-BRACKET-05 mounting plate looks like.
On the label stuck to this box, you will find:
- Item number: the article number, as well as its name "BROADCOM (LSI) BBU-BRACKET-05 Remote Mounting Bracket for ...".
- PN: the part number (Part Number).
In this case: L5-25376-00. - SN: its serial number.
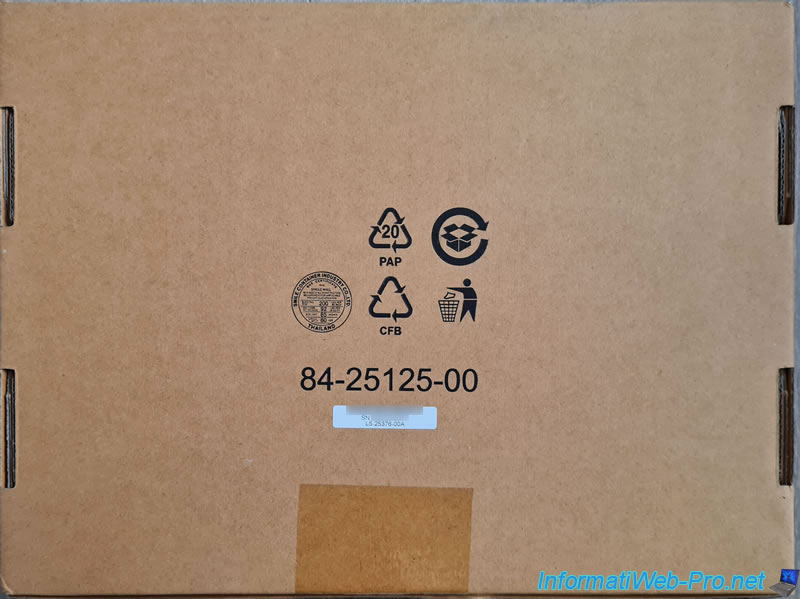
On the back of this box, you will again find its part number, as well as its serial number.
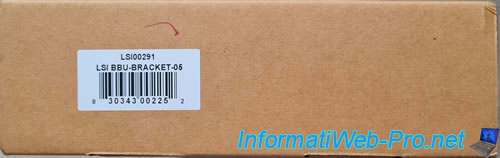
On the side of this box, you will find a small label with:
- the reference for this product at LSI: LSI00291.
- its name: LSI BBU-BRACKET-05.
- its EAN code (barcode): 830343002252.
As a reminder, LSI was bought by Broadcom.
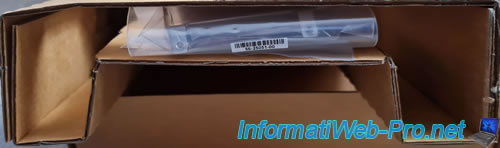
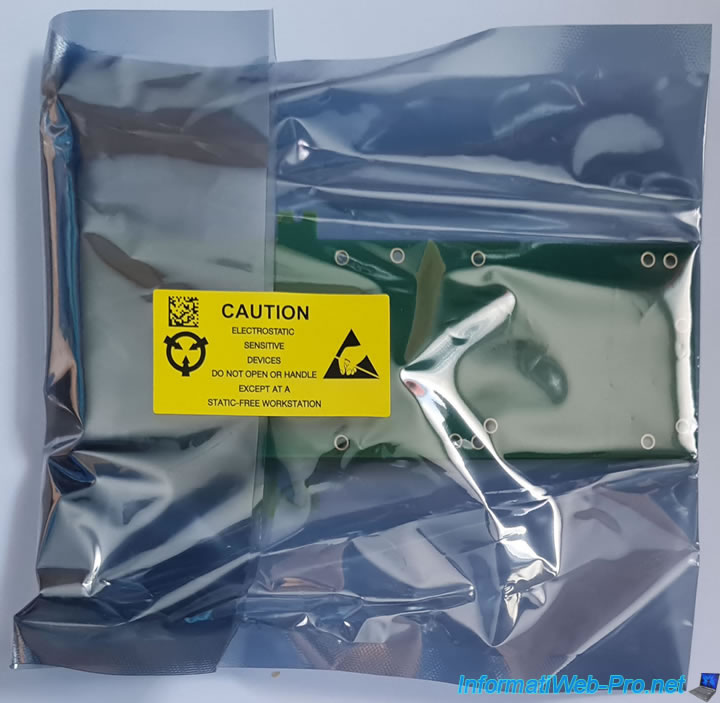
Inside, you will find the mounting plate in anti-static plastic packaging.
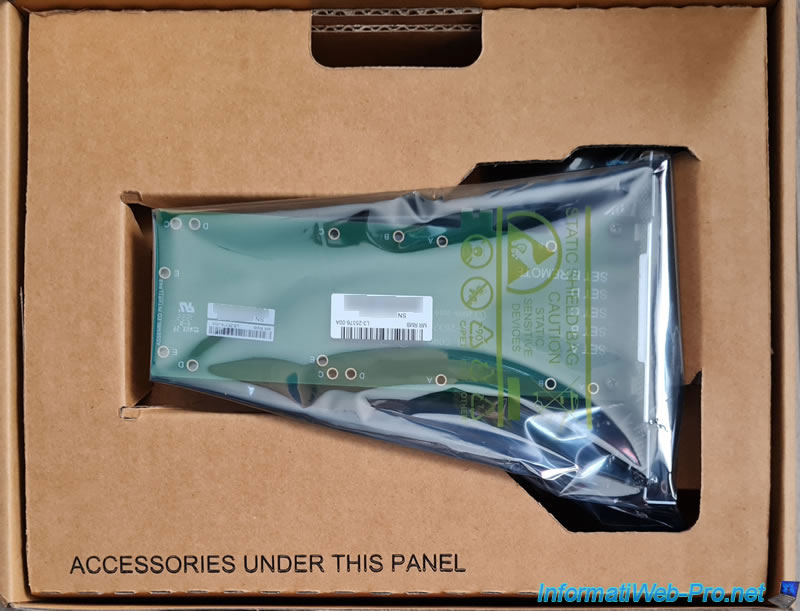
As indicated on the box, there are accessories (or rather just one) under this box.
But, this one is well hidden on the side of this box.
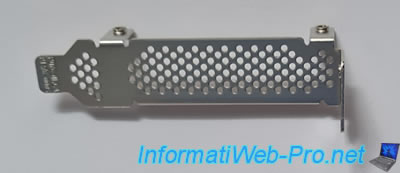
This little hidden bag simply contains a low-profile adapter for the PCIe mounting plate.
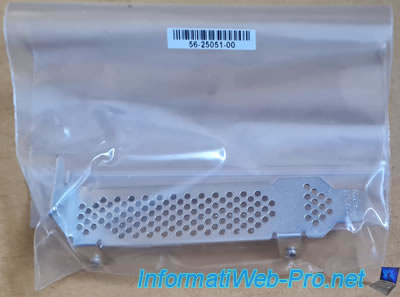
Here is the low-profile adapter provided.
As previously stated, the mounting plate is in an anti-static bag.
Behind, you will find the part number: L5-25376-00A.
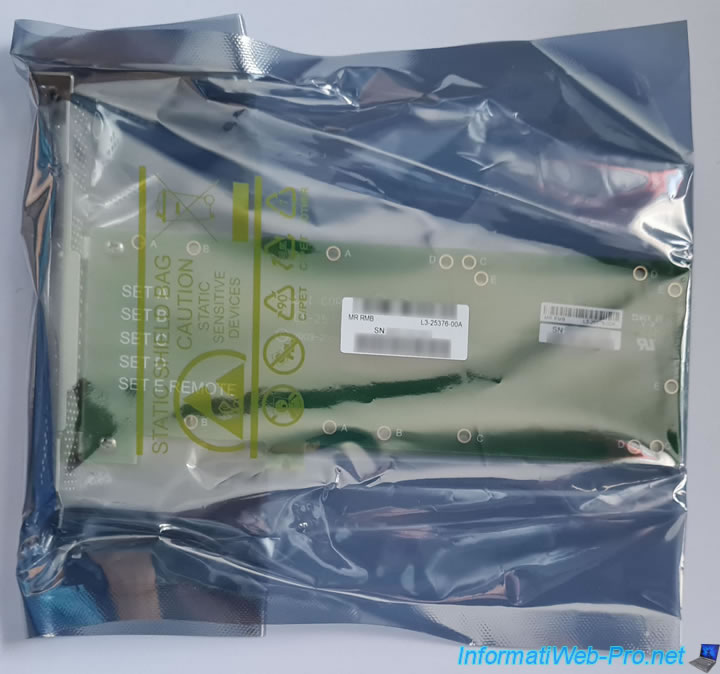
On the mounting plate, you will find the part number again, as well as the serial number.
7. Mount the CVPM05 module on the mounting plate
To mount the CVPM05 module on the mounting plate, we followed the manual provided with the CVPM05 module.
Note that you can find almost the same document on the Broadcom website: Getting Started Guide - Broadcom® CacheVault Power Module 02 and CacheVault Power Module 05.
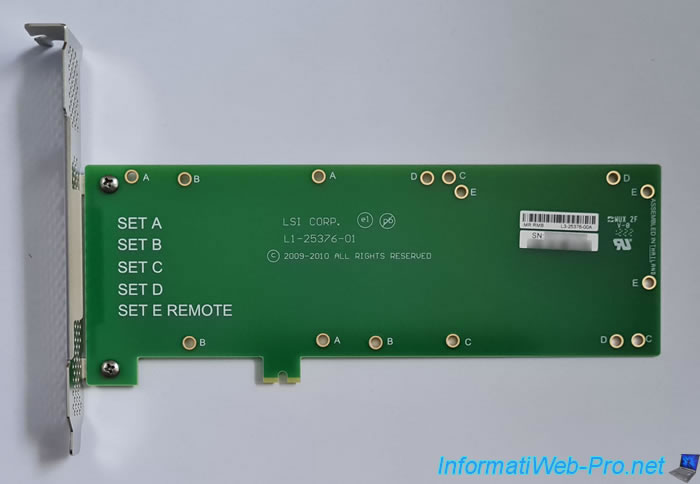
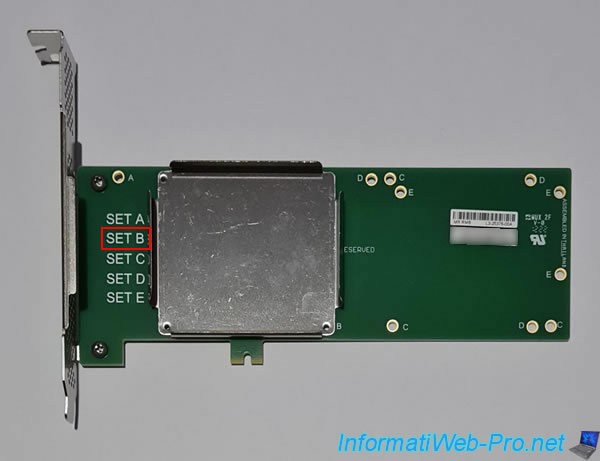
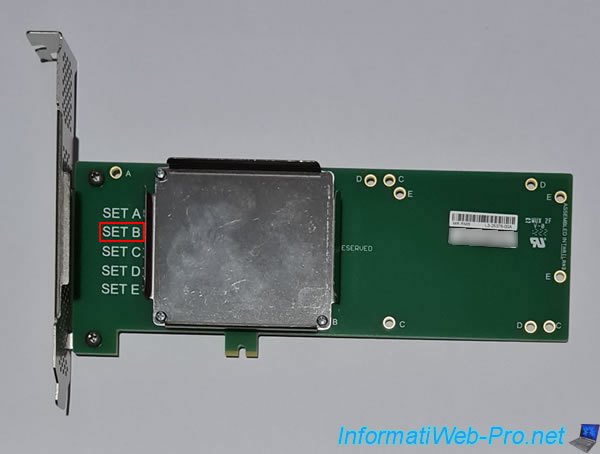
To start, know that you can attach the metal plate (where you will clip the battery) to different locations on this mounting plate.
Hence the different letters indicated on the left (SET A, SET B, ...) and for the corresponding holes (A, B, ...).
If you refer to the manual supplied with the CVPM05 module or the one available on the Broadcom website, the holes used appear to be those with the letter "B".
Although this doesn't really matter, if you only have one battery (and therefore only one Broadcom RAID controller).
So, we also used the "B" holes in our case.
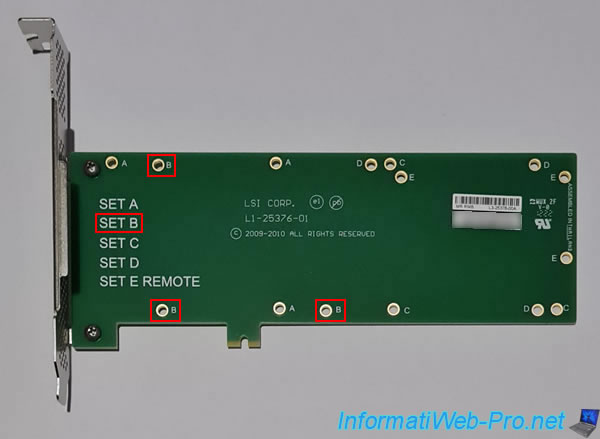
If you look closely at the metal plate, you will notice that the metal is sticking out a little from the holes.
This will allow you to place it more easily on the mounting plate before screwing in the 3 screws.
Place the metal plate for the desired holes (in our case: B).
Screw in the 3 screws.
And screw the 3 nuts at the back so that the screws cannot be removed.

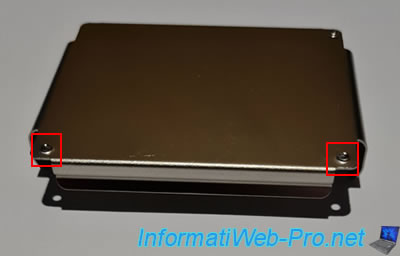
Clip the battery of the CVPM05 module into the metal plate that you have just targeted on the green plate.

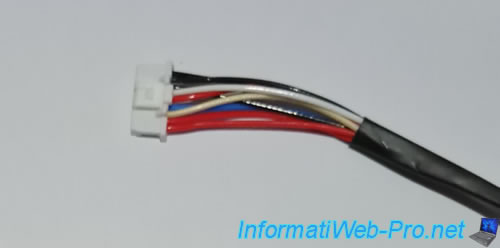
With the CVPM05 module, you will find a cable with 2 connectors:
- a white connector to plug into the Broadcom RAID controller.
- a black connector to connect to the battery of the CVPM05 module.
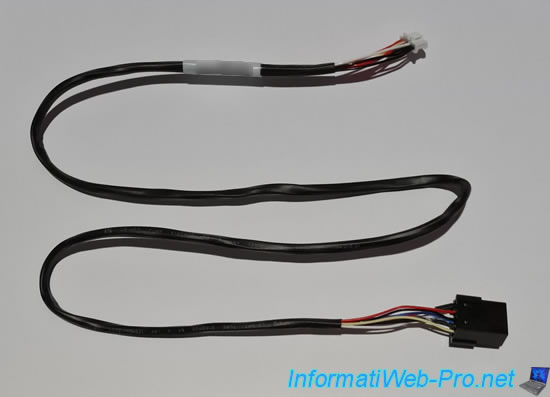
Note that the connector has a small protrusion.

This will allow it to be clipped with the large clip on the battery connector.
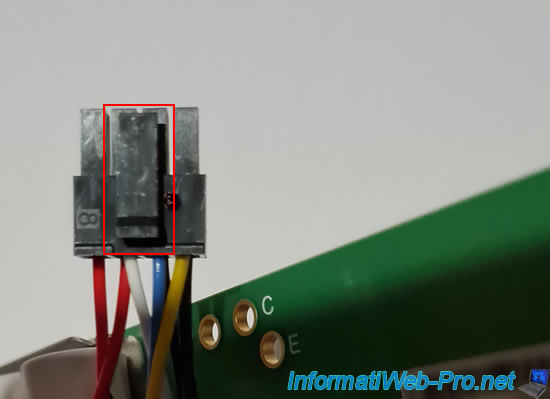
Connect the connectors like this.
Note: the cable can only be plugged in one direction. There are keyers in these connectors.
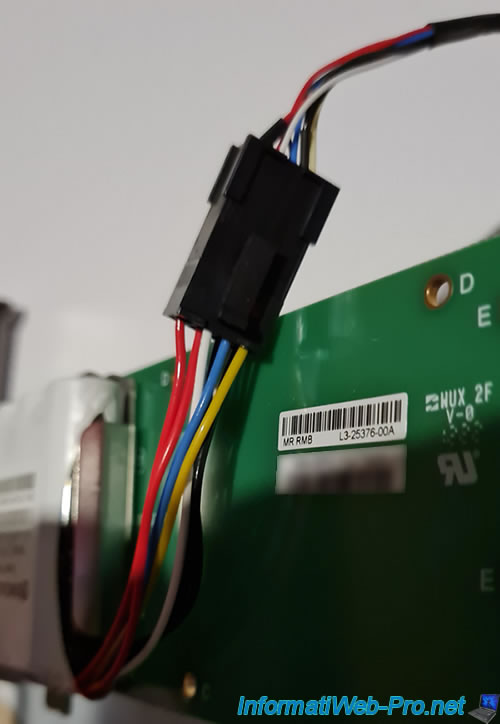
The cable is connected to the battery.
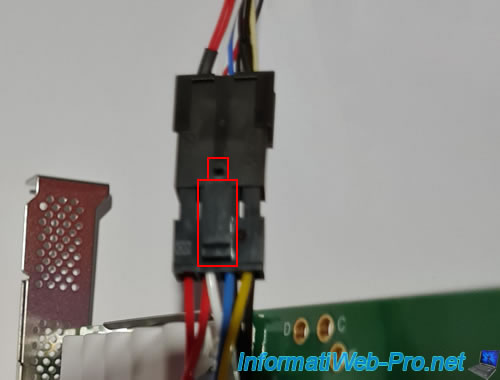
On your Broadcom RAID controller, in our case "Broadcom MegaRAID 9560-8i", locate the small white connector.
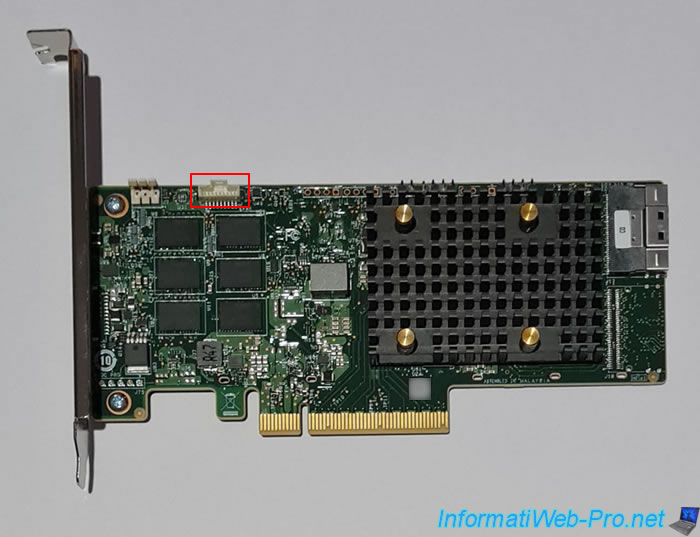
As you can see, the white connector has a protrusion on the top.
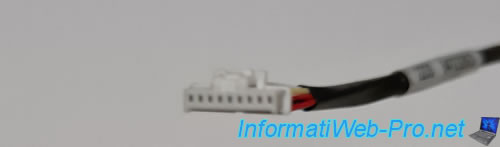
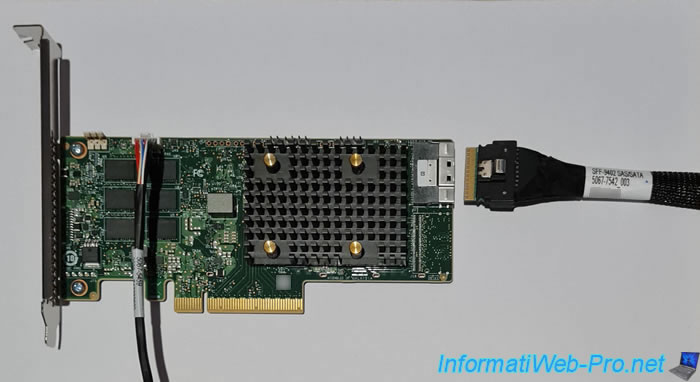
Plug this small white connector into your Broadcom RAID controller.
Note: for your information, you can see on the right how you will need to connect the "SFF-9402" connector to your Broadcom RAID controller.
But, don't plug it in yet.
Share this tutorial
To see also
-
RAID 5/2/2025
Broadcom LSA (LSI Storage Authority) - Create a virtual disk
-
RAID 5/1/2025
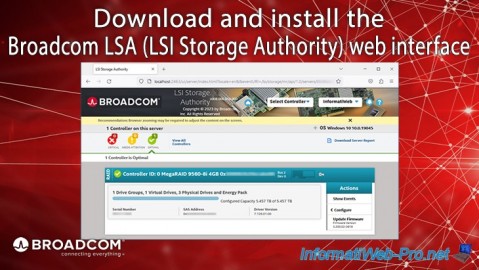
Broadcom LSA (LSI Storage Authority) - Download and install
-
RAID 4/18/2025
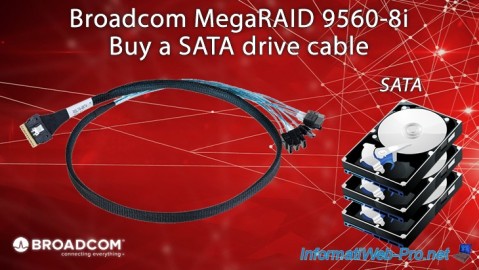
Broadcom MegaRAID 9560-8i - Buy a SATA drive cable
-
RAID 4/25/2025
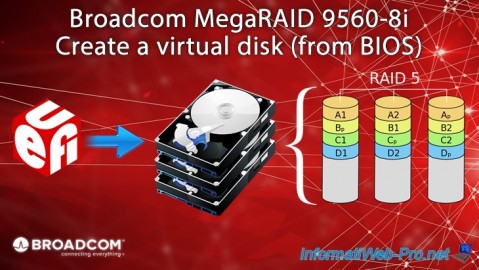
Broadcom MegaRAID 9560-8i - Create a virtual disk (from BIOS)
No comment