- RAID
- 11 February 2022 at 20:20 UTC
-

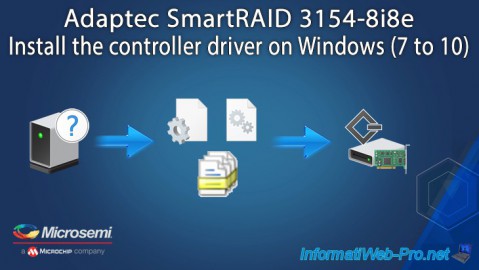
If your current Windows installation is not installed on one of your RAID volumes, it's most likely that you have not yet installed the driver for your Microsemi Adaptec SmartRAID controller.
In order for your RAID volume(s) and the logical drives on it to be recognized by Windows, you must first install the driver for your Microsemi Adaptec SmartRAID controller.
- Download the driver for your Microsemi Adaptec SmartRAID controller
- Install the Microsemi Adaptec SmartRAID controller driver on Windows
- Partition your RAID volume
1. Download the driver for your Microsemi Adaptec SmartRAID controller
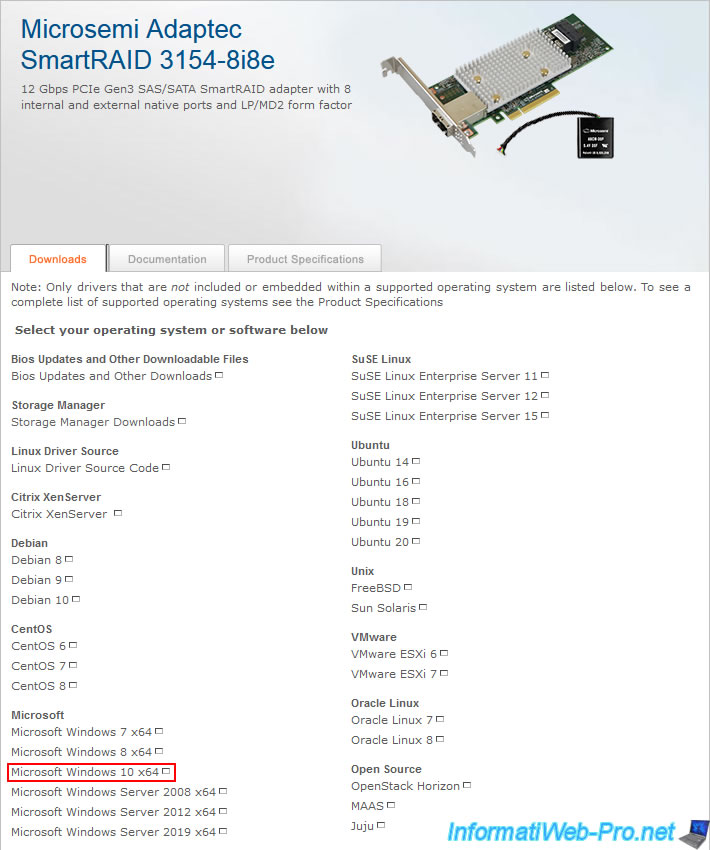
To get started, go to your Microsemi Adaptec SmartRAID controller page and click on the download link for your version of Windows.
In our case : Microsoft Windows 10 x64.
However, the installation procedure will be the same. Only the file to download on this page will change.
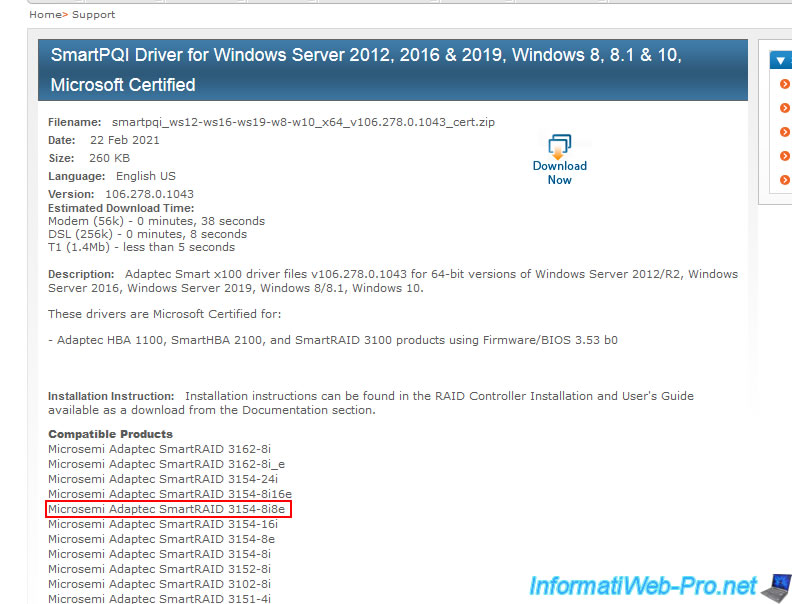
In the case of Windows 10, you will have a compressed file whose name looks like : smartpqi_ws12-ws16-ws19-w8-w10_x64_v106.278.0.1043_cert.zip
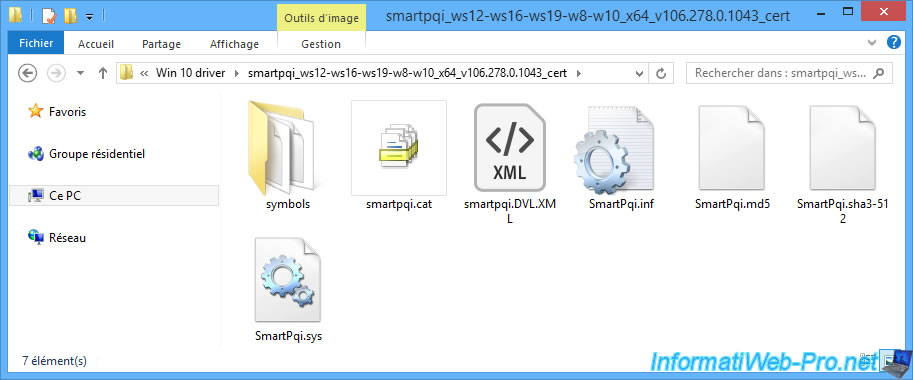
Unzip the downloaded zip file and you will see that there are in particular :
- a "SmartPqi.inf" file : the configuration file to install the driver
- a "SmartPqi.sys" file : the driver itself
2. Install the Microsemi Adaptec SmartRAID controller driver on Windows
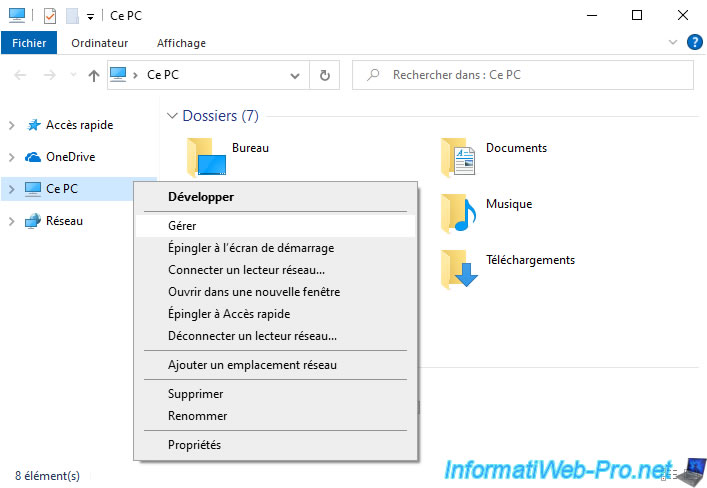
To install the Microsemi Adaptec SmartRAID controller driver on Windows, right click "Manage" on "This PC" (or "Computer").
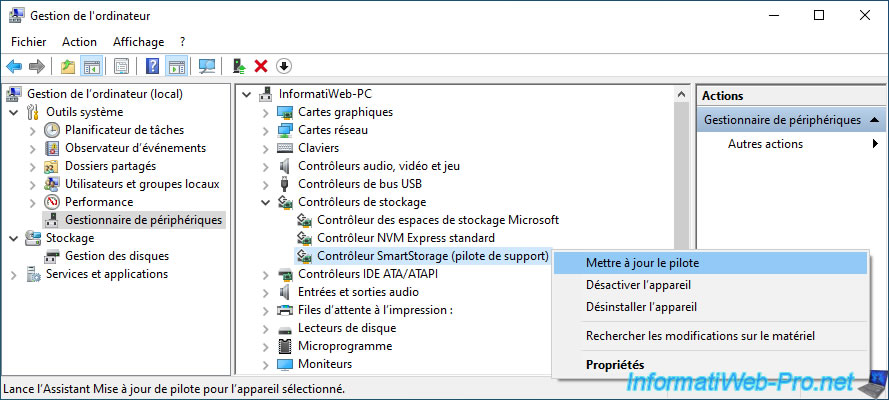
Select "Device Manager" and deploy the "Storage controllers" node.
In this node, you will find the "SmartStorage Controller (Support Driver)" device if Windows 10 has a basic driver to recognize your Microsemi Adaptec SmartRAID controller.
In this case, right click "Update driver" on it.
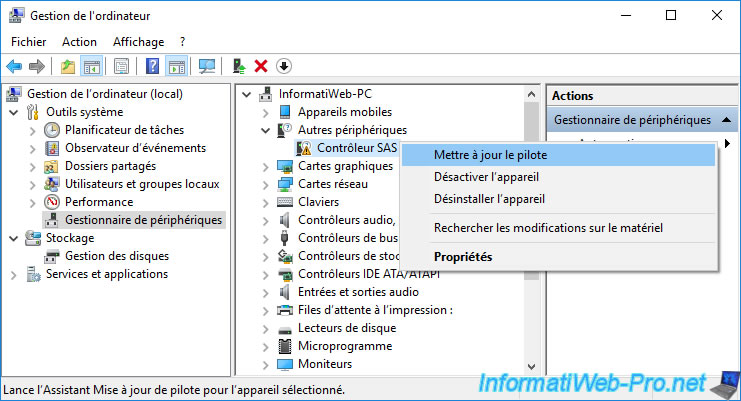
On older versions of Windows (including older versions of Windows 10), the driver may not be integrated with Windows and the device may appear, for example, as "SAS Controller".
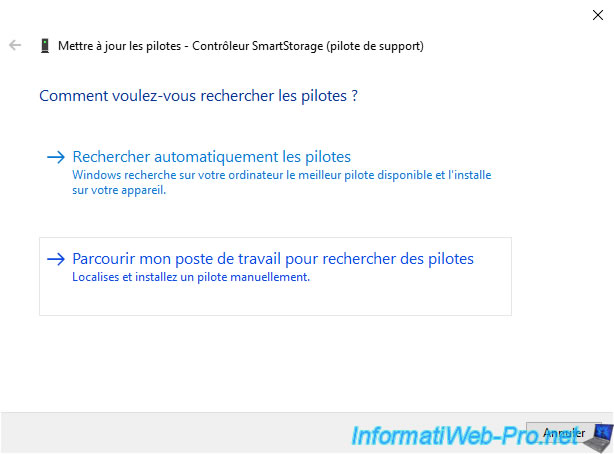
Click on : Browse my computer for drivers.
Click on Browse and select the unzipped "smartpqi ..." folder.
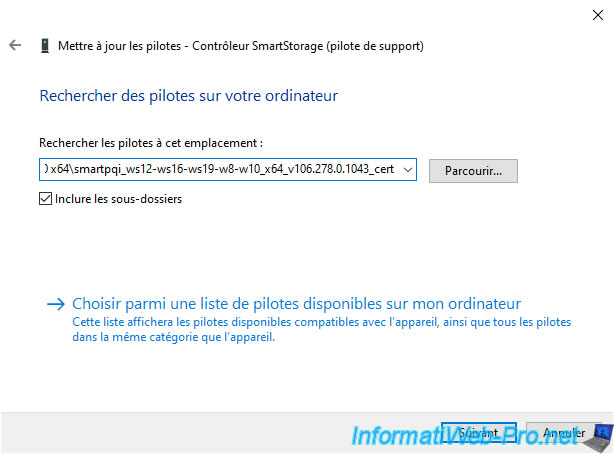
Windows will automatically detect the correct driver files for your Microsemi Adaptec SmartRAID controller.
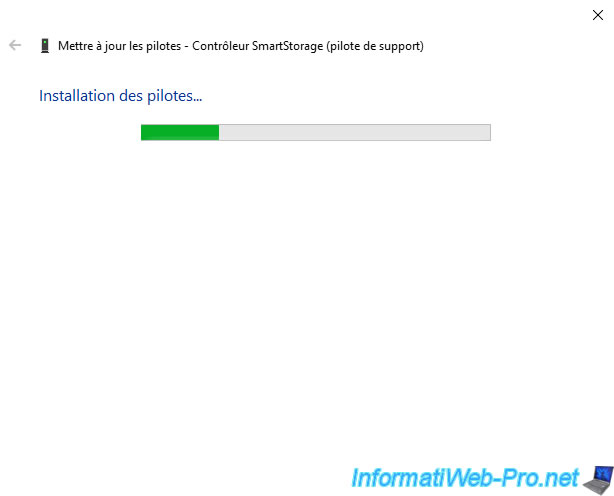
In our case, Windows recognizes our "Microsemi Adaptec SmartRAID 3154-8i8e" controller.
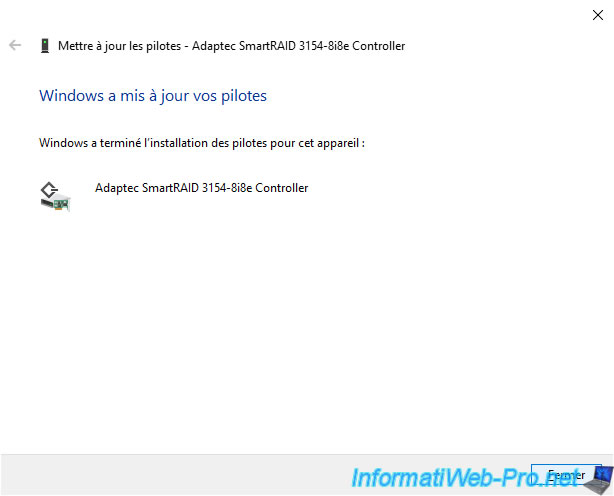
Now, the driver provided by Microsemi is installed.
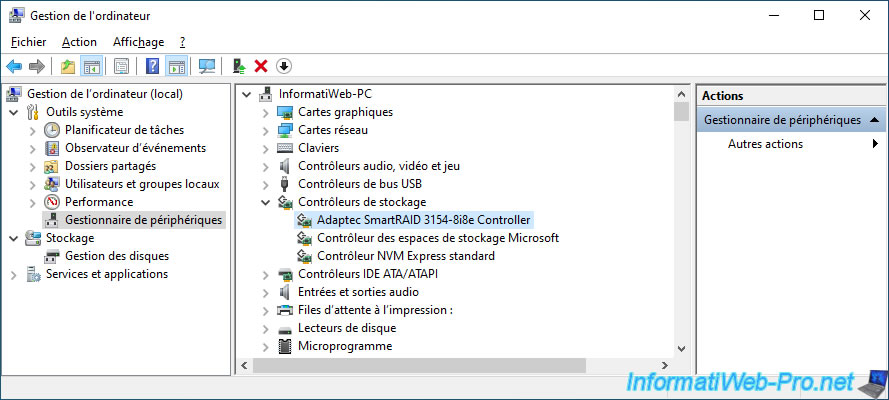
3. Partition your RAID volume
In our case, we have already created a RAID volume (array + logical drive) on our Microsemi Adaptec SmartRAID controller.
If necessary, refer to our tutorial : Adaptec SmartRAID 3154-8i8e - Create a RAID volume (from ACU).
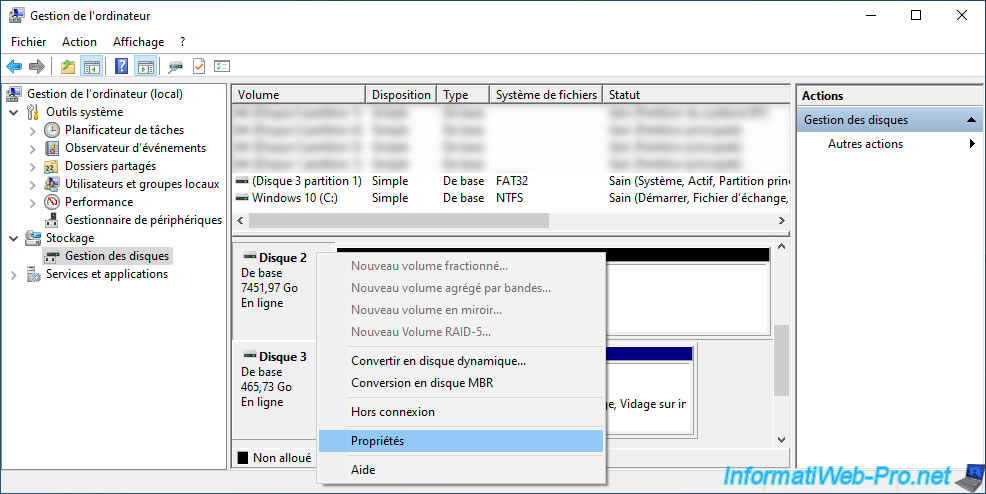
In "Disk Management", you will see that Windows recognizes your RAID volume as a local disk.
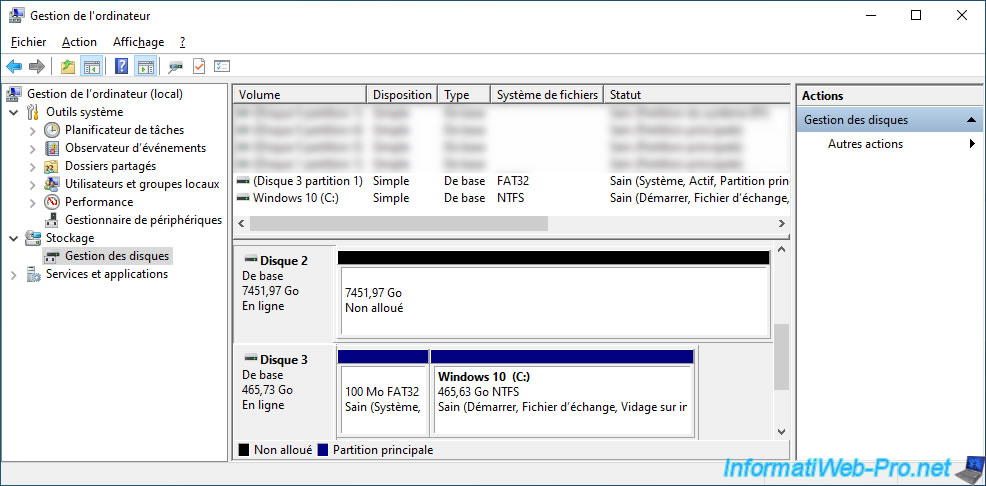
To recognize it, right click "Properties" on this disk.
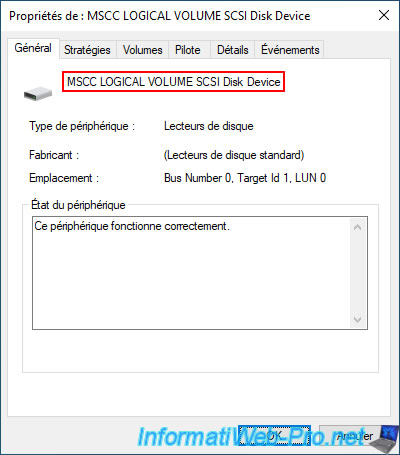
As you can see, Windows recognizes it as a "MSCC LOGICAL VOLUME SCSI Disk Device".
If you have just created your RAID volume, it may not yet be initialized.
In this case, the "Not Initialized" mention will appear on the left and you will have to right click "Initialize" on it.
Then, you will need to choose between "MBR (Master Boot Record)" and "GPT (GUID Partition Table)".
Warning : GPT is mandatory if the size of your RAID volume is greater than or equal to 2 TB.
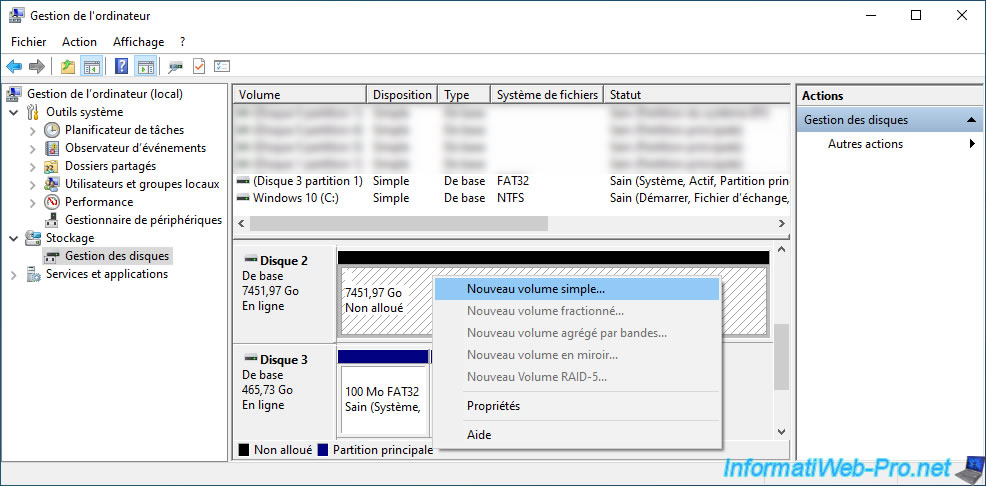
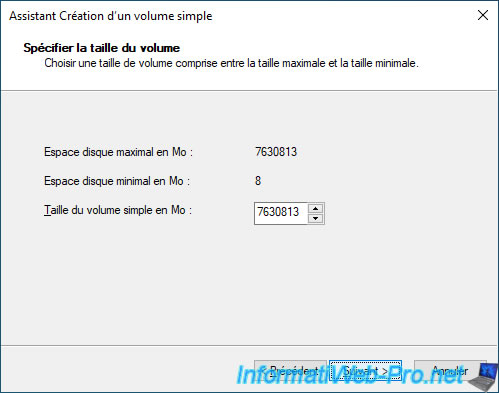
To partition the RAID volume, right click "New Simple Volume" on the unallocated space.
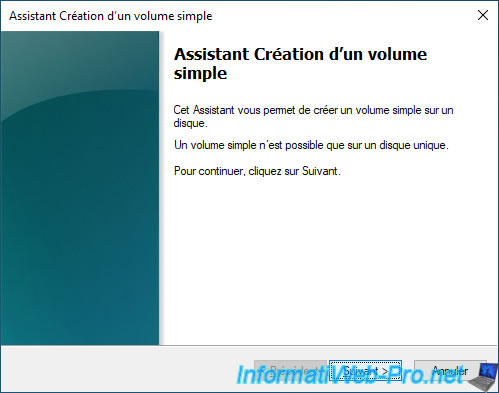
The New Simple Volume Wizard appears.
For this tutorial, we are going to create a single partition that will take up all the space available on our RAID volume.
So, we leave the size shown.
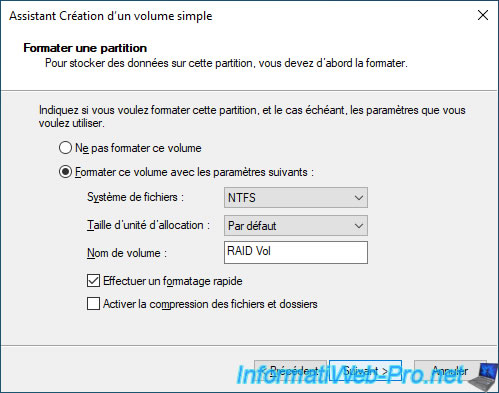
Enter a name for this partition.
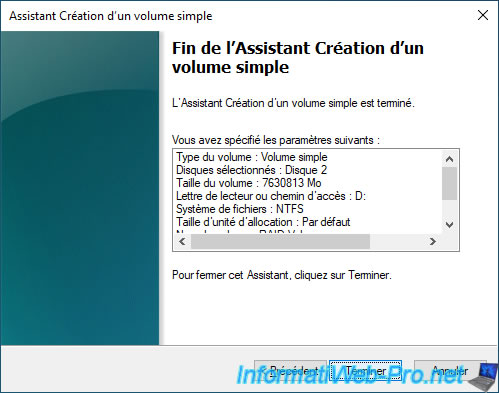
Wait while the partition is formatted.
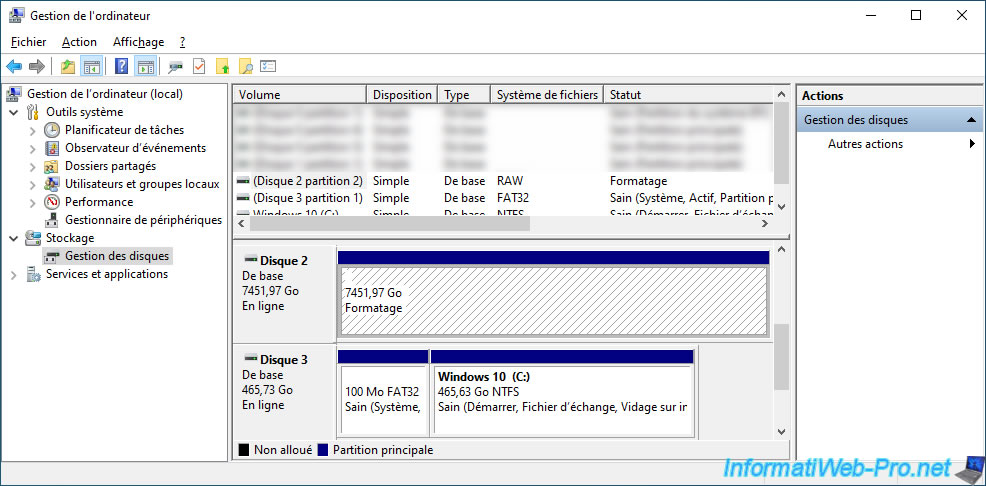
The RAID volume is partitioned.
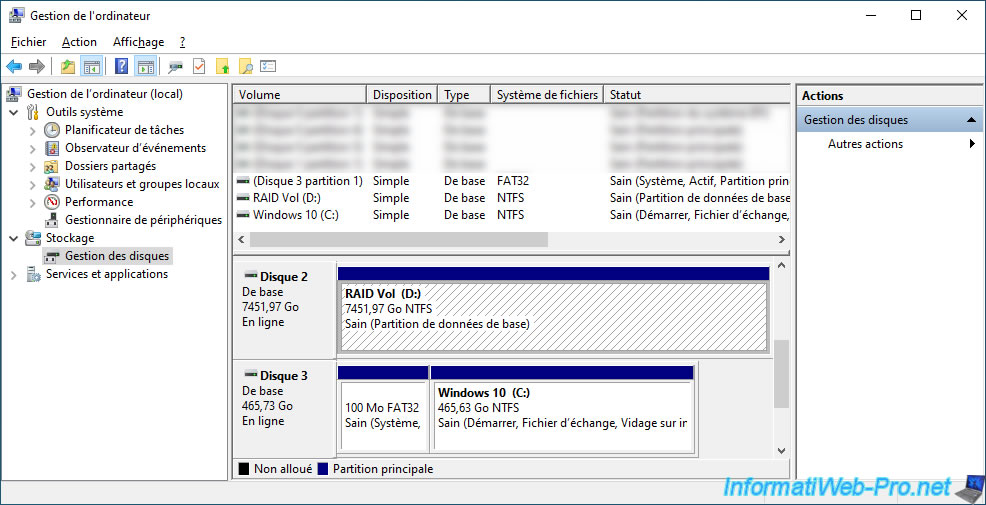
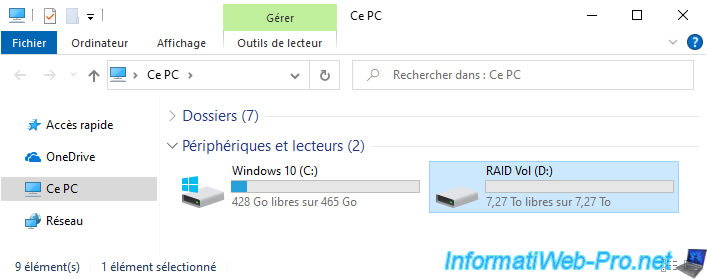
If you open the file explorer, you will see the partition appear.
Share this tutorial
To see also
-
RAID 4/20/2022
Adaptec maxView Storage Manager v3 - Create a RAID volume
-
RAID 4/8/2022
Adaptec maxView Storage Manager v3 - Download and boot on USB version
-
RAID 4/13/2022
Adaptec maxView Storage Manager v3 - Installation on Linux
-
RAID 4/15/2022
Adaptec maxView Storage Manager v3 - Manage an Adaptec SmartRAID controller on VMware ESXi 6.7

You must be logged in to post a comment