- RAID
- 21 January 2022 at 12:46 UTC
-

- 1/2

Recently, we bought a new RAID controller for our new computer which will allow us to progress much more easily in the creation of our tutorials and our courses on InformatiWeb Pro.
In fact, previously, we used an Adaptec RAID 6405 controller which only allowed the creation of RAID volumes.
Thanks to our new Microsemi Adaptec SmartRAID 3154-8i8e controller, we have the possibility to create RAID volumes or directly use our SAS hard drives thanks to the HBA mode.
- Advantages of Adaptec SmartRAID over older Adaptec RAID
- Microsemi Adaptec SmartRAID 3154-8i8e unboxing
- Mount the ASCM-35F battery on the supplied metal PCIe plate
- Connect the ASCM-35F battery to your SmartRAID controller in your computer
- Microsemi SmartRAID controller BIOS boot (without hard disk drive)
- Connect the hard drives to the SmartRAID controller
- Booting the BIOS of the Microsemi SmartRAID controller (with hard disk drive)
1. Advantages of Adaptec SmartRAID over older Adaptec RAID
The main novelty that necessitated the purchase of this new Microsemi Adaptec SmartRAID 3154-8i8e controller is the possibility of using the one in RAID, HBA mode or both at the same time on the same controller.
Another significant advantage was also the performance improvement with :
- 12 Gb/s bandwidth instead of 6 Gb/s per port
- the use of "WD Ultrastar DC HC310 (4 TB)" SAS hard drives with a speed of 12 Gb/s instead of 6 Gb/s (for our old SATA 3 hard drives)
- the maxCache 4.0 feature with a 4 GB cache in DDR4/2100 MHz instead of 512 MB in DDR2/667MHz
- the Microsemi Adaptec Flash Backup Module ASCM-35F battery which is included with the controller and which allows the use of the write cache of the Adaptec SmartRAID controller without the risk of losing data in the event of a power failure when data is present in this cache.
Note that this information is indicated on the Microchip site, but not on that of Microsemi. Although Microsemi is a brand of Microchip. - Secure boot support via UEFI firmware on our motherboard. What was not supported with our old Adaptec RAID 6405 controller
2. Microsemi Adaptec SmartRAID 3154-8i8e unboxing
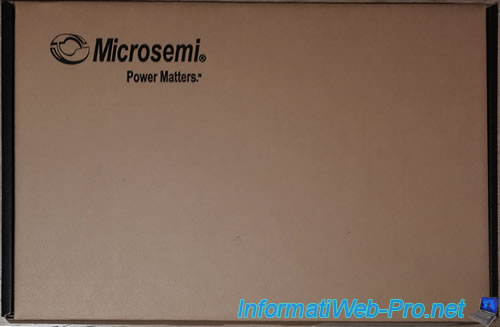
For the box, we simply find the Microsemi logo and their slogan : Power Matters.
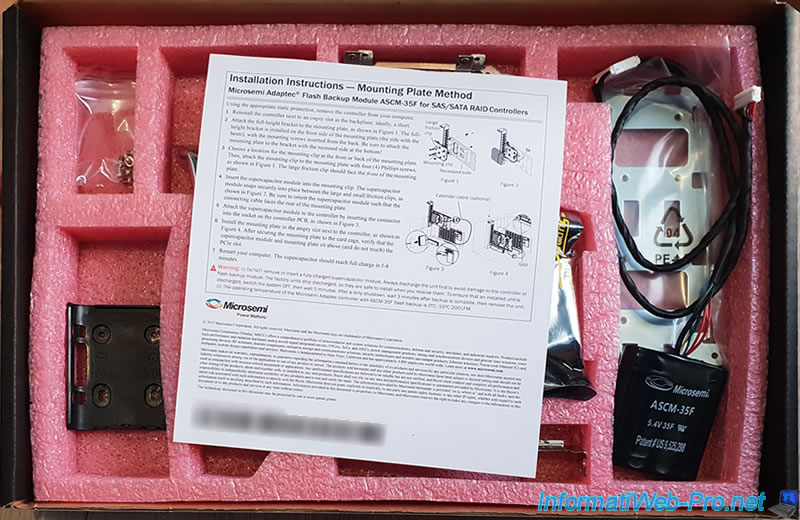
The 1st thing you will find upon opening the box is a series of papers regarding legal information and the use of some chemicals in the manufacture of their Adaptec SmartRAID controller.
But what will really interest you is the paper "Installation Instructions - Mounting Plate Method" which will explain how to mount the metal plate where you will need to attach the ASCM-35F battery included with this controller.
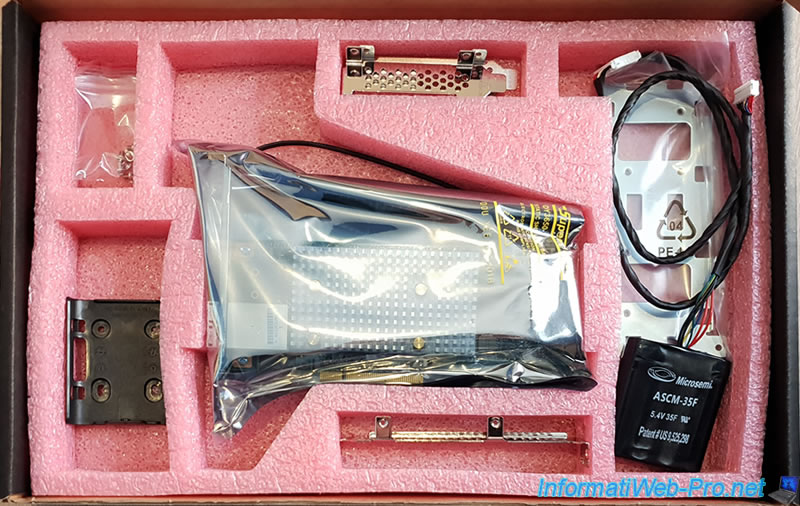
As you can see, in this box, you will find :
- the Microsemi Adaptec SmartRAID 3154-8i8e controller in the center in an anti-static packaging and with a PCI socket in standard size
- a bag of screws for mounting the ASCM-35F battery on the metal plate on the right
- a black plastic cradle at the bottom left to clip the battery onto the metal plate
- 2 low profile adapters (if needed) for the Adaptec SmartRAID controller and for the plate where you will attach the ASCM-35F battery
- a PCI bracket at the bottom that you will attach to the right metal plate
- the ASCM-35F battery and its power cable on the right
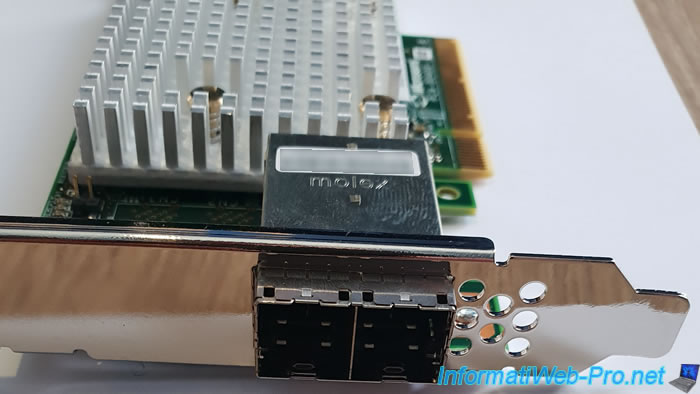
This is what our Microsemi Adaptec SmartRAID 3154-8i8e controller looks like.
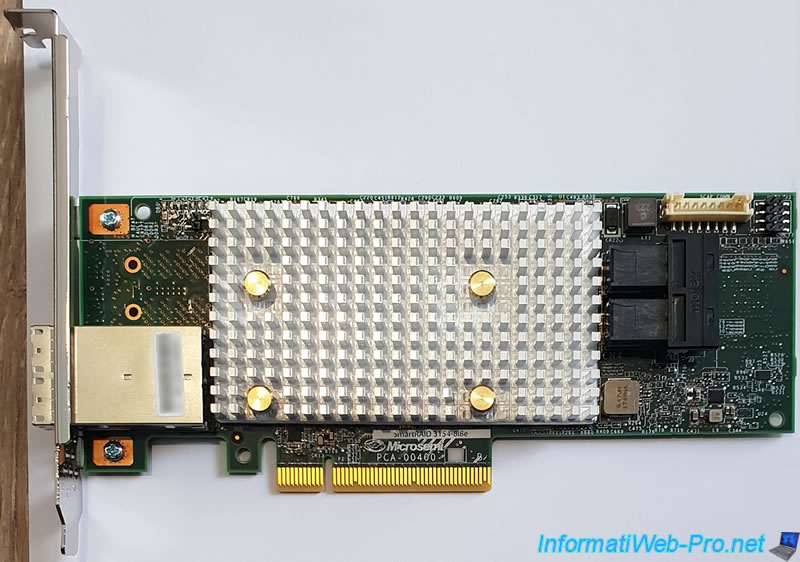
And as you can see, this one has 2 external mini SAS HD ports (SFF-8644).
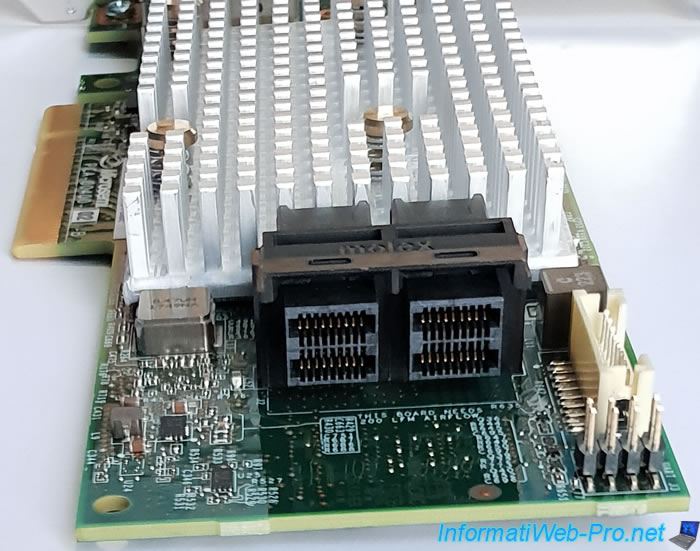
And 2 internal mini SAS HD ports (SFF-8643).
3. Mount the ASCM-35F battery on the supplied metal PCIe plate
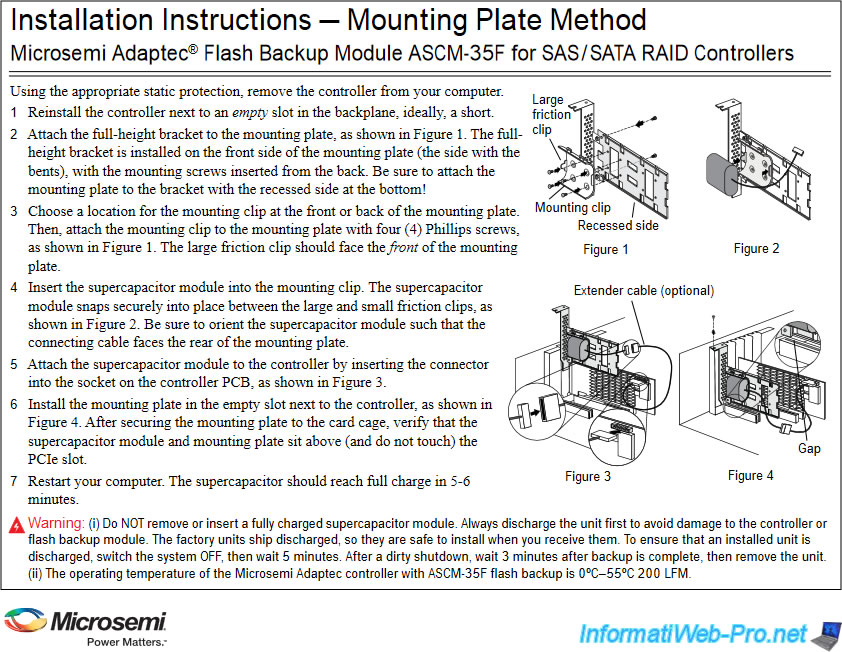
As indicated above, in the box you will find a paper with installation instructions for placing the "ASCM-35F" battery in your computer and plugging it into your SmartRAID controller.
The caption being: Microsemi Adaptec® Flash Backup Module ASCM-35F for SAS / SATA RAID Controllers.
If you find that the drawing is too small on paper, simply go to the page of your SmartRAID controller and go to the "Documentation" tab.
In our case, we were able to find this document under the name : Microsemi Adaptec ASCM-35F - Installation Guide 10/2017.
Since the drawing in this document is in vector format, you will be able to enlarge it to infinity and thus better see where you need to screw the screws and the battery power cable.
First of all, unplug your computer and make sure that you DO NOT have any static electricity on you.
This could damage your new RAID controller.
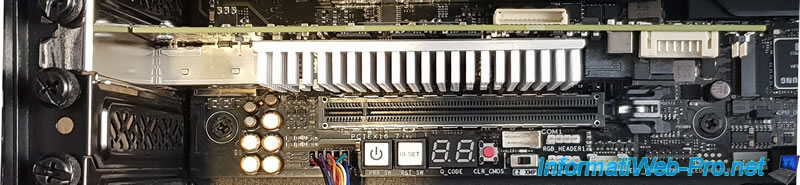
Then, according to the above document, the 1st step is to plug your RAID controller into your computer.
However, it's correctly stated that an empty PCIe slot is required just below the one where you will plug your Adaptec SmartRAID controller.
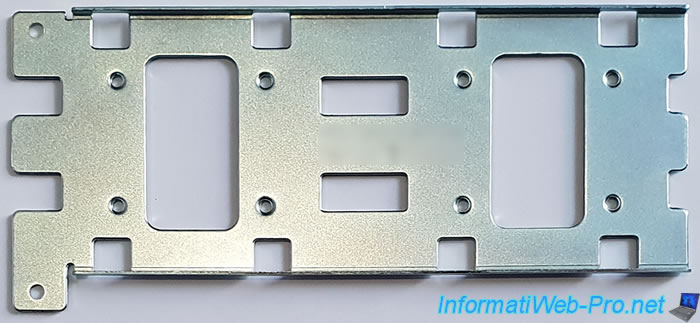
Step 2 is to screw the PCI bracket onto the supplied metal plate.
However, be careful that the metal plate has one direction. It has an angle on the top edge and the same on the bottom.
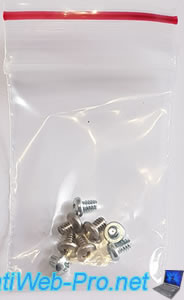
For this, you will need the screws provided in the bag.
No worries, they are all the same.
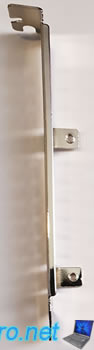
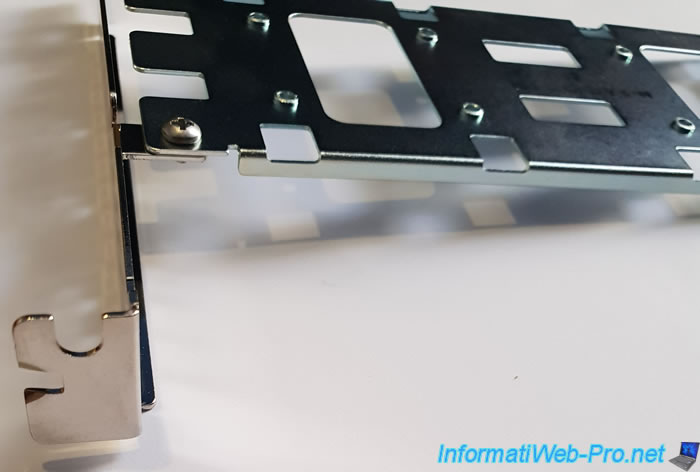
Screw the screws to fix the PCI bracket to the metal plate, paying attention to :
- the position of the PCI bracket (below the metal plate)
- the screws go down
- fix the bracket in the right direction
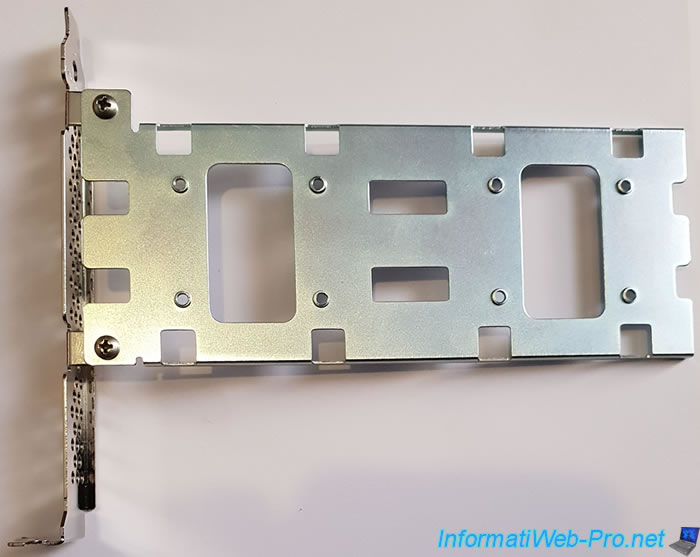
Also note that the angles of the metal plate go down.
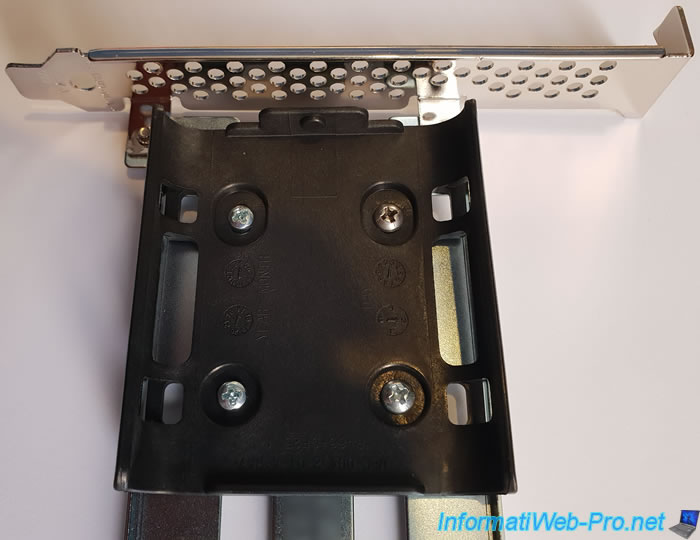
Step 3 : fix the black plastic cradle on the metal plate using 4 screws.
Note that the angles of the metal plate go upward in the image below.
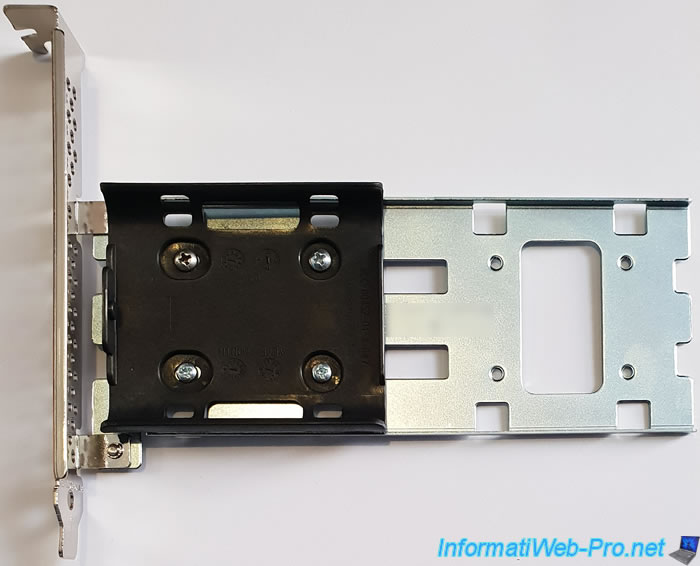
Another detail reported in the Microsemi document, the black plastic bump must be on the same side as the PCIe support.
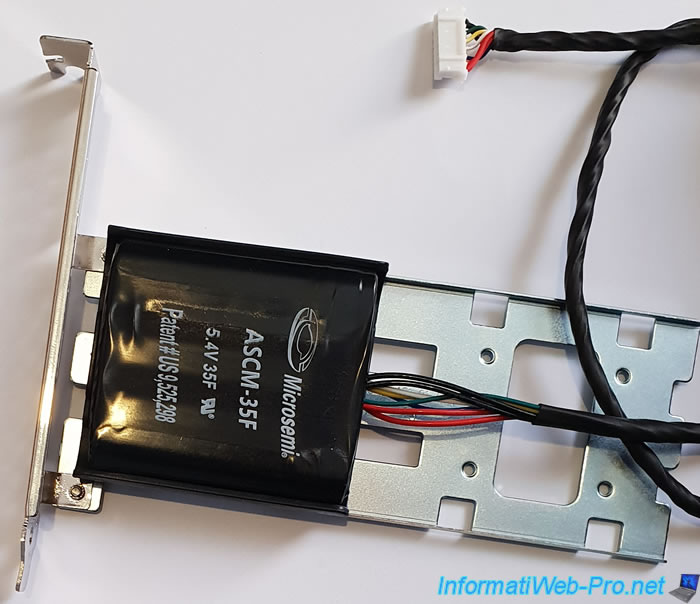
Step 4 : clip the ASCM-35F battery into the plastic cradle, making sure that the battery's power cable comes out from the side opposite the PCIe socket, as in the image below.
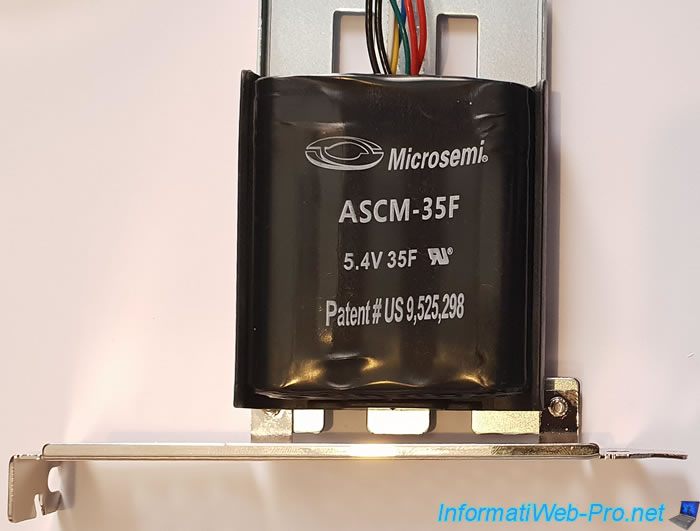
Once mounted, this is what it looks like.
Share this tutorial
To see also
-

RAID 4/20/2022
Adaptec maxView Storage Manager v3 - Create a RAID volume
-

RAID 4/8/2022
Adaptec maxView Storage Manager v3 - Download and boot on USB version
-

RAID 4/13/2022
Adaptec maxView Storage Manager v3 - Installation on Linux
-

RAID 4/15/2022
Adaptec maxView Storage Manager v3 - Manage an Adaptec SmartRAID controller on VMware ESXi 6.7
You must be logged in to post a comment