Create a RAID volume from the configuration tool (ACU) of Microsemi Adaptec SmartRAID 3154-8i8e controller
- RAID
- 28 January 2022 at 11:48 UTC
-

- 2/2

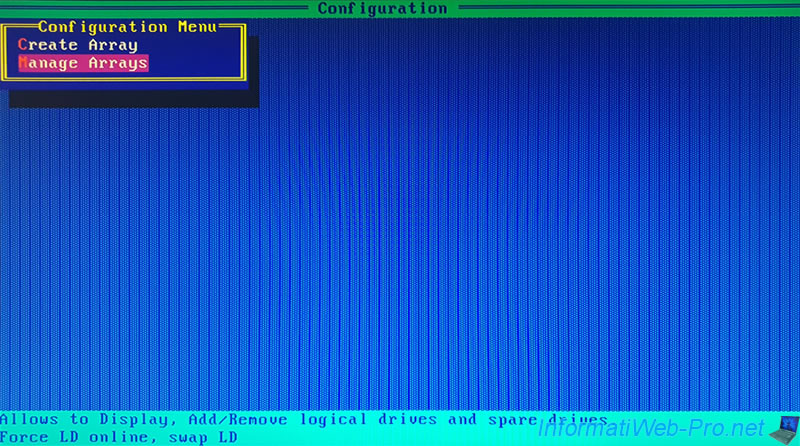
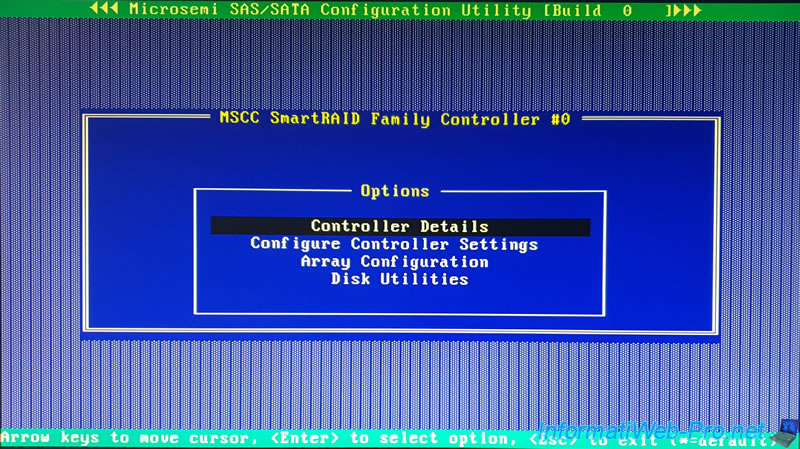
6. Manage RAID volumes
To manage your RAID volumes, select the "Manage Arrays" option and press Enter.
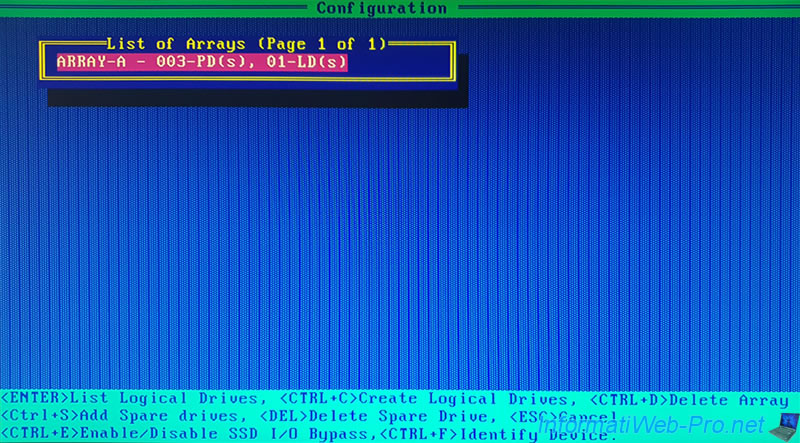
As you can see, we have only one RAID volume.
Press Enter to display the list of logical drives present on this RAID volume.
Note that this name indicates :
- the name of the RAID volume (Array) : ARRAY-A
- the number of physical disks composing this RAID volume : 003-PD(s). PD(s) = Physical Device(s).
- the number of logical drives in this RAID volume : 001-LD(s). LD(s) = Logical Device(s).
In our case, this RAID volume contains a single logical drive :
- the name is : Virtualization
- the RAID level is : RAID5
- the size is : 7,2 TiB (= the size of our RAID volume)
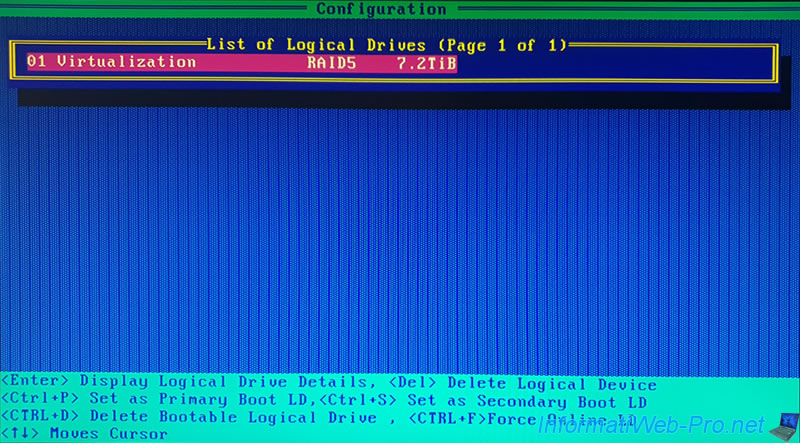
To view more informations about your RAID volume, select it and press Enter again.
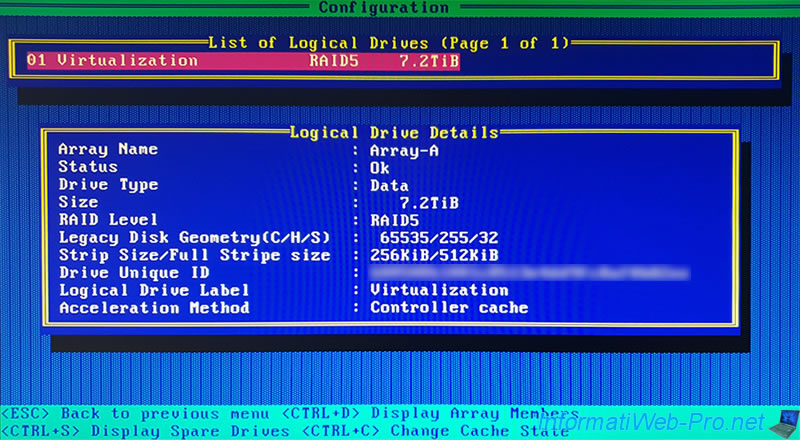
Now, the setup wizard shows you :
- Array Name : the name of the RAID volume. Possible values : Array-A, Array-B, Array-C, ...
Caution : DO NOT CONFUSE with the name of the selected logical drive. - Status : status of the logical drive. Ok = no problem detected with this logical drive. Otherwise, this status will change.
- Drive Type : logical drive type.
Data = Data / Storage.
Maxcache = disk used as cache. - Size : size (capacity) of the logical drive.
- RAID Level : desired RAID level. Examples : RAID0, RAID1, RAID5, ...
- Legacy Disk Geometry(C/H/S) : very old information indicating the number of cylinders, heads, sectors (CHS) present on the concerned disk.
Long ago, these data made it possible to address data sectors on hard disks and floppy disks. - Stripe Size/Full Stripe size : size of the stripes used on the various hard disks making up the RAID volume concerned by this logical disk.
In our case, the value is : 256 KiB/512KiB. - Drive Unique ID : unique hard drive identifier
- Logical Drive Label : name of the logical drive making it easier to find here or via the maxView Storage Manager web interface
- Acceleration Method : indicates whether the read and write cache (Controller cache) are used or not (None)
Note that you can easily disable or re-enable the cache on this logical drive by pressing the "CTRL + C" keys once (as shown at the bottom of the screen).
7. Exit the Microsemi configuration tool
To exit this configuration tool, press "Esc" several times to return to the main menu, then press "Esc" again to exit it.
Confirm by selecting "Yes".

Wait a few seconds and your computer / server will restart.
Plain Text
Rebooting the system, Please wait.
![]()
8. Configured RAID volume
Once the RAID volume is configured and the computer has restarted, the "Microsemi SAS/SATA BIOS" screen will continue to appear and the message "Controller Firmware starting & Scanning for devices" will appear again.
Plain Text
Microsemi SAS/SATA BIOS V1.3.4.6
(c) 2018 Microsemi Corporation. All Rights Reserved.

Controller #00 found at PCI Slot:0, Bus19, Dev:00, Func:00
Controller Firmware starting & Scanning for devices.

But this time, your Microsemi SmartRAID controller will tell you that a RAID-5 volume has been detected and a logical drive has been found on it.
Since at least 1 logical drive is present on your Microsemi SmartRAID controller, the Microsemi BIOS will be installed by default to allow you to boot to that logical drive if desired.
Plain Text
Dev#0 - RAID-5      7.27TiB    OK
1 Logical Drives(s) found

BIOS Installed Successfully!

Share this tutorial
To see also
-

RAID 4/20/2022
Adaptec maxView Storage Manager v3 - Create a RAID volume
-

RAID 4/8/2022
Adaptec maxView Storage Manager v3 - Download and boot on USB version
-

RAID 4/13/2022
Adaptec maxView Storage Manager v3 - Installation on Linux
-

RAID 4/15/2022
Adaptec maxView Storage Manager v3 - Manage an Adaptec SmartRAID controller on VMware ESXi 6.7
No comment