- RAID
- 22 April 2022 at 08:15 UTC
-

- 1/2

By default, it's possible to use the read and/or write cache present on your Microsemi Adaptec SmartRAID controller and it may be larger or smaller depending on your controller model.
For example, in the case of our Microsemi Adaptec SmartRAID 3154-8i8e controller, this cache is 4 GB DDR4/2100 MHz.
However, to be able to use this integrated cache without risking losing data in the event of a power failure, you must also have a battery (ex : ASCM-35F) connected to your Microsemi Adaptec SmartRAID controller (which is the case by default for SmartRAID 315x models).
- Benefits of the maxCache feature
- What models of SSDs can I use for maxCache ?
- Adding SSDs to use maxCache
- SATA cable used
- Create a maxCache array
- MaxCache array informations
- Initialize parity on logical cache disk (maxCache)
- Delete a logical cache drive (maxCache)
1. Benefits of the maxCache feature
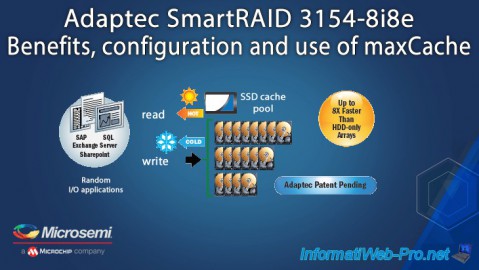
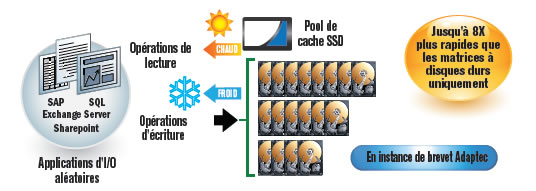
With Microsemi Adaptec's maxCache feature found on the SmartRAID 3100 Series and 3162 Series controllers, you can experience better performance up to 8 times faster than with hard drives alone.
Thanks to maxCache 4.0 :
- you can increase the performance of your RAID arrays made up of hard disks (HDDs).
This is of great interest for applications that are greedy in input/output (at the storage level), such as : SAP, SQL Server, Exchange Server and Sharepoint. - provide a completely transparent cache system for the computer / server.
Indeed, it's the Microsemi Adaptec SmartRAID controller that will choose where to store each file (on the maxCache device (SSD) or on the logical RAID disk (HDD)).
In summary, the most frequently used files will be stored on SSDs and the rest on hard disks (HDDs). - you will be able to benefit from a read (Write-Through) and write (Write-Back) cache.
- provide caches of up to 1TB (per maxCache array).
- you will be able to enable this maxCache for the desired RAID logical drives.
Source : maxCache Solutions | Microsemi
2. What models of SSDs can I use for maxCache ?
If you are looking for which SSD models to use for this maxCache feature, you might find the page "What are the requirements for Adaptec maxCache™ SSD Caching?" from the official Adaptec website.
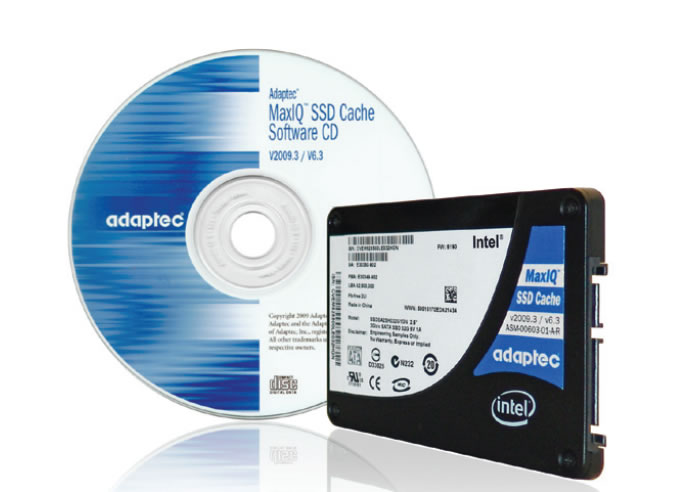
On this page, you will see that Adaptec tells you about a product called "Adaptec maxCache™ SSD Cache Kits" which is no longer sold (EOL = End Of Live).
It's also possible that you will find the "Adaptec maxCache™ SSD Cache Performance Kit" PDF where you will see that the supplied SSD is a SSD Extreme SATA Intel® X-25E (on which Adaptec has pasted its logo) and which is existed in 32 GB and 64 GB.
In short, today, there is no longer an official solution from Microsemi / Adaptec, but there is a compatibility list allowing you to know the list of SSDs that have been tested with your Microsemi Adaptec SmartRAID controller model for this maxCache feature.
That said, you can also try to use another SSD model that is not listed if you already have one, since this list is obviously not complete.
This compatibility page is therefore there in case you want to make sure that maxCache will be able to work correctly with this or that model of SSD.
3. Adding SSDs to use maxCache
The maxCache feature also requires the creation of arrays (maxCache Arrays) and logical drives (maxCache Logical Devices) as is the case for RAID volumes.
You will therefore also find the different current RAID levels, including RAID 5 that we will use in this tutorial.
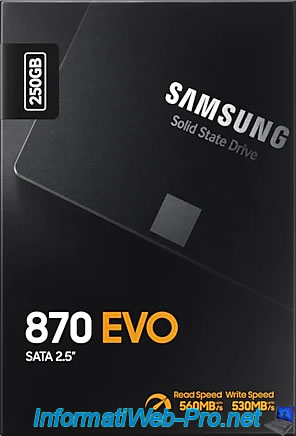
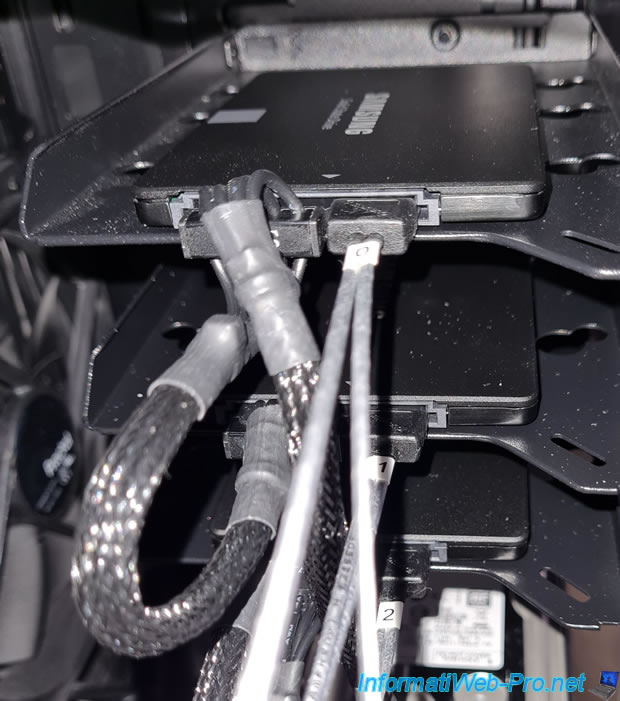
In our case, we used 3 "Samsung 870 EVO 250 GB" SATA SSDs which are not referenced in the compatibility lists, but which also worked without problem.
To connect them to our Microsemi Adaptec SmartRAID controller, we also bought an "Adaptec ACK-I-HDmSAS-4SATA-SB-.8M" cable which has :
- a mini SAS HD connector (SFF-8643) to plug into the Microsemi Adaptec SmartRAID controller
- SATA connectors to plug into the desired SSDs
- a sideband cable with a SFF-8448 connector
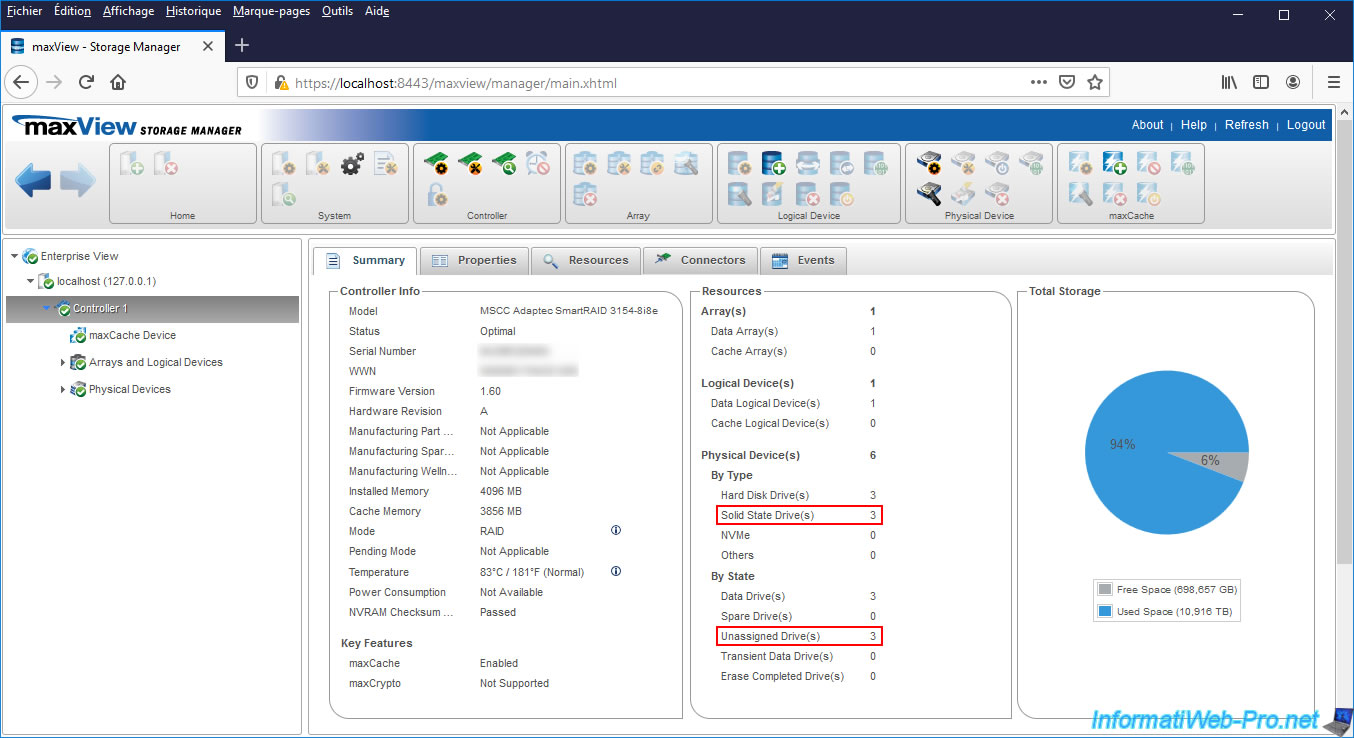
In the maxView web interface, select your controller and you will see that there are :
- Solid State Drives - 3 : 3 SSDs
- Unassigned Drives - 3 : 3 unassigned physical disks
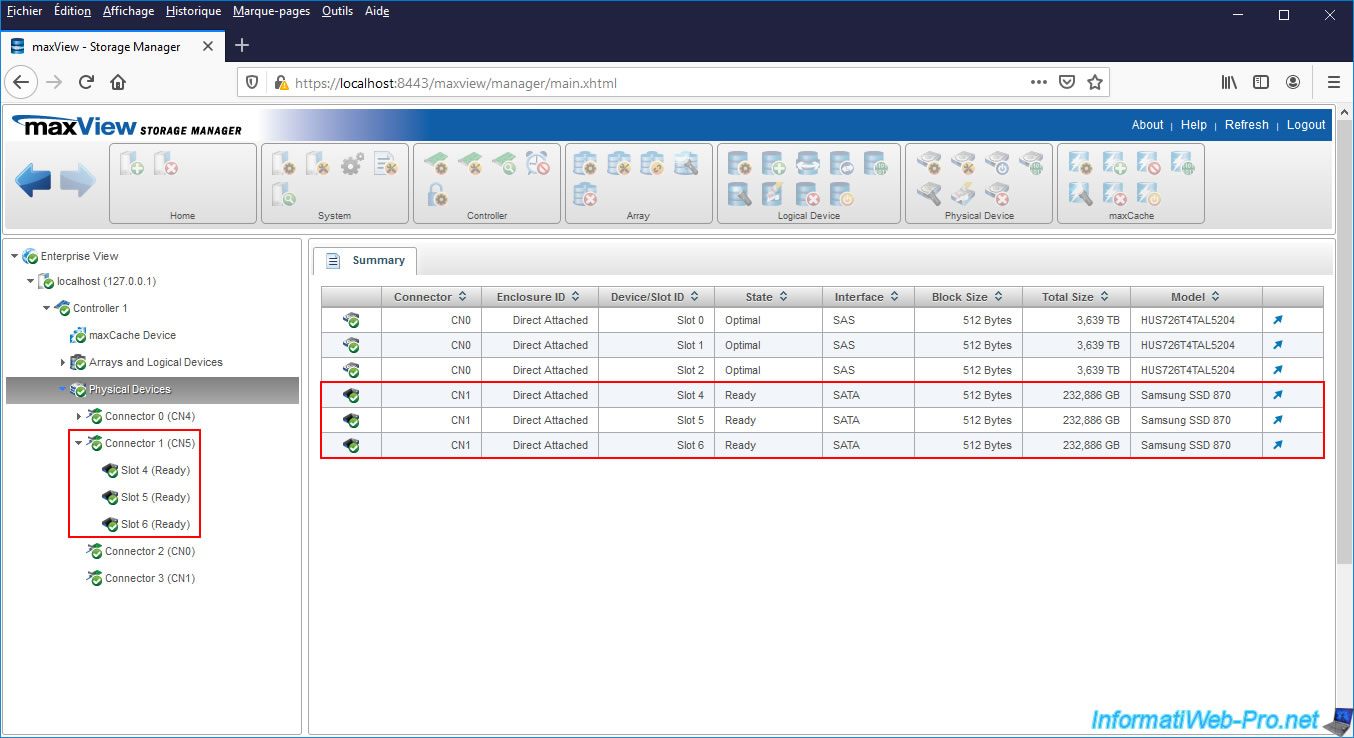
If you go to "Physical Devices", you will see your 3 SSDs appear with the "Ready" status (because we have not used them yet).
4. SATA cable used
Just for information, since these are SATA SSDs, we had to buy a new cable "Adaptec ACK-I-HDmSAS-4SATA-SB-.8M" (Ref : 2279800-R) to connect our 3 SSDs on our Microsemi Adaptec SmartRAID 3154-8i8e controller.
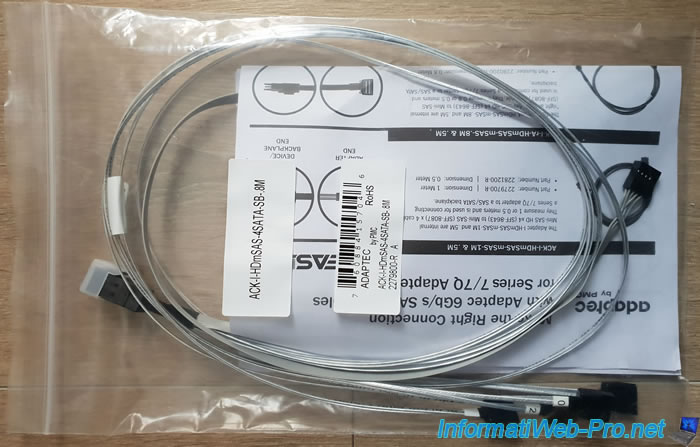
This is what this cable looks like when unboxed.
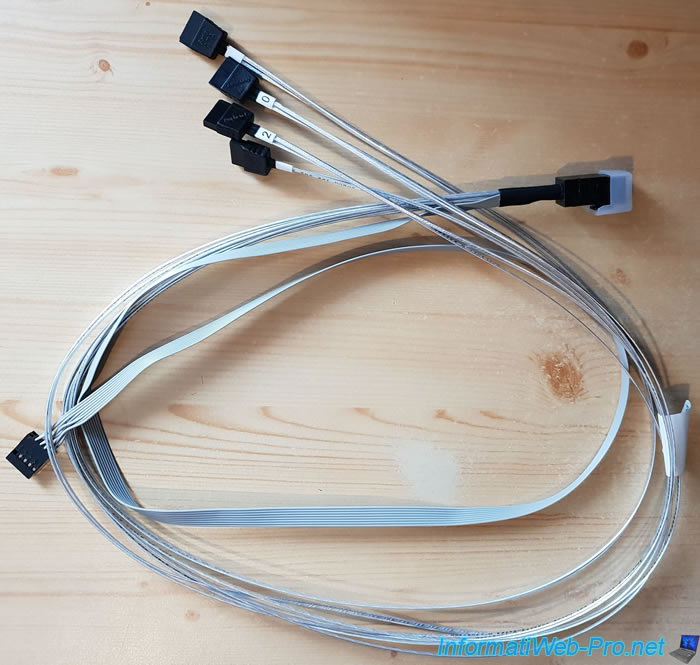
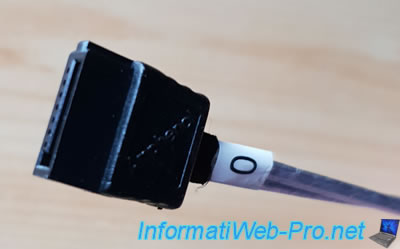
On one side, you will find 4 SATA connectors for data transfer to plug into your SSDs.
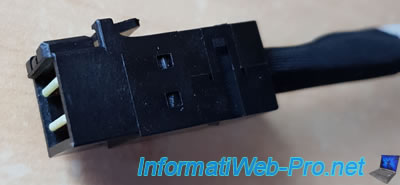
And on the other side, you will find the Mini SAS HD connector to plug into your Microsemi Adaptec SmartRAID controller.
Finally, you will also find a sideband cable to transmit the "SGPIO" and "SES-2 over I2C" signals to the backplane.
But, you will only need it if you have a real server.
5. Create a maxCache array
To create an array and a logical drive to use as a cache via maxCache, you must select your controller (on the left), then click on the + icon in the "maxCache" block located at the top right.

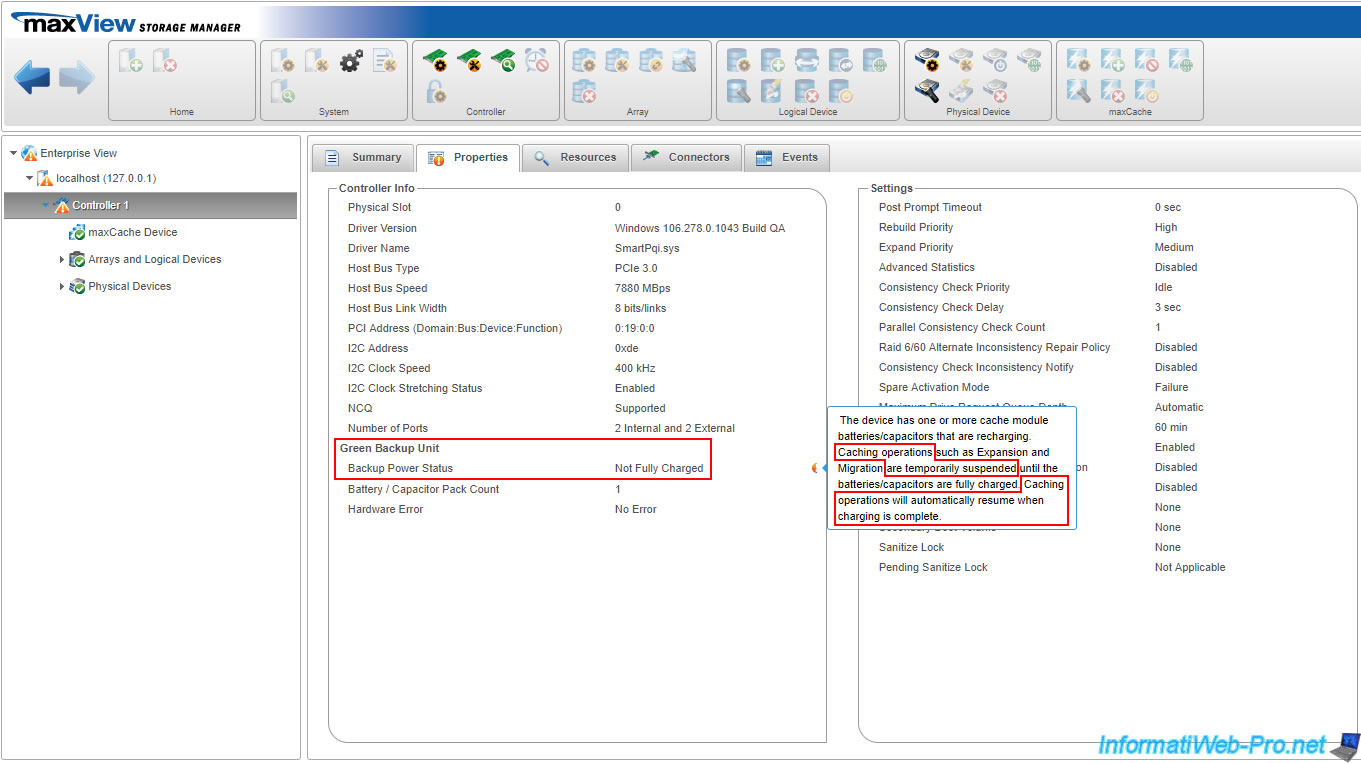
Note that if you have just started your computer / server, this option may not be available temporarily.
If so, select your controller and go to the "Properties" tab.
In the 1st column, you will see that the battery is currently charging.
In the "Create maxCache Device" window that appears, select the desired RAID level for the cache system :
- RAID 0 : requires 1 or more SSDs, is not recommended as it's not redundant and therefore can't be used to create a write cache.
- RAID 1 : requires 2 SSDs and allows you to create a real-time copy of the cache data and to benefit from the speed of the SSD for frequently used files.
In the event of a SSD failure, the data in the cache will not be lost. - RAID 5 : requires 3 SSDs or more and allows you to benefit from higher performances than in RAID 1 while also ensuring the security of the data present in this cache.

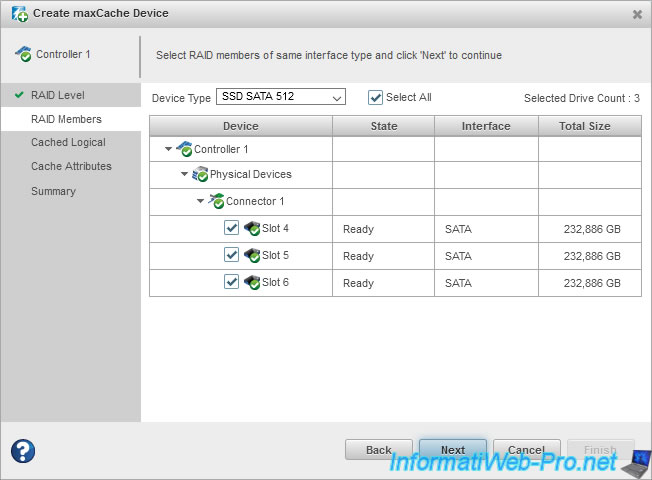
In the next step (RAID Members), select the Device Type : SSD SATA ... (the numerical value corresponds to the size of the blocks used on these SSDs).
In our case, our 3 new SSDs appear, so we check the "Select All" box at the top of the table.
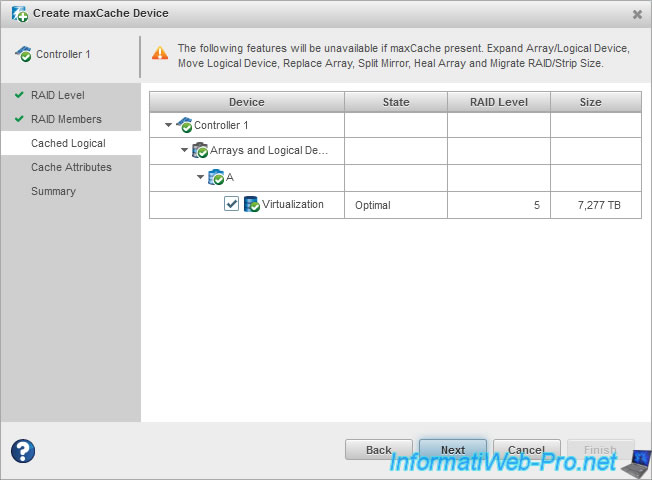
Then, select for which RAID logical drive(s) you want to use this SSD cache drive.
In our case, our "Virtualization" RAID array.
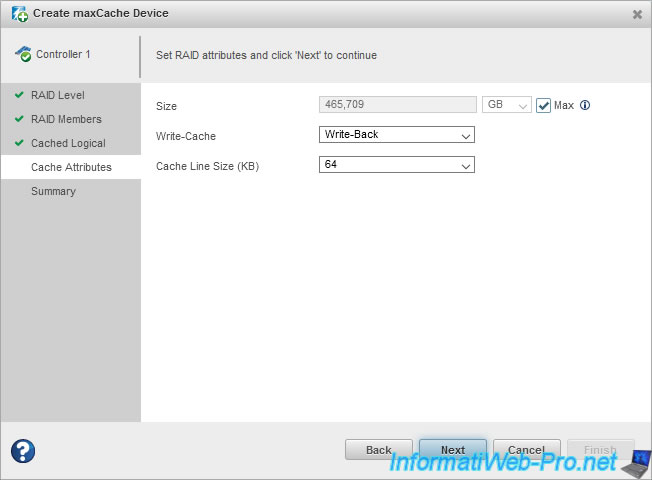
Select the desired Write-Cache type :
- Write-Back : provides better performance. With this type of cache, data is written to the cache and a "write complete" status is sent to the operating system. Then, when the bus between the maxCache device and the RAID logical drive is not in use, the data will be transferred from the cache to the RAID logical drive (located on a hard drive array).
Writing to the logical RAID disk will therefore be carried out "shifted". Which increases performance. - Write-Through : less efficient than the previous type (Write-Back). With this type of cache, data written to the cache is immediately transferred to the RAID logical drive (located on a hard drive array) before a "write complete" status is sent to the operating system.
The data written in the cache is therefore also present in real time on the RAID logical disk, but this therefore reduces the write performance.
Source : Understanding Read and Write Caching
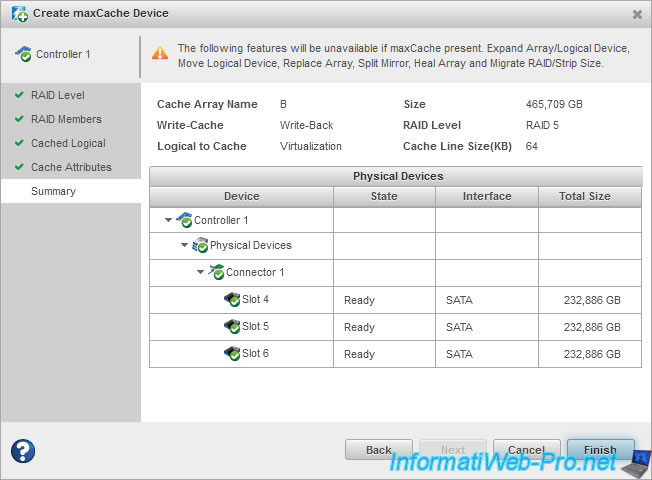
A summary is displayed. Click on Finish.
Warning : as indicated above, using this maxCache feature on a RAID logical drive will disable these features on it :
- Expand Array/Logical Device : extend an array / logical drive
- Move Logical Device : move a logical drive
- Replace Array : replace an array
- Split Mirror : divide a mirror
- Heal Array : repair a array using a healthy hard drive
- Migrate RAID/Strip Size : change the RAID level or the size of a RAID array
After a few seconds, the "Create maxCache device operation successful" message will appear.
Share this tutorial
To see also
-

RAID 4/20/2022
Adaptec maxView Storage Manager v3 - Create a RAID volume
-

RAID 4/8/2022
Adaptec maxView Storage Manager v3 - Download and boot on USB version
-

RAID 4/13/2022
Adaptec maxView Storage Manager v3 - Installation on Linux
-

RAID 4/15/2022
Adaptec maxView Storage Manager v3 - Manage an Adaptec SmartRAID controller on VMware ESXi 6.7
You must be logged in to post a comment