Benefits, configuration and use of the maxCache feature via maxView of the Adaptec SmartRAID 3154-8i8e controller
- RAID
- 22 April 2022 at 08:15 UTC
-

- 2/2

6. MaxCache array informations
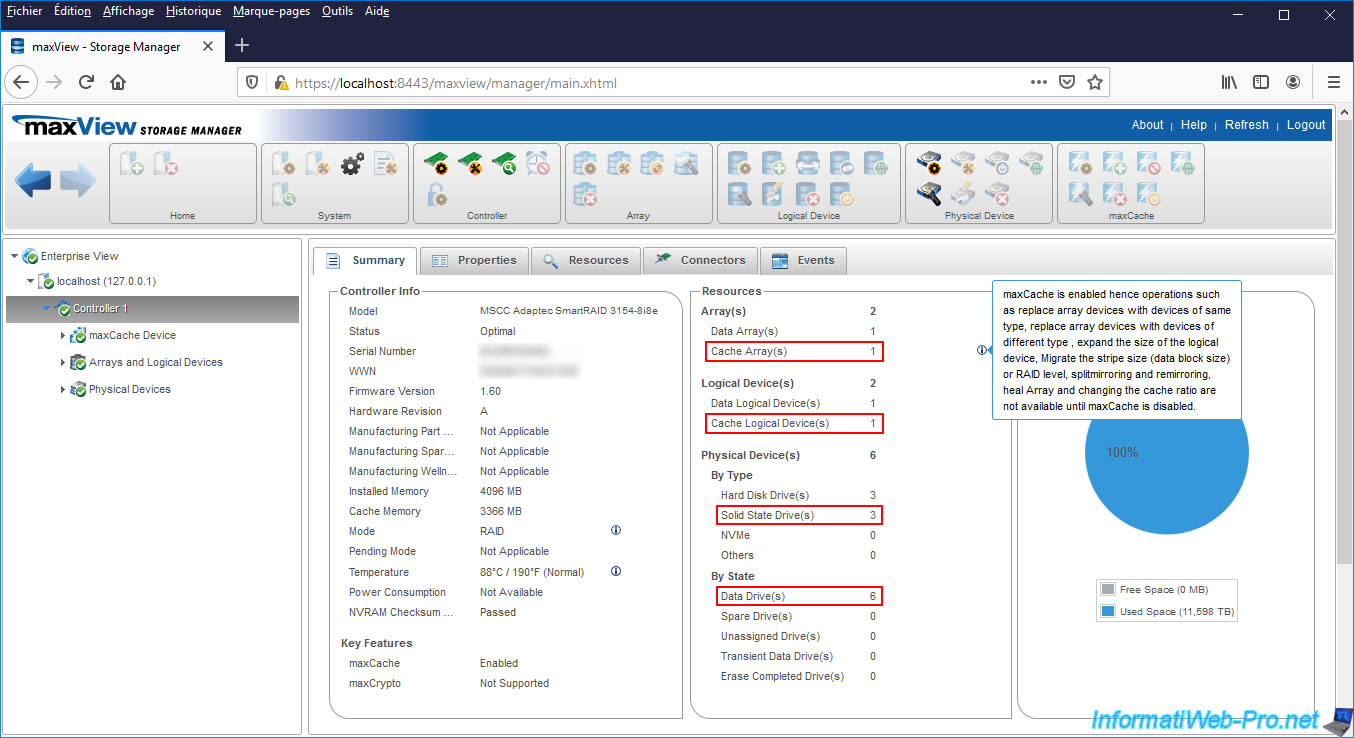
By selecting your controller in the left column, you will see that there are currently :
- Cache Array(s) - 1 : an array used as a cache (maxCache)
- Cache Logical Device(s) - 1 : a logical drive used as a cache (maxCache)
- Solid State Drive(s) : 3 SSDs
- Data Drive(s) : 6 physical data disks. This includes the 3 physical disks used for the RAID logical drive (Logical Device) used for storage and the other 3 physical disks used for the cache logical drive (maxCache Logical Device).
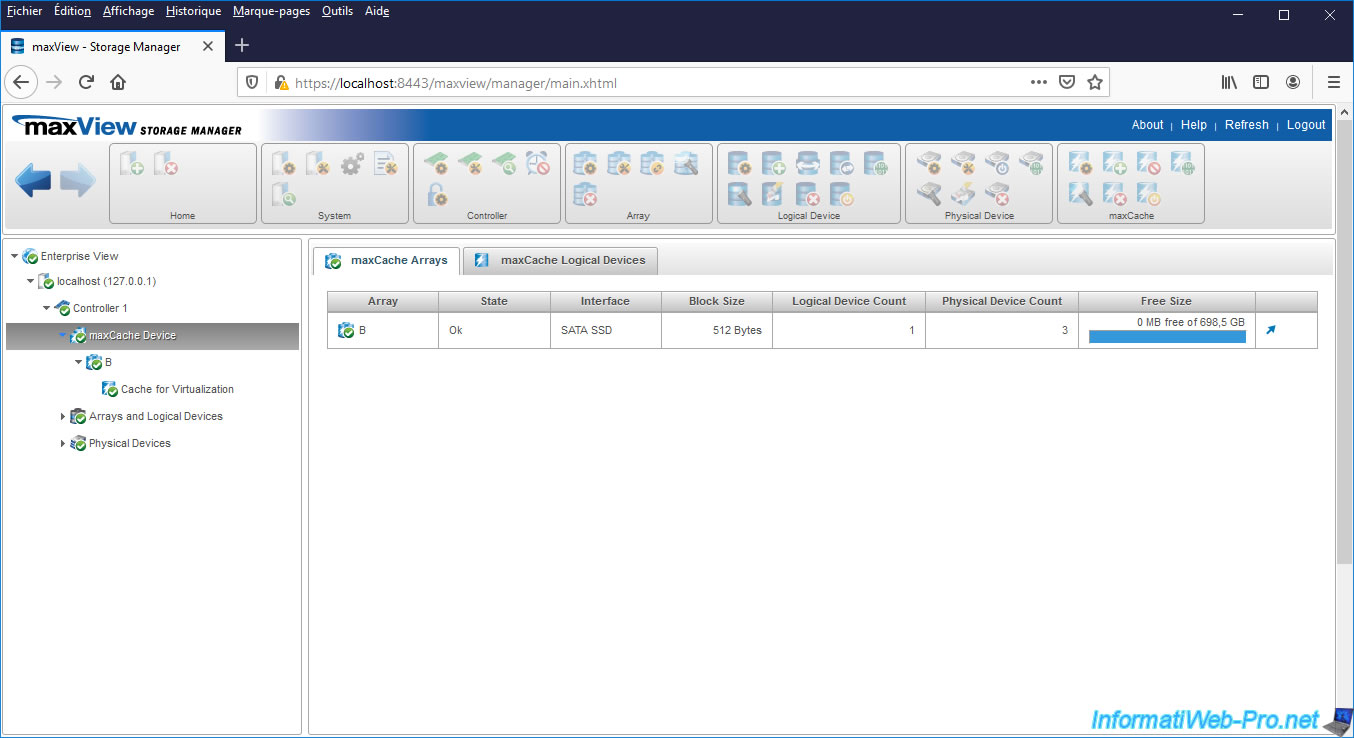
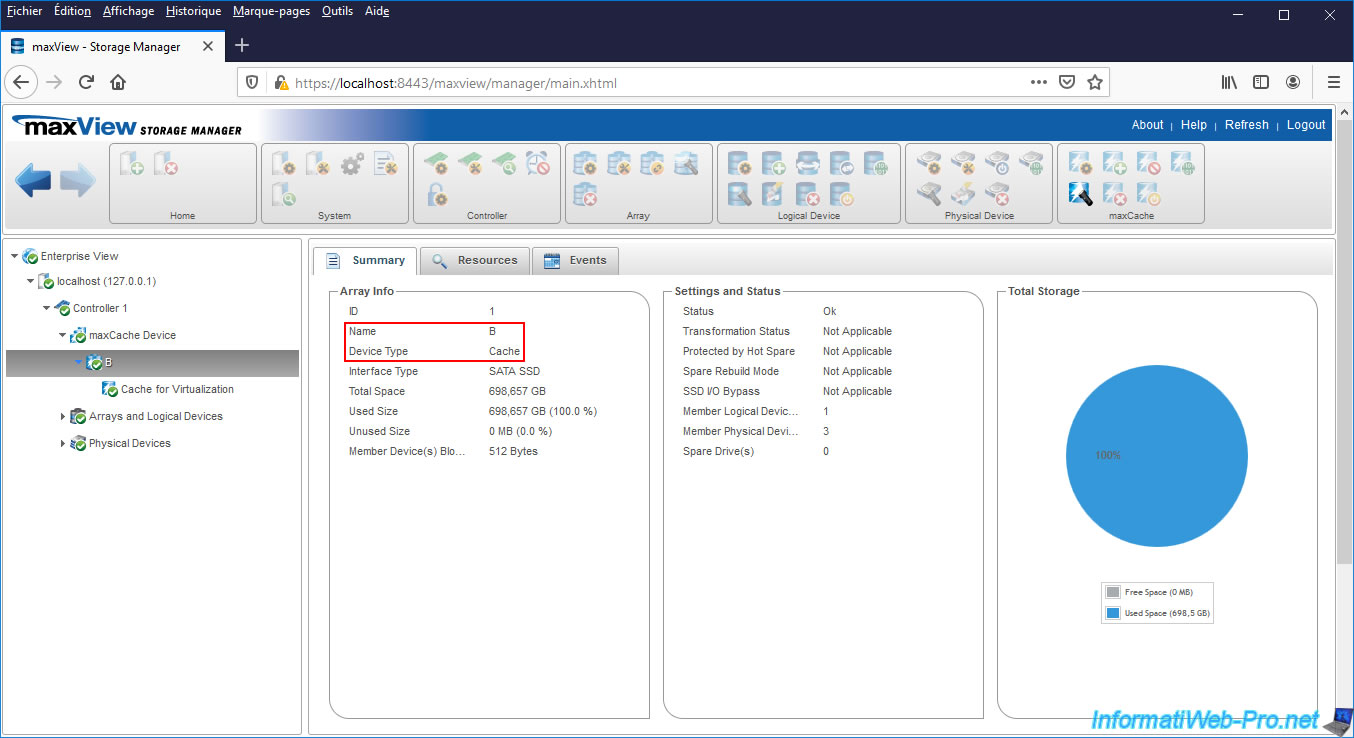
If you go to "maxCache Device", you will find an array (in our case : "B") with these informations :
- State : status of this array
- Interface : interface for connecting physical disks. In our case, SSDs connected in SATA
- Block Size : block size used
- Logical Device Count : number of logical drives used as cache via maxCache
- Physical Device Count : number of physical disks used for this maxCache array
- Free Size : space available for creating logical cache disks on this maxCache array and total size of the maxCache array
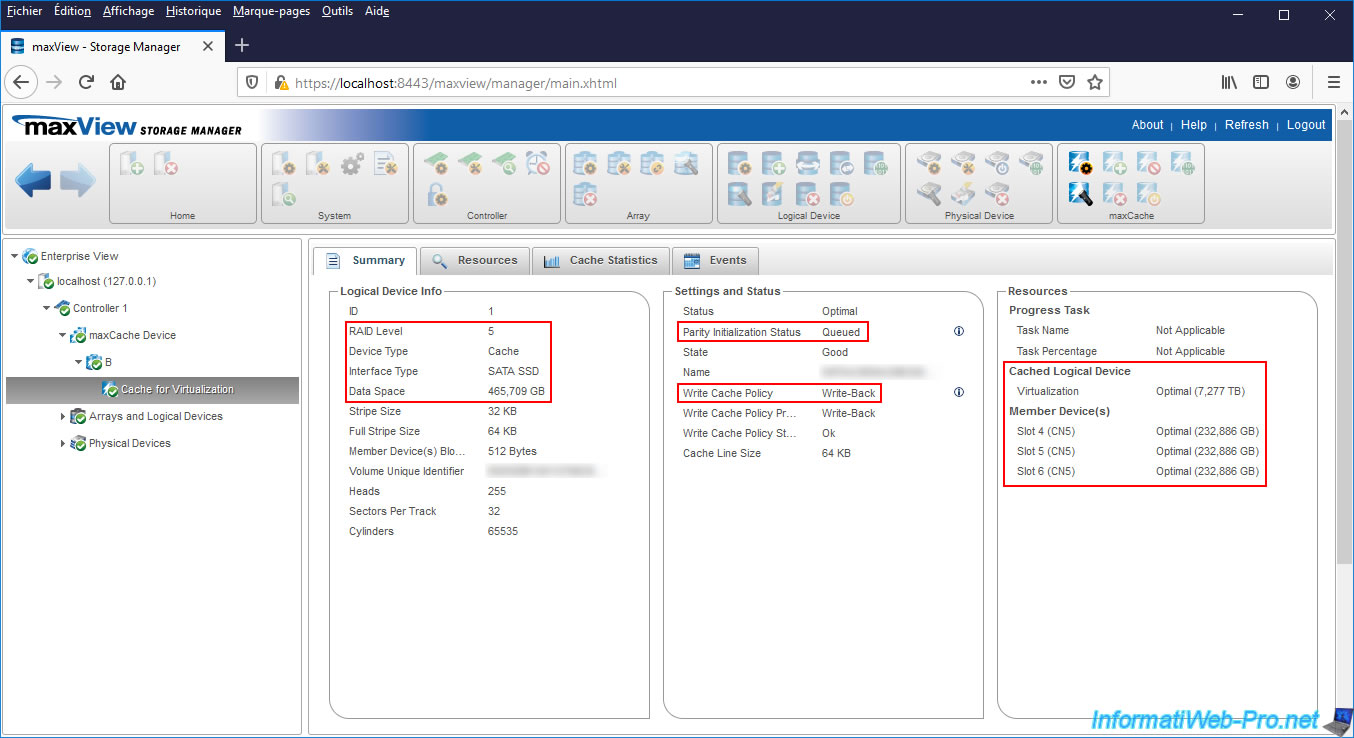
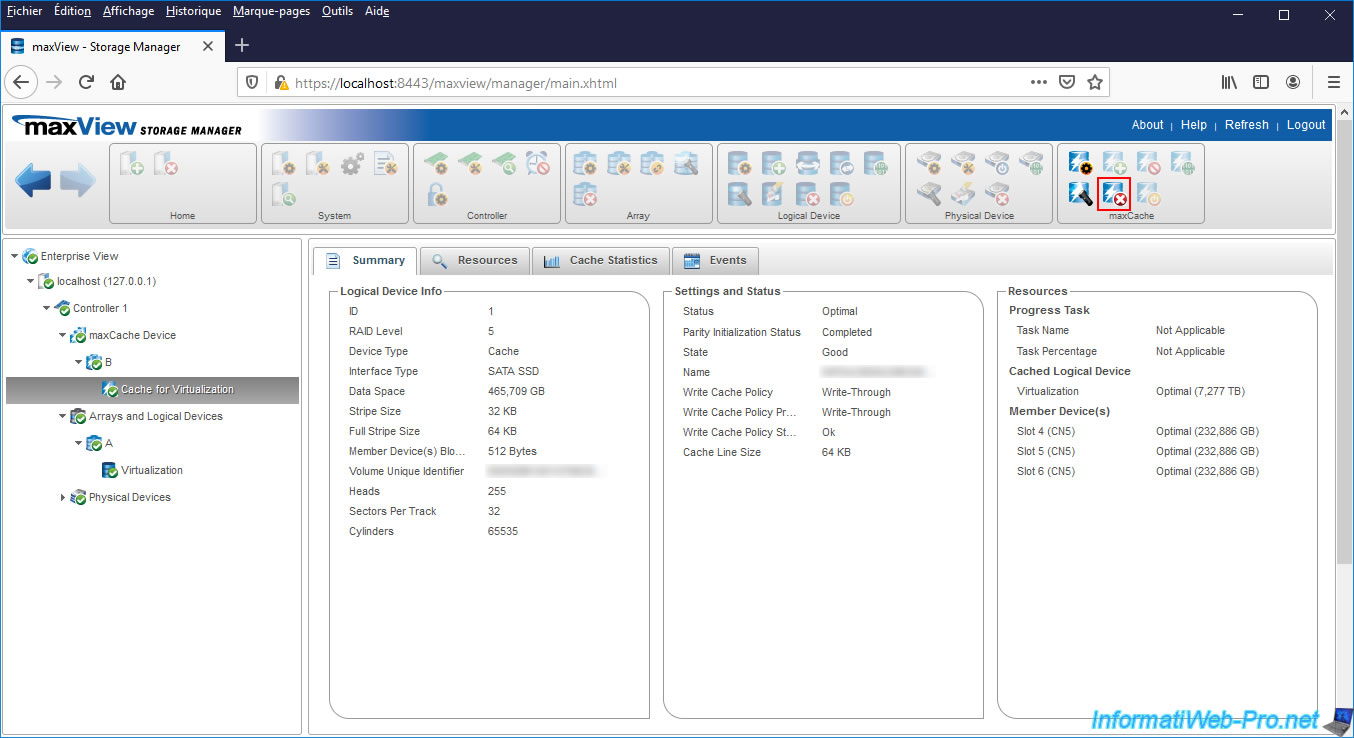
If you select the logical drive used as cache, you will be able to see :
- RAID Level : its RAID level. RAID 5 in our case.
- Device Type : the type of disk. In this case : Cache (since this is a logical drive used with the maxCache feature).
- Interface Type : disks interface. In our case : SATA SSD.
- Data Space : capacity available to store data in cache (therefore not counting the space used by the parity of the RAID level chosen previously).
- Parity Initialization Status : parity initialization status. In our case, the initiation of parity for this logical cache drive is pending because we have not yet written any data to it.
- Write Cache Policy : The write strategy chosen for using the write cache on this logical cache drive. For more information about the possible values, refer to the explanations given in the previous step of this tutorial.
- Cached Logical Device : RAID logical drive using this cache logical drive through the maxCache feature.
- Member Device(s) : physical disks (in our case : our 3 SSDs) which are members of the maxCache array in which this logical cache disk is located.
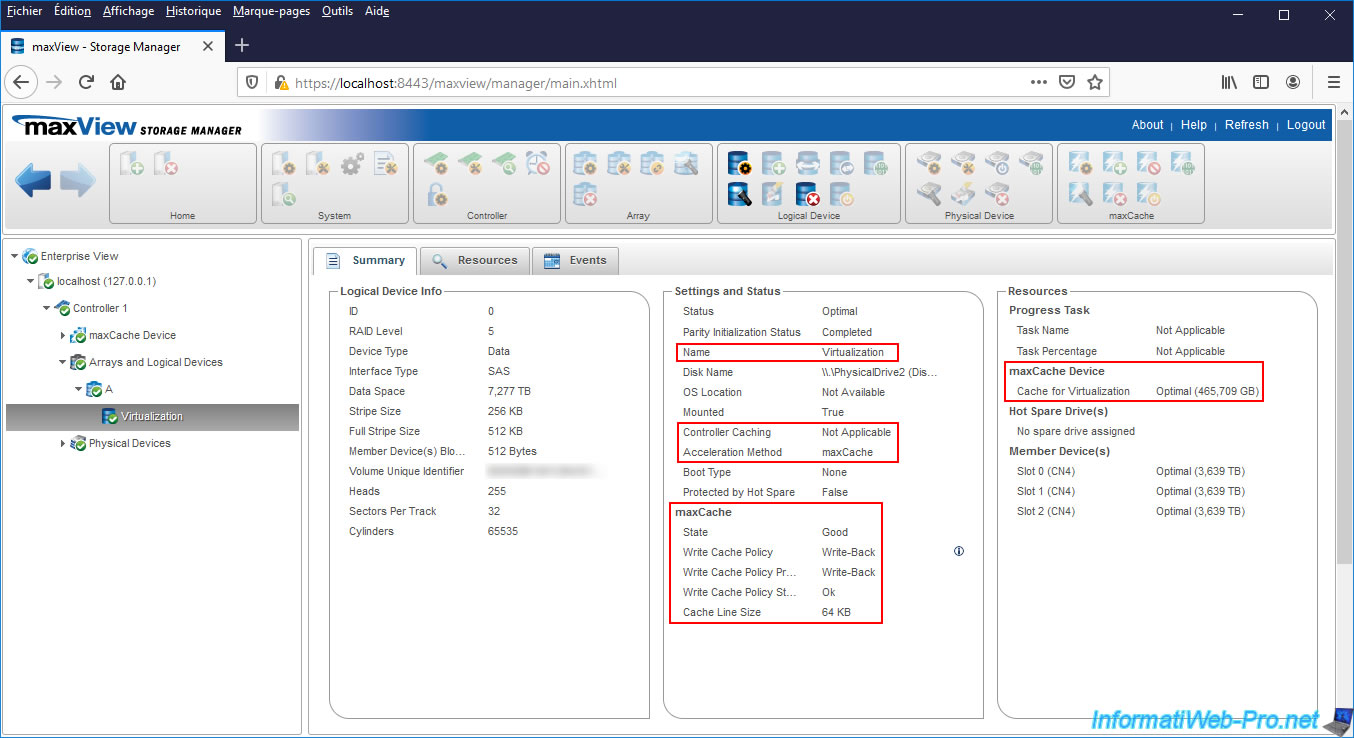
If you select the RAID logical drive that uses your cache logical drive, you will see that :
- Controller Caching - Not Applicable : this no longer uses the built-in cache of the Microsemi Adaptec SmartRAID controller
- Acceleration Method - maxCache : this now uses the maxCache feature to increase the performance of your logical drive
- maxCache State : the status of the maxCache feature for it is good
- maxCache Policy ... : this uses the indicated write cache policy (Write-Back in our case)
- Cache Line Size : size of blocks used to write data to cache
- maxCache Device : name, state and capacity of the logical cache drive used by the maxCache feature
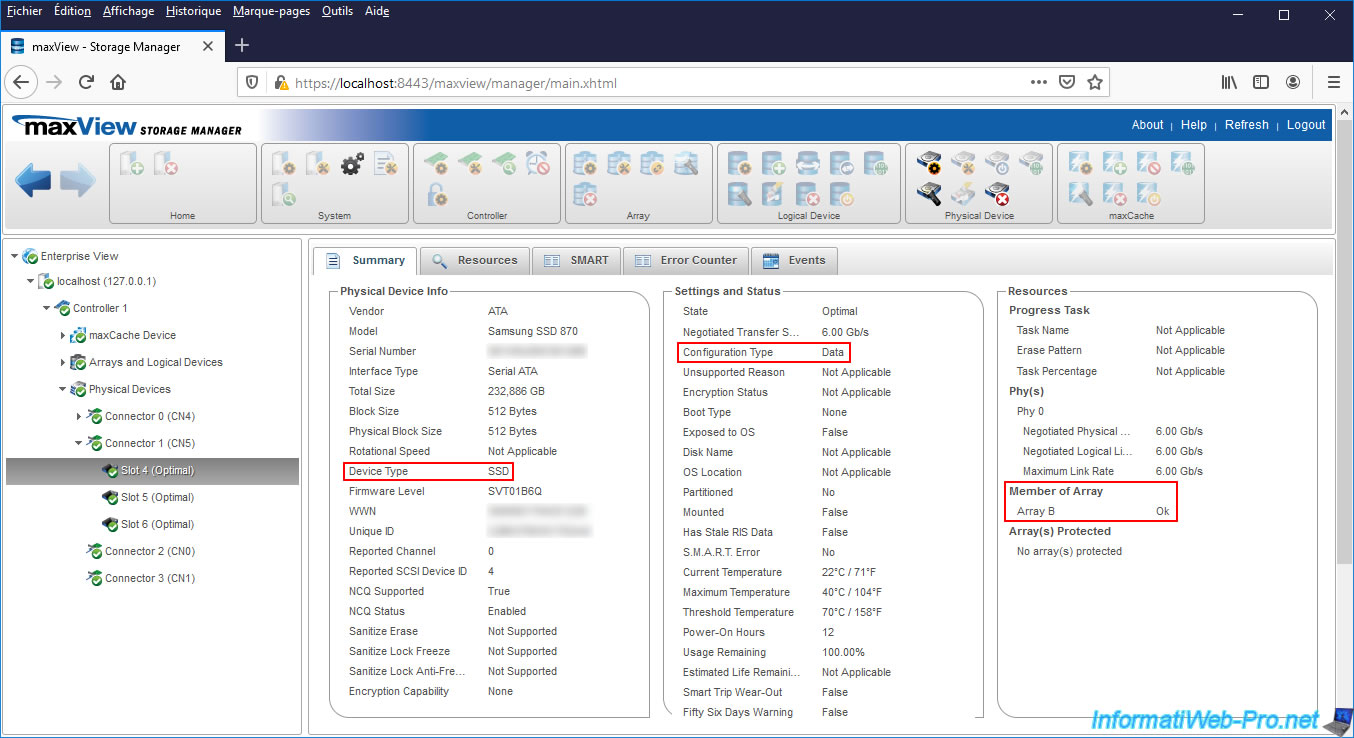
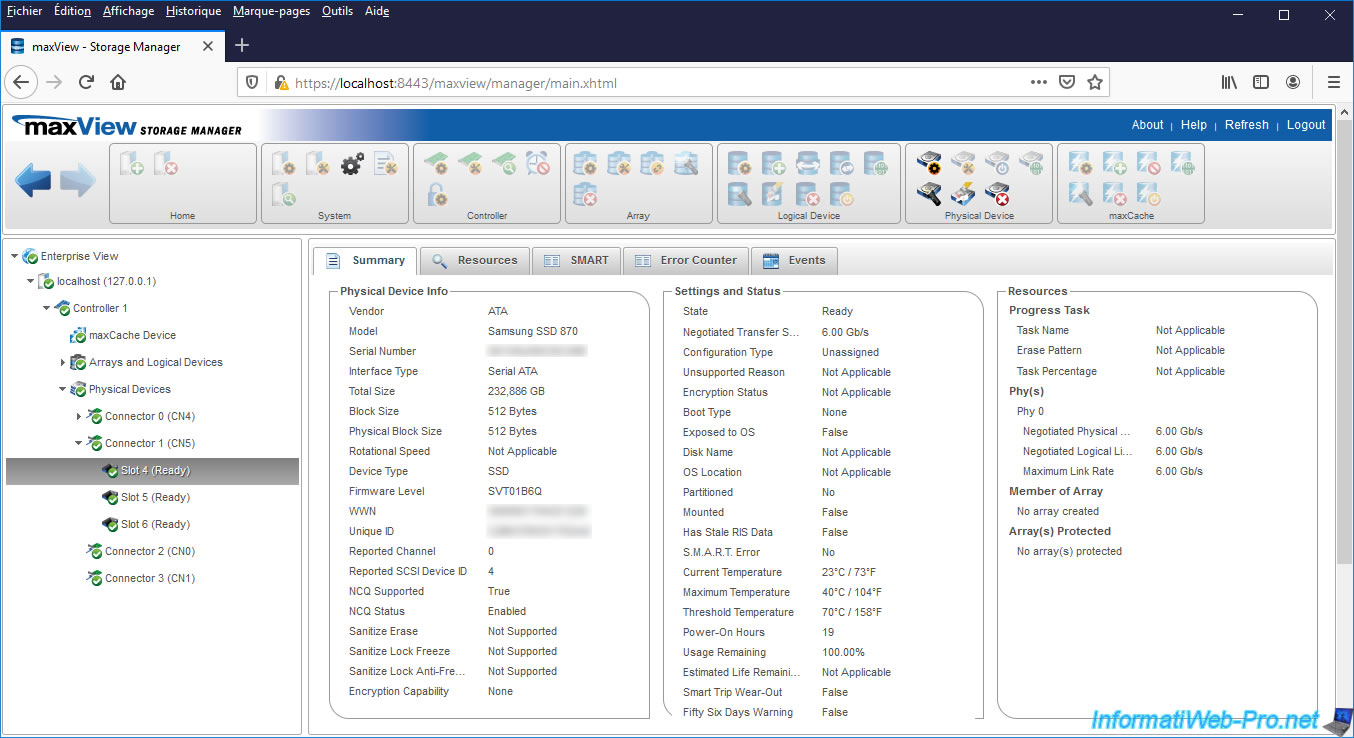
If you select one of the SSDs used by maxCache, you will see that :
- Device Type : its type is obviously SSD.
- Configuration Type : its configuration type is "Data" (as is also the case when a physical disk is part of a normal RAID logical disk)
- Member of Array : he is a member of the "Array B" array (in our case) which corresponds to the maxCache array created previously.
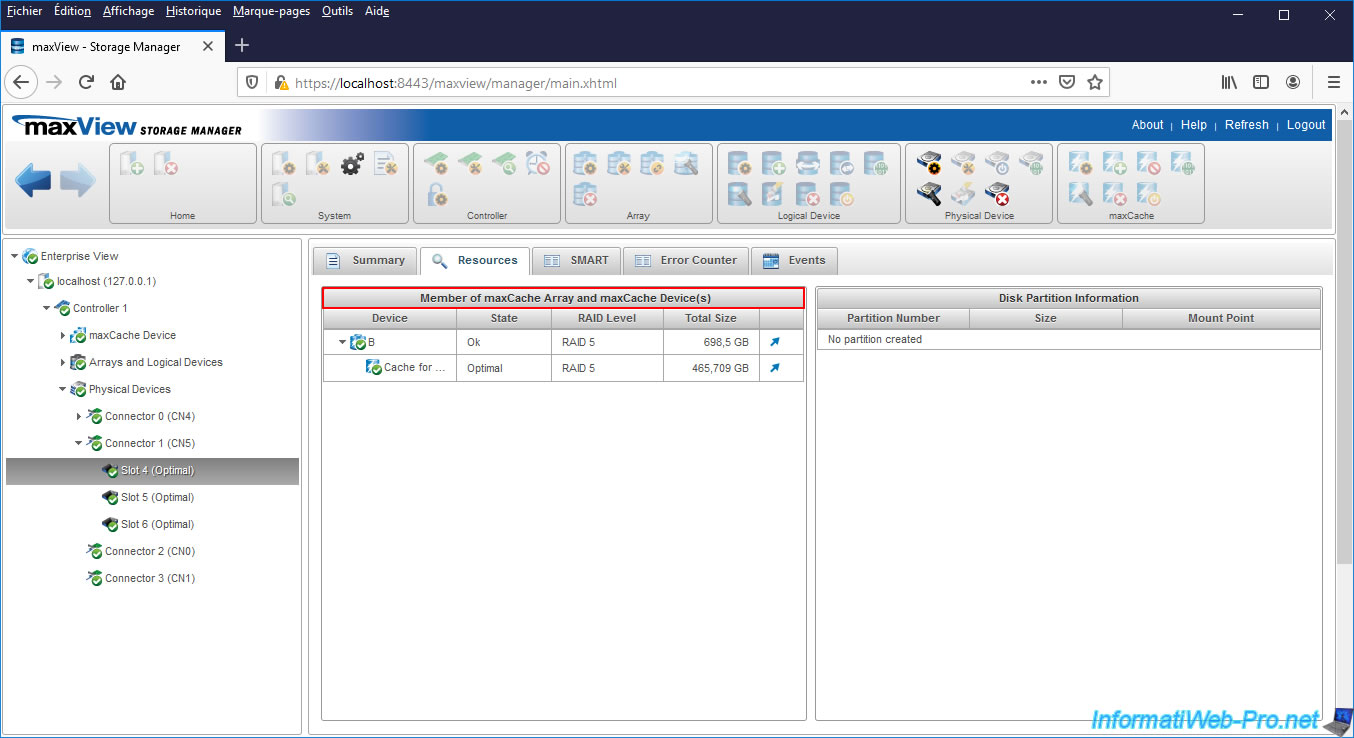
To easily see that this physical disk is used via maxCache, you have to go to the "Resources" tab of it.
In this tab, you will see the "Member of maxCache Array and maxCache Device(s)" table appear.
The other possibility is obviously to look for the name of the array (in this case "B" in our case) and to see that it's a device of type (Device Type) "Cache".
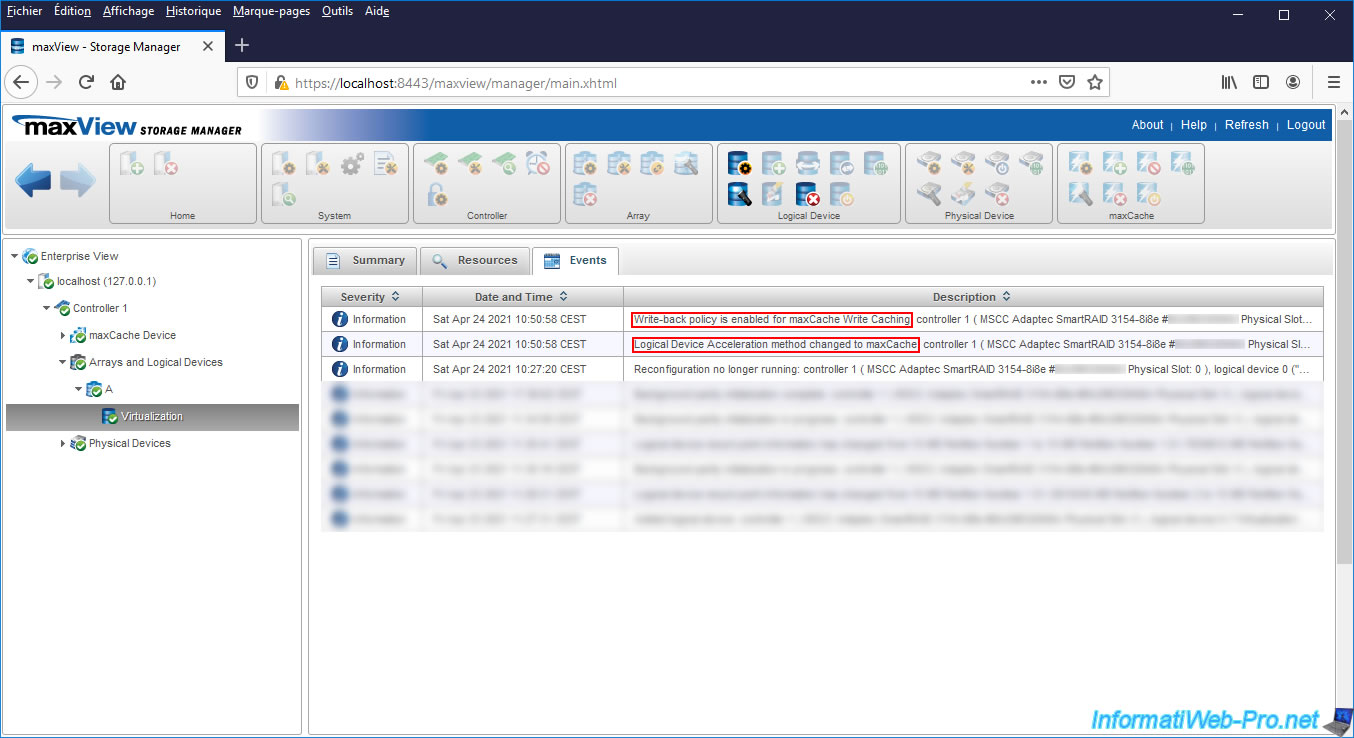
If you go to the RAID logical drive events (which uses your maxCache logical drive), you will see these appear :
- Write-back policy is enabled for maxCache Write Caching : The "Write-Back" write policy has been enabled for the write cache on the logical cache disk (maxCache)
- Logical Device Acceleration method changed to maxCache : the method to improve the performance of your logical drive has been changed to maxCache
7. Initialize parity on logical cache disk (maxCache)
If you are using your RAID logical drive only for storage, the "Queued" status may appear for your logical cache drive (maxCache).
If this is not your case, the initialization is probably already in progress. In this case, go to the next step of the tutorial.
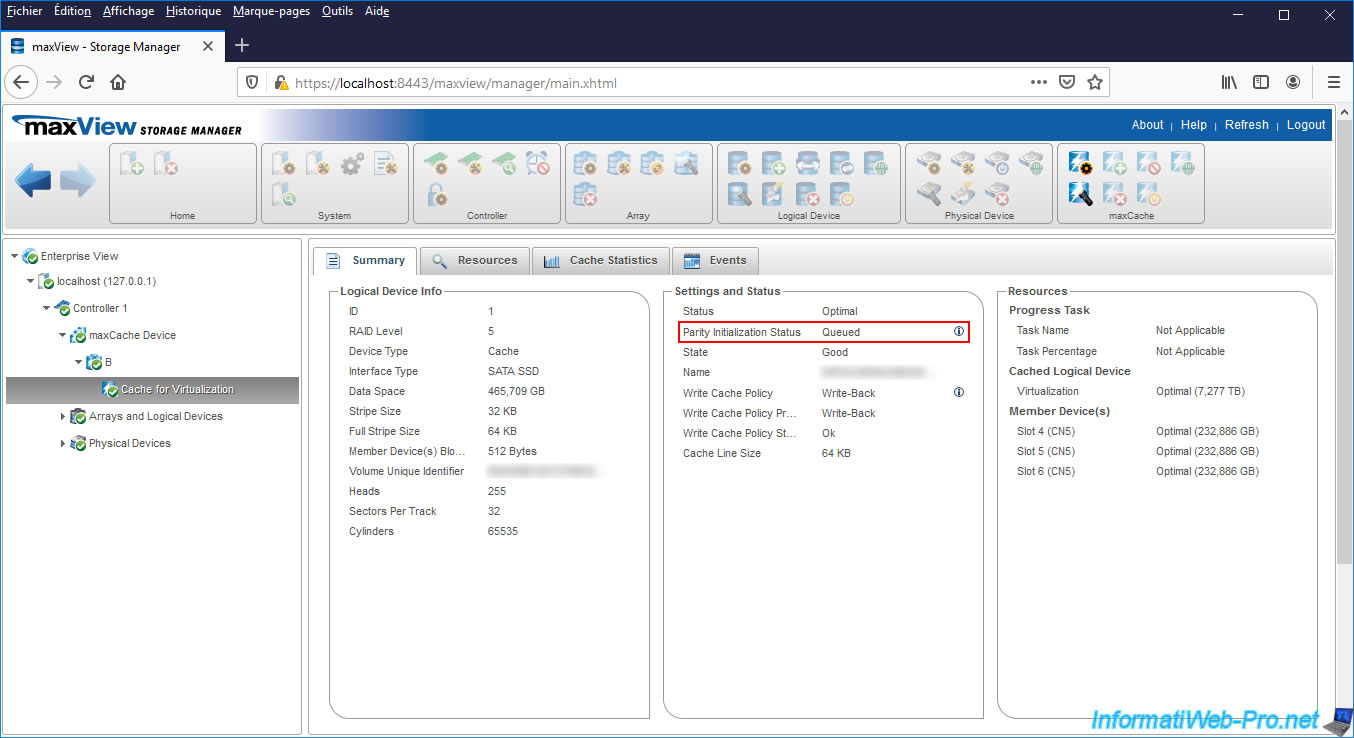
To start the parity initialization on it, just write something to your logical RAID drive.
Indeed, this initialization starts only from the moment when inputs/outputs (I/O) are detected on the logical RAID disk using your logical cache disk (maxCache).

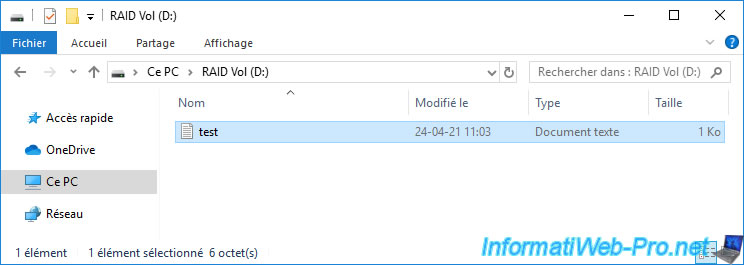
In our case, we therefore created a simple file with the notepad.
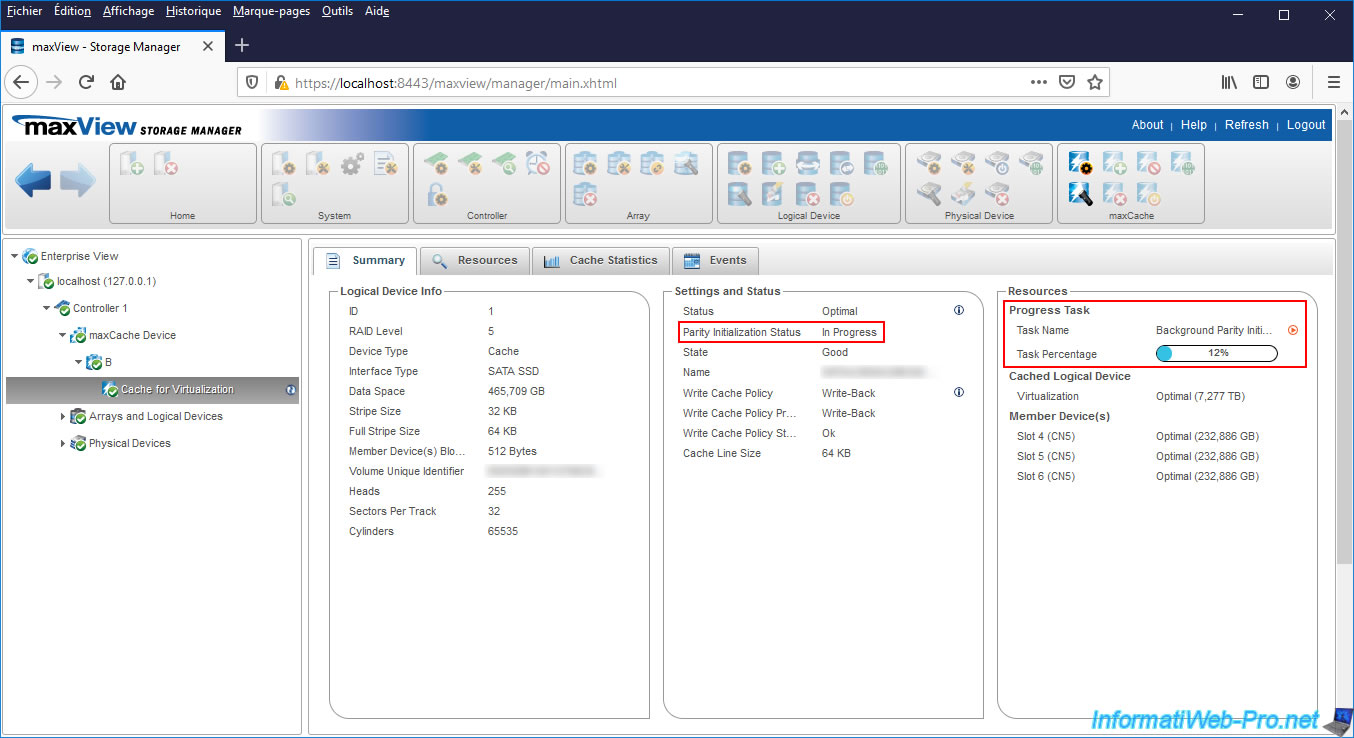
Then, refresh the maxView page and you will see that the parity initialization will start (Parity Initialization Status : In Progress).
Once parity initialization is complete, the status will be : Completed.
Now, you can enjoy the best possible performance with this logical cache drive (maxCache).
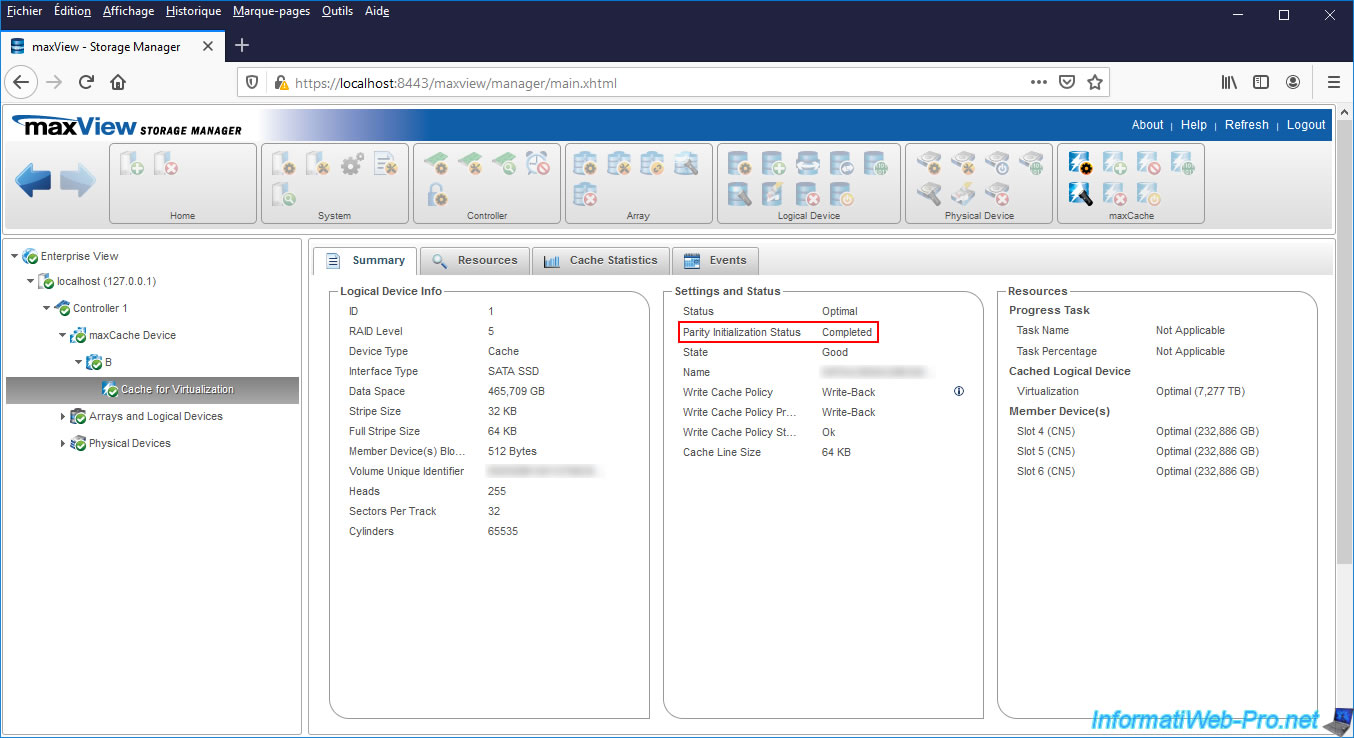
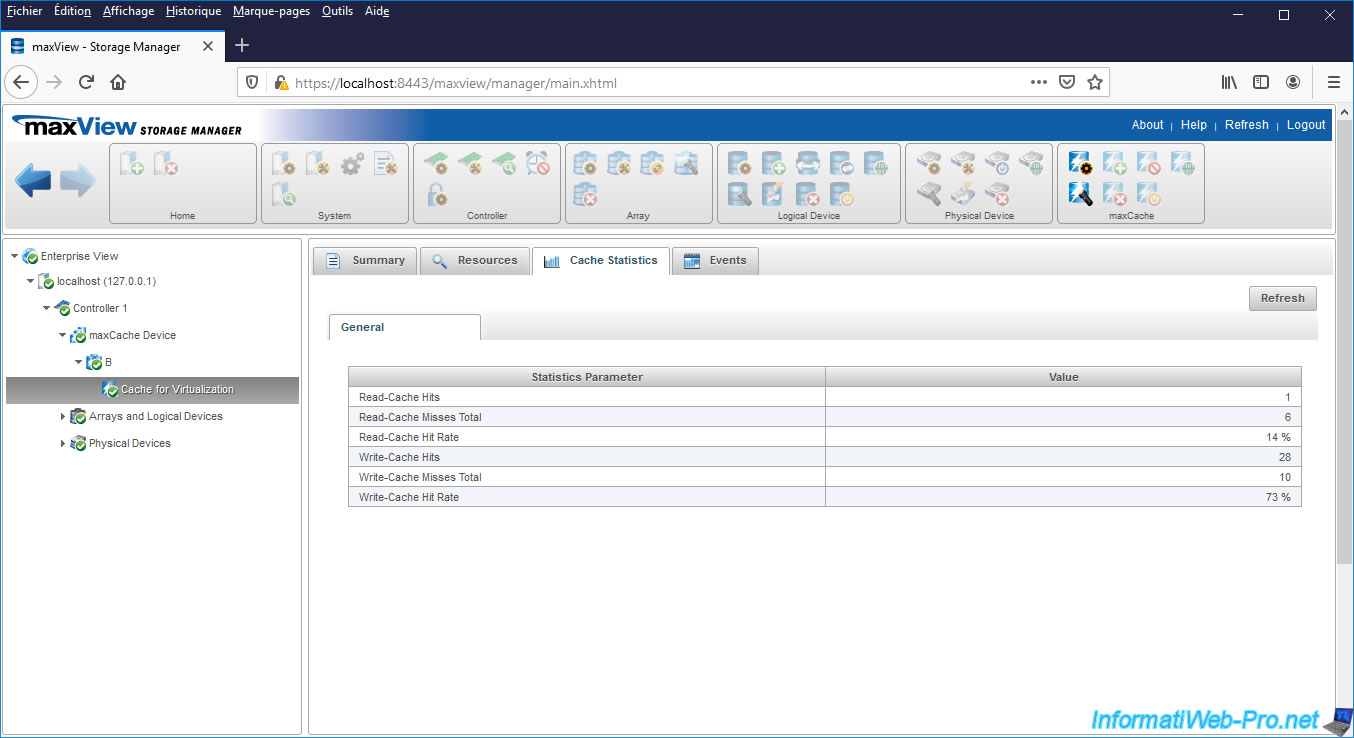
For information, by selecting your logical cache drive, then going to the "Cache Statistics" tab, you will be able to get some statistics about the reads and writes performed on this logical cache drive.
8. Delete a logical cache drive (maxCache)
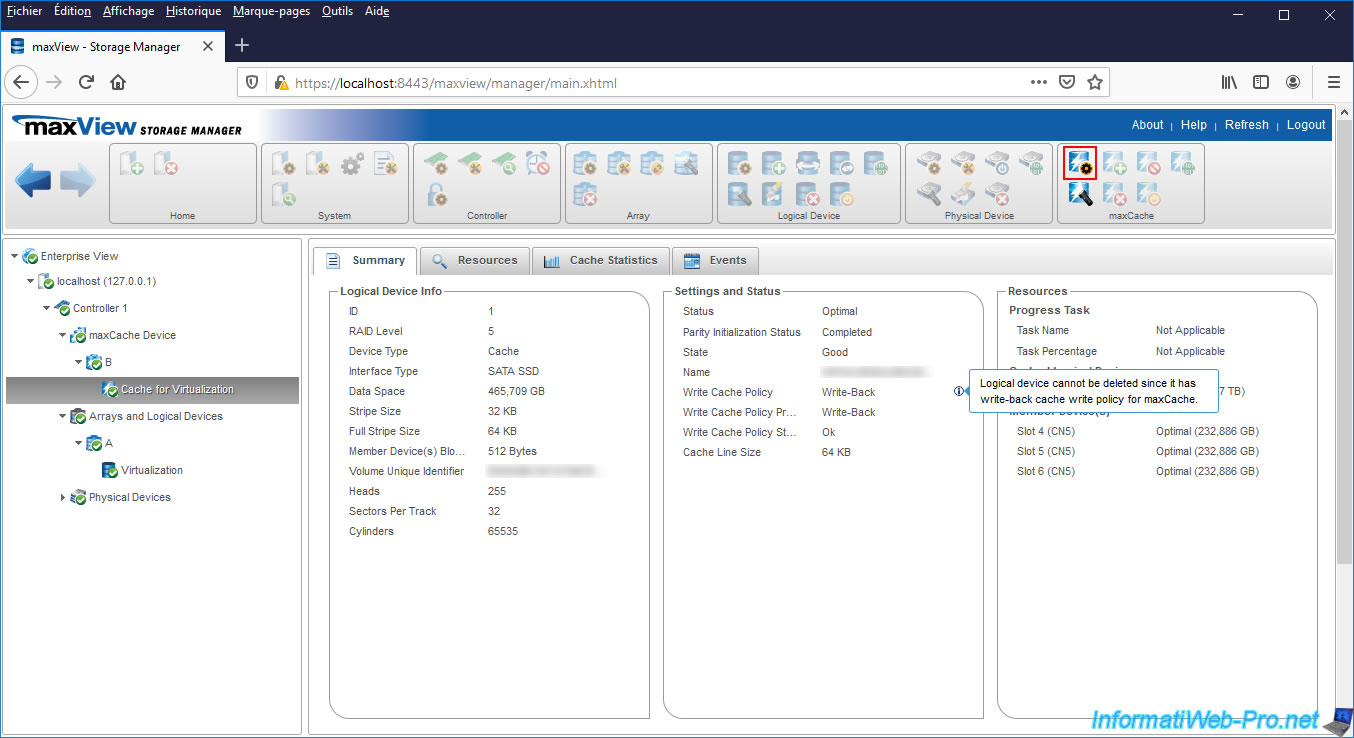
To delete a logical cache disk (maxCache), the write policy used must be "Write-Through".
Otherwise, by hovering over the "i" icon next to "Write Cache Policy - Write Back", maxView will tell you that this logical drive can't be deleted, because its write caching policy for maxCache is set on "Write-Back".
To solve the problem, click on the 1st icon in the "maxCache" block at the top of the page.
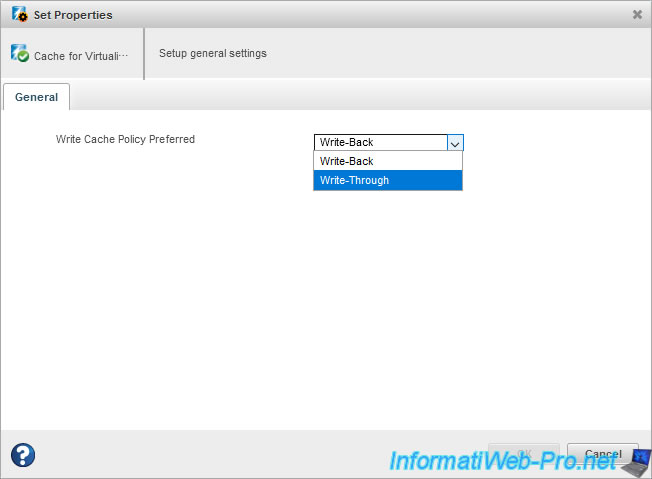
Select "Write-Through" from the list.
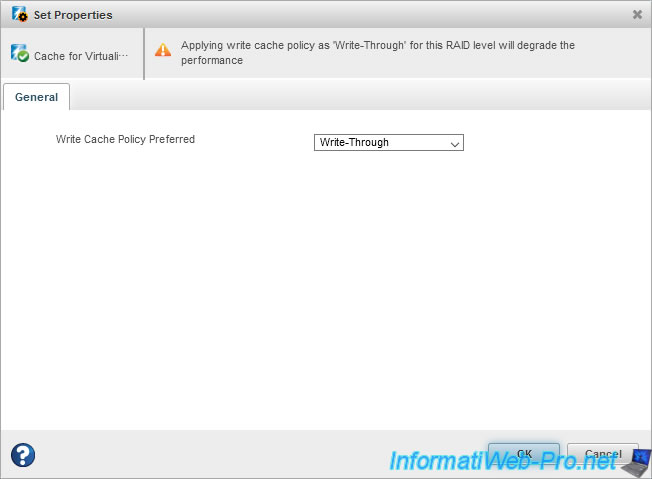
maxView tells you that the "Write-Through" write cache policy will degrade performance for this RAID level.
Ignore this warning and click OK.
The "Set properties operation successful" message appears.
Click on OK.

Wait while the "Working on it" message is displayed.

Then, you will see that the write cache policy has been changed and that you can now delete this logical cache drive if you wish.
Click on the icon with a white cross on a red background in the "maxCache" block.
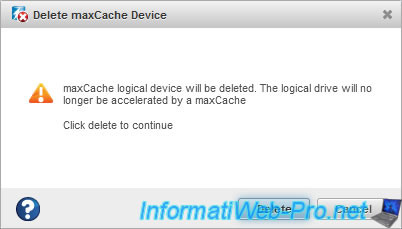
The "maxCache logical device will be deleted. The logical drive will no longer be accelerated by a maxCache" message will appear.
Click Delete to delete this logical cache drive.
The "Delete maxCache Device operation successful" message appears.
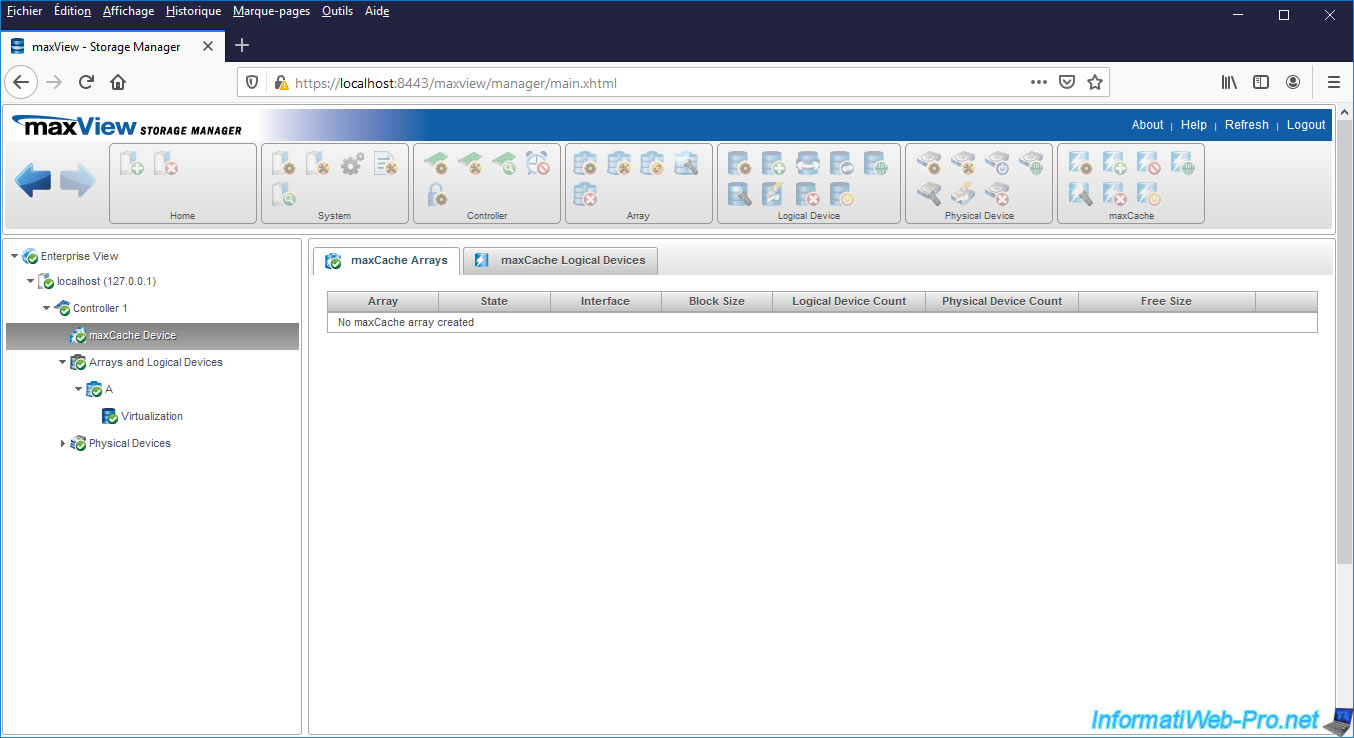
Note that deleting the single logical cache drive will also delete the maxCache array affected by it.
For the physical disks (in this case, our SSDs) concerned, you will see that they are now free (State : Ready).
Share this tutorial
To see also
-

RAID 4/20/2022
Adaptec maxView Storage Manager v3 - Create a RAID volume
-

RAID 4/8/2022
Adaptec maxView Storage Manager v3 - Download and boot on USB version
-

RAID 4/13/2022
Adaptec maxView Storage Manager v3 - Installation on Linux
-

RAID 4/15/2022
Adaptec maxView Storage Manager v3 - Manage an Adaptec SmartRAID controller on VMware ESXi 6.7
No comment