Configure your Adaptec RAID 6405 controller via the BIOS of an Asus ROG motherboard in UEFI mode
- RAID
- 26 March 2025 at 14:12 UTC
-

- 3/3

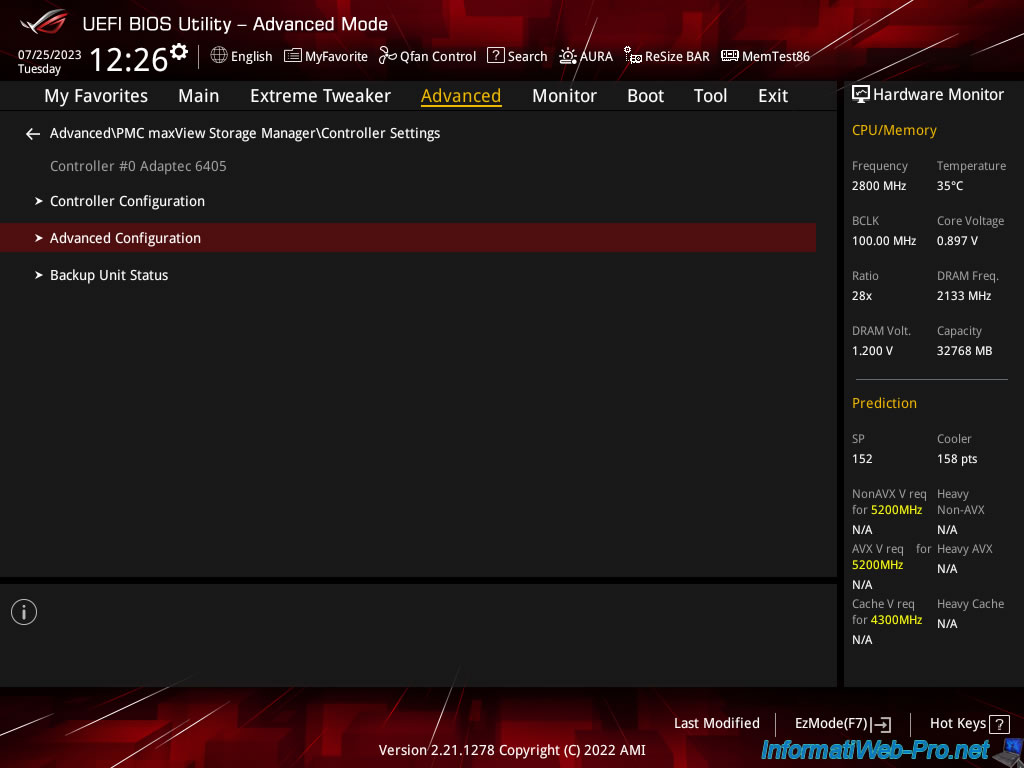
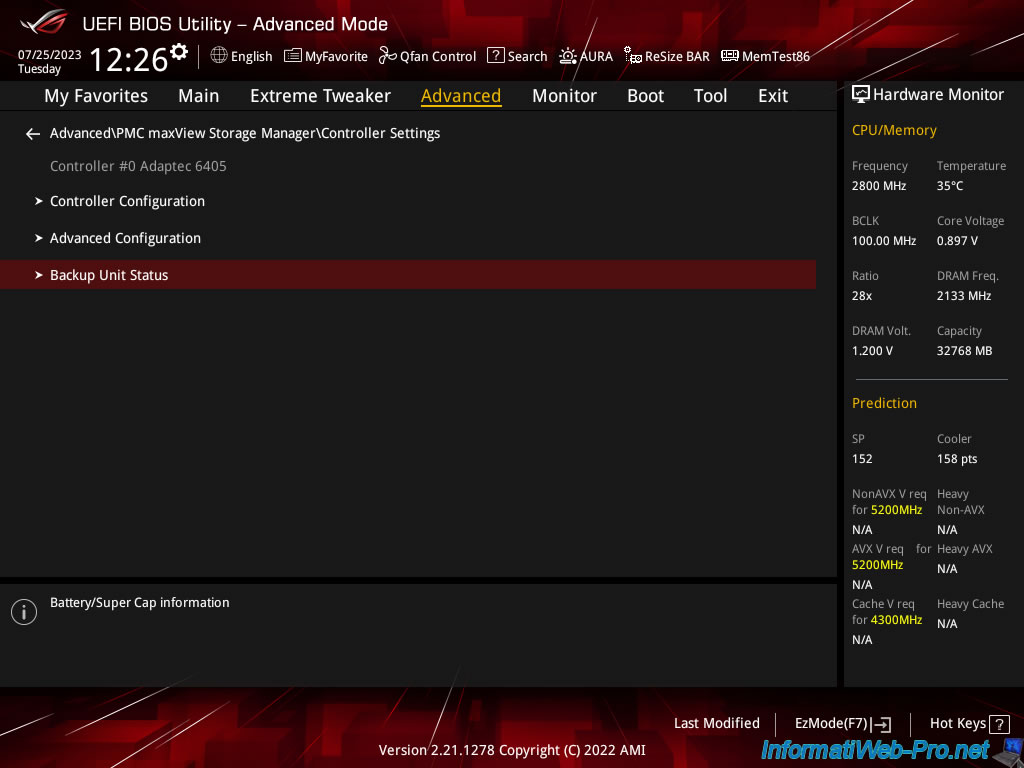
2. Controller Settings (Adaptec RAID controller settings)
In the "Controller Settings" section (or "SerialSelect Utility" in "ACU"), you will be able to manage the configuration and advanced settings of your Adaptec RAID controller, as well as obtain information regarding the battery (ZMM) connected to it (if applicable).
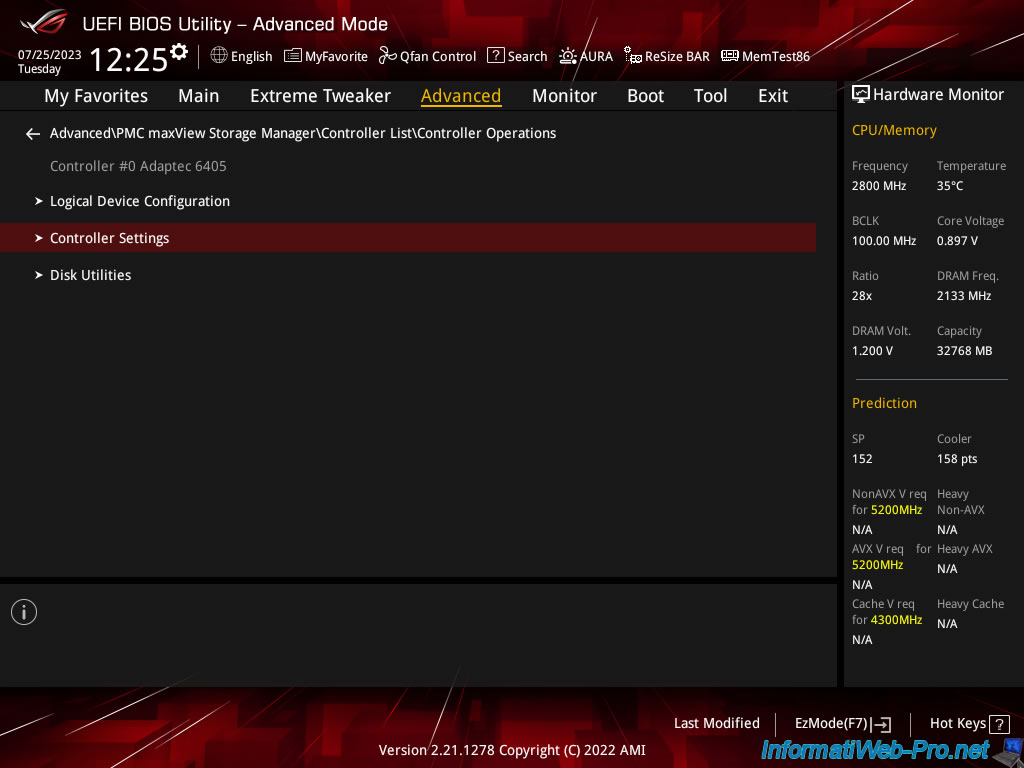
In the "Controller Settings" section, you will find the sections:
- Controller Configuration: to manage most of your controller settings (disk write cache, enable booting on a RAID logical disk, ...).
- Advanced Configuration: allows you to set the time zone, as well as the inactivity period and the disk rotation limit (if desired).
- Backup Unit Status: allows you to know the status of your battery (ZMM / AFM) connected to your Adaptec RAID controller (if applicable).

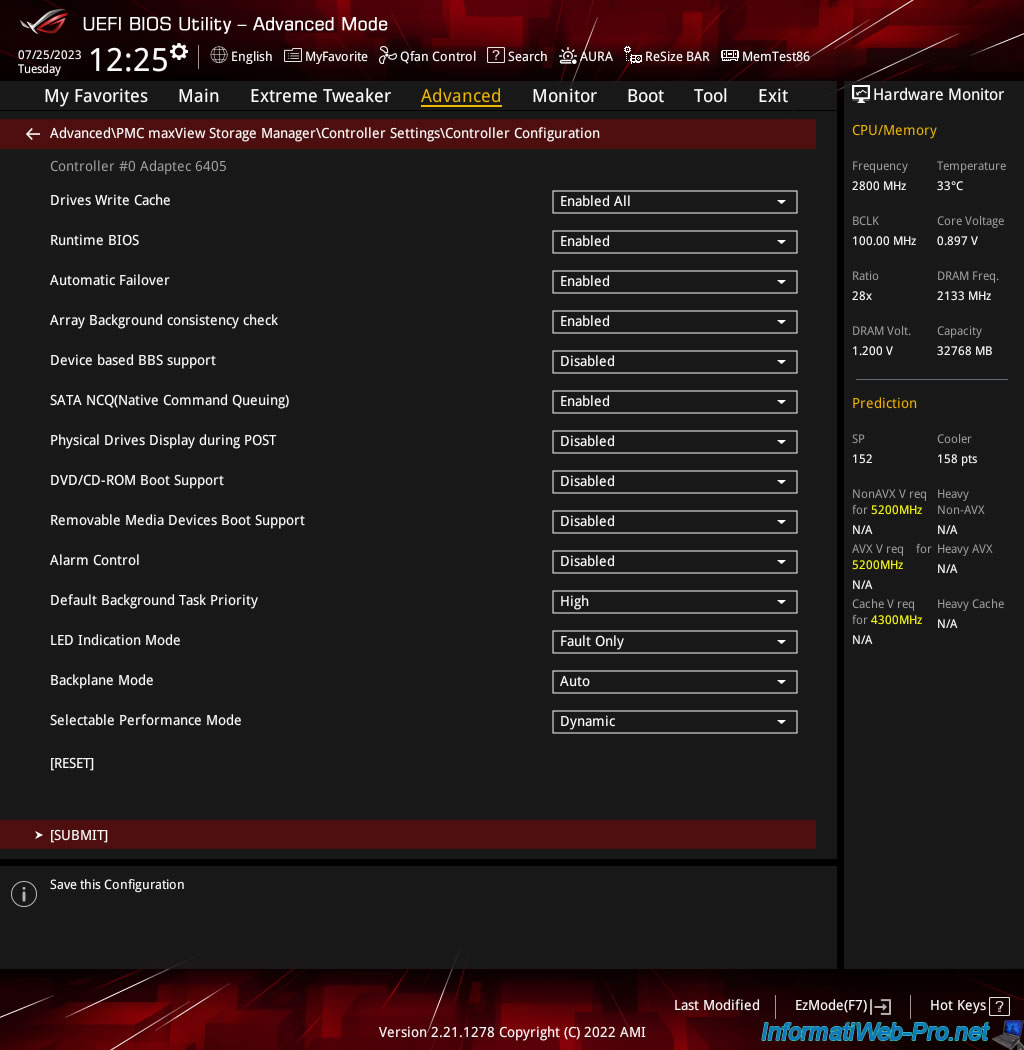
2.1. Controller Configuration
In the "Controller Configuration" section, you will find these settings:
- Drives Write Cache: allows you to enable write cache on all disks (Enabled All), on no disk (Disabled All) or enable/disable write cache per disk (Drive Specific). In the latter case, this is managed via Adaptec Storage Manager.
- BIOS Runtime: when this setting is Enabled, your computer will be able to boot to a RAID logical drive. Which is handy if you want to install the operating system on it.
- Automatic Failover: when this setting is enabled, the failed physical disk will be rebuilt automatically when it is replaced.
- Array Background consistency check: enables constant checking of a RAID array.
While this helps ensure data reliability (to prevent data corruption), it also reduces performance. - Device based BBS support: allows you to display bootable RAID logical drives in the BIOS / UEFI firmware boot options of your motherboard.
- SATA NCQ (Native Command Queuning): allows you to activate the NCQ functionality allowing SATA hard drives to optimize the management of read and write commands.
You should only disable this feature if you want to connect more than 48 SATA II drives. - Physical Drives Display during POST: allows you to display the list of physical drives connected to your Adaptec RAID controller when the computer starts up (during POST).
- DVD/CD-ROM Boot Support: allows the system to boot from a bootable CD.
- Removable Media Devices Boot Support: supports the use of removable disks (CD players are supported).
- Alarm Control: allows you to activate or not the audible alarm of the Adaptec RAID controller.
- Default Background Task Priority: allows you to select the priority that will be selected by default for background tasks (such as creating a RAID logical drive, for example).
- LED Indication Mode: allows the disk LEDs to flash only in the event of faults (Fault Only) or according to its input/output activity and in the event of faults (Activity and Fault).
- Backplane Mode: if you select "Auto" (default), your Adaptec RAID controller will automatically detect the type of signal (I2C or SGPIO) used.
Alternatively, you can explicitly specify the type of signal to use. - Selectable Performance Mode: by default, the value is "Dynamic". Which indicates that the Adaptec RAID controller adapts its performance automatically according to its use, the RAID level used, as well as according to the type of disk used.
Important : after modifying one of these settings, do not forget to click on "[SUBMIT]" at the bottom of the page to save the modifications.
Sources :
- Adaptec RAID Controller Installation and User’s Guide | Adaptec (page 87)
- 3. Serial Attached SCSI RAID Controllers Installation and User's Guide - General Controller Settings
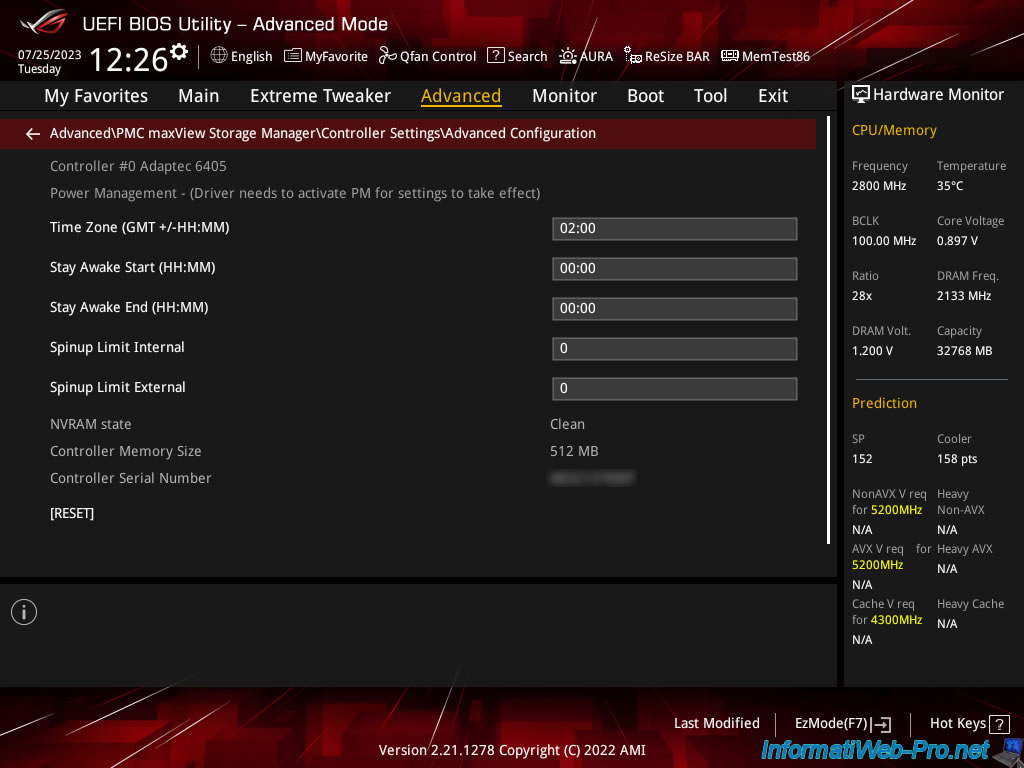
2.2. Advanced Configuration
In the "Advanced Configuration" section, you will be able to configure the power management of your Adaptec RAID controller.
In the "Advanced Configuration" section, you can configure:
- Time Zone (GMT +/-HH:MM): the GMT time zone to use.
- Stay Awake Start (HH:MM): the point at which the system should operate at full power.
- Stay Awake End (HH:MM): the time until which the system should operate at full power.
- Spinup Limit Internal: the number of internal disks to spin up at any given time.
- Spinup Limit External: same, but for external drives.
In this section, you will also find:
- NVRAM state: the state of the NVRAM of your Adaptec RAID controller.
- Controller Memory Size: the size of its dedicated memory (also used for read and write caches if enabled).
- Controller Serial Number: the serial number of your Adaptec RAID controller.
Useful for the warranty or if Adaptec support (purchased by Microsemi) asks you for it.
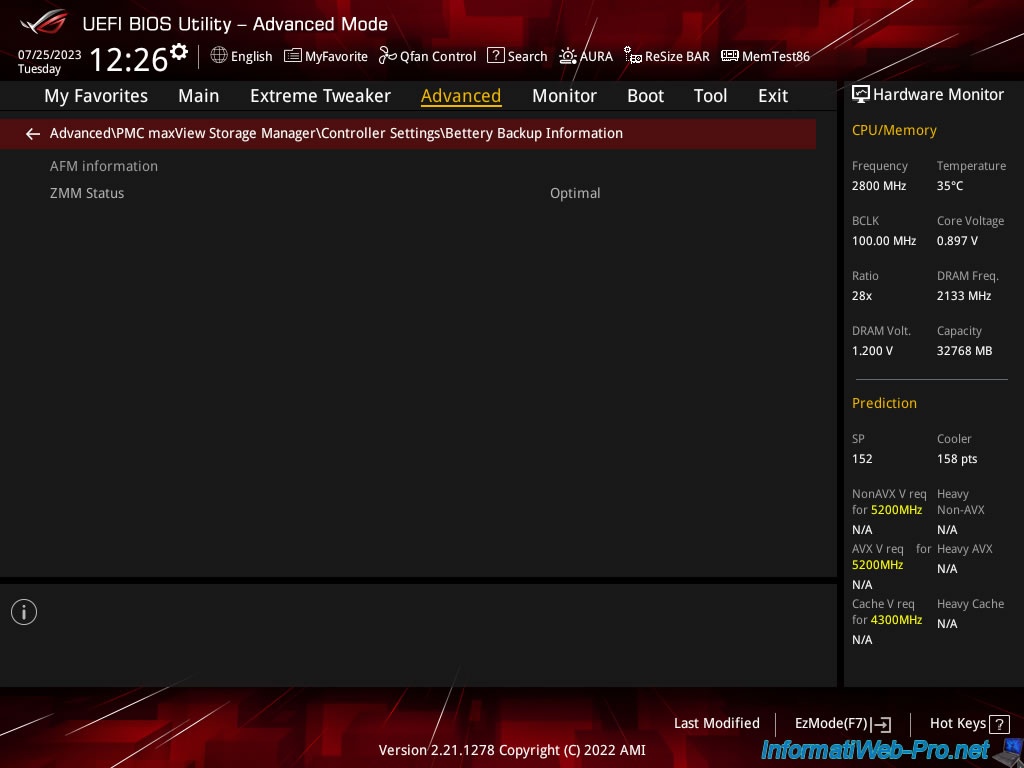
2.3. Backup Unit Status (battery status)
In the "Backup Unit Status" section, you will be able to see the status of the battery connected to your Adaptec RAID controller (if applicable).
In this "Battery Backup Information" section, you will find the status of your ZMM battery.
Once the battery is charged, the status (ZMM Status) is "Optimal".
In our case, we have a battery : Adaptec Flash Module 600 (AFM-600 / ZMM).
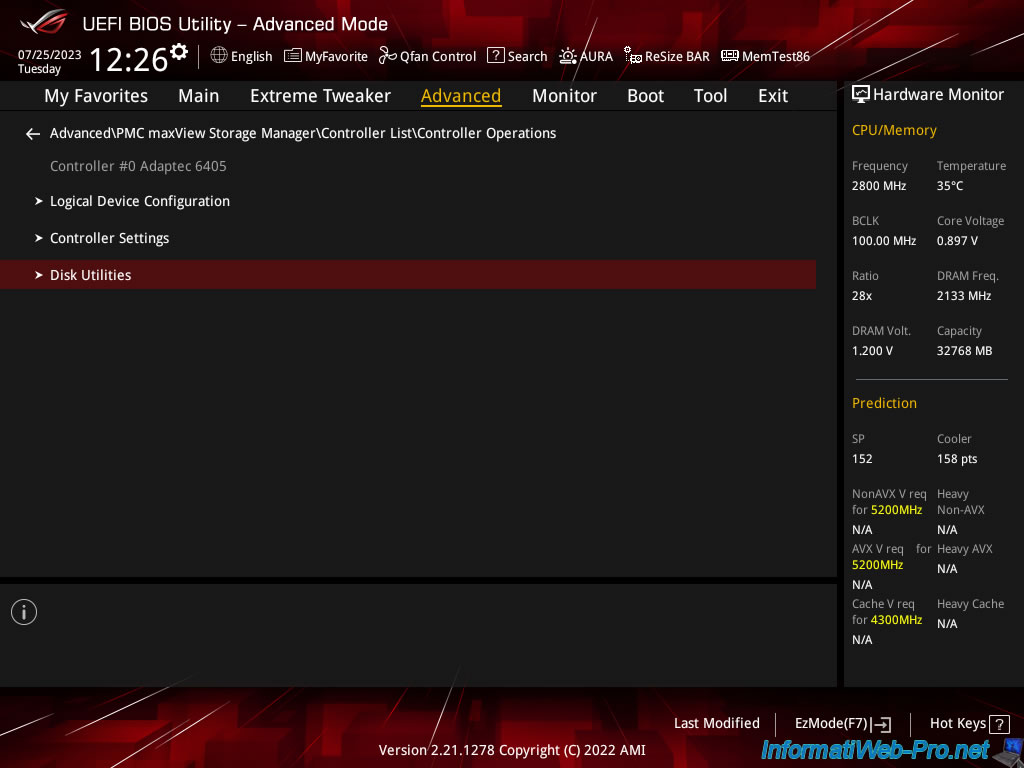
3. Disk Utilities (physical disk tools)
In the "Disk Utilities" section, you will be able to manage the physical disks connected to your Adaptec RAID controller.
To begin, you will find the list of physical disks connected (by connector (CNx) of your Adaptec RAID controller).
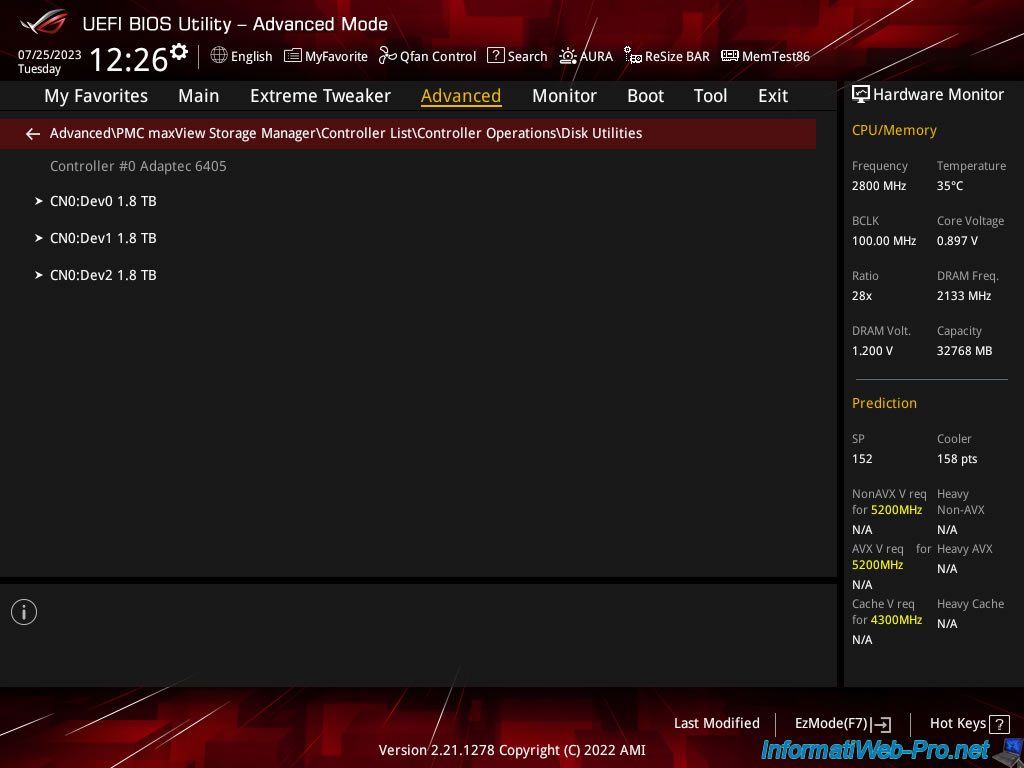
For each physical disk, you will see its brand, model and capacity.
You will also be able to:
- Format Disk: format the selected physical disk.
Note that this is a low-level format and is not necessary for disks that come from the factory since it has already been done there. - Verify Disk Media: allows you to detect bad sectors on a physical disk for reassignment.
This way, bad sectors will no longer be used. - Identify Drive: allows you to locate a physical disk by flashing its LED.
Source : Adaptec SCSI Card 39160 User’s Reference - Adaptec (page 30).

Share this tutorial
To see also
-
RAID 11/16/2015
Adaptec maxView Storage Manager v1 - Presentation
-
RAID 3/21/2025
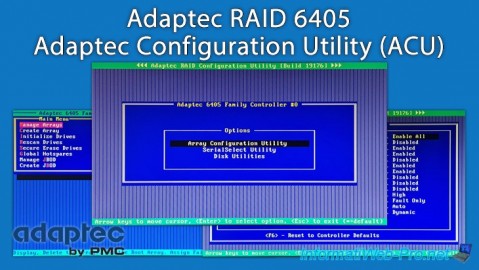
Adaptec RAID 6405 - Adaptec Configuration Utility (ACU)
-
RAID 1/14/2022
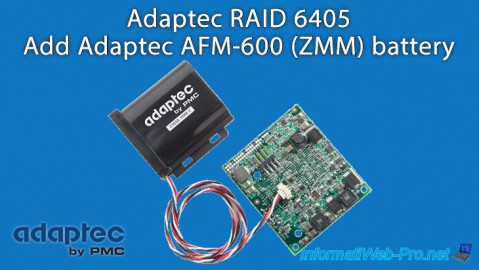
Adaptec RAID 6405 - Add Adaptec AFM-600 (ZMM) battery
-
RAID 3/28/2025
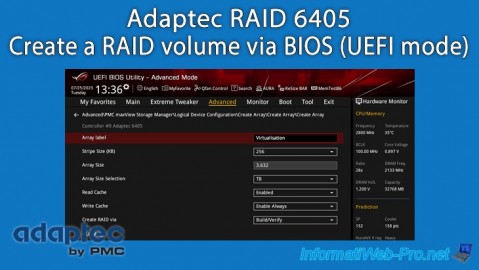
Adaptec RAID 6405 - Create a RAID volume via BIOS (UEFI mode)
No comment