Create a gaming virtual machine (without ACS support and with PCIe ACS overrides patch) on Unraid 6.9.2
- NAS
- Unraid
- 09 September 2026 at 14:08 UTC
-

- 3/4

9. Install Windows 10 in your virtual machine
To install Windows 10 in your gaming virtual machine, refer to step "8. Install Windows 10 in your virtual machine" of our tutorial on creating a gaming VM.
Note: if you only see white and yellow text lines on your screen, you are in the UEFI boot of your gaming VM.
To restart it and boot to the Windows 10 installation DVD, press "CTRL+ALT+DEL" on the keyboard connected to your gaming VM.
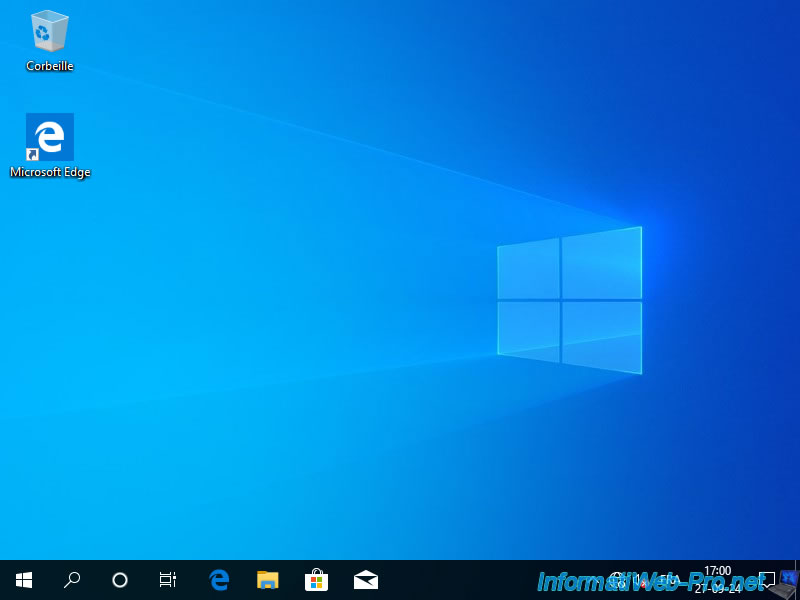
10. Install your virtual machine drivers in Windows 10
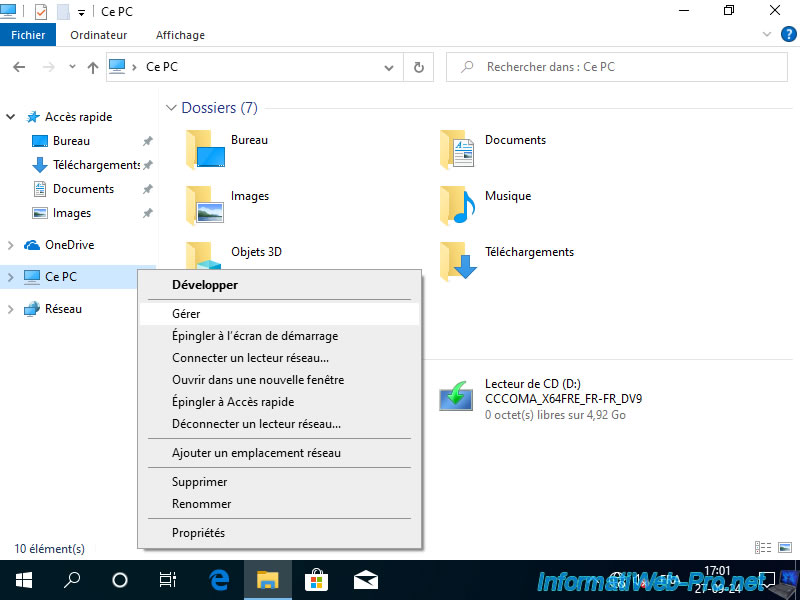
To install the drivers for your gaming virtual machine on Windows 10, please refer to step "9. Installing the drivers for your virtual machine on Windows 10" in the tutorial mentioned above.
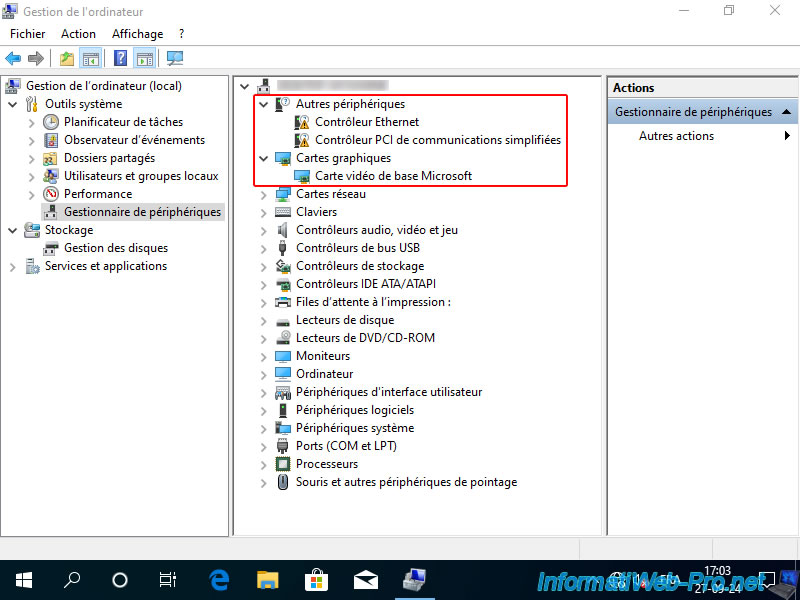
By default, you can see that the driver is missing for two devices.
For the graphics card, Windows 10 has installed a basic driver (Microsoft Basic Video Display Adapter) which simply allows basic display functionality (with a very low resolution of 800x600).
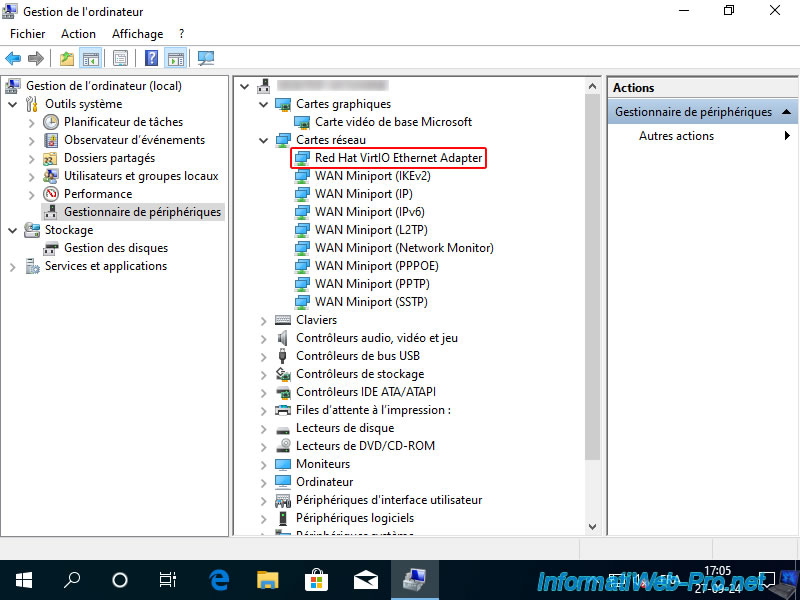
Once the VirtIO drivers are installed, you will see this.
A little later, thanks to your internet connection, Windows 10 will automatically download and install an older NVIDIA driver.
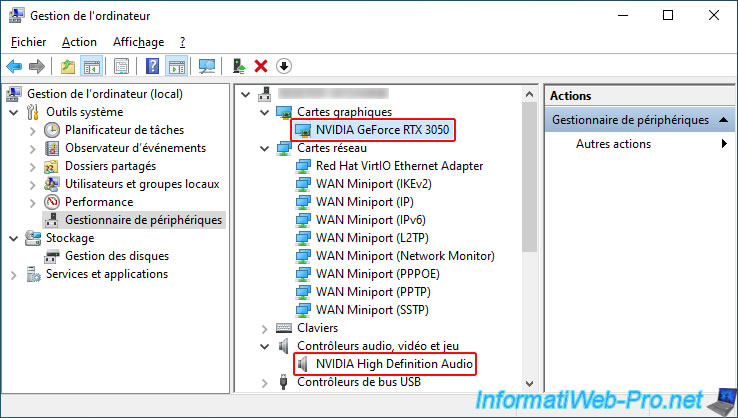
This will allow the Windows 10 Device Manager to display the model of your graphics card (in our case, "NVIDIA GeForce RTX 3050"), as well as the corresponding audio controller (NVIDIA High Definition Audio).
11. Partition the second virtual hard disk of your virtual machine
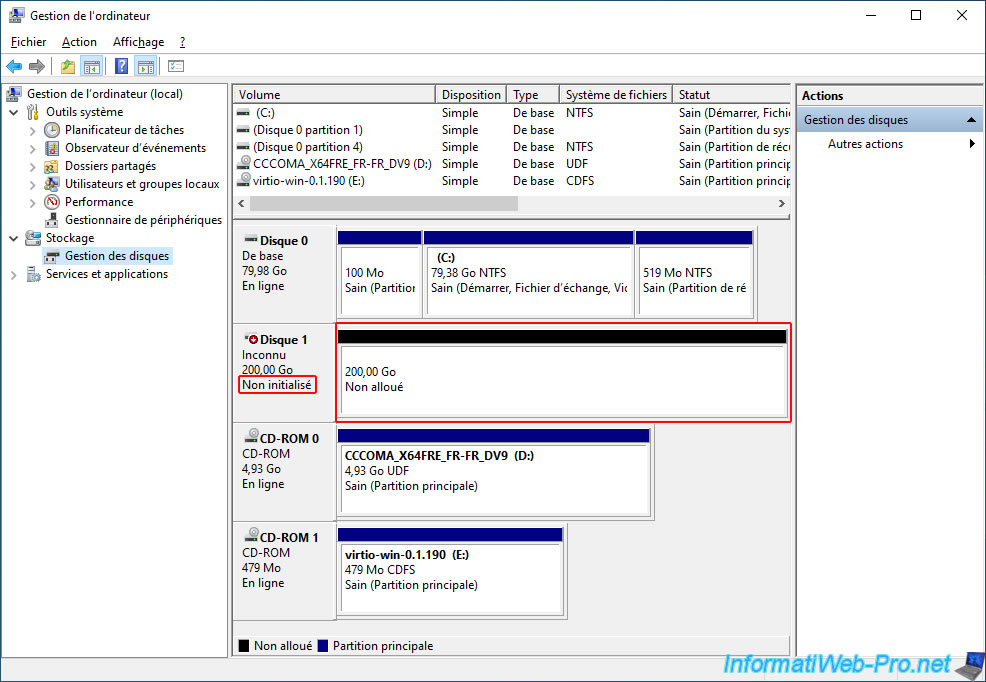
Currently, the second virtual hard drive (200 GB in size) does not appear in File Explorer because it is not initialized or partitioned.
To partition it, please refer to step "10. Partition the second virtual hard drive of your virtual machine" in the tutorial mentioned above.
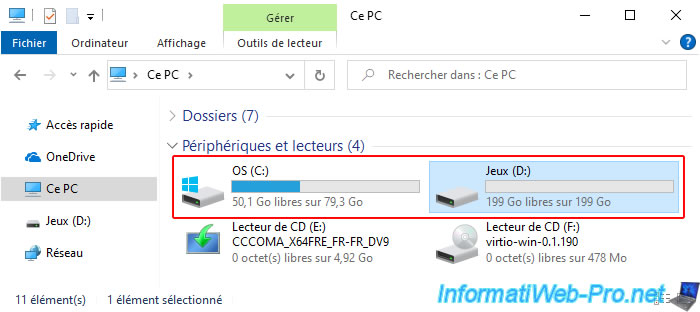
Once it has been initialized and partitioned, it will appear in File Explorer.
You will also have renamed the "C" drive to "OS" (to make it easier for you to identify).
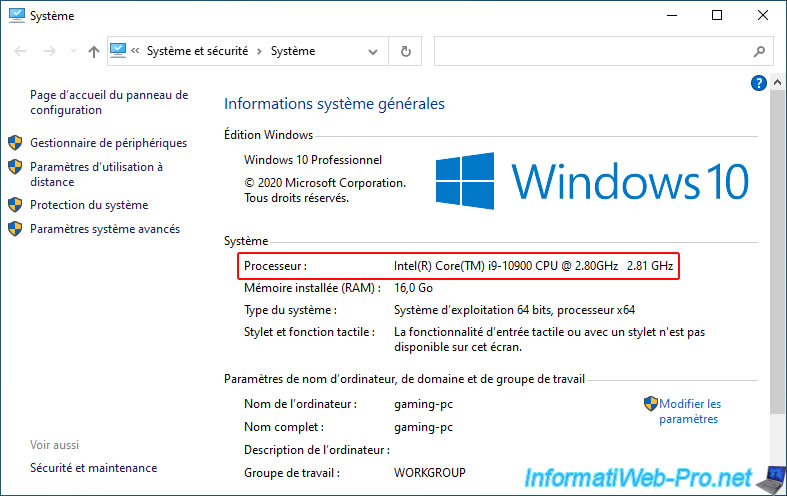
If you view the system properties, you will see that your virtual machine is directly using your physical processor (or more precisely, only the cores of your physical processor that you assigned to your VM).
12. Download and install the latest driver available for your Nvidia graphics card
To update your graphics card driver to a newer version, go to the "Drivers" section of the NVIDIA website.
By default, Windows 10 downloads and installs a very old driver from Microsoft's servers. However, it is recommended to install the latest driver provided by NVIDIA to get the best performance, especially for playing the latest games.
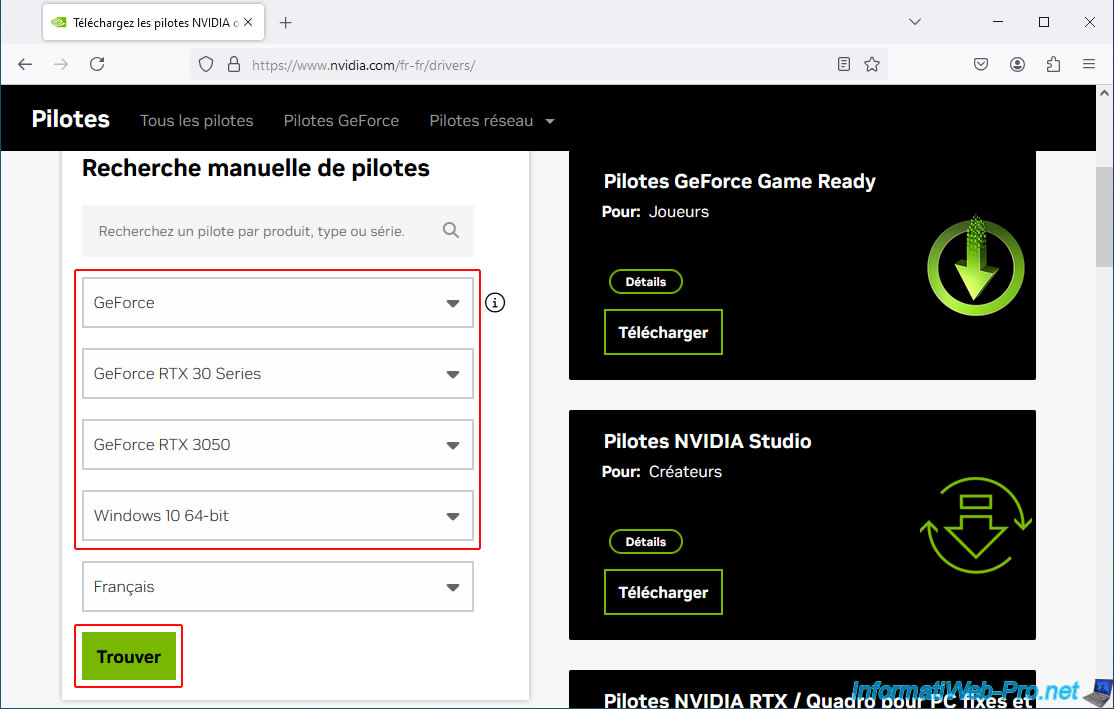
In our case, since we are using an "NVIDIA GeForce RTX 3050" graphics card in our virtual machine, we select:
- product category: GeForce.
- product series: GeForce RTX 30 Series.
- product: GeForce RTX 3050.
- operating system: Windows 10 64-bit.
- the language is already selected by default (based on your web browser's language settings).
Click on "Find".
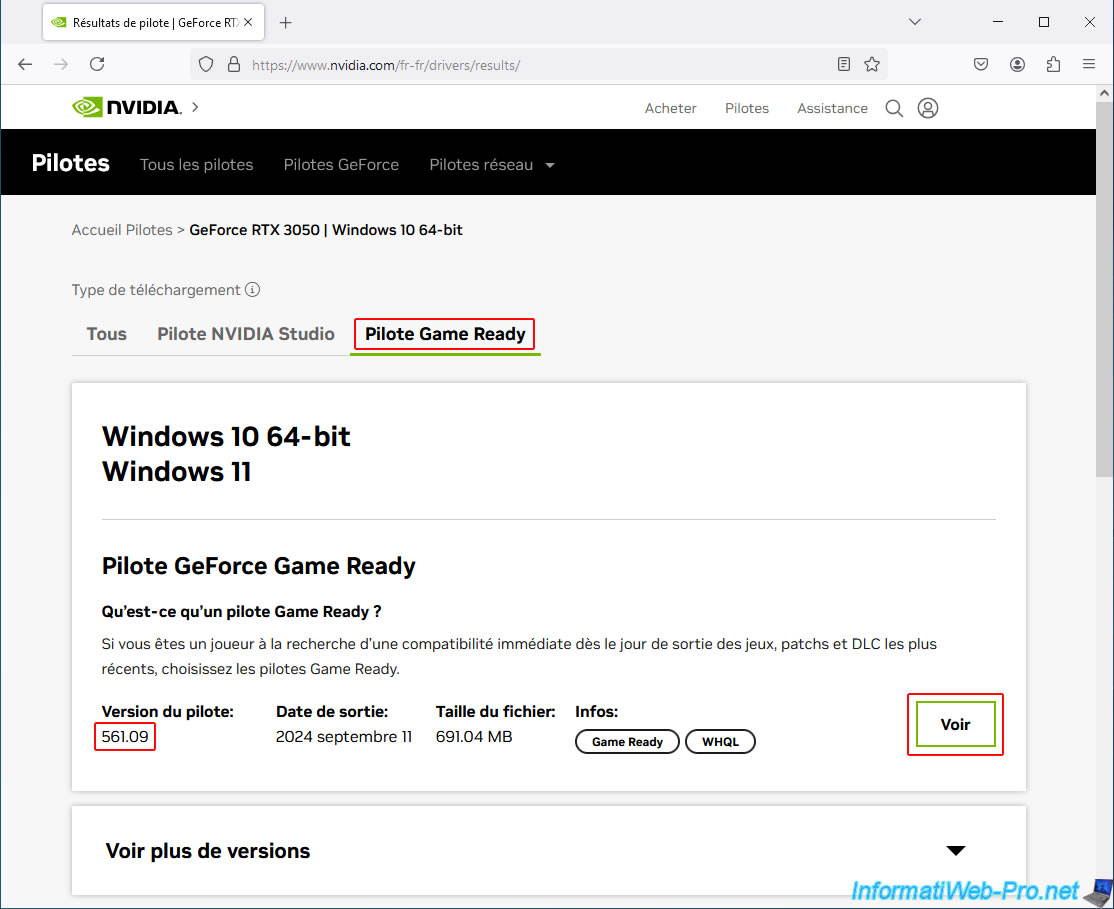
Go to the "Game Ready Driver" tab (this is recommended for gamers) and click the "View" button.
In our case, NVIDIA is offering version "561.09".
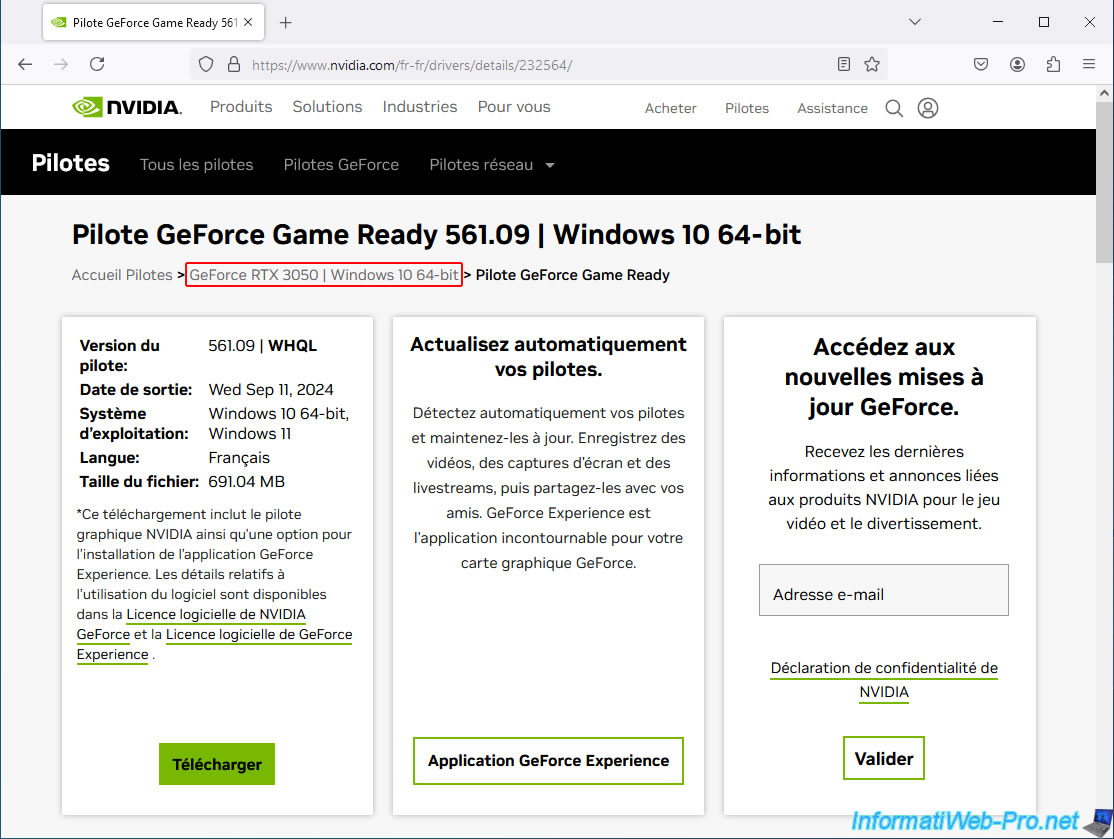
The page for the desired driver appears.
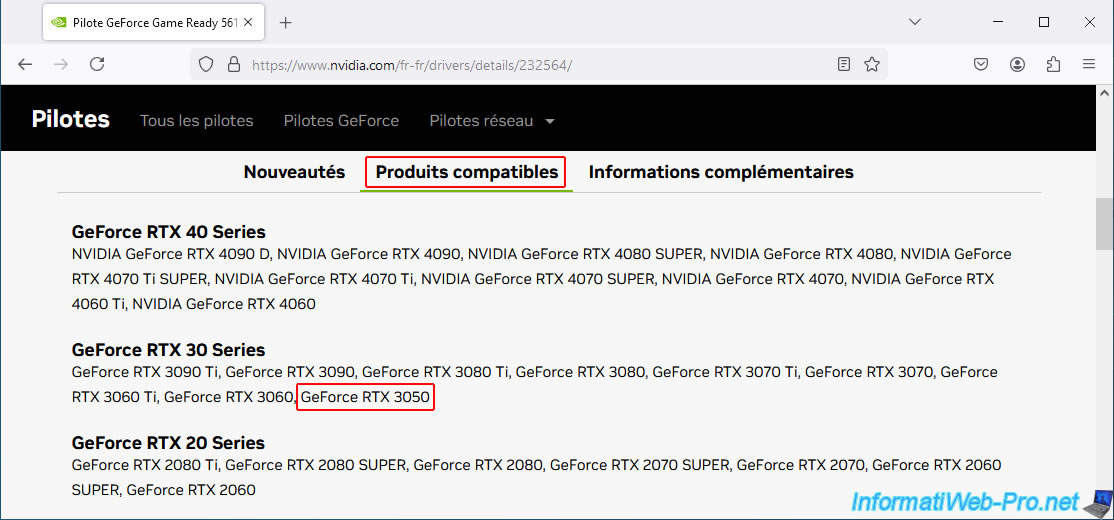
Below (on this same page), go to the "Compatible Products" tab and you will see your graphics card model listed there.
In our case: GeForce RTX 3050.
Click on "Download".
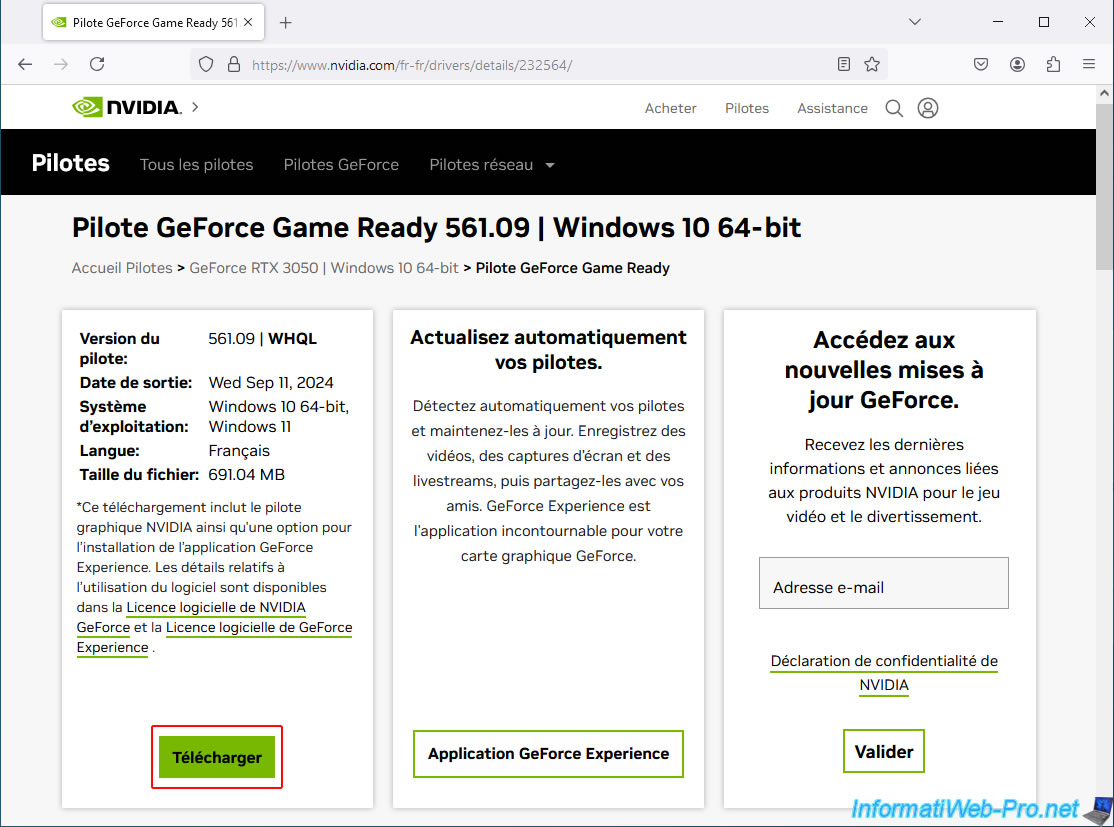
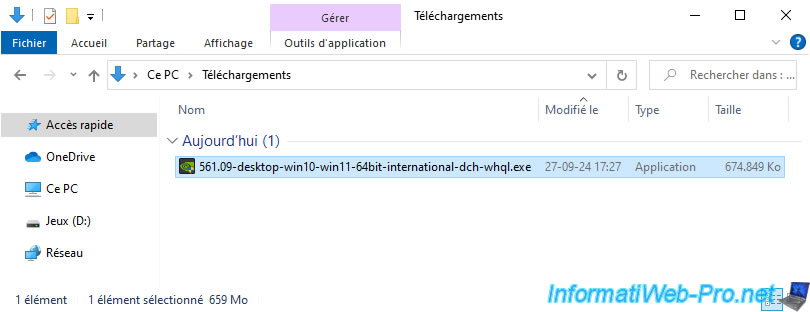
Launch the downloaded file.
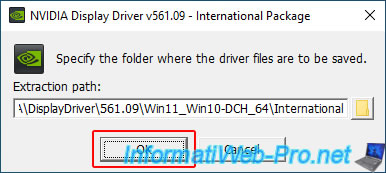
Click on "OK".
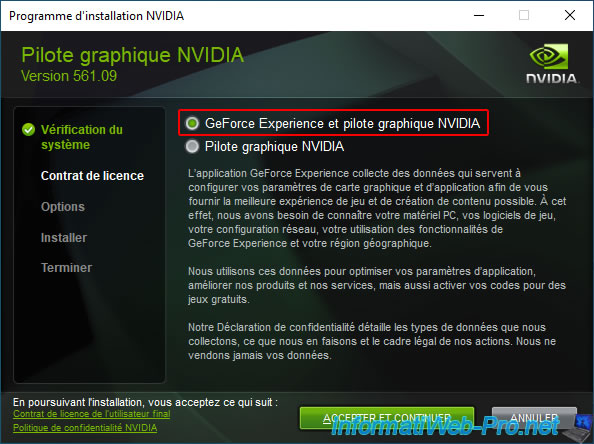
Leave the option "GeForce Experience and NVIDIA graphics driver" selected and click "Accept and continue".
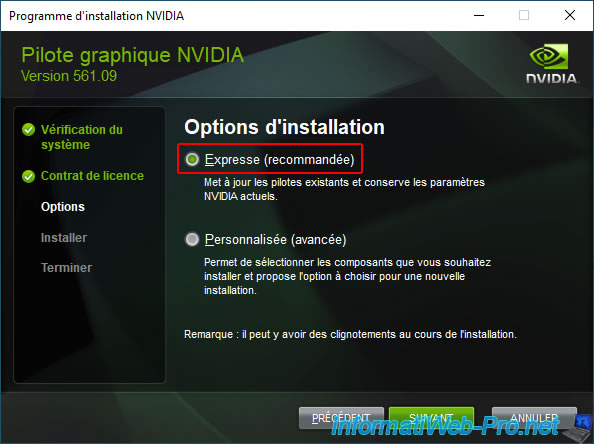
Select "Express (recommended)" and click Next.
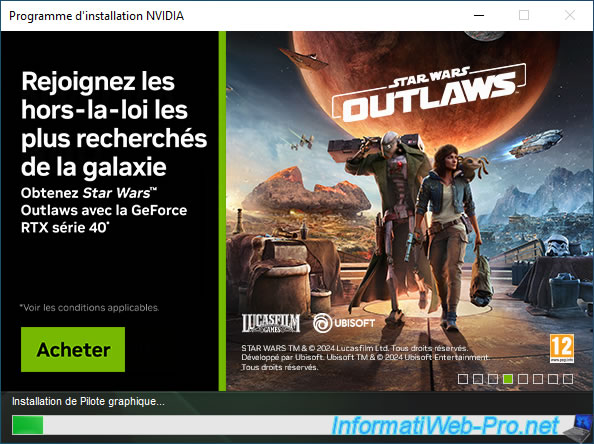
Please wait while the graphics driver and NVIDIA drivers are installed.
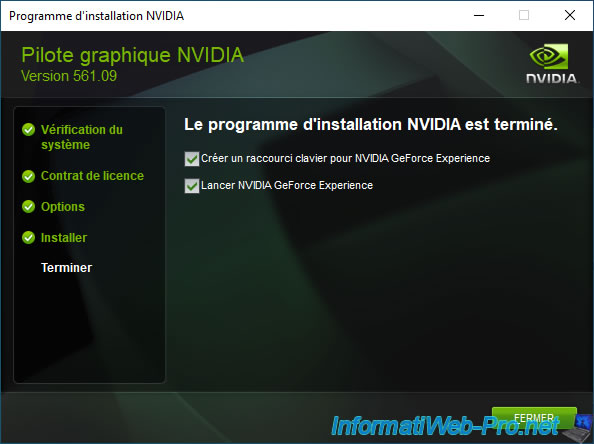
Click on Close.
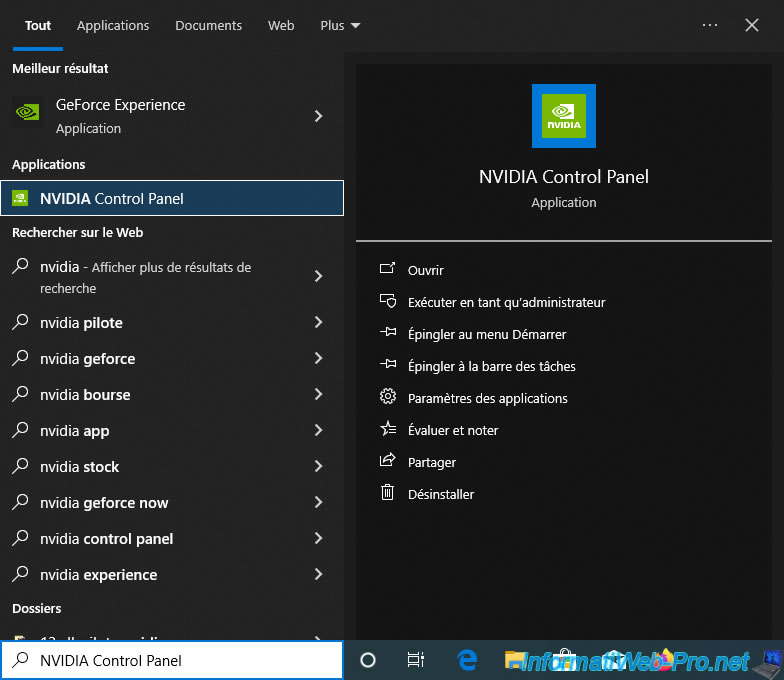
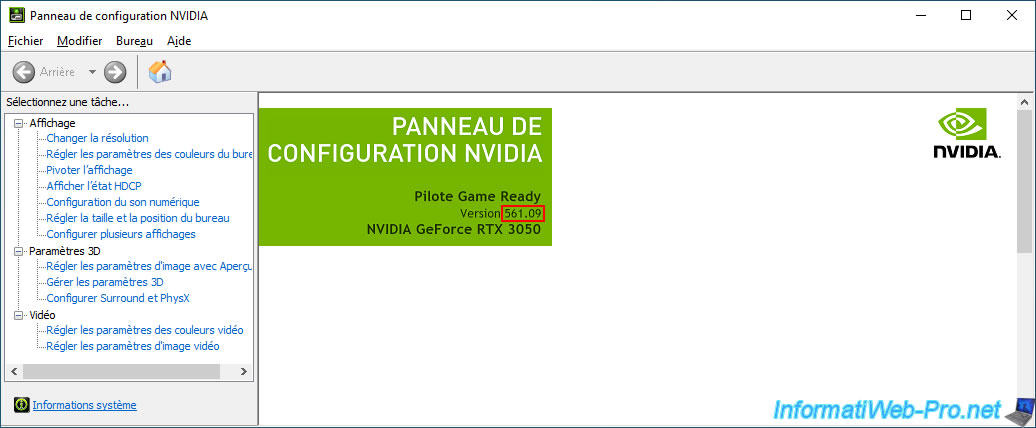
Type "nvidia" in the start menu and launch the NVIDIA Control Panel.
As expected, the installed version of the NVIDIA driver in our case is indeed version "561.09".
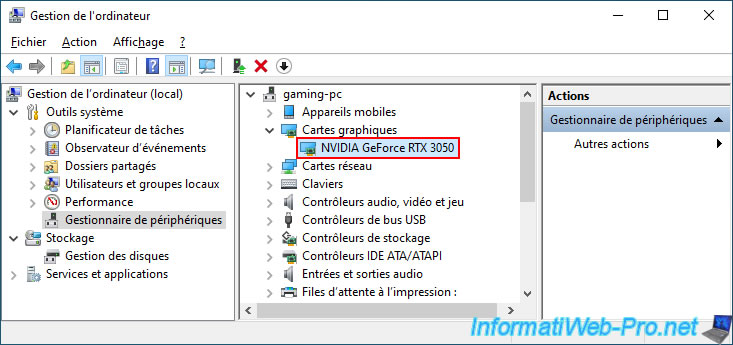
In device manager, double-click your graphics card.
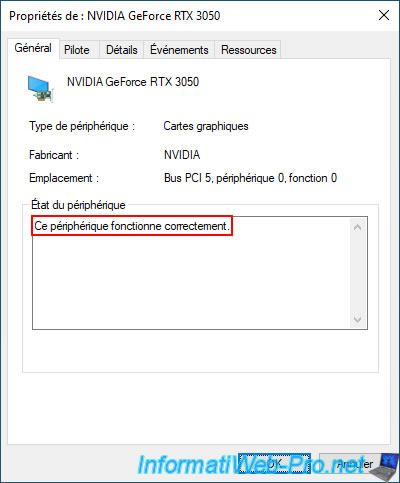
As you can see, the message "This device is working properly" appears.
Therefore, there is no error 43, as there might have been in the past (several years ago).
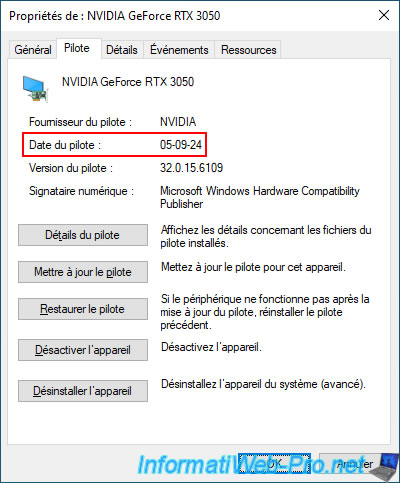
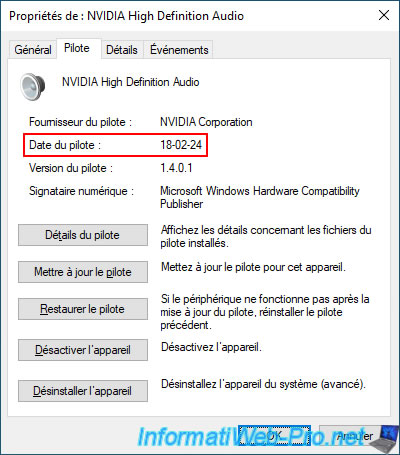
In the "Driver" tab, you will see that the installed driver is very recent (in our case: 2024).
For audio controllers, you will see an additional audio device appear.
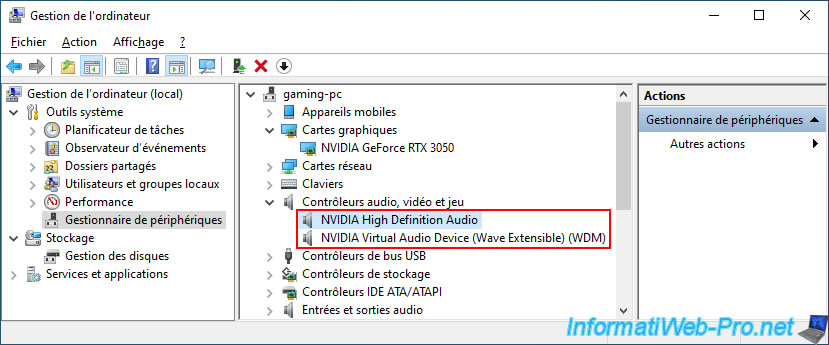
For the audio device (NVIDIA High Definition Audio).
Share this tutorial
To see also
-

NAS 1/15/2026
Unraid 6.9.2 - Change the parity disk
-
NAS 2/11/2026
Unraid 6.9.2 - Customize the web interface
-
NAS 3/4/2026
Unraid 6.9.2 - Install the "Community Applications" plugin (old version)
-
NAS 3/11/2026
Unraid 6.9.2 - Presentation of Dynamix plugins (sys info, ...)
No comment