Use a personal domain (OVH) with a dynamic WAN IP for SWAG on Unraid 6.9.2
- NAS
- Unraid
- 01 July 2026 at 13:16 UTC
-

- 3/3

8. Example of setting up your domain with swag and Jellyfin
For the example, we installed a Jellyfin media server on Unraid.
For this, you can follow our tutorial: Unraid 6.9.2 - Docker - Install a media server (Jellyfin).
Then, for the configuration of your domain, go to its DNS zone and add an entry.
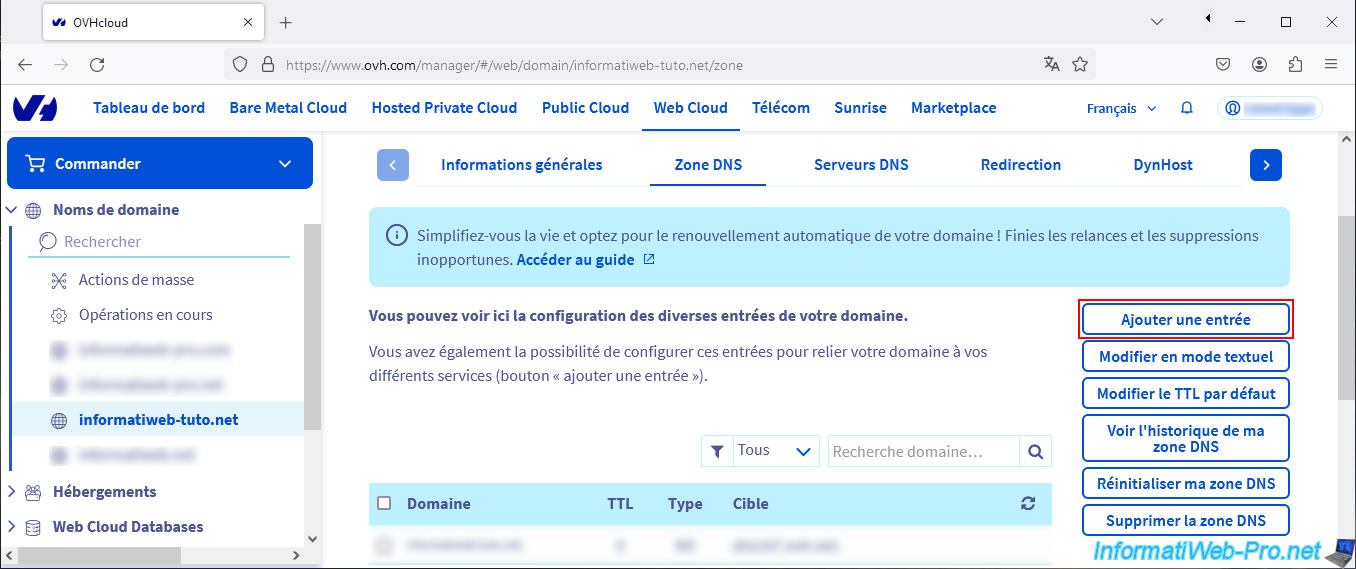
Choose the "CNAME" type.
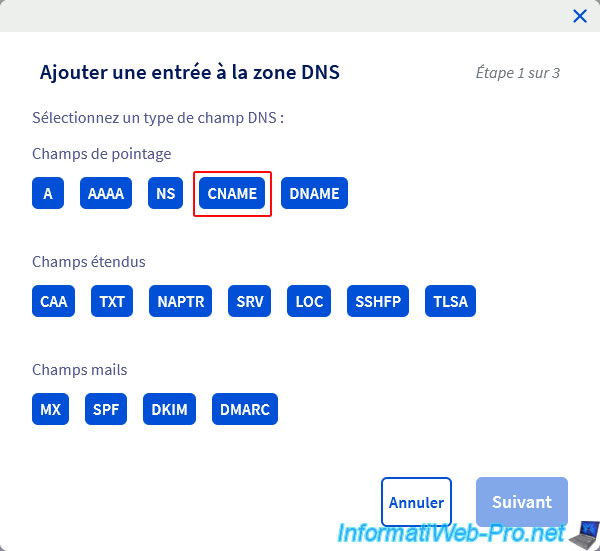
Fill in the fields like this:
- Subdomain: jellyfin.
- Target: www.[your domain]
Then, click: Next.

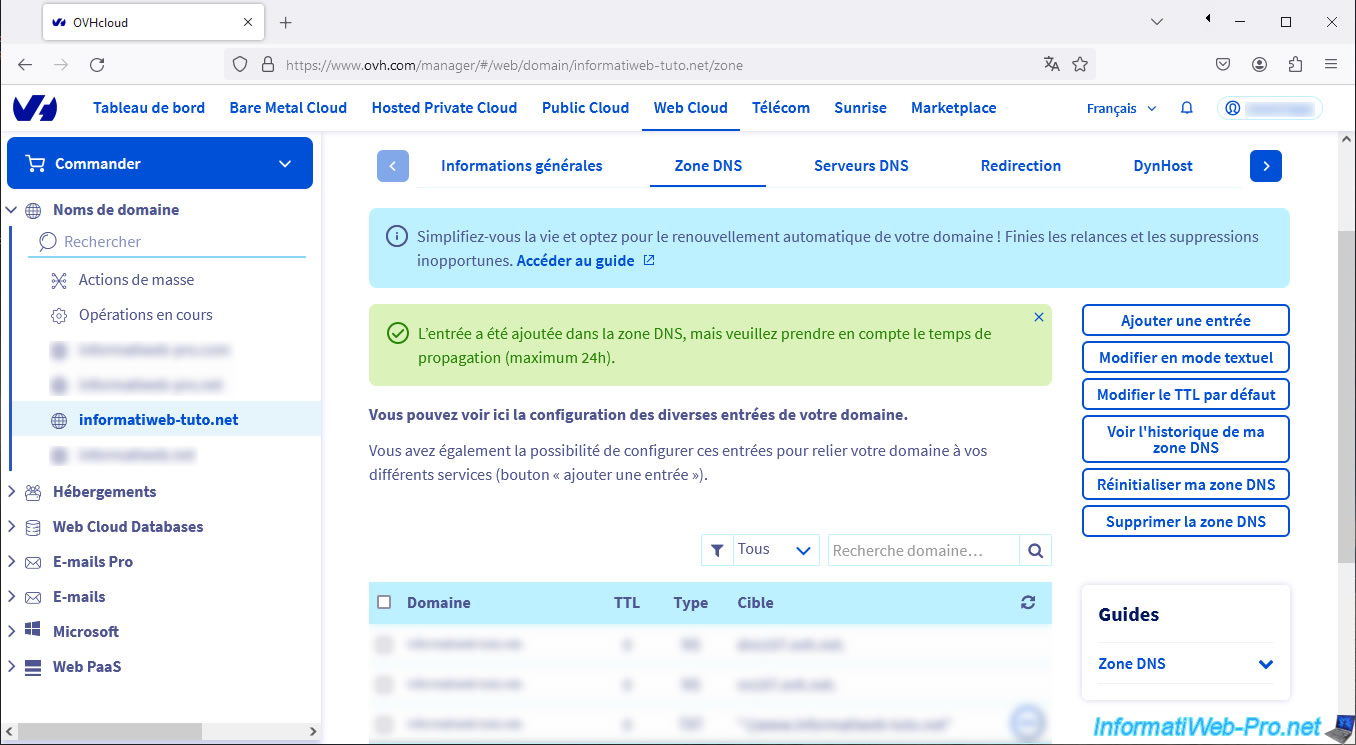
Confirm the addition of this entry by clicking on: Validate.

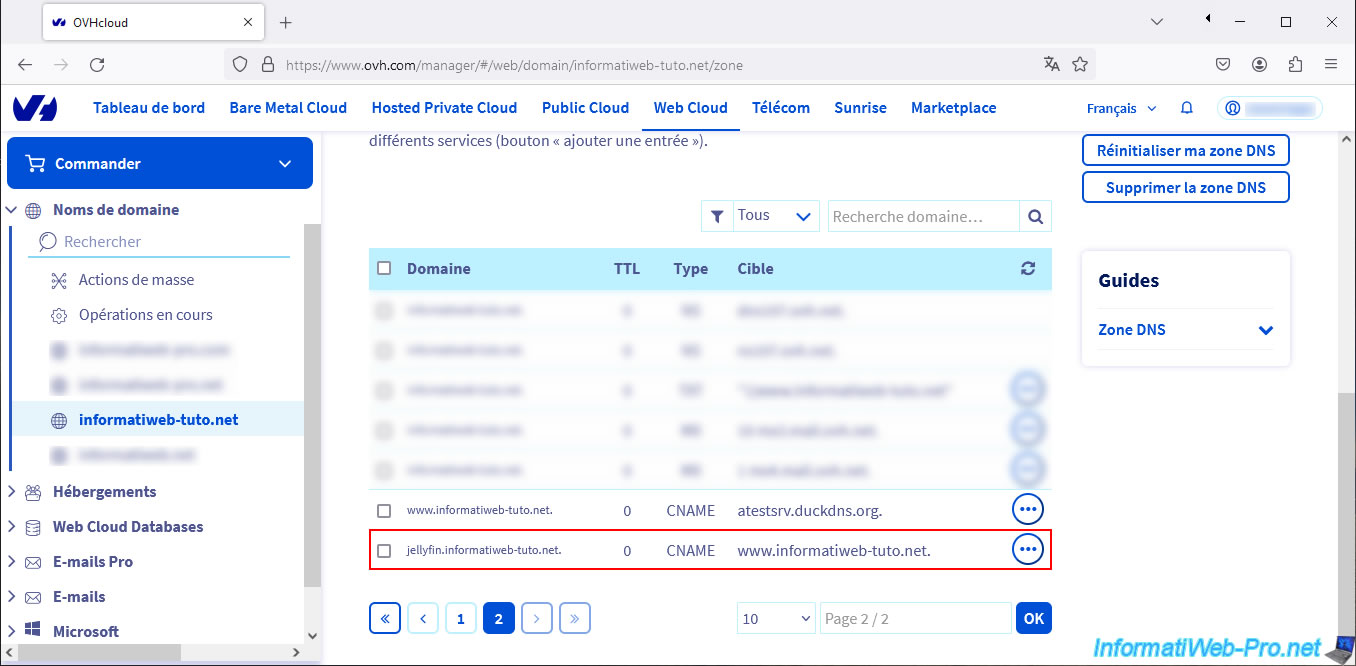
The entry has been added to your domain's DNS zone.
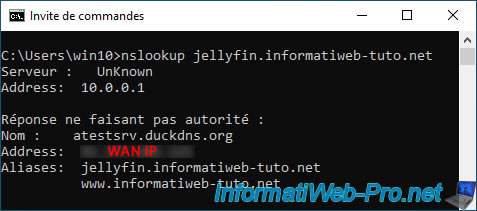
As expected, your new subdomain "jellyfin" is an alias of your subdomain "www".
Your subdomain "www" is an alias of your subdomain created at Duck DNS and still points to your current WAN IP address.
If you use the "nslookup" command in Windows from a command prompt (cmd.exe), you will see that the IP address returned matches your current WAN IP address.
9. Configuration for swag reverse proxy
For the configuration required for remote use via the swag reverse proxy, just follow our tutorial "Unraid 6.9.2 - SWAG - Access Jellyfin via reverse proxy and personal domain" (starting from step 2).
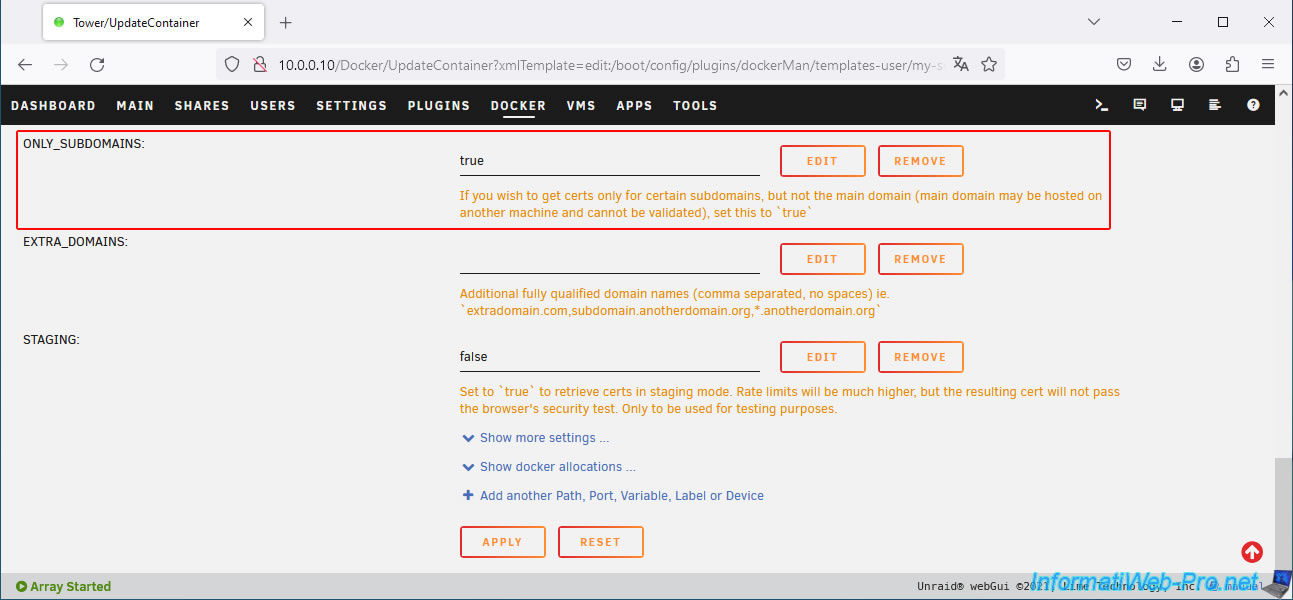
The only difference is that the value of the parameter "ONYL_SUBDOMAINS" in the swag configuration must remain "true".
The pre-configured configuration file on "swag" is already configured correctly since you will indicate the subdomain "jellyfin" of your own domain in your web browser when you try to access your "Jellyfin" media server remotely.
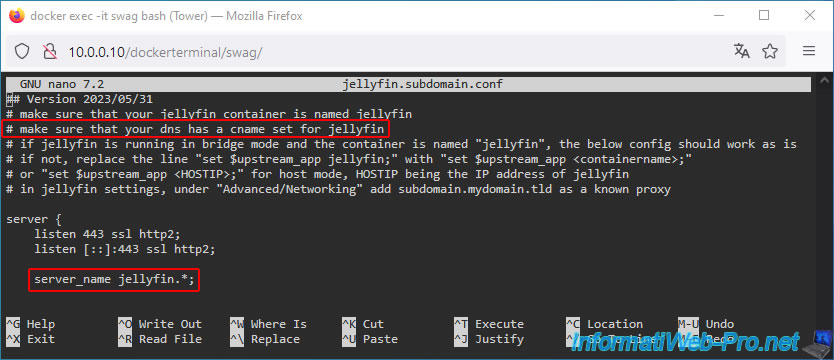
In your "swag" reverse proxy configuration, you will indicate "jellyfin" as you usually would with your real domain.
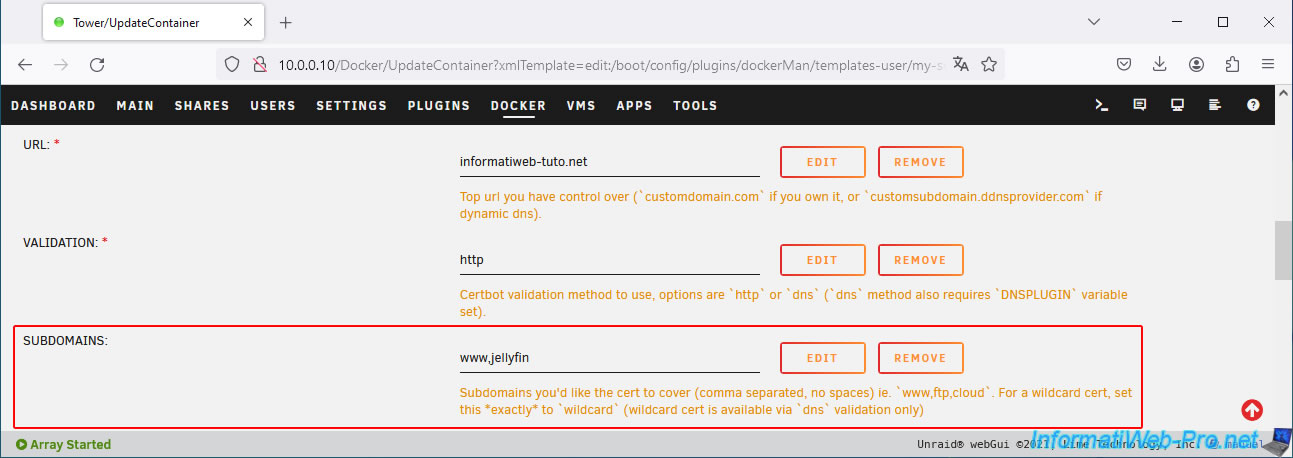
Warning : from the moment you use the trick described in this tutorial, the value of the "ONLY_SUBDOMAINS" parameter of "swag" must remain "true".
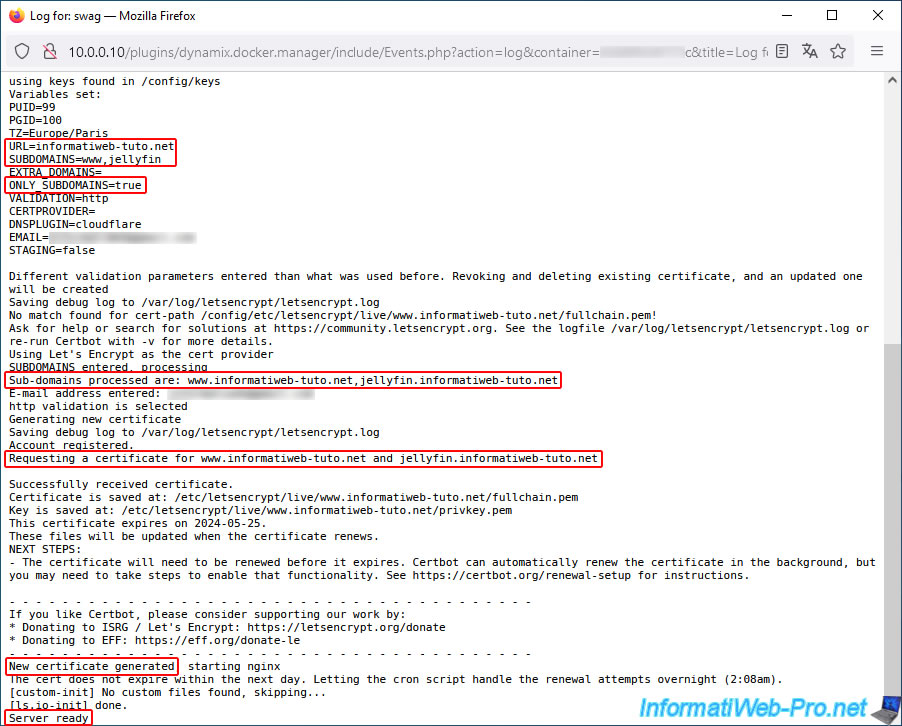
Once the "swag" container configuration is modified, check its logs and you will see that the SSL certificate will be generated for your "www" subdomain and your new "jellyfin" subdomain.
Since these 2 subdomains point to your subdomain created at Duck DNS and the IP address associated with your "xxxxx.duckdns.org" subdomain is automatically updated by the "duckdns" client installed on Unraid, your subdomains point to your current WAN IP address.
The "http" validation configured in the "swag" container is therefore still functional and the certificate is regenerated correctly.
Plain Text
Sub-domains processed are: www.informatiweb-tuto.net,jellyfin.informatiweb-tuto.net
...
Requesting a certificate for www.informatiweb-tuto.net and jellyfin.informatiweb-tuto.net
...
New certificate generated
As explained in the tutorial mentioned above (for using Jellyfin via the reverse proxy "swag"), you will need to indicate your new subdomain "jellyfin.[your domain]" in the "Known proxies" box (in Jellyfin's network settings).
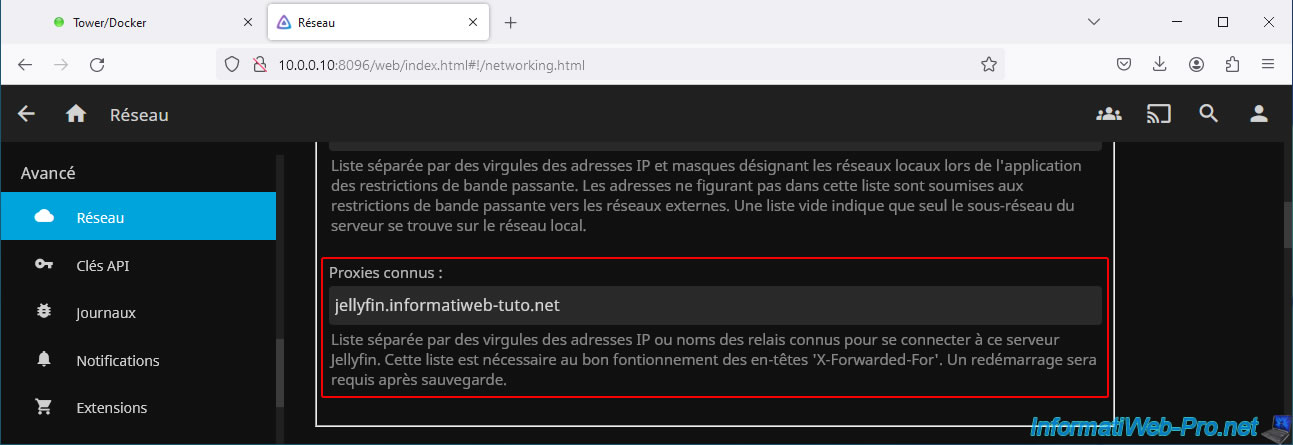
Save the change to your Jellyfin server.

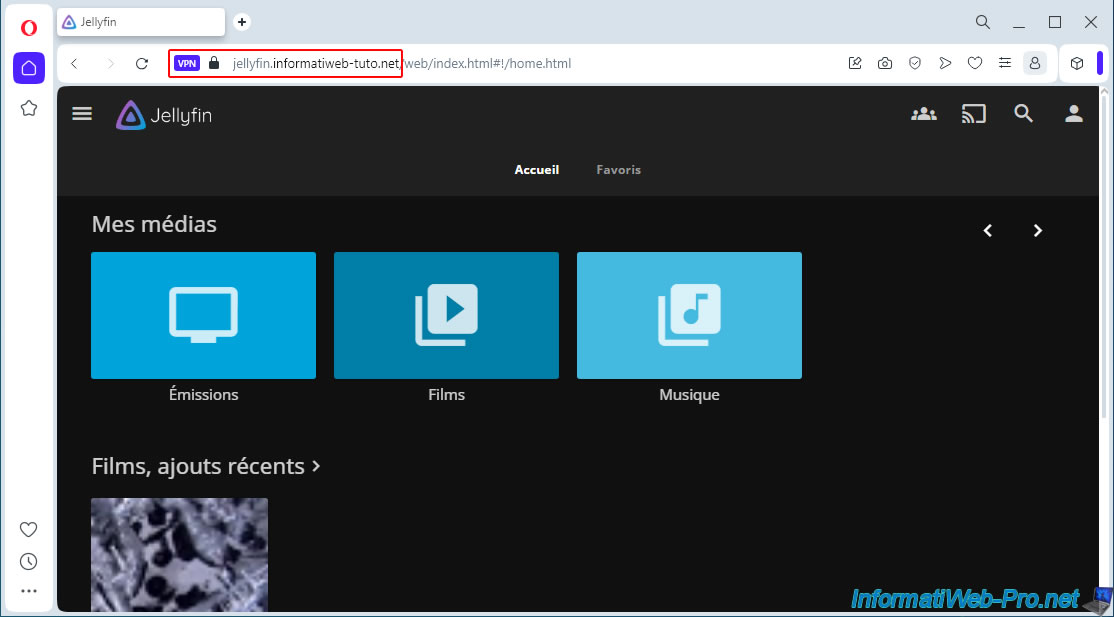
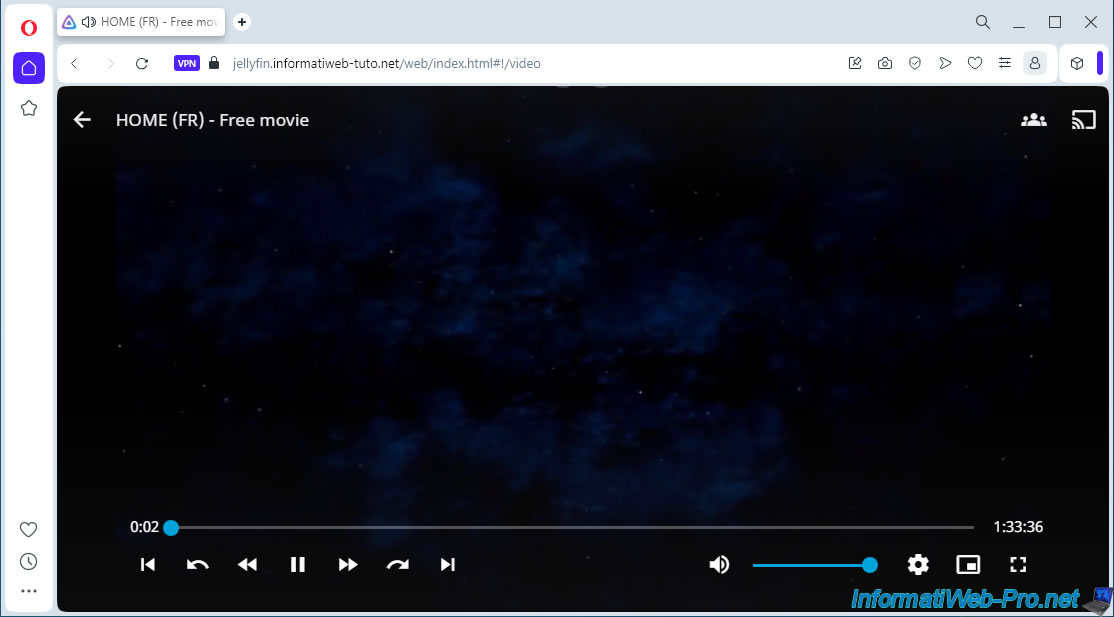
Try to access your "Jellyfin" media server via Opera web browser by activating its built-in VPN and you will see that Jellyfin's web interface appears.
In addition, you will be able to see that a padlock appears in the address bar of your web browser.
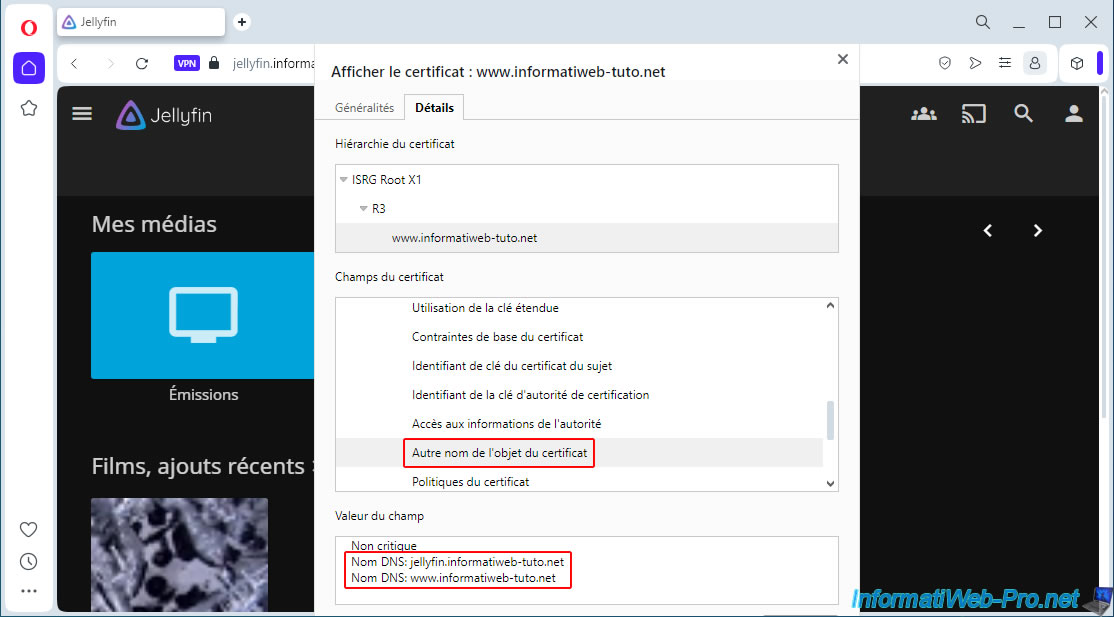
If you click on this padlock, you will be able to see that the certificate is issued for "www.[your domain]" and that it is issued by Let's Encrypt.
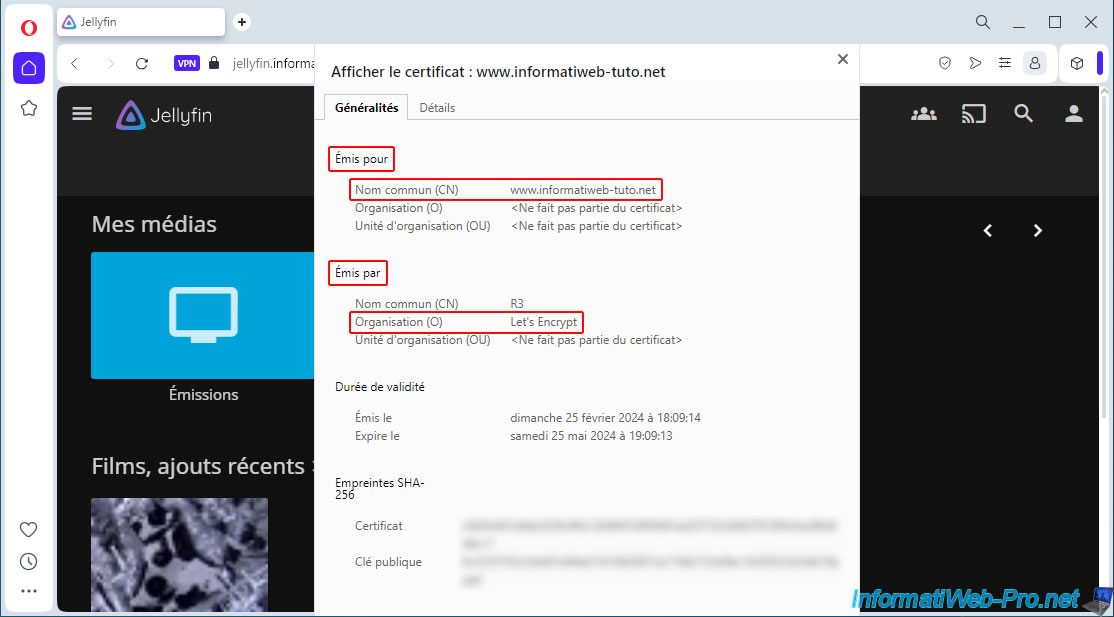
In the details of this certificate, in the section "Extensions -> Subject Alternative Name of the certificate", you will be able to see that your certificate is valid only for your 2 subdomains: www and jellyfin.
In our case:
- jellyfin.informatiweb-tuto.net
- www.informatiweb-tuto.net
If you try to play media hosted on your Jellyfin server, you will see that it works without any issues.
Share this tutorial
To see also
-
NAS 2/18/2026
Unraid 6.9.2 - Change temperature thresholds
-
NAS 12/4/2025
Unraid 6.9.2 - Define a private static IP address
-
NAS 5/6/2026
Unraid 6.9.2 - SWAG - Install a reverse proxy (SWAG)
-
NAS 7/22/2026
Unraid 6.9.2 - VMs - Backing up a VM manually
No comment