- NAS
- Unraid
- 10 June 2026 at 07:32 UTC
-

- 1/2

To securely access your Jellyfin media server remotely, you can use the "swag" reverse proxy also available for Unraid.
To install "swag", refer to our tutorial: Unraid 6.9.2 - SWAG - Install a reverse proxy (SWAG).
Then, follow the tutorial below to configure Jellyfin and swag for remote access to Jellyfin.
- Configure your domain name (at OVH)
- Use the same Docker network as the reverse proxy (swag)
- Add configuration for Jellyfin on reverse proxy (swag)
- Add the subdomain for Jellyfin in the certificate generated via the swag container
- Configure Jellyfin for use via proxy
- Remotely access Jellyfin via swag reverse proxy
- Fix swag error 502 when trying to access one of your services
1. Configure your domain name (at OVH)
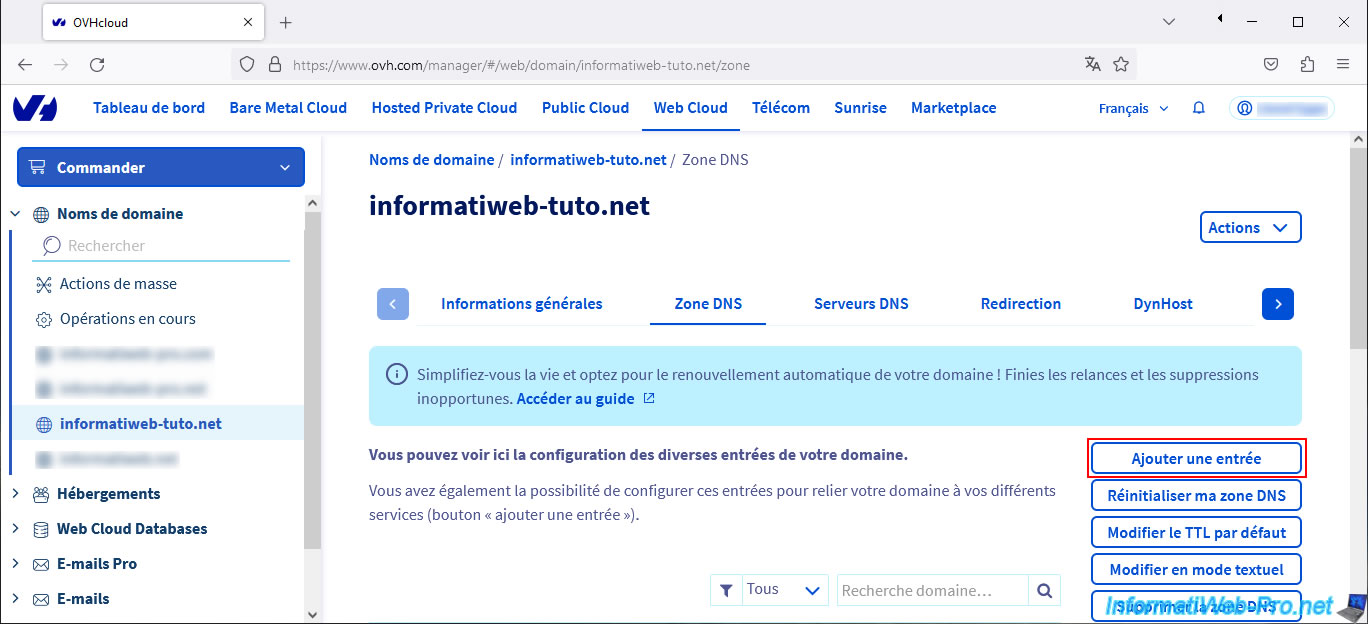
To begin, create a subdomain on your own domain.
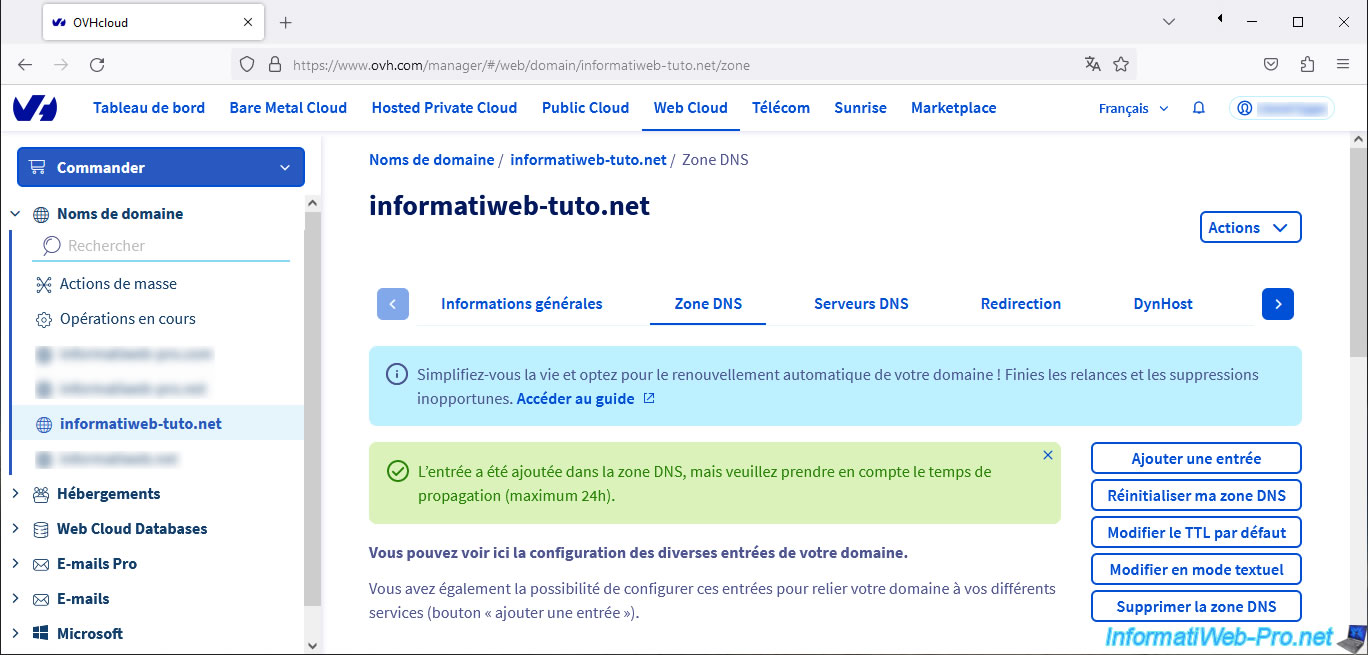
To do this, at OVH, go to "Web Cloud -> Domain names -> [your domain name]".
Then, click on: Add an entry.
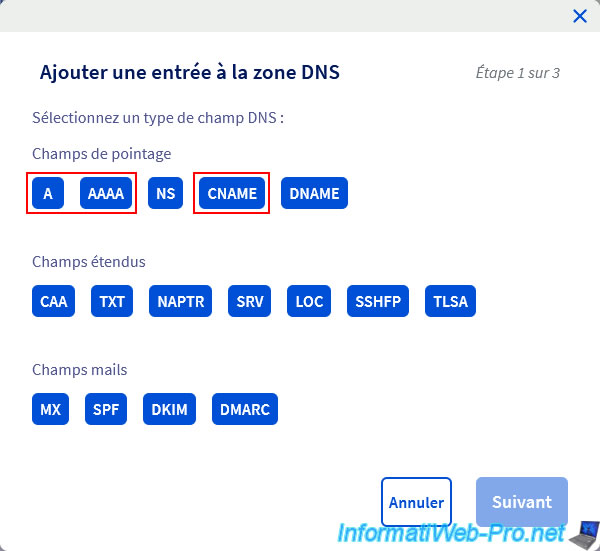
Choose the desired DNS record type:
- A: to point the subdomain to your external IPv4 address (WAN) associated with your Box.
- AAAA: if you have an IPv6 address for Internet access.
- CNAME: if you want to use the same IP address as your root domain (for example) which already points to your external IPv4 or IPv6 address (WAN).
Specify "jellyfin" as the subdomain and specify your external IPv4 (for an A record) or IPv6 (for an AAAA record) address as the target.
Important : the default name used by "swag" for Jellyfin is "jellyfin".
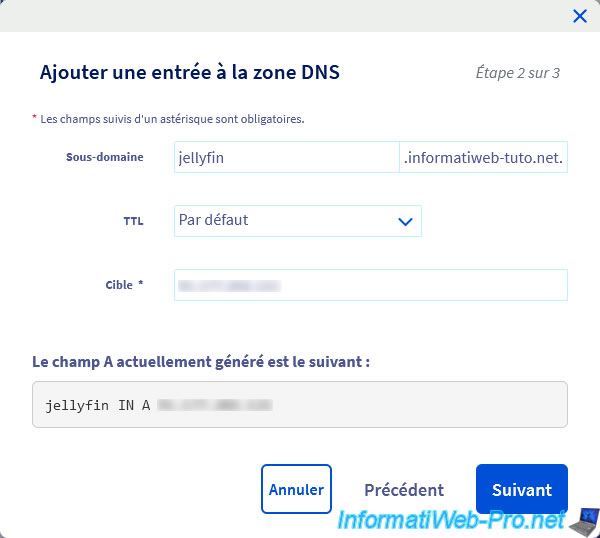
In case of a CNAME type DNS record, the target is the full domain or subdomain (which already points to your external IP address).
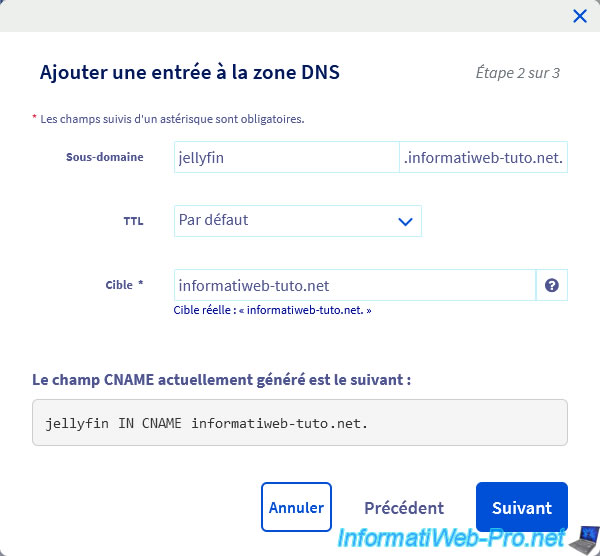
In our case, we created a CNAME subdomain.
So, we only need to update the IP address of the root domain if it changes.
Click Validate.
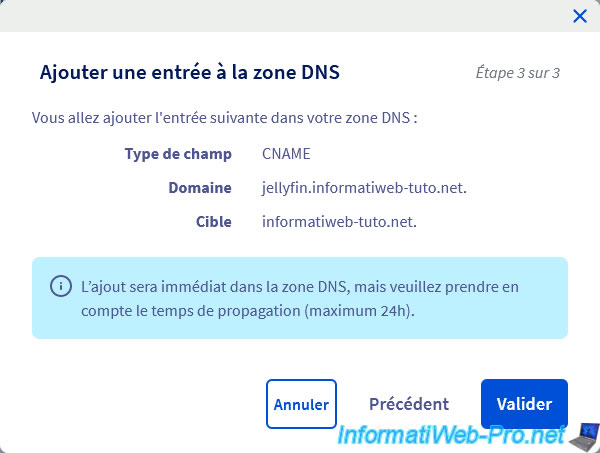
As noted, DNS propagation can take up to 24 hours.
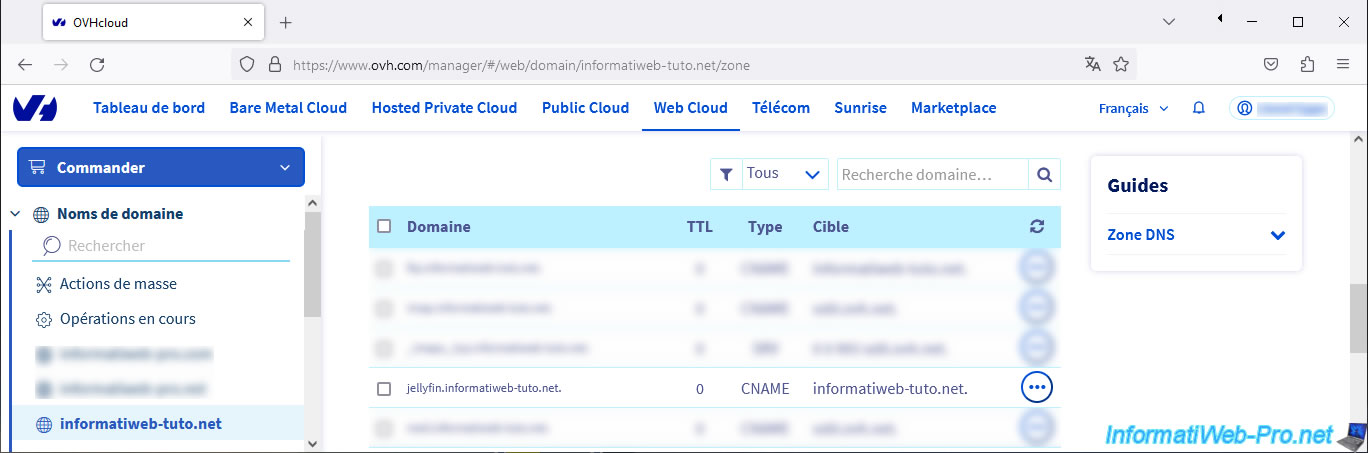
Your subdomain appears.
2. Use the same Docker network as the reverse proxy (swag)
For containers to communicate with each other, they need to be connected to the same custom Docker network.
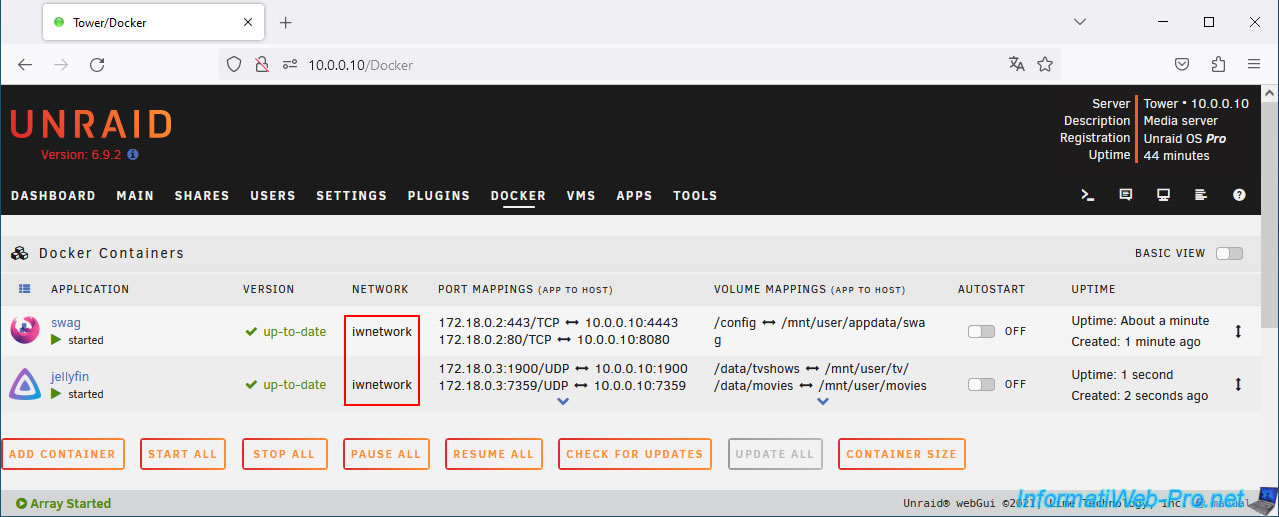
In our case, the reverse proxy (present in the "swag" container) is connected to our Docker network "iwnetwork".
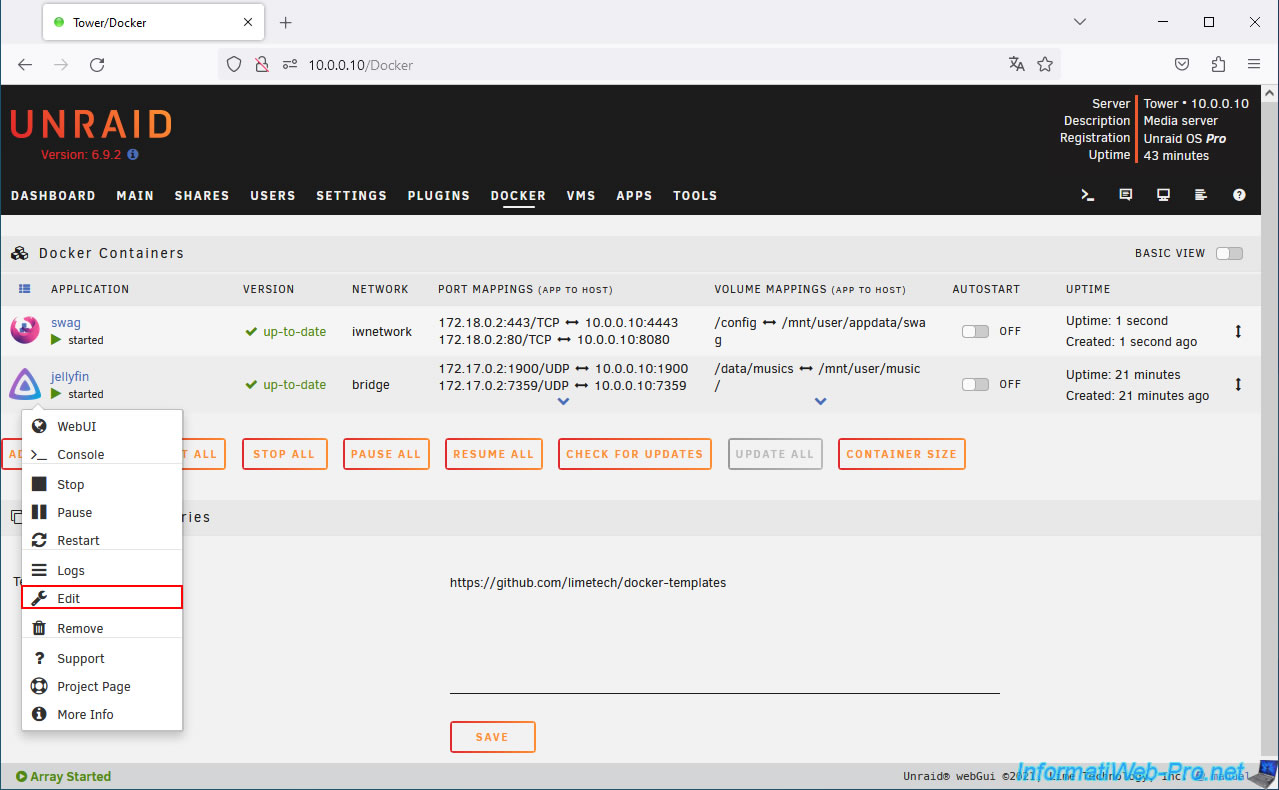
Modify the configuration of the "jellyfin" container by clicking on its icon, then on: Edit.
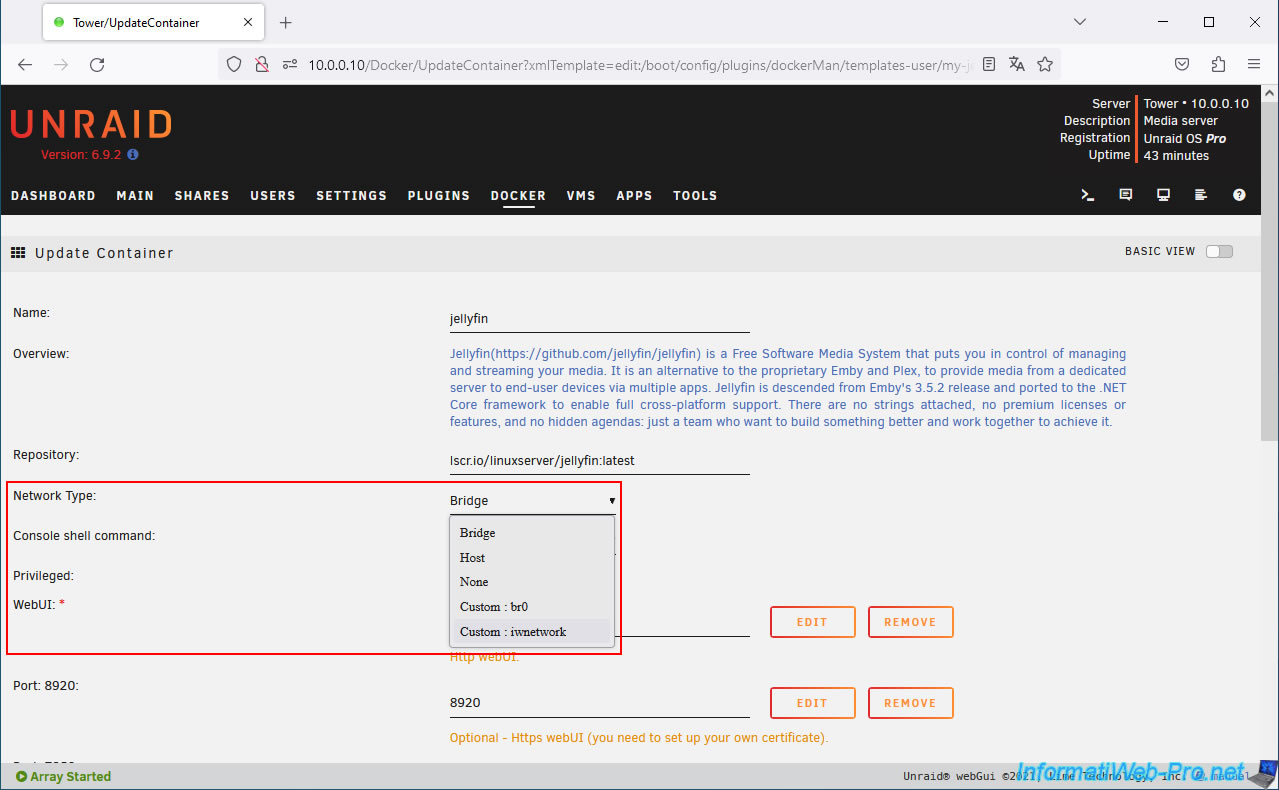
On the "Update Container" page that appears, select "Network Type: Custom: iwnetwork" (where "iwnetwork" is the Docker network also used by your "swag" container).
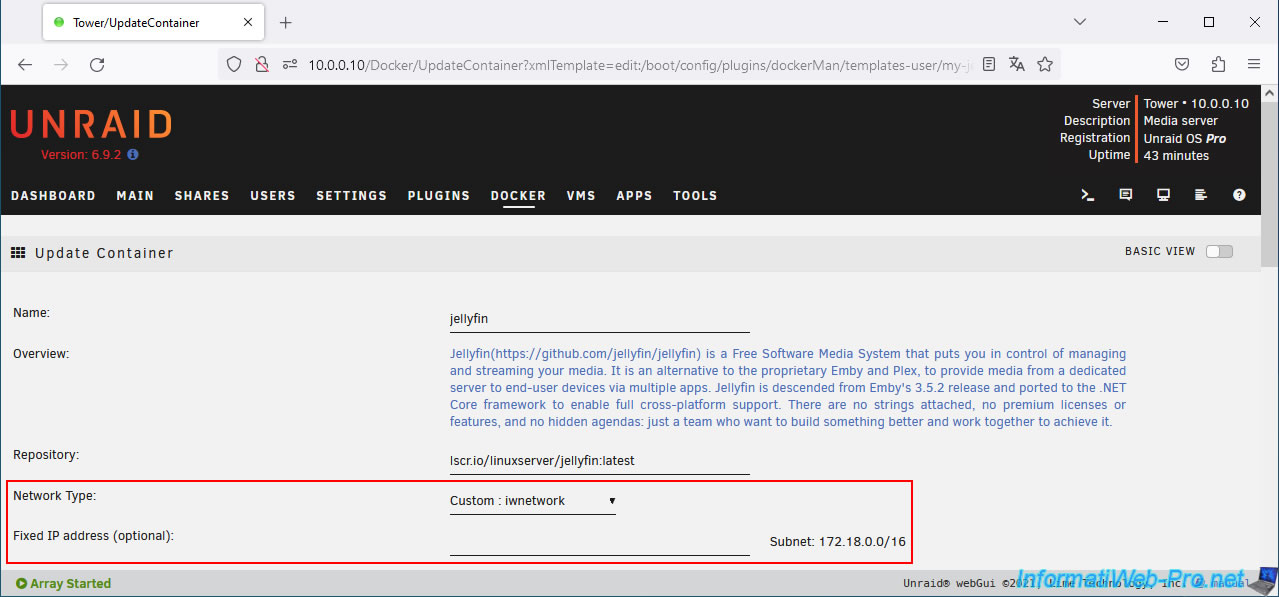
As expected, jellyfin will use the Docker custom network (whose network ID is "172.18.0.0/16" in our case).
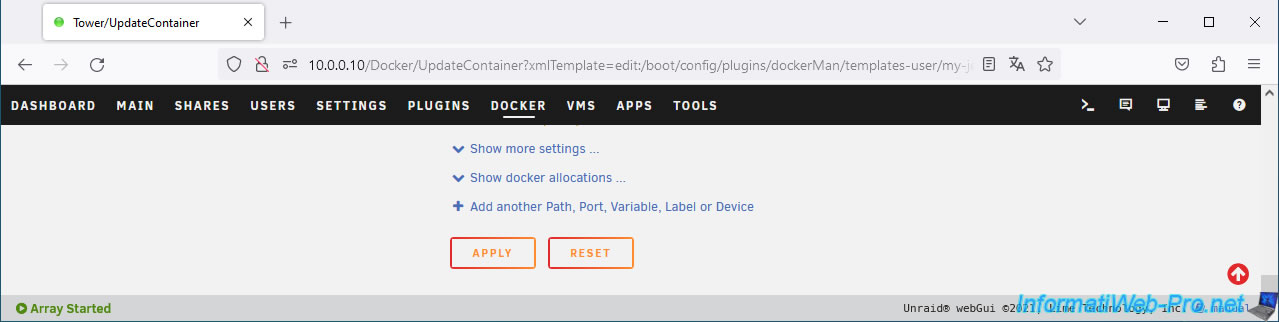
At the bottom of the page, click Apply.
Now, your 2 Docker containers (swag and jellyfin) are connected on the same Docker network.
3. Add configuration for Jellyfin on reverse proxy (swag)
In order for "swag" to know how to communicate with your "Jellyfin" media server, you need to add a configuration file to your reverse proxy.
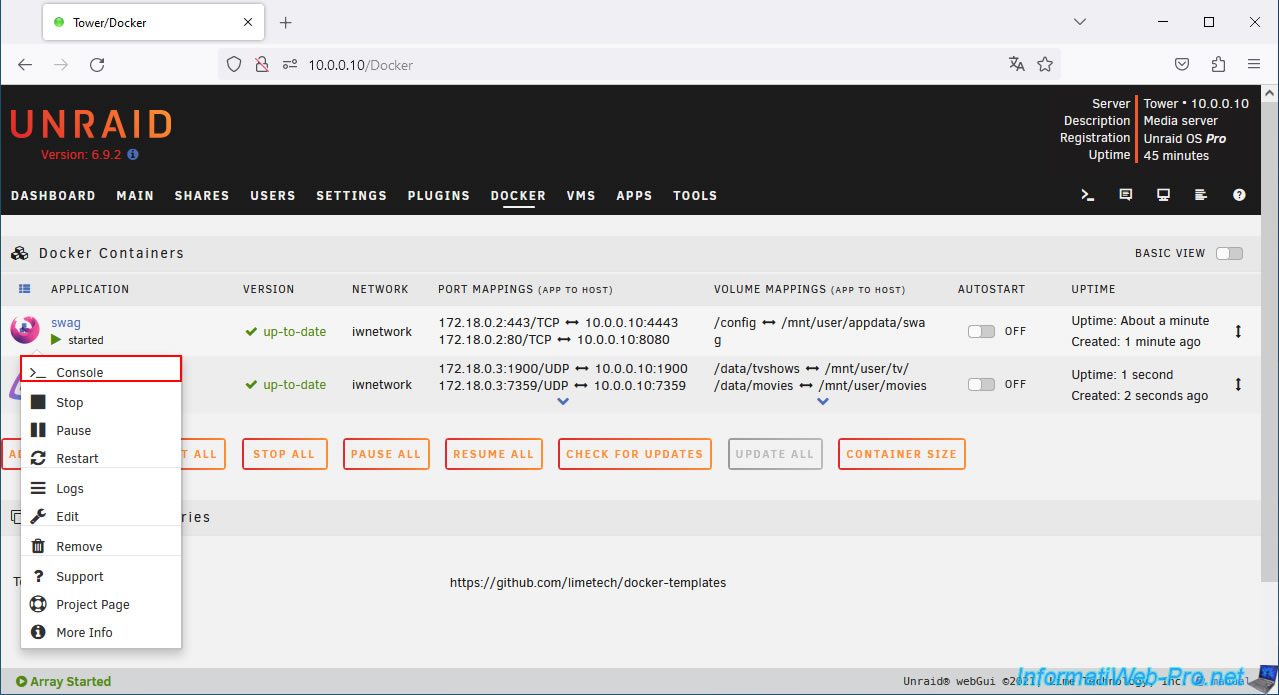
To do this, click on the "swag" icon, then on: Console.
In the console that appears, type:
Bash
cd /config/nginx/proxy-confs/
ls
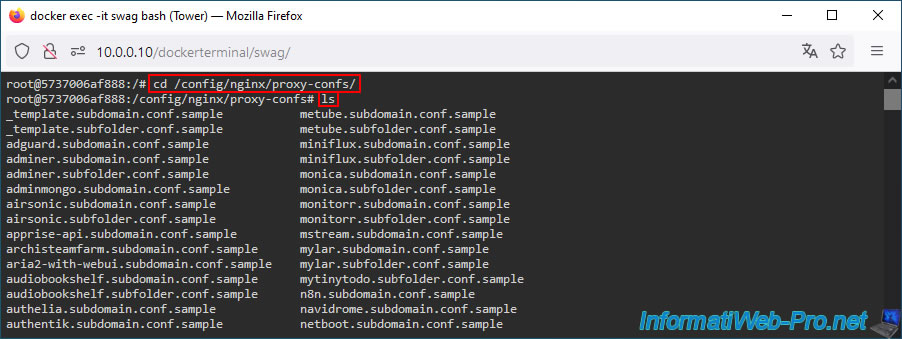
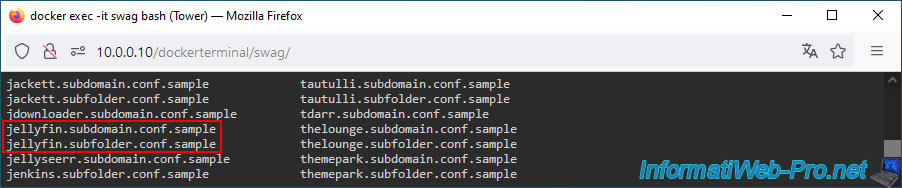
In the list of models that appears, you will find these models:
Plain Text
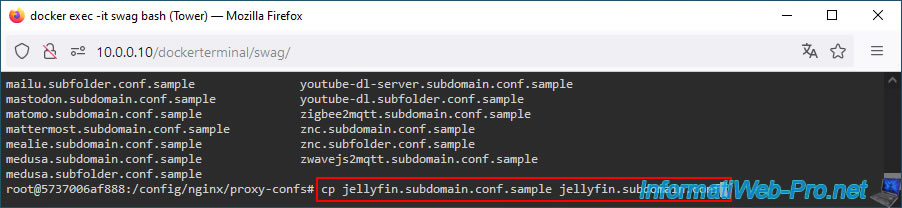
jellyfin.subdomain.conf.sample
jellyfin.subfolder.conf.sample
In our case, we will use the subdomain "jellyfin" to remotely access our Jellyfin media server.
So, duplicate the file "jellyfin.subdomain.conf.sample".
Bash
cp jellyfin.subdomain.conf.sample jellyfin.subdomain.conf
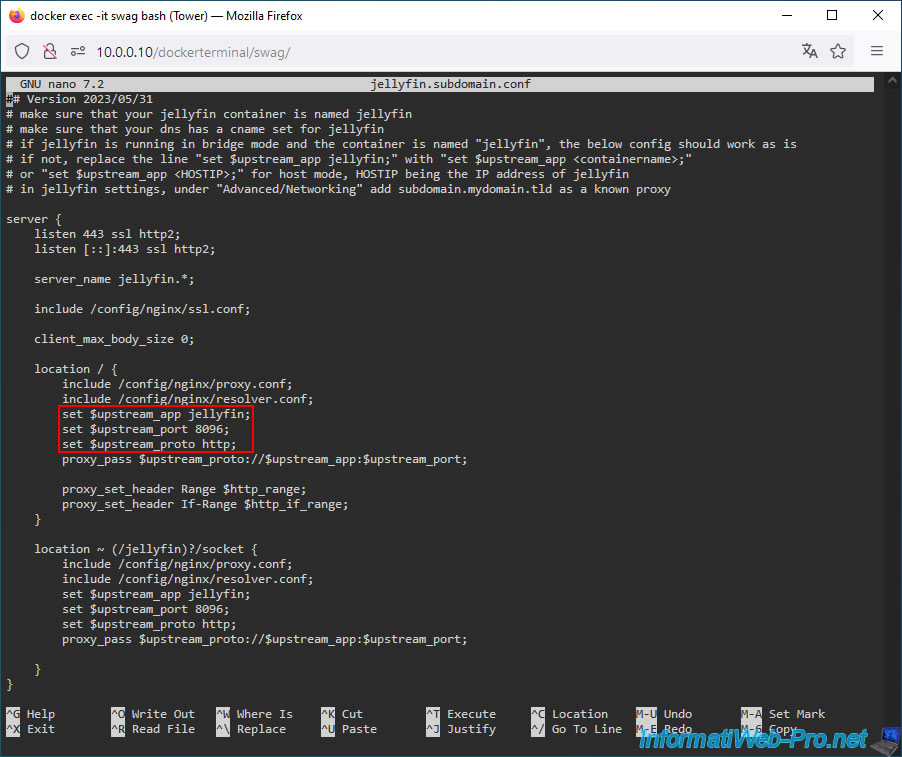
Edit this file by typing:
Bash
nano jellyfin.subdomain.conf
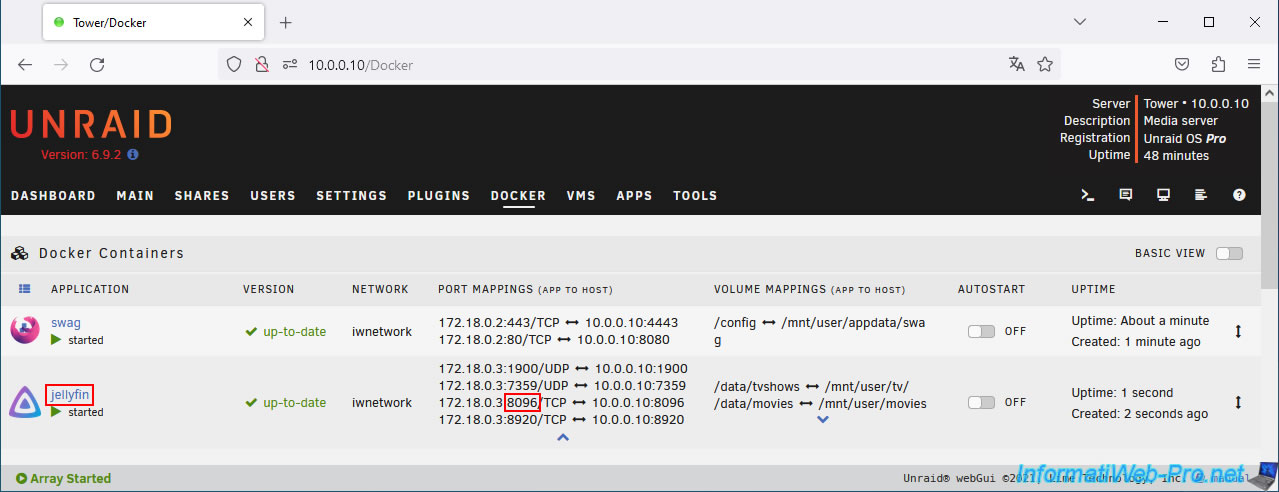
As you can see, nginx connects to Jellyfin based on the container name (jellyfin) and its default port (8096).
You can find the name and port of the jellyfin container on which the reverse proxy is based in the "Docker" tab of Unraid.
Share this tutorial
To see also
-

NAS 4/23/2026
Unraid 6.9.2 - Docker - Install a media server (Plex)
-

NAS 3/4/2026
Unraid 6.9.2 - Install the "Community Applications" plugin (old version)
-

NAS 11/26/2025
Unraid 6.9.2 - Manually install Unraid 6.9.2
-
NAS 5/27/2026
Unraid 6.9.2 - SWAG - Use a DDNS client (Duck DNS)
You must be logged in to post a comment