- NAS
- Unraid
- 29 April 2026 at 07:56 UTC
-


When you want to remotely access a server hosted at home, you need a domain that points to your IP address.
However, by default, when you take out an Internet subscription as an individual, your Box (generally provided by your ISP) automatically receives a dynamic IP address from your operator's network (Proximus, Orange, Voo, etc.).
Given that you have a dynamic (external) WAN IP address, this means that it changes regularly (daily, weekly, ... depending on your ISP).
When this changes, you no longer have access to your server from outside given that the IP address that you had previously indicated in the DNS zone of your domain is no longer the one corresponding to your Internet connection at YOU.
To solve this problem, you need a dynamic domain name (DDNS) provider.
In the case of Unraid, it is preferable to use "DuckDNS" which is free and which is supported by Unraid (via the third-party application "DuckDNS") and the reverse proxy "SWAG" (which allows access to the services hosted on your Unraid server by exposing only the reverse proxy "swag").
- Create a free account on Duck DNS
- Download and install the Duck DNS client on Unraid (automatic update of your dynamic IP with Duck DNS)
- Check the current IP address set on your Duck DNS subdomain
1. Create a free account on Duck DNS
To get started, you need to register for free on the "Duck DNS" website.
To do this, you must have a free account on Twitter, GitHub or Google.
If not, create one on the site you want.
Next, click on the login button corresponding to the site where you already have an account.
In our case, we will use an existing Twitter account by clicking on: Sign in with Twitter.
Note: the "Persona" and "reddit" services are no longer supported for registrations on "Duck DNS".
Hence the fact that we have crossed out these buttons in the image below.

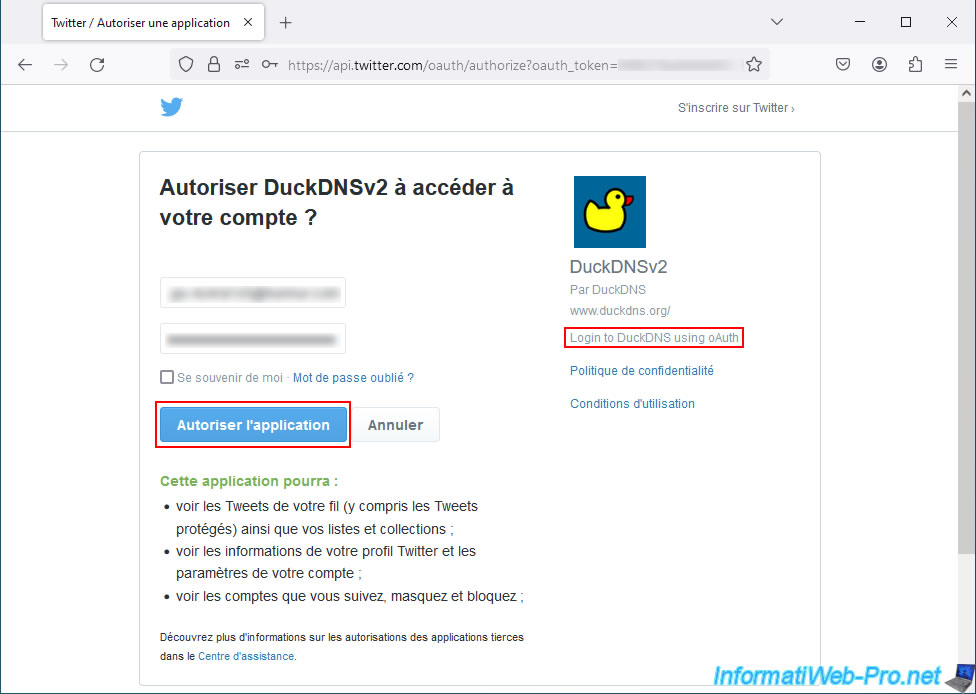
In case you want to register on "Duck DNS" using an existing Twitter account, you will land on an "Allow DuckDNSv2 to access your account" page.
Click: Authorize application.
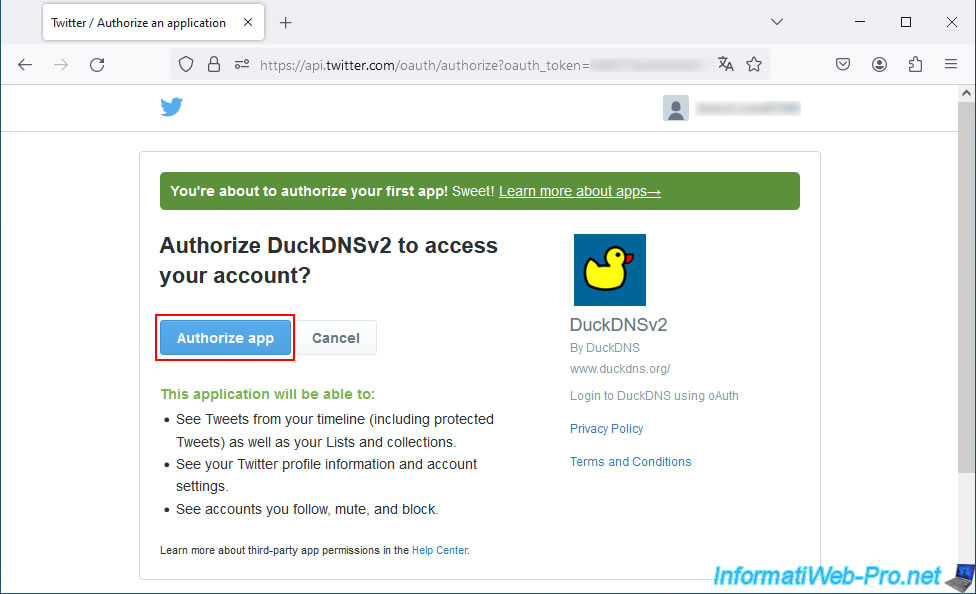
Then, once connected with your Twitter account, click on: Authorize app.
A message will appear green for 2 seconds and you will be redirected to a special DuckDNS URL that allows them to identify you via your Twitter account ID.
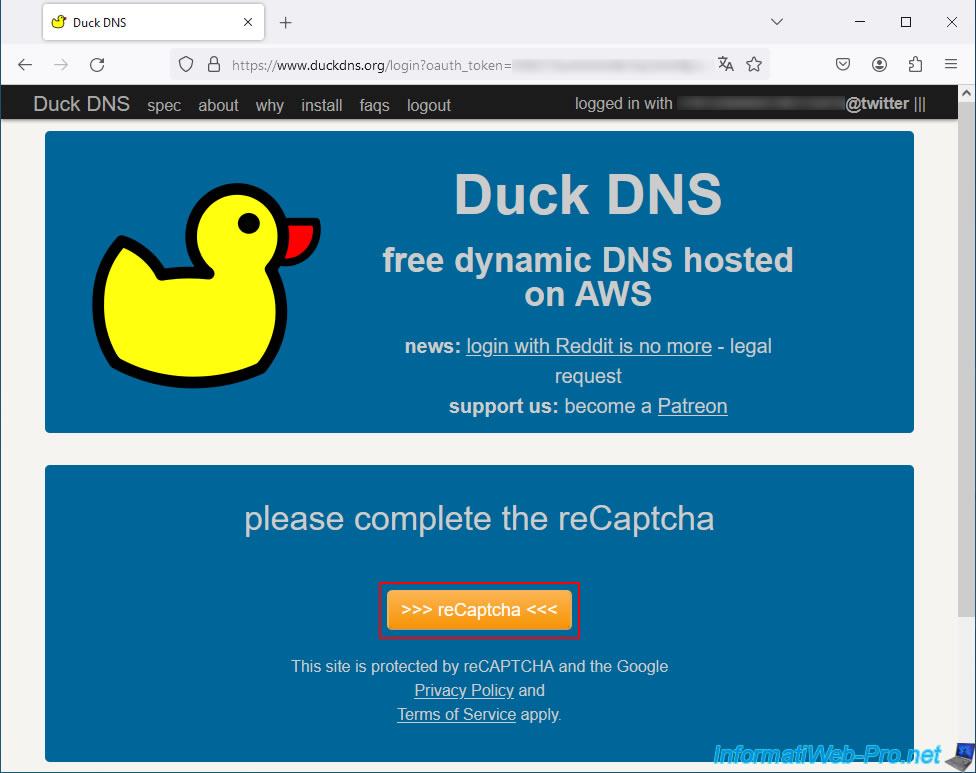
Once back on the Duck DNS site, click on the orange "reCaptcha" button located at the bottom of the page if it appears and complete the anti-robot code if the site offers you one.
This is simply to avoid robots.
Then, in the 2nd part of the page, you will find a box allowing you to add "xxxxx.duckdns.org" subdomains to your "Duck DNS" account.
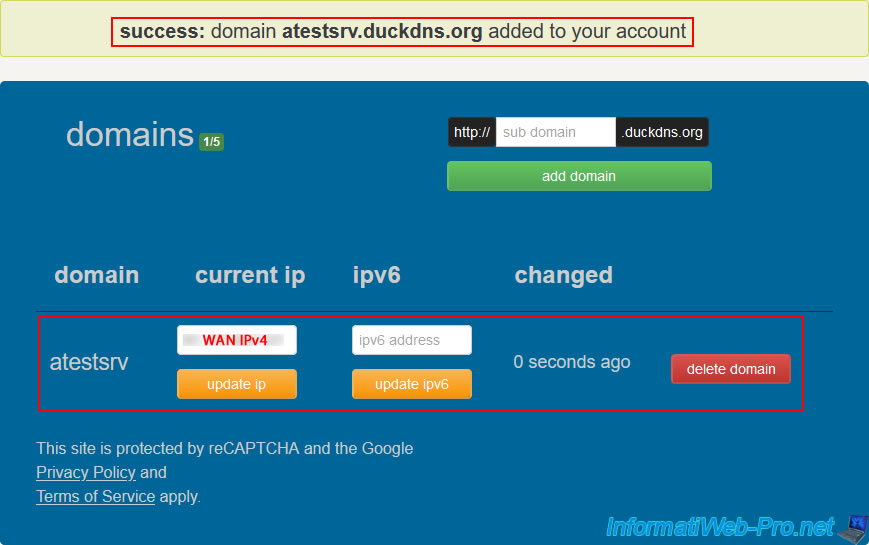
For this tutorial, we created a subdomain "atestsrv.duckdns.org".
To do this, we indicated "atestsrv" in the box, then we clicked on "Add domain".
Warning : as you can see to the right of "domains", you are limited to 5 subdomains per "Duck DNS" account.

The desired subdomain appears in your list of domains and your IP address appears in the "current ip" box for the created subdomain.
Plain Text
success: domain atestsrv.duckdns.org added to your account.
2. Download and install the Duck DNS client on Unraid (automatic update of your dynamic IP with Duck DNS)
As explained earlier, a dynamic IP address changes regularly and the frequency of this change varies from one ISP to another.
So that your new DDNS subdomain created at Duck DNS always points to your (external) WAN IP address, you must install a client on your Unraid server.
This will be responsible for regularly updating the IP address associated with your subdomain(s) at Duck DNS.
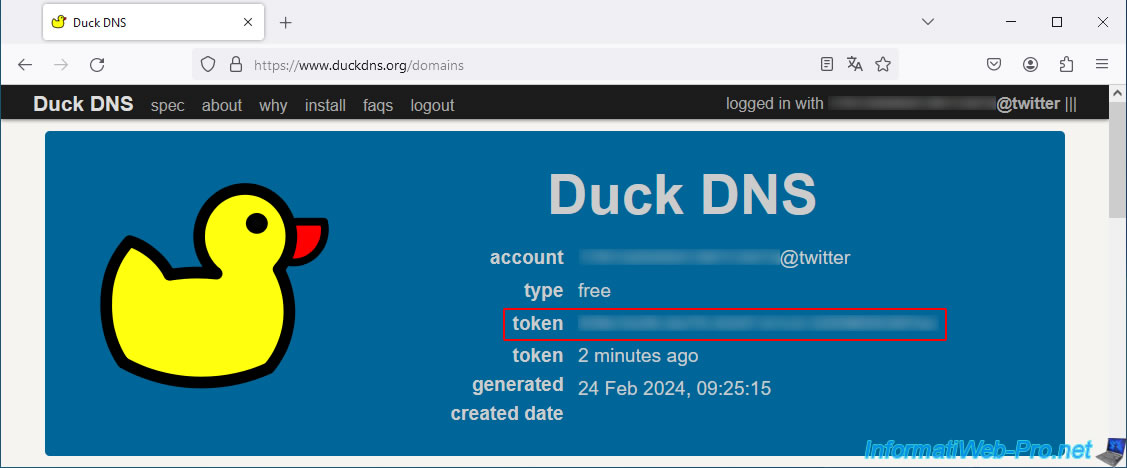
To prove that you are the owner of the Duck DNS account where your Duck DNS subdomain was created, you will need the token displayed at the top of the page.
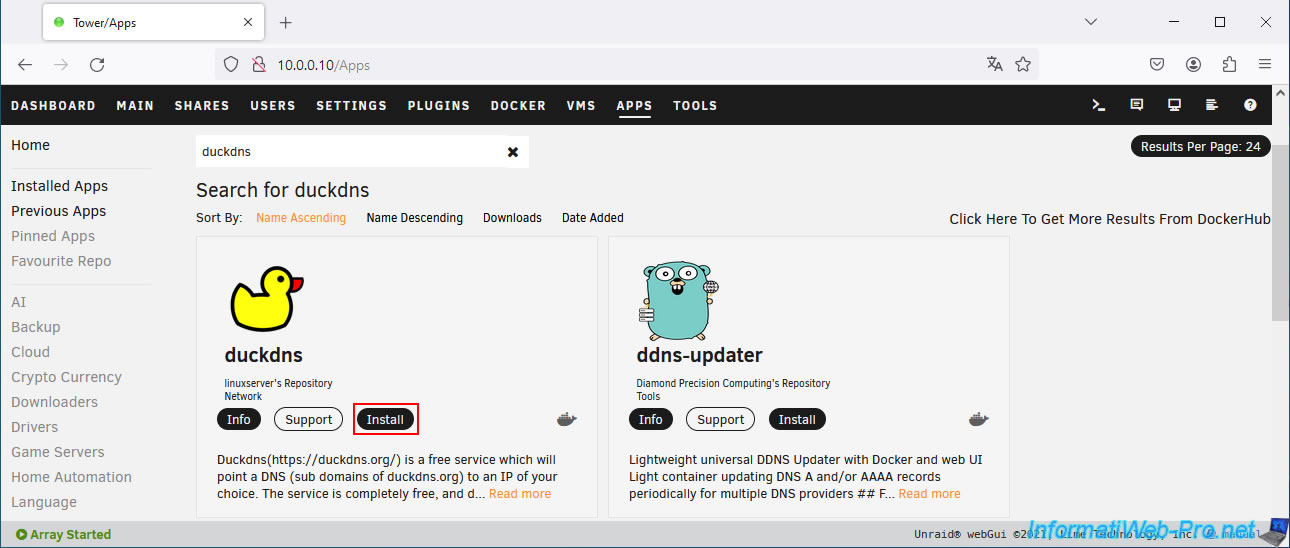
On your Unraid server, go to the "Apps" tab and search for "duckdns".
Then, install the application of the same name (present in the "linuxserver" repository, like many good applications on Unraid).
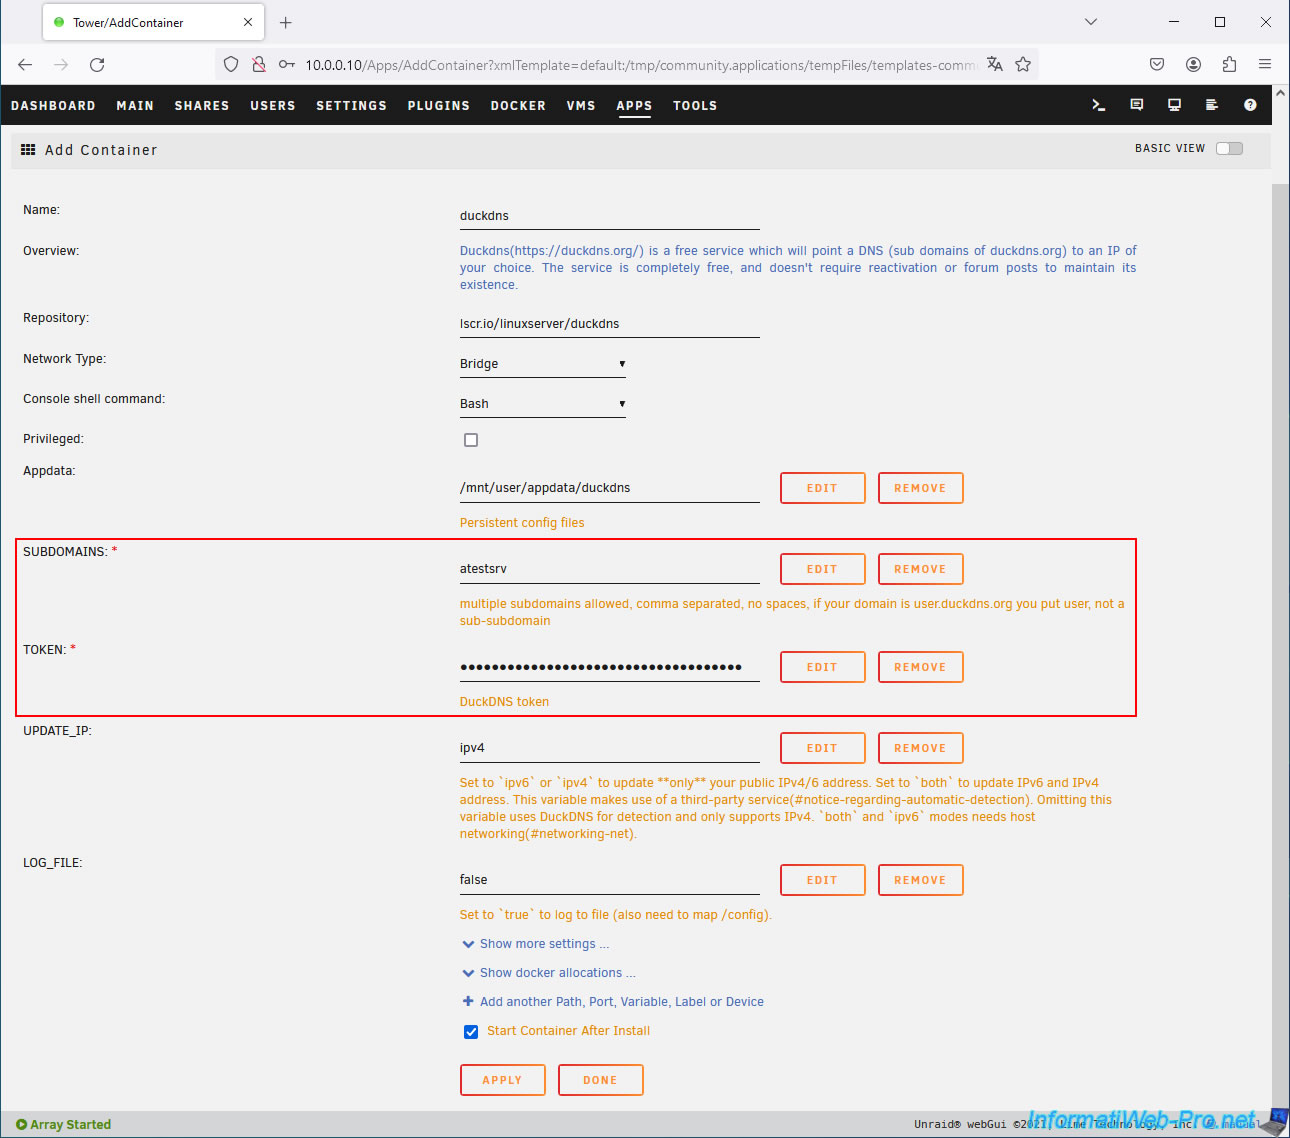
In the "Add Container" form that appears, fill in these 2 fields:
- SUBDOMAINS: the previously created subdomain (without the "duckdns.org" suffix).
If you have multiple subdomains with Duck DNS, separate them with a comma. - TOKEN: indicate the token displayed at the top of the page on the Duck DNS website.
By default, this client only updates the IPv4 on your Duck DNS subdomain. Which is enough.
If you really need IPv6, then specify "both" instead of "ipv4".
Then, click "Apply" at the bottom of the page.
Wait while this "duckdns" client downloads and installs.
Then, click: Done.
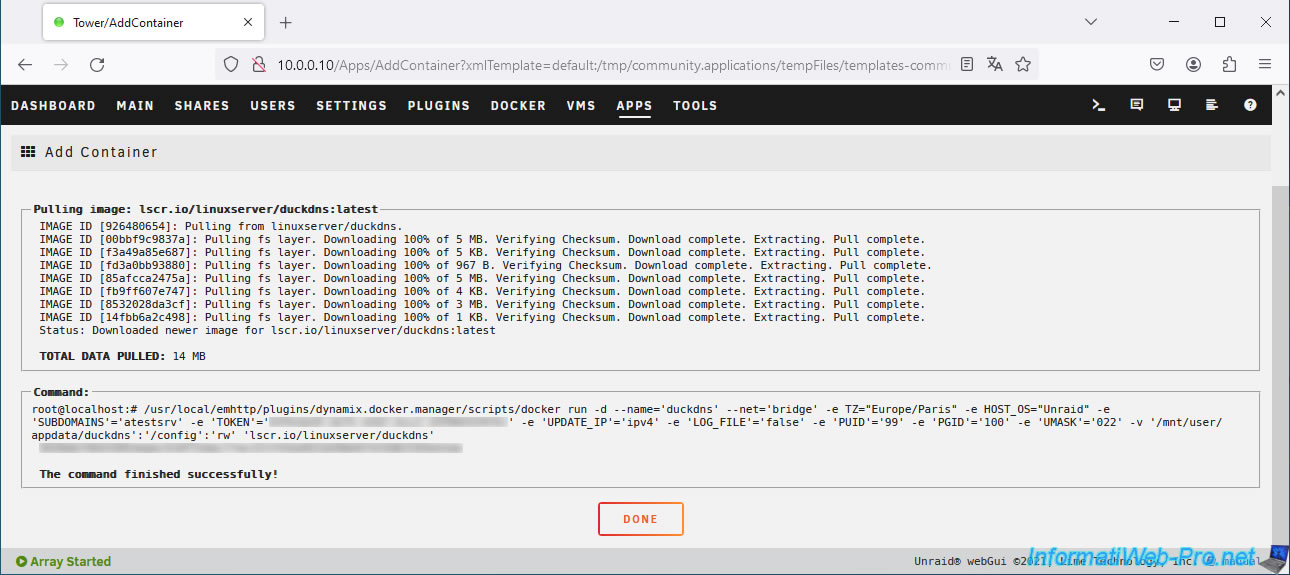
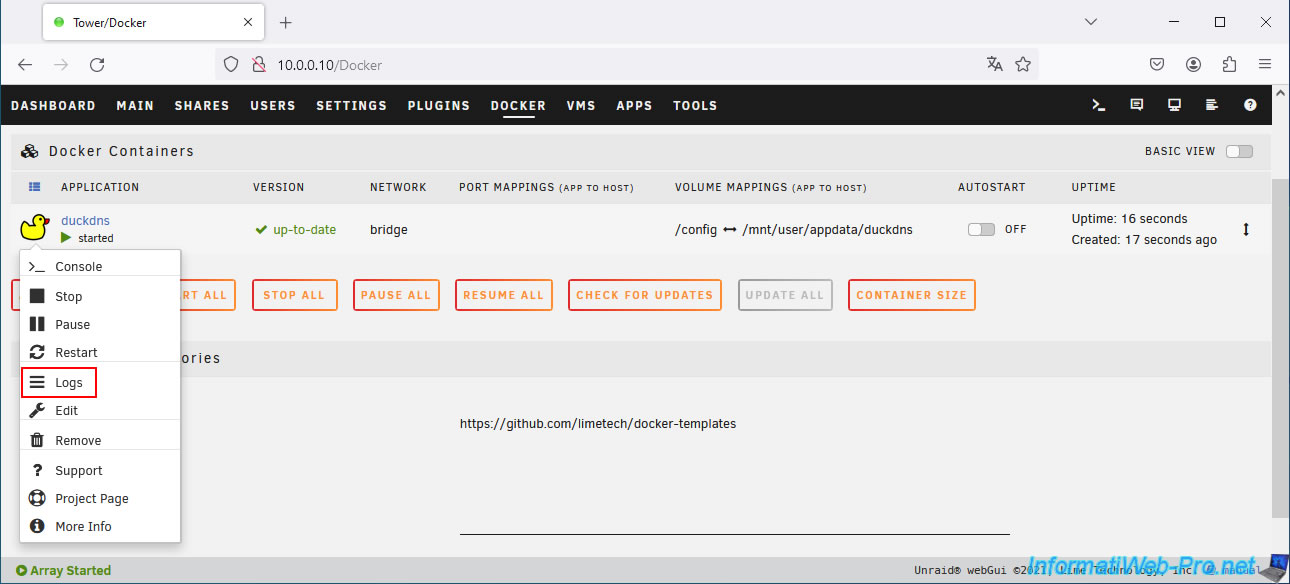
Once this "duckdns" client is installed, go to the "Docker" tab, click on the "duckdns" icon, then click on: Logs.
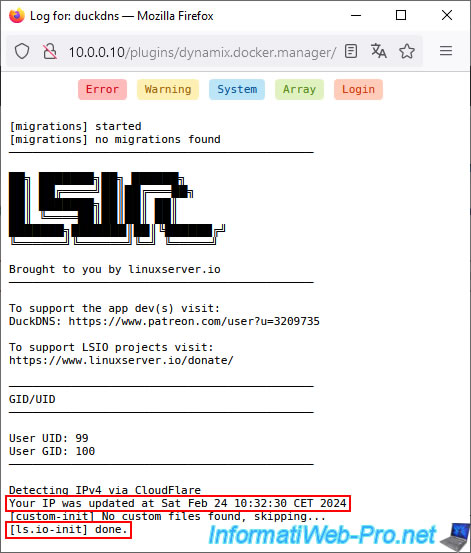
In the duckdns logs, you will see the date your IP address was updated with Duck DNS, then the message "done" appears at the bottom.
If no error (on a red background) or warning (on a yellow background) appears, the configuration is good.
Plain Text
Your IP was updated at Sat Feb 24 10:32:30 CET 2024.
...
[ls.io-init] done.
3. Check the current IP address set on your Duck DNS subdomain
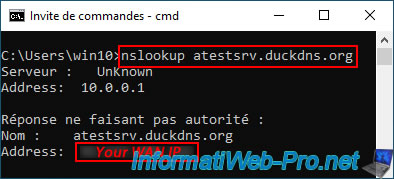
To check the IP address currently defined on your subdomain created at Duck DNS, open a command prompt and type the command below (indicating your own subdomain as a parameter).
Batch
nslookup atestsrv.duckdns.org
Which gives this in our case.
Plain Text
Nom : atestsrv.duckdns.org
Address: [your WAN IP address]
Share this tutorial
To see also
-
NAS 1/30/2026
Unraid 6.9.2 - Create shares (network / user)
-
NAS 4/15/2026
Unraid 6.9.2 - Docker - Install a file server (Nextcloud)
-
NAS 3/4/2026
Unraid 6.9.2 - Install the "Community Applications" plugin (old version)
-
NAS 7/15/2026
Unraid 6.9.2 - VMs - Create a virtual machine
You must be logged in to post a comment