- NAS
- Unraid
- 17 June 2026 at 13:06 UTC
-

- 1/3

To access your files via Nextcloud from the internet, you'll need a reverse proxy.
In this tutorial, we'll use SWAG, which you can also install on Unraid.
- Configure your domain name (at OVH)
- Change the port used by Nextcloud
- Use the same Docker network as the reverse proxy (swag)
- Add configuration for Nextcloud on reverse proxy (swag)
- Configure Nextcloud for use via proxy
- Add the subdomain for Nextcloud in the certificate generated via the swag container
- Remotely access Nextcloud via swag reverse proxy
- Share files from your Nextcloud server over the Internet
- Access Nextcloud locally via the swag reverse proxy
1. Configure your domain name (at OVH)
To access Nextcloud from the internet, you'll need a domain name whose IP address points to your external IP address.
To begin, point the root of your domain, as well as your "www" subdomain, to your external (WAN) IP address.
Next, you'll need to create a "nextcloud" subdomain on your domain.
In our case, we have a domain "informatiweb-tuto.net" at OVH, which we use for some tutorials.
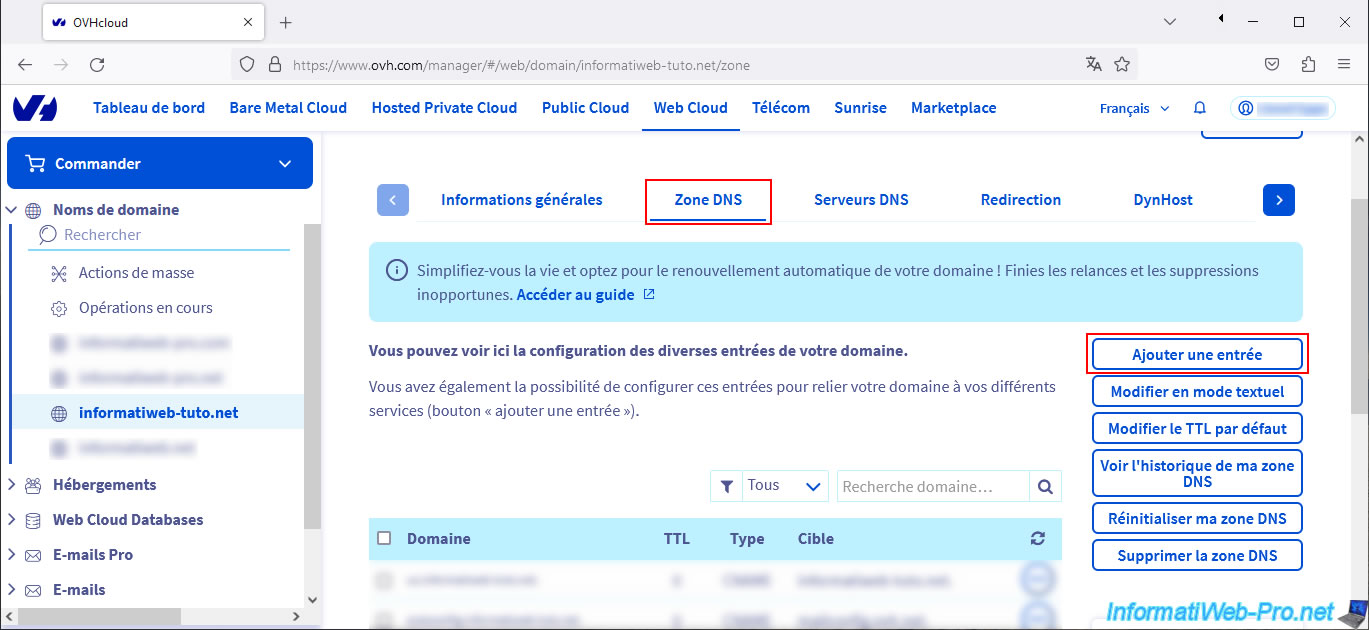
At OVH, go to "Web Cloud -> Domain Names -> DNS Zone" and click Add Entry.
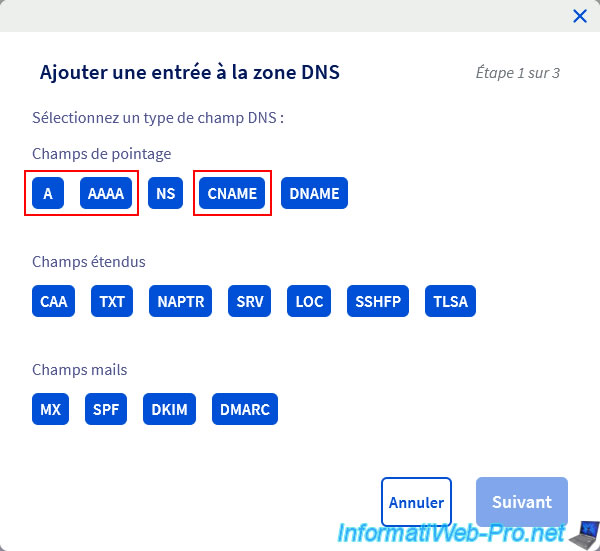
Create a DNS record of type:
- A: if you want to point a subdomain to an IPv4 address (e.g., xx.xx.xx.xx).
- AAAA: if you want to point a subdomain to an IPv6 address (e.g., xxxx:xxxx:xxxx:xxxx:...).
- CNAME: to point a subdomain to the same IP address as another domain or subdomain.
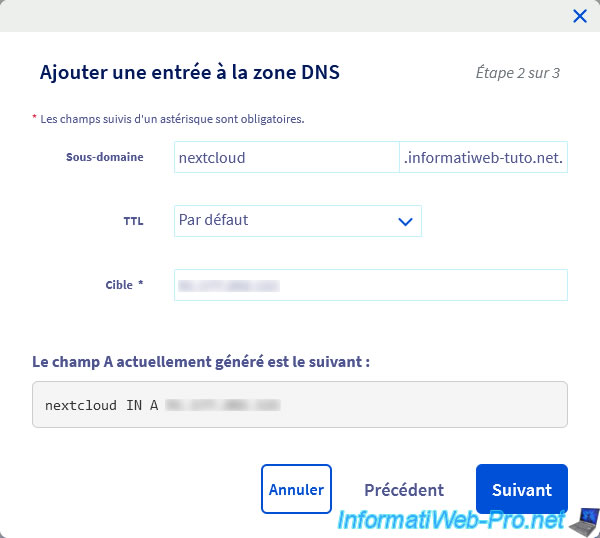
If you choose type "A", you will need to indicate:
- Subdomain: nextcloud.
- Target: your IPv4 address.
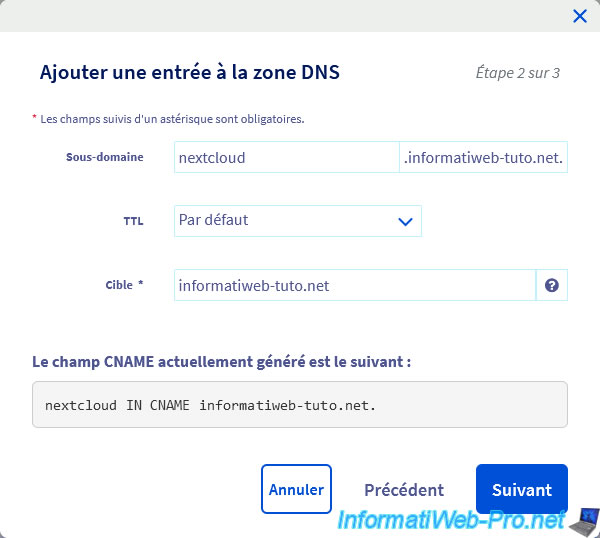
If you choose the "CNAME" type, you will need to indicate:
- Subdomain: nextcloud.
- Target: the domain to which your subdomain should point.
In our case, we're pointing our "nextcloud" subdomain to the root of our "informatiweb-tuto.net" domain.
Indeed, the root of our "informatiweb-tuto.net" domain already points to our external IP address.
Then, click on: Validate.
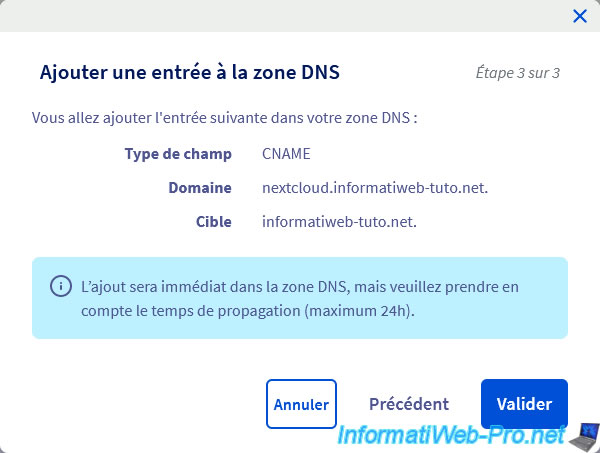
As OVH tells you, the entry is added instantly to your domain's DNS zone, but DNS propagation (to ISPs' DNS servers, for example) can take up to 24 hours.
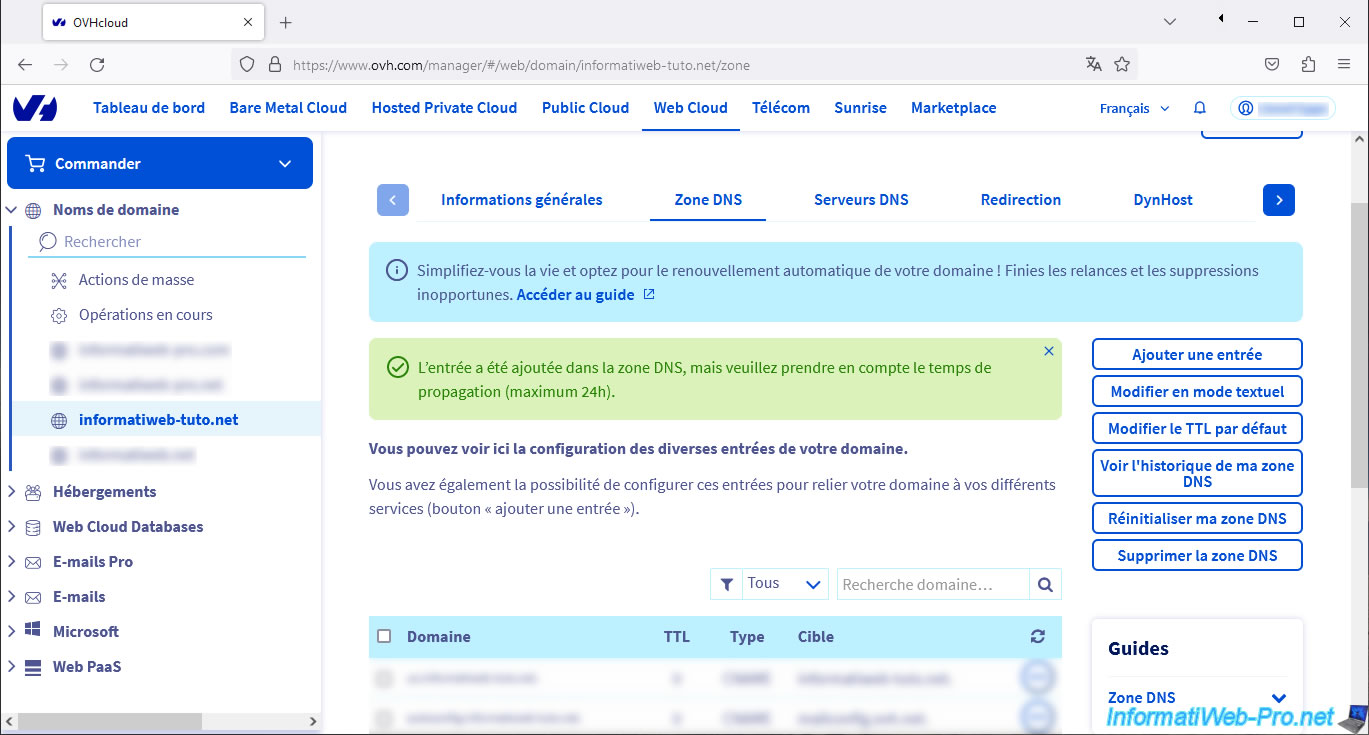
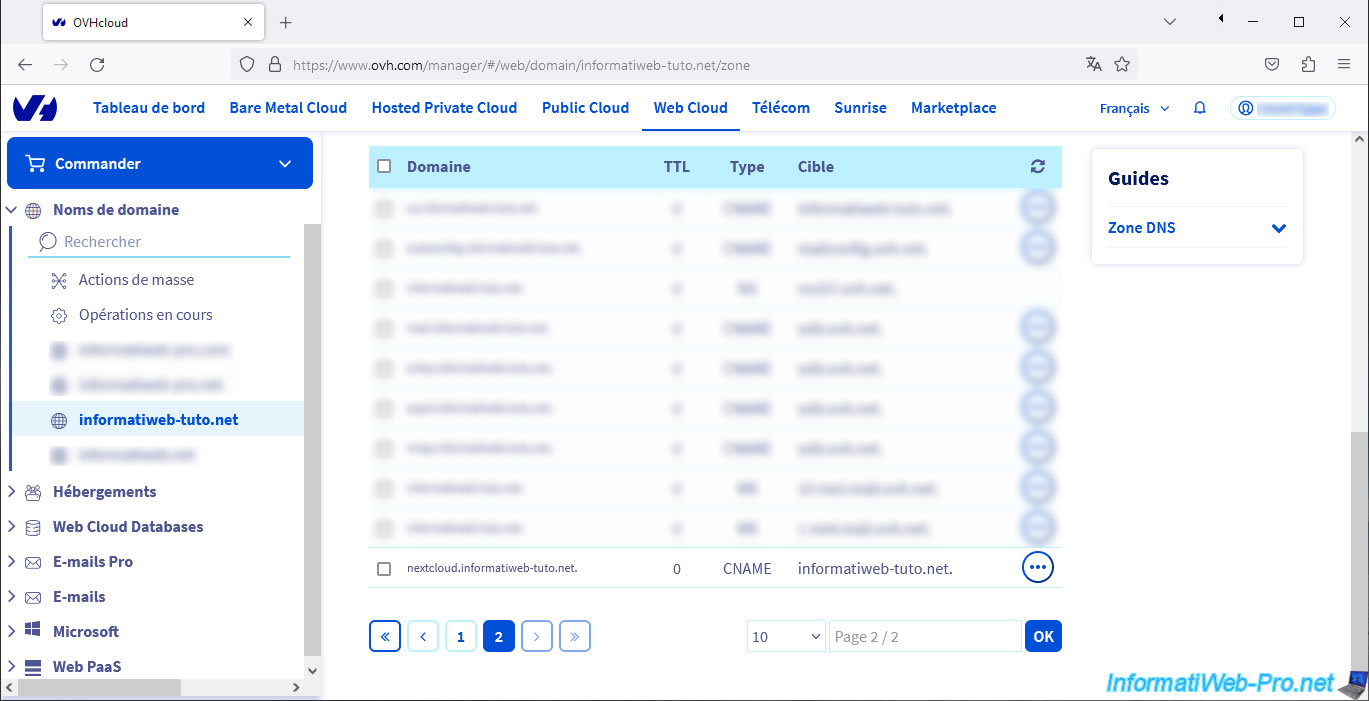
Your "nextcloud" subdomain appears in your domain's DNS zone.
2. Change the port used by Nextcloud
Before installing the reverse proxy, you need to change the port used by Nextcloud so that it doesn't conflict with the one used by SWAG (reverse proxy).
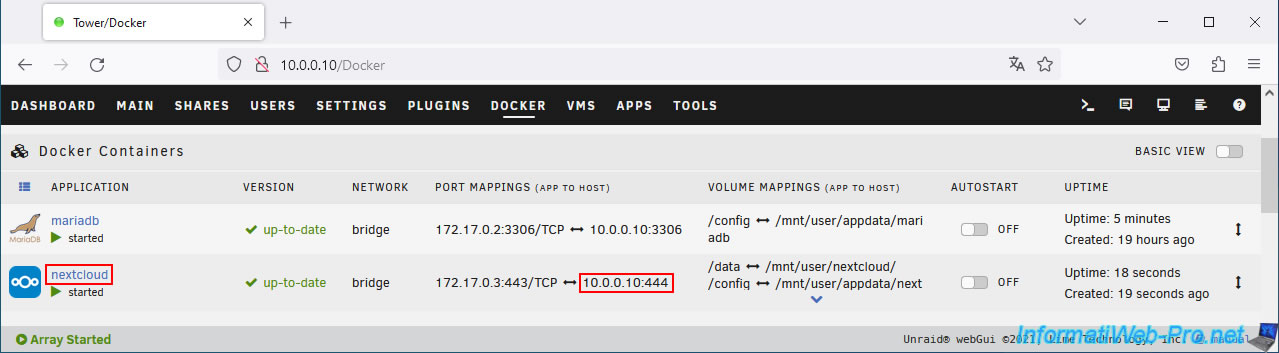
For now, in our case, Nextcloud uses port 4443 for its web interface.
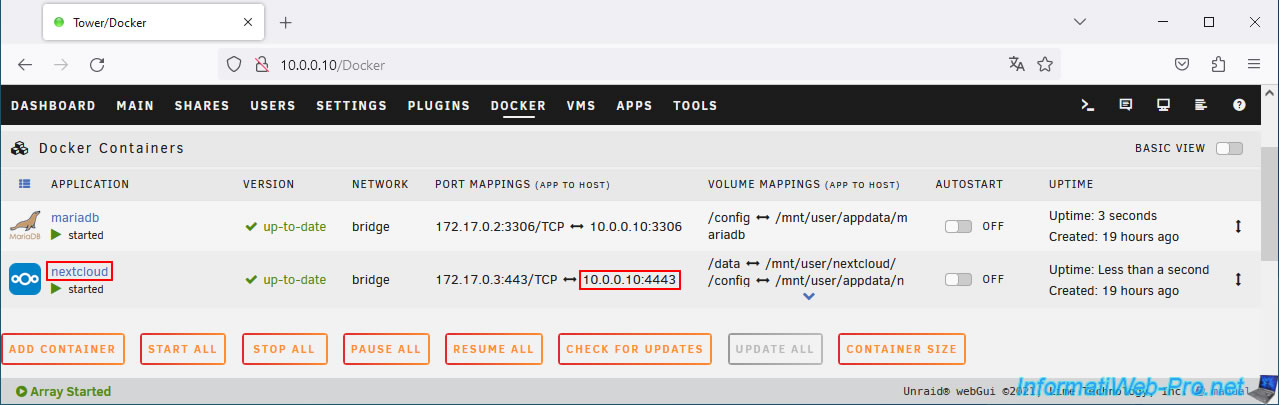
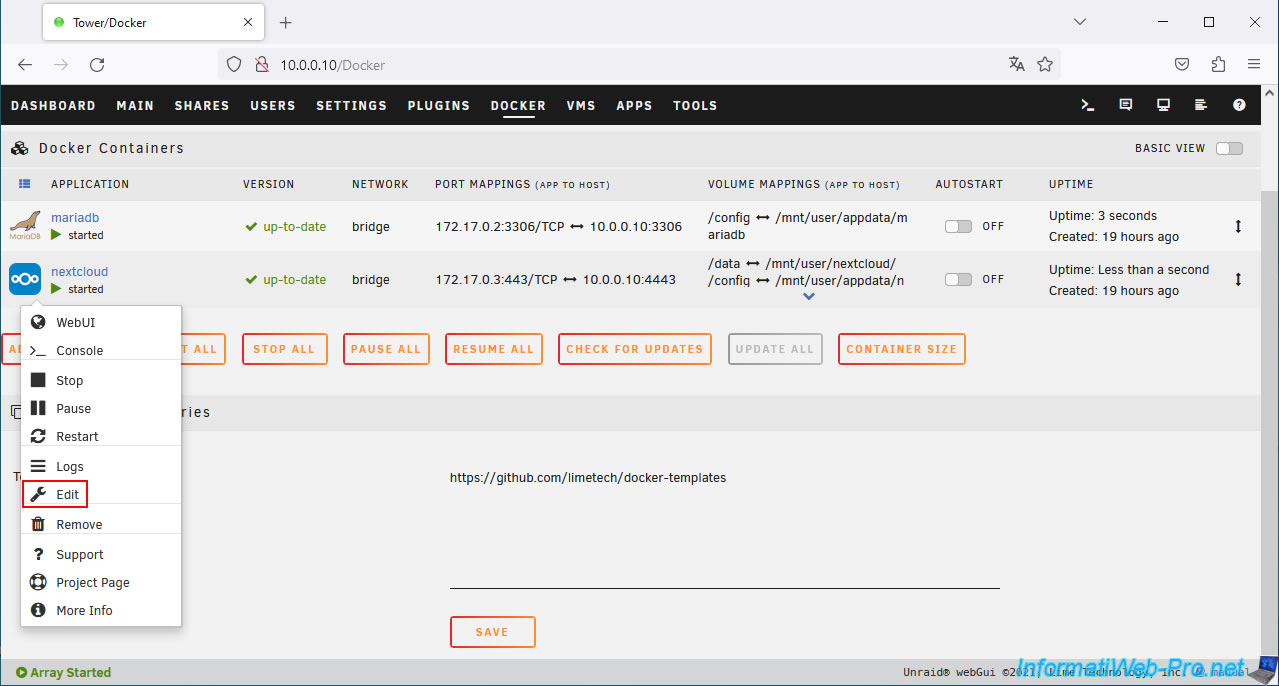
Click on the Nextcloud icon, then on: Edit.
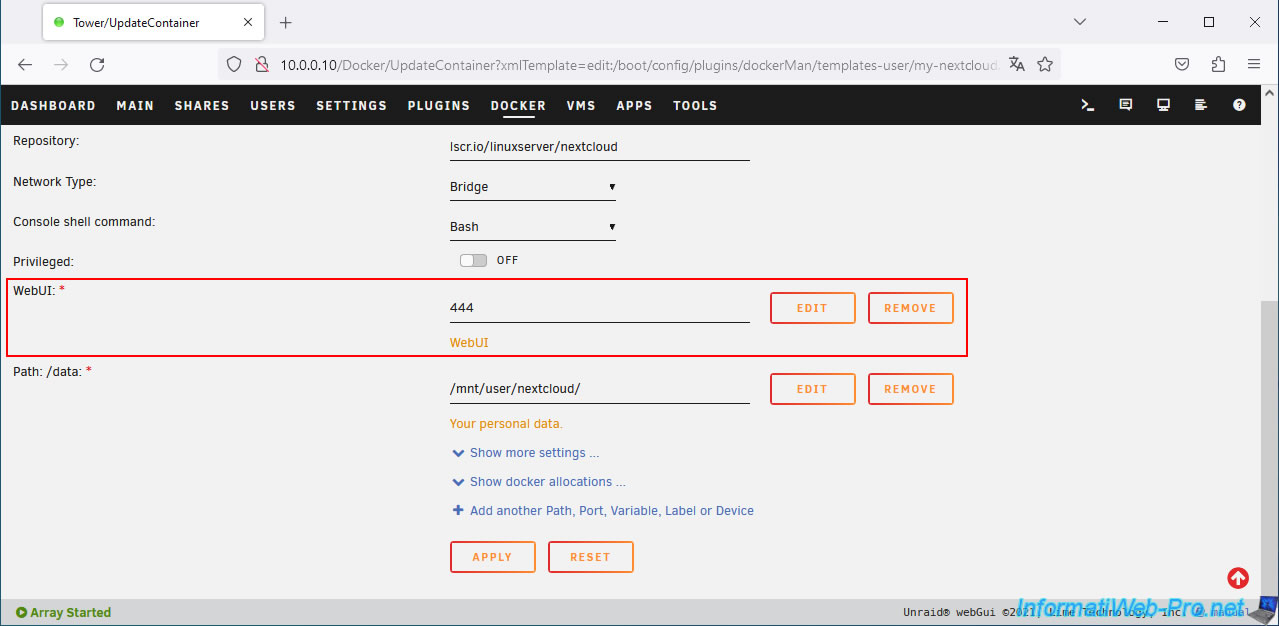
Change the port of "WebUI" to "444", then click: Apply.
Once the container update is complete, click: Done.
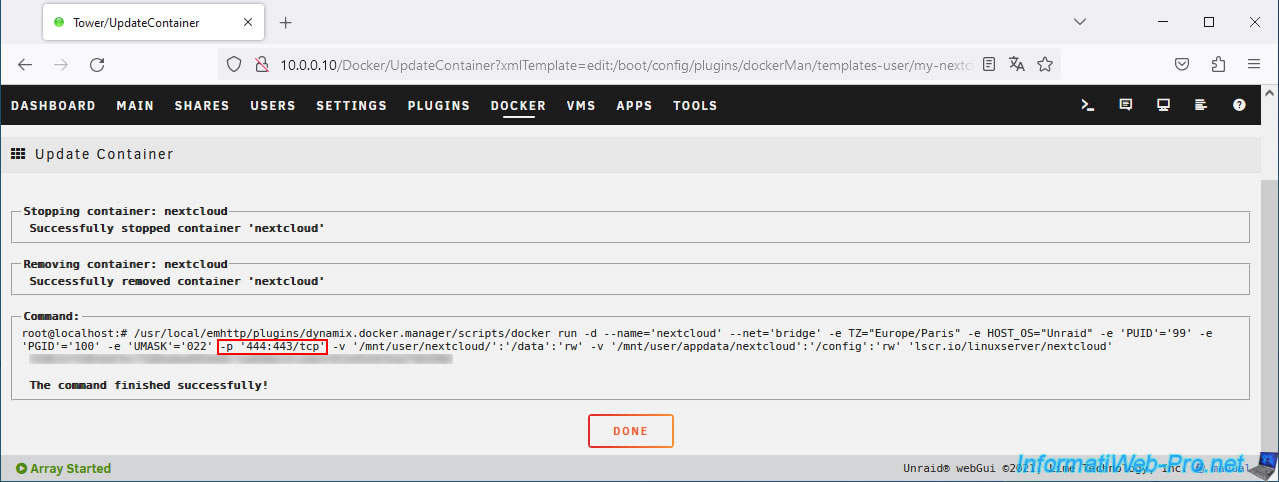
As expected, the Nextcloud port has changed.
Once the "nextcloud" container is updated, you must also update the Nextcloud "config.php" file.
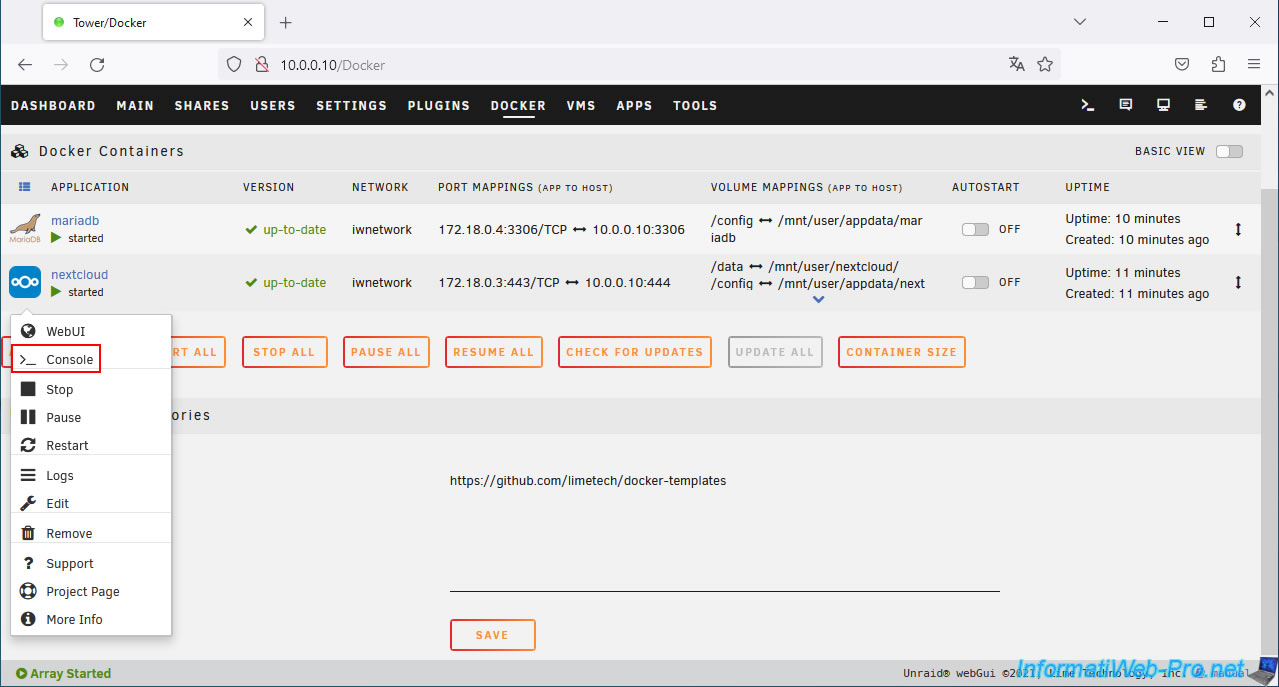
To do this, click the Nextcloud icon, then click Console.
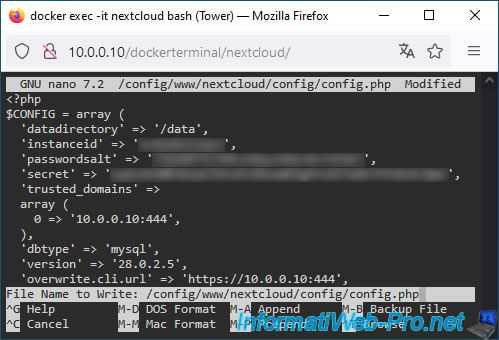
In the console that appears, type the command below to modify the Nextcloud "config.php" file.
Bash
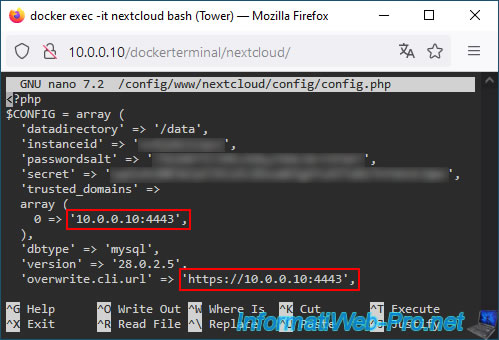
nano /config/www/nextcloud/config/config.php
As you can see, the old port number (in our case: 4443) is visible in 2 places.
Change this port number to 444, then save the changes using the keyboard shortcut "CTRL+O".
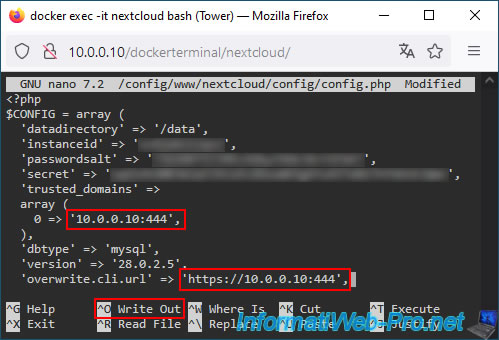
Confirm the save by pressing Enter.
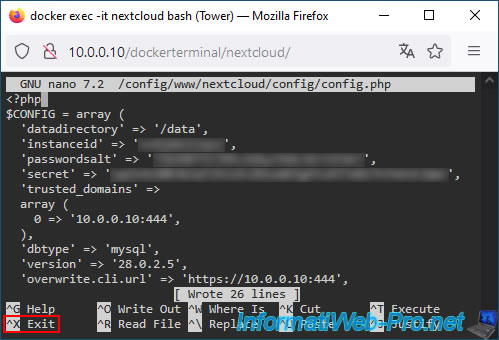
Changes have been saved.
Exit "nano" by pressing "CTRL+X".
3. Use the same Docker network as the reverse proxy (swag)
To access Nextcloud via swag, you must use the same Unraid custom network for "swag" as well as your other containers.
In this case, for: swag, nextcloud, and mariadb. Otherwise, Nextcloud will no longer be able to connect to the "MariaDB" database server it needs for its database.
To begin, install and configure "swag" by following our tutorial: Unraid 6.9.2 - SWAG - Install a reverse proxy (SWAG).
Then, come back here and you will need to specify the same virtual network for two other Docker containers (mariadb and nextcloud), as you will see later in this tutorial.
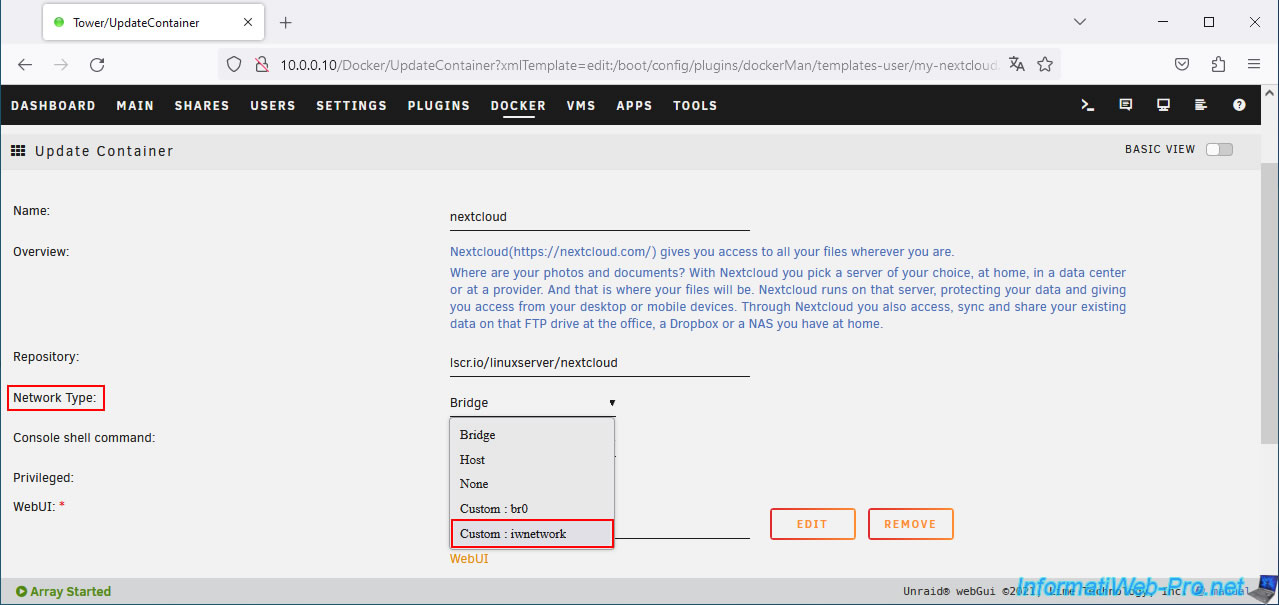
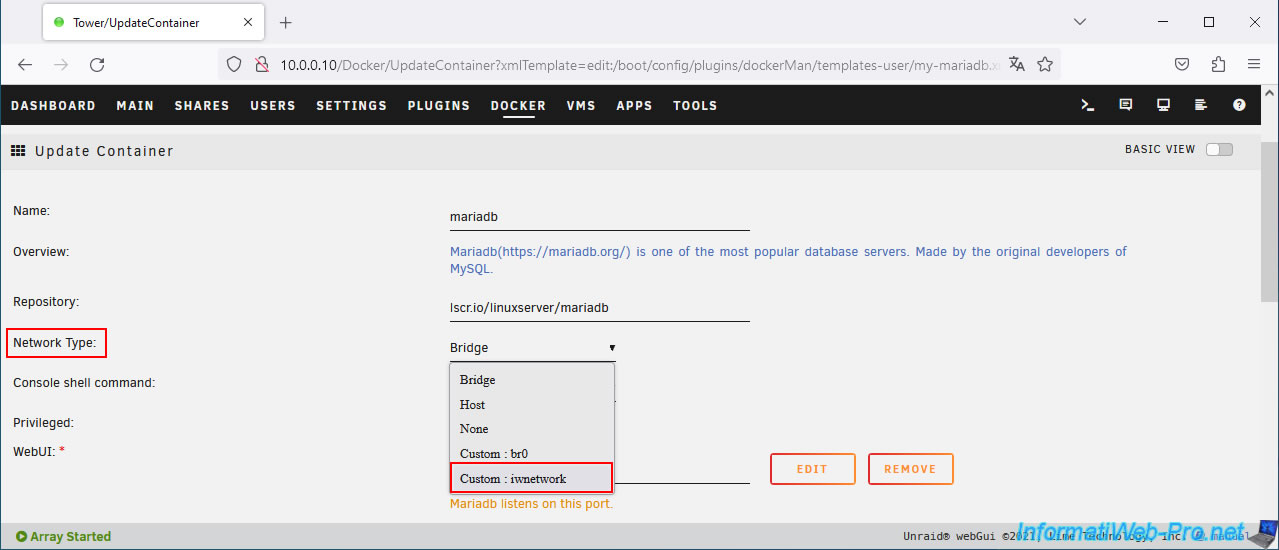
Modify your "nextcloud" container.
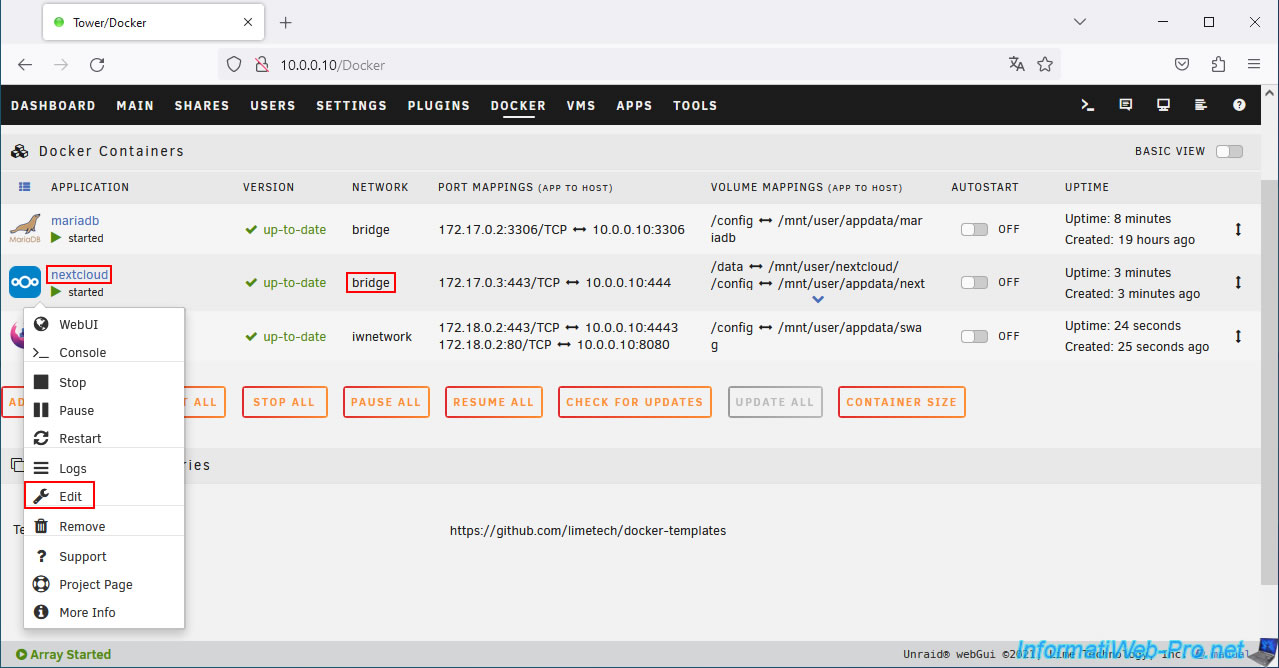
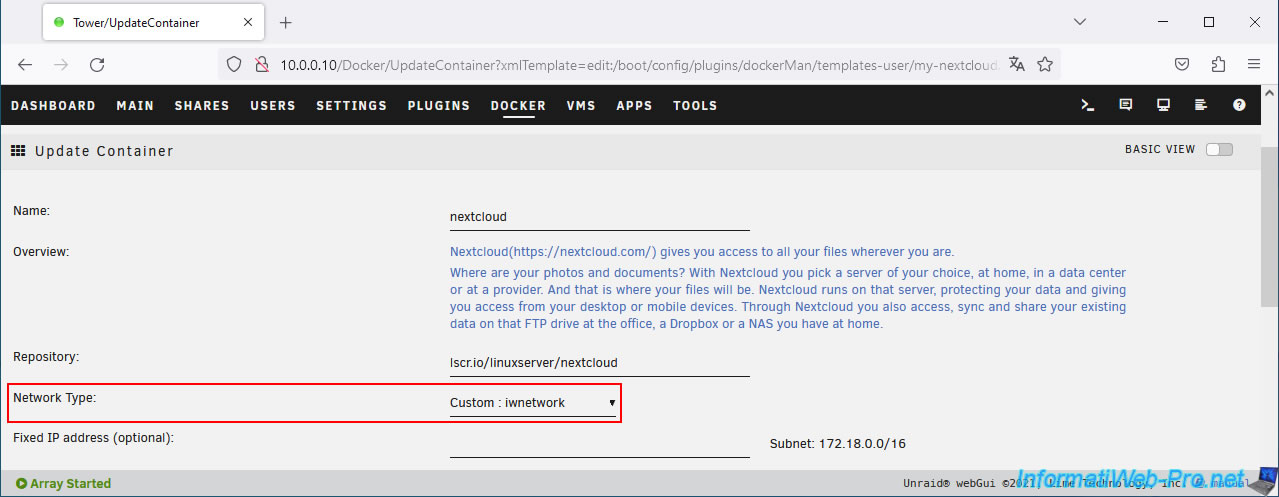
On the "Update Container" page that appears for your "nextcloud" container, select "Custom: iwnetwork" for the "Network Type" parameter.
Note: "iwnetwork" is the name of our custom network created in Unraid and also used by "swag".
Now, Nextcloud will use your custom subnet (in our case: iwnetwork) whose network ID is "172.18.0.0/16" in our case.
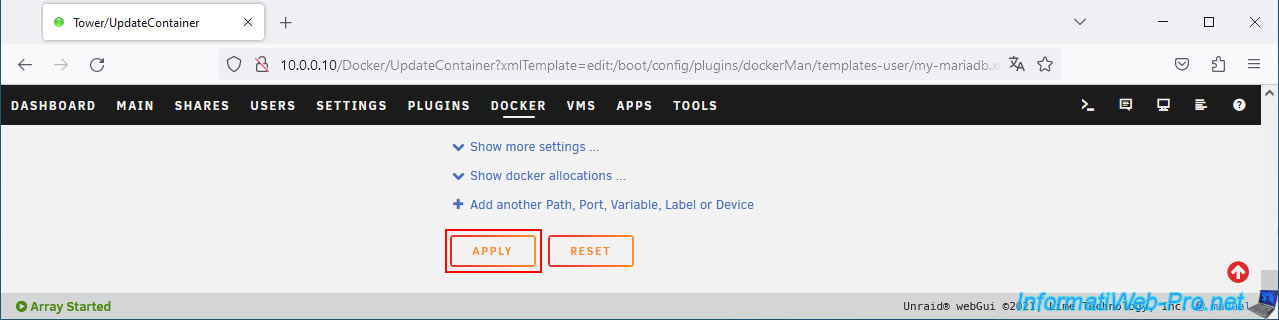
At the bottom of the page, click on: Apply.

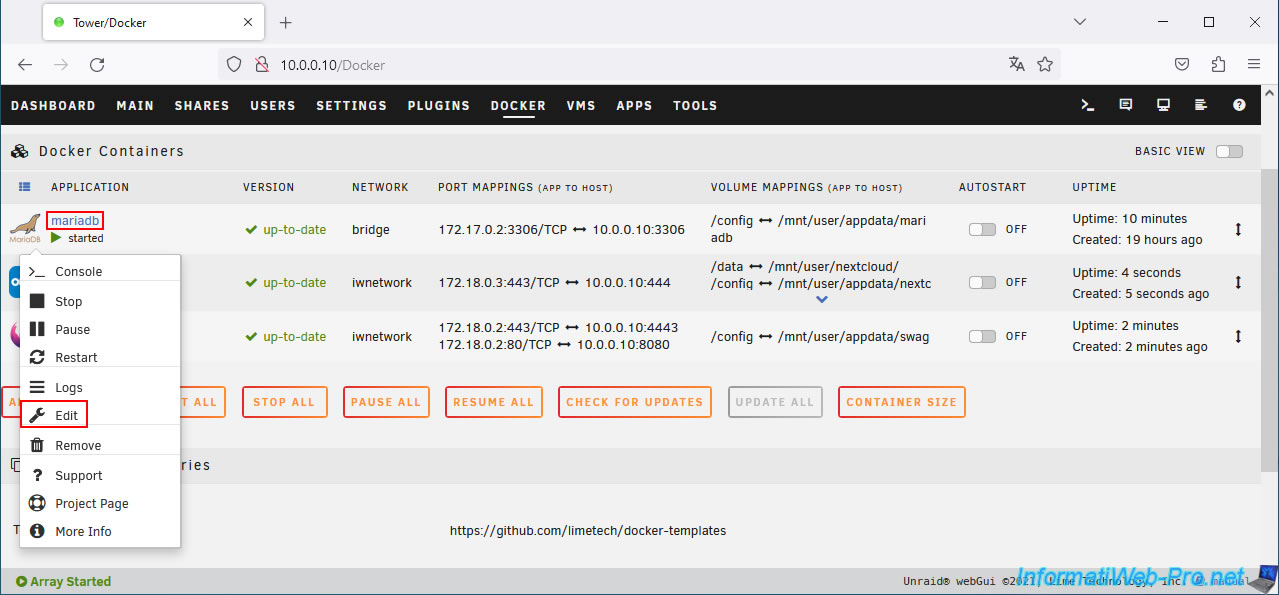
Do the same for your "mariadb" container (so that Nextcloud can continue to access your "MariaDB" database server).
To do this, click on the "mariadb" icon, then on: Edit.
Again, select your custom subnet for the "Network Type" parameter of this "mariadb" container.
At the bottom of the page, click on: Apply.
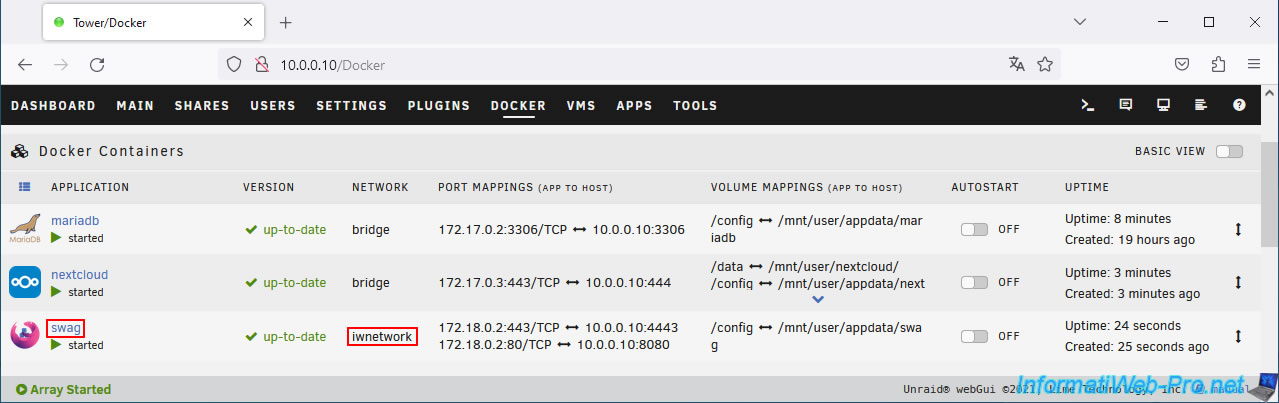
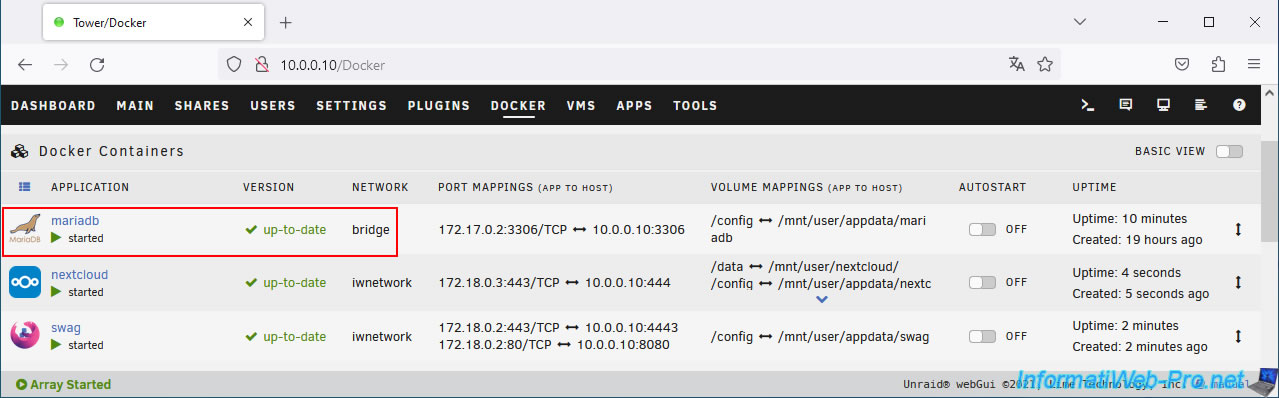
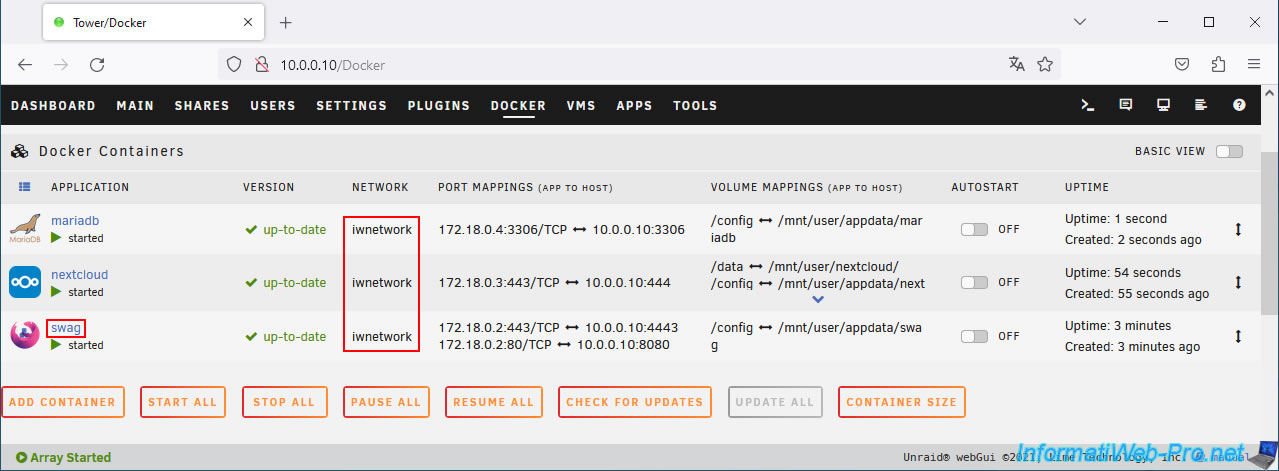
Now your 3 containers (mariadb, nextcloud and swag) are using the same subnet.
Share this tutorial
To see also
-
NAS 4/29/2026
Unraid 6.9.2 - Docker - Install a DDNS client (Duck DNS)
-
NAS 4/15/2026
Unraid 6.9.2 - Docker - Install a file server (Nextcloud)
-
NAS 7/8/2026
Unraid 6.9.2 - Docker - Install a password manager (Vaultwarden)
-
NAS 5/20/2026
Unraid 6.9.2 - SWAG - Locally access the reverse proxy (SWAG) via NAT reflection
You must be logged in to post a comment