- NAS
- Unraid
- 06 May 2026 at 13:20 UTC
-

- 1/3

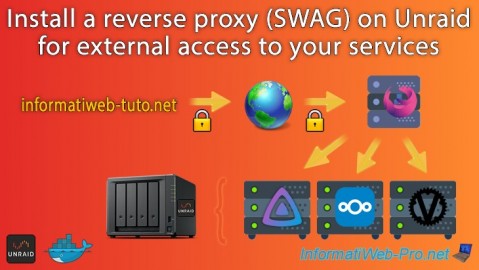
SWAG is a Docker container that allows you to install a reverse proxy using nginx. Additionally, the connection will be secured via a valid SSL certificate.
With this reverse proxy, you will be able to securely access all services (Plex, Jellyfin, Nextcloud, ...) hosted on your NAS from the Internet.
To secure the connection, a valid SSL certificate for your domain name (and its desired subdomains) will be generated free of charge via the Let's Encrypt certification authority.
- What is a reverse proxy?
- Enable custom networks in Docker
- Create a custom network in Docker
- Port forwarding in your Box (router)
- Configure your domain name (at OVH)
- Install SWAG
- Reinstall the swag container (in case of problems)
- Swag installed and configured correctly
- Test external access to your reverse proxy using Opera's VPN
- Models for reverse proxy
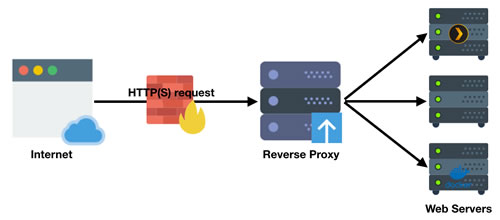
1. What is a reverse proxy?
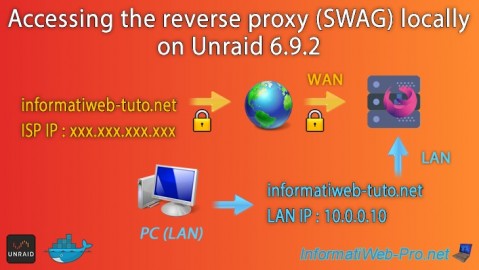
A reverse proxy is a server that acts as an intermediary between the Internet and your services hosted on your NAS.
Thanks to Nginx (which is a web server) located in the SWAG Docker container, you can securely access all the services (Plex, Jellyfin, Nextcloud, ...) hosted on your NAS from the Internet.
To secure the connection, a valid SSL certificate for your domain name (and its desired subdomains) will be generated free of charge via the Let's Encrypt certification authority.
The advantage is that the only server directly accessible from the Internet will be the reverse proxy, not each service hosted on your NAS.
This means that you only need to open and forward ports 80 (HTTP) and 443 (HTTPS) on your box (or router), rather than opening ports for each service.
Furthermore, it is also possible to filter connections to your reverse proxy using fail2ban, for example (although this is not covered in this tutorial).
This prevents hackers from being able to directly attack your services (which would make them unstable, or worse).
2. Enable custom networks in Docker
To begin, you'll need to enable the use of custom networks with Docker.
For containers to communicate with each other using name resolution, you need to connect your Docker containers to a custom network on Docker.
Name resolution doesn't work when Docker containers are connected in bridge mode.
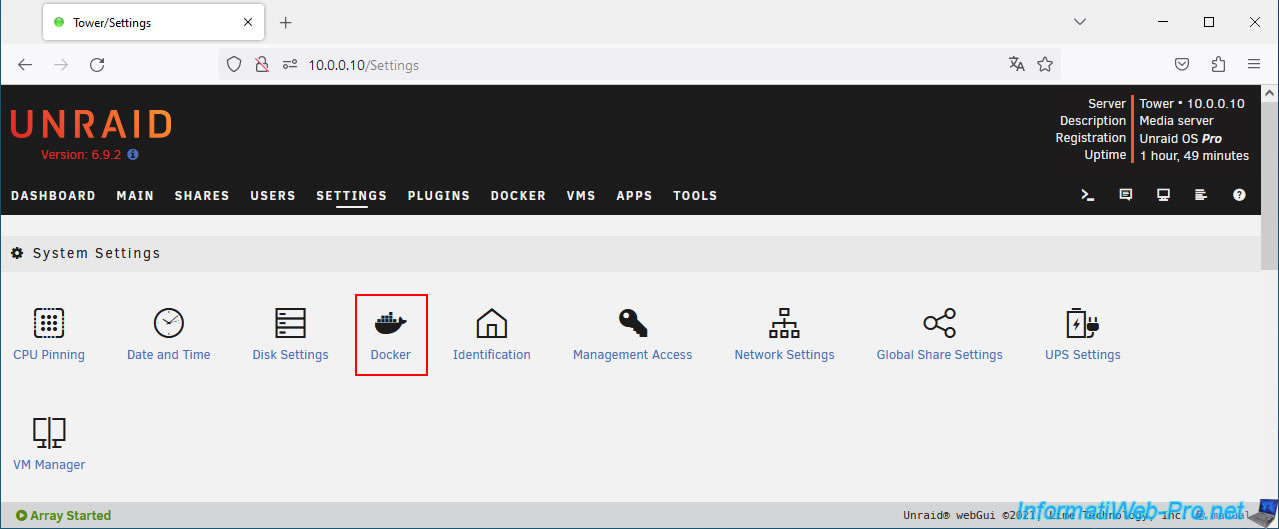
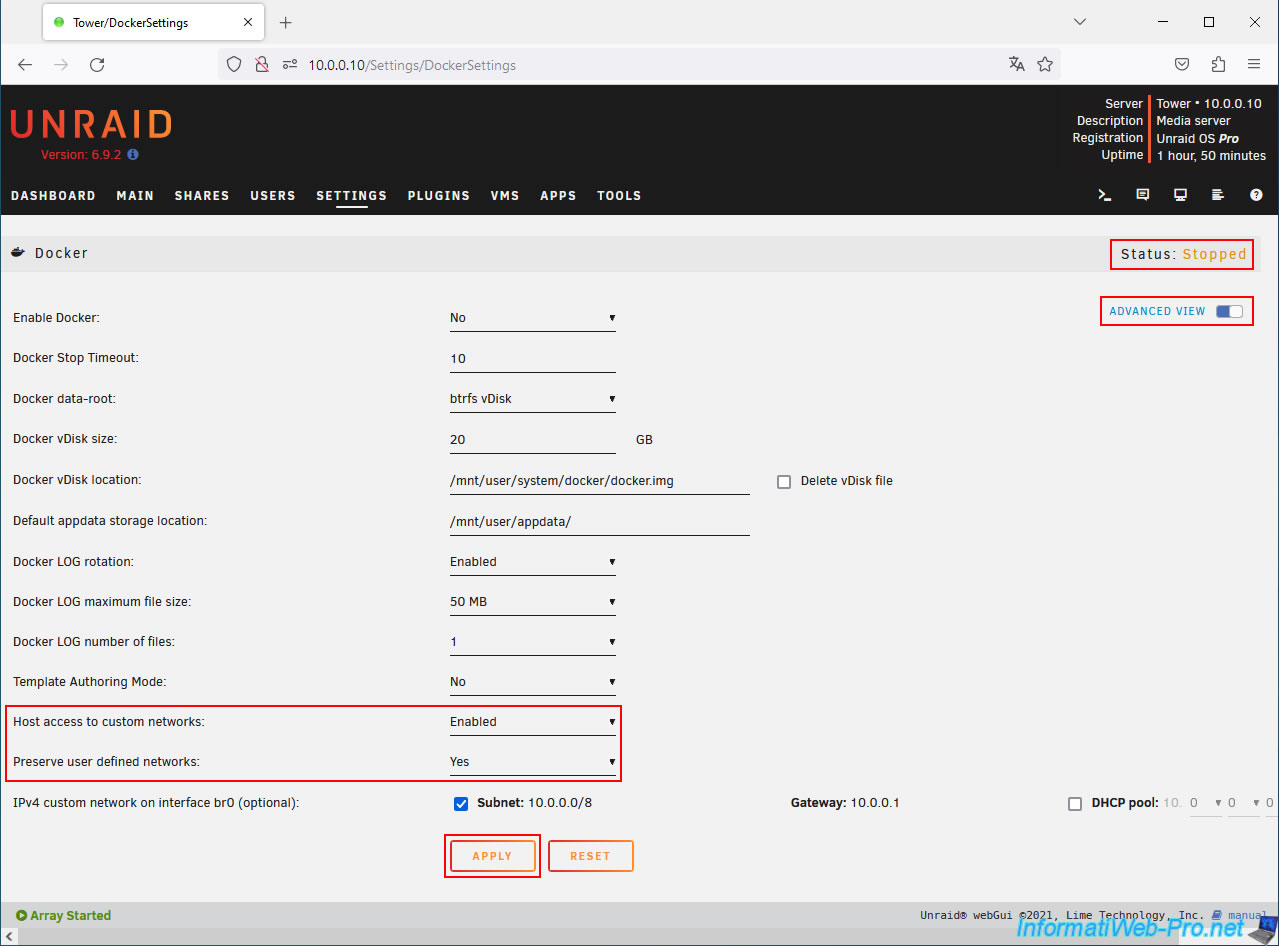
To do this, go to: Settings -> System Settings -> Docker.
At the top of the page, select "Enable Docker: No" and click "Apply".
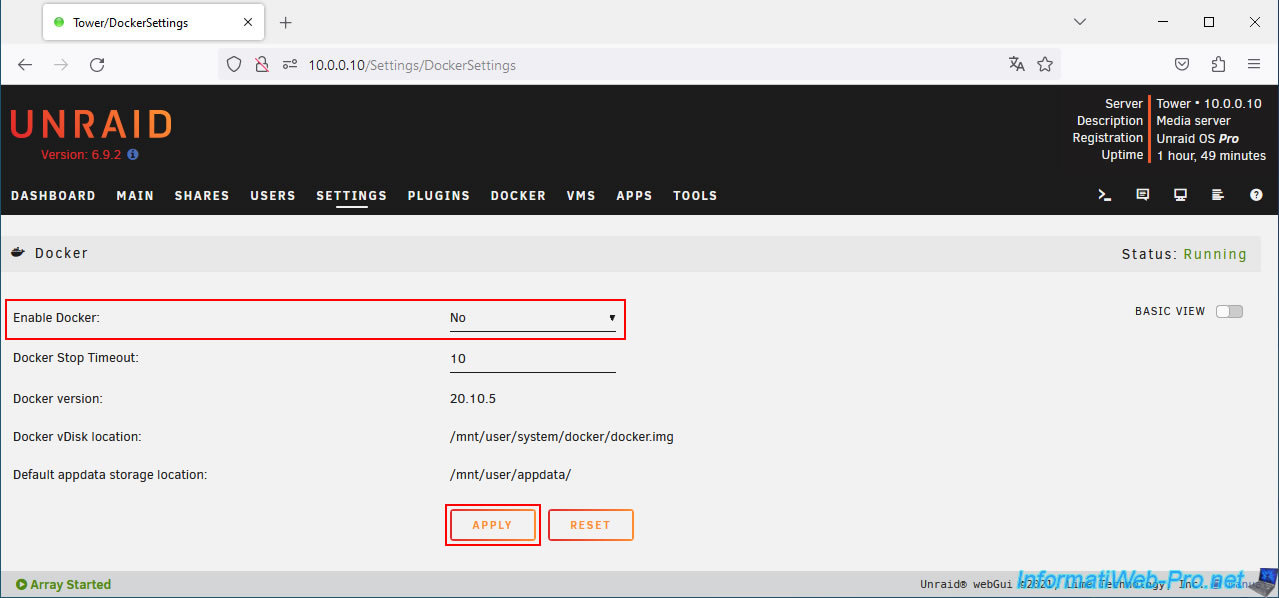
Once Docker is disabled (Status: Stopped), switch to Advanced View by clicking Advanced View.
Then, enable these settings:
- Host access to custom networks: Enable. Allows the host to access custom networks created on Docker.
- Preserve user-defined networks: Yes. Allows custom networks created on Docker to be preserved even if you restart your Unraid server.
If you do not enable this setting, your custom networks will disappear, and any Docker containers connected to them will no longer function.
Click Apply again.
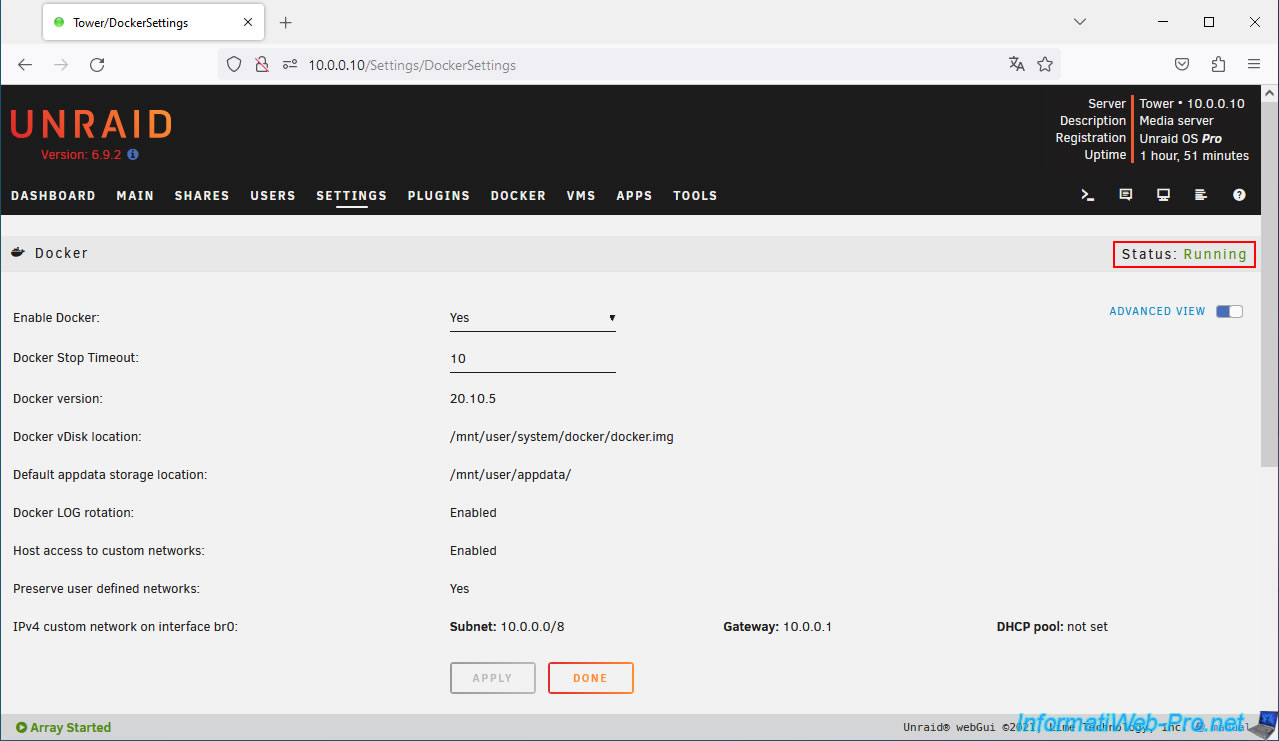
Now, re-enable Docker.
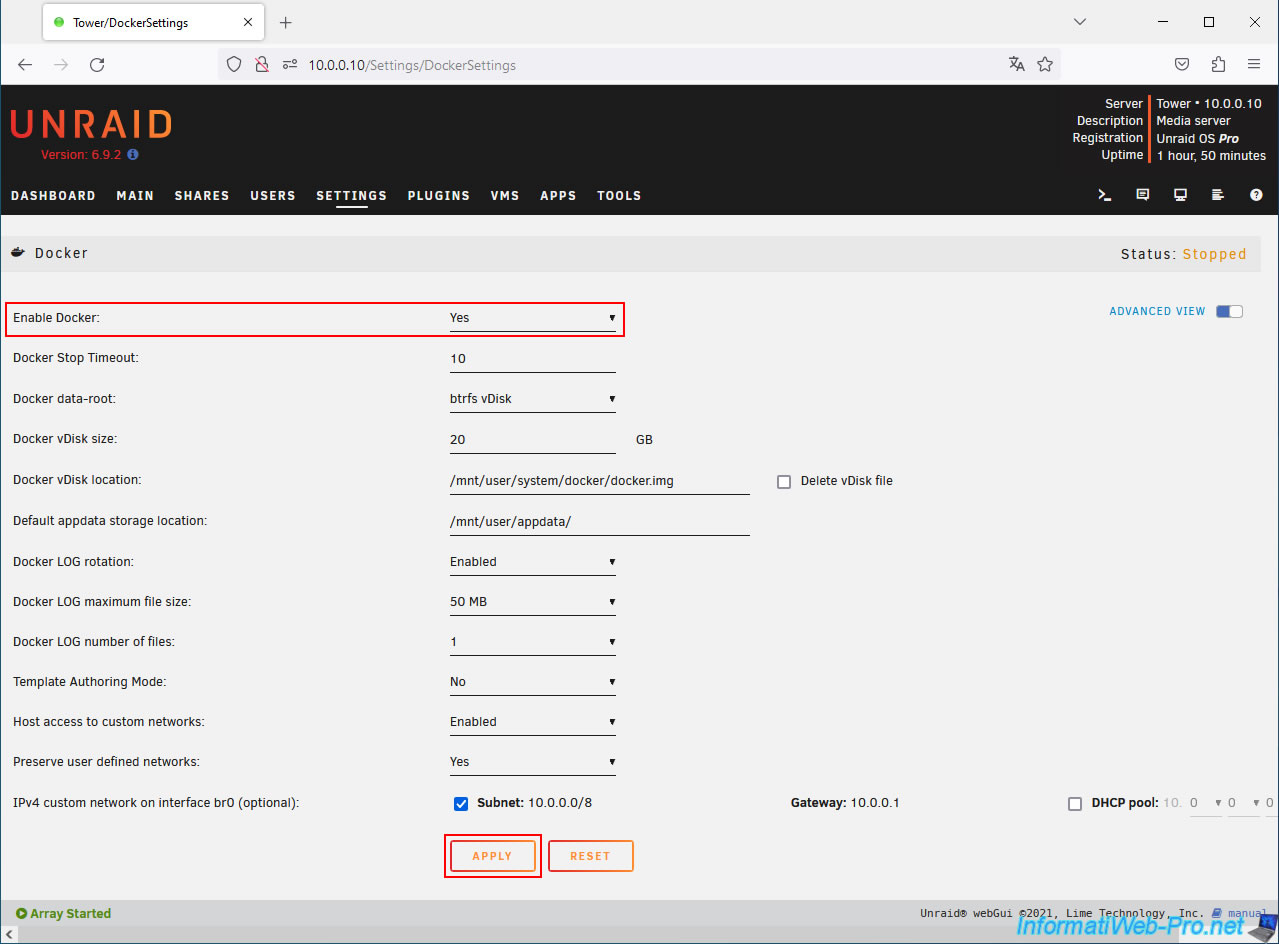
The Docker service is running again (Status: Running).
3. Create a custom network in Docker
Creating a custom network in Docker is easy.
Simply open the Unraid terminal by clicking the first icon (outlined in red in the image) in the top right corner of the page.
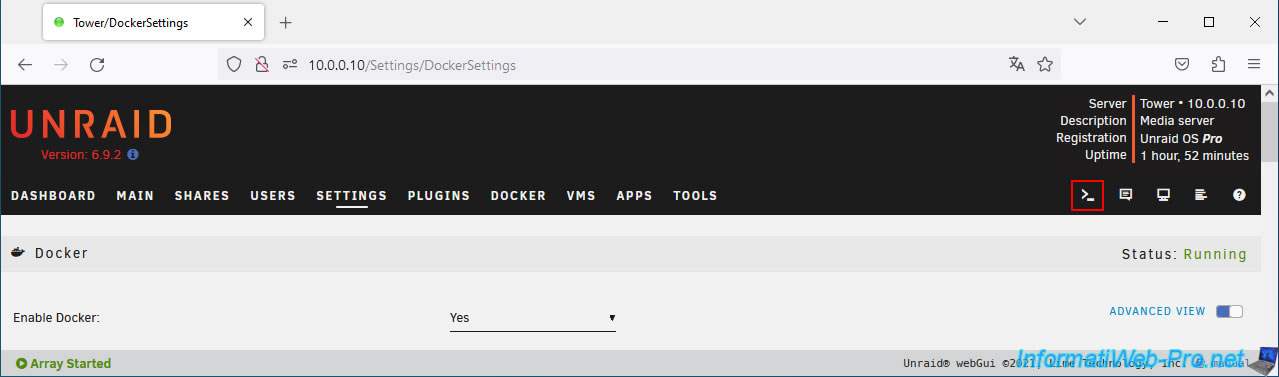
Next, type the command below (replacing "iwnetwork" with the name you want to appear in Unraid's pages):
Plain Text
docker network create iwnetwork
Your new custom Docker network has been created. You can close this terminal.
Note: you don't need the value that was displayed. Unraid will suggest your Docker network name when installing any Docker container.

4. Port forwarding in your Box (router)
To access your services from the Internet, you'll need to forward ports 80 (HTTP) and 443 (HTTPS) on your box (or router) to the ports you'll use for SWAG.
Indeed, as explained previously, only the reverse proxy will be accessible from the outside. You'll then have access to your services (available internally) via this reverse proxy.
In our case, we'll use ports 8080 and 4443 respectively for SWAG's HTTP and HTTPS ports. This prevents ports 80 and 443 from being accessible from your local network.
Furthermore, port 80 is already in use by the Unraid web interface, which would cause a conflict.
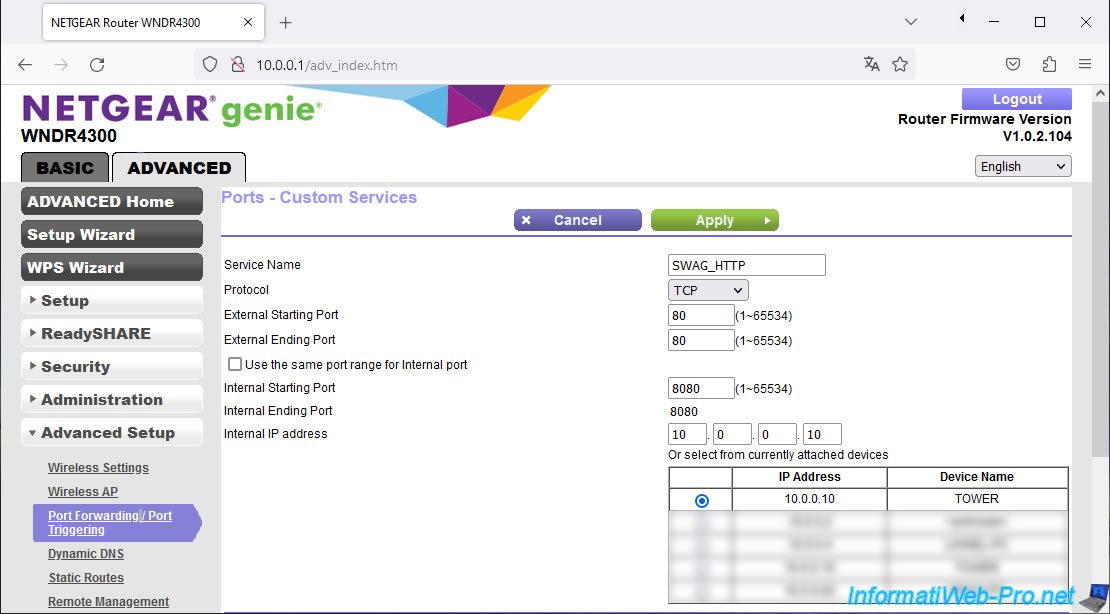
For SWAG's port 80 (HTTP), specify:
- Name: SWAG_HTTP (for example). This is purely indicative in your box (or router).
- Protocol: TCP. The HTTP protocol is TCP (connected mode).
- External ports: from 80 to 80. In other words, the Internet-facing port. By default, the HTTP protocol uses port 80. This eliminates the need to specify the port in the URL.
- Internal port: 8080. The port number you will specify as the HTTP port for SWAG.
- Internal IP address: 10.0.0.10. This IP address corresponds to the LAN IP address of our Unraid server.
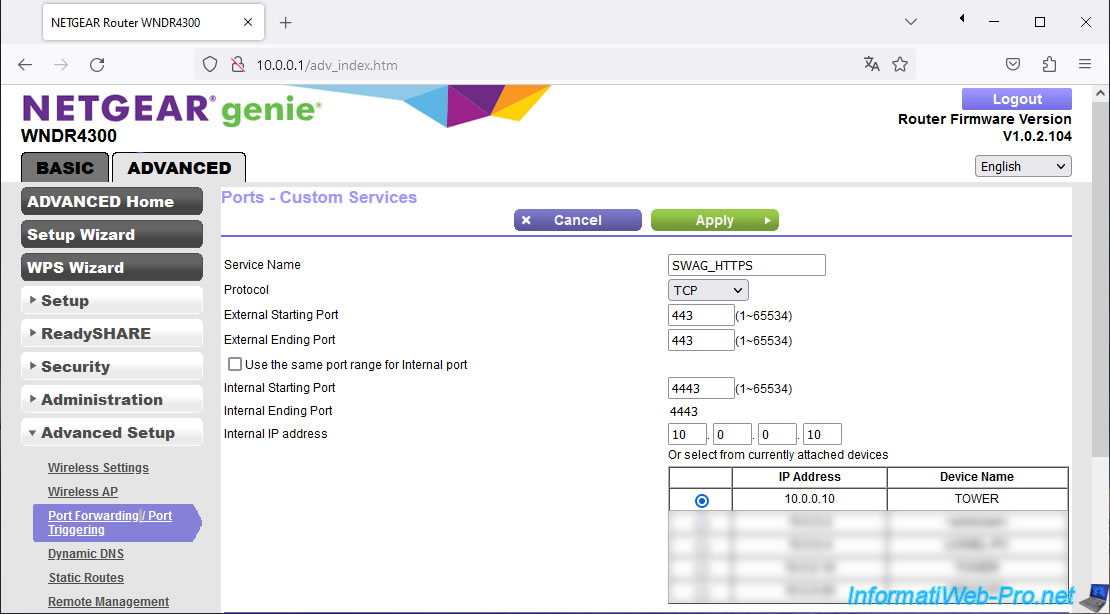
For SWAG port 443 (HTTPS), specify:
- Name: SWAG_HTTPS (for example).
- Protocol: TCP. The HTTPS protocol is also a TCP protocol.
- External ports: 443 to 443. In other words, the Internet-facing port. The HTTPS protocol uses port 443 by default.
- Internal port: 4443. The port number you will specify as the HTTPS port for SWAG.
- Internal IP address: 10.0.0.10. Again, this is the LAN IP address of our Unraid server.
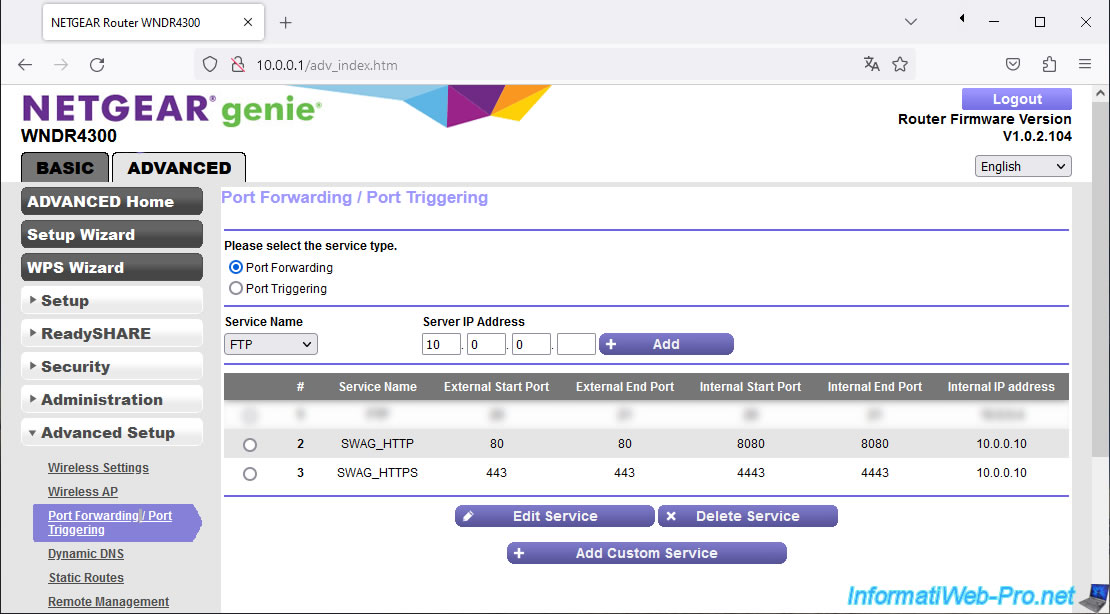
In our case, this gives this:
Plain Text
SWAG_HTTP / 80 / 80 / 8080 / 8080 / 10.0.0.10
SWAG_HTTPS / 443 / 443 / 4443 / 4443 / 10.0.0.10
5. Configure your domain name (at OVH)
In our case, we have the domain name "informatiweb-tuto.net" with OVH, which we only use for some tutorials.
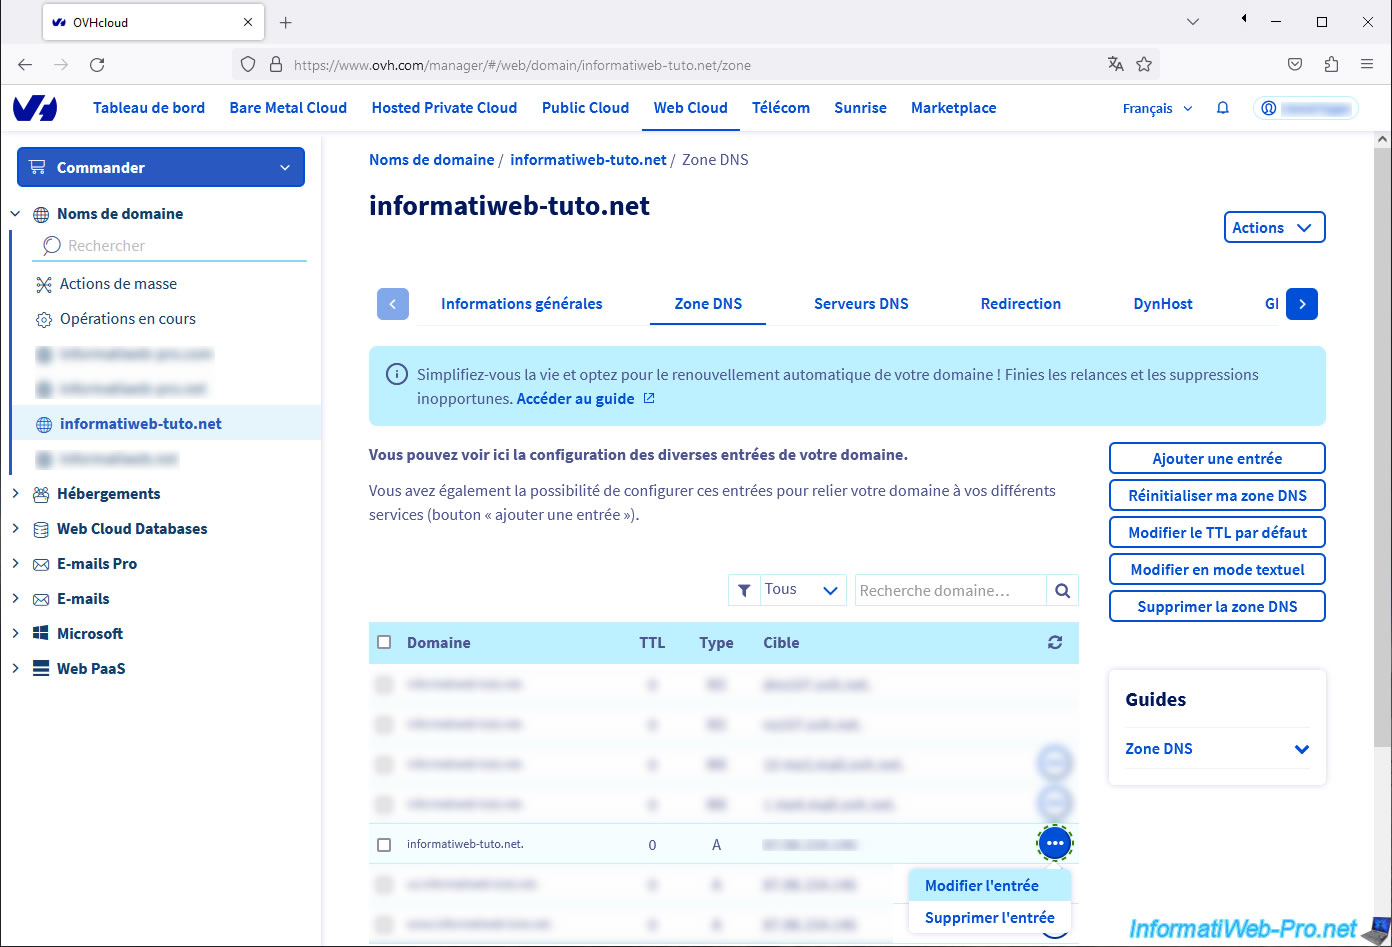
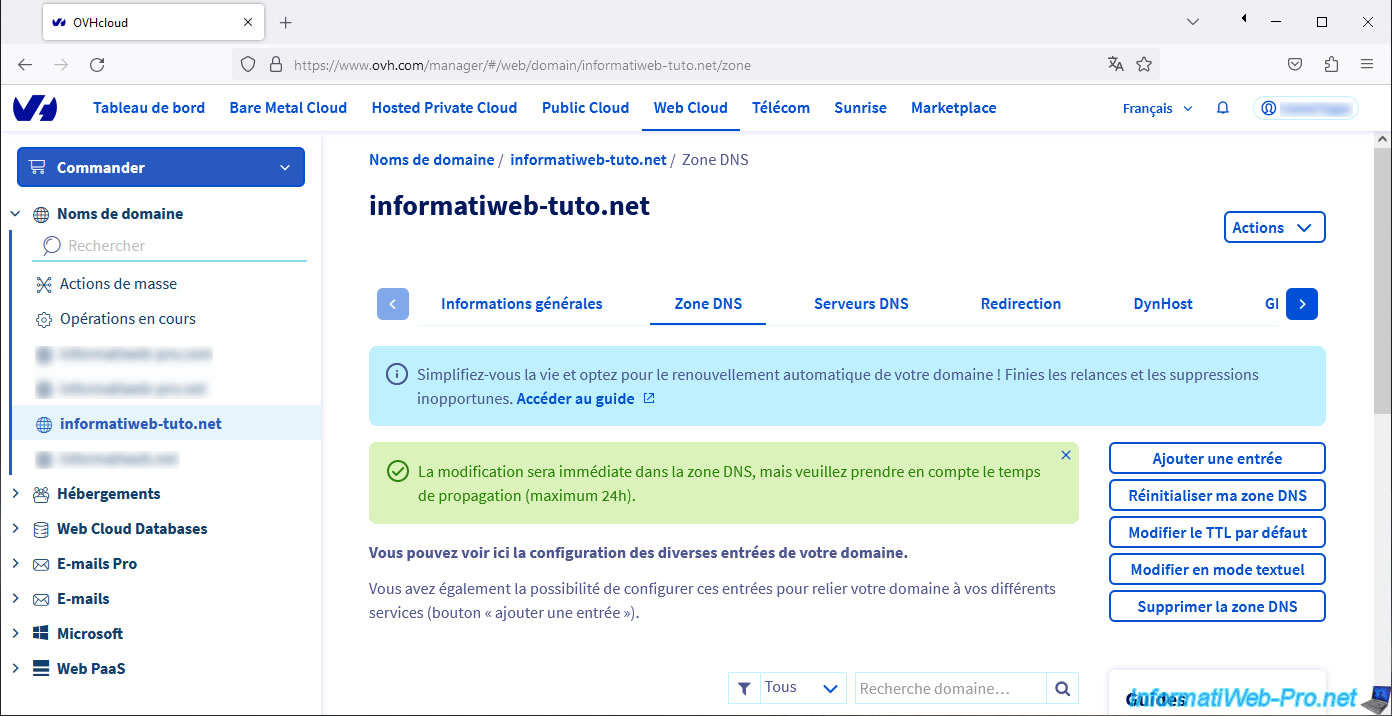
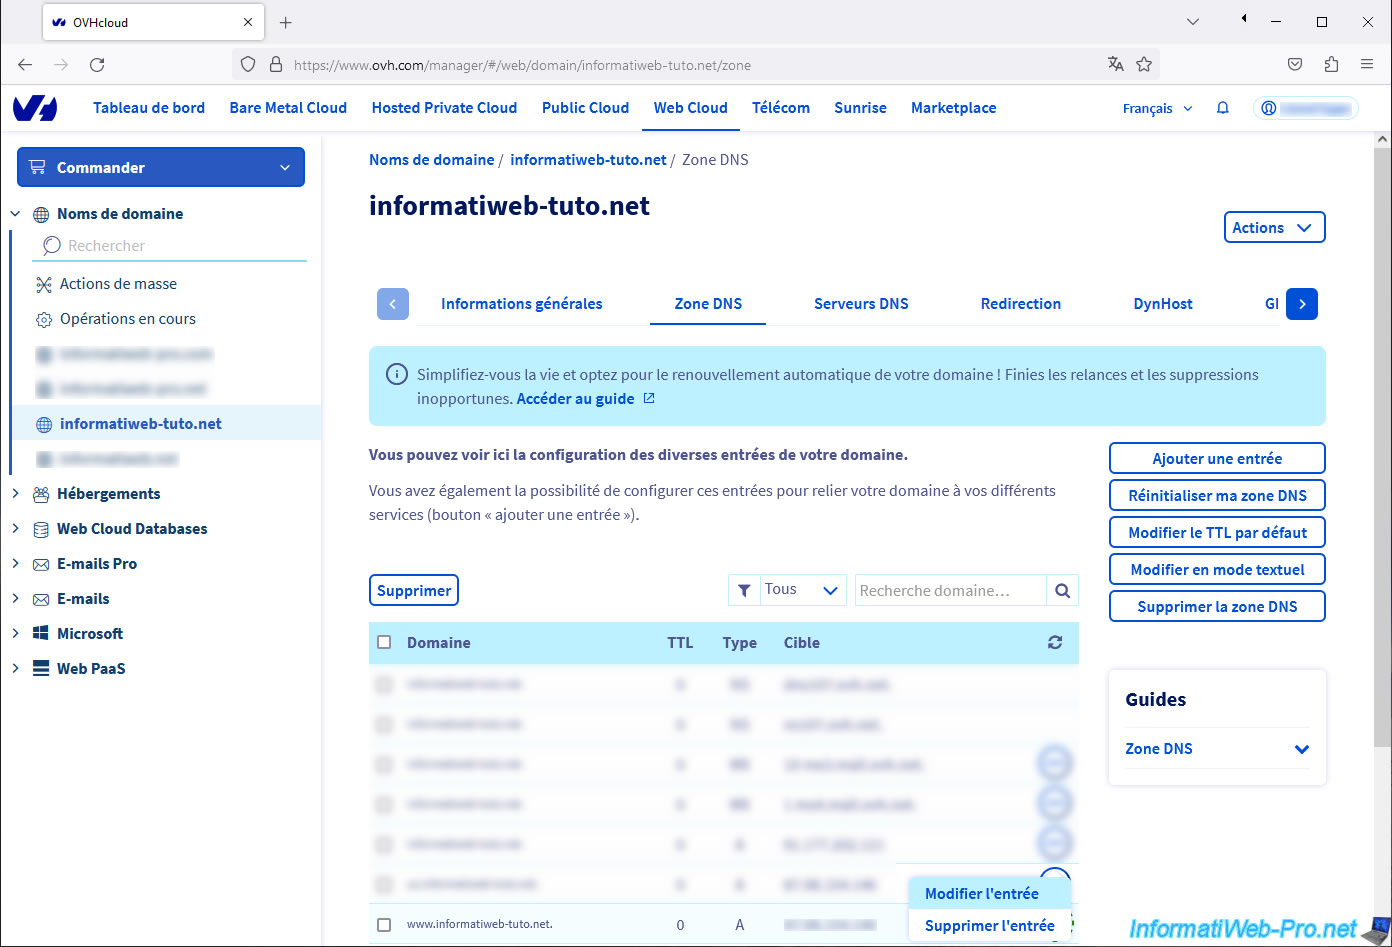
For OVH, log in to your OVH account, then go to: Web Cloud -> Domain Names -> [your domain name].
Then, in the "DNS Zone" tab, modify the A record (to use an IPv4 address) or the AAAA record (for IPv6) if you want to use your entire domain name with SWAG.
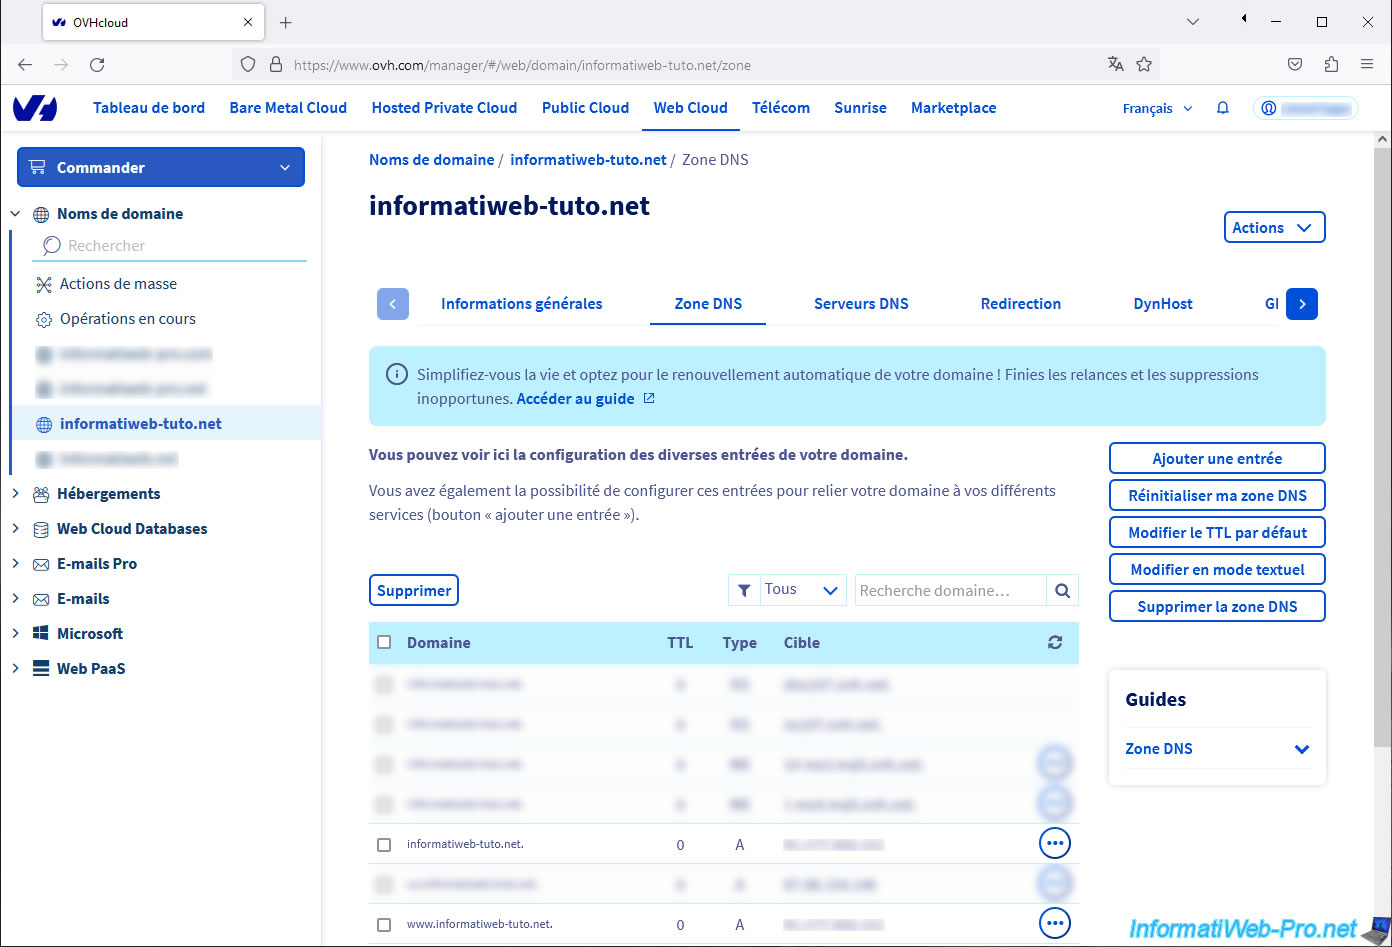
To do this, click "..." (to the right of the A or AAAA record for the root domain), then click "Edit entry".
Note: for the "A" and "AAAA" DNS records for your root domain, make sure you only use the ones where you entered your external (WAN) IP address.
Otherwise, your web browser may one day try to access an IP address indicated by OVH (usually the IP of your web hosting, if applicable, or of an OVH server).
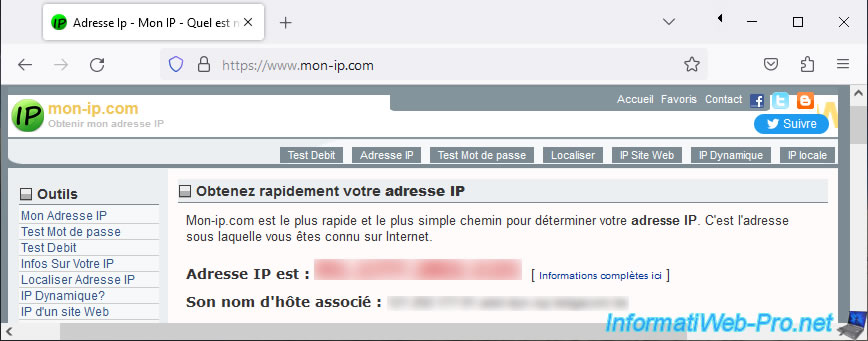
To find your external (WAN) IP address, go to "mon-ip.com" (for example).
If your IP address is in the format "xx.xx.xx.xx," it's an IPv4 address. Otherwise, it's an IPv6 address.
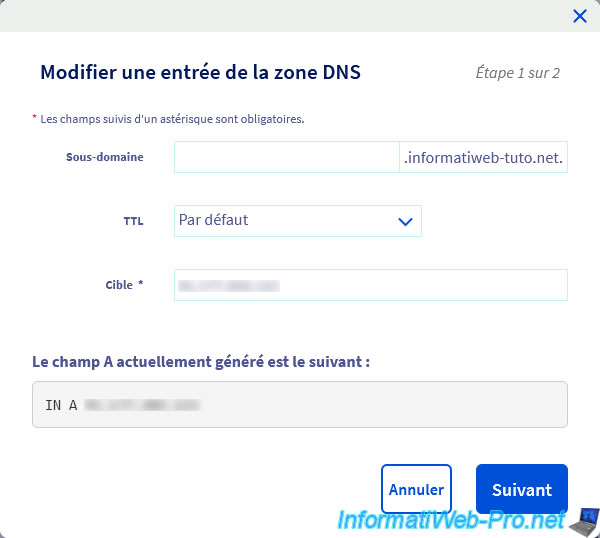
For the root domain, the "subdomain" box must remain empty.
In the "Target" box, enter your IP address.
As OVH indicates, the DNS zone modification (at OVH) is immediate, but DNS propagation can take up to 24 hours.
This means that other DNS servers (such as those of your ISP or Google) will not be updated instantly.
Click Validate.
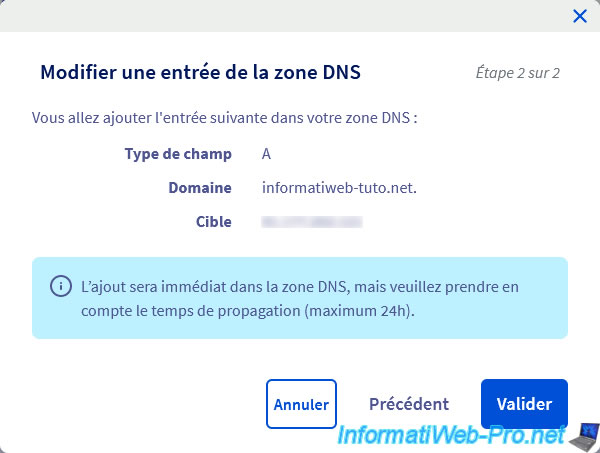
Again, OVH shows you this message:
Plain Text
The change will be immediate in the DNS zone, but please take into account the propagation time (maximum 24 hours).
Do the same for the "www" subdomain (if you want to generate a certificate that is valid for the root domain (e.g. your-domain.com), as well as its "www" subdomain (e.g. www.your-domain.com)).
Again, specify your external (WAN) IP address as the target and click Next.

In our case, we have filled in the "A" type records for our root domain (informatiweb-tuto.net), as well as the "www" subdomain (www.informatiweb-tuto.net).
Share this tutorial
To see also
-
NAS 3/11/2026
Unraid 6.9.2 - Presentation of Dynamix plugins (sys info, ...)
-

NAS 1/28/2026
Unraid 6.9.2 - Replace the parity disk
-
NAS 6/10/2026
Unraid 6.9.2 - SWAG - Access Jellyfin via reverse proxy and personal domain
-
NAS 5/13/2026
Unraid 6.9.2 - SWAG - Locally access the reverse proxy (SWAG)
You must be logged in to post a comment