Access the file server (Nextcloud) via the reverse proxy (SWAG) and a personal domain (OVH) on Unraid 6.9.2
- NAS
- Unraid
- 17 June 2026 at 13:06 UTC
-

- 2/3

4. Add configuration for Nextcloud on reverse proxy (swag)
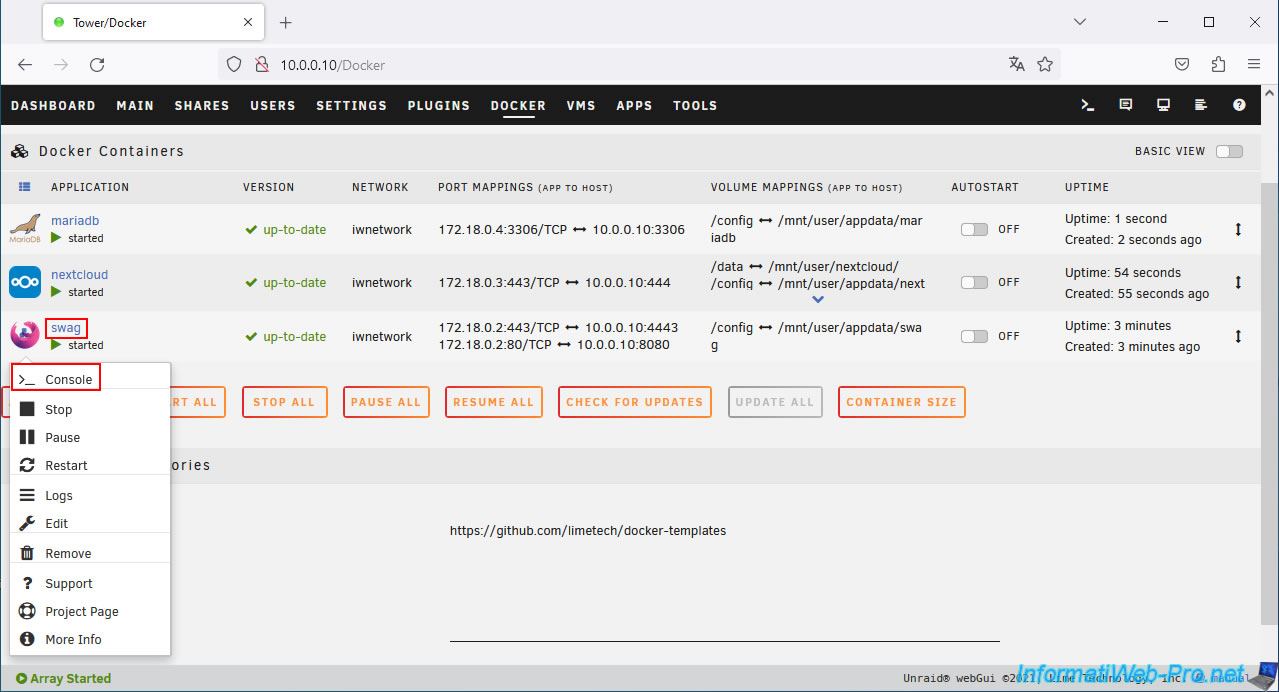
To access Nextcloud via "swag," you need to add a configuration file (based on a template already preconfigured for this service).
To do this, click on the "swag" icon, then on: Console.
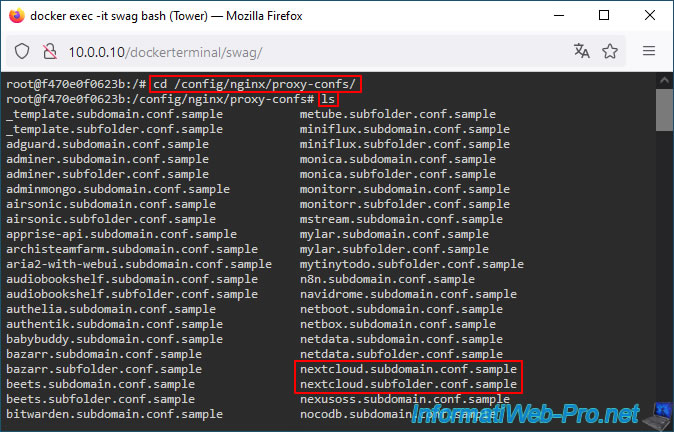
Move to the "/config/nginx/proxy-confs/" folder and view the files there.
Bash
cd /config/nginx/proxy-confs/
ls
As you can see, among the configuration file templates present, you will find these files:
Plain Text
nextcloud.subdomain.conf.sample
nextcloud.subfolder.conf.sample
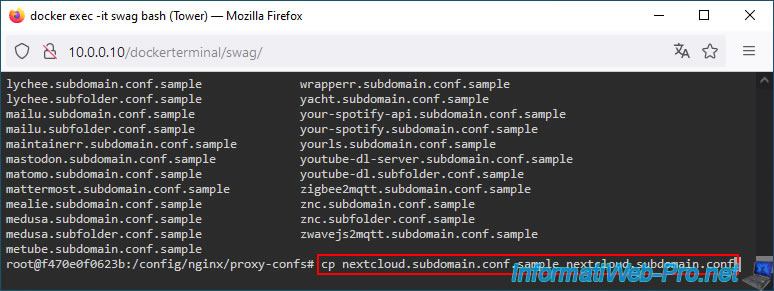
Copy the "nextcloud.subdomain.conf.sample" template used to access Nextcloud using a subdomain (default: nextcloud.[your domain]).
Bash
cp nextcloud.subdomain.conf.sample nextcloud.subdomain.conf
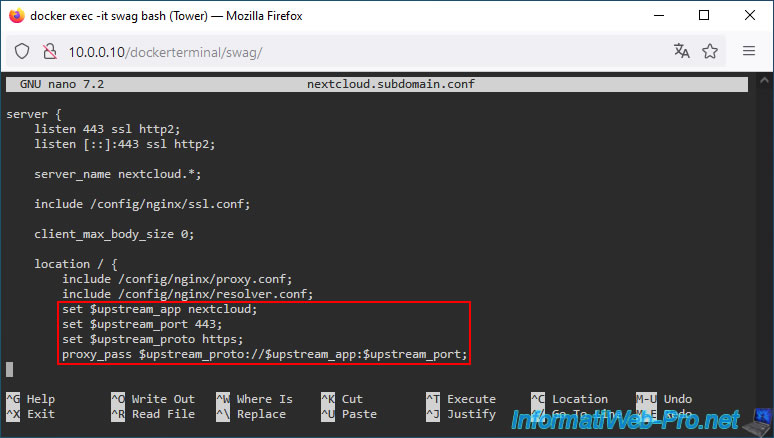
Next, edit the "nextcloud.subdomain.conf" file you just created using the template provided by swag.
Important : at the top of the "nextcloud.subdomain.conf" file, you'll see that "swag" indicates a few changes you need to make to the Nextcloud container so you can seamlessly access Nextcloud via this reverse proxy.
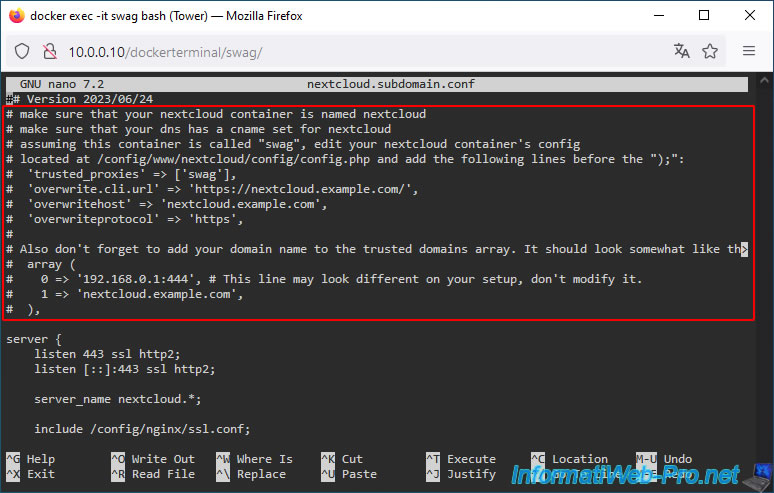
In this configuration file, you'll see that, by default, swag will connect to Nextcloud's port 443 (HTTPS).
This is the default setting. So, you don't need to change anything here.
To exit the "nano" text editor, press "CTRL+X".
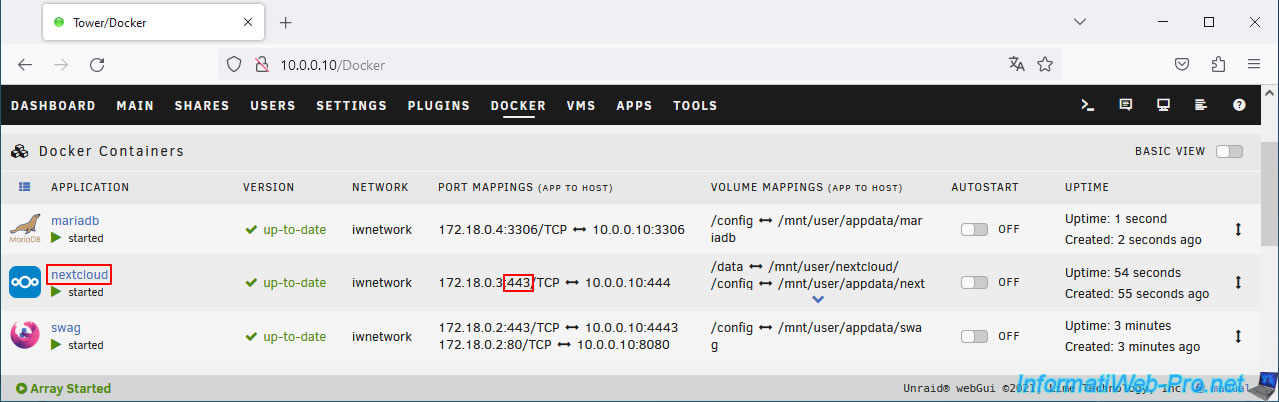
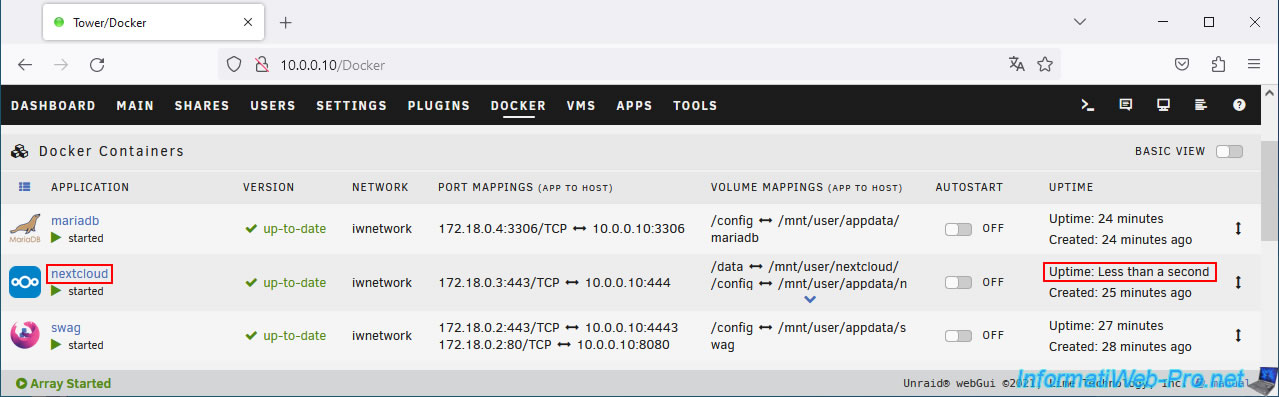
You can see the port used by Nextcloud on the subnet used by "nextcloud" and "swag" in your Docker container list.
As you can see, Nextcloud is indeed using port 443 on this custom subnet.
5. Configure Nextcloud for use via proxy
As stated in the configuration file provided by "swag" for "nextcloud", you need to ensure that:
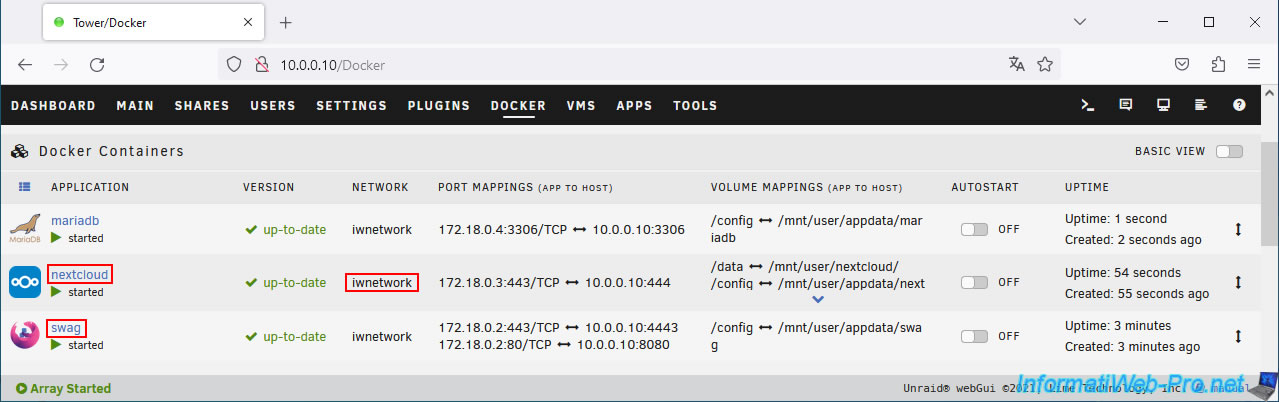
- your Nextcloud container must be named "nextcloud".
- your swag container must be named "swag".
- and obviously, these two containers must use the same subnet.
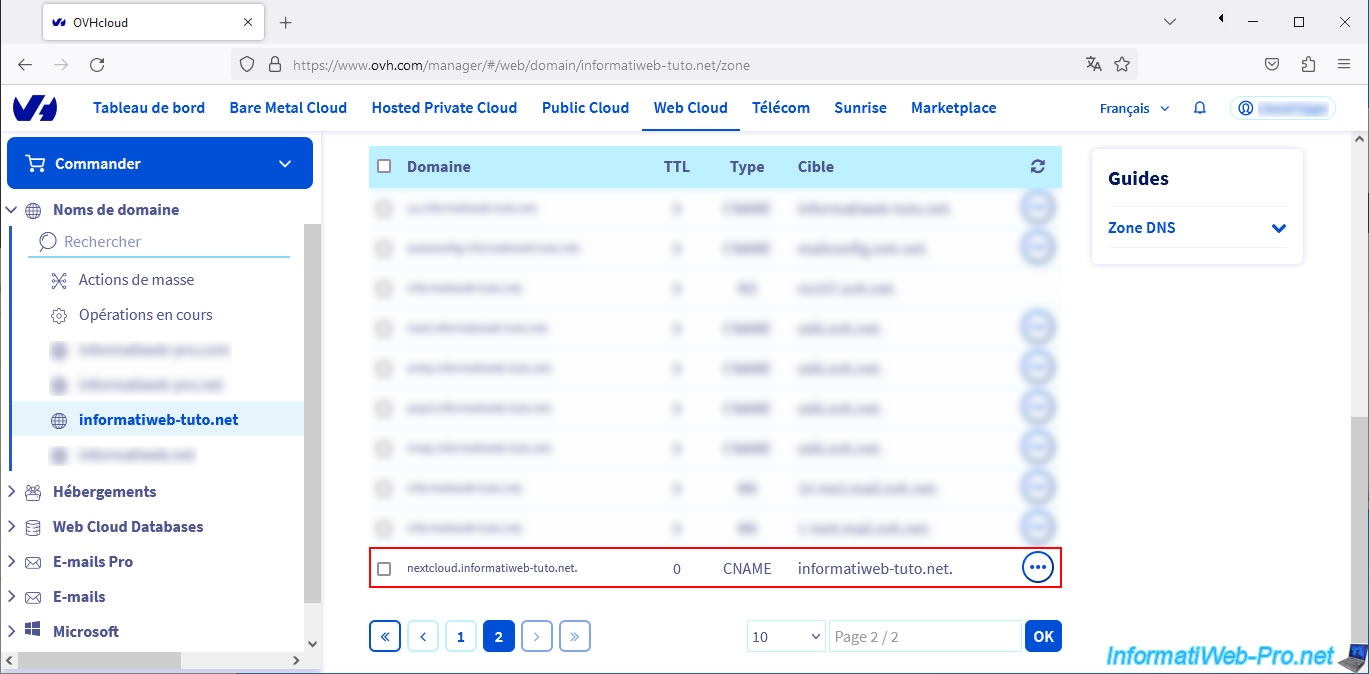
A DNS record must be present in your domain's DNS zone for the "nextcloud" subdomain.
Finally, you need to modify/add some information to Nextcloud's "config.php" file.
To do this, click on your "nextcloud" container icon, then click on Console.
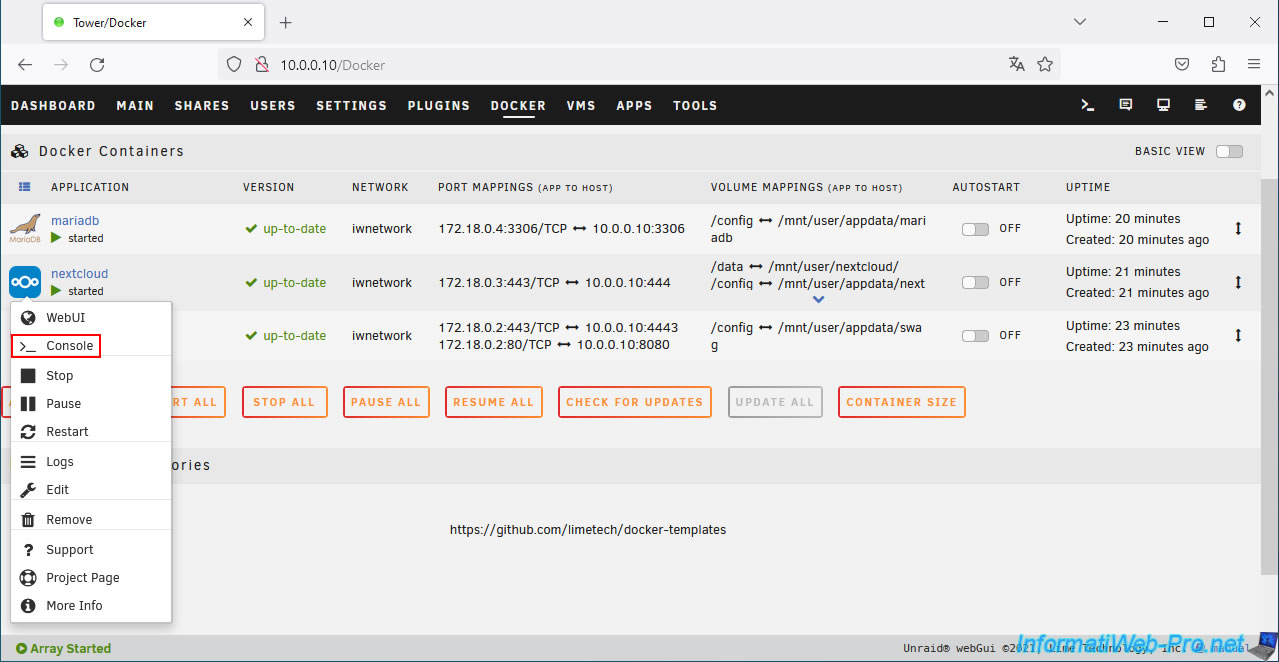
In the console that appears, simply type the command below.
Bash
nano /config/www/nextcloud/config/config.php

At the top of the file you will find an array with the IP address and port used by Nextcloud.
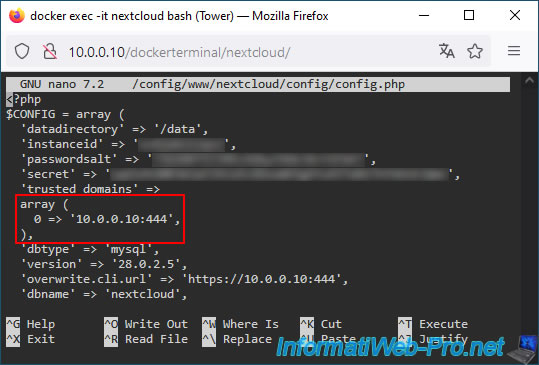
Add the fully qualified domain name you will use to access Nextcloud online.
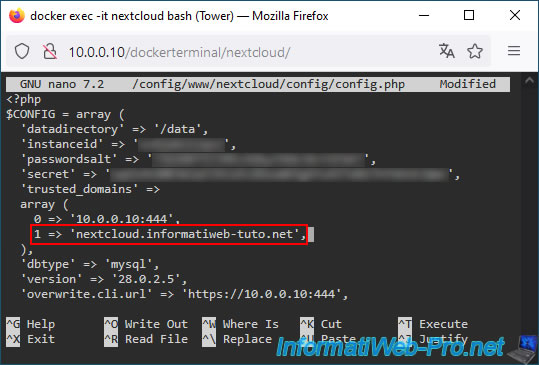
To do this, add the following line to this array:
Plain Text
1 => 'nextcloud.informatiweb-tuto.net',
Warning : replace "informatiweb-tuto.net" with your own domain defined in the swag configuration.
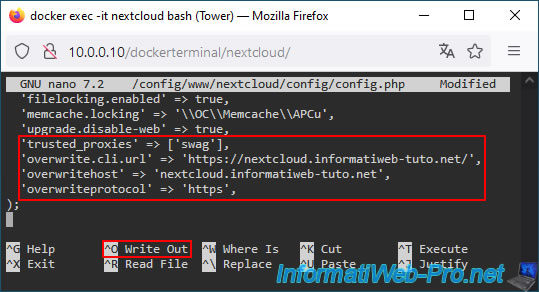
At the end of the file, locate the line ");".
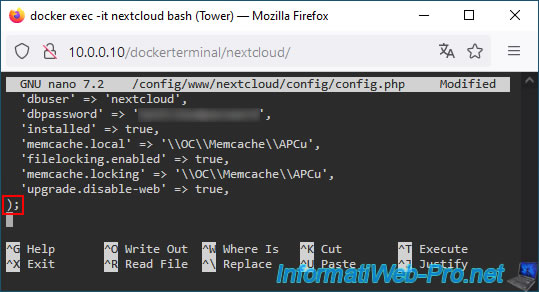
Just before this ");", add these lines:
Plain Text
 'trusted_proxies' => ['swag'],
'overwrite.cli.url' => 'https://nextcloud.informatiweb-tuto.net/',
'overwritehost' => 'nextcloud.informatiweb-tuto.net',
'overwriteprotocol' => 'https',
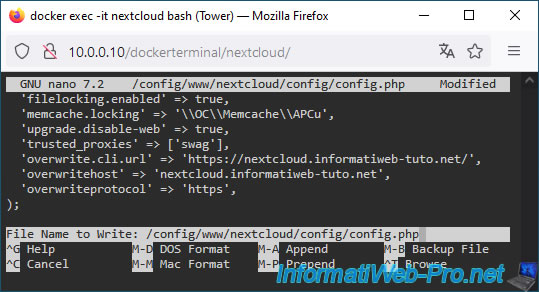
Then, press "CTRL+O" to save your changes.
Note: again, enter your own domain instead of "informatiweb-tuto.net."
Confirm by pressing Enter.
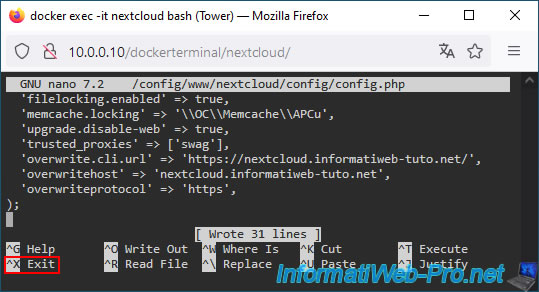
Exit the "nano" text editor by pressing "CTRL+X".
Restart the Nextcloud container to apply the changes to its configuration file.
To do this, click the "nextcloud" container icon, then click Restart.
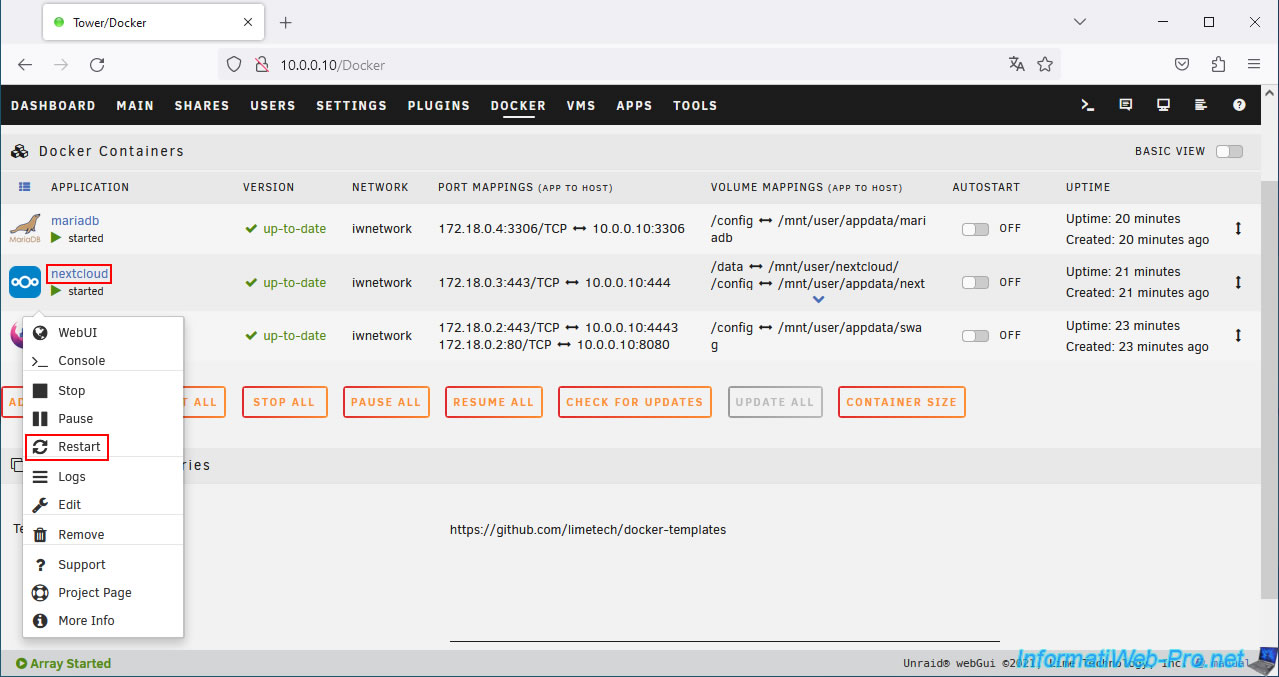
Your "nextcloud" container has been restarted.
6. Add the subdomain for Nextcloud in the certificate generated via the swag container
To ensure that the SSL certificate used by swag is also valid for your new subdomain "nextcloud.[your domain]", you must add this subdomain to your swag configuration.
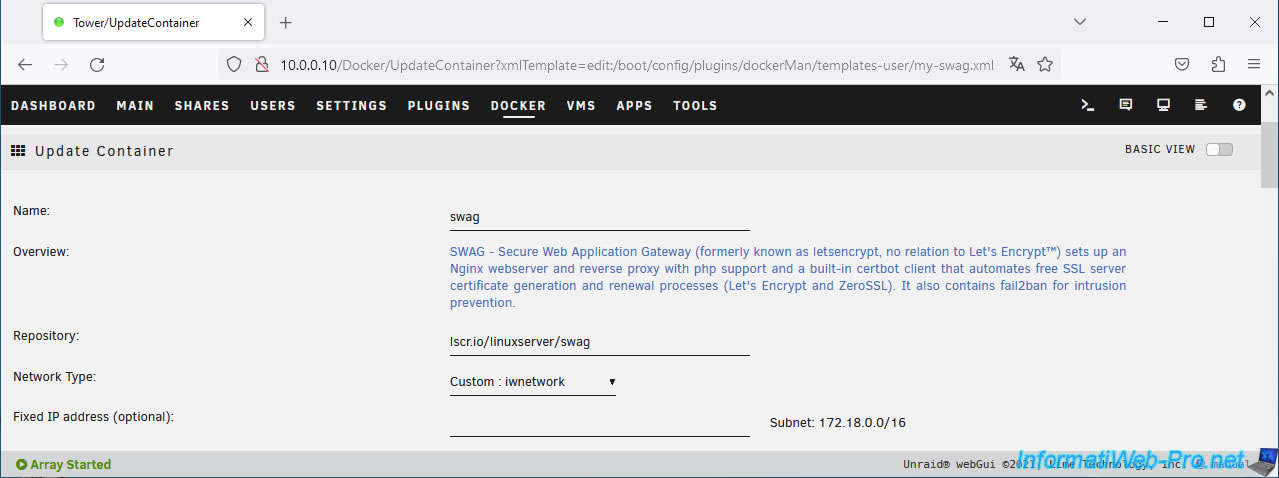
To do this, click the swag icon, then click Edit.

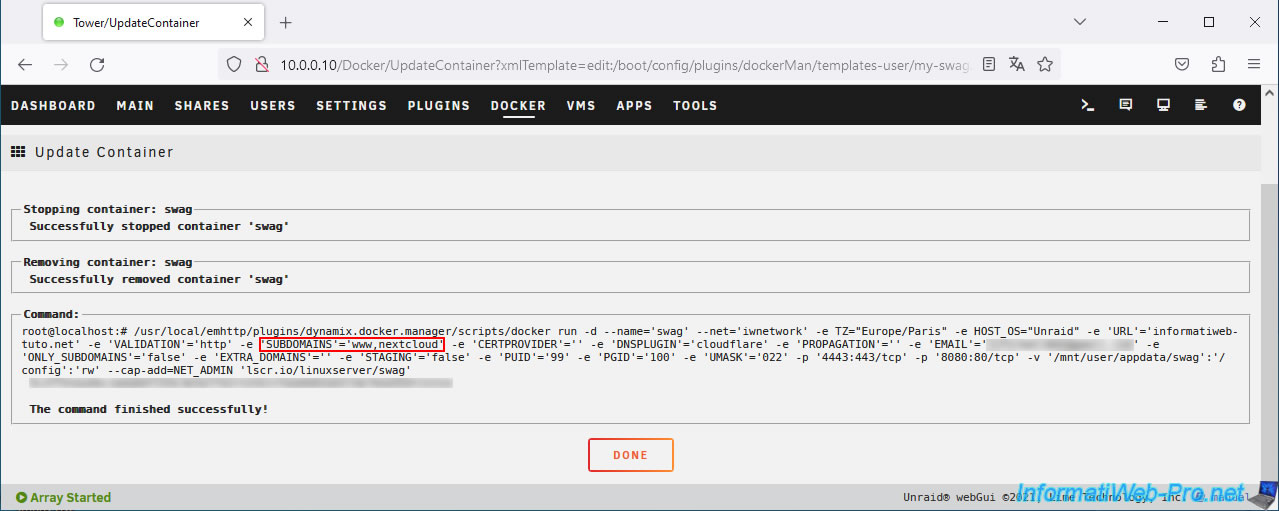
The "Update Container" page for the "swag" container appears.
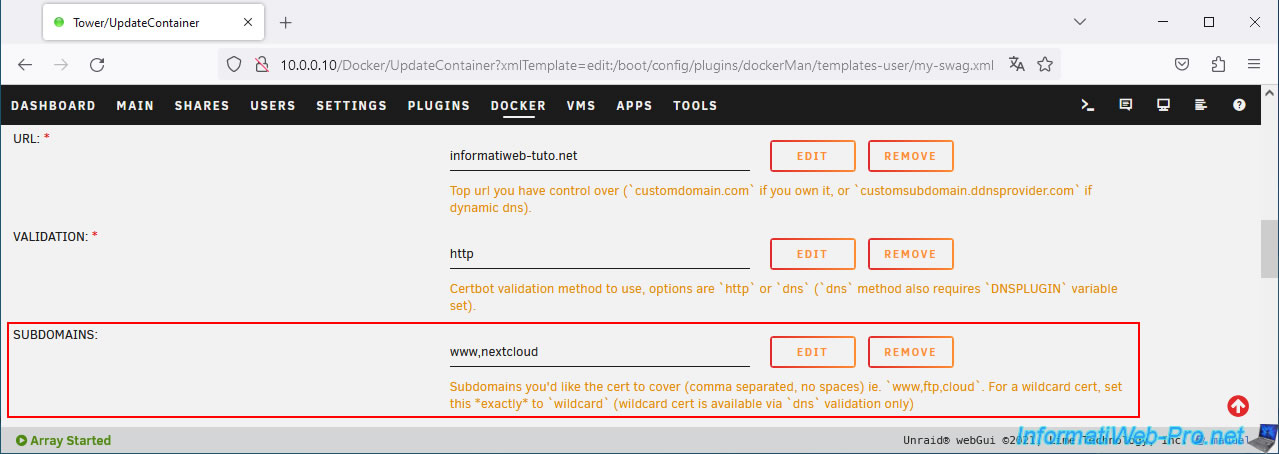
In the "SUBDOMAINS" box, add your "nextcloud" subdomain.
In our case, this would be: www.nextcloud.
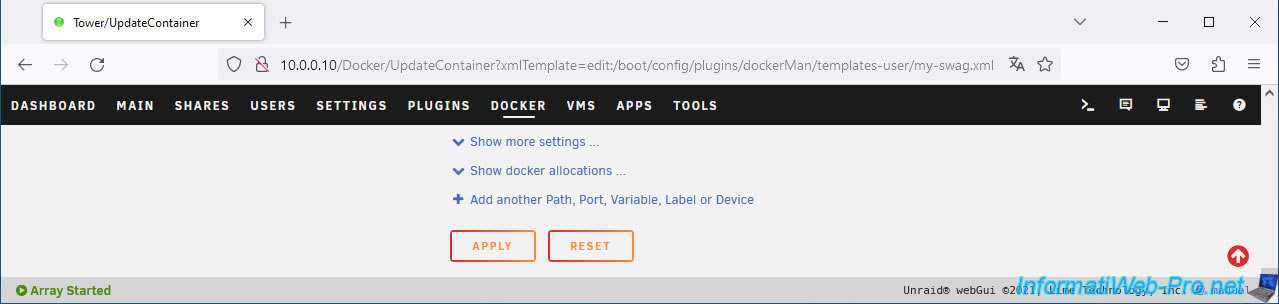
Then, at the bottom of the page, click on: Apply.
Once the container is updated, click: Done.
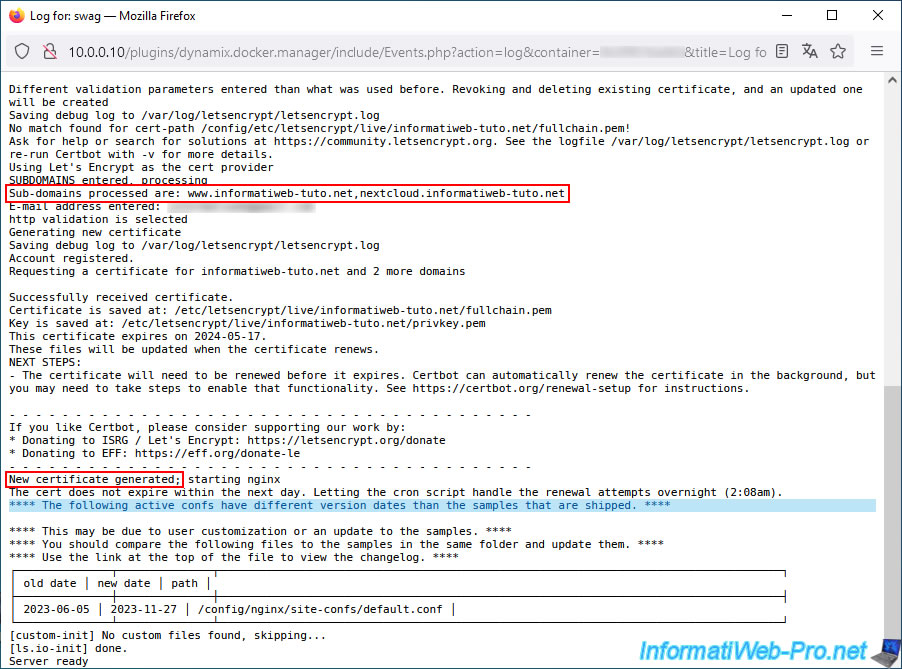
Click on the swag icon, then on: Logs.

In the swag logs, you'll see that the subdomains "www.[your domain]" and "nextcloud.[your domain]" will be used.
You'll then see that a new certificate (valid for your root domain, as well as these subdomains) will be generated.
Plain Text
Sub-domains processed are: www.informatiweb-tuto.net nextcloud.informatiweb-tuto.net
...
New certificate generated; ...
Share this tutorial
To see also
-
NAS 7/8/2026
Unraid 6.9.2 - Docker - Install a password manager (Vaultwarden)
-

NAS 3/18/2026
Unraid 6.9.2 - Fixing common problems
-
NAS 6/3/2026
Unraid 6.9.2 - SWAG - Access Jellyfin via reverse proxy and Duck DNS (DDNS)
-
NAS 6/10/2026
Unraid 6.9.2 - SWAG - Access Jellyfin via reverse proxy and personal domain
No comment