- NAS
- Unraid
- 26 November 2025 at 19:35 UTC
-


By default, the Unraid USB Creator tool automatically installs the latest version of Unraid to a USB key.
However, it is also possible to install an older version using the Unraid USB creation tool and its zip file.
- Download Unraid and the USB Creator tool
- Manually install Unraid via USB Creator tool
- Script batch (make_bootable)
1. Download Unraid and the USB Creator tool
To get started, download Unraid's "USB Creator" tool.

Then, at the bottom of the page, you can download one of the previous Unraid versions in zip format.

2. Manually install Unraid via USB Creator tool
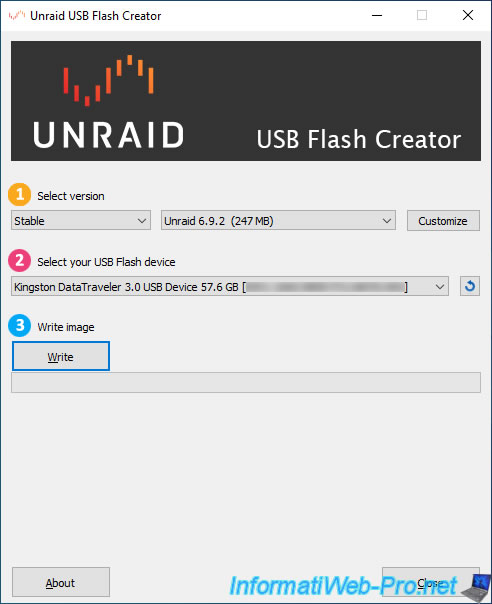
In our case, we downloaded Unraid version 6.9.0 and the USB Creator tool.

As you can see, by default, this "Unraid USB Flash Creator" tool allows you to create a bootable Unraid USB flash drive from one of the latest stable versions of Unraid.
However, you can also select "Local Zip" (to use a zip file of a version previously downloaded from the Unraid website) or "Next" (to install a more recent version, but which is in Beta version).
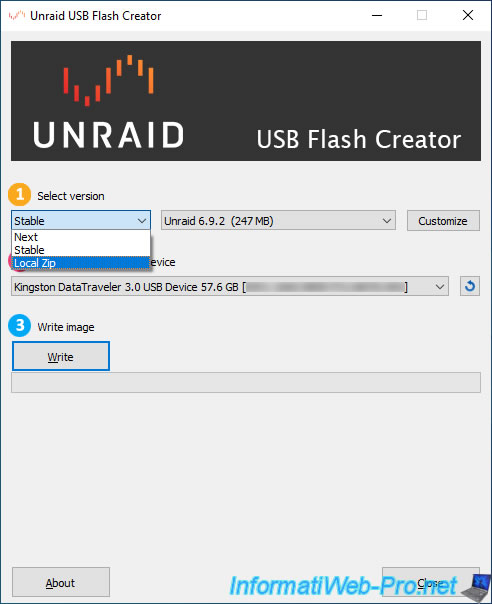
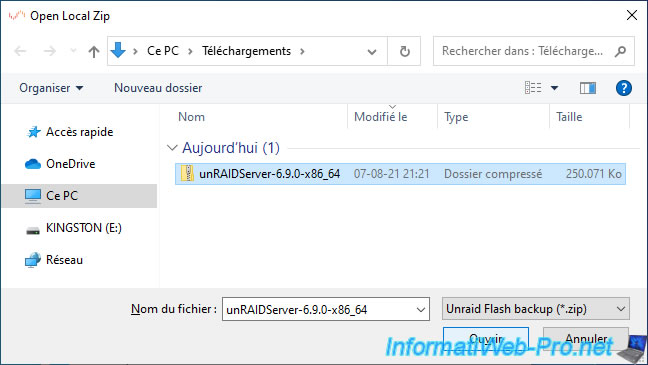
Once you select "Local Zip", a box will appear with a "..." button that you will need to click.

Select the file "unRAIDServer-x.x.x-x86_x64.zip".
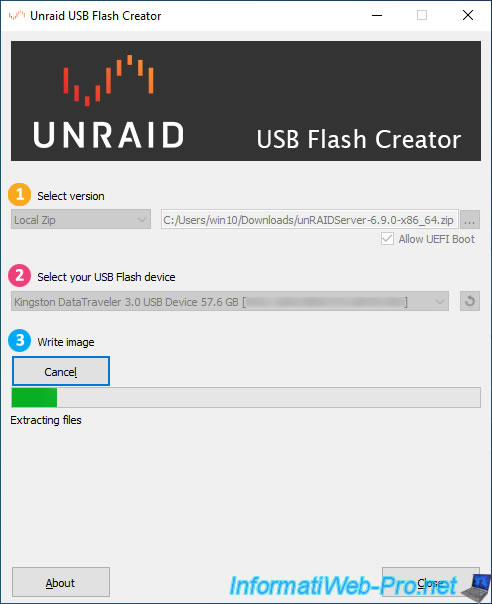
To enable UEFI boot on your Unraid bootable USB key, check the "Allow UEFI Boot" box.

Confirm erasing the USB key and writing the Unraid image to it by clicking: Erase and Write.

Please wait while the files are extracted from the zip file to your USB key.
Once you have finished writing, click Close.

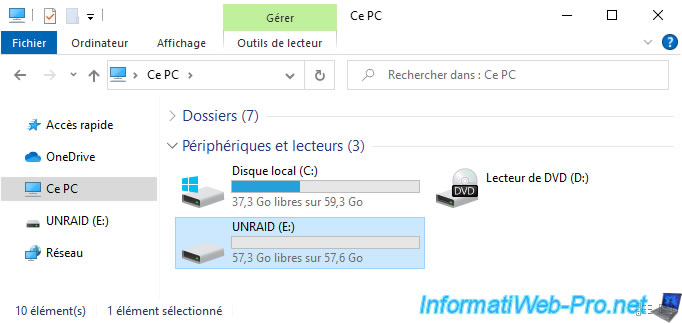
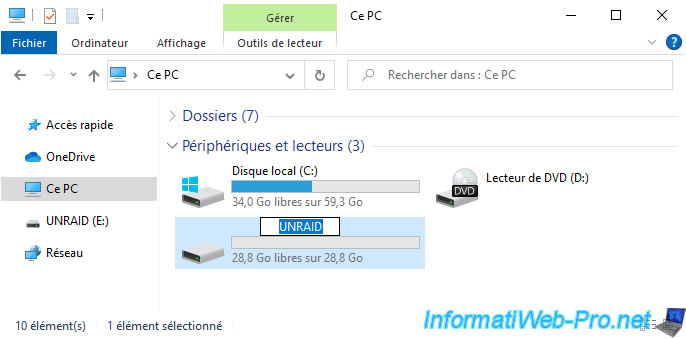
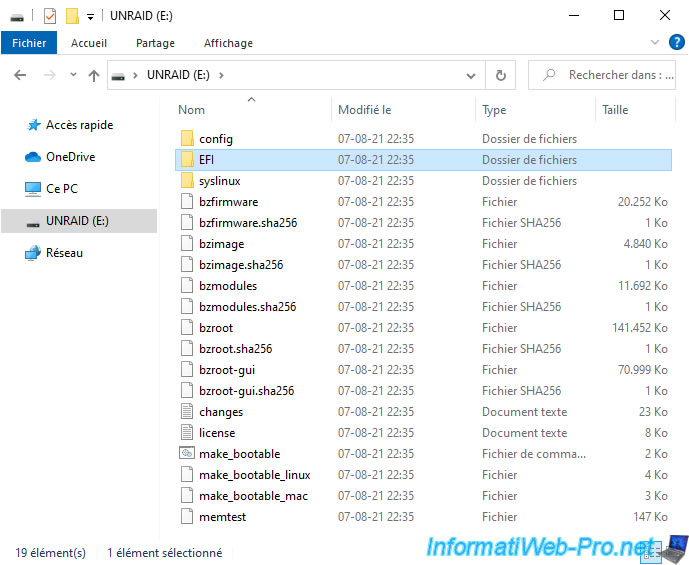
If you look in File Explorer, you will see that your USB key has been renamed to "UNRAID" (all capital letters).
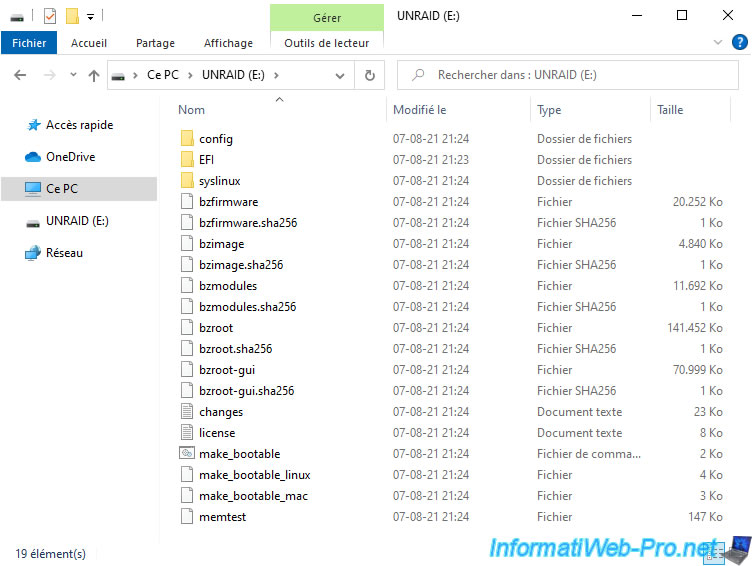
Here are the contents of your "Unraid" USB key.
3. Script batch (make_bootable)
3.1. Format the USB key to FAT32
If the USB Creator tool doesn't work for you, there's an alternative manual method based on a "make_bootable" batch script.
However, to begin, you'll need to format your USB key to FAT32.
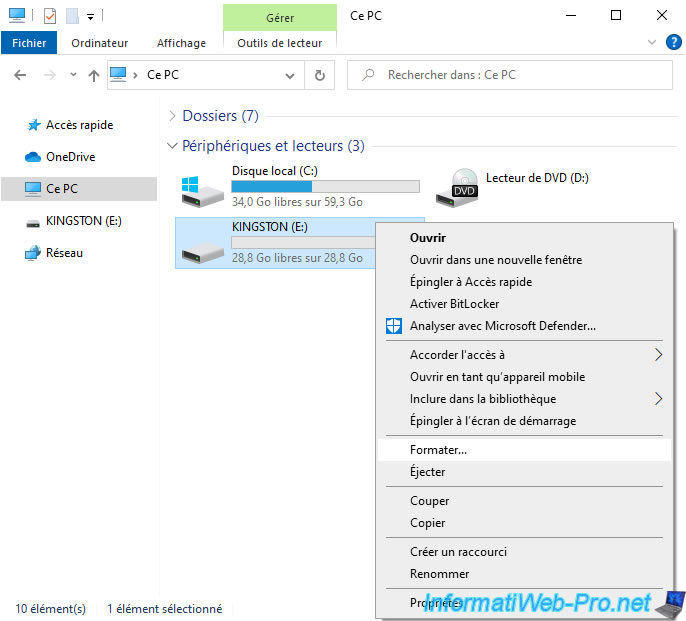
For Unraid to work properly, you must format your USB key to FAT32.
However, note that Microsoft has imposed a 32 GB limitation for FAT32 formatting.
This means that all Microsoft tools (including those built into Windows) will be limited to 32 GB.
If you have a USB key larger than 32 GB, the "FAT32" option will not be displayed.
In this case, refer to our tutorial: Format an USB key in FAT32 (capacity greater than 32 GB).
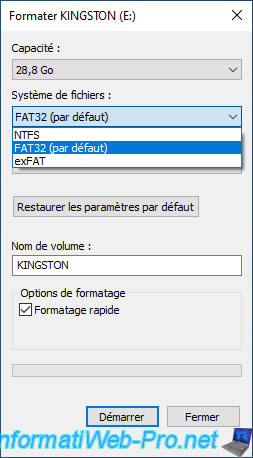
For the volume name, you must specify "UNRAID" (all capital letters).
Otherwise, it won't work.
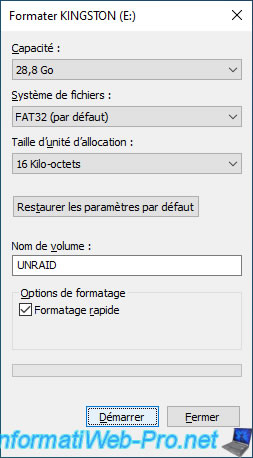
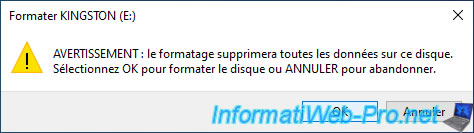
Confirm formatting your USB key by clicking OK.
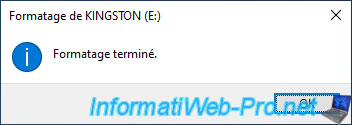
The message "Formatting Completed" appears.
3.2. Rename your USB key
If you formatted your USB key with a third-party utility, be sure to rename it to UNRAID.
To do this, slowly double-click on its name or right-click on "Properties".
3.3. Manually install Unraid on your USB key
To begin, unzip the desired "unRAIDServer-x.x.x-x86_x64.zip" file.

Here's what's inside the zip file.
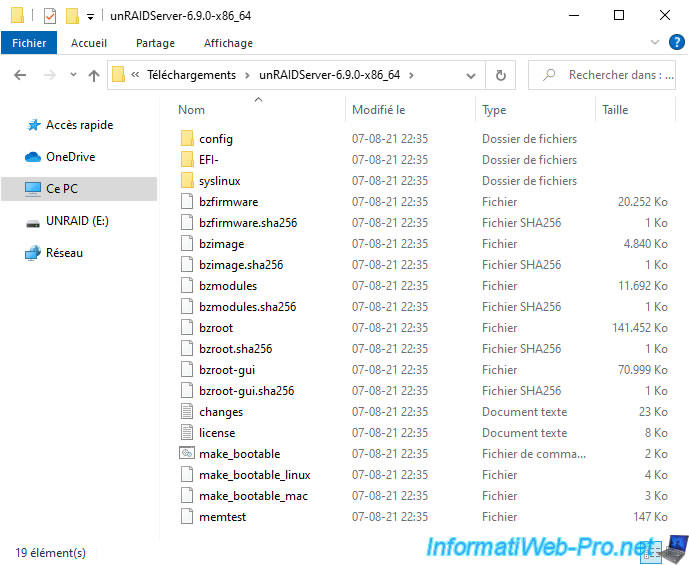
Copy the contents of the "unRAIDServer-x.x.x-x86_x64.zip" folder to your USB key.

Then, right click "Run as administrator" on the "make_bootable.bat" file.

A "Make Bootable" window appears asking you to press a key.
Plain Text
Make Bootable v1.5
 The volume on drive E is called UNRAID
 The volume serial number is XXXX XXXX
Ready to make disk bootable!
Press any key to continue...
Press Enter.

Then, syslinux will be run on your "UNRAID" USB key to make it bootable.
Plain Text
E:\syslinux\syslinux.exe -maf E:
Completed

Appuyez sur une touche pour continuer...

3.4. Enable UEFI boot
To enable UEFI boot on your "UNRAID" USB key, simply rename the "EFI-" folder to "EFI".

Share this tutorial
To see also
-

NAS 2/4/2026
Unraid 6.9.2 - Change or reset root password
-

NAS 1/30/2026
Unraid 6.9.2 - Create shares (network / user)
-

NAS 4/1/2026
Unraid 6.9.2 - Docker - Install a file explorer (CloudCommander)
-

NAS 6/10/2026
Unraid 6.9.2 - SWAG - Access Jellyfin via reverse proxy and personal domain
You must be logged in to post a comment